


I used to see those “5-minute updo” tutorials and think I was just terrible at hair. You know the ones — perfect girls with perfect hair effortlessly twisting their locks into magazine-worthy styles. Then I realized something: they’re not showing you the real process. The bobby pins that fall out. The sections that won’t stay put. The fact that your arms start aching halfway through.
But here’s the thing — once I stopped expecting perfection and started embracing the messy reality, updos became so much more doable. And honestly? More beautiful too.
The 20-Minute ‘Quick’ Updo Reality
Let me paint you the real picture. You set aside 20 minutes before that dinner party. You’ve watched the tutorial twice, you’ve got your bobby pins lined up, and you’re feeling confident. Fast forward 45 minutes later, and you’re standing in front of your mirror with hair half-up, half-down, looking like you’ve been through a windstorm.
The truth is, those “easy” updos have a learning curve. Your first attempt will probably take three times longer than promised. Your second attempt might look lopsided. And that’s completely normal.
What I’ve learned is to always give myself buffer time. If I need to be ready by 7, I start my hair at 5:30. Because inevitably, I’ll need to redo at least one section, hunt for more bobby pins, or completely start over when my “loose bun” turns into a bird’s nest.
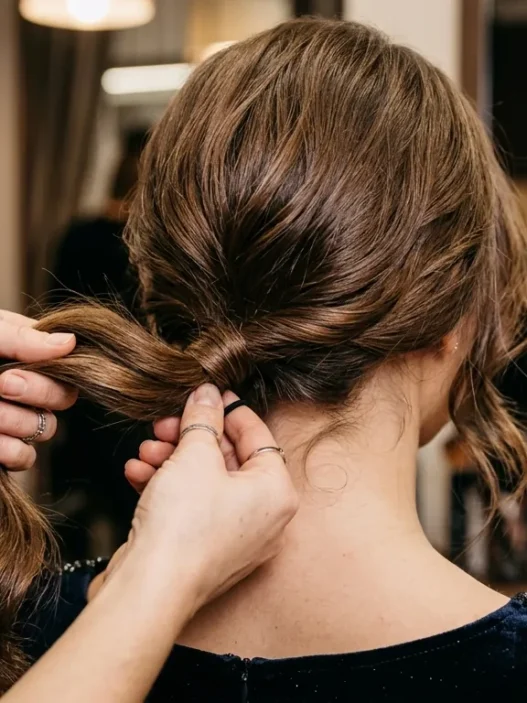
What They Don’t Show You About Pins and Placement
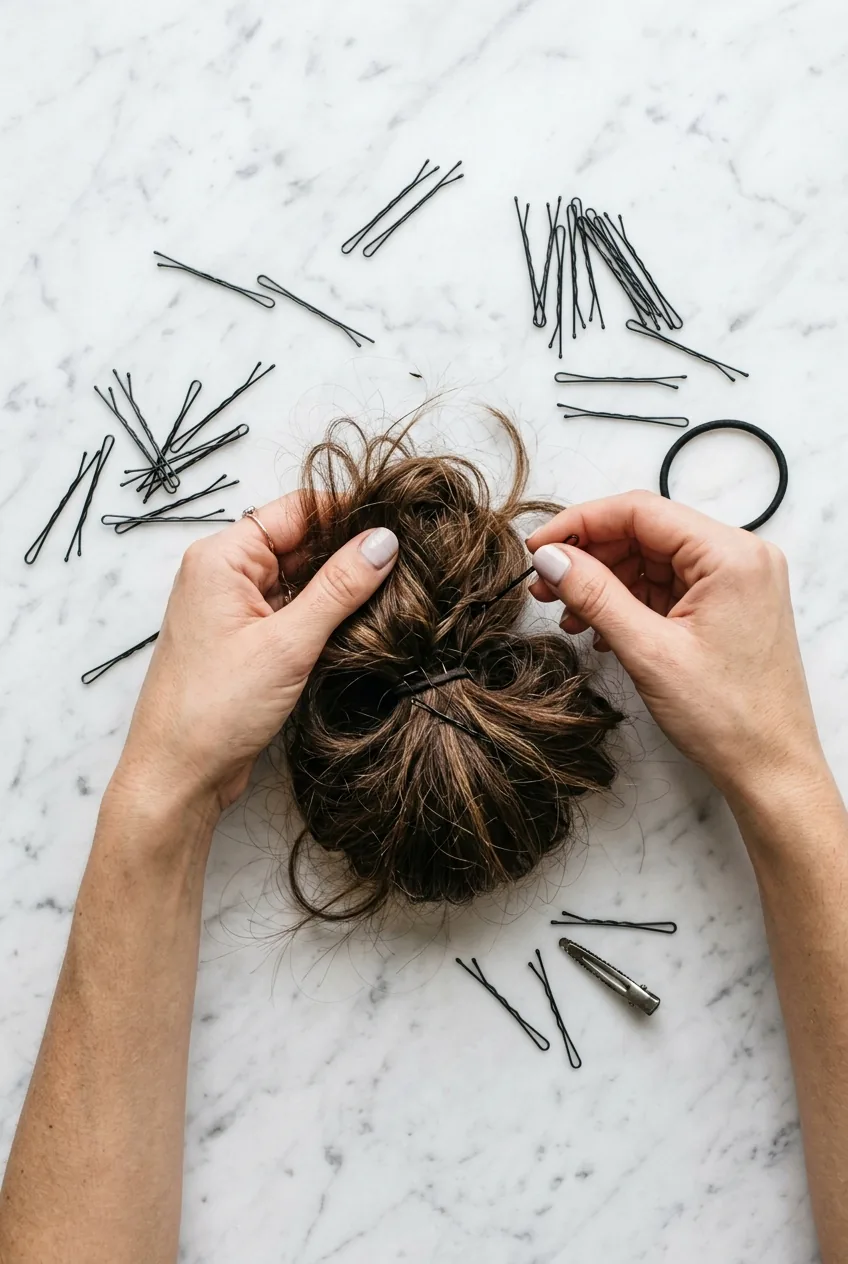
Here’s what those Instagram tutorials conveniently skip: the bobby pin struggle is real. They show you sliding in two pins like it’s nothing, but they don’t show you the seven pins that fell out before those two stayed put.

I used to think I was using bobby pins wrong until a stylist friend told me the secret. You need way more than you think, and they should go in opposite directions to actually grip. Those influencers aren’t magical — they just edit out the part where they’re fumbling around with a mouthful of pins.
- Buy bobby pins that match your exact hair color (not just “brown” or “blonde”)
- The wavy side goes against your scalp, not the smooth side
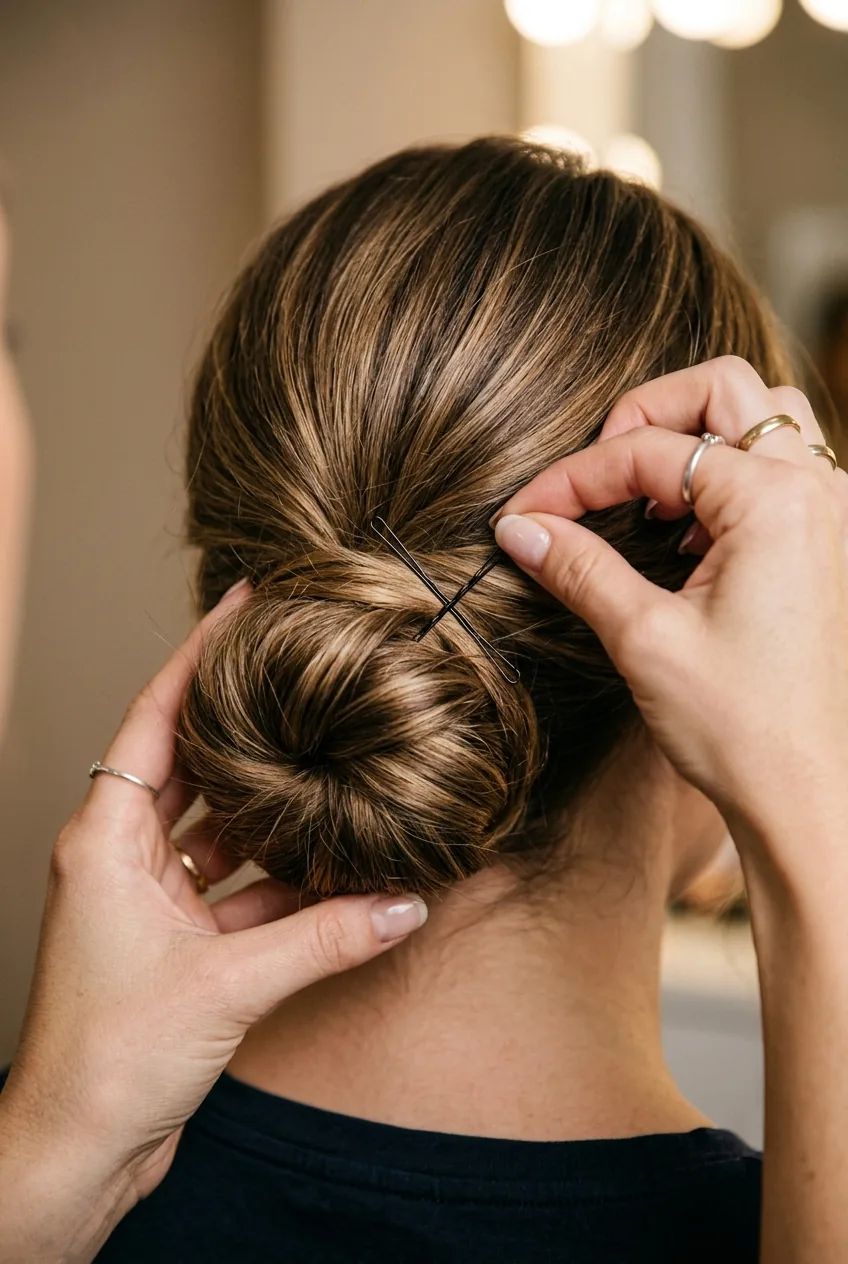
- Cross them in an X pattern for sections that keep slipping
- Keep extras within arm’s reach — you’ll need them
Also, that perfect placement they make look effortless? It takes practice to know exactly where your hair wants to sit. Your cowlicks, your hair’s natural fall, your face shape — they all affect where an updo will actually stay put versus where it looks good in theory.
The Part That Takes the Longest
Want to know what eats up most of your updo time? It’s not the twisting or the pinning. It’s the damn flyaways and baby hairs that refuse to cooperate.
You can have the most gorgeous low bun in the world, but if you’ve got wispy pieces sticking up everywhere, it looks unfinished. And here’s where I get a little controversial — I think a few flyaways actually look better than that helmet-smooth finish anyway.
But if you’re going for polished, you’ll spend a solid 10 minutes with a fine-tooth comb, some smoothing gel, and probably a light hairspray, taming every single piece. It’s tedious, but it’s what separates a “pretty good” updo from a “how did you do that?” updo.
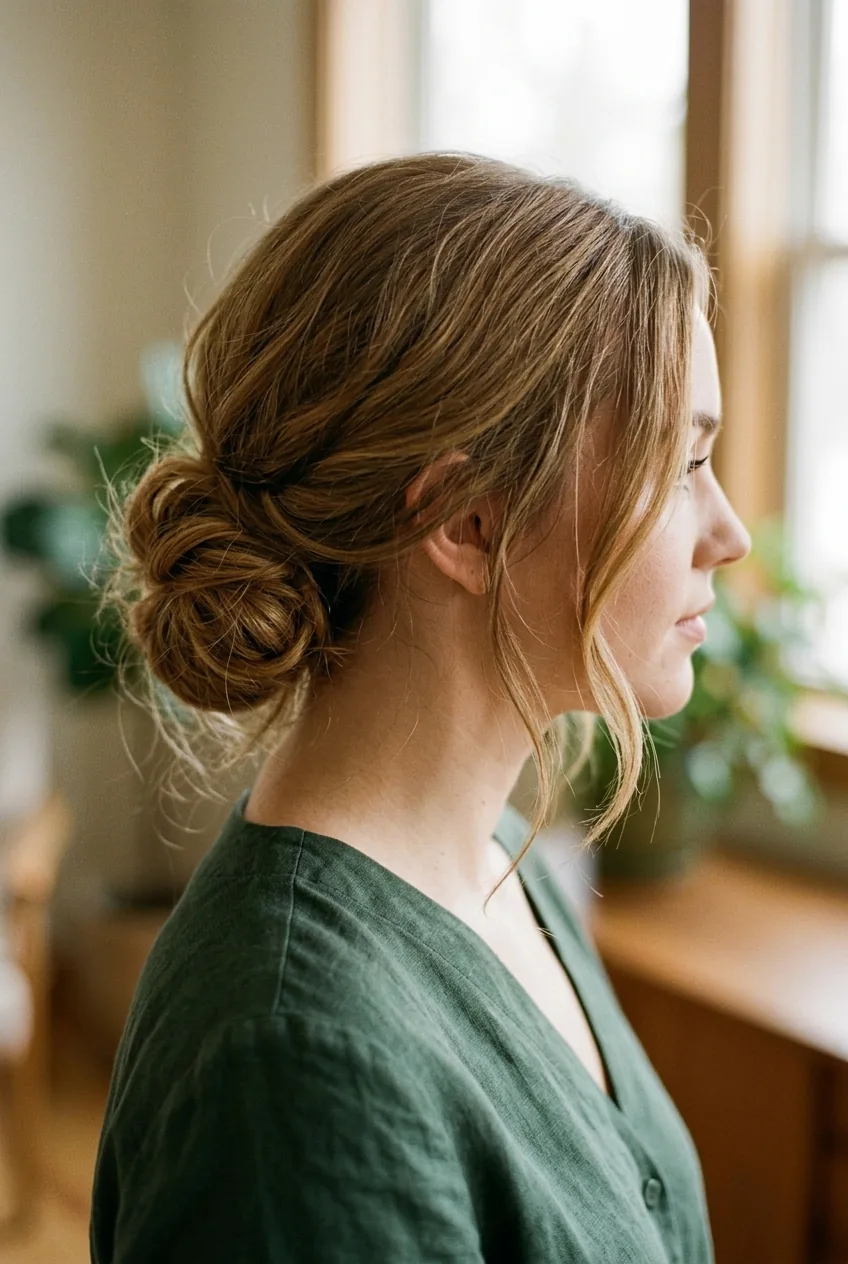
My shortcut? I embrace a slightly undone look. I smooth the major sections but leave a few pieces soft around my face. It looks intentional instead of like I gave up halfway through.
Why Your Hair Fights Back
Your hair has muscle memory. If you always wear it down or in a simple ponytail, it’s going to resist being twisted and pinned into unfamiliar shapes. Freshly washed hair is often too slippery to hold an updo. Day-old hair with a bit of texture spray? Much more cooperative.
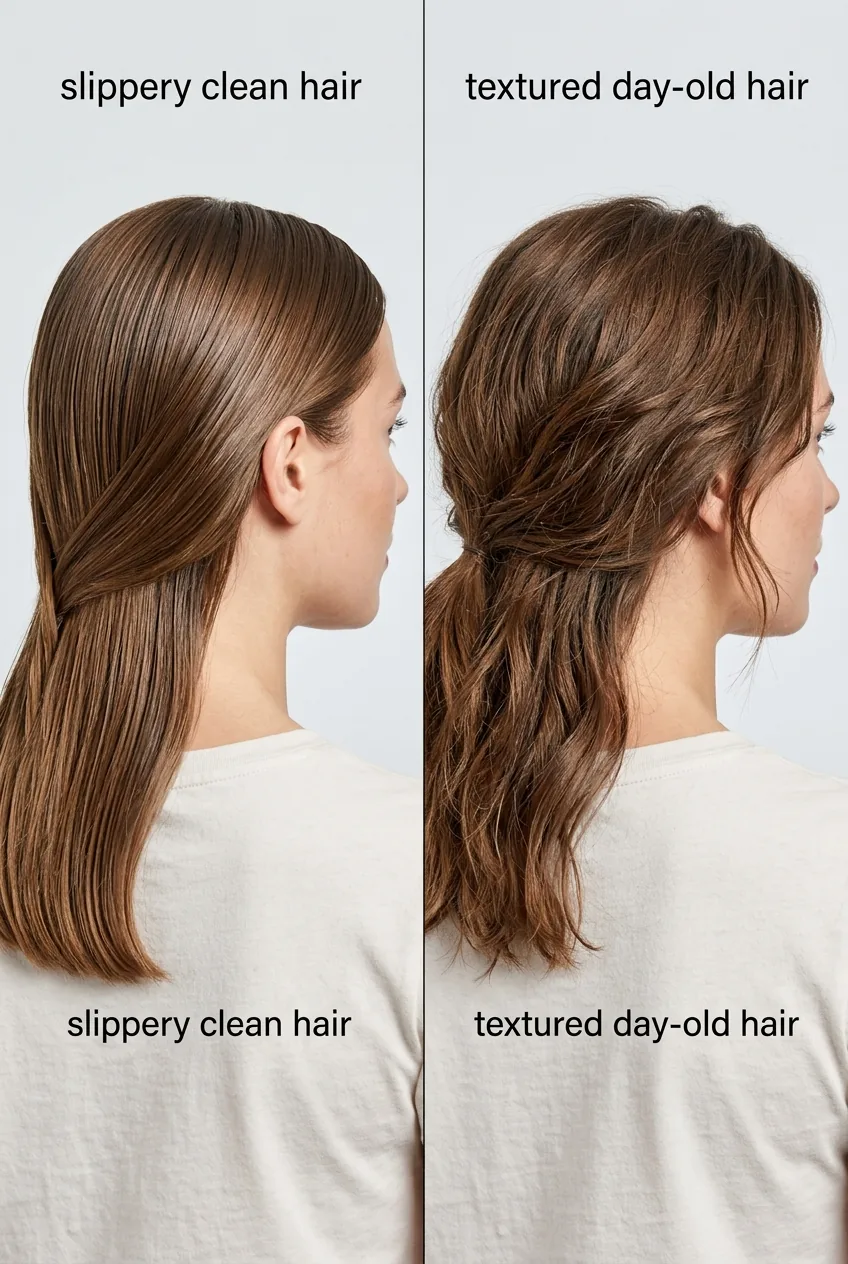
I learned this the hard way trying to do formal hairstyles on squeaky-clean hair. It would look gorgeous for exactly three minutes before pieces started sliding out. Now I always use dry shampoo or texturizing spray first, even on clean hair.
And let’s talk about hair length for a second. Those tutorials with waist-length hair make everything look easy because there’s so much to work with. If you have shoulder-length hair like me, you’re working with much less material, and every piece has to be perfectly placed or it shows.
The Secret Nobody Mentions
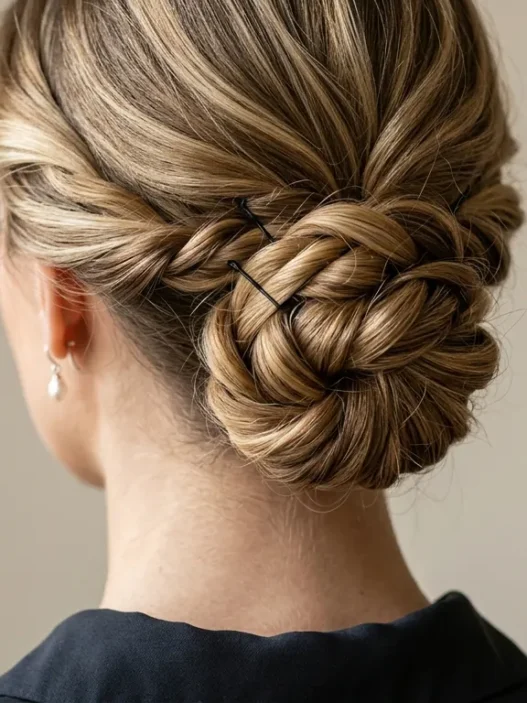
Here’s the thing no one tells you about easy hair updos: they’re not supposed to be perfect. The most beautiful updos I see in real life are the slightly messy ones with personality.
The secret is learning to work with your hair’s natural tendencies instead of fighting them.
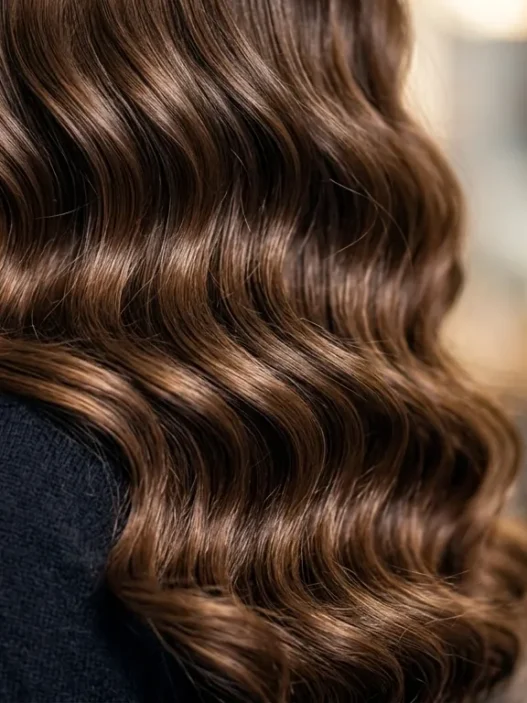
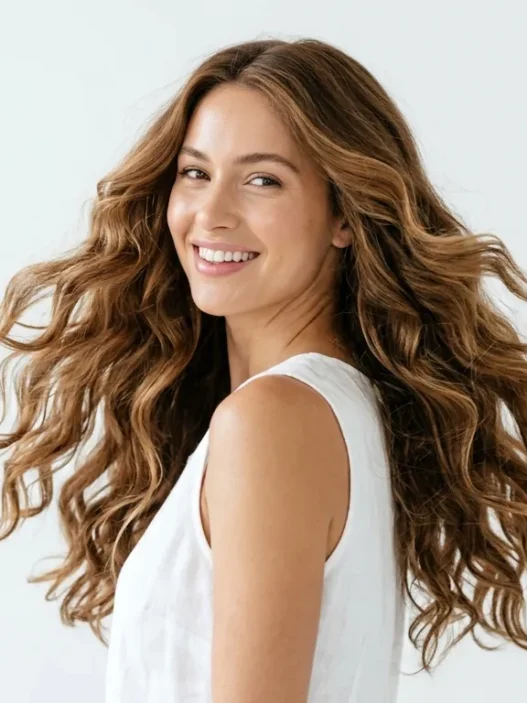
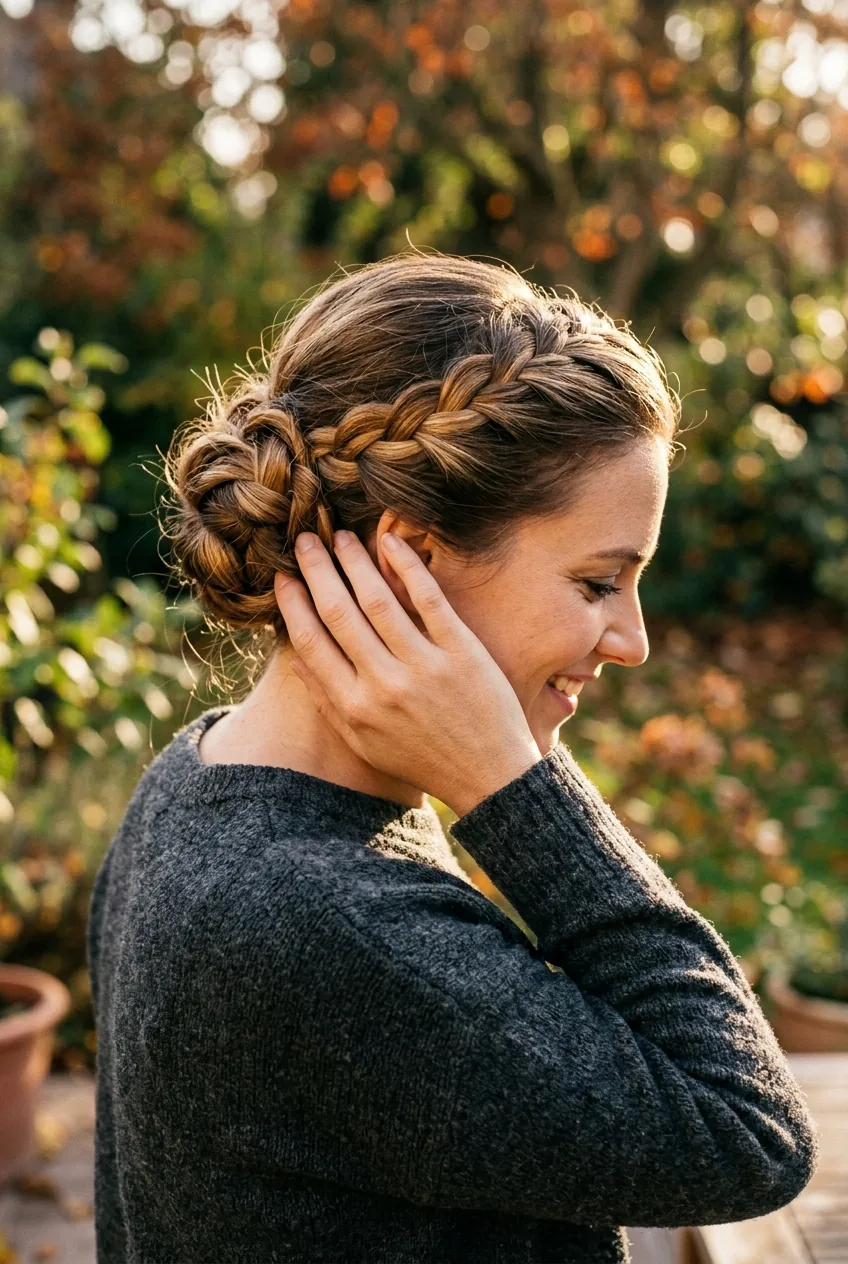
If your hair is naturally curly, let some of that texture show through instead of forcing it pin-straight. If you have layers, use them to create movement rather than trying to smooth everything into submission. The most effortless-looking updos are the ones that feel authentic to your hair type.
I stopped trying to recreate updos exactly like the tutorial and started adapting them to what my hair wanted to do. Game changer. Now my updos actually feel like they belong on my head instead of like I’m wearing someone else’s hairstyle.
Also, the right hairspray technique makes or breaks an updo, but most tutorials barely mention it. Light mist while you work, not just at the end.
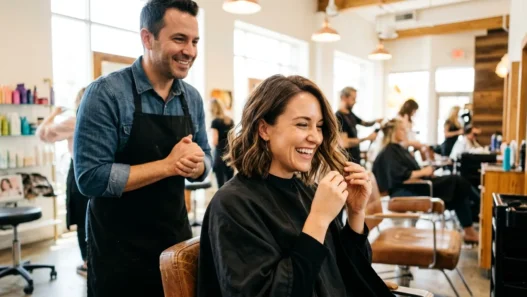
Watch This Stylist’s Honest Take
Why It’s Worth It Anyway
Despite all the reality checks I just gave you, I’m still team updo all the way. Because here’s what happens once you push through that initial learning curve: you feel put-together in a way that’s hard to describe.
There’s something about having your hair up and off your face that changes your entire presence. You stand a little taller. You feel more confident. And honestly, even a slightly imperfect updo looks more intentional than most hairstyles.
Plus, once you master even one go-to updo, you have an instant solution for:
- Bad hair days (hello, low bun)
- Last-minute dinner invitations
- Hot summer days when you can’t stand hair on your neck
- Professional meetings where you want to look polished
The versatility alone makes it worth the practice time. And like any skill, it gets easier. My first attempts at messy buns took 30 minutes and looked like I’d stuck my finger in an electrical socket. Now I can do a decent one in under five minutes, flyaways and all.
Quick Answers to Common Questions
How many bobby pins should I actually use?
Way more than you think. For a simple low bun, I typically use 8-12 bobby pins. For anything more complex, it can be 15-20. Don’t try to make three pins do the work of ten.
Why does my updo fall out after an hour?
Usually it’s because your hair is too clean and slippery, or you’re not using enough securing products. Try dry shampoo first and make sure you’re crossing your bobby pins for better grip.
Can I do updos on short hair?
Absolutely, but you’ll need different techniques. Focus on pinning small sections close to your head rather than trying to create volume. Low updos work better than high ones for shorter lengths.
What’s the best hair texture for easy updos?
Slightly textured, day-old hair is ideal. Too clean and it’s slippery, too dirty and it’s hard to work with. Medium thickness hair holds styles best, but every texture can work with the right approach.
Look, easy hair updos aren’t as effortless as social media makes them seem. But they’re not impossible either. Give yourself permission to be imperfect, buy way more bobby pins than you think you need, and remember that even stylists mess up sometimes. The difference is, they just start over without posting about it.