








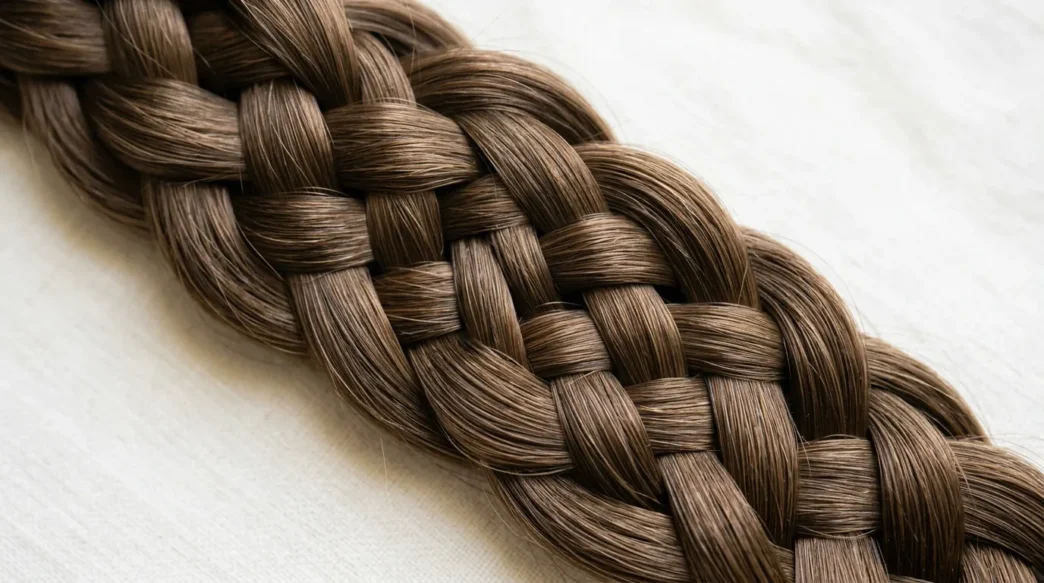
I’ll be honest — twist hairstyles intimidated me for years. The word “twist” sounded so technical, like something only professionals could master. But here’s what I discovered: twists are actually some of the most forgiving hairstyles out there. You can’t really mess them up because the “imperfect” look is often exactly what you want.
After experimenting with everything from simple two-strand twists to elaborate French twist chignons, I’ve organized my favorite styles by difficulty level. Some take two minutes and zero skill. Others require patience and practice. But every single one is gorgeous.
Your Twist Journey Starts Here
- 1. Beginner Level: Simple Two-Strand Twist
- 2. Beginner Level: Basic Side Twist
- 3. Easy Level: Twisted Half-Up Style
- 4. Easy Level: French Twist Ponytail
- 5. Intermediate Level: Rope Braid Twist
- 6. Intermediate Level: Twisted Crown Braid
- 7. Intermediate Challenge: Waterfall Twist Braid
- 8. Advanced Level: Dutch Twist Updo
- 9. Expert Level: Advanced French Twist Chignon
1. Beginner Level: Simple Two-Strand Twist
Difficulty: ⭐ (1/5)
Time: 2 minutes
Tools needed: Hair elastic, optional bobby pins
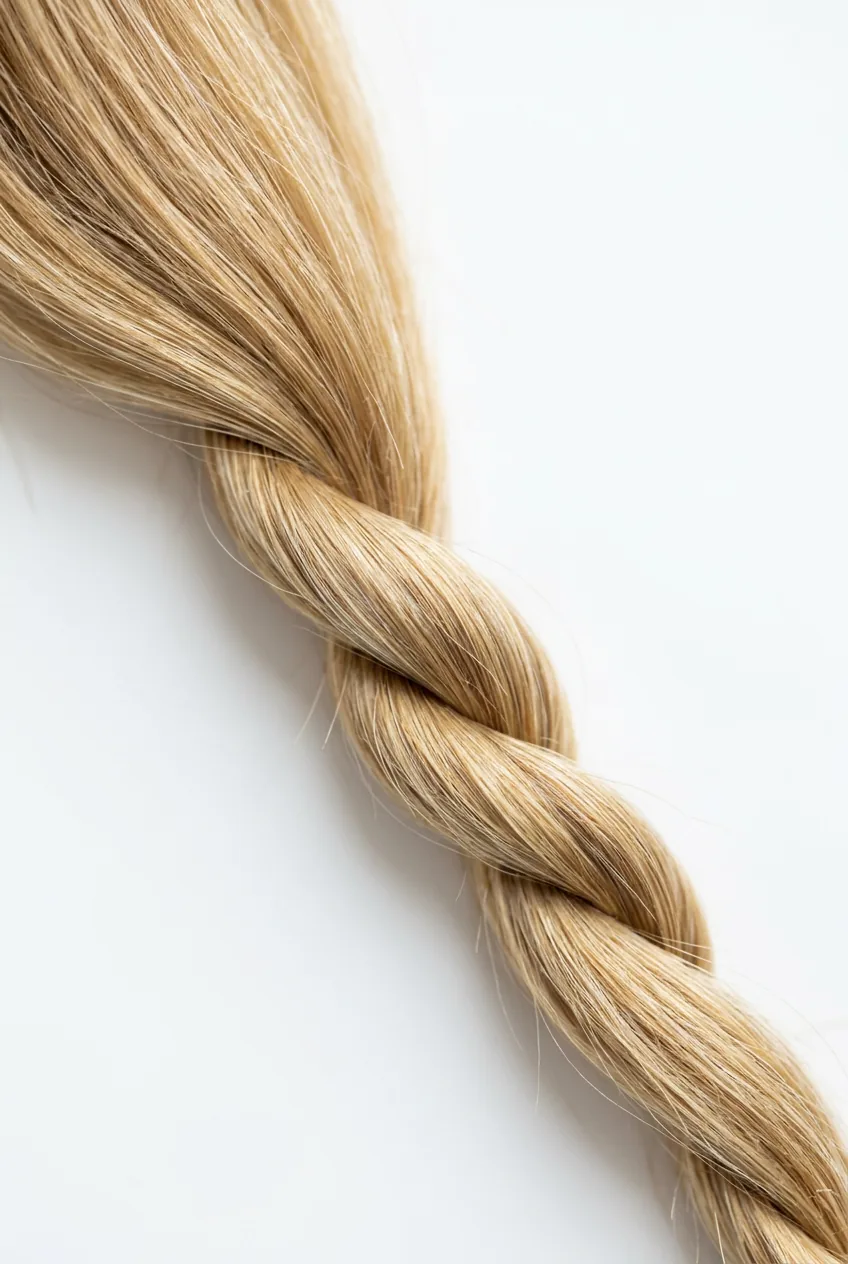
This is where everyone should start. I remember being amazed that something so simple could look so polished. You literally just divide a section of hair into two pieces and wrap them around each other. That’s it.
The beauty is in the looseness — don’t try to make it perfect. Let pieces fall out naturally. I love doing this with slightly damp hair because it holds the twist better and creates those gorgeous waves when you take it out later.
2. Beginner Level: Basic Side Twist
Difficulty: ⭐ (1/5)
Time: 3 minutes
Tools needed: Bobby pins
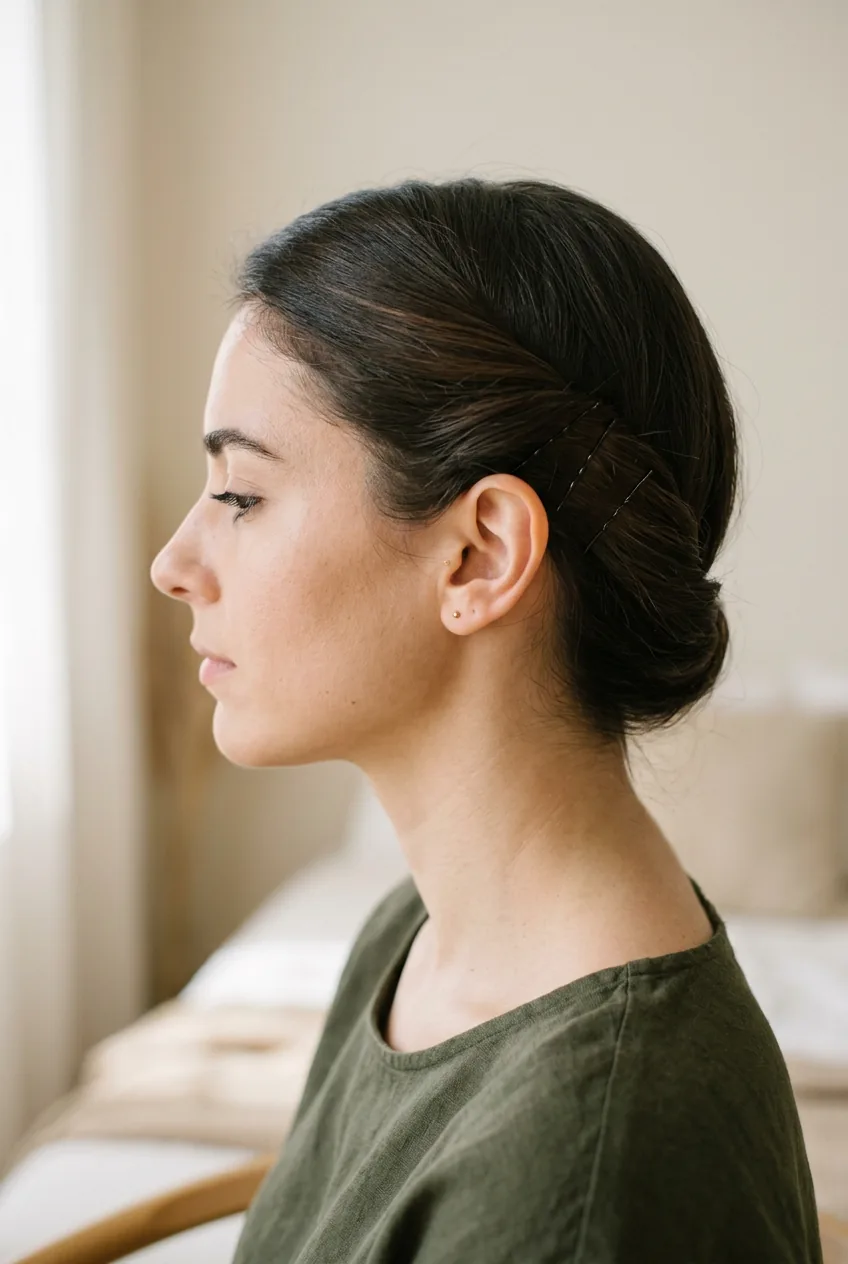
Perfect for those “I need to look put-together in under five minutes” mornings. You take a section from one side of your part, twist it back, and pin it behind your ear. Simple but elegant.
Pro tip I learned the hard way: use bobby pins that match your hair color exactly. Black pins on brown hair look sloppy, but matching pins disappear completely.
3. Easy Level: Twisted Half-Up Style
Difficulty: ⭐⭐ (2/5)
Time: 5 minutes
Tools needed: Hair elastic, bobby pins
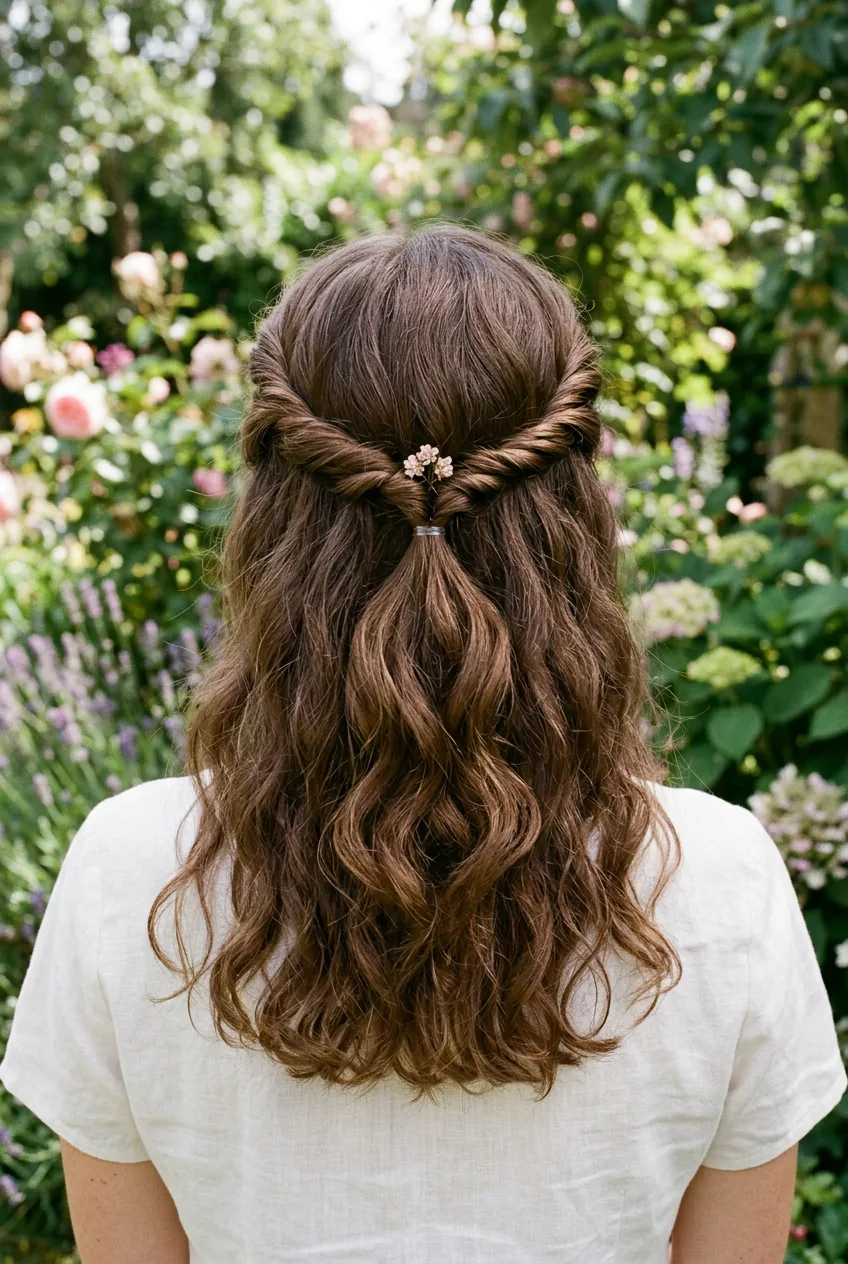
This one makes me feel like a woodland fairy every time. You create two twists from your temples, pull them back, and secure them together. The rest of your hair flows freely behind.
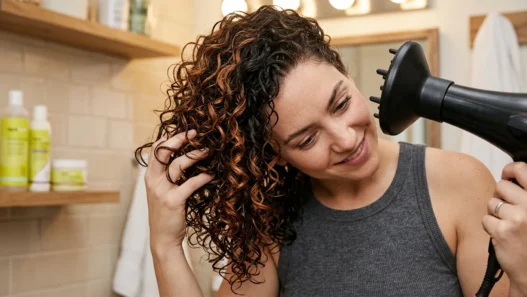
What I love about this style is how forgiving it is with different hair textures. Straight hair looks sleek and polished, while curly and wavy hair creates this beautiful romantic effect with the loose pieces.
My Personal Pick: The twisted half-up style is my go-to for date nights. It’s elegant enough for dinner but relaxed enough that I don’t feel overdressed if we end up somewhere casual. Plus, it works whether my hair is having a good day or a “just threw it in a bun” day.
4. Easy Level: French Twist Ponytail
Difficulty: ⭐⭐ (2/5)
Time: 4 minutes
Tools needed: Hair elastic, bobby pins
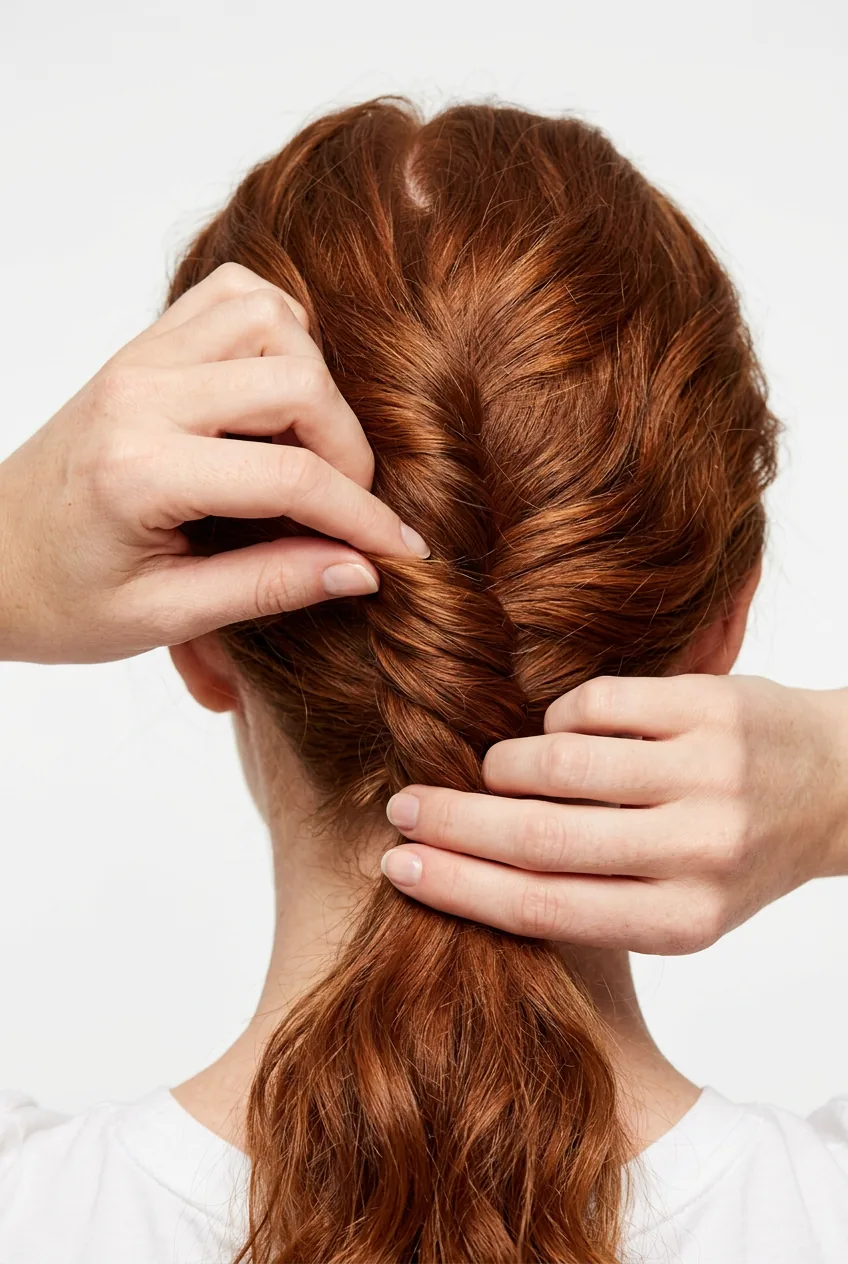
Think of this as a regular ponytail’s sophisticated older sister. Instead of just pulling your hair straight back, you twist sections as you gather them. It creates this gorgeous textured look that screams “I didn’t just roll out of bed” even when you totally did.
The trick is to twist each section in the same direction — I always go clockwise because it feels more natural to me. Twisting techniques can make all the difference in how polished the final look appears.
5. Intermediate Level: Rope Braid Twist
Difficulty: ⭐⭐⭐ (3/5)
Time: 8 minutes
Tools needed: Hair elastic, texturizing spray
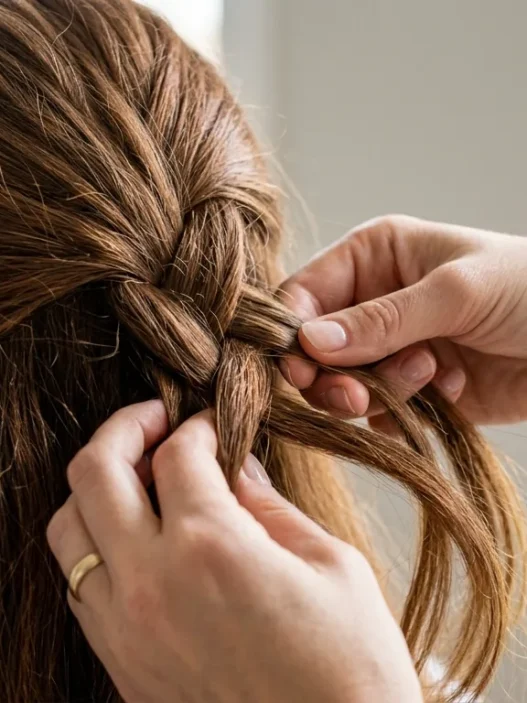
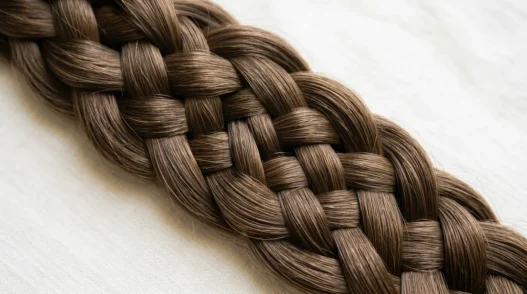
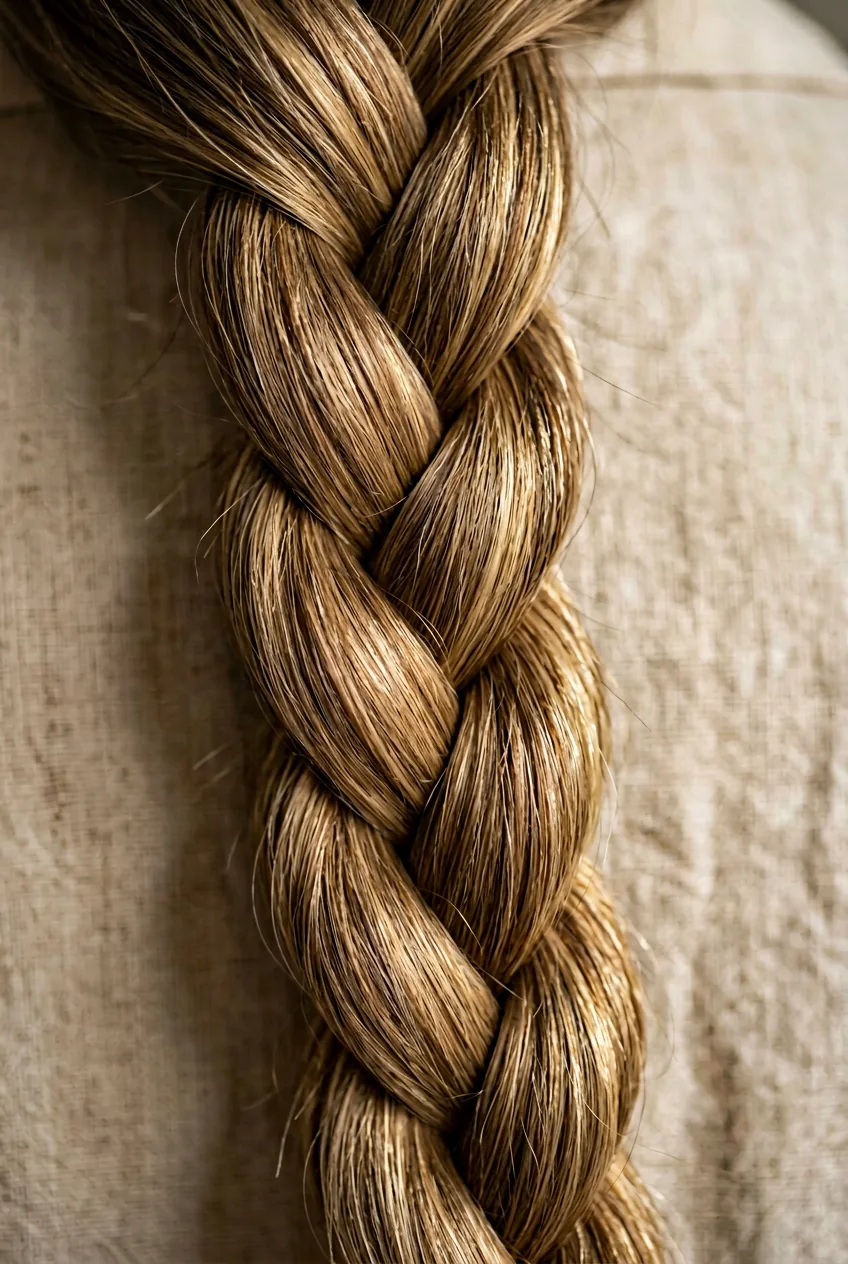
Now we’re getting into the fun stuff. A rope braid looks incredibly complex but it’s actually just two twisted sections wrapped around each other. The key is keeping consistent tension — not too tight, not too loose.
I struggled with this one initially because my sections kept unraveling. Then I discovered texturizing spray. Game changer. A light mist before you start gives your hair just enough grip to hold the twists in place.
6. Intermediate Level: Twisted Crown Braid
Difficulty: ⭐⭐⭐ (3/5)
Time: 12 minutes
Tools needed: Bobby pins, hair elastic, light hold hairspray
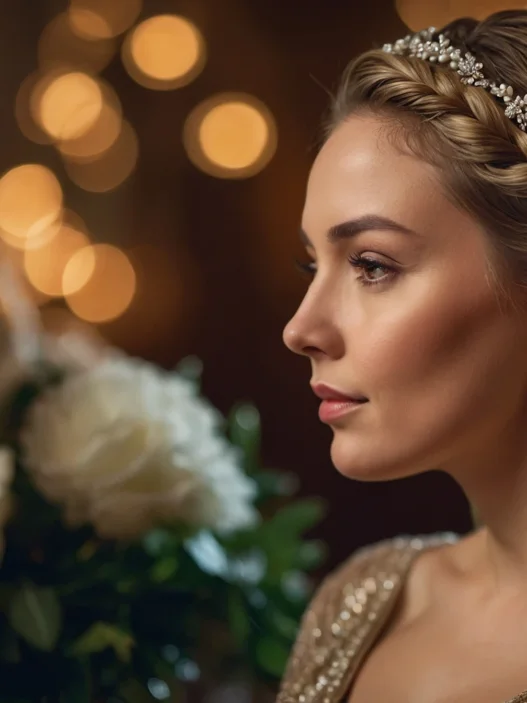
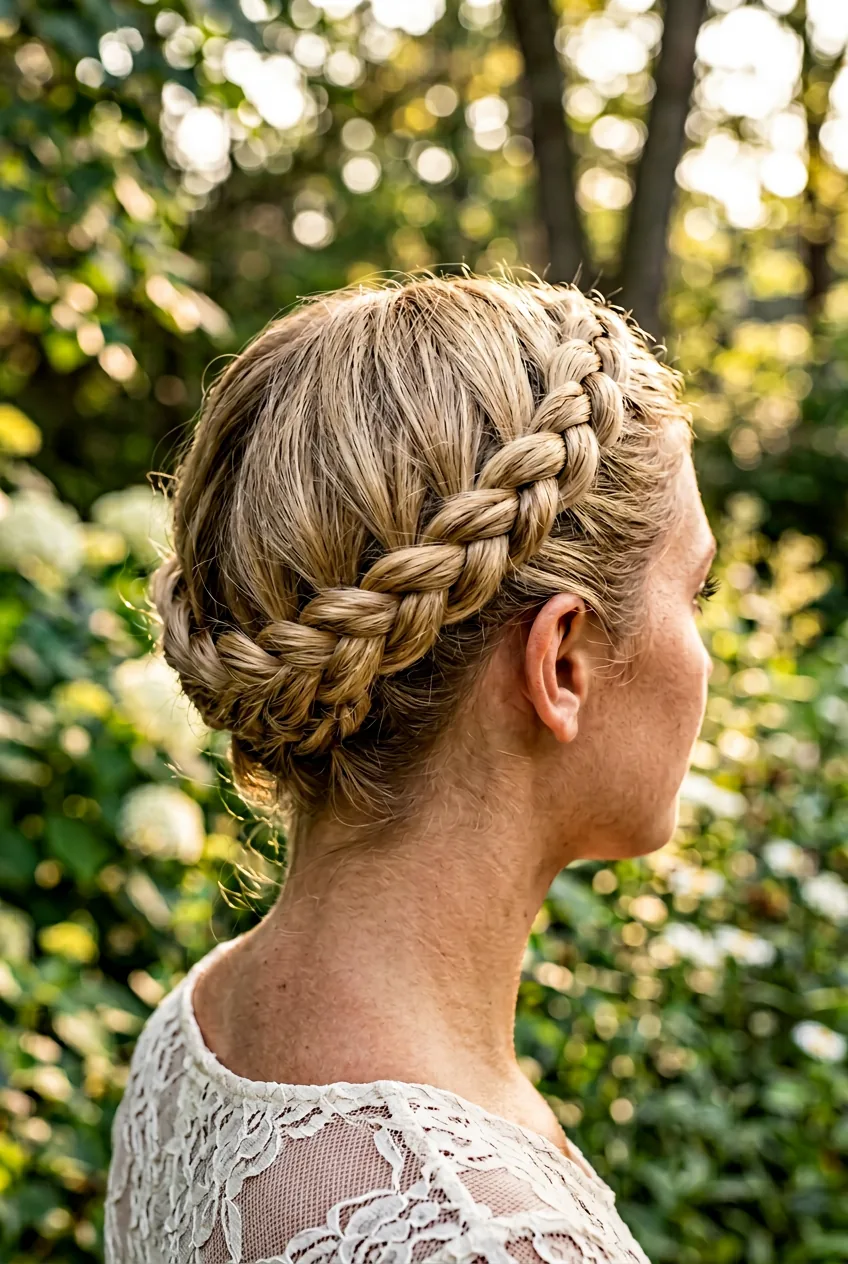
This is where things get really pretty. You create a twisted braid that wraps around your head like a crown, with the rest of your hair flowing down. It’s giving major Greek goddess vibes.
The tricky part is keeping the crown level as you work around your head. I use my ears as guides — the twist should sit at about the same height as the top of your ears all the way around. Practice makes perfect with this one.
7. Intermediate Challenge: Waterfall Twist Braid
Difficulty: ⭐⭐⭐⭐ (4/5)
Time: 15 minutes
Tools needed: Bobby pins, small clear elastics
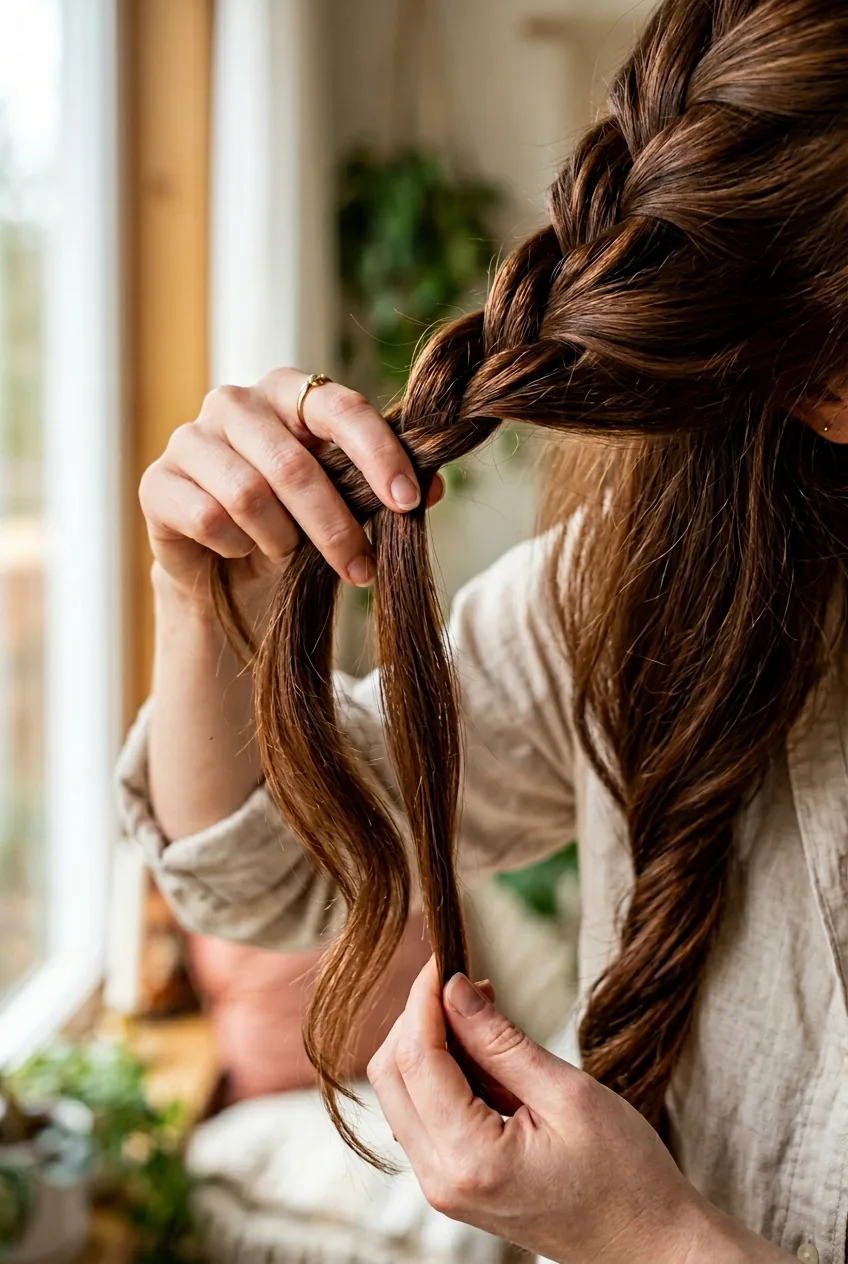
Okay, I won’t lie — this one takes patience. But when you nail it? Pure magic. The waterfall effect comes from dropping sections of hair as you twist, creating these gorgeous cascading pieces.
This style works beautifully with curly and wavy hair because the natural texture adds to that flowing water effect. Straight hair looks stunning too, but you might want to add some loose curls first for extra dimension.
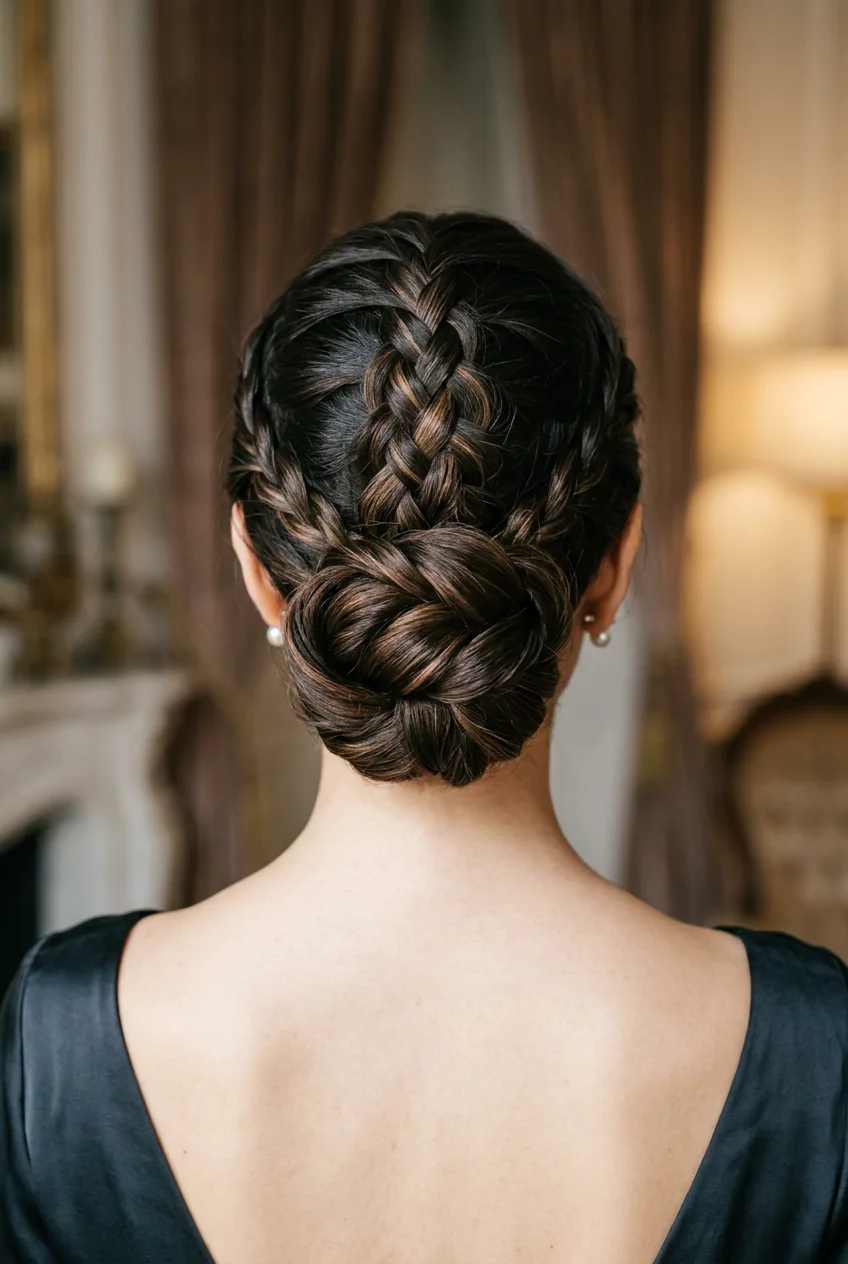
8. Advanced Level: Dutch Twist Updo
Difficulty: ⭐⭐⭐⭐ (4/5)
Time: 20 minutes
Tools needed: Bobby pins, hair elastic, strong hold hairspray, rattail comb
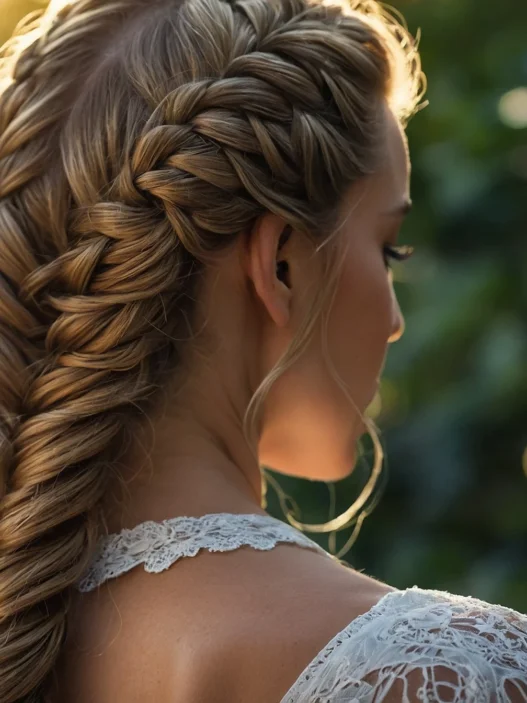
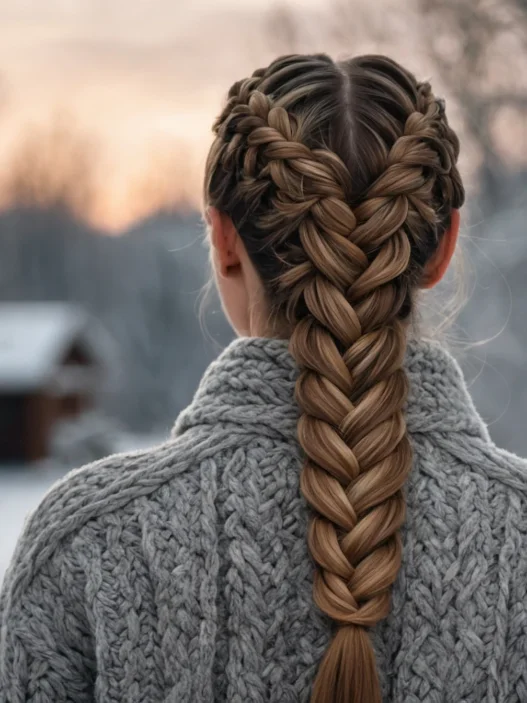
This is serious business — a full updo that combines Dutch braiding technique with twisting. You start with an inverted braid at the nape, then twist and pin the sections up into a sophisticated chignon.
I practiced this style for weeks before attempting it for a wedding. The muscle memory is crucial because you’re working with sections you can’t easily see. But once you get it? You’ll feel like a professional hairstylist.
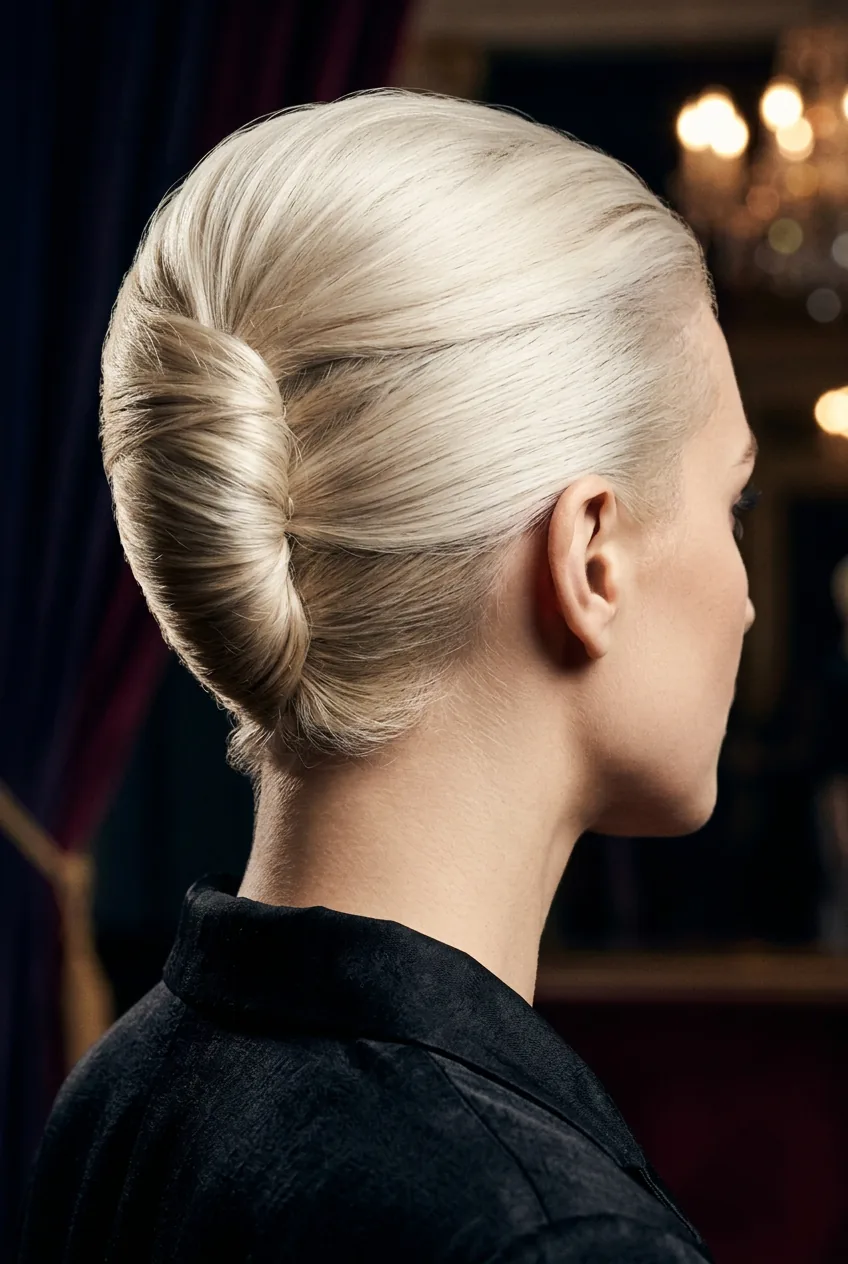
9. Expert Level: Advanced French Twist Chignon
Difficulty: ⭐⭐⭐⭐⭐ (5/5)
Time: 25+ minutes
Tools needed: Bobby pins (lots), hair elastic, strong hold hairspray, rattail comb, hair padding (optional)
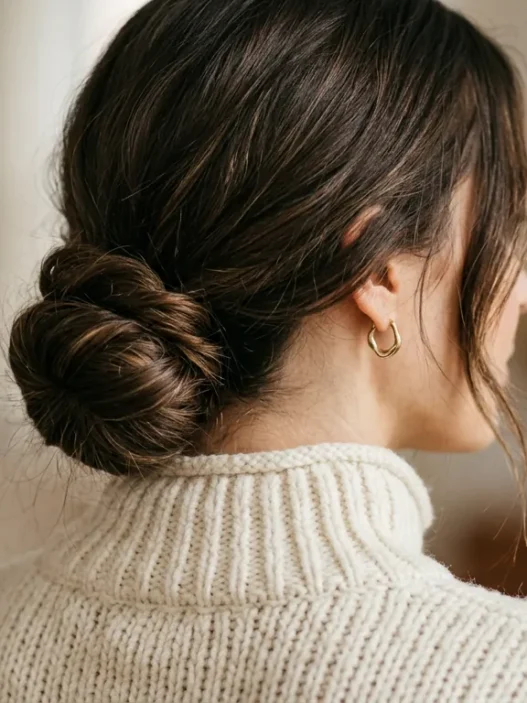
The holy grail of twist hairstyles. This is the elegant French twist you see on red carpets and at fancy galas. It requires perfect sectioning, precise twisting technique, and strategic pinning to create that seamless rolled effect.
I’m not going to sugarcoat it — this one is HARD. Your arms will get tired. You’ll probably need to start over at least once. But when you finally master it, you’ll have a go-to formal style that looks like you spent serious money at a salon.
For inspiration on how to incorporate these twists into more elaborate styles, check out this guide on braided half up boho hair — many of those techniques work beautifully with twist elements too.
Quick Answers You Might Need
What’s the difference between twists and braids?
Twists use two sections of hair wrapped around each other, while braids typically use three or more sections woven together. Twists are generally easier and more forgiving for beginners.
How long should my hair be for twist hairstyles?
Most twist styles work best on hair that’s at least shoulder-length. Some simple twists can work on shorter hair, but you’ll have more styling options with medium to long hair.
Do twist hairstyles work on all hair types?
Absolutely! Fine hair might need texturizing products for grip, while thick hair might need sectioning for manageability. Curly and textured hair often holds twists beautifully with minimal product.
How do I make my twists last all day?
Start with slightly textured hair (day-old or with texturizing spray), use bobby pins that match your hair color, and finish with a light hairspray. The key is not making them too tight initially.
Remember, the most beautiful twist hairstyles often look effortless, even when they took serious skill to create. Start with the easier styles and work your way up. Your muscle memory will thank you, and honestly, so will your confidence. There’s something incredibly satisfying about mastering a technique that once seemed impossible.