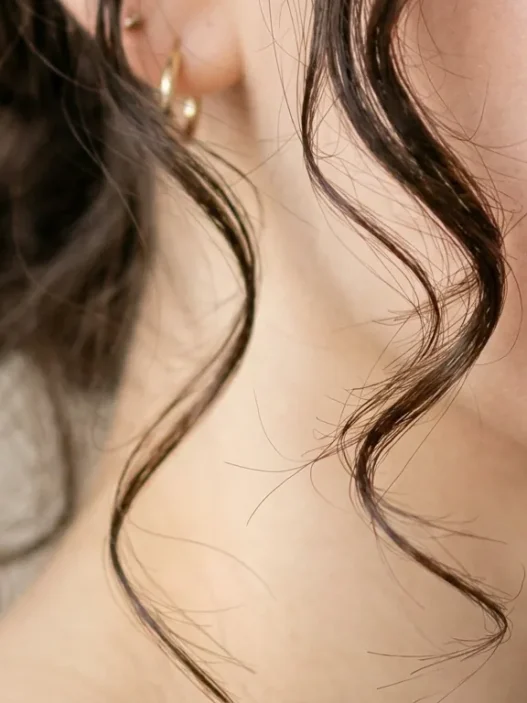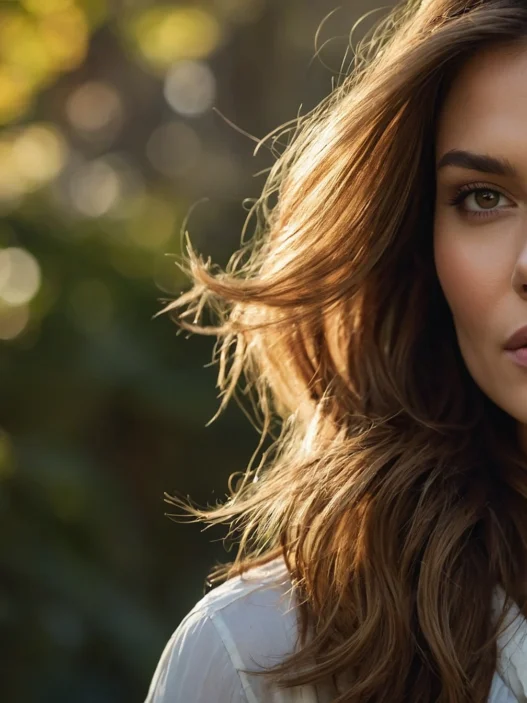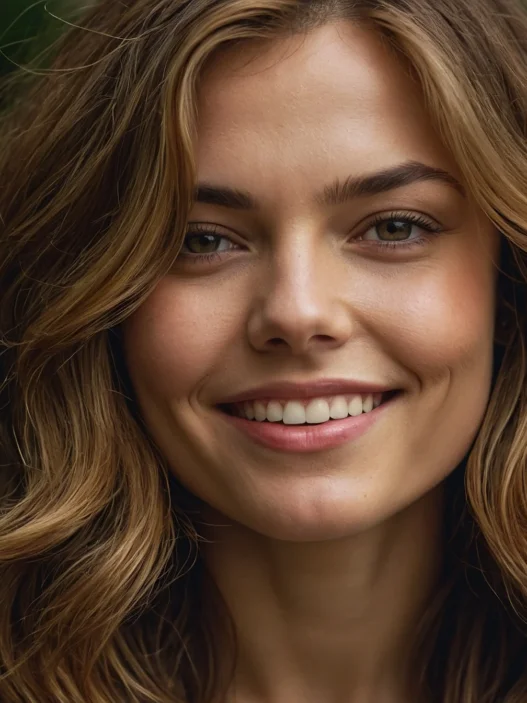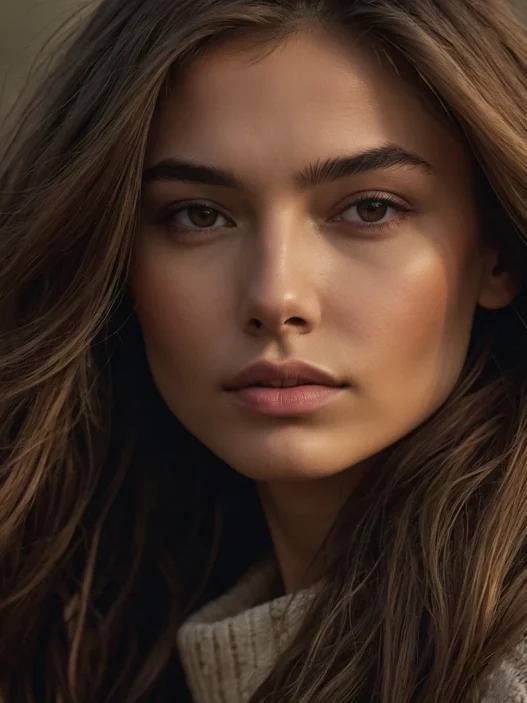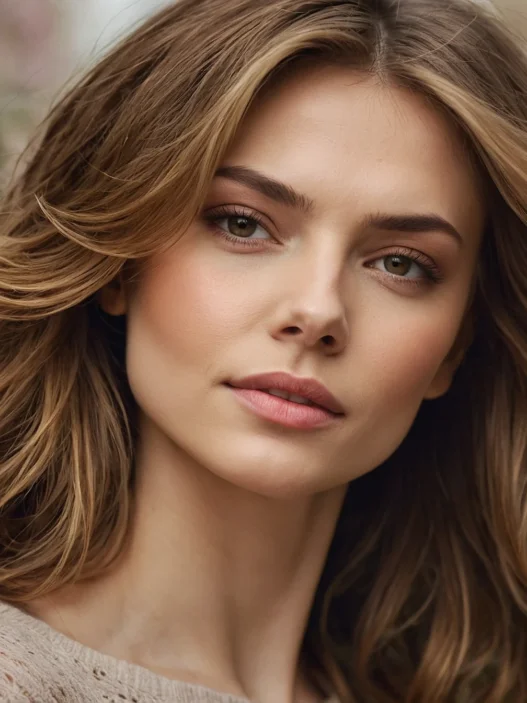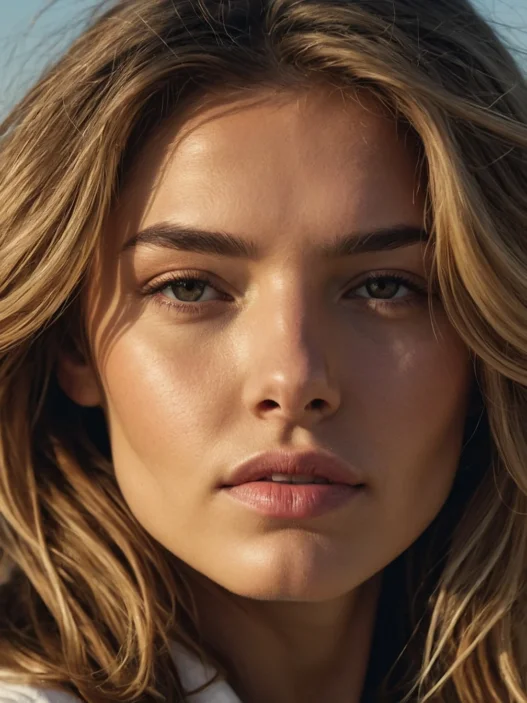







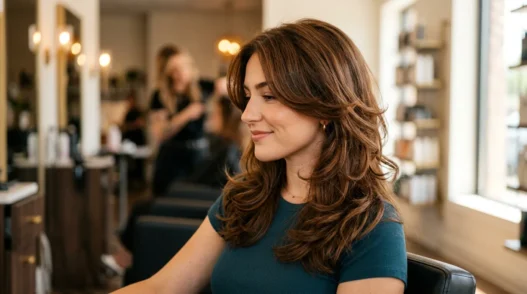
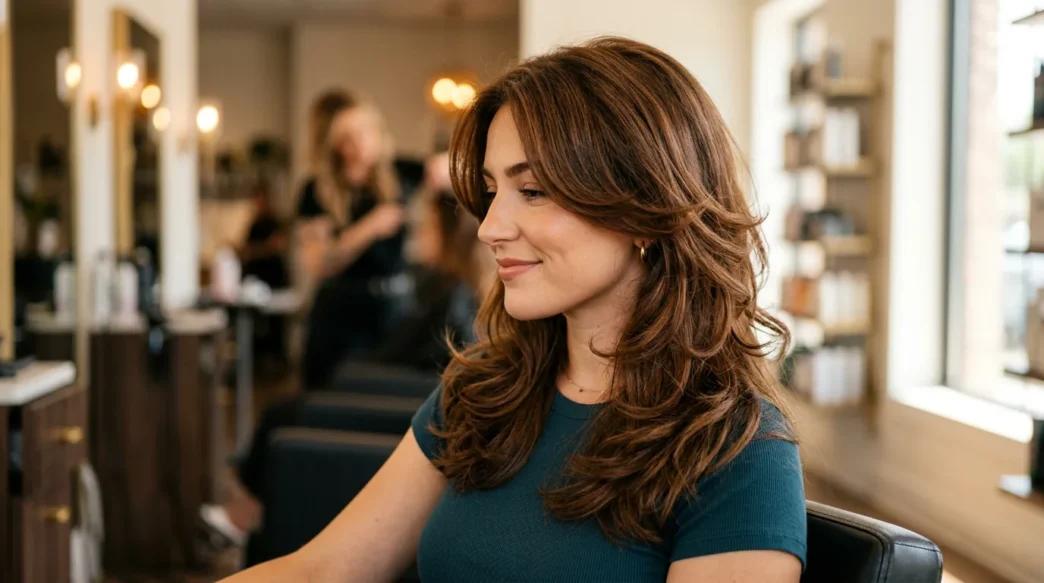
I stumbled onto the butterfly haircut completely by accident last year. My regular stylist was booked for weeks, and I was desperate for a change after months of lifeless, one-length hair that just hung there. The new stylist I tried mentioned this “butterfly cut” and honestly? I had no idea what she meant, but I trusted her. Three hours later, I walked out with the most gorgeous, bouncy layers I’d ever had — and suddenly everyone was asking about my hair.
What’s Inside This Complete Guide
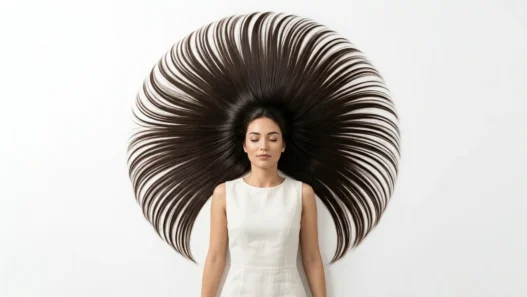
The butterfly cut gets its name from the way the layers fan out around your face — like wings. But here’s what I learned: it’s not just about the layers themselves. It’s about how they’re placed, how they connect, and most importantly, how they move together. This isn’t your typical shag or wolf cut. The butterfly cut is more sophisticated, more intentional.
I’ve since perfected this technique (with a lot of trial and error), and now it’s my absolute go-to recommendation for anyone with fine to medium hair who wants movement without sacrificing length. The key is understanding that this cut works in phases — each building on the last to create that signature butterfly shape.
What You’ll Need for This Cut
Before we dive in, let’s talk tools. I learned the hard way that having the right equipment makes all the difference. Here’s what you’ll need:
- Professional haircutting shears (not craft scissors — trust me on this one)
- Thinning shears or texturizing scissors
- Fine-tooth comb for precise sectioning
- Hair clips (at least 6-8 for proper sectioning)
- Spray bottle with water
- Round brush for styling
- Heat protectant spray
- Volumizing mousse or texturizing spray
The timing for this cut is crucial too. Plan for about 2-3 hours if you’re doing it yourself, or 1.5 hours with a skilled stylist. Don’t rush this — the butterfly cut is all about precision in the layering.
The Prep Phase
Everything starts with understanding your face shape and hair texture. I cannot stress this enough — the butterfly cut isn’t one-size-fits-all. The beauty is in how you customize those wing-like layers to complement your specific features.
Start with clean, damp hair. Not soaking wet, but damp enough that it’s manageable but won’t shrink up on you as it dries. I learned this lesson the hard way when I cut my friend’s hair bone dry and ended up with layers that were way shorter than intended.
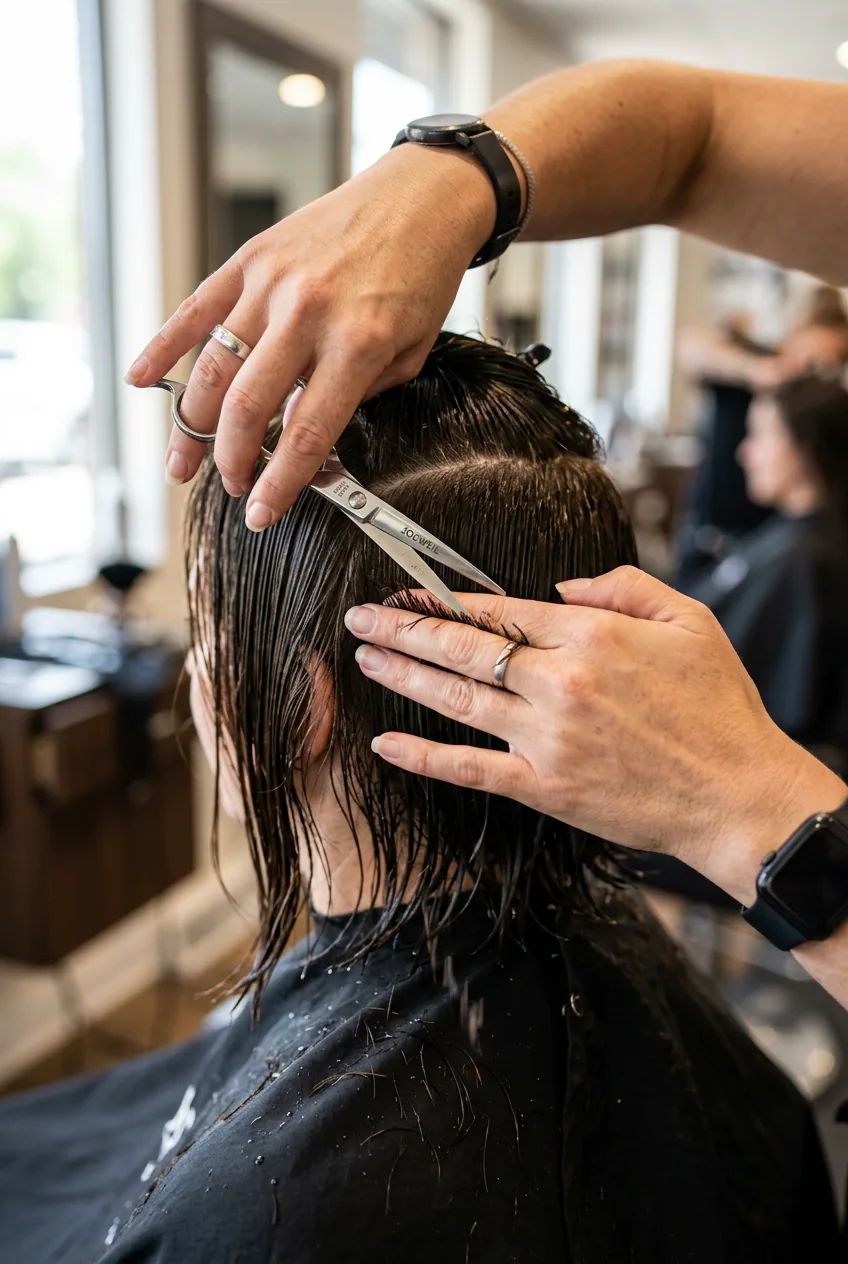
The prep phase is also where you determine your shortest layer length. For most butterfly cuts, this hits somewhere between the chin and collarbone — but this is where your face shape comes in. Round faces benefit from layers that start closer to the jawline, while longer faces can handle shorter layers that begin higher up.
My biggest mistake early on was not considering how my hair would settle once it dried. Always cut conservatively at first — you can always take more off, but you can’t put it back. I learned this after giving myself layers that were way too short and having to wait four months for them to grow out.
During prep, also consider your natural cowlicks and growth patterns. The butterfly cut works with these patterns rather than against them, which is part of why it looks so effortlessly beautiful when done right.
Creating the Foundation Structure
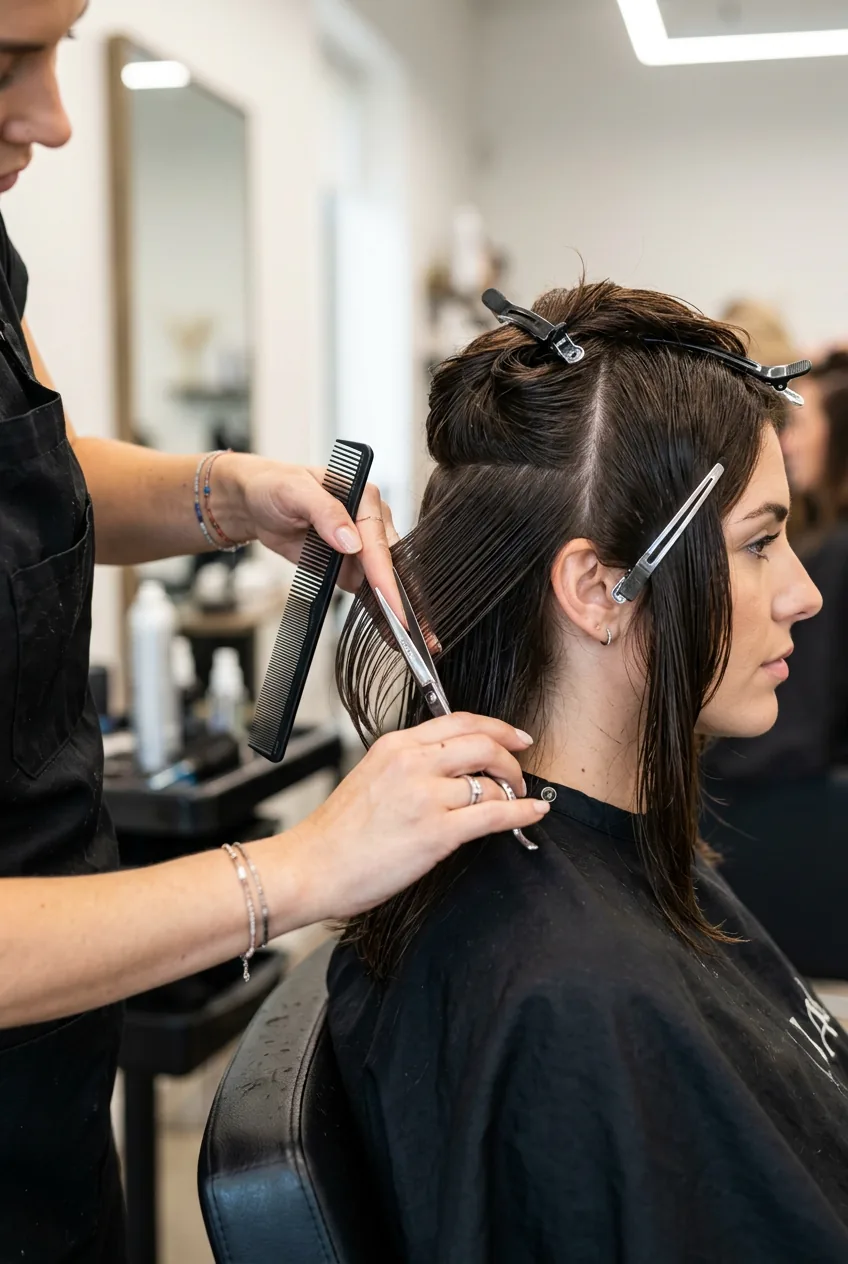
This is where the magic starts. The foundation of a butterfly cut isn’t about chopping randomly — it’s about creating a strategic base that everything else builds from. Think of it as the skeleton of your butterfly wings.
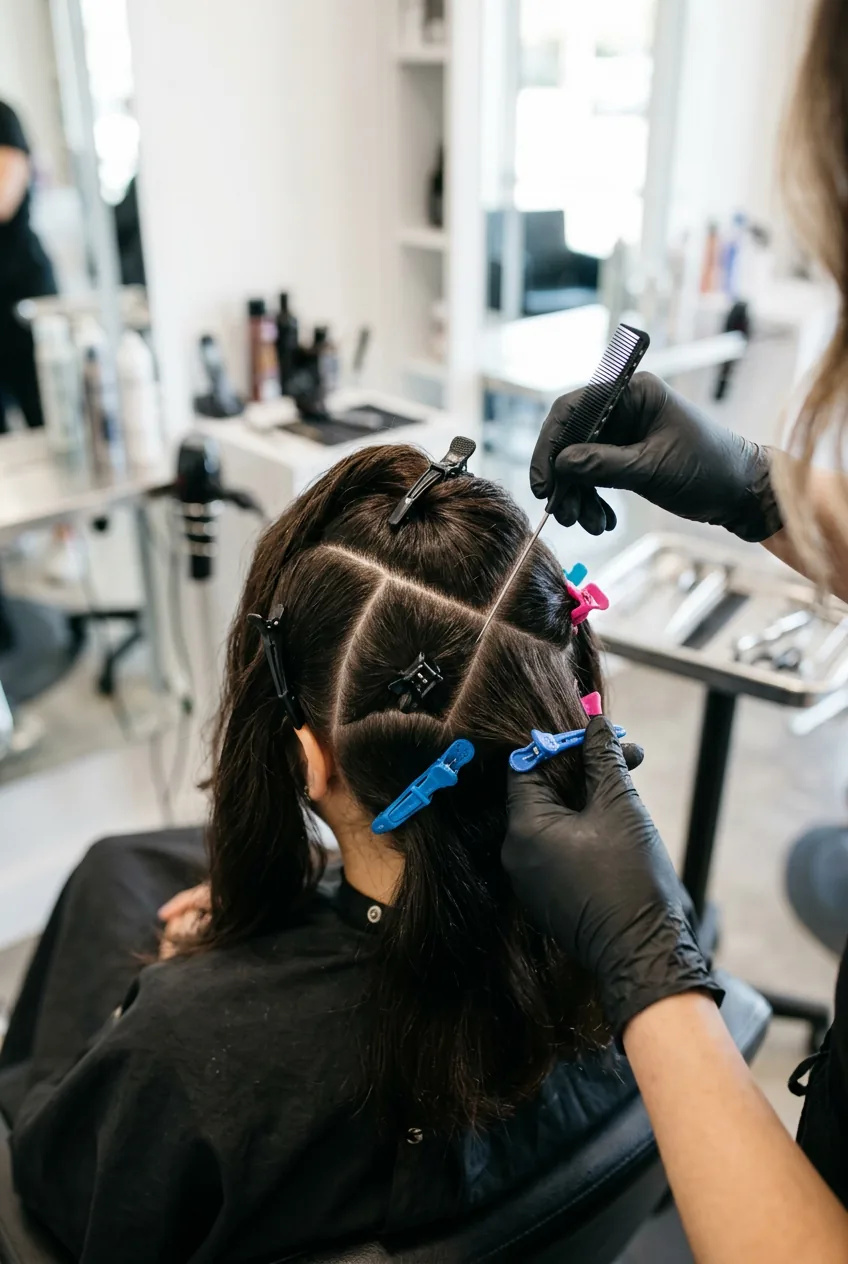
Start by sectioning your hair into a diamond pattern. Part it down the middle, then create horizontal sections that get progressively wider as you work from the crown down to the nape. The top sections should be narrow (about 1-2 inches wide), while the bottom sections can be 3-4 inches wide.
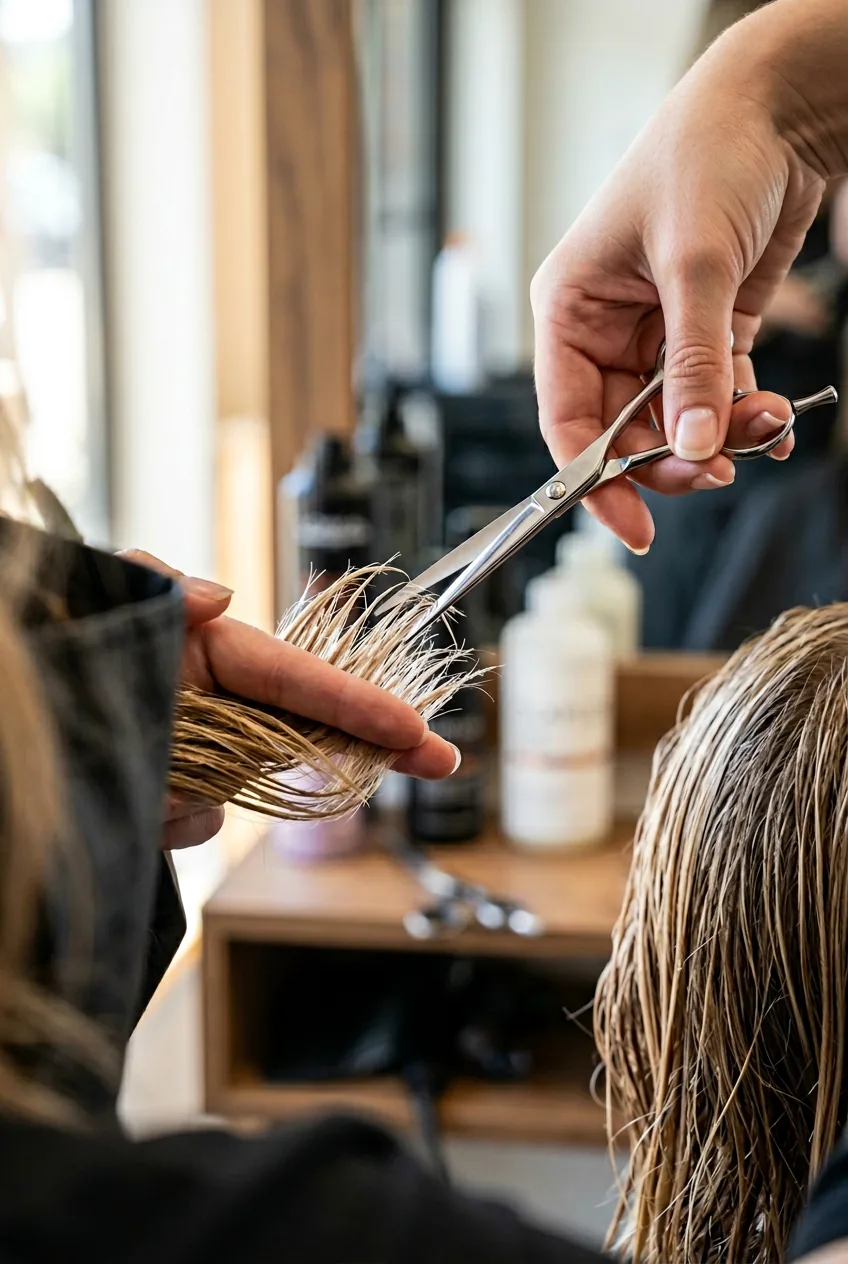
The foundation cut establishes your perimeter length — this is the longest part of your hair that frames the entire style. Most butterfly cuts work best when this perimeter hits somewhere between the collarbone and mid-chest. But here’s the thing: you’re not cutting everything to this length yet. You’re just establishing the boundary.
Work section by section, keeping everything very controlled. The foundation layers should graduate subtly — we’re not going for dramatic length differences yet. Save that for the next phase. Right now, you’re creating a gentle, curved foundation that follows the natural curve of your head and shoulders.
I always tell people to check their work frequently during this phase. After each section, let the hair fall naturally and see how it sits. The foundation should feel balanced — not heavier on one side or choppy. If something feels off, address it now before moving on.
Building the Wing Effect
Now for my favorite part — creating those signature butterfly wings. This is where the cut transforms from ordinary layers into something special. The wing effect comes from how the shorter layers interact with the foundation we just built.
Focus on the sections around your face first. These face-framing pieces are what make the butterfly cut so flattering. Start with vertical sections about an inch wide, right at your cheekbones. Cut these pieces to hit just below your jawline — they should be significantly shorter than your foundation length.
The key to the wing effect is the graduation. Each section you move away from the face should be progressively longer, creating that swept-back wing shape. It’s like creating a cascade of layers that flow into each other seamlessly.
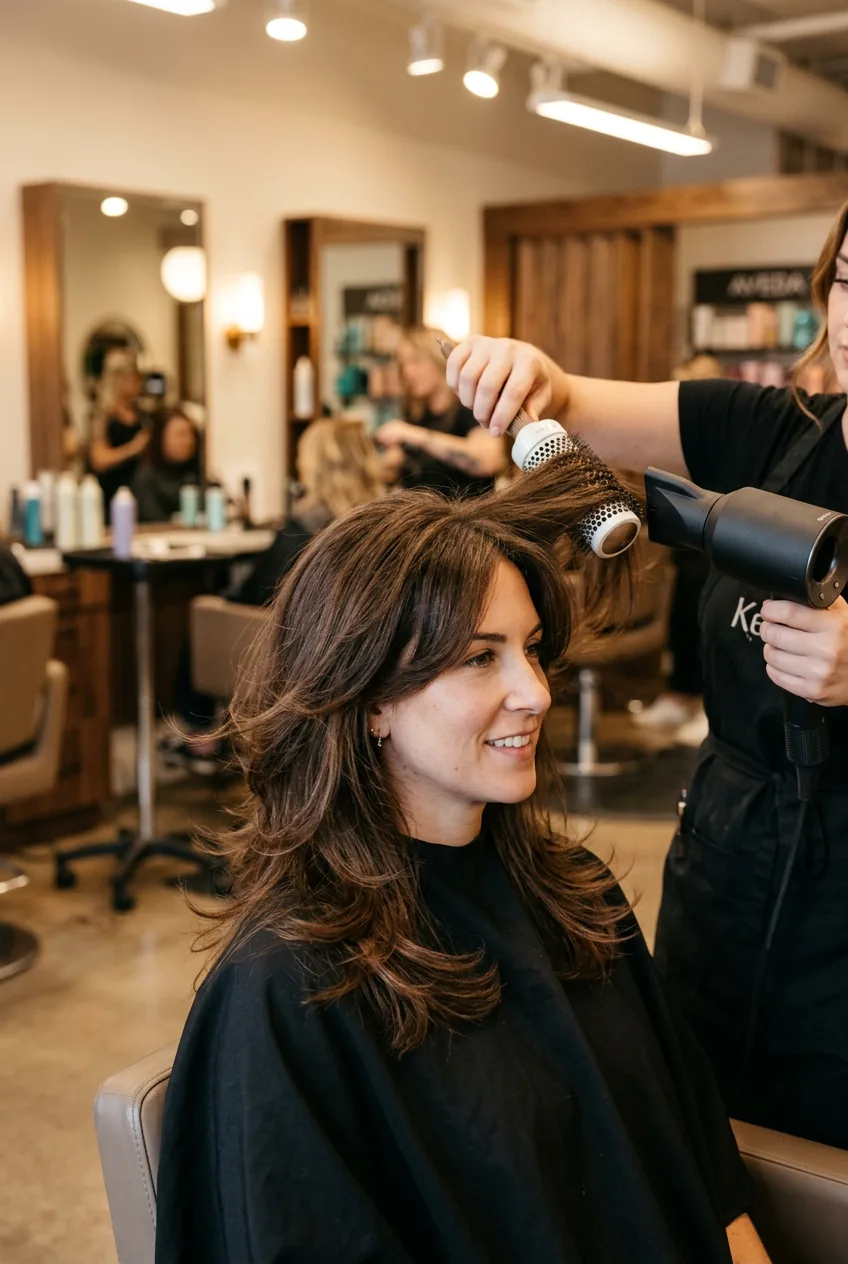
Here’s where technique really matters: use point cutting rather than blunt cuts for these wing sections. Point cutting creates softer, more natural-looking edges that move beautifully. Hold your scissors at a 45-degree angle and make small, precise cuts into the ends of each section.
The wing sections should connect smoothly with your foundation layers. There shouldn’t be any harsh lines or obvious separations. When you run your fingers through the hair, it should feel like one continuous, flowing movement — that’s how you know you’ve nailed the wing effect.
Don’t forget the back sections either. The butterfly cut has subtle layering throughout, not just in the front. Create gentle, long layers in the back that support and complement the more dramatic face-framing pieces.
Watch This Technique in Action
The Finishing Touch

The finishing phase is where good becomes great. This is all about refining the texture, adding movement, and making sure everything flows together perfectly. Even the best butterfly cut can look choppy without proper finishing.
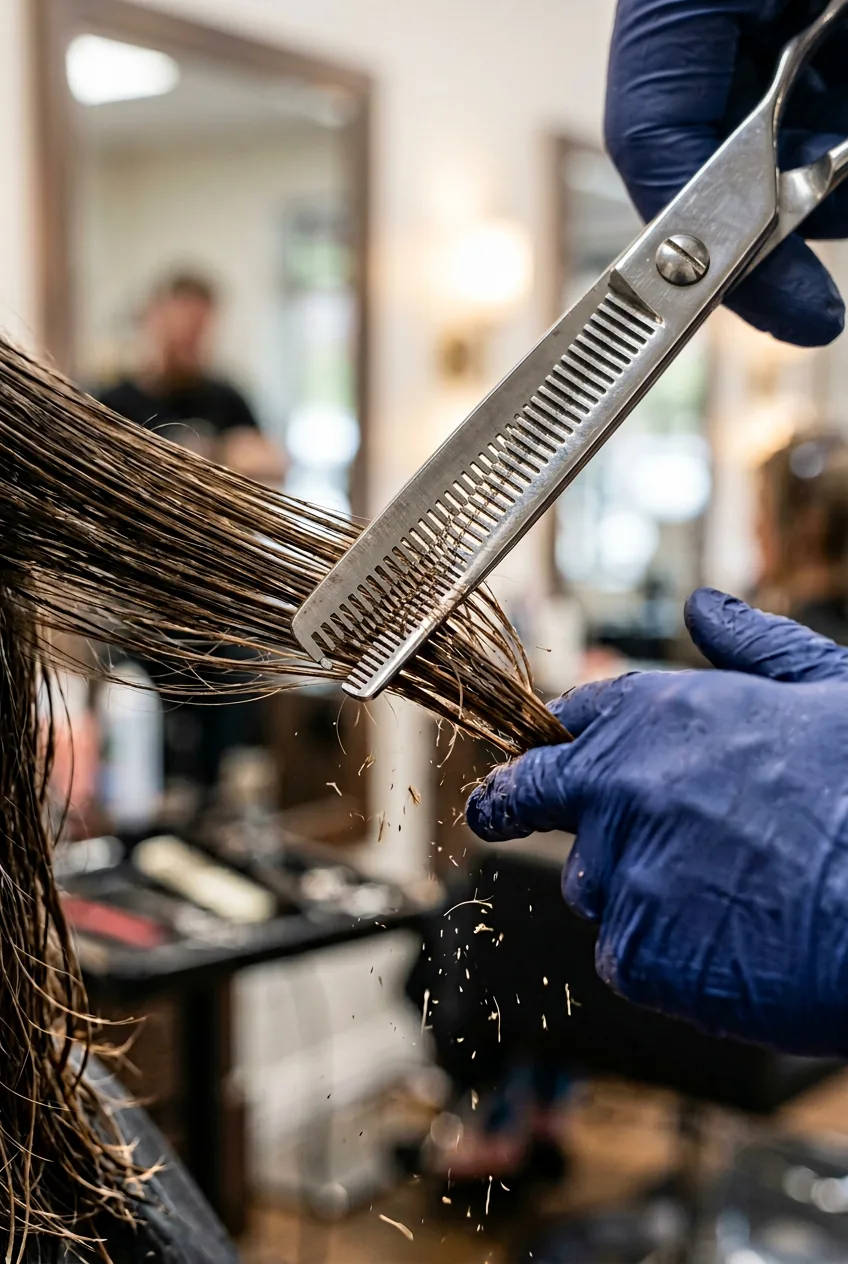
Texturizing is crucial here. Use your thinning shears to soften any harsh lines and add that effortless, lived-in texture that makes the butterfly cut so appealing. Focus especially on the ends of your layers — they should feel soft and wispy, not blunt or heavy.
I also like to do what I call “micro-adjustments” during this phase. Look for any pieces that stick out awkwardly or sections that feel too heavy. The butterfly cut should have a balanced, symmetrical feel, but not in a rigid way — more like natural symmetry.
The styling finish is just as important as the cut itself. Use a volumizing mousse through damp hair, then blow-dry with a round brush, lifting the roots for volume. The butterfly cut is designed to have natural movement and bounce, so work with that rather than trying to make it perfectly sleek.
For daily styling, the butterfly cut is incredibly low-maintenance. A little texturizing spray and air-drying often gives the most beautiful results. The layers are cut to move naturally, so you don’t need to fight them into place.
Questions I Get About Butterfly Cuts
How often do I need to trim a butterfly cut?
Every 8-10 weeks to maintain the shape, but honestly? The butterfly cut grows out more gracefully than most layered styles. The layers blend so well that even at 12 weeks, it still looks intentional.
Will this work on curly hair?
Absolutely, but you need to adjust the cutting technique. Cut curly hair when it’s dry and in its natural state, and be more conservative with the layer lengths since curls spring up more than straight hair.
Can I do this cut on myself?
The back sections are definitely challenging to reach, but the face-framing pieces are doable if you’re experienced with cutting your own hair. I’d recommend having someone help with the back or visiting a professional for your first butterfly cut.
What face shapes work best with butterfly cuts?
The beauty of the butterfly cut is its versatility — it works on most face shapes because you can customize where the shortest layers fall. Round faces benefit from layers starting at the jawline, while heart shapes look amazing with layers beginning at the cheekbones.
The butterfly cut completely transformed how I feel about my hair. It gave me that effortless, just-rolled-out-of-bed texture that I’d been chasing for years with expensive products and complicated styling routines. Now I wake up, run my fingers through my hair, maybe add a tiny bit of texturizing spray, and I’m ready to go. The layers move exactly how they’re supposed to, and I get compliments constantly. If you’re on the fence about trying it, take the plunge — just make sure you find someone who really understands the technique.