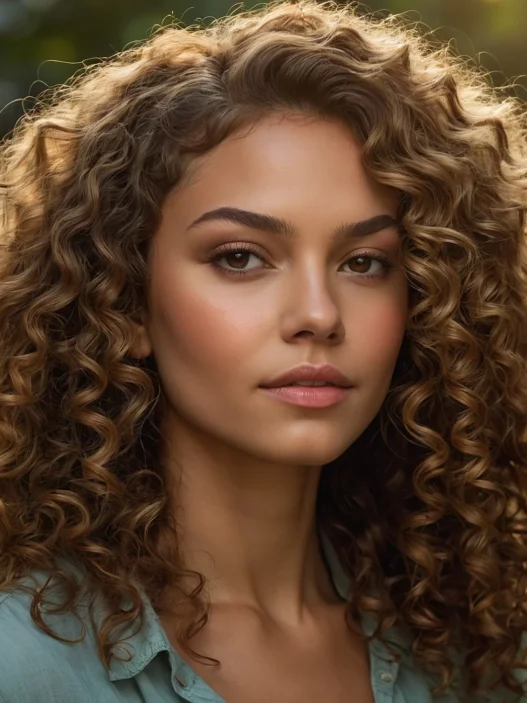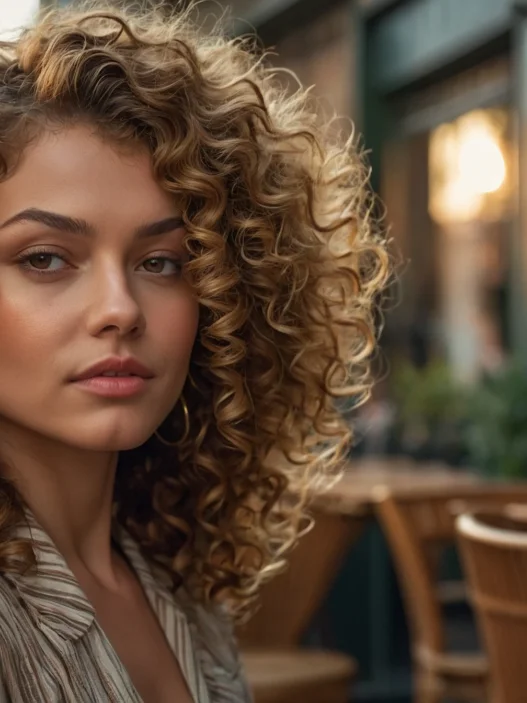







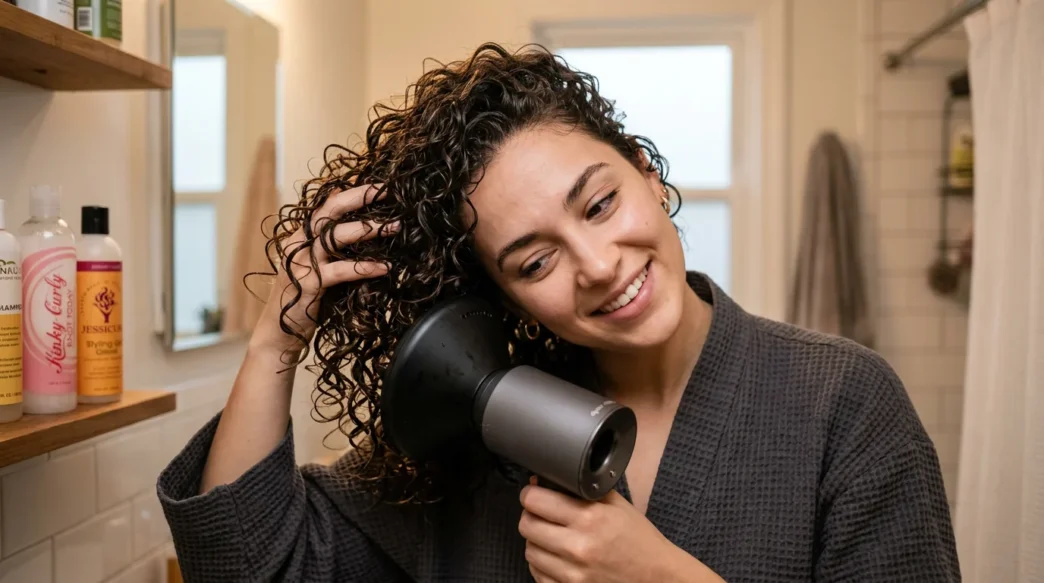
I spent years fighting my thin curly hair. It would either look flat and lifeless or frizzy and stringy — never the bouncy, defined curls I desperately wanted. Every styling routine felt like a gamble, and I usually lost. But after months of trial and error, I finally cracked the code with this 5-step method that actually works for fine, curly strands.
What You’ll Need
Here’s what I keep on my bathroom counter for this routine. Nothing fancy or expensive — just products that actually understand thin curls:
- Lightweight leave-in conditioner (I swear by cream formulas over sprays)
- Curl cream or gel specifically for fine hair
- Cotton t-shirt or microfiber towel
- Wide-tooth comb
- Blow dryer with diffuser attachment
- Hair clips for sectioning
Step 1: Start with Soaking Wet Hair
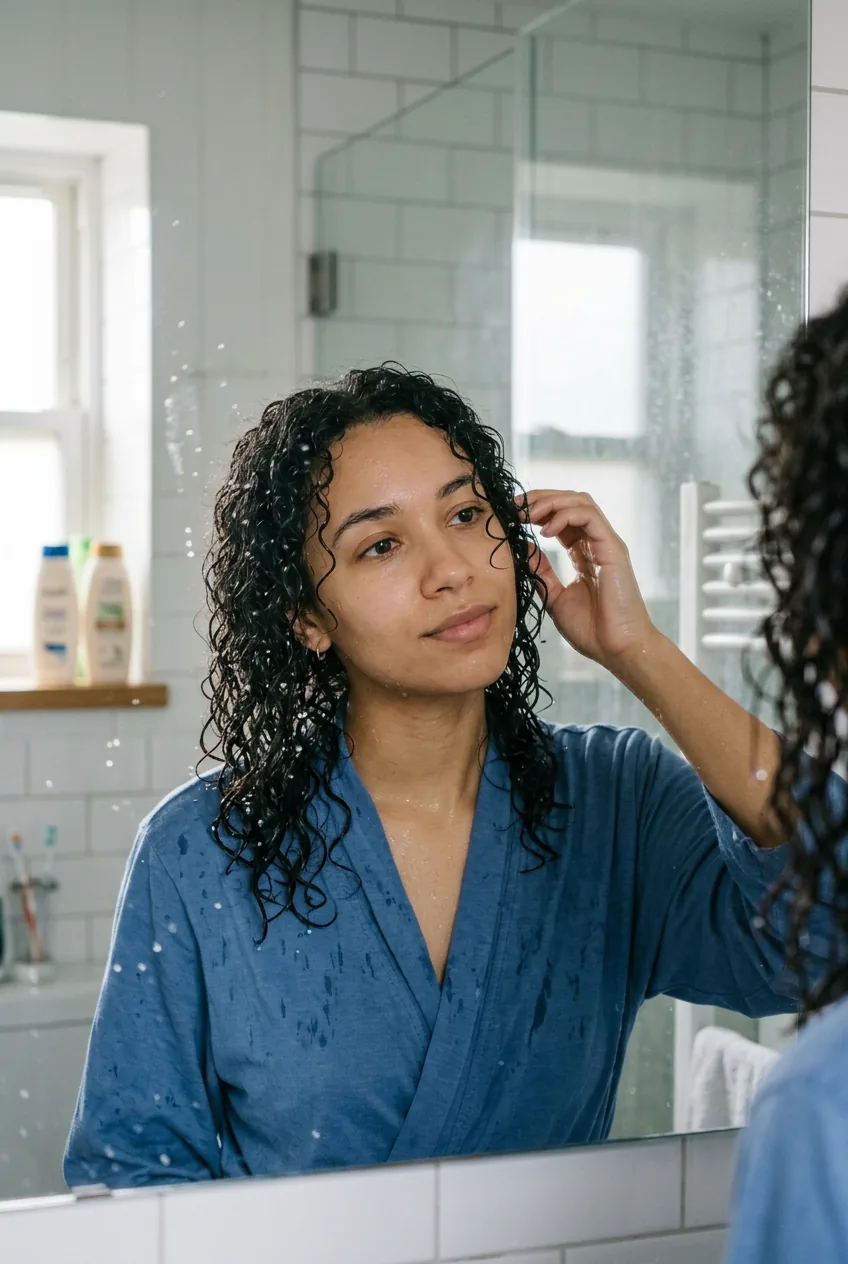
This is where most people mess up with thin curly hair. You need your hair absolutely drenched — not just damp, but dripping wet. I learned this the hard way after wondering why my curls kept looking crunchy and undefined.
After shampooing and conditioning, don’t towel dry at all. Just gently squeeze out excess water with your hands. Your hair should still be wet enough that water drips when you shake your head. This moisture is crucial for thin curls because it helps products distribute evenly without weighing down individual strands.
I used to think wet hair meant my products wouldn’t work properly. Wrong! Thin curls need that water to create slip and prevent the sticky, crunchy feeling that comes from applying products to drier hair.
Step 2: Apply Products in Sections
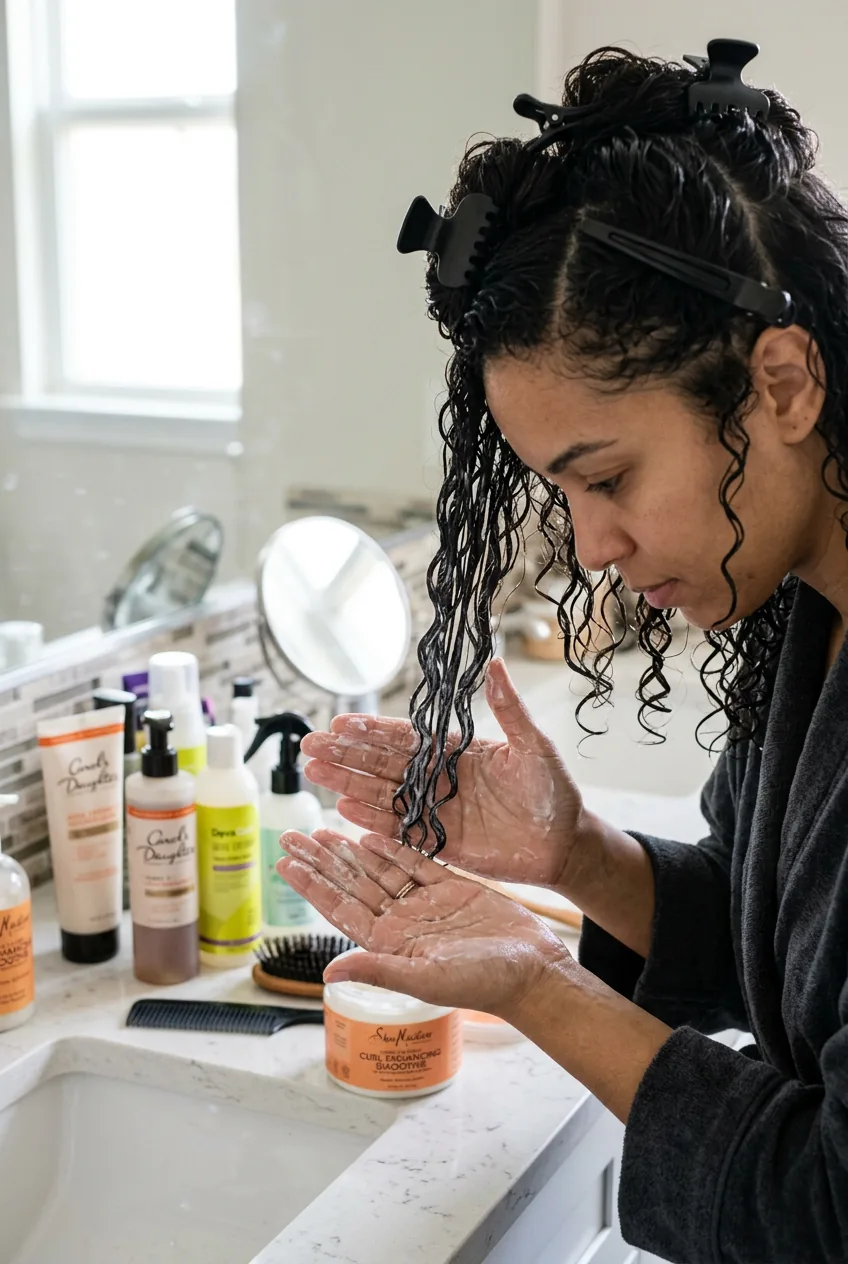
Here’s where I section my hair into four parts — two on each side, divided horizontally at ear level. Clip up the top sections and work with the bottom layers first. This ensures every single curl gets attention, which matters so much more when you don’t have thick hair to hide behind.
Start with a small amount of leave-in conditioner — maybe a quarter-size dollop for each section. Rake it through with your fingers, then immediately follow with your curl cream or gel. The key is layering while everything is still soaking wet. I use the “praying hands” method, smoothing products down the length of each section.
Don’t scrunch yet! That comes later. Right now, you’re just getting product distribution right. Product application techniques can make or break the final result, especially with fine hair that shows every mistake.
Step 3: The Plopping Game-Changer
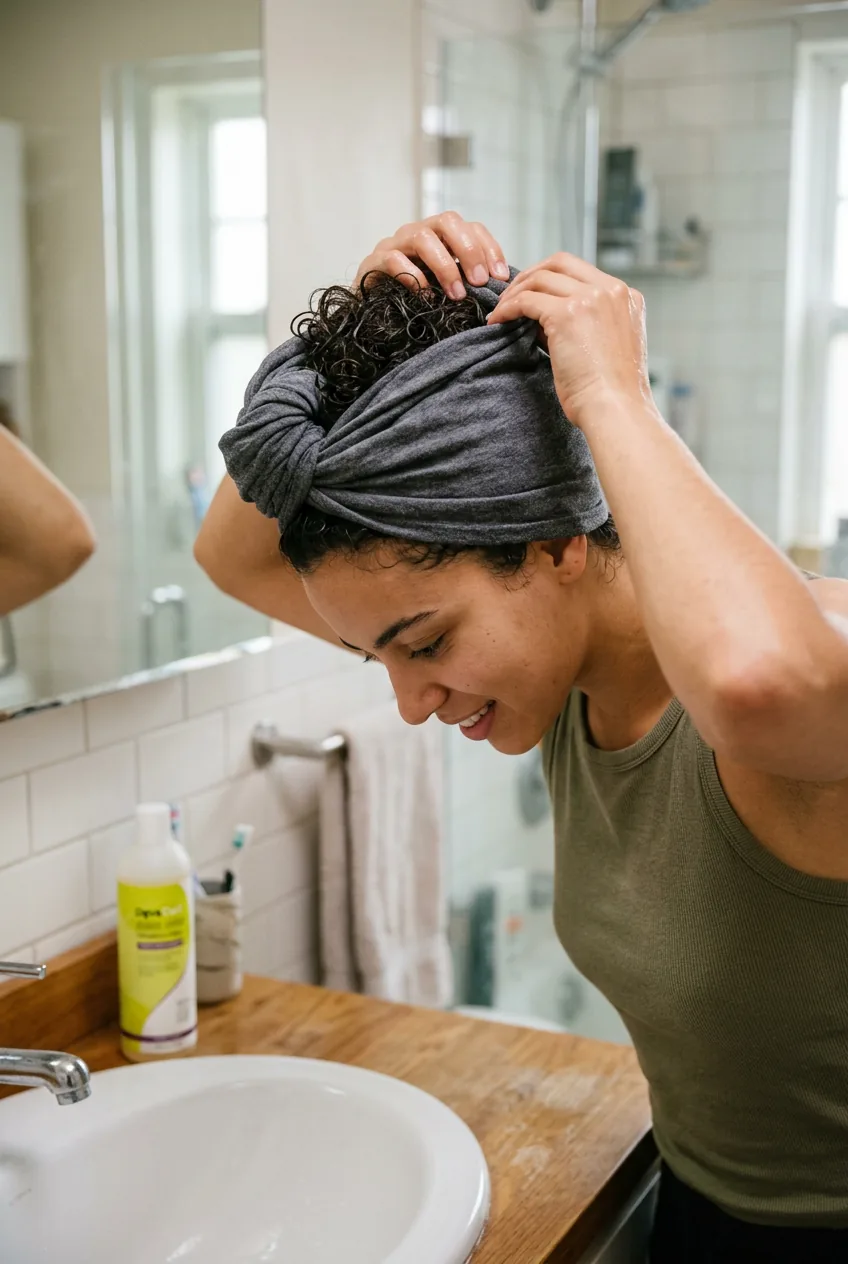
This step transformed my entire curl routine. Plopping removes excess water while encouraging curl formation — exactly what thin curls need. Lay a cotton t-shirt flat on your bathroom counter. Flip your head forward and lower your curls onto the center of the shirt, letting them pile up naturally on top of your head.
Wrap the shirt around your head, securing it at the nape of your neck. The goal isn’t to create a tight turban — you want gentle pressure that encourages your curls to spring up rather than hang down. I usually plop for 15-20 minutes while I do my makeup or get dressed.
When you unwrap, your curls should feel less soggy but still quite damp. And here’s the magic — they’ll already be forming their natural curl pattern instead of just hanging limp. This step alone probably doubled my curl definition.
Step 4: Diffuse with Purpose
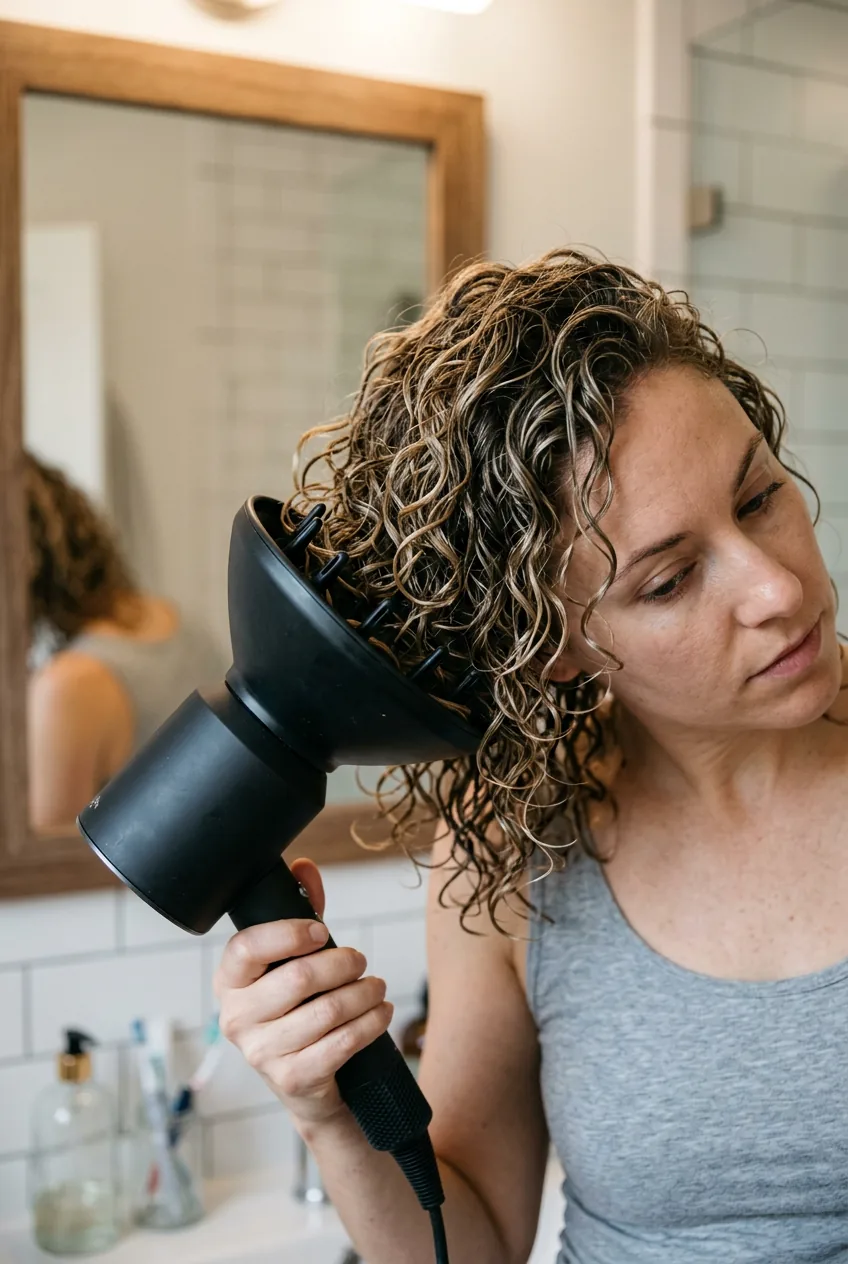
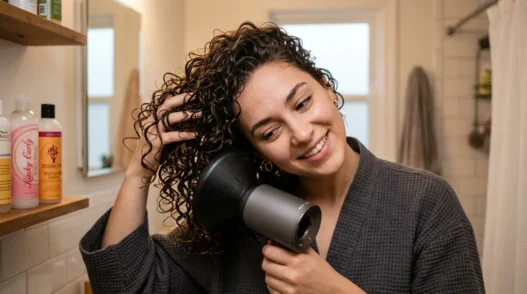
Diffusing thin curly hair requires finesse. Set your dryer to low heat and low speed — thin hair can’t handle aggressive drying. Hold the diffuser close to your scalp and gently cup sections of curls into the bowl. Don’t move the diffuser around constantly; let each section sit for 30-45 seconds before moving on.
I start at the roots, focusing on getting volume at the crown where thin hair tends to fall flat. Tilt your head to different angles — forward, to each side — so gravity helps create lift rather than pulling everything down. The whole process takes about 15 minutes, but it’s worth every second.
Stop when your curls are about 80% dry. They should still feel slightly damp to the touch but not wet. Over-drying leads to frizz, and thin curls show frizz more than thick hair ever could.
Step 5: Scrunch Out the Crunch
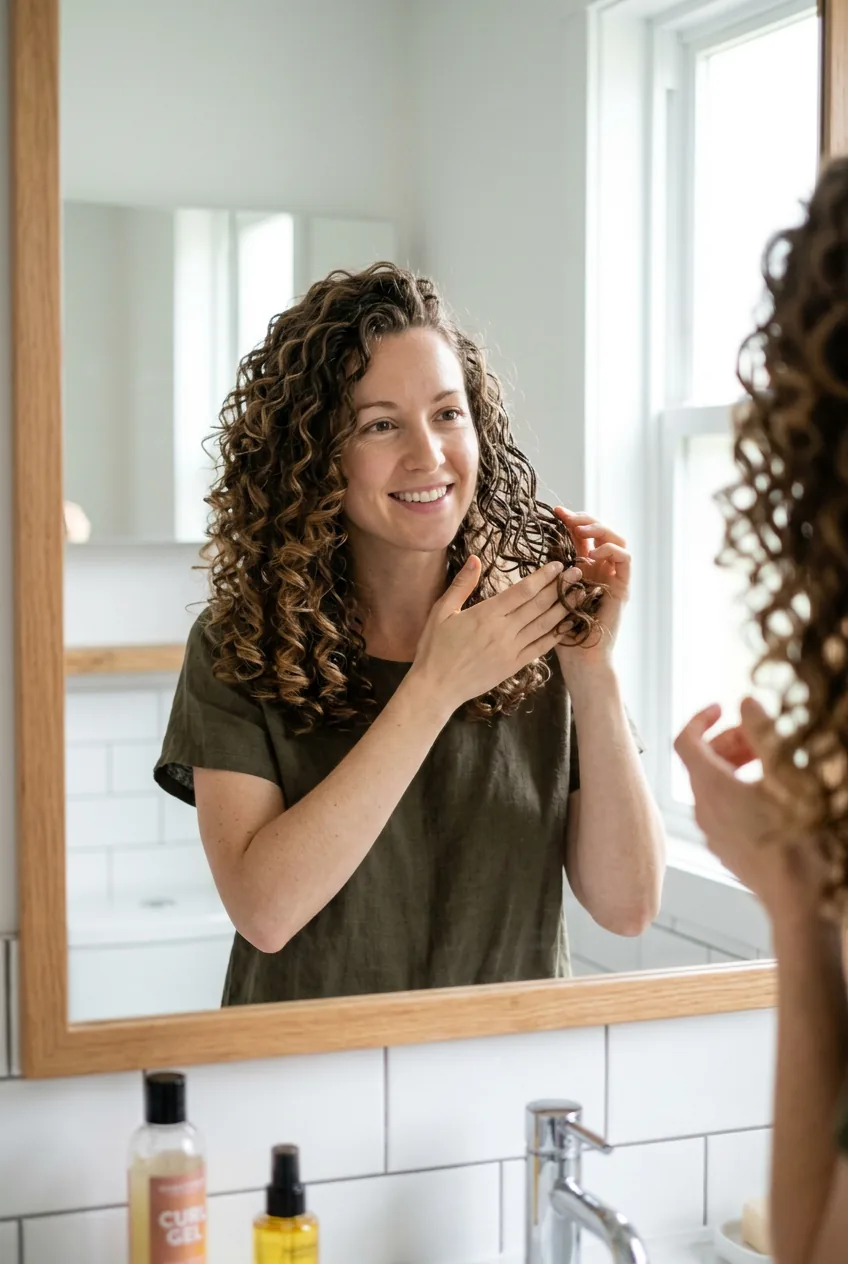
This final step separates amateur curl styling from professional-looking results. Your curls will feel crunchy from the gel or cream — that’s actually good! It means the products formed a cast that protected your curl pattern while drying.
Gently scrunch your curls with your hands, breaking that cast. Start at the ends and work your way up. You’ll hear a slight crunching sound as the product cast breaks, revealing soft, defined curls underneath. Be patient — this takes a few minutes of gentle scrunching.
If some sections still feel too crunchy, use a tiny bit of lightweight oil on your palms and scrunch again. The transformation is incredible — your curls go from feeling stiff to bouncy and touchable, with definition that lasts all day.
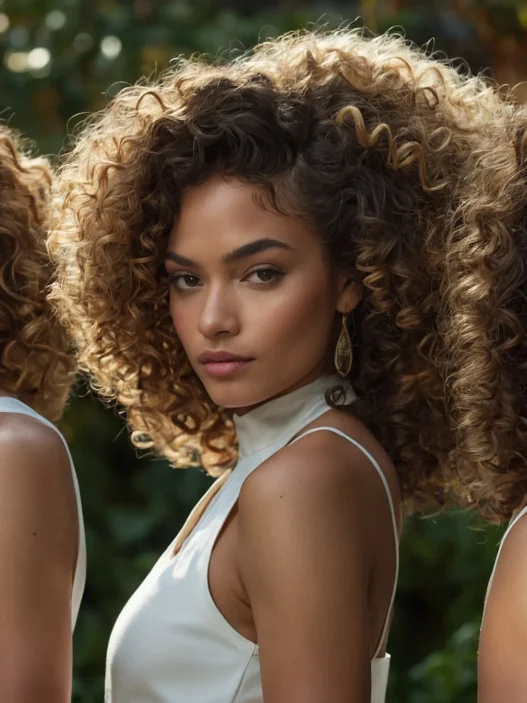
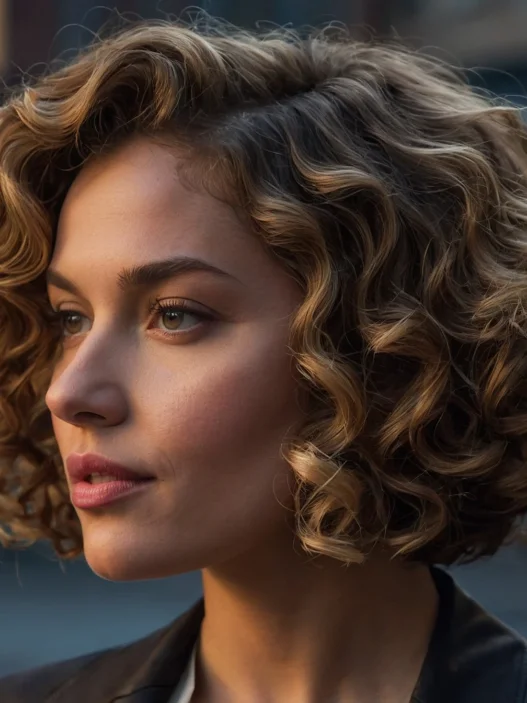
My thin curls finally look full and healthy using this method. They have bounce, definition, and volume I never thought possible. The best part? This routine works consistently, which means I can actually trust my hair to look good instead of crossing my fingers every morning. If you’ve been struggling with thin curly hair that won’t cooperate, this 5-step approach might be exactly what you need.