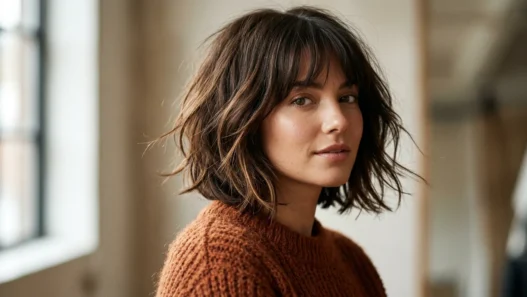

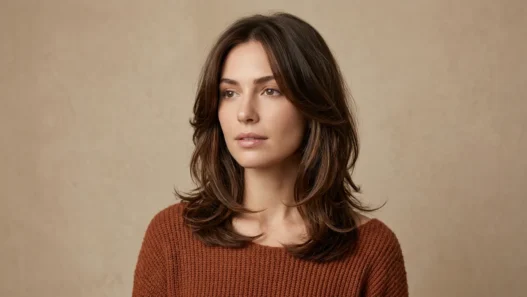

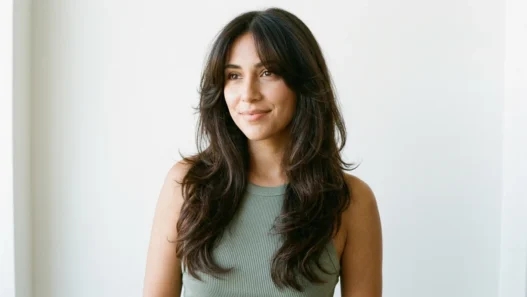





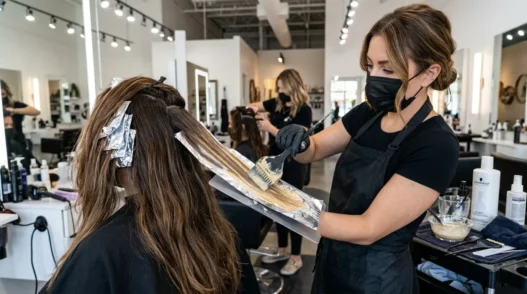
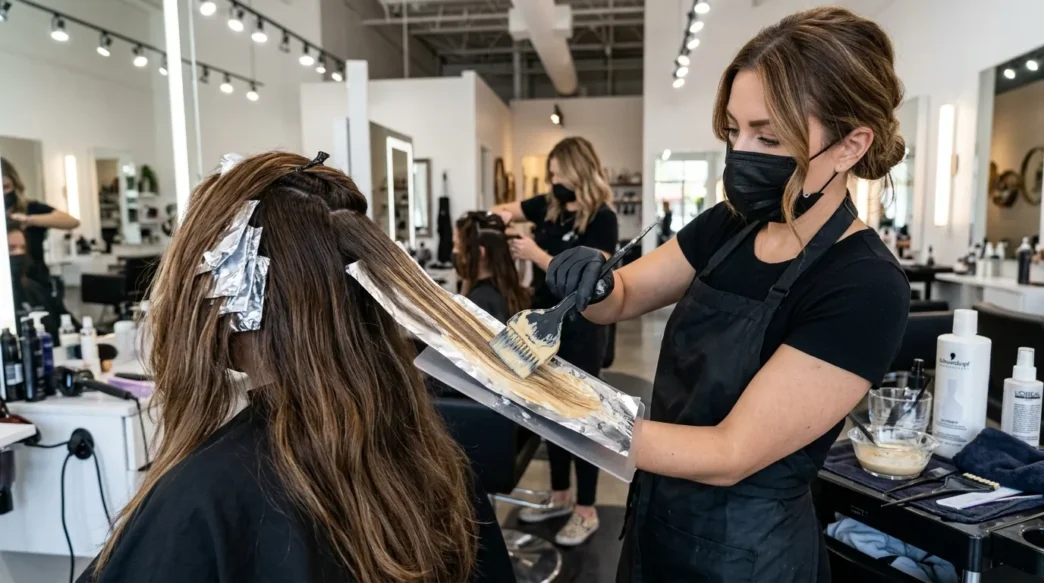
I used to wonder why my DIY balayage attempts looked chunky and obvious while salon results were seamless magic. After years of trial, error, and picking the brains of professional colorists, I finally learned their closely guarded secrets. The difference isn’t just better products — it’s technique, timing, and a few insider tricks they never tell you about.
Your Professional Color Roadmap
What Separates Pro Results from DIY Disasters
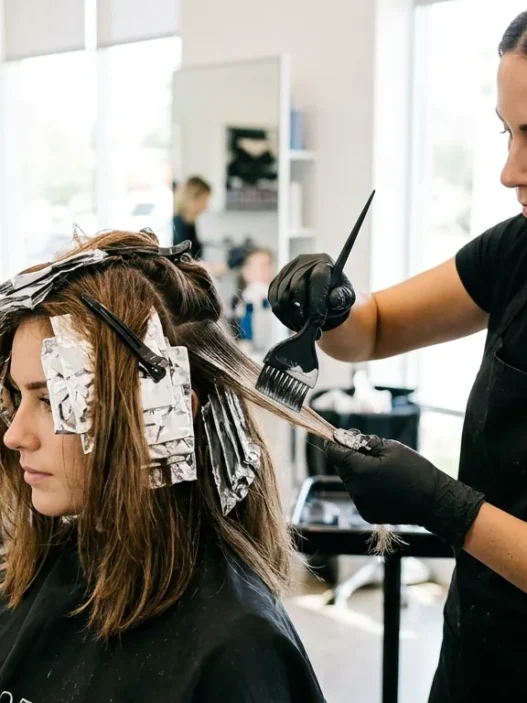
Here’s what I learned from watching colorists work: they don’t just slap color on random pieces. Every placement is intentional. They think about how light hits your face, where your natural part falls, and how the color will grow out.
The biggest difference? Professionals work in thin, strategic sections rather than thick chunks. They also use a specific brush technique that creates soft, lived-in transitions. And they never — ever — apply color in straight lines.
Most importantly, salon colorists understand that balayage and ombre aren’t the same technique. Balayage is hand-painted highlights that follow your hair’s natural movement. Ombre is a gradient effect, darker at roots and lighter toward the ends. The methods overlap, but the placement strategy is completely different.
What You’ll Need for Professional Results
Don’t try to wing this with drugstore box color. Professional results require professional-grade tools:
- Professional lightener (20-vol developer for most hair types)
- Toner in your target shade
- Wide paddle brush for application
- Fine-tooth comb for sectioning
- Foil or plastic wrap
- Mixing bowls (never metal)
- Clips for sectioning
- Deep conditioning treatment
- Purple shampoo for maintenance
The brush makes all the difference. Those cheap foam applicators create harsh lines. A good paddle brush gives you the feathered, natural finish that screams “expensive salon work.”
Step 1: The Strategic Section Map
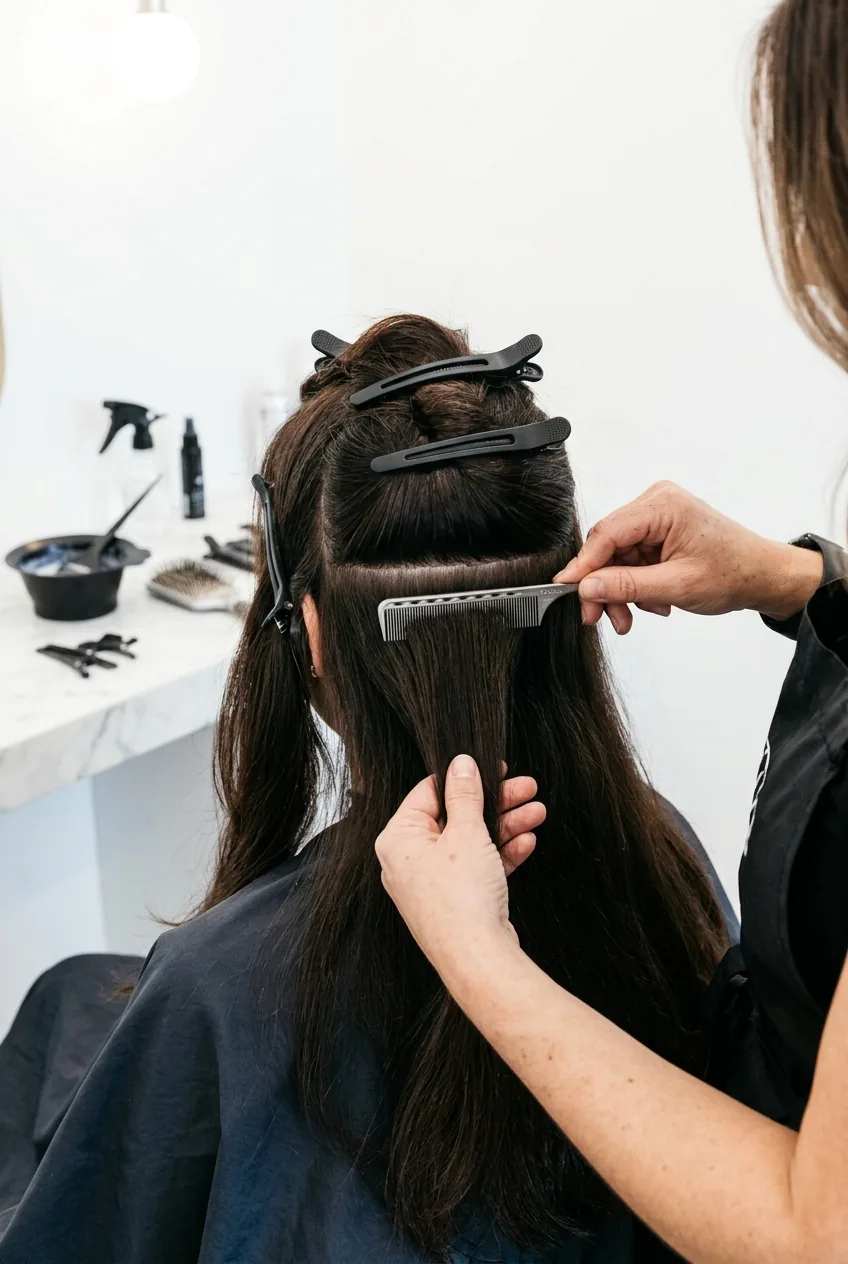
Start with completely dry hair. I can’t stress this enough — wet hair absorbs color differently and you’ll lose all control over the placement.
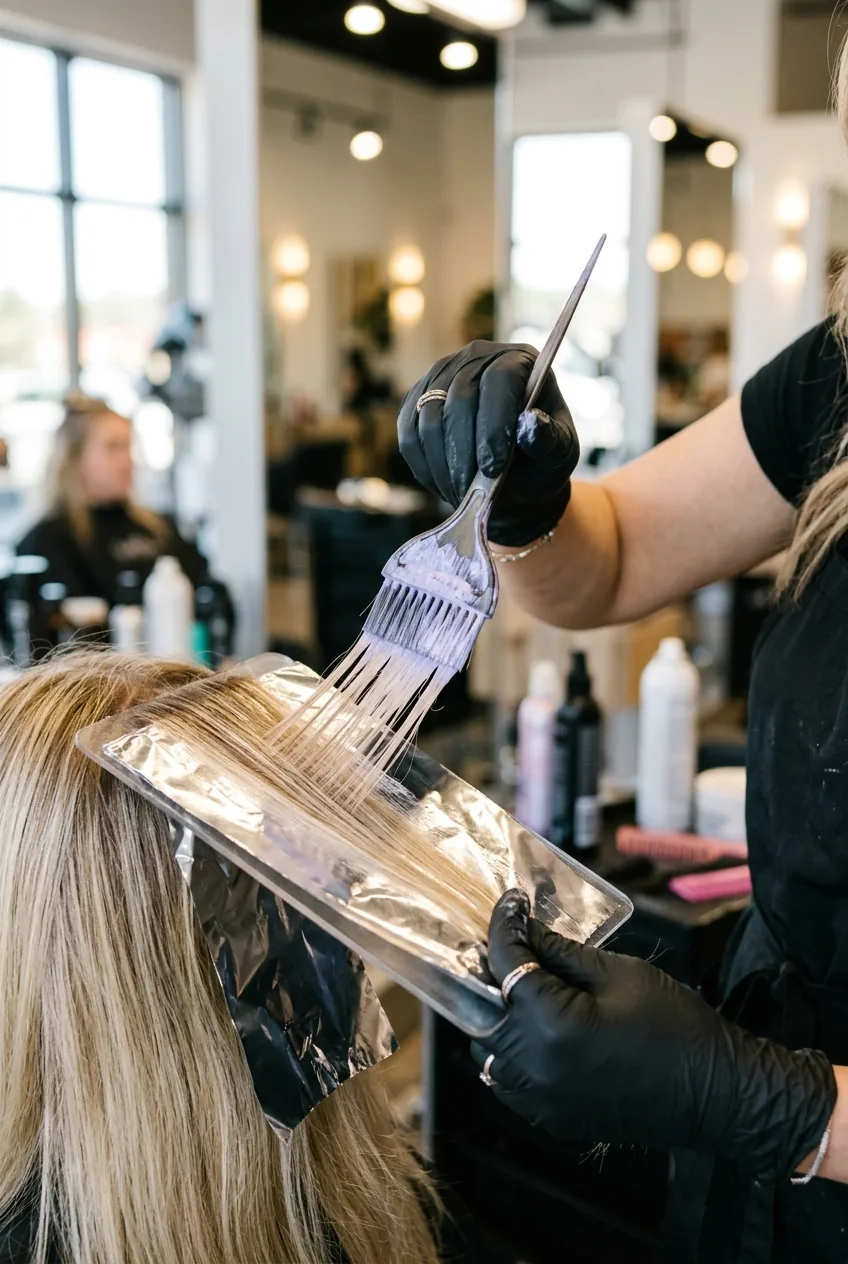
Create your parting exactly where you normally wear it. This isn’t the time to experiment with a new part — the color needs to follow your natural hair movement.
Now here’s the professional secret: section your hair into a horseshoe shape around your hairline, leaving about two inches of hair loose around your face and ears. Clip the rest up. You’ll work this front section completely before touching the back. Why? Because the face-framing pieces are what people notice first, and they need the most precise placement.
Step 2: Color Placement Like a Pro
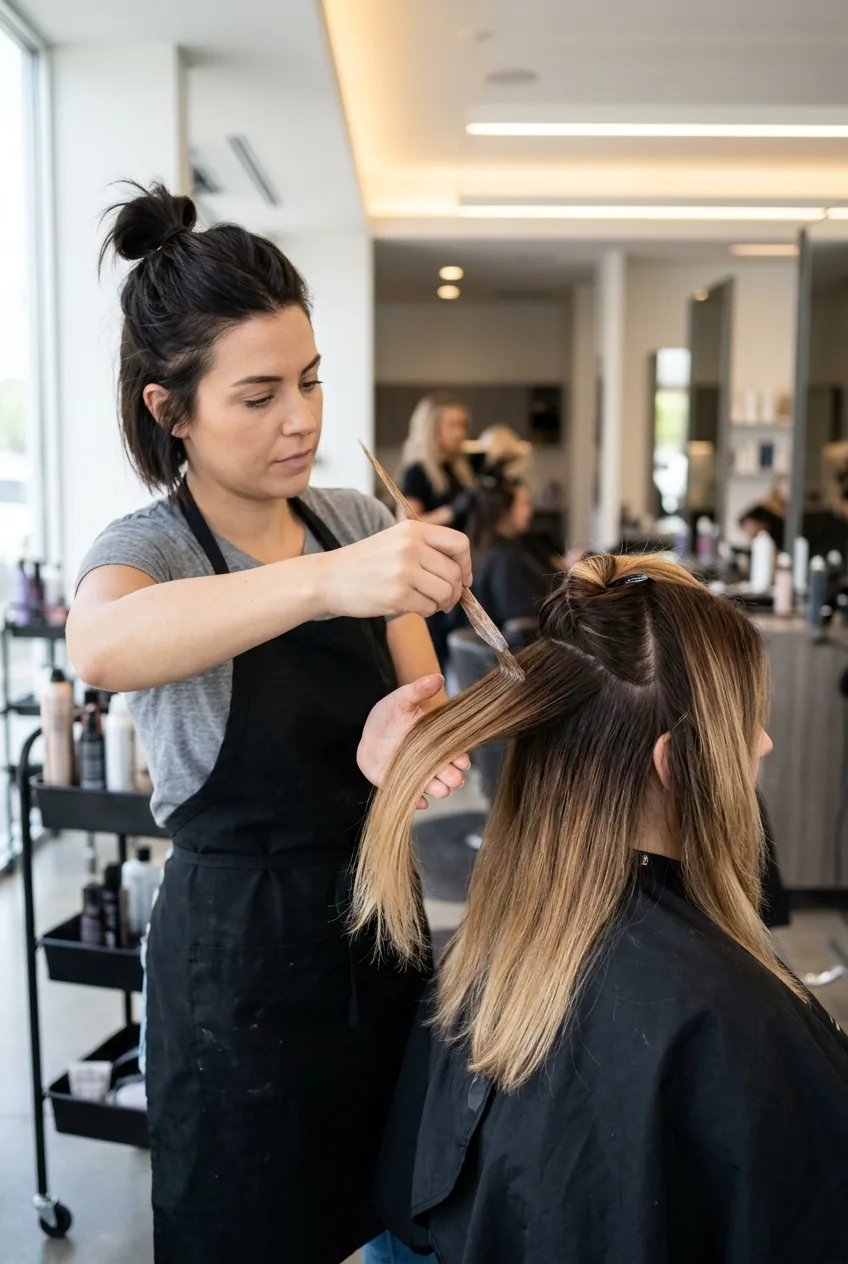
This is where most DIYers go wrong. They start applying color at the roots. Don’t. Professionals work from mid-length down, gradually building the lightness.
Take a thin vertical section — about the width of your brush. Hold it at a 45-degree angle and use quick, upward strokes to “paint” the color on. The motion should feel like you’re highlighting cheekbones with makeup, not painting a fence.
Leave about an inch of space between each painted section. This creates the natural, scattered look that makes balayage ombre look effortless rather than obvious.
My biggest mistake early on was applying color too close to my roots. I ended up with what looked like grown-out highlights instead of that seamless ombre effect. Leave at least two inches of your natural color at the roots — you can always go lighter next time.
Step 3: The Blending Technique Salons Use
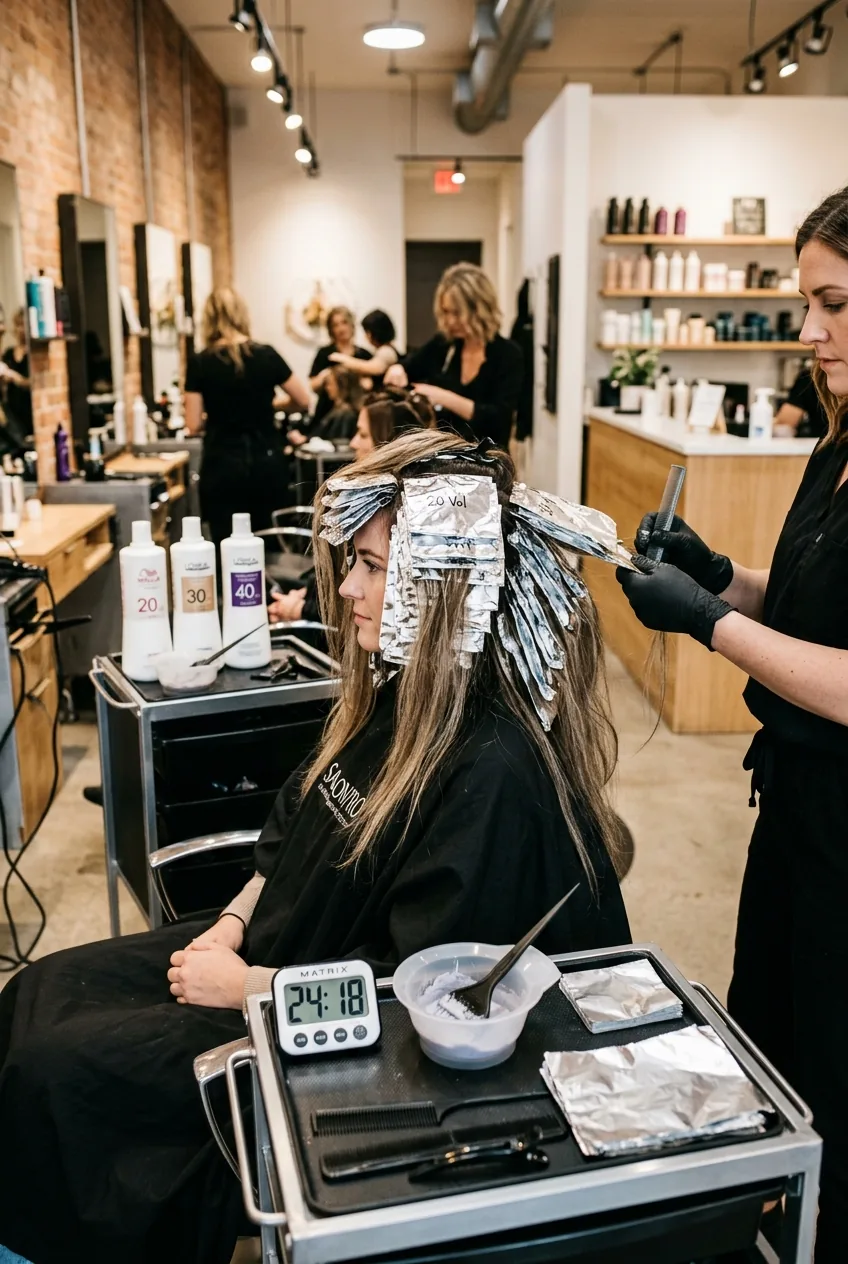
Here’s the technique that changed everything for me. After you apply color to a section, use the tip of your brush to “feather” the edges. Gently sweep upward from the colored section into the natural hair above it.
This creates those soft, barely-there transitions that make people ask “is your hair naturally that perfect?” The feathering should be so subtle you can barely see where the color starts and your natural hair begins.
For the back sections, use the same technique but work in smaller pieces. You can’t see what you’re doing as clearly, so taking your time with thin sections prevents any chunky mistakes.
Watch the Feathering Technique in Action
Step 4: Processing Time Secrets
Most people process their entire head for the same amount of time. Professionals know better. The pieces around your face need more processing time because that’s where you want the lightest, most dramatic effect.
Start your timer when you finish the face-framing sections. Process those for 45 minutes to an hour, depending on your natural color. The back sections? They only need 30-40 minutes since they’re less visible and you want a more subtle effect there.
Check your progress every 15 minutes. The color should lift gradually and evenly. If you see any harsh lines forming, use a damp brush to soften the edges while the color is still processing.
Step 5: The Professional Rinse Method
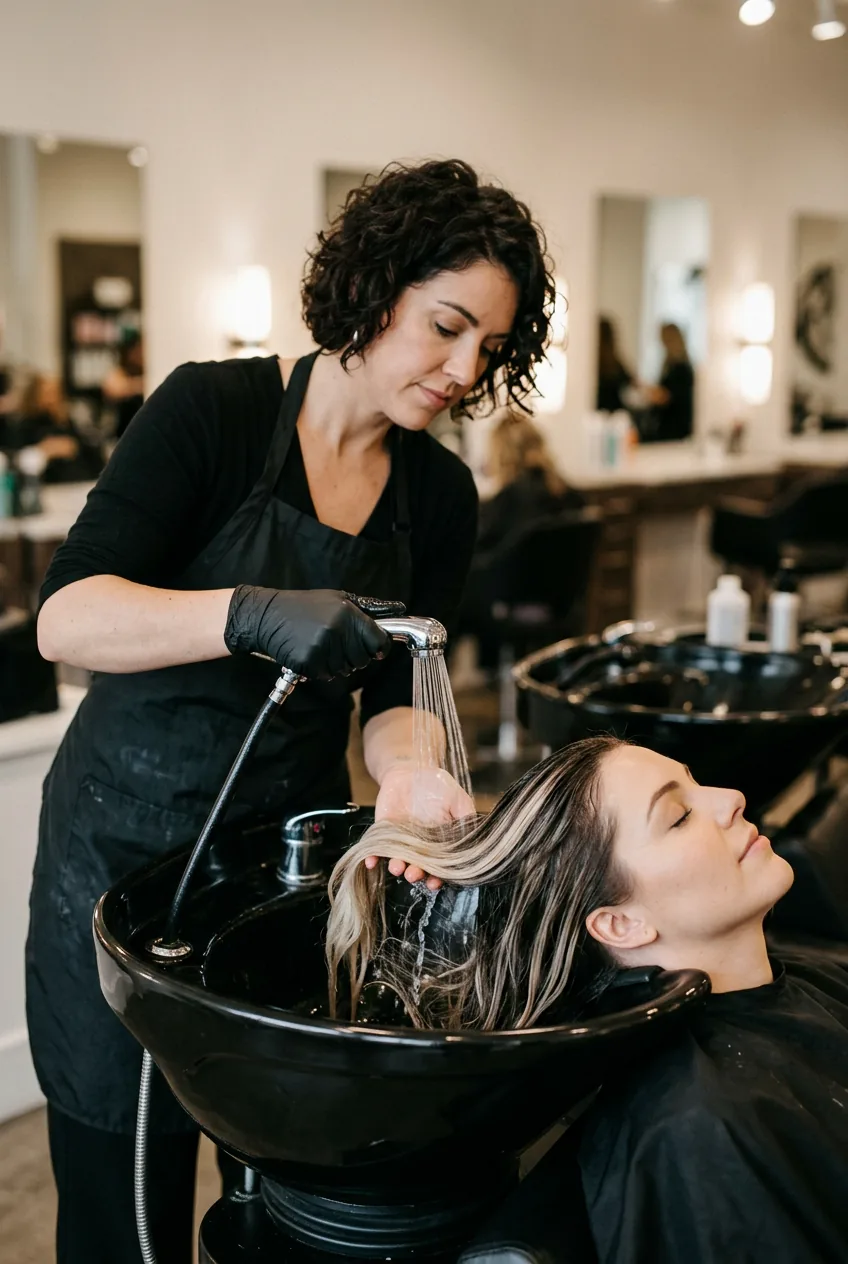
Don’t just hop in the shower and rinse everything at once. Professionals rinse each section individually to control the final result.
Start with lukewarm water — hot water opens the hair cuticle too much and can cause color to fade immediately. Rinse the back sections first, working your way forward to the face-framing pieces.
Use a clarifying shampoo for the first wash, but be gentle. You’re removing the developer and excess color, not scrubbing your scalp clean. Follow with the deepest conditioner you own — your hair just went through a chemical process and needs serious moisture.
Step 6: Finishing Like a Colorist
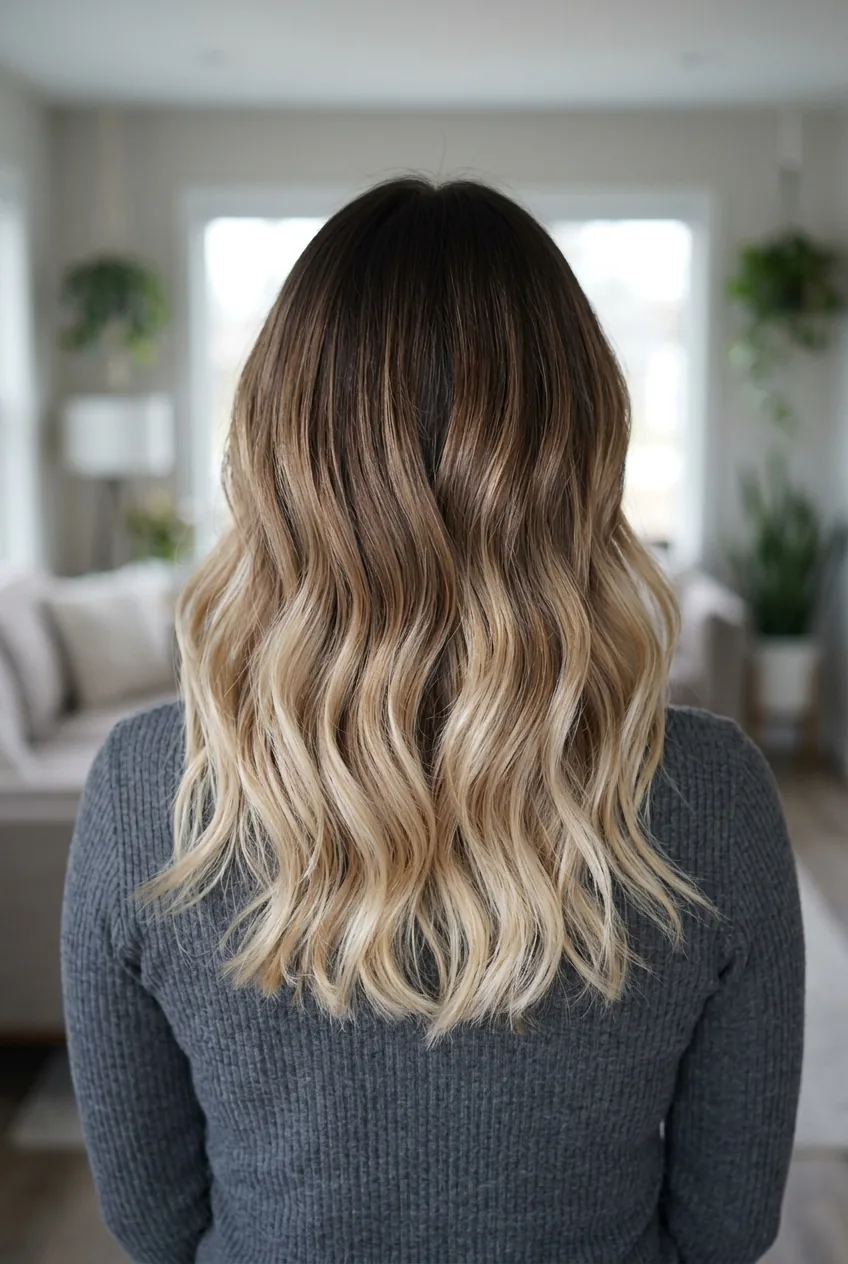
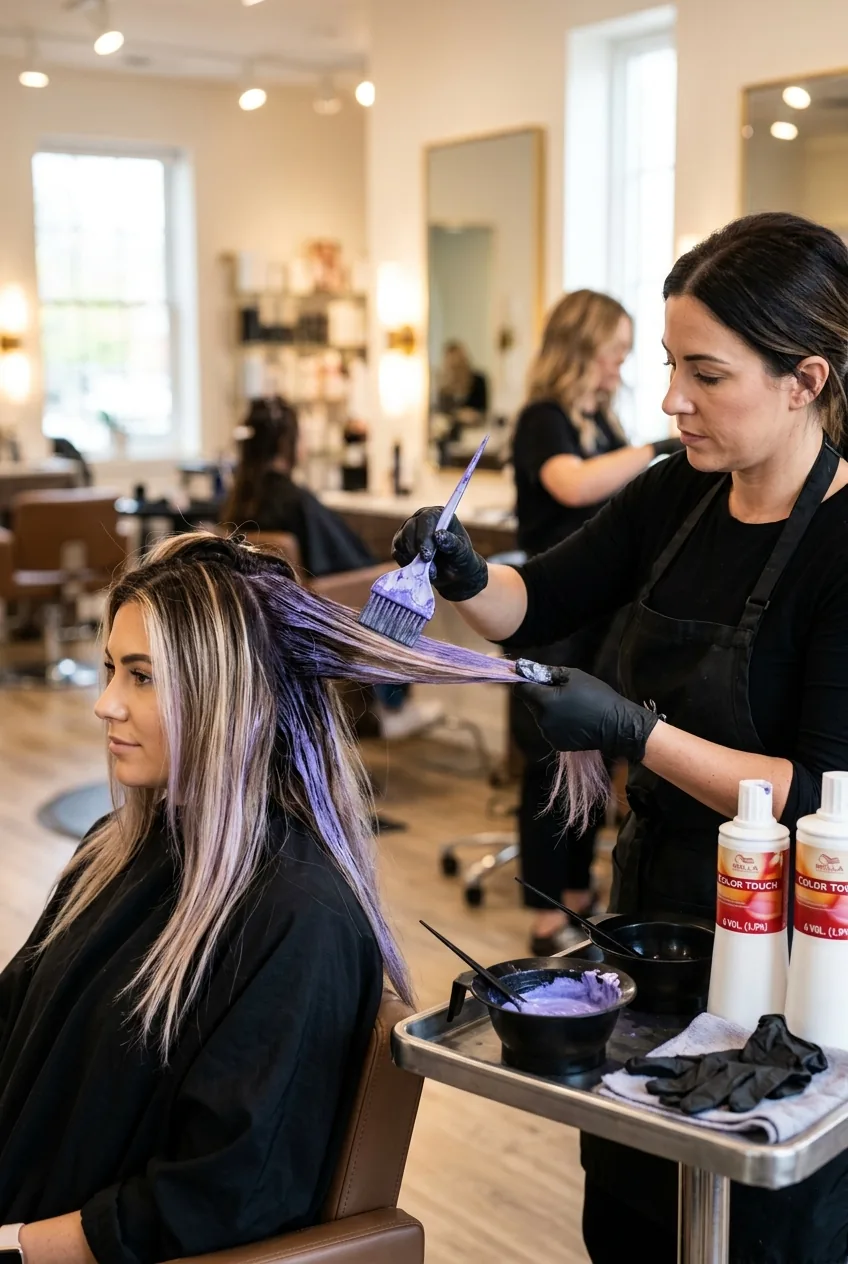
This is where the magic happens. Once your hair is dry, you’ll see the true color result. If it’s too brassy (and it probably will be), this is when you apply toner.
Mix your toner with 10-volume developer and apply it like a hair mask, focusing on the lightened areas. Process for 10-15 minutes, then rinse with cool water. This step transforms brassy blonde into that perfect, cool-toned finish that looks effortlessly expensive.
Finish with a few drops of hair oil on the ends. Not only does this add shine, but it also helps blend any slight imperfections in the color placement.
Questions I Get About This Technique
Can this work on dark hair without bleaching first?
Honestly? Not really. If you’re going from very dark brown to blonde ombre, you need to lighten first. But you can create beautiful dimension on dark hair using a color just 2-3 shades lighter than your natural tone.
How often should I touch up the color?
That’s the beauty of this technique — it grows out gracefully. I touch up my face-framing pieces every 12 weeks and do a full refresh every 6 months. The key is maintaining the color with purple shampoo between appointments.
What if I mess up the placement?
If you catch it while the color is still processing, you can use a damp brush to soften harsh lines. Once it’s rinsed, you’ll need to wait at least two weeks before attempting any corrections — your hair needs recovery time.
Is this technique safe for previously colored hair?
It depends on what you’ve done before. If you have recent highlights or chemical treatments, consult a professional first. Layering chemical processes can cause serious damage or unpredictable color results.
The results completely transformed how I feel about my hair. Instead of flat, one-dimensional color, I now have depth and movement that catches light beautifully. The best part? People constantly ask if I had it done professionally. That seamless blend from natural roots to lighter ends took practice, but following these professional techniques made all the difference. And unlike my old chunky highlights, this grows out so naturally that I actually love my hair at every stage of the process.