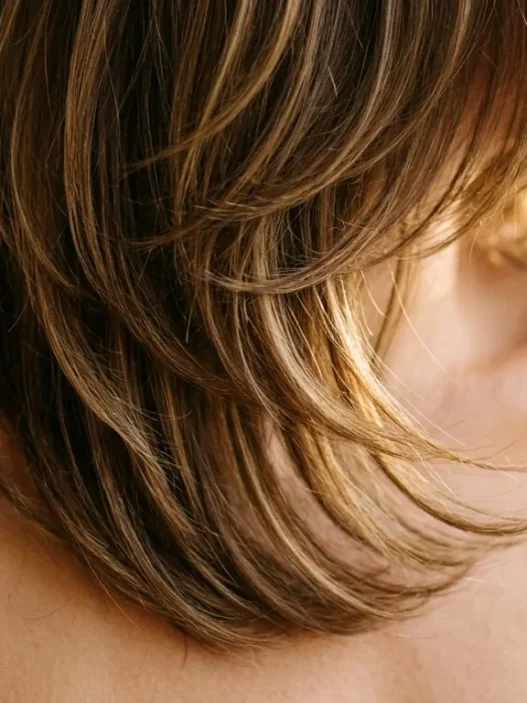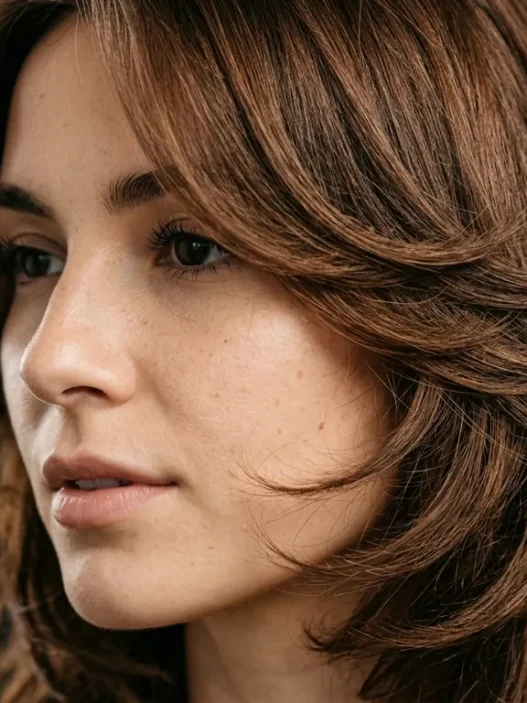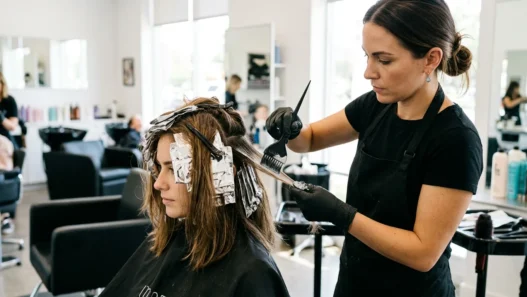


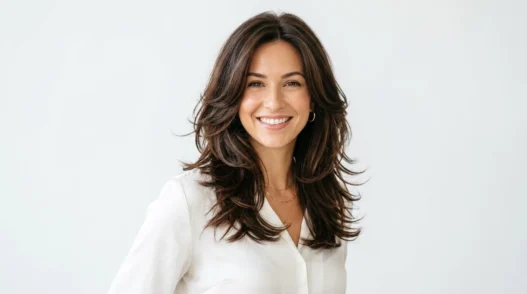

I used to stare at my freshly cut layers in the mirror, completely stumped. The stylist made it look effortless, but at home? My layers would either fall completely flat or stick out in weird places. After months of trial and error (and way too many bad hair days), I finally cracked the code on making layered hair work.
Your Complete Layered Hair Styling Roadmap
What You’ll Need
Let me save you some time here. I’ve tried every tool under the sun, and these are the absolute essentials that actually make a difference:
- Round brush (medium barrel — around 2 inches works for most layer lengths)
- Blow dryer with a concentrator nozzle
- Heat protectant spray (non-negotiable)
- Lightweight mousse or volumizing foam
- Wide-tooth comb for detangling
- Hair clips for sectioning
- Light-hold hairspray or texture spray
- Optional but game-changing: diffuser attachment
The timing? Plan for about 15-20 minutes once you get the hang of it. Way less stressful than I originally thought.
The Prep Phase
This phase is all about setting yourself up for success. And honestly? It’s where most people go wrong.
Start with damp hair — not soaking wet, not bone dry. I towel dry gently (no aggressive rubbing that creates frizz) and then let it air dry for about 5 minutes. You want that sweet spot where it’s still pliable but not dripping.
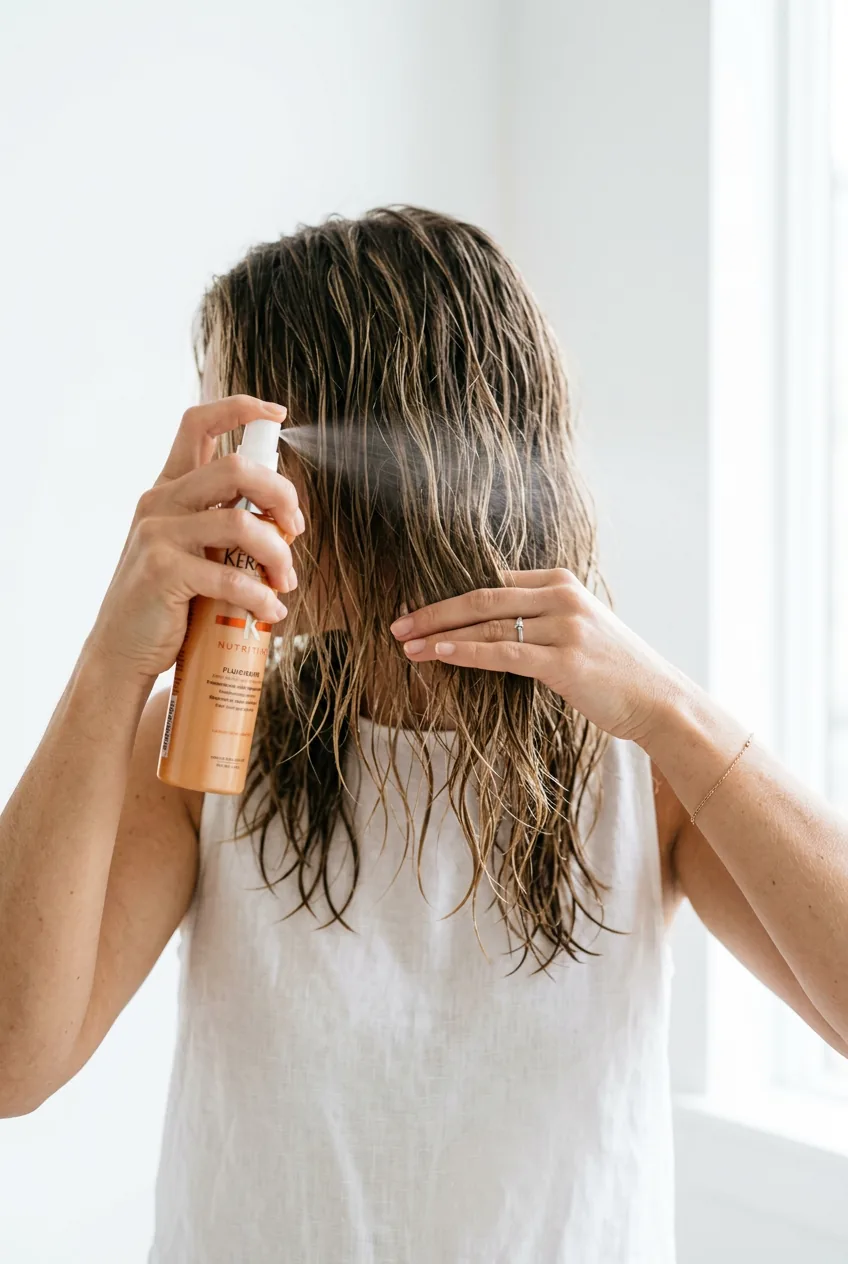
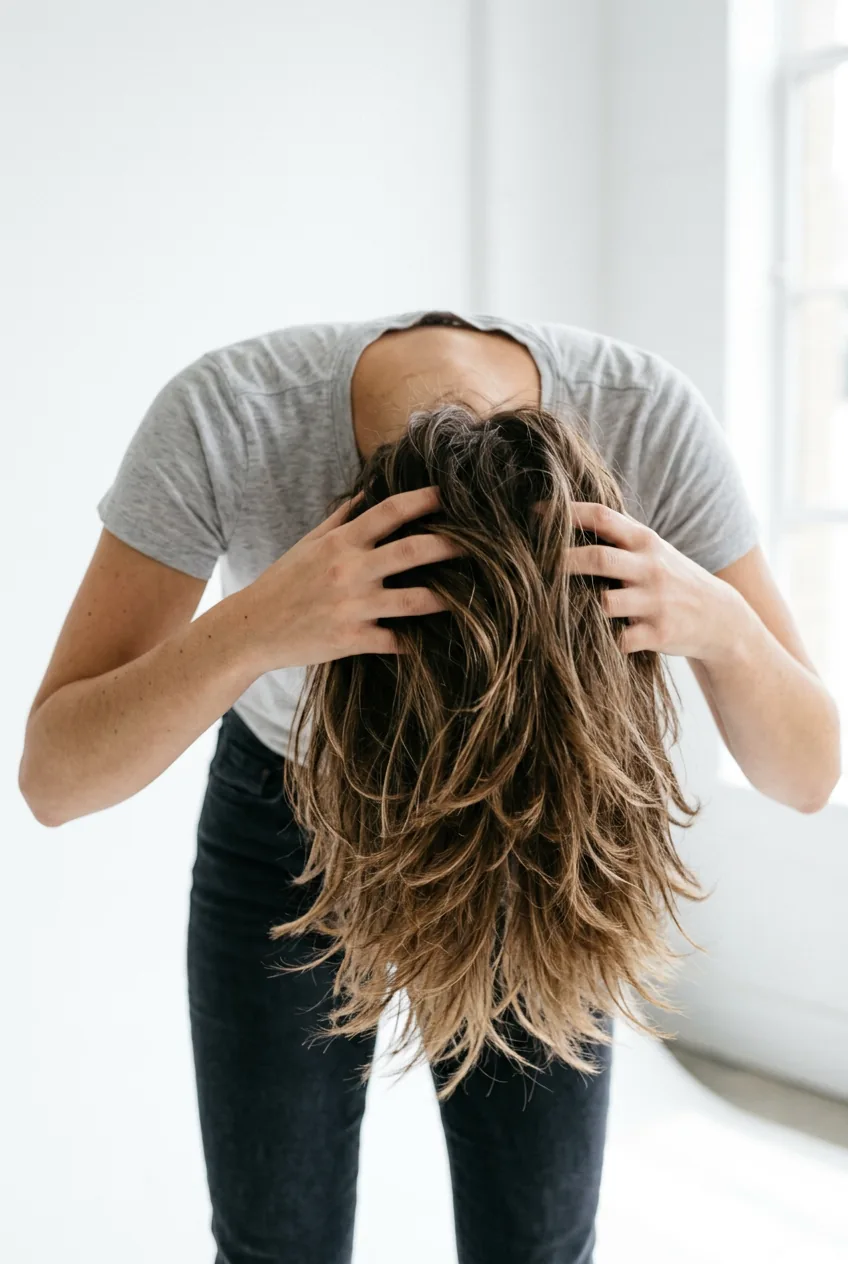
Now comes the product game. I apply heat protectant from mid-length to ends, focusing on those shorter layers that stick out. Then — and this changed everything for me — I flip my head upside down and scrunch in a golf ball-sized amount of mousse. The upside-down part helps the mousse coat each layer evenly.
My biggest mistake? I used to apply products with my head right-side up and wondered why my top layers looked flat while the underneath ones got all the volume. Gravity is not your friend when you’re trying to coat layers evenly.
Detangle everything with a wide-tooth comb, working from ends up to roots. This prevents breakage and helps you see exactly where each layer falls.
Building the Foundation
Here’s where the magic happens. This phase is all about creating shape and movement in your layers.
Section your hair horizontally — I start with the bottom section and work my way up. Clip the top layers out of the way. This isn’t about perfection; it’s about control.
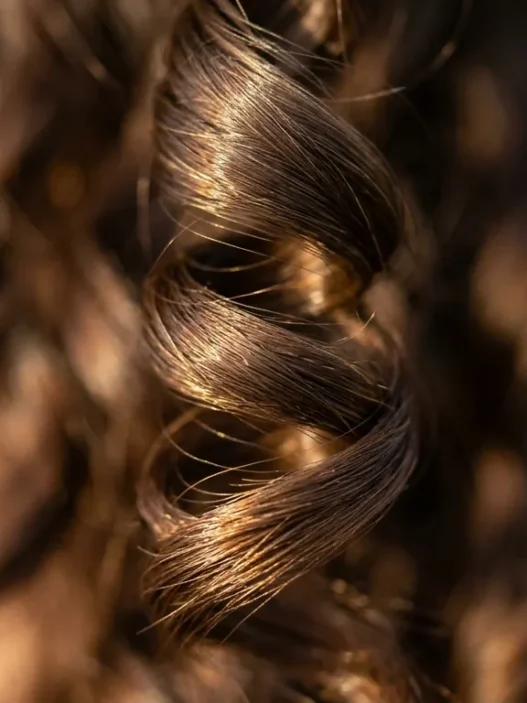
Take your round brush and wrap a small section of the bottom layer around it. Here’s the key technique I learned from watching styling techniques over and over: lift the brush UP and away from your head as you blow dry. Don’t just drag it straight down — that flattens everything.
The magic direction? Roll the brush under and lift it at a 45-degree angle. This creates that bouncy, layered movement instead of flat, stringy pieces. I work in 2-inch sections — any bigger and you lose control, any smaller and you’ll be there forever.
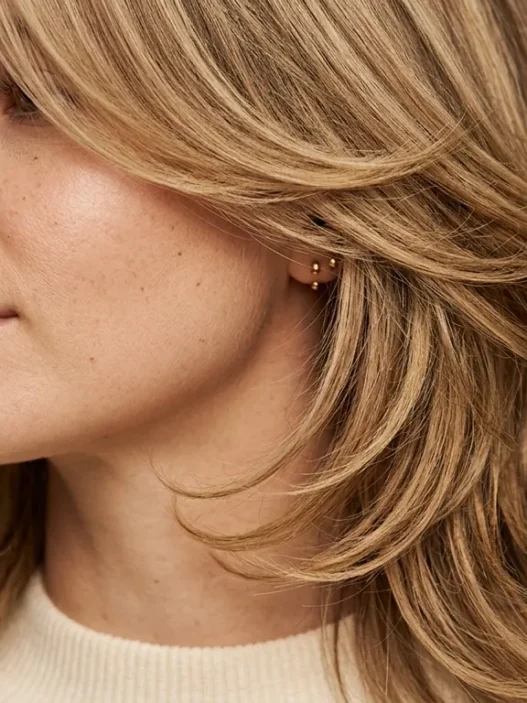
For the shorter face-framing layers, I switch tactics. Instead of lifting up, I wrap them around the brush and pull slightly forward and down. This creates that soft, face-framing effect that makes layers actually flattering instead of choppy.
Temperature matters too. I use medium heat for the initial drying and styling, then hit each section with a blast of cool air to set the shape. That cool shot is what makes the style last all day instead of falling flat after an hour.
Watch This Technique in Action
The Finishing Touch
This final phase is about locking in your work and adding that extra something that makes your layers look intentional and polished.
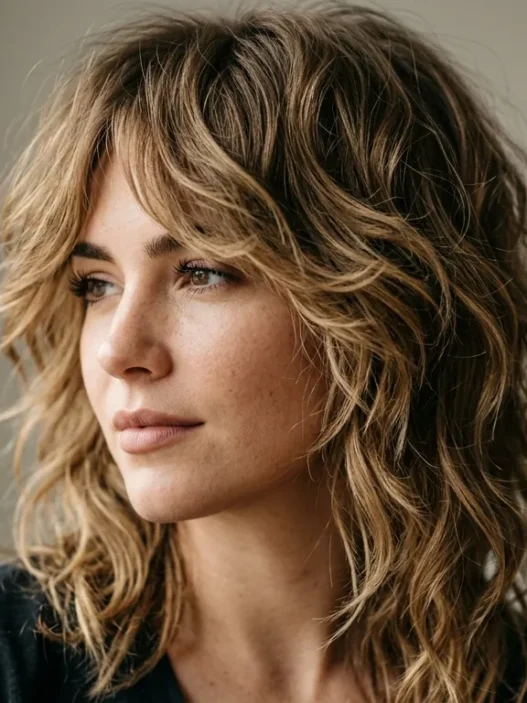
Once everything’s dry and styled, I flip my head upside down again and gently shake out the roots with my fingers. This breaks up any sections that might look too “done” and adds natural-looking volume.
Now for the texture magic. I take a light-hold hairspray or texture spray and mist it about 8 inches away from my head. But here’s what I learned: don’t spray everything evenly. Focus on the mid-lengths and ends of your layers — that’s where you want the hold and definition.
For those shorter pieces around your face, try this trick I picked up: lightly twist each piece around your finger, then release. It creates this soft, intentional wave that makes your layers look effortless instead of styled to death.
The final step? Don’t touch it. I know it’s tempting to keep fluffing and adjusting, but your hands will break up the texture you just created. Trust the process and walk away.
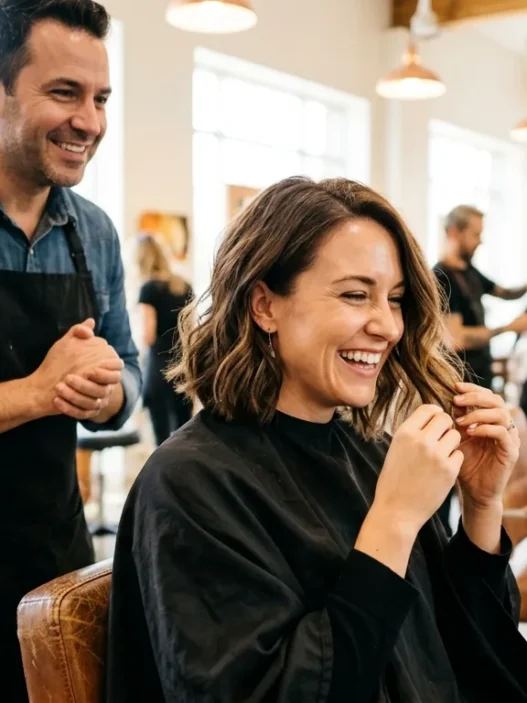
If you want to explore different approaches to working with layers, check out these lightweight layered cuts that are perfect for practicing these techniques.
Questions I Get About This Method
Can I do this without a round brush?
Technically yes, but you’ll miss out on the lift and shape that makes layers look intentional. A paddle brush can work for the prep phase, but the round brush is really what creates that layered movement.
How often should I style my layers like this?
I do this full routine 2-3 times per week. On off days, I refresh with a little texture spray and finger-scrunching. Your layers will hold their shape better with less frequent heat styling.
What if my layers are too short for a round brush?
Switch to your fingers! Wrap the short pieces around your index finger as you blow dry them. It’s trickier but gives you similar results for those pixie-length layers.
Does this work on all hair types?
I’ve seen it work on everything from fine to thick hair, but you’ll need to adjust your products. Fine hair needs less mousse, thick hair might need a stronger hold hairspray at the end.
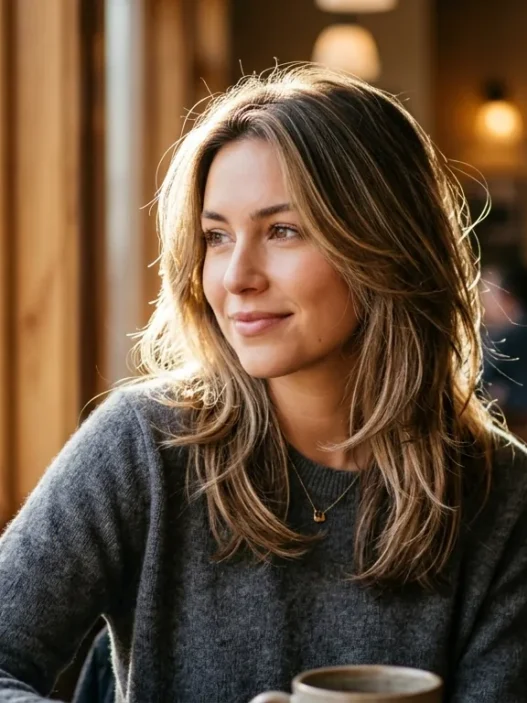
After months of fighting with my layers, this three-phase approach finally gave me that effortless, bouncy look I was after. The best part? It gets faster each time, and now my layers actually enhance my haircut instead of working against it.