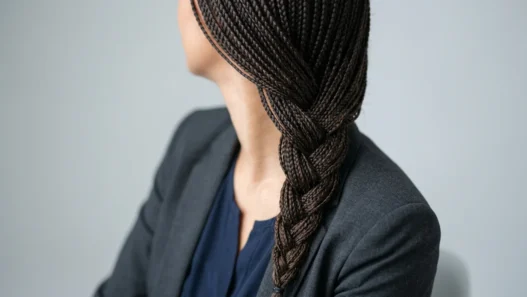


I used to think messy ponytails were supposed to be, well, messy by the end of the day. Like falling out, pieces everywhere, elastic sliding down messy. Turns out I was doing it all wrong. After watching my hair flop by 10 AM one too many times, I figured out this ridiculously simple method that actually holds.
Your 3-Minute Hair Game Plan
Grab These First
You probably have everything you need already. No fancy tools, no expensive products.
- One regular hair elastic (not those tiny clear ones)
- Bobby pins — at least 3, preferably matching your hair color
- Texturizing spray or dry shampoo
- A brush or comb
- Hair tie backup (trust me on this)
That’s it. The key isn’t having the right products — it’s using them in the right order.
The Prep That Makes It Stick
This step is what most people skip, and it’s why their ponytails fail. You need grip before you gather.
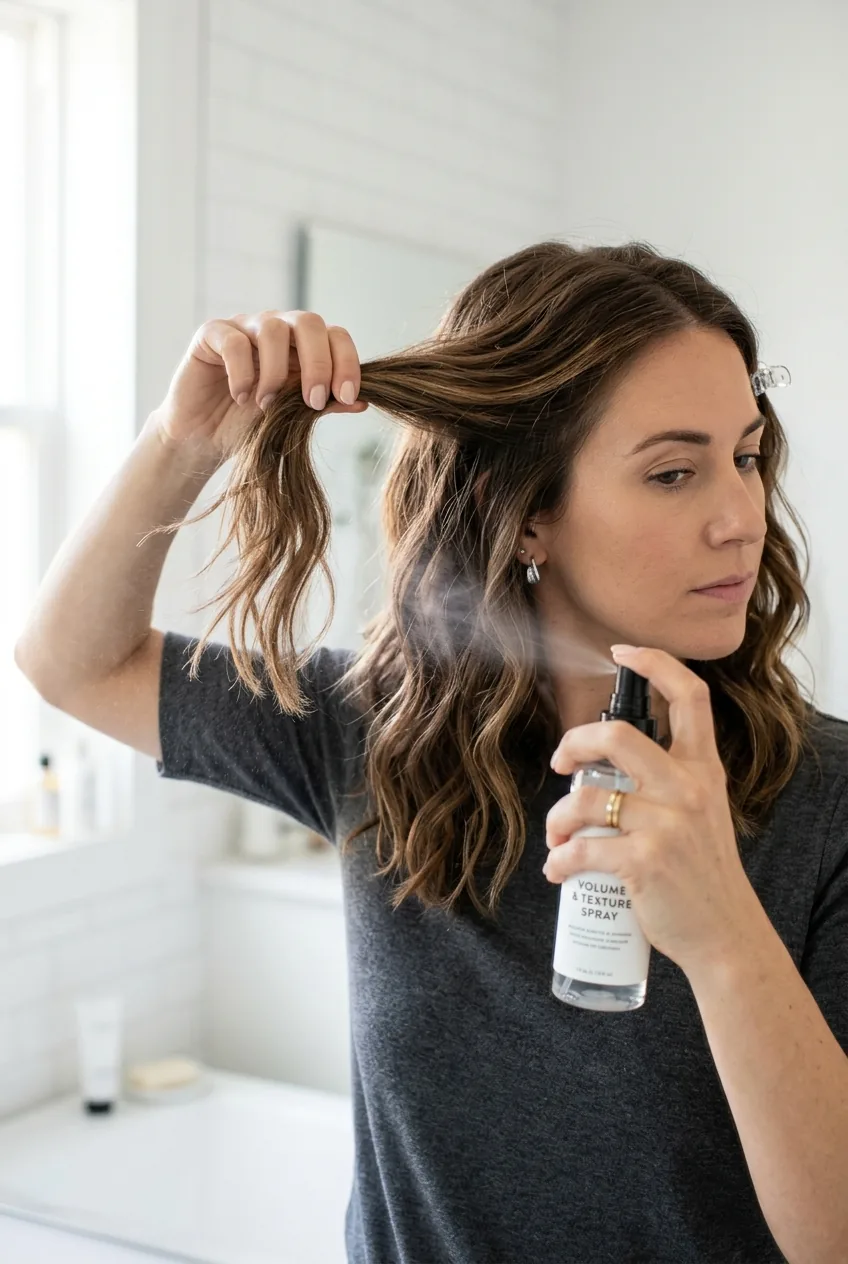
Spray your texturizing spray from mid-length to ends. Not the roots — that makes it greasy. Just the parts that will be in the ponytail. If your hair is squeaky clean, this step is non-negotiable. Texturizing products add that crucial grip factor that smooth, freshly washed hair lacks.
Run your fingers through to distribute. Don’t brush it out — you want that slight roughness.
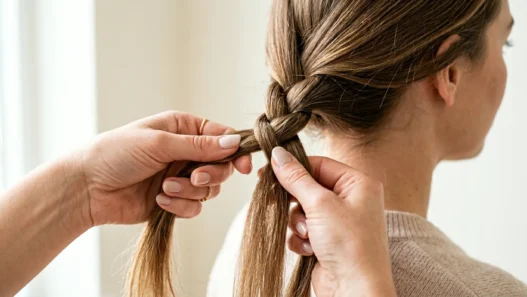
The Only Grip Trick You Need
Here’s where everything changes. Most people gather all their hair at once. Wrong move.
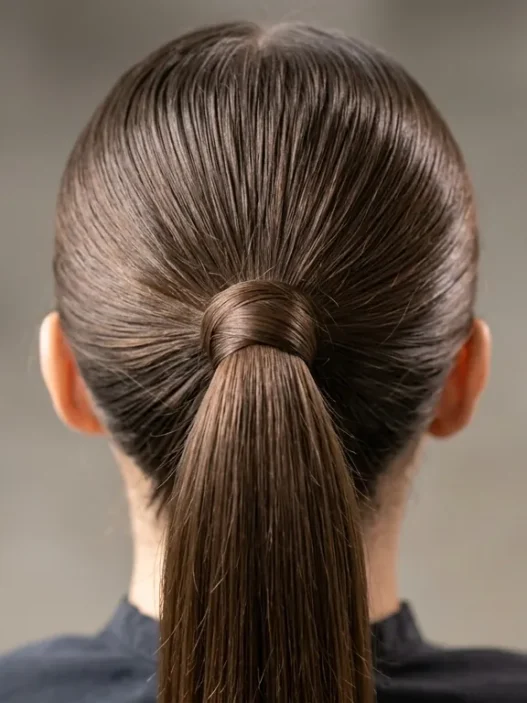
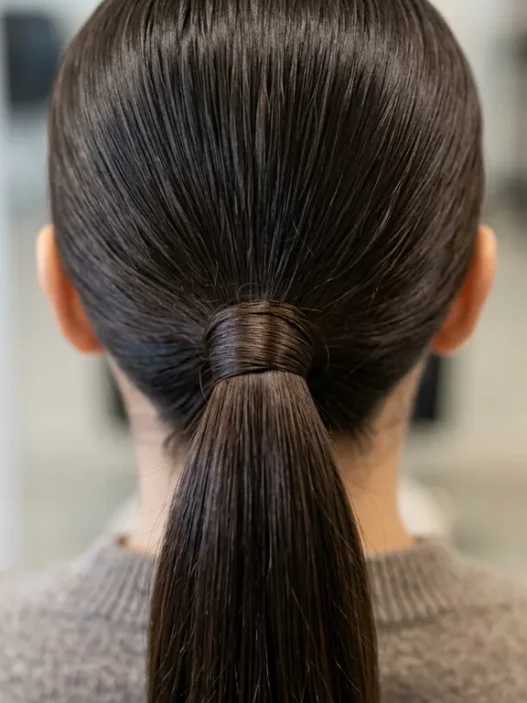
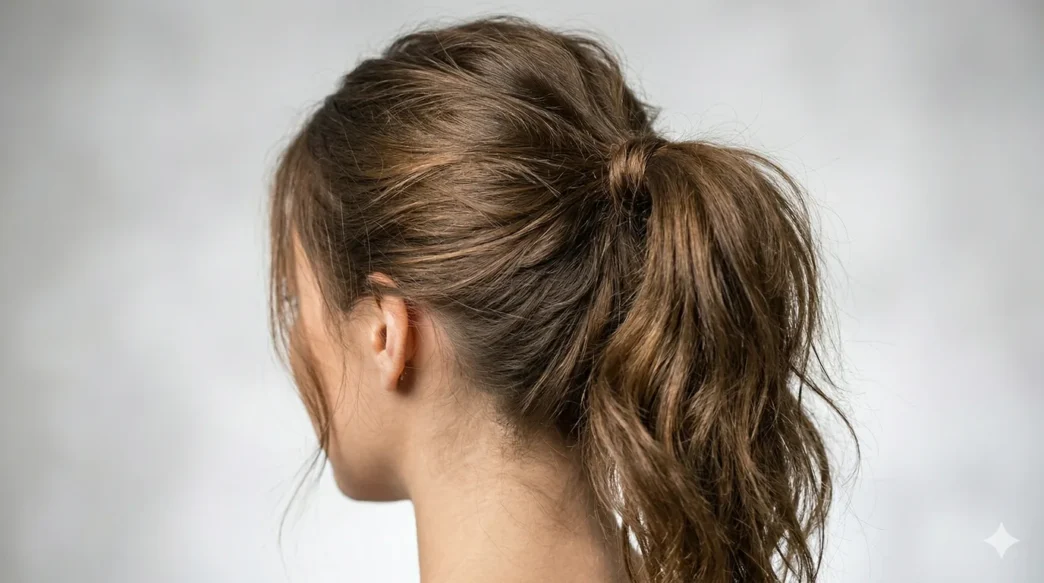
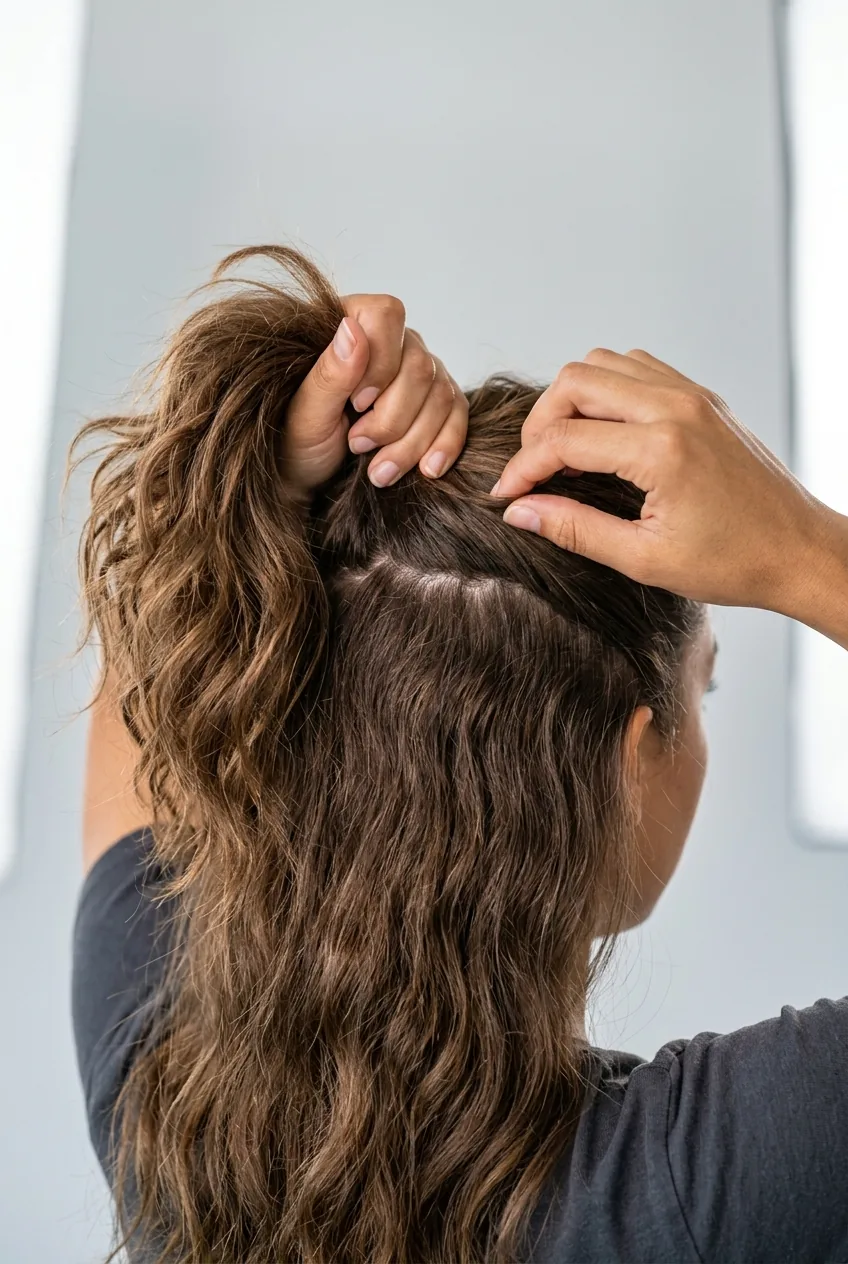
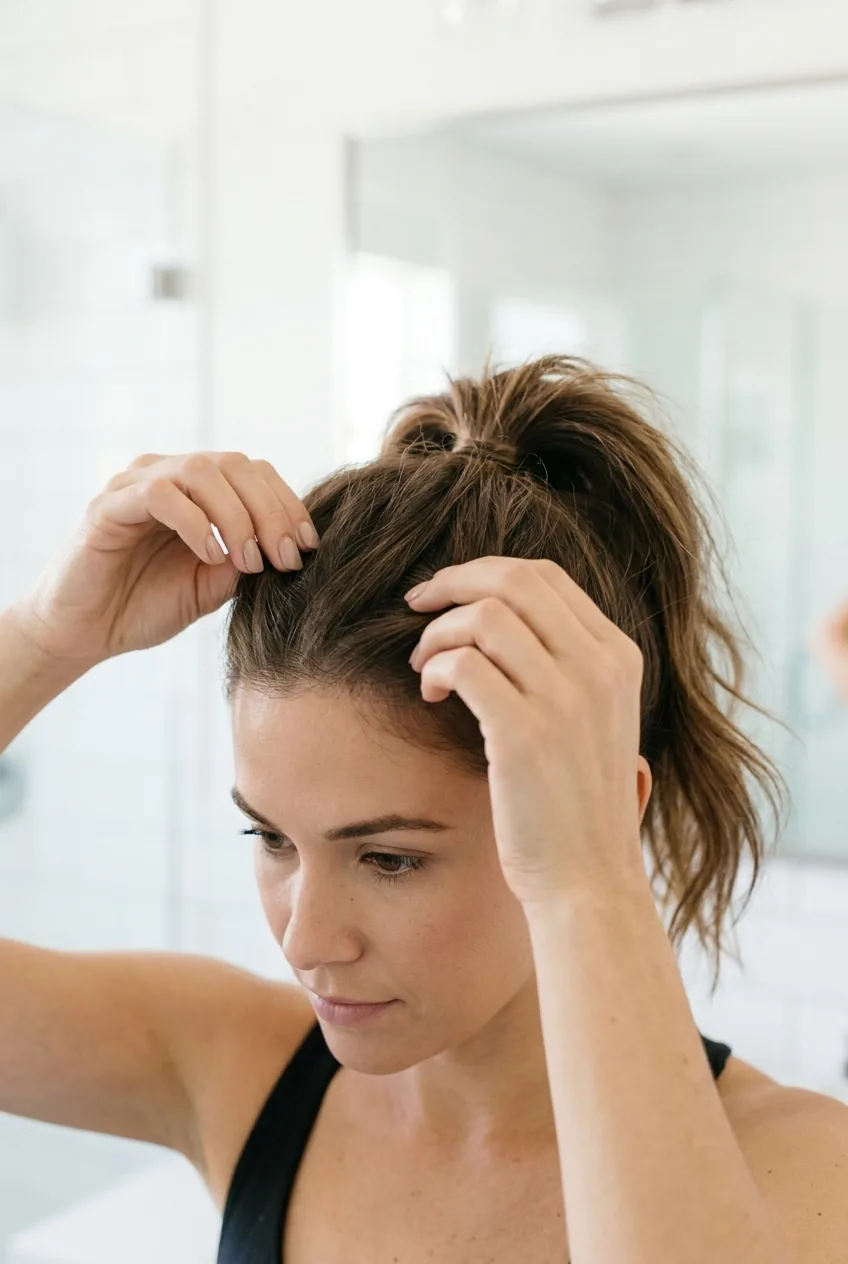
Start with the top section — from your temples back to your crown. Gather this into a loose ponytail at whatever height you want. Mid-head works best for that effortless vibe. Secure with your elastic, but don’t pull it tight. You’re going to adjust.
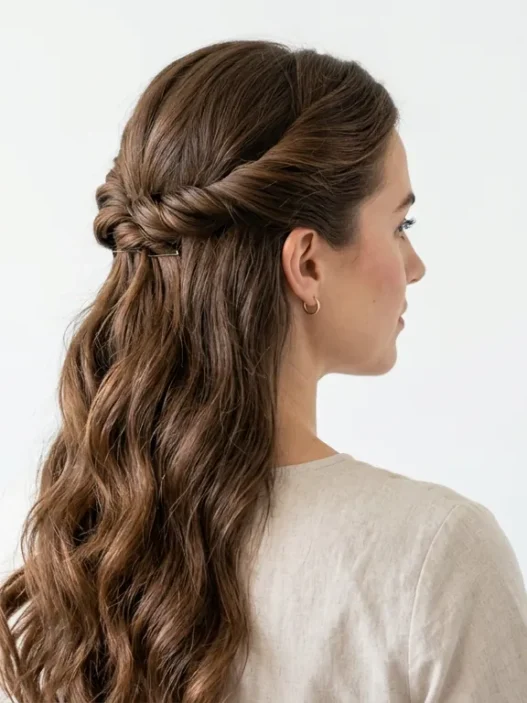
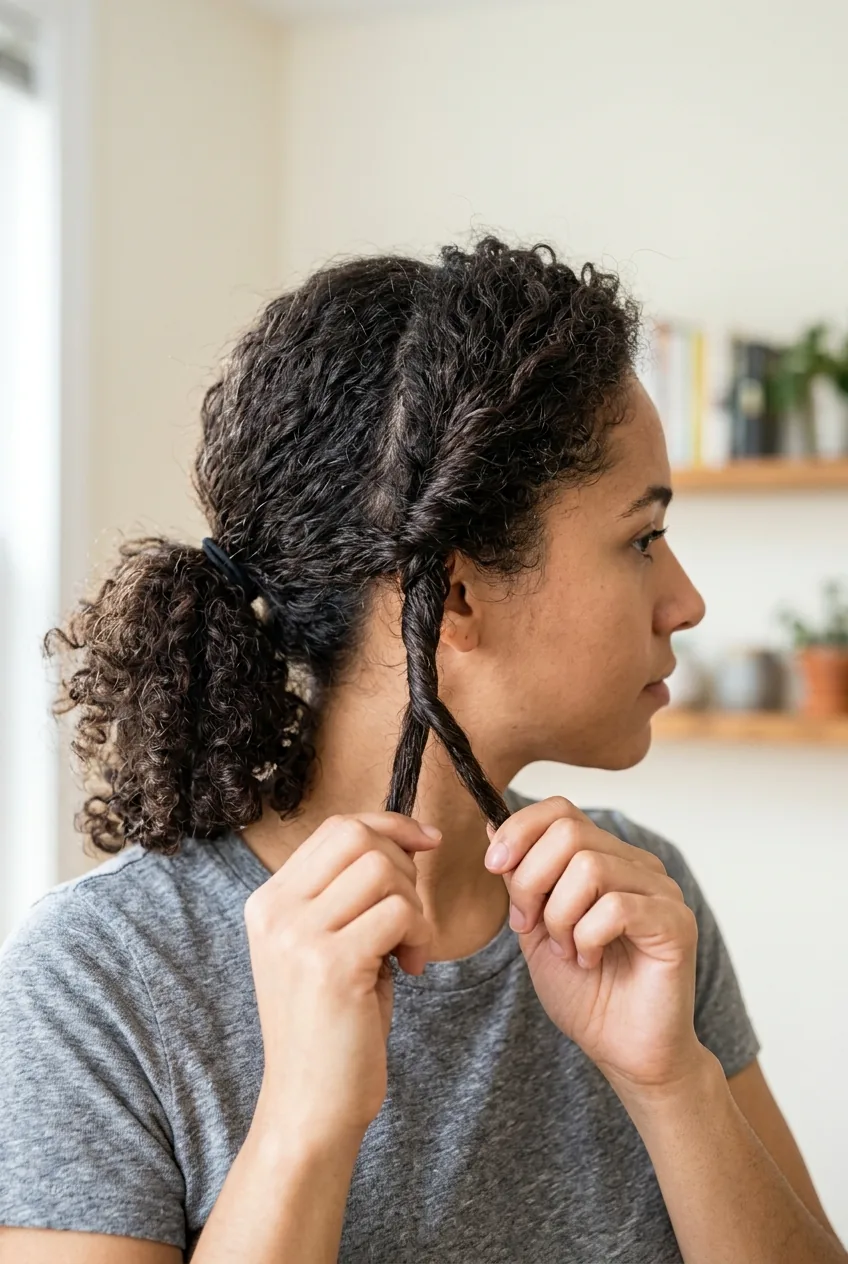
Now grab the sides and back sections. Here’s the trick: instead of smoothing them into the existing ponytail, twist each side section slightly as you add it. This creates natural texture and prevents that slicked-back look that screams “I tried too hard.”
I used to twist the entire ponytail after securing it, which just made it look like a rope. The magic happens when you twist the sections as you add them — way more natural-looking texture.
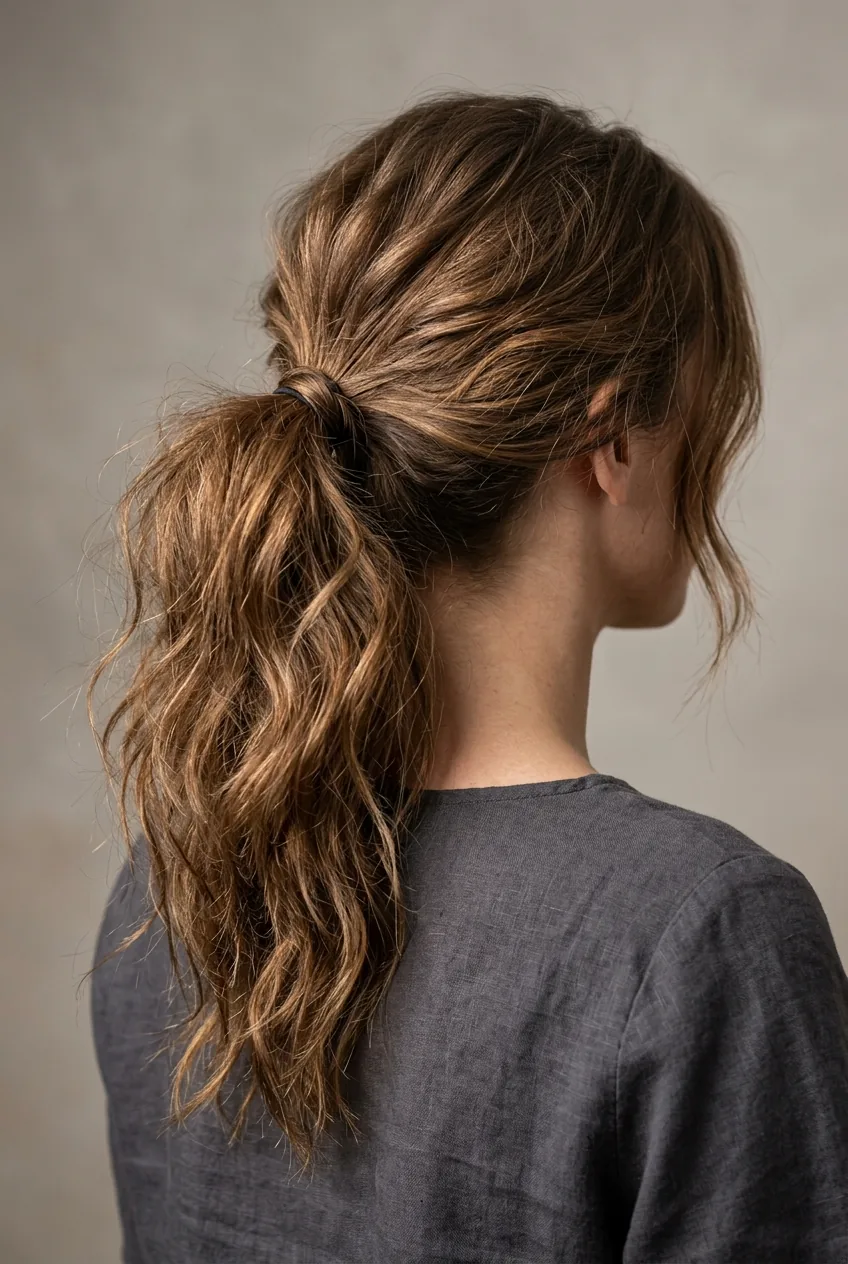
Pull the elastic down slightly to create that lived-in looseness at the base. This is what separates an intentional messy ponytail from one that just looks sloppy.
Watch the Grip Technique Live
Mess It Up Right
The messy part isn’t random. It’s strategic.
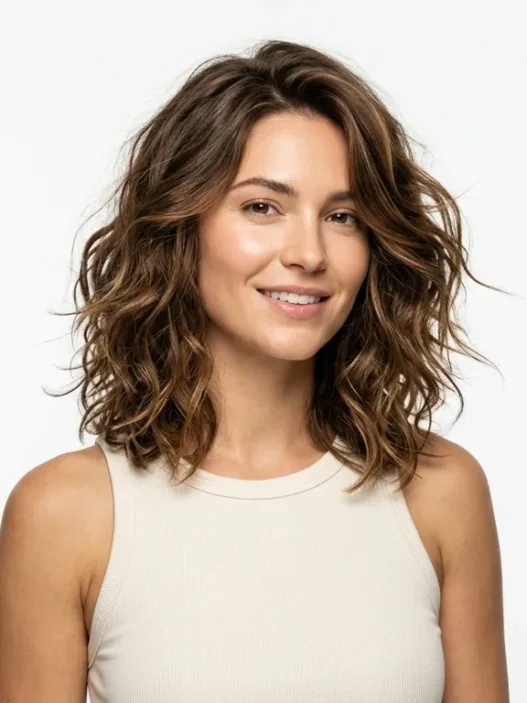
Gently pull at the hair around your crown to create volume. Not everywhere — focus on the very top and slightly behind your ears. Pull tiny sections forward to frame your face. The goal is “perfectly imperfect,” not “I stuck my finger in an electrical socket.”
If you have layers, let some of the shorter pieces fall out naturally. Don’t force it. The best messy ponytails look like happy accidents.
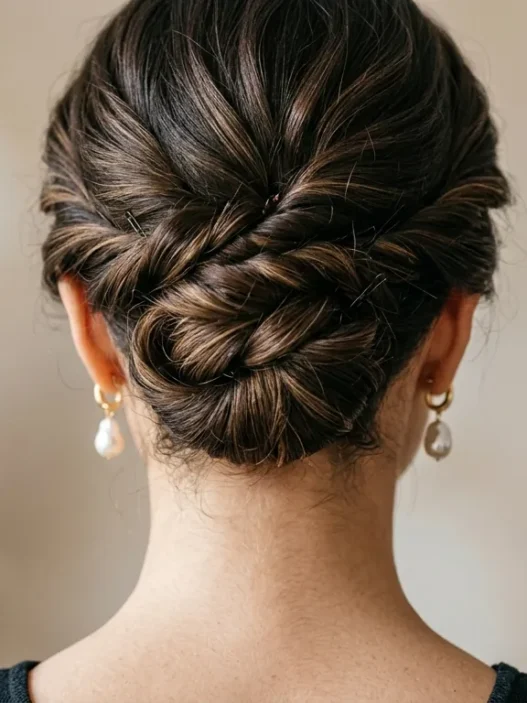
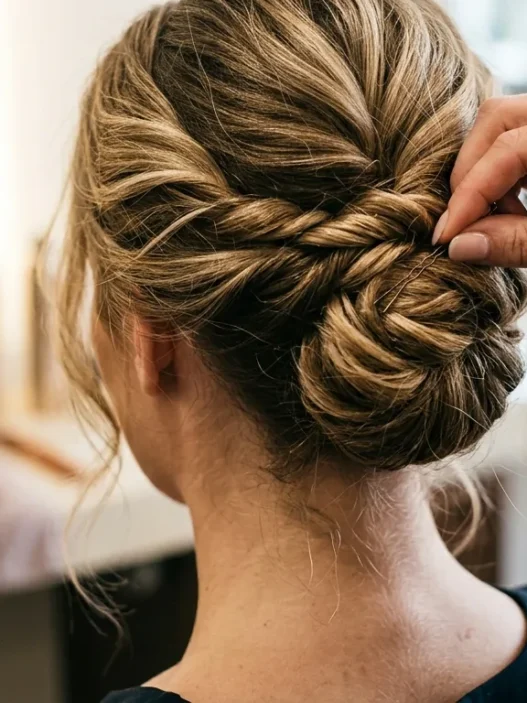
For extra texture in the ponytail itself, loosely braid it about halfway down, then gently pull the braid apart with your fingers. This creates that chunky, piece-y texture that looks complicated but takes 30 seconds.
Lock It Down
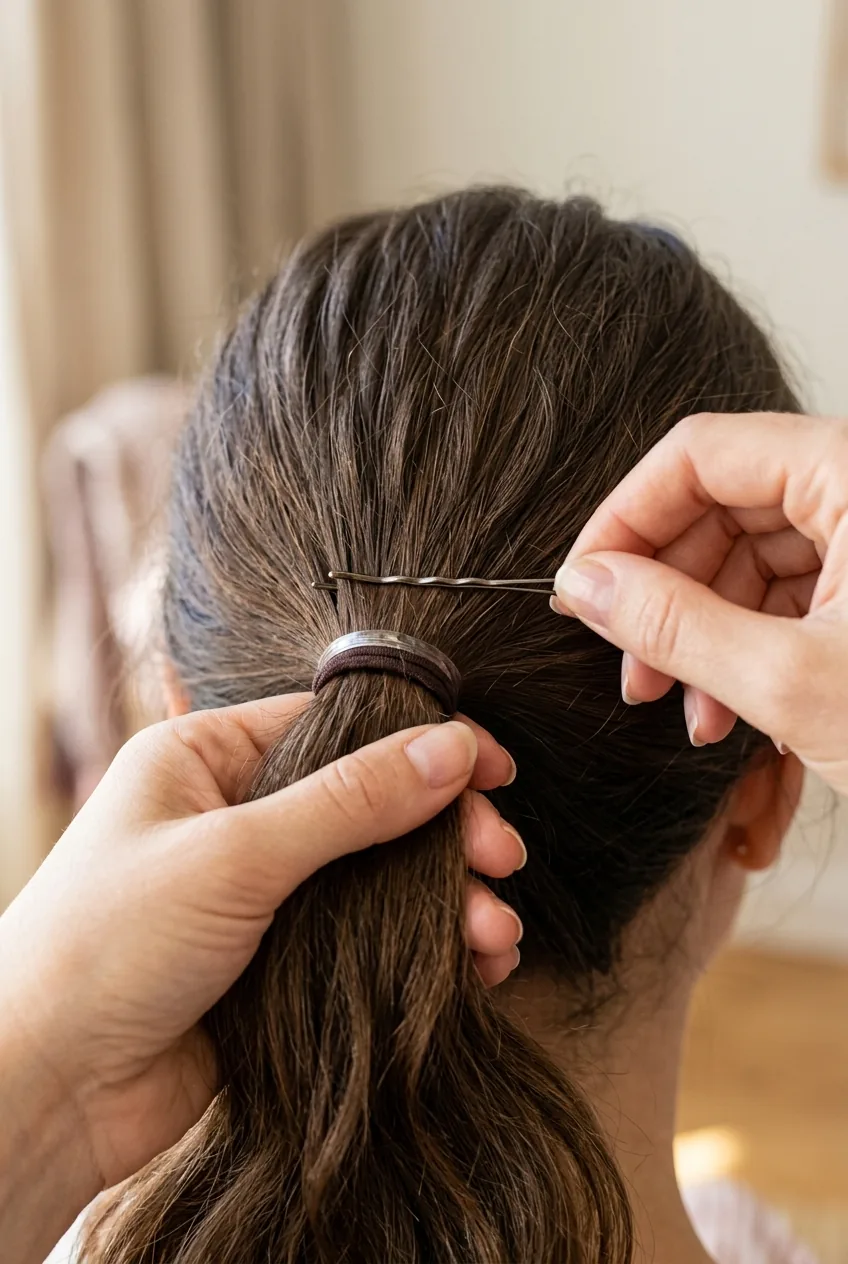
This is where those bobby pins earn their keep. But you’re not using them to pin back flyaways — you’re using them strategically to secure the style.
Take one bobby pin and slide it horizontally through the base of the ponytail, catching both the elastic and some of the hair underneath. This prevents the whole thing from sliding down your head throughout the day.
Use the other pins to secure any pieces that feel loose at the base. The trick is to hide them completely — slide them in from underneath so they’re invisible from the front and sides.
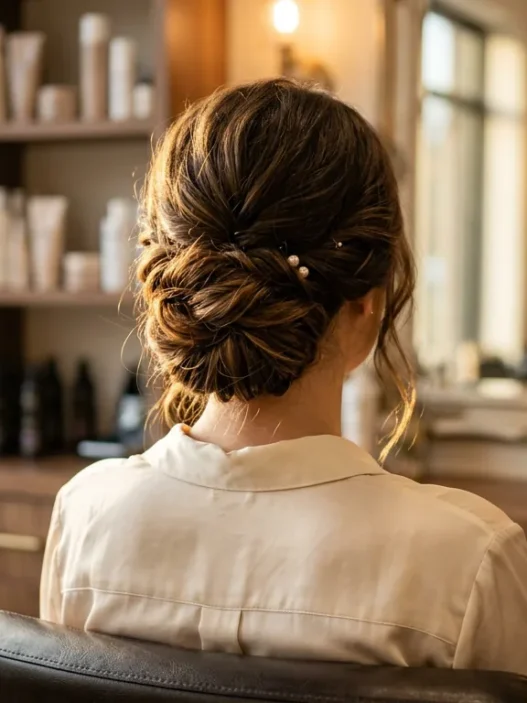
If you have sleek ponytail styles in your repertoire, you know how different the prep work is. This messy version is actually more forgiving — the texture hides any imperfections.
Final check: shake your head gently. If anything feels loose, add another bobby pin. Better to over-secure than to deal with ponytail creep all day.
Quick Answers
Does this work on fine hair?
Absolutely, but you need more texturizing spray and possibly an extra bobby pin. Fine hair actually holds this style well because it’s not fighting against its natural weight.
How high should I place the ponytail?
Mid-head is most flattering on most face shapes. Too high looks juvenile, too low can drag your features down. When in doubt, go slightly higher than your natural part line.
Will this damage my hair?
Not if you’re gentle with the elastic and don’t yank when you take it out. Proper hair tie removal is just as important as the styling process.
Can I sleep in this ponytail?
I wouldn’t recommend it. The bobby pins can create uncomfortable pressure points, and you’ll wake up with serious dents. Better to take it down and do a loose braid for sleep.
I’ve worn this exact ponytail through 12-hour workdays, humid summer festivals, and even light workouts. It holds better than most “formal” updos I’ve tried. The secret really is that grip technique — once you nail that, you’ll wonder why you ever struggled with ponytails before.