







I put off trying a curly hair updo style for years because I was convinced my curls would just spring right back out. My hair is that in-between 2C and 3A mix that frizzes if you look at it wrong, and every sleek bun tutorial made me feel like I needed someone else’s hair. Last spring I had a wedding to go to with no time for a salon, so I locked my bathroom door and figured it out myself.
What I landed on is a loose, low twisted updo that actually likes texture. It works best on day-two or day-three curls, it does not need perfect parts, and it looks better a little undone. If you have medium hair or long hair and you want something pretty enough for a wedding guest look but easy enough for a Tuesday, this is it.
Your Beginner-Friendly Roadmap
- What You Will Need
- Step 1: First Things First, Prep Your Curls the Lazy Way
- Step 2: Build a Soft Base That Pins Can Grip
- Step 3: Twist and Pin Your Loose Curly Shape
- Step 4: The Part That Seems Hard But Is Not, the Front Pieces
- Step 5: Do Not Panic If It Looks Messy, Fix It Like This
- Step 6: You Did It, Lock It In for All-Day Hold
- Curly Updo Questions I Hear All the Time
What You Will Need
You do not need a pro kit for this. I did mine on my bathroom counter with stuff I already owned, and honestly that is the point. Curly hair holds itself better than straight hair, so we are working with your texture, not against it.
- 8 to 12 U-shaped hair pins in a close match to your hair, plus 6 mini bobby pins for strays
- A light-hold mousse or curl cream and a pea-size bit of pomade for slicking flyaways
- A soft-bristle brush or wide-tooth comb, just for smoothing the top
- A small clear elastic, the tiny no-damage kind
- A flexible-hold hairspray, not extra-freeze, so curls can still move
- A hand mirror so you can check the back without twisting your neck off
My favorite combo is cream on the ends for softness and a little mousse at the roots for grip. If your curls are freshly washed and super slippery, do not panic. A little dry shampoo at the crown gives pins something to bite into. You can read up on second-day curl refresh techniques before you start if your wash day feels too soft.
Step 1: First Things First, Prep Your Curls the Lazy Way
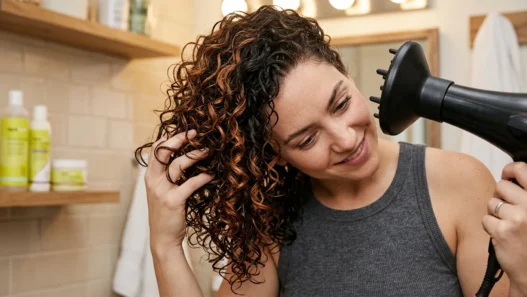
Do not start with sopping-wet hair or super-straight blowout hair. This curly hair updo style loves lived-in texture. I like day-two hair best because my curl pattern is defined but a little relaxed, which means fewer pokey ends. If you just washed, scrunch in curl cream, diffuse until about 90 percent dry, and let it cool completely.
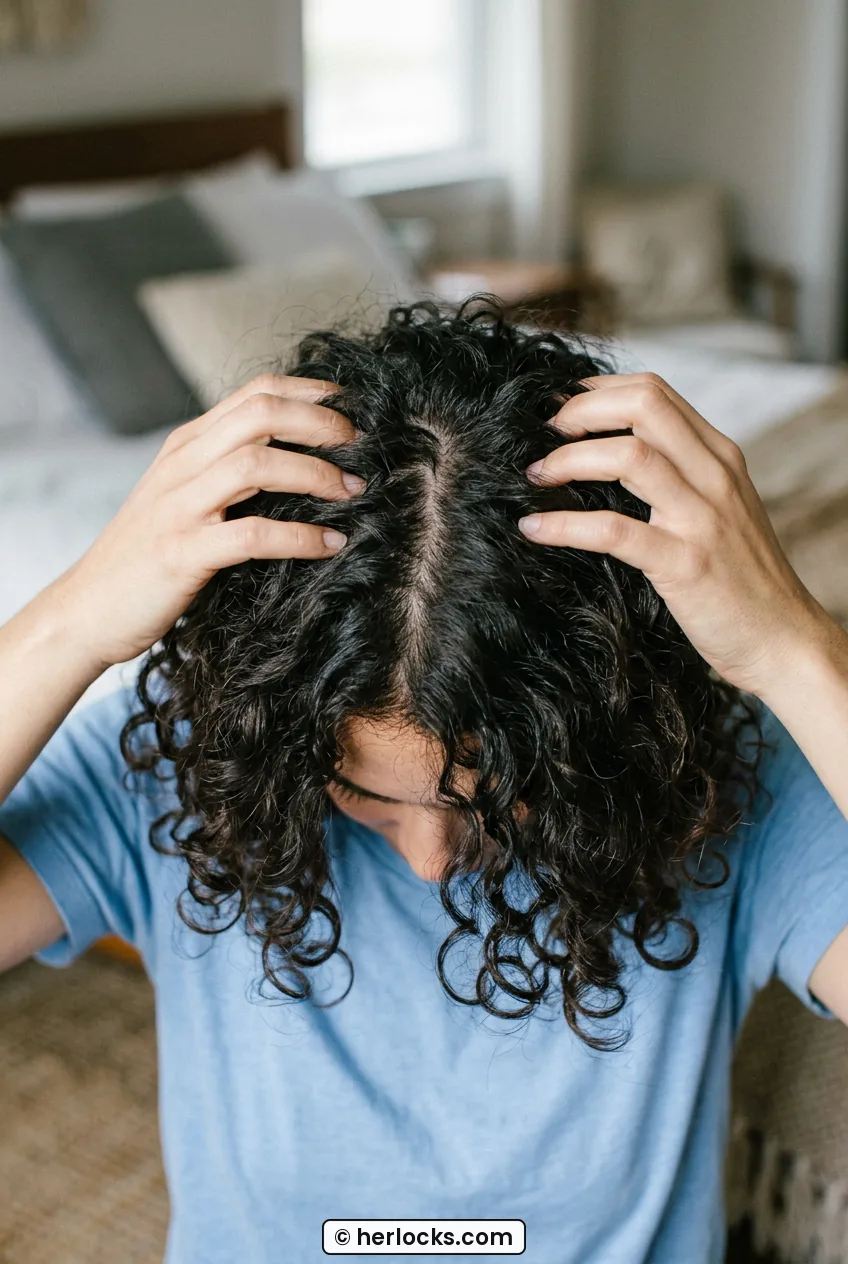
Flip your head upside down and gently shake at the roots with your fingertips. You want a little airy volume, not a teased helmet. Smooth just the very top with your soft brush, barely touching, so you keep the curl underneath. Think of it like petting a cat, light pressure only.
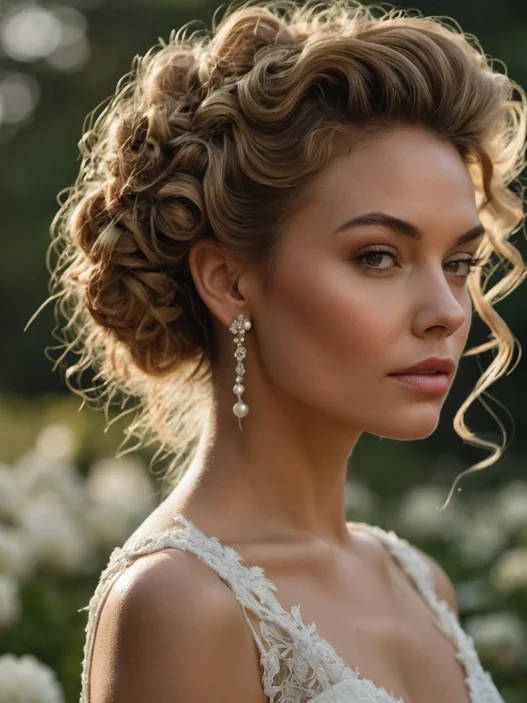
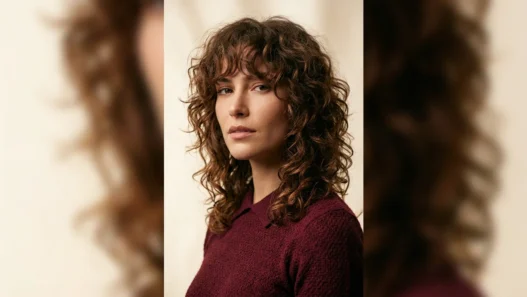
Look at how she is wearing hers in this photo. See how the top is smooth but not flat, and the curls are still puffy at the sides? That is exactly what I mean. I leave my natural part alone for this, middle or slightly off center both work. If one side is flatter from sleeping, fluff that side a little more and move on.
Will this frizz my hair? A little fuzz is normal and even pretty here. We are going for a soft, loose-curly finish, not a glass-smooth chignon. If you have long hair, you can leave a bit more length out at this stage. If you have medium hair, keep everything a little higher so you do not run out of twisting room later.
Step 2: Build a Soft Base That Pins Can Grip
This is the step most beginners skip, and then they wonder why everything falls by lunch. We are making a loose low pony as an anchor, not as the final look. Gather your hair at the nape like you are doing a low, relaxed ponytail. Keep it low and centered, right where a necklace clasp would sit.
Do not pull tight. I keep two fingers of slack at my scalp so I do not get that headache-y pulled feeling. Secure with your small clear elastic, only one wrap if your hair is thick, two if it is fine. This elastic will be hidden later, so do not worry if it peeks a little now.
Now gently tug the hair above the elastic up and out with your fingertips to create a little pillow of volume. This is my secret for a full-looking crown without backcombing. For my friends with fine hair, this puff makes all the difference between flat and fancy. If you want more guidance on volume that lasts, I learned a lot from reading about volume-boosting curly routines and tweaking it for updos.
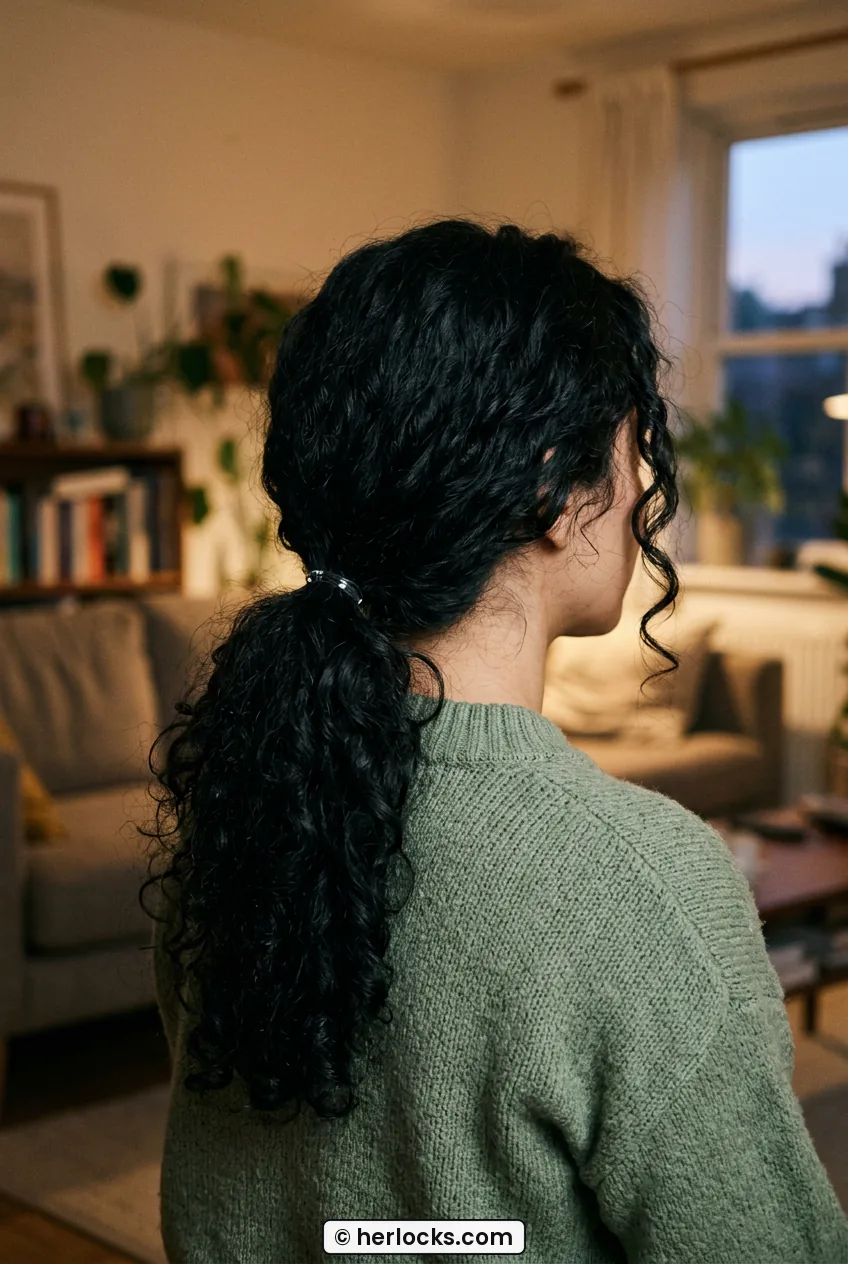
She has got a similar low base to mine here, and you can see how relaxed it sits at the nape. No scraping, no tight pull. Once your pony feels secure but soft, split the tail into two equal sections. You will twist those in the next step, so just get them ready and give the ends a little scrunch with cream if they look dry.
Step 3: Twist and Pin Your Loose Curly Shape
Okay, deep breath. This is the fun part. Take the right section and twist it loosely away from your face, like you are wringing out a towel but very, very gently. Let the curls fold over each other naturally. Do not try to smooth the twist perfect, lumps mean texture later.
Coil that twist up and against the base of your pony, making a soft loop. Pin it with a U-pin by scooping a little scalp hair, then catching the twist. The motion is scoop, push in, wiggle. Push the pin in the opposite direction of the twist so it locks. I use three pins for this first loop in a little triangle.
Now do the left section the same way, twisting away from your face and tucking it just above or beside the first loop. Overlap them slightly so there is no gap where the elastic shows. This overlapping is what creates that full, loose-curly effect everyone asks about. On longer hair, you may need to fold the ends under twice. On medium hair, one tuck is often enough.
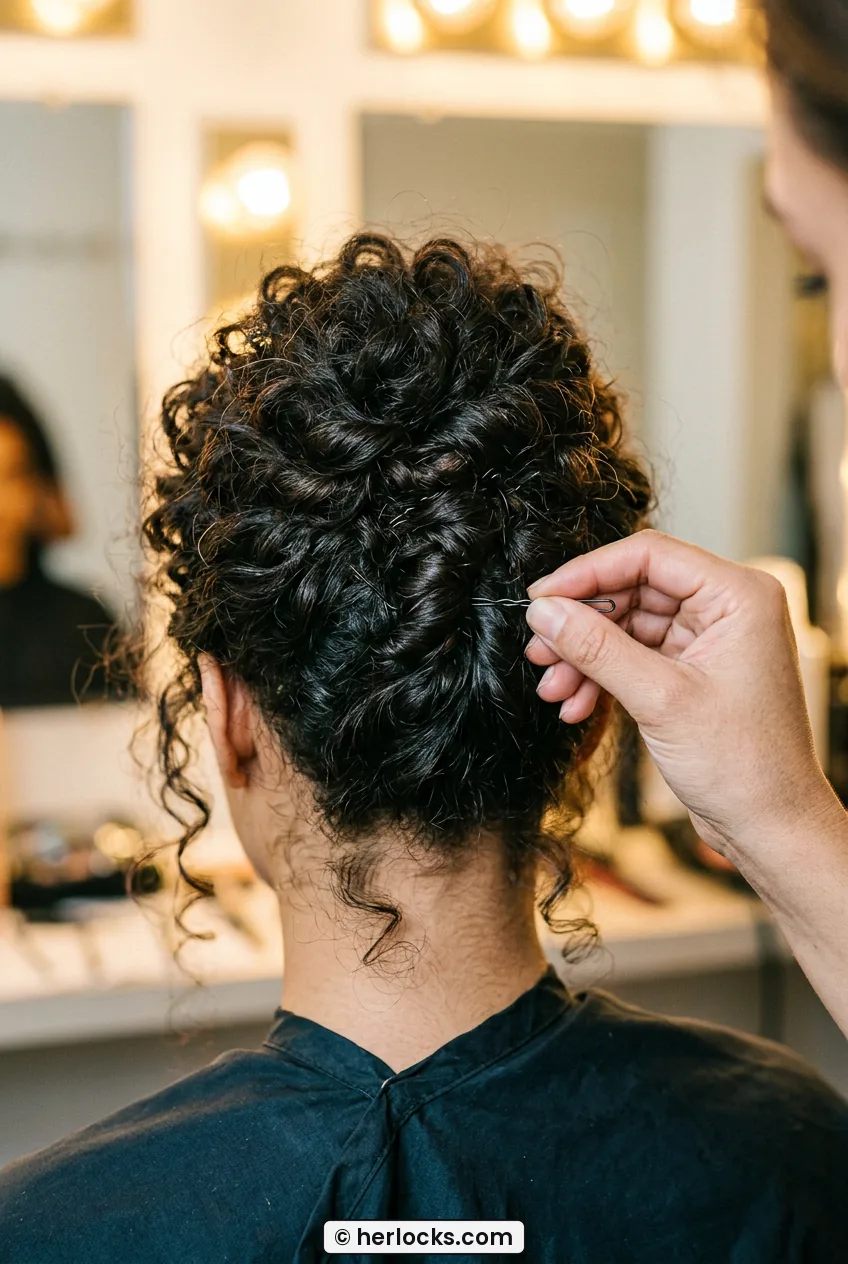
This close-up shows what I mean about pin placement. See how the stylist fingers are threading the pin right into the twist, not just stabbing at the surface? Copy that angle in your mirror. If a curl pops out, leave it. That is character, not a mistake. I also pull a few well-placed curls looser with the tip of a bobby pin for a more airy shape.
The mistake I made the first time: I used only tiny bobby pins and they slid right out by dinner. U-pins are longer and made for thick, springy hair. Once I switched, my updo lasted through dancing, hugs, and a very windy parking lot.
If you are styling this as a wedding guest look, this is where you decide how polished to go. For a garden wedding I leave more ends out and wispy. For an evening event I tuck a bit cleaner and add a small gold clip. I have a whole saved folder of curly updos for weddings and events for when I want it fancier, and this base works for almost all of them.
See the Twist and Pin in Action
Step 4: The Part That Seems Hard But Is Not, the Front Pieces
Front pieces scare everyone, me included. What if they look weird? What if one side is longer? Here is my kind older-sister rule: take less than you think. Pull out a half-inch curl in front of each ear and leave your bangs or baby hairs completely alone for now.
Lightly twist each face-framing curl once and pin it back loosely just above your ear, letting the end fall forward. Step back. Do you like it? Keep it. Does it bug you? Tuck it behind your ear and call it done. There is no wrong answer, and hair grows, pins move.
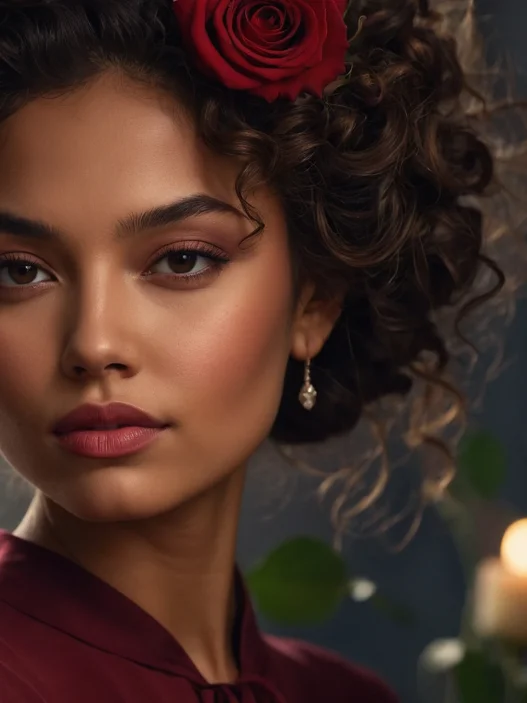
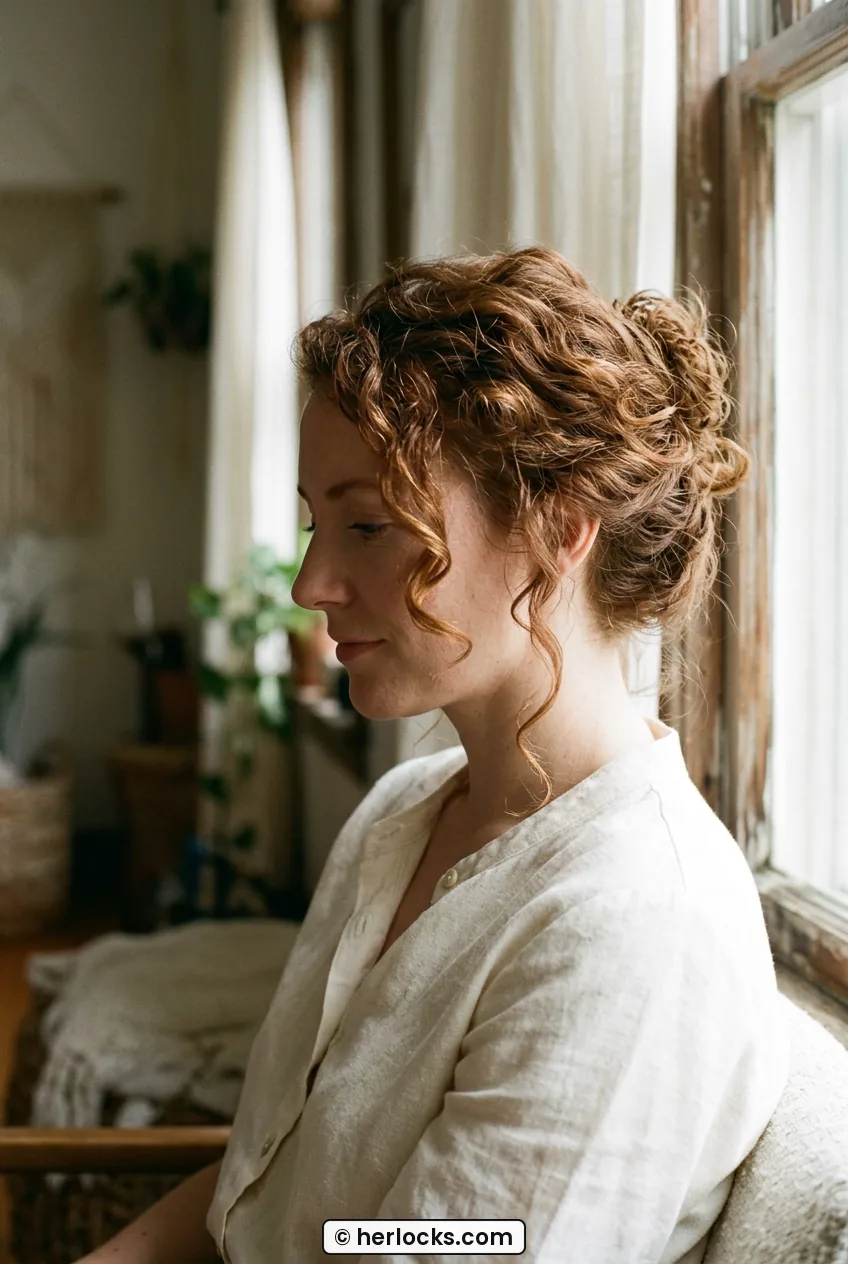
She is wearing hers exactly how I love for round faces and square faces alike, just skimming the cheekbone. That little angle softens everything without hiding your face. If your curls shrink up tight here, dampen your fingertips and gently pull the curl longer, then let it spring back on its own. Do not flat-iron these pieces, they will look disconnected from the rest.
For my medium-hair friends, do not pull these front curls too long or you thin out the back. For long-hair friends, you can afford a slightly longer tendril. A tiny dot of pomade rolled between fingers tames halo frizz here without making it crunchy. And if one side curls tighter than the other, welcome to my life, just pin the tighter side a touch higher so they look even in photos.
When I want a more romantic feel for date night, I borrow ideas from romantic curly updos for date night and leave the front even softer. Same steps, just less tucking. It is the same updo, different mood.
Step 5: Do Not Panic If It Looks Messy, Fix It Like This
Almost everyone hits a wobbly mirror moment here. The back feels lumpy, one side sticks out, you are sure everyone will notice. They will not. Grab your hand mirror and check the back in good light. What you are looking for is overall shape, round and soft, not each individual pin.
If you see a flat spot, slide a U-pin out halfway, puff the hair around it with your fingertip, and push the pin back in a new direction. If you see a big gap, pull a neighboring curl over it and pin just the underside. If the whole thing leans left, add one pin on the heavier side to lift it. Small moves fix big worries.
Do not add ten more pins out of fear. More pins often mean more slipping. I cap myself at about ten total. If it still feels insecure, the elastic underneath is probably too loose, not the pins. You can tighten just the elastic by shifting it up a quarter inch without redoing everything. Learning proper hold really helped when I read about pin techniques that grip curls and stopped crisscrossing everything.
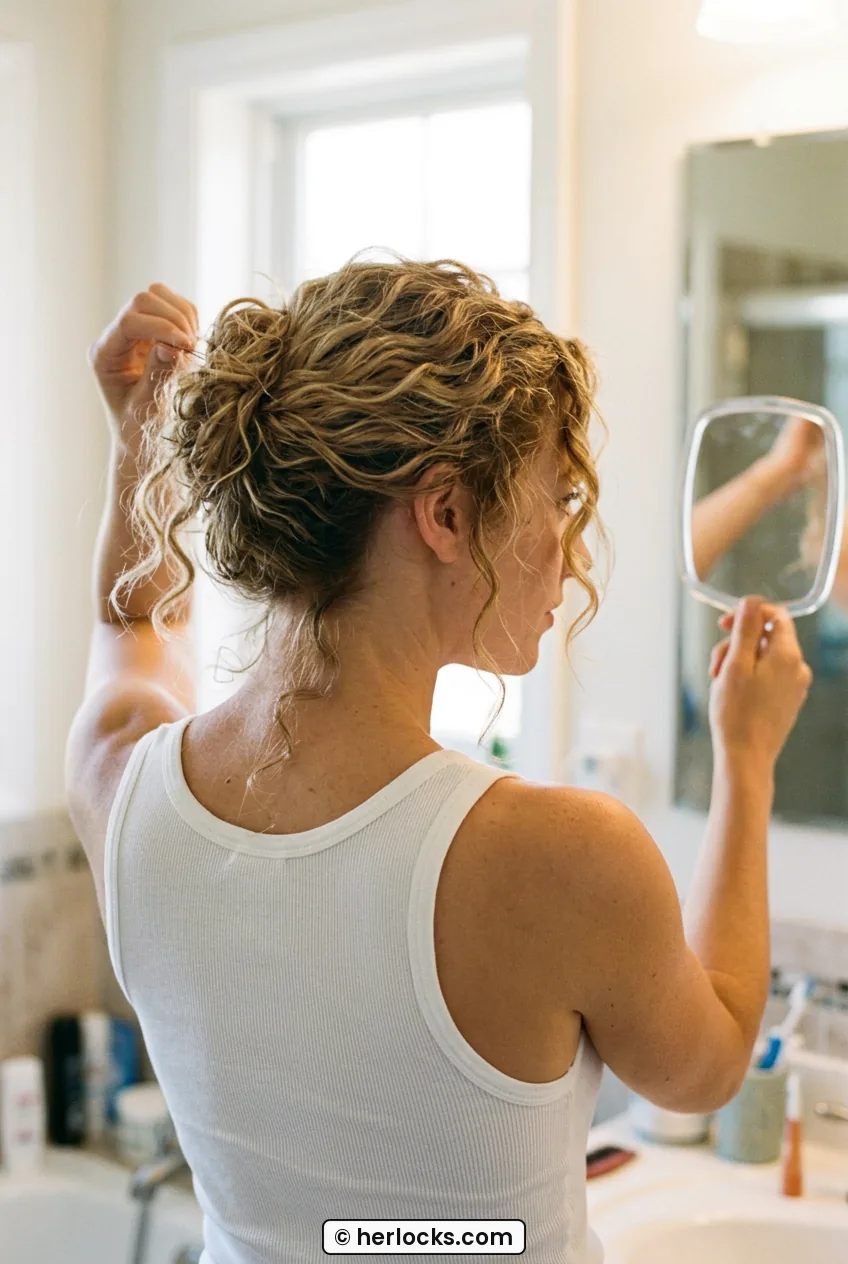
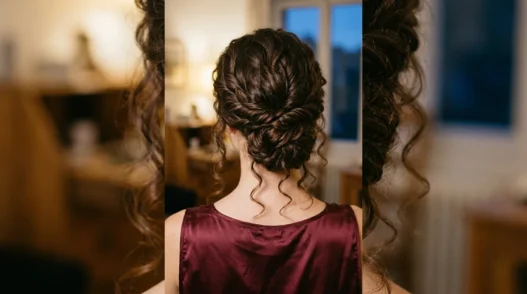
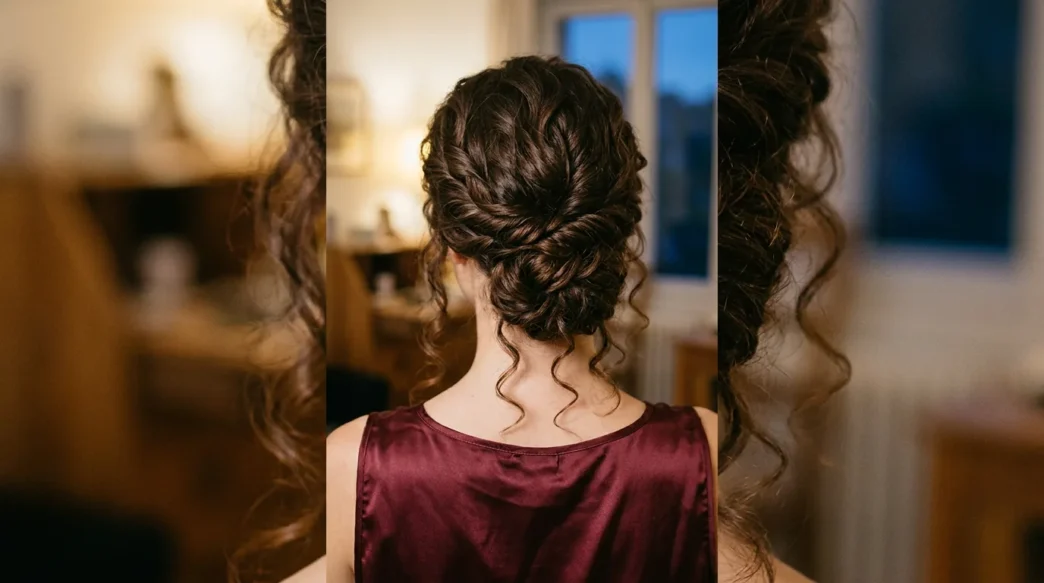
Look at the back view here, a little unevenness makes it look modern, not messy. I pancake, that is gently pull apart, two or three curls on the surface for fullness. If you have springtime humidity or fine hair that drops fast, this is when a light mist of texturizing spray helps. My spring version pulls from effortless curly updos for spring because that airy texture hides a multitude of lumps.
Step 6: You Did It, Lock It In for All-Day Hold
You are basically done, I promise. Hold your flexible hairspray about ten inches away and mist in a slow circle, not a direct blast. One light layer over the top, one underneath the nape where sweat likes to start. Let it dry for one full minute without touching. Touching wet hairspray creates those crunchy strings nobody wants.
Now do my three-point check: shake your head gently side to side, look down and back up, tuck an imaginary phone between ear and shoulder. If nothing shifts, you are set. If one curl bounces free, either pin it or declare it a face-framer. Both are correct.
For long wear, I carry two U-pins and a mini hairspray in my bag and forget about it. The beauty of a loose shape is it settles nicely. By hour six mine usually looks even better, a little softer around the face. If you are doing a permed style or heat-created curls for prom, the same lock-in works, I just add a touch more spray at the ends. I got that tip from browsing curly updos for permed styles and parties last year.
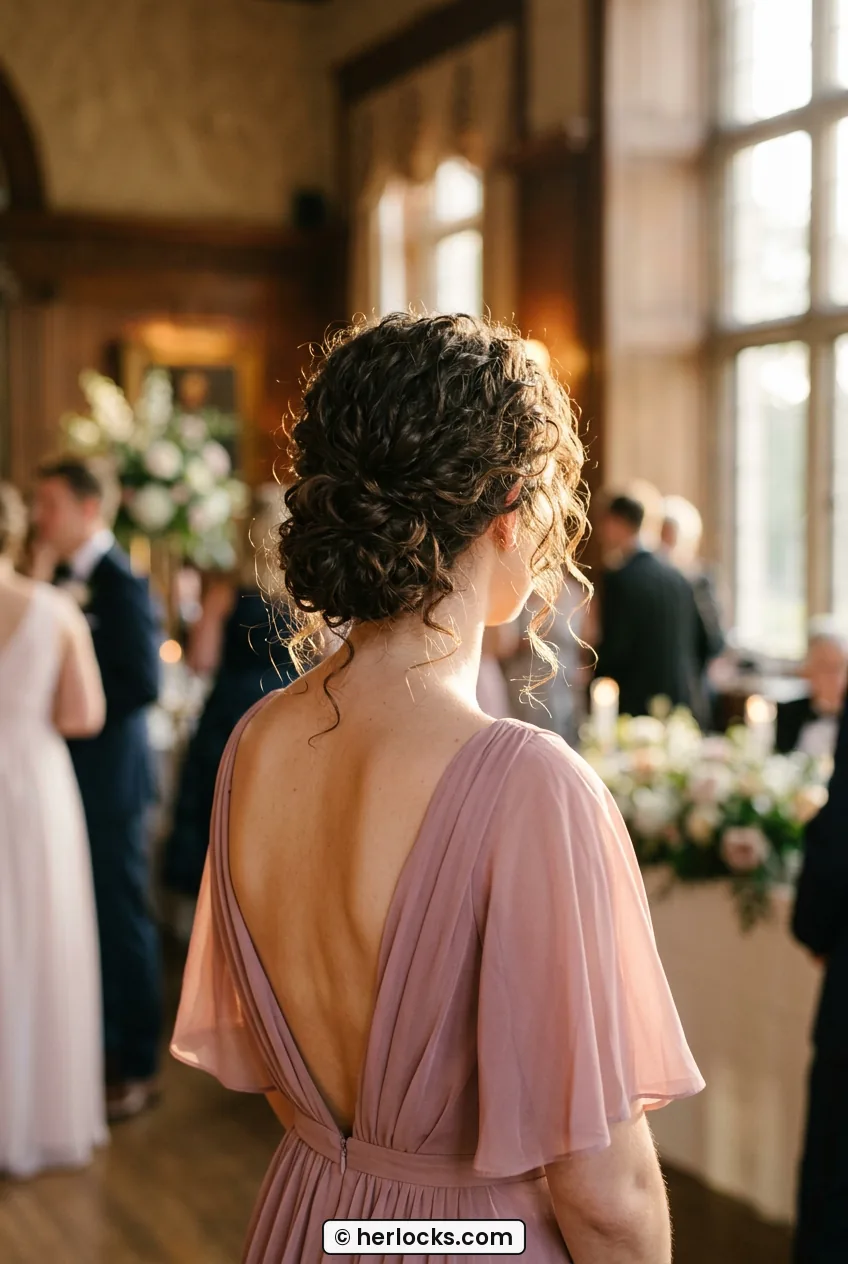
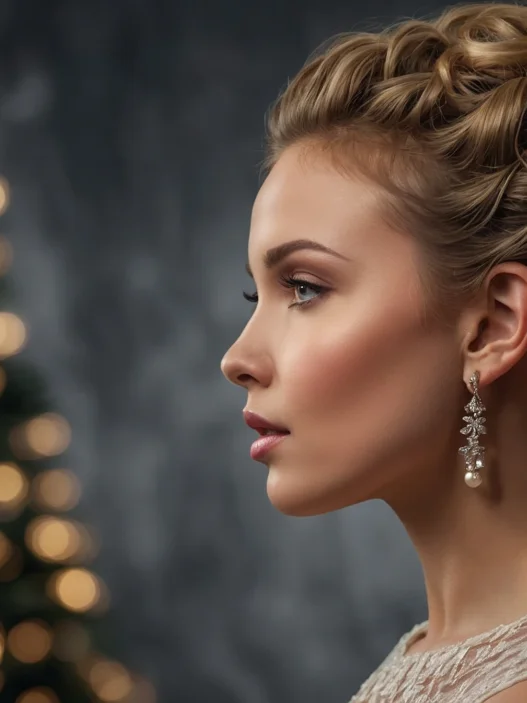
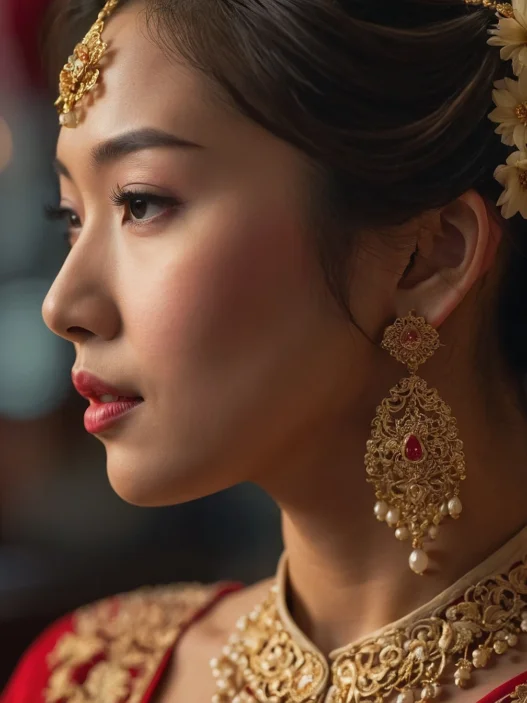
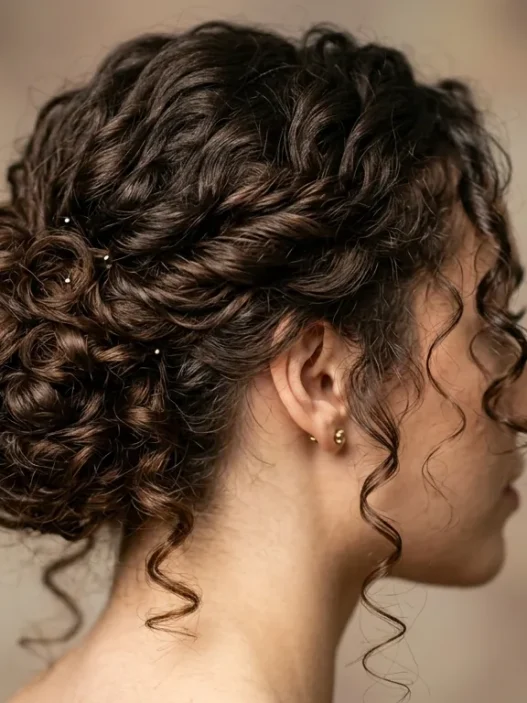
See her finished nape here? Soft, tucked, no visible elastic, a few fine strands left out. That is your target. Not helmet-tight, not falling apart. And if you are attending a cultural celebration and want more coverage or height, peek at curly updos for Asian weddings for ideas on adapting this same twist with a higher placement. The method stays the same, just the position changes.
When I wore this to that wedding I mentioned, I got through ceremony, photos in wind, and two hours of dancing without redoing it. My scalp was not sore, my curls were still curly when I took it down, and I did not use heat once. That is my kind of win. If I can do this with my frizzy, impatient, first-timer hands, you absolutely can too.
Curly Updo Questions I Hear All the Time
Can I do this curly hair updo style on freshly washed hair?
Yes, but add grip first. Fresh curls are slippery, so work in mousse at the roots and a little dry shampoo or texture spray before you pin. I also find that letting curls cool fully after diffusing stops them from stretching out in the twist.
How do I stop pins from sliding out of my curls?
Use U-pins instead of flat bobby pins for the main shape, and always catch a bit of scalp hair when you insert. Insert against the direction of the twist and give a little wiggle to lock. If your hair is very silky, a light mist of hairspray on the pin itself adds tack.
Will this work for medium hair or only long hair?
Both work, just with a tweak. For medium hair, keep your base a little higher and overlap the twists more so ends do not poke out. For long hair, fold ends under twice and add one extra pin per side. The overall look stays the same loose, full shape.
How do I make it last through humidity or dancing?
Keep the base elastic snug but not tight, use flexible-hold spray instead of heavy freeze, and leave the top slightly puffed so sweat does not flatten it. I also tuck a couple of extra U-pins in my purse. A quick puff and re-pin in the bathroom takes thirty seconds.
Try it this weekend when you have nowhere to be. Put on a podcast, give yourself twenty minutes, and take a photo from the back. Mine was lopsided the first time and cute the second. You have got this.