


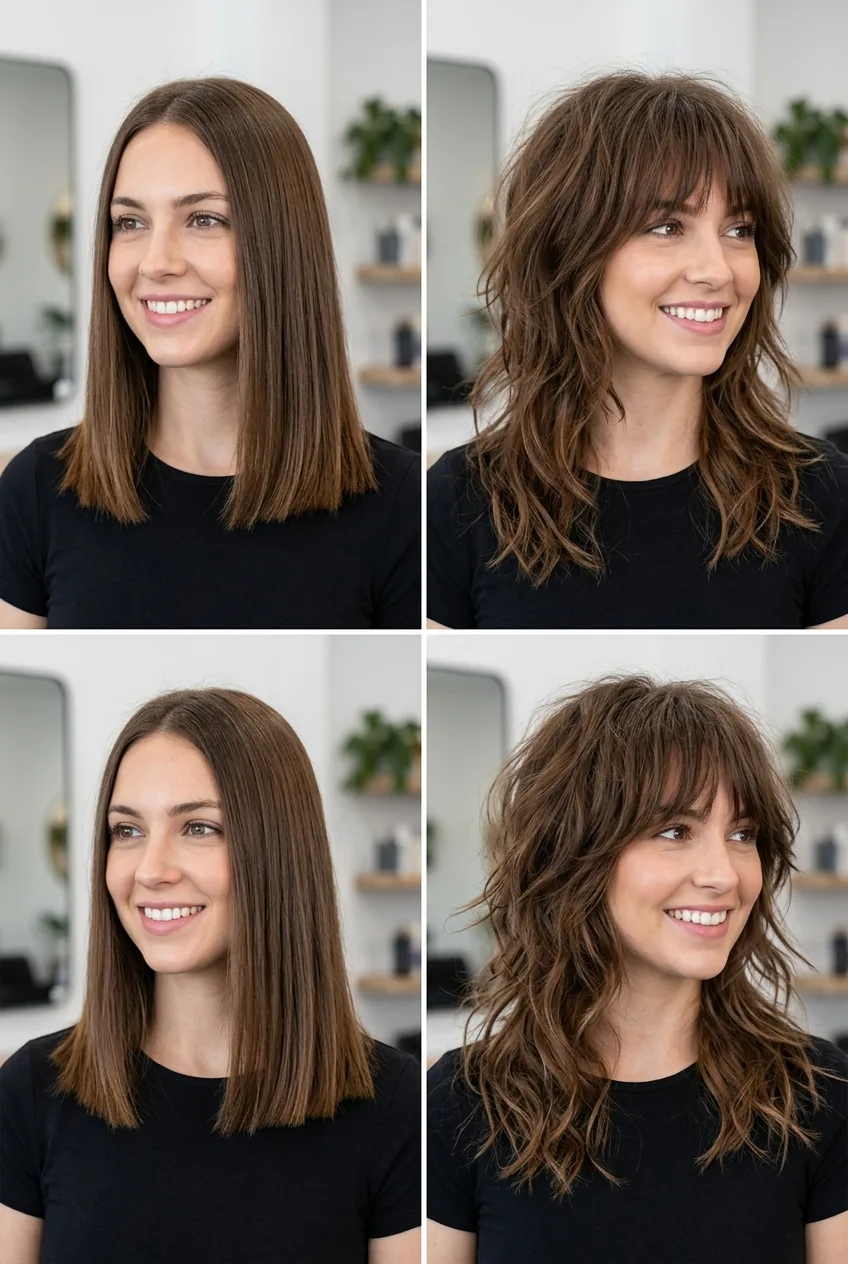
I’ve been cutting my own hair for years, but my shaggy wolf cuts always looked… amateur. The layers were too chunky, the texture felt forced, and it definitely didn’t have that effortless, lived-in vibe I saw on Instagram. Then I watched my stylist work her magic during my last appointment and realized I was missing the entire foundation of how professionals approach this cut.
What Professionals Do Differently
Here’s what I learned: most people think a shaggy wolf cut is just “layers with more texture.” Wrong. Professionals build this cut in zones, not layers. They create intentional disconnections that make the hair move independently instead of following one uniform shape.
The biggest difference? They never cut all the layers at once. Instead, they section the hair into face-framing zones, crown zones, and length zones — then treat each area with different cutting techniques. This creates that signature “undone” texture that looks effortless but is actually incredibly precise.
And here’s the kicker: they use at least three different cutting tools in one session. Scissors for length, razors for movement, and thinning shears for texture. Most of us try to do everything with regular scissors and wonder why it looks flat.
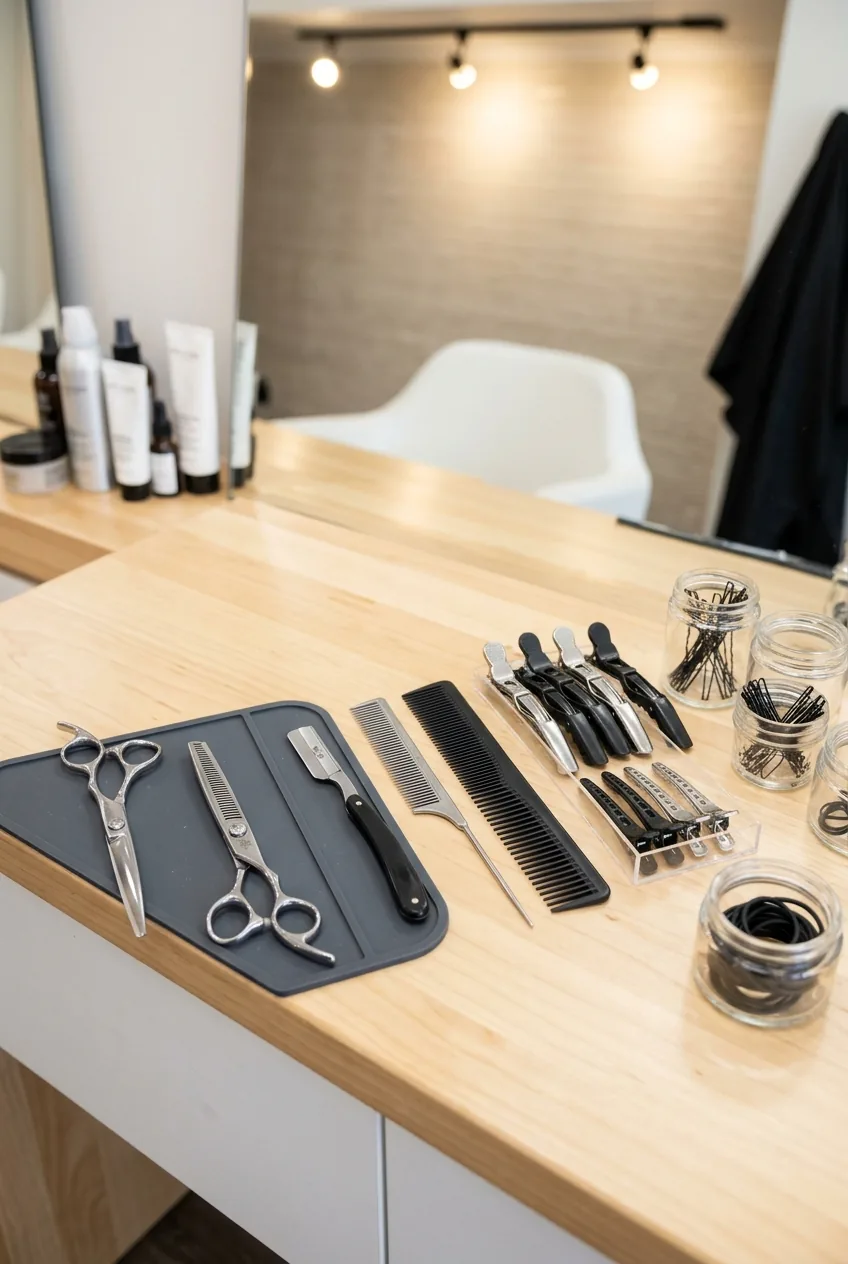
What You’ll Need for the Pro Method
Professional stylists don’t wing it with whatever tools they have lying around. Here’s what actually makes the difference:
- Sharp haircutting scissors (6-inch professional grade — drugstore scissors will crush your hair)
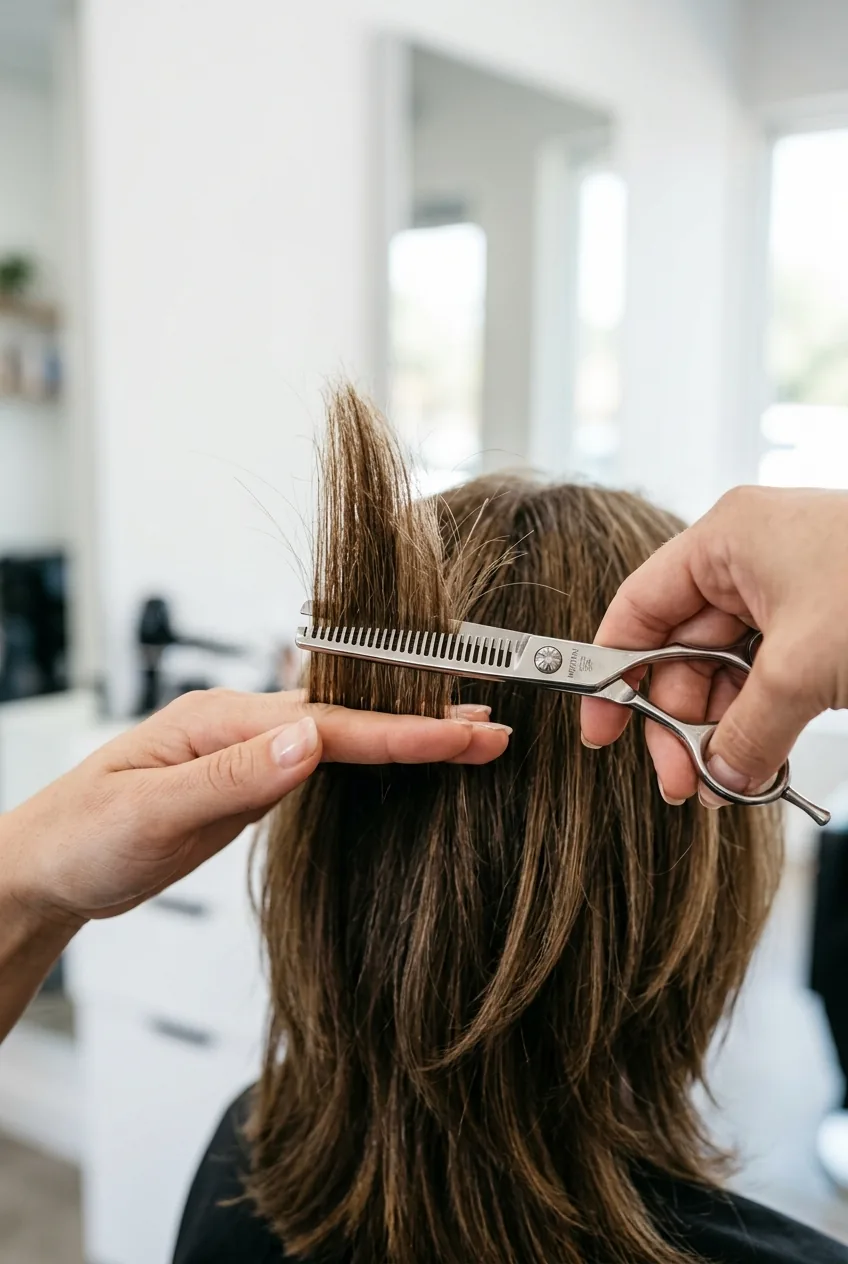
- Thinning shears with 30-35 teeth (the number matters for texture control)
- Hair razor or feathering razor for movement
- Sectioning clips (at least 6 — you’ll need more than you think)
- Fine-tooth comb for precise parting
- Spray bottle with water
- Hair elastic for securing sections
- Handheld mirror to check the back
Don’t try to substitute tools here. I learned that lesson the hard way when I used kitchen scissors and ended up with damaged ends that took months to recover from.
Step 1: Create the Foundation Cut
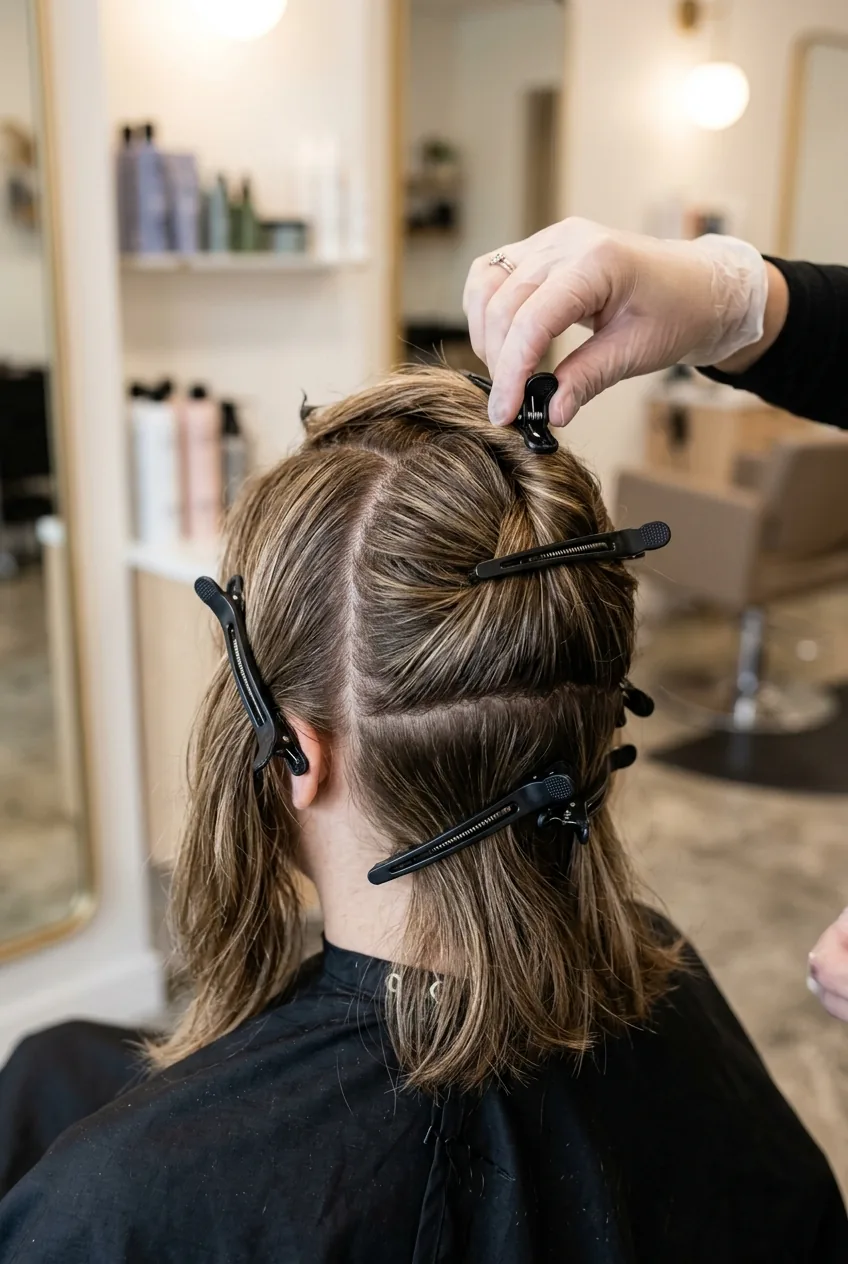
Before any texturizing happens, you need a solid base shape. Start with damp hair — not soaking, just lightly misted. Section off the top crown area from ear to ear, securing it with clips.
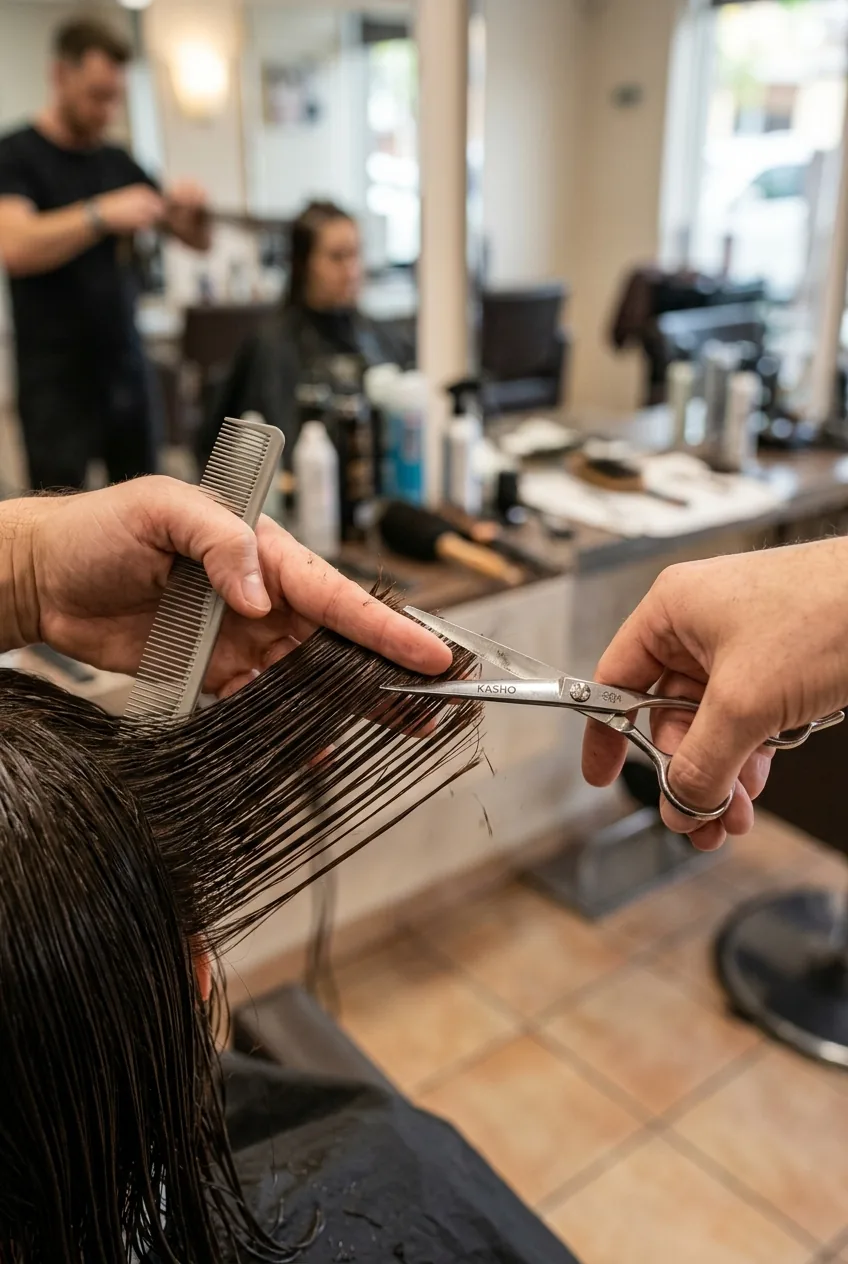
Create your perimeter length first. For a true wolf cut, this should hit somewhere between your collarbone and mid-chest. Cut straight across initially — we’ll add all the texture and movement in later steps. This foundation gives you something to work with instead of trying to create shape and texture simultaneously.
The key here is restraint. Cut conservatively because you can always take more length off, but you can’t put it back. I always cut about an inch longer than my final desired length at this stage.
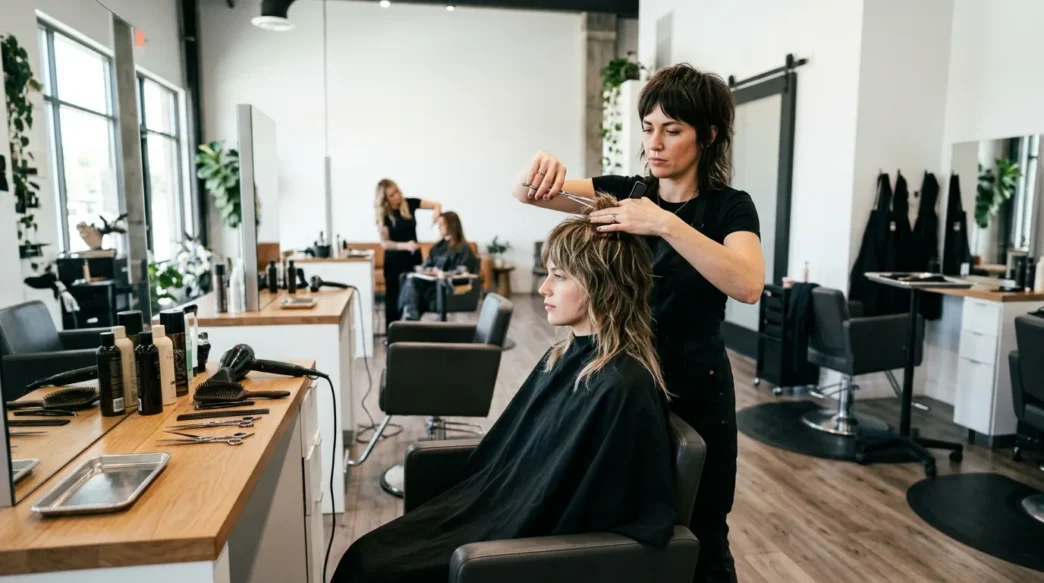
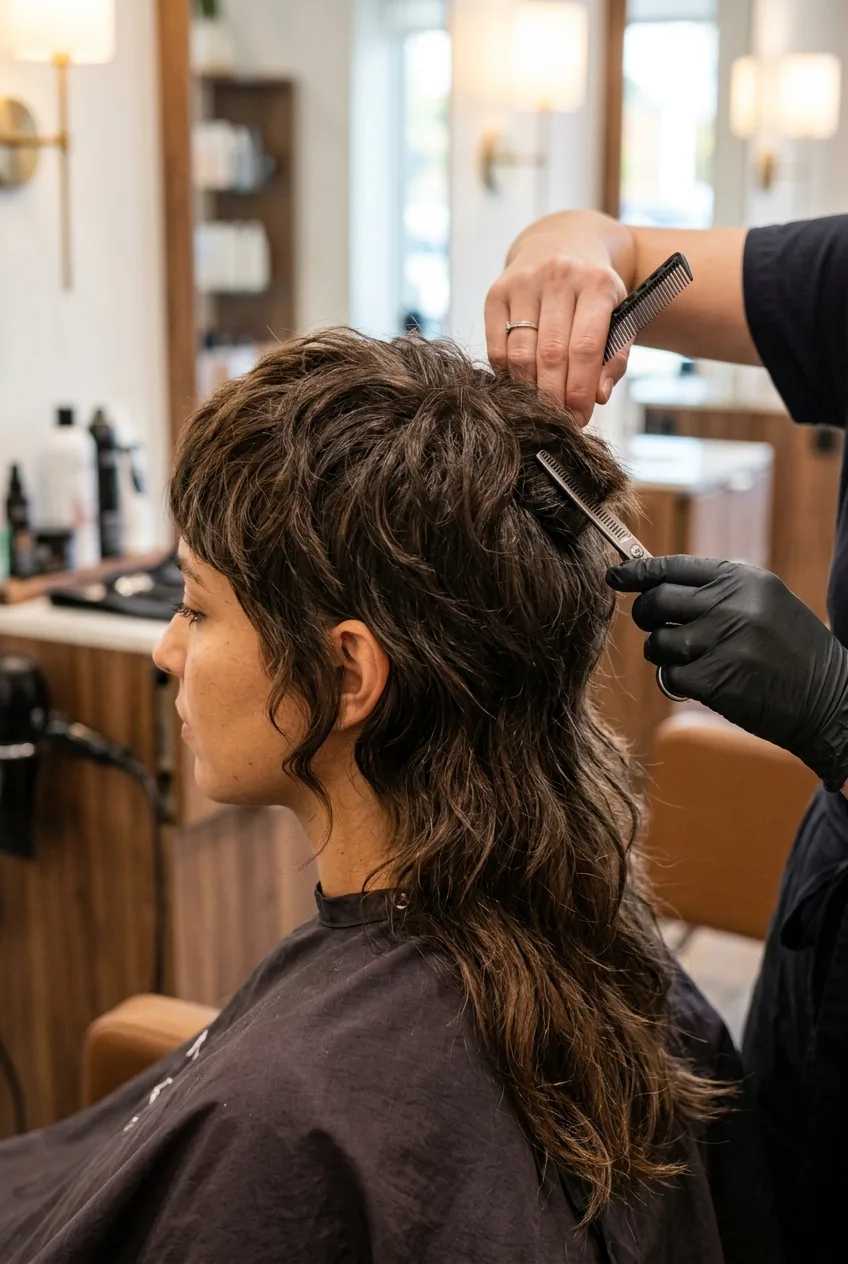
Step 2: Map Your Face-Framing Zones
This is where professionals separate from amateurs. Instead of randomly cutting layers, they map out specific zones based on your face shape and natural hair growth patterns.
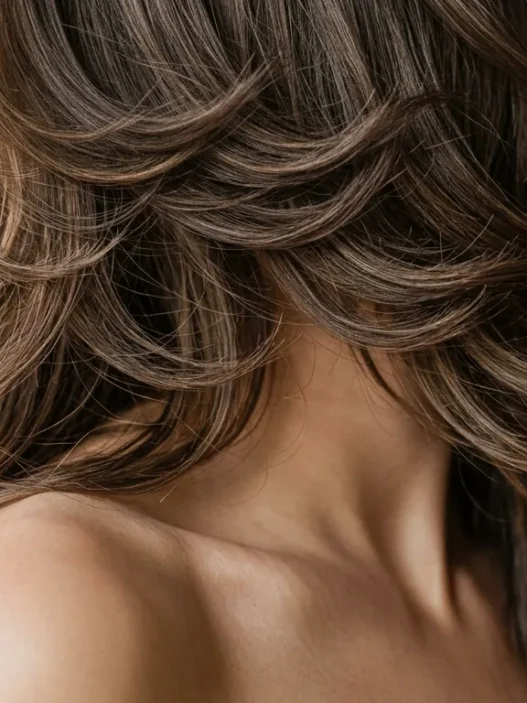
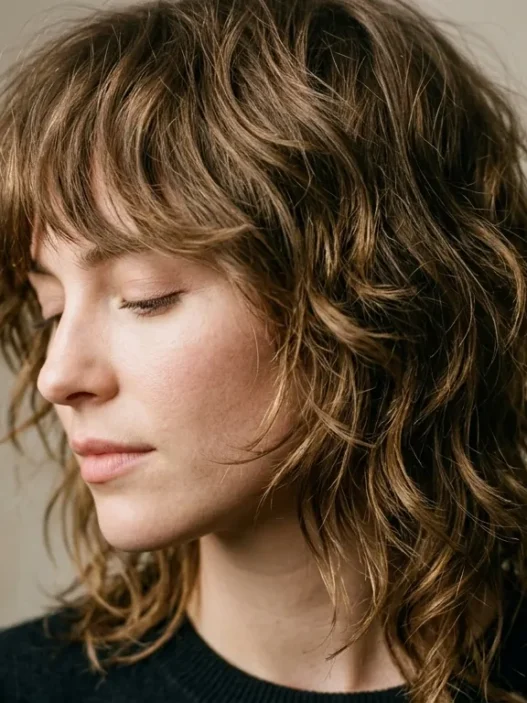
Create a horseshoe section from your temples, going over the crown and connecting at the back. This becomes your “wolf” section — the shaggy, textured layers that give the cut its name. The hair underneath stays longer and provides weight.
Within that horseshoe section, identify three sub-zones: face-framing pieces (temple to ear), crown volume area, and nape connection point. Each zone gets cut to different lengths to create that signature choppy, lived-in texture.
My biggest mistake was trying to cut everything at once without mapping zones first. I ended up with a bowl cut with some random shorter pieces — definitely not the edgy wolf cut I was going for. Take time with the sectioning.
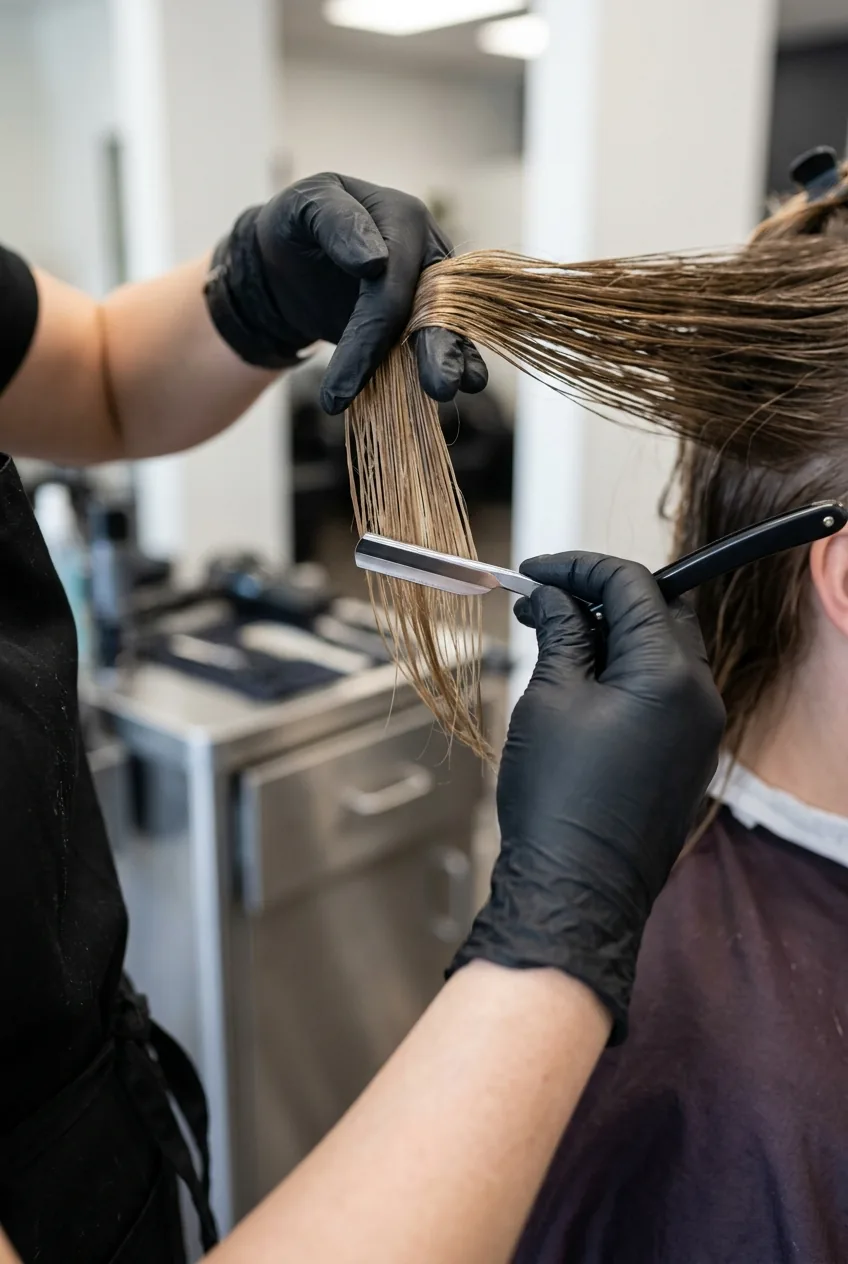
Step 3: The Razor-Cutting Technique
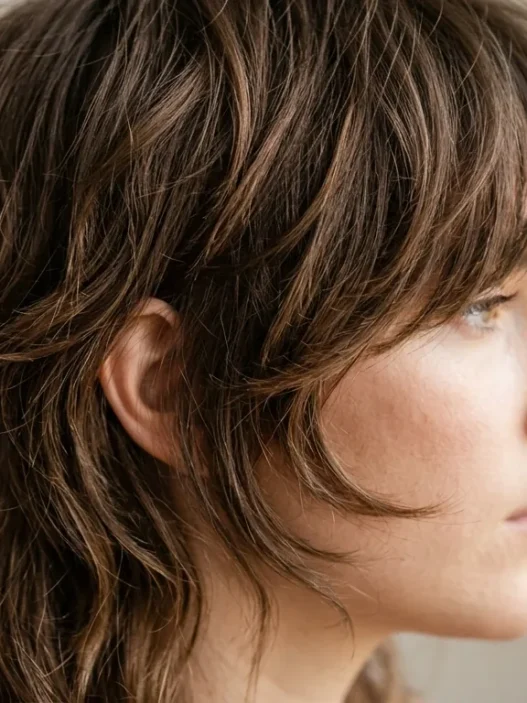
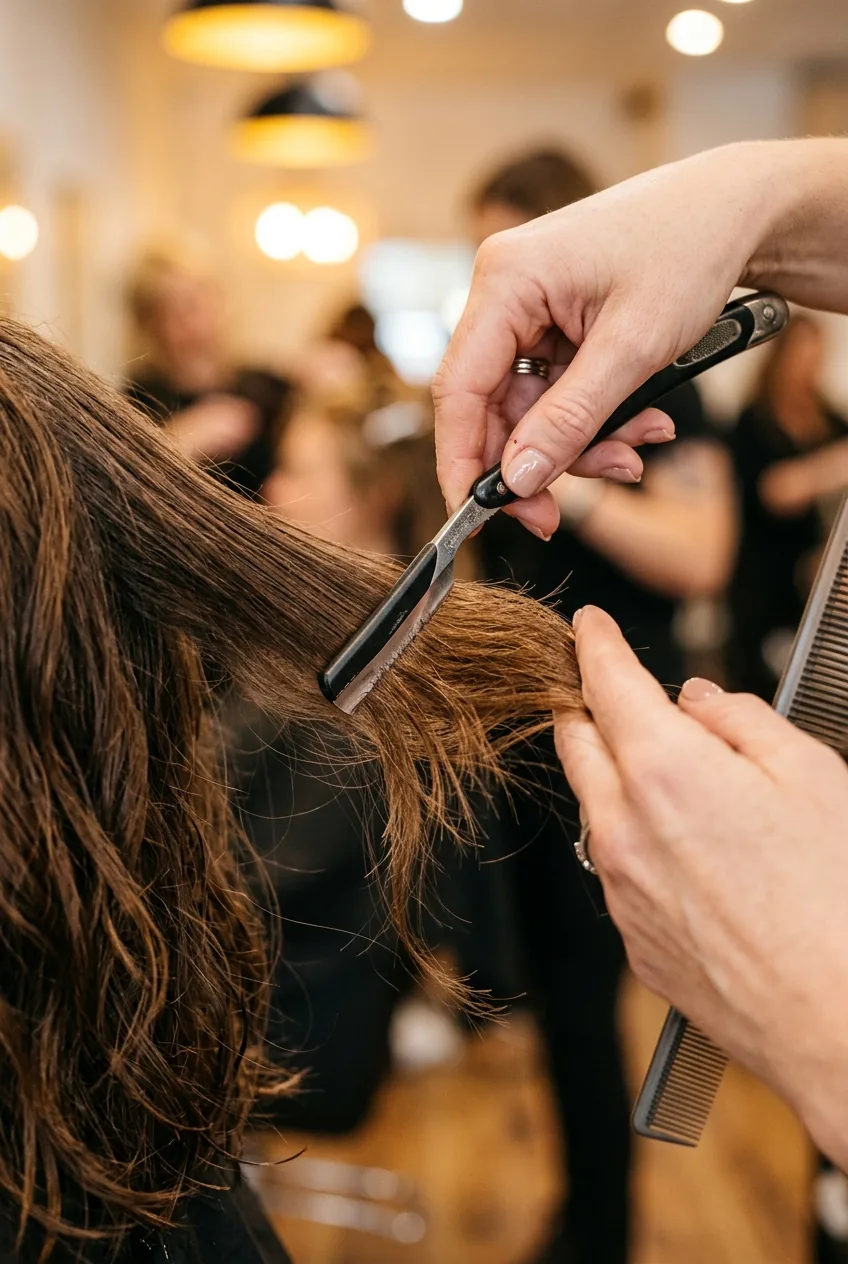
Now comes the magic. Working with the face-framing sections first, use the razor to create soft, feathered ends instead of blunt cuts. Hold small subsections at a 45-degree angle and gently slide the razor down the hair shaft, creating natural-looking tapered ends.
The movement should be light and quick — heavy pressure will create too much texture and make the hair look damaged. Start about 2 inches from the ends and work in short, swift motions. This creates those wispy, effortless-looking pieces that frame your face.
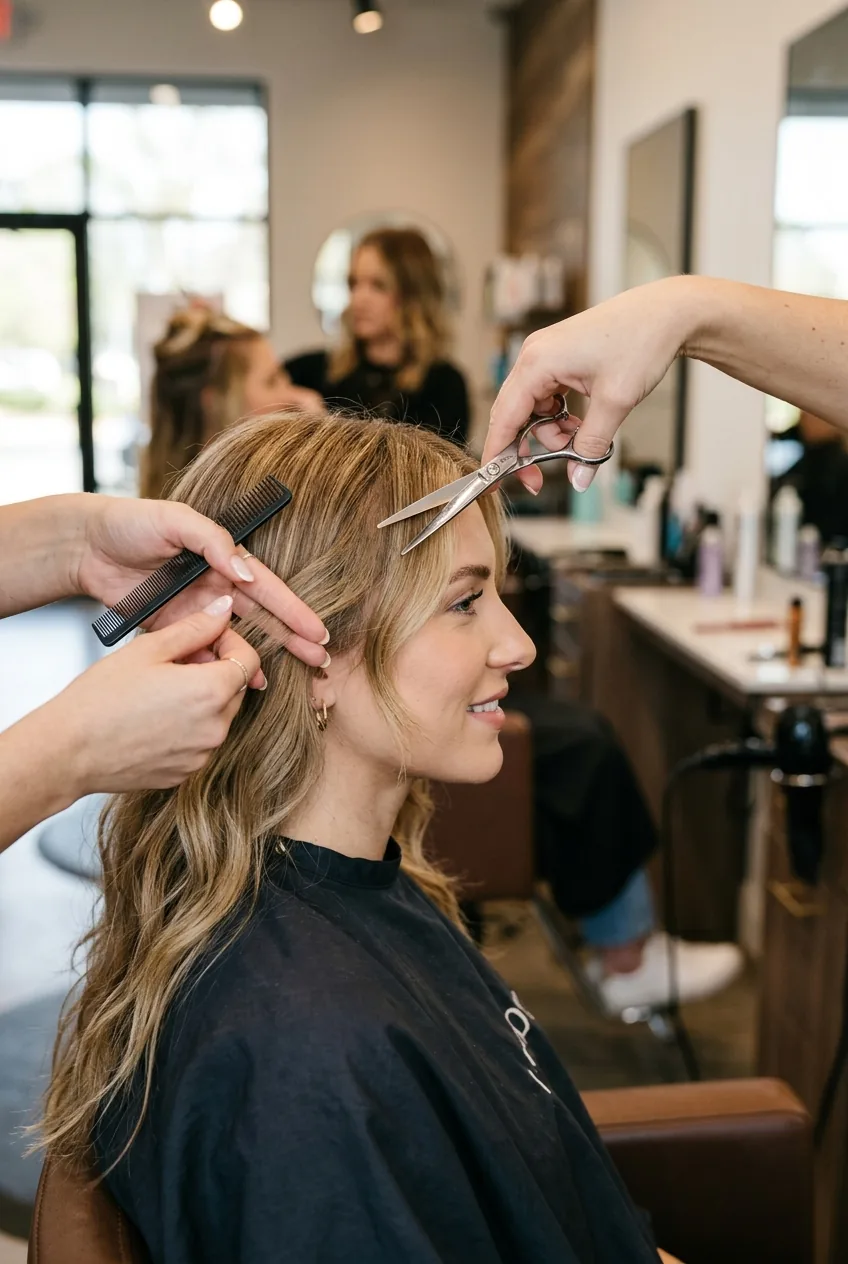
Work systematically through your mapped zones. The face-framing pieces should be the shortest, gradually getting longer as you move toward the back of your head. This creates natural movement and prevents the cut from looking too uniform.
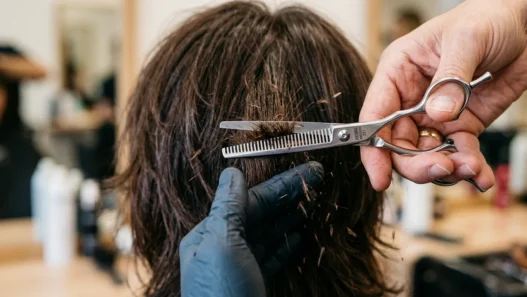
Step 4: Thinning Shear Mastery
Here’s where most people go wrong — they use thinning shears randomly throughout the hair. Professionals are strategic. They use them primarily in the mid-lengths to remove bulk while maintaining length.
Position the thinning shears about 3-4 inches from the ends, perpendicular to the hair shaft. Make 2-3 quick snips, then move to the next section. The goal is to create internal texture, not to thin out the ends (that’s what the razor was for).
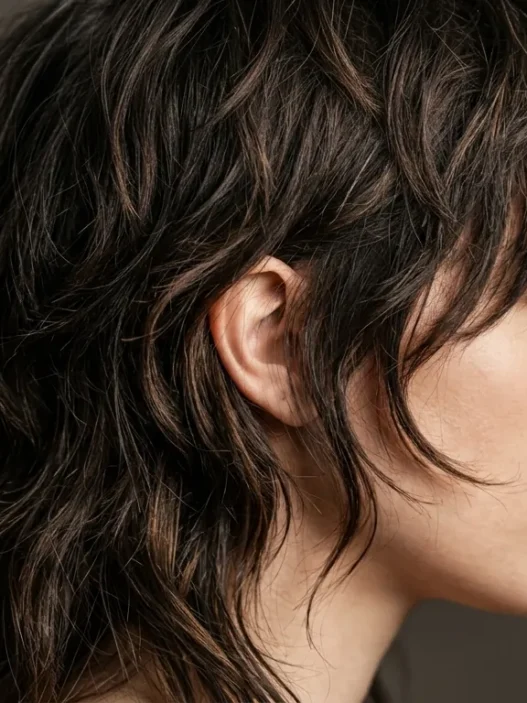
Focus on areas where your hair feels heavy or where layered cuts for thick hair tend to lose movement. For most people, this is the area around the ears and the back of the crown. But don’t overdo it — less is more with thinning shears.
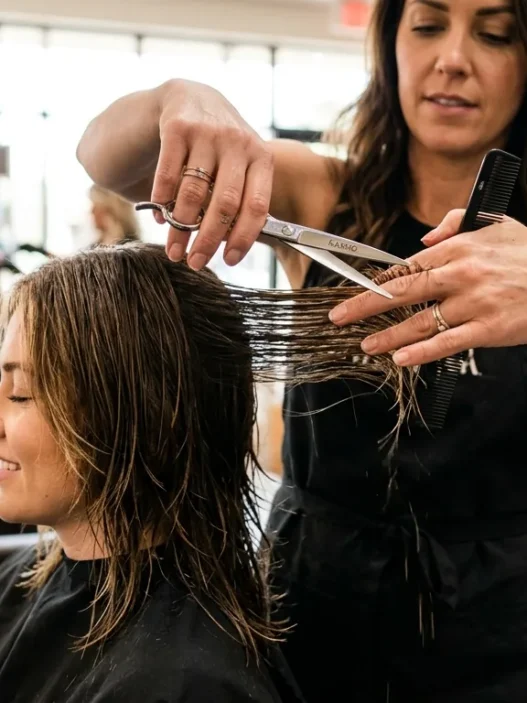
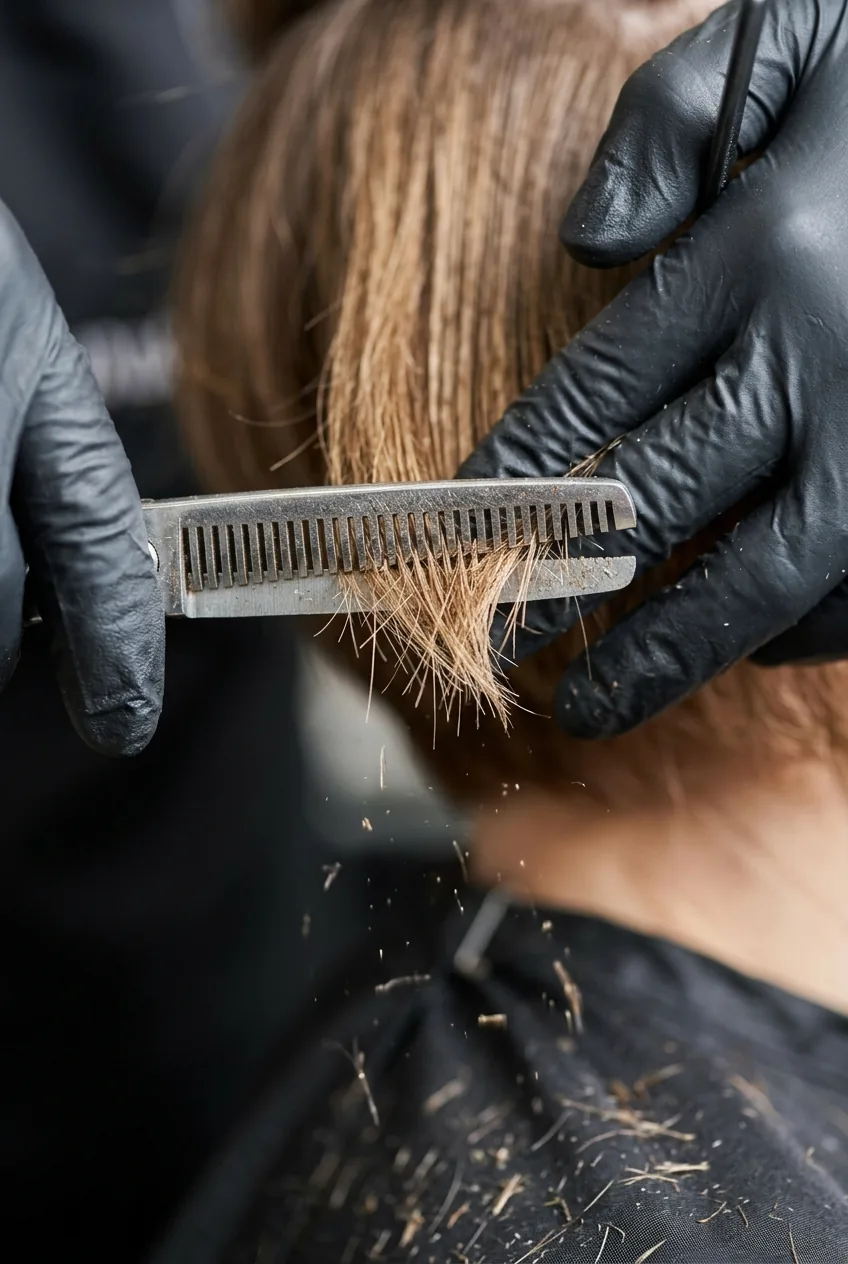
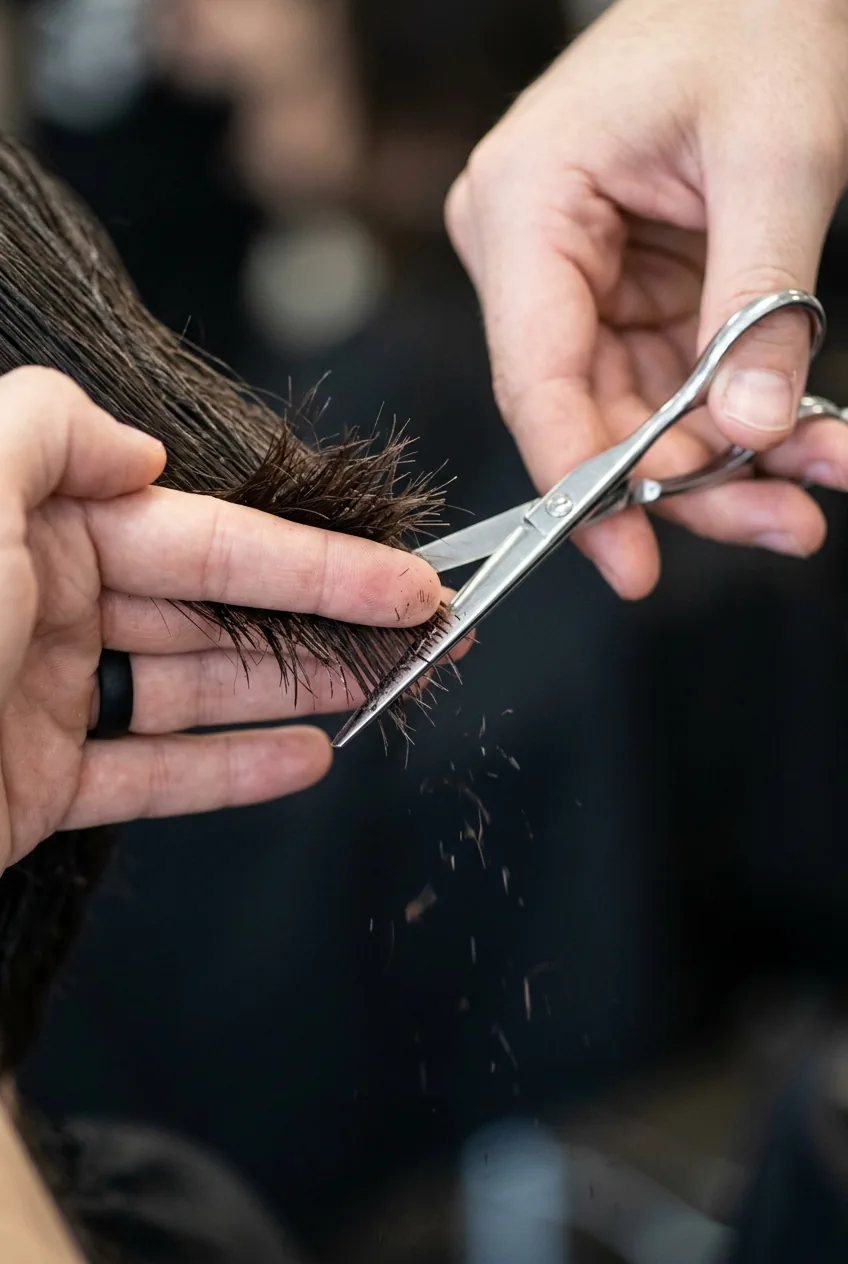
See the Technique in Action
Step 5: The Disconnection Method
This is the professional secret that creates that signature “wolf” texture. Instead of blending all your layers smoothly, you intentionally create disconnections — areas where shorter pieces sit on top of longer pieces without connecting.

Take small vertical sections from your crown area and cut them significantly shorter than the hair underneath — think 2-3 inches difference. These shorter pieces will flip and move independently, creating that shaggy, untamed texture.
The key is randomness. Don’t make every disconnection the same length or space them evenly. Varying the placement keeps it from looking too calculated or geometric.
Step 6: Texture Finishing Touches
The final step separates good shaggy wolf cuts from great ones. Use your regular scissors to add tiny, strategic notches throughout the cut. These micro-disruptions in the hair create more movement and prevent any section from looking too heavy or blunt.
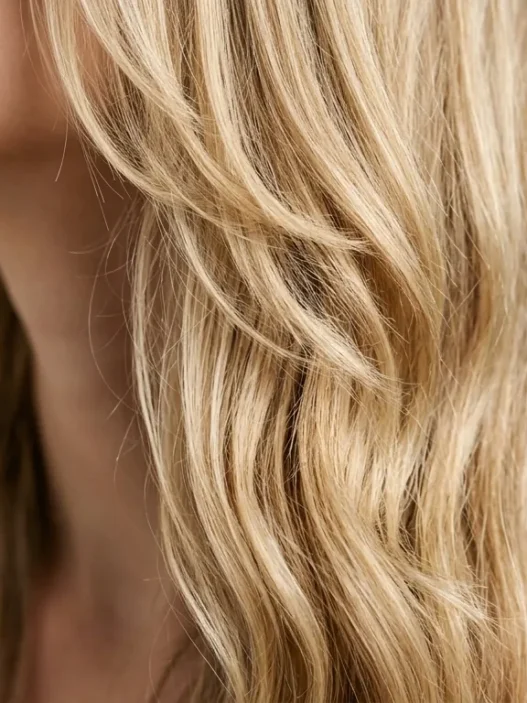
Focus on the ends of your longest layers and any areas that still feel too uniform. Make small, angled cuts into the hair — not straight across. This technique, called point cutting, softens harsh lines and adds that perfectly imperfect finish.
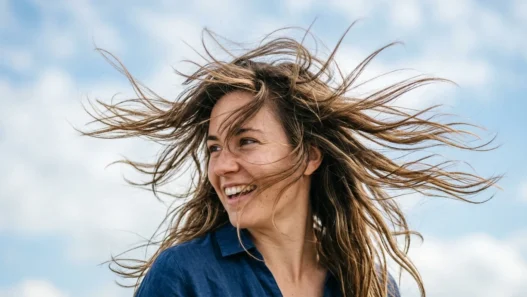
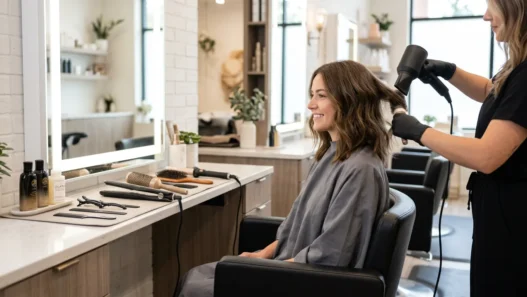
Style with your fingers while your hair is still slightly damp, scrunching in some texturizing cream or sea salt spray. The cut should look intentionally messy, with pieces falling at different lengths and angles.
Questions I Always Get About This
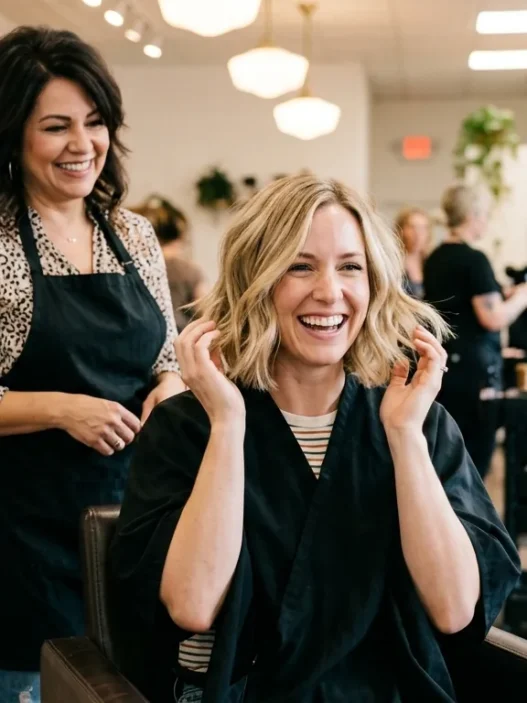
Can I really do this myself at home?
Yes, but start conservatively and work in good lighting. The back sections are tricky, so consider having a friend help or starting with just the face-framing pieces to get comfortable with the techniques.
How often does a shaggy wolf cut need maintenance?
About every 8-10 weeks, which is longer than most layered cuts. The intentionally messy texture actually looks better with some growth, so you don’t need to be as precise with timing.
What if I mess up a section?
The beauty of this cut is its forgiving nature. If one area goes too short, you can create more disconnections around it to make it look intentional. That’s exactly what happened to me with my crown section.
Does this work on all hair types?
It works best on medium to thick hair with some natural texture. Fine, straight hair might not hold the shape as well, and very curly hair can be unpredictable with razor cutting.
I’m honestly obsessed with how this turned out. My hair has that perfectly undone, rock-chic vibe that I was chasing for months. The best part? It looks different every time I style it, depending on how I scrunch it or where I part it. Finally feels like the effortless-but-edgy look I’ve been wanting.