

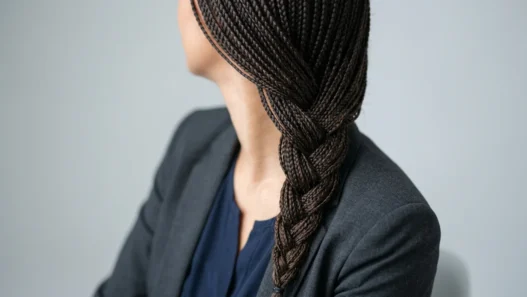


I used to think my chin-length bob was too short for any kind of braiding. Every tutorial I watched seemed designed for women with hair down to their waist. But after months of trial and error (and way too many bobby pins), I finally cracked the code for creating gorgeous braids on short bobs. The secret isn’t length — it’s technique.
What You’ll Need
Before we dive in, let me tell you exactly what’s in my braiding toolkit. I’ve tried fancy products, but honestly, the basics work best:
- A fine-tooth comb (the pointy end is crucial for clean parts)
- Small clear elastic bands — at least 6 of them
- Bobby pins that match your hair color (I buy them in bulk)
- Light-hold texturizing spray
- A small hand mirror for checking the back
- Hair clips to section off pieces
- Flexible hold hairspray
The texturizing spray is my secret weapon. It gives short hair just enough grip without making it sticky or crunchy.
Step 1: Prep and Section
Start with slightly damp hair — not soaking wet, but with just enough moisture to keep flyaways down. I usually mist my hair lightly if it’s completely dry. Then work that texturizing spray through your bob from roots to ends.

Now comes the sectioning, which is where most people mess up. Instead of trying to braid your entire bob at once, you’re going to work in horizontal layers. Part your hair ear to ear, creating a top section and bottom section. Clip the top section up and out of the way.
The bottom section should be about two inches wide all the way around your head. This becomes your foundation layer — the base that everything else builds on.
Step 2: Create Anchor Points
This step separates amateur braiders from the pros. You need to create “anchor points” — small sections of tightly secured hair that will hold your braids in place even when the rest of your hair wants to slip out.
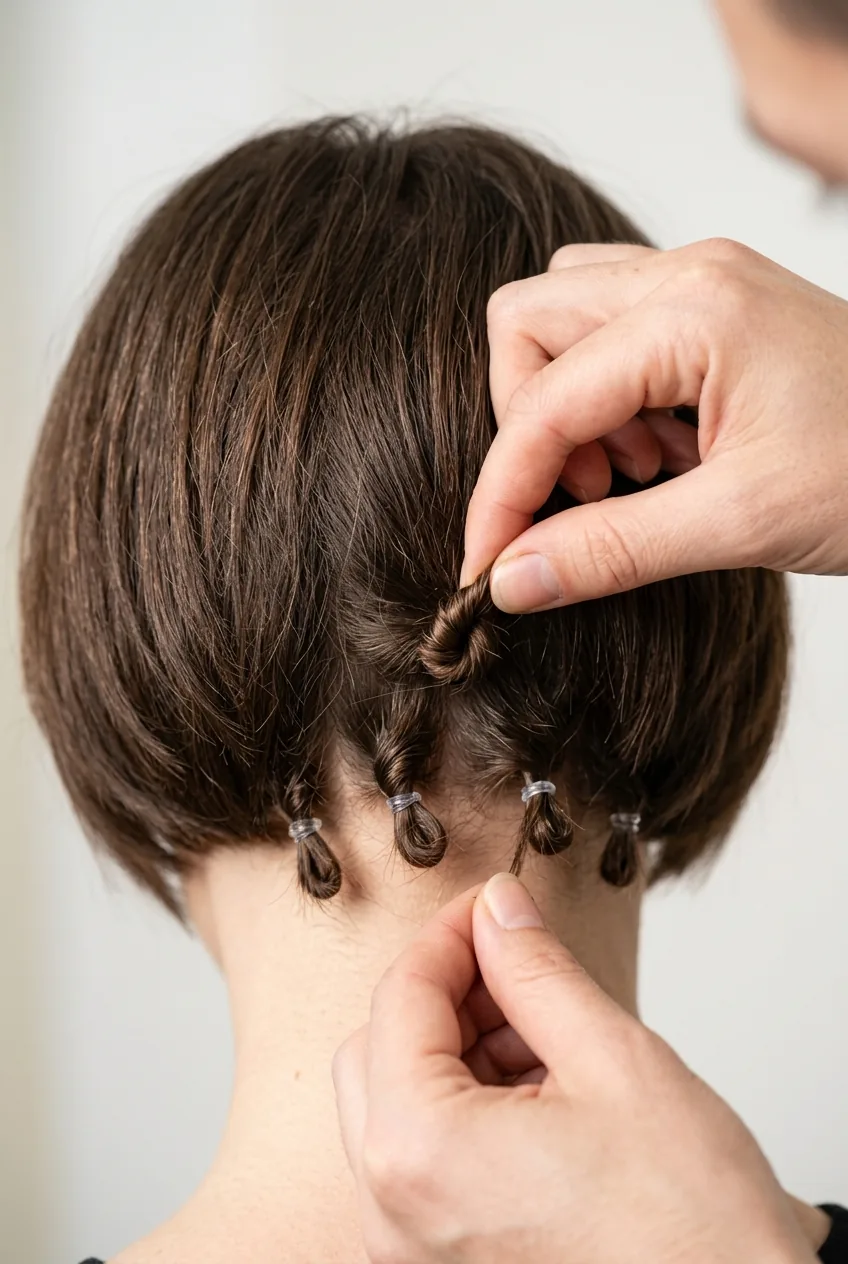
Take a small section at your nape, about the width of your pinky finger. Twist it tightly and secure with a small clear elastic about halfway down the strand. Do this in three spots across the back of your head, spaced evenly apart.
These anchor points might look weird right now, but trust me. They’re going to disappear into the final style and provide the stability that makes short bob braids actually work.
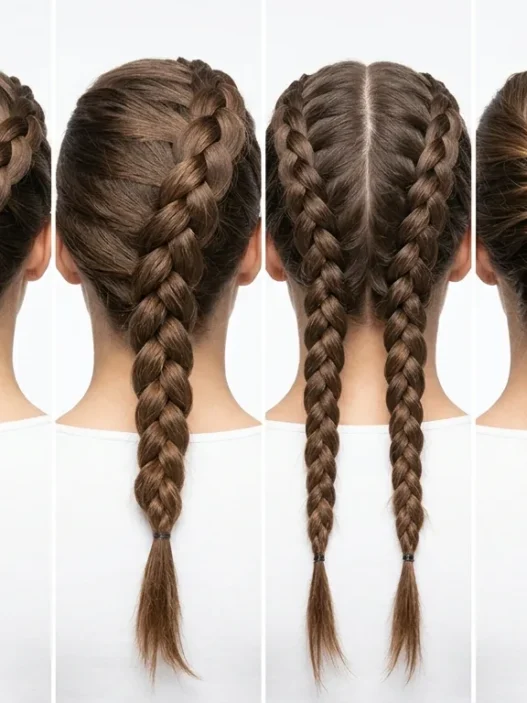
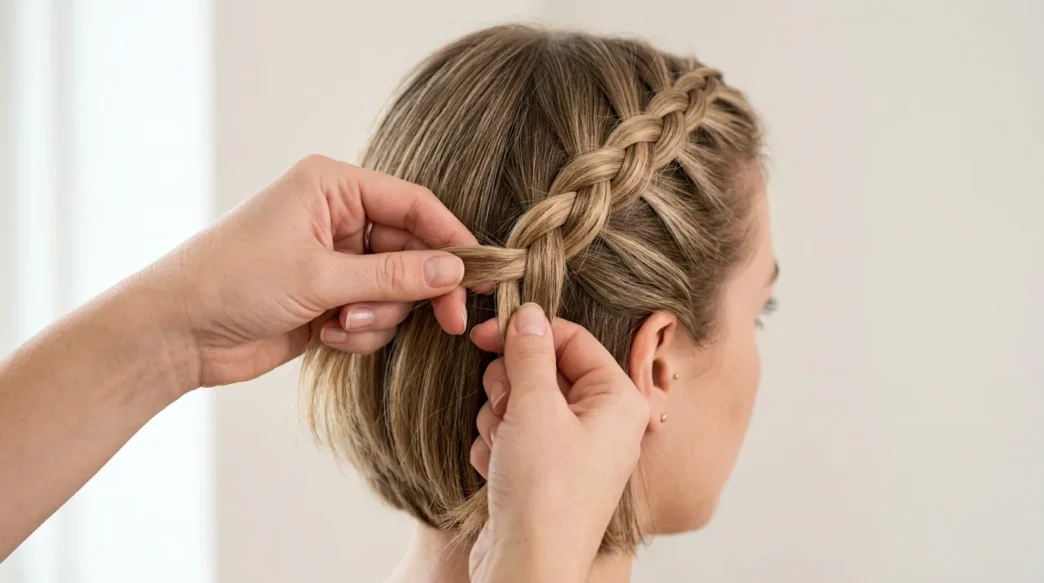
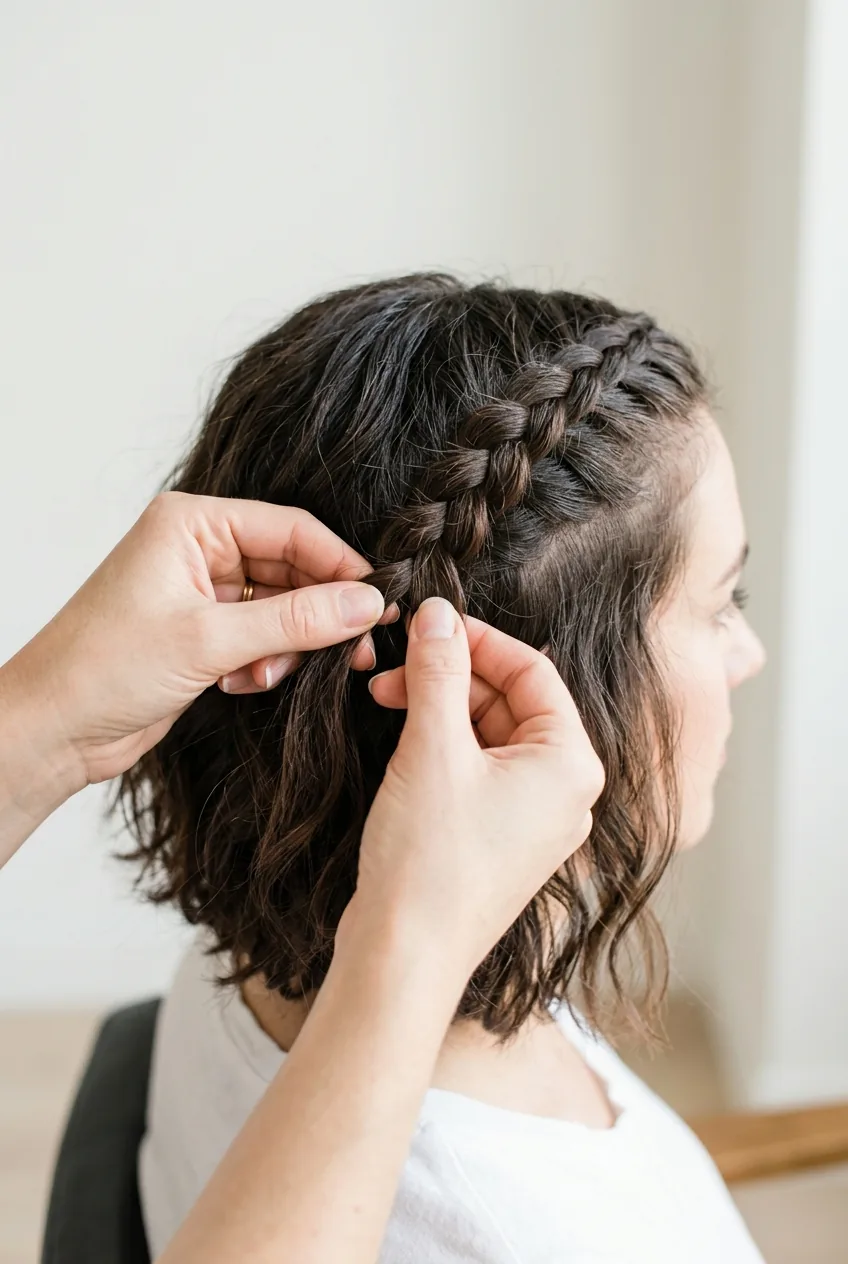
Step 3: Start the Base Braid
Now we’re getting to the fun part. Starting at one of your anchor points, gather a section about an inch wide that includes the anchored hair. Divide this into three equal strands.
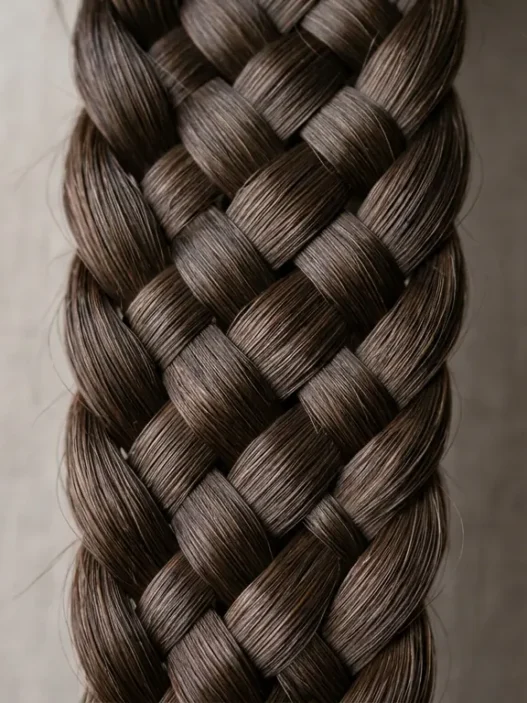
Begin braiding normally — right over middle, left over middle. But here’s the key: keep the braid loose for now. We’re not going for tight and perfect yet. Think of this as your rough draft.
Braid down as far as your hair length allows. With a chin-length bob, you’ll probably get about two or three crossovers before you run out of hair. That’s completely normal and exactly what we want.
Step 4: Add Hair Gradually
This is where the magic happens, and honestly, where I struggled the most when I was learning. Instead of trying to add big chunks of hair like you would with long hair, you’re going to add tiny wisps at a time.
Take hair from the section you clipped up earlier — just a few strands at a time. Incorporate these into your existing braid by weaving them in with each crossover. The key is patience. I used to rush this step and end up with lumpy, uneven braids that fell apart within an hour.
My biggest mistake was trying to add too much hair at once. I’d grab these huge chunks and wonder why my braids looked bulky and weird. Small additions create that seamless, polished look you’re after.
Keep working around your head, following the same pattern at each anchor point. The goal is to create multiple small braids that will eventually connect into one cohesive style.
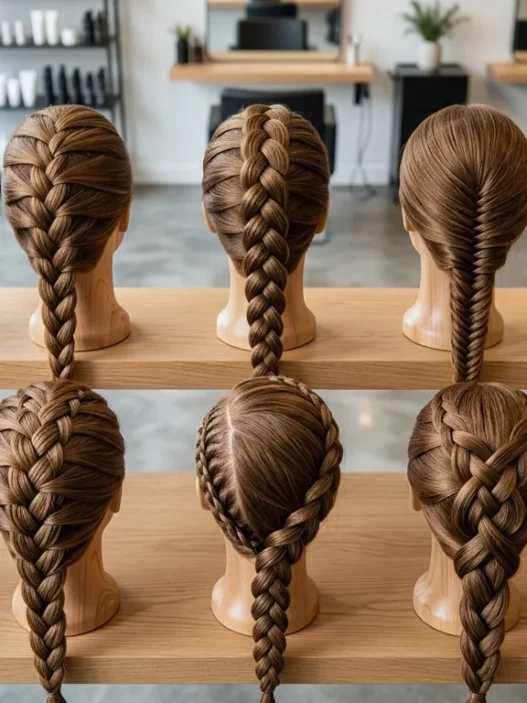
Watch This Technique in Action
Step 5: Secure the Ends
Short hair has a sneaky way of slipping out of braids right at the ends. This is where those bobby pins become your best friend. Instead of just using an elastic band, you’re going to create a double-security system.
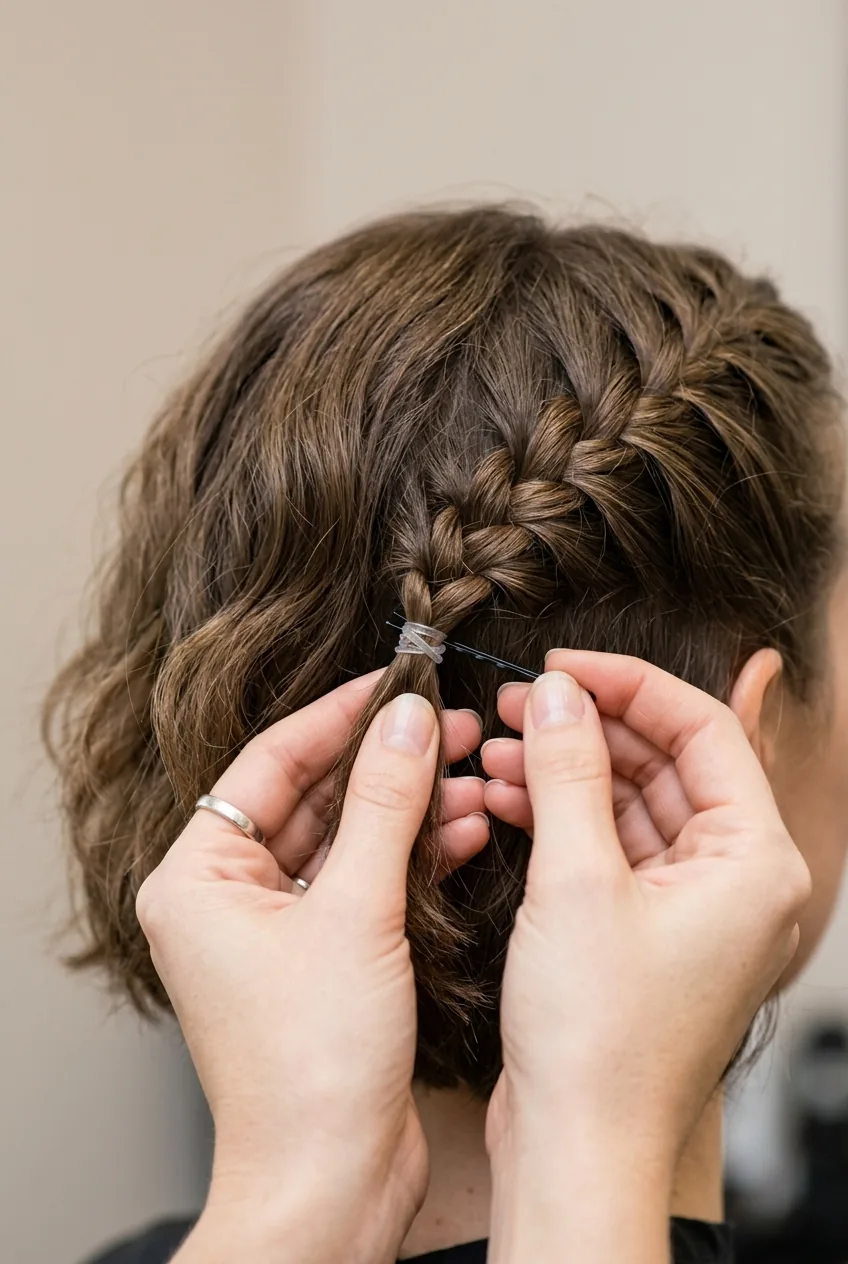
First, secure each braid with a small clear elastic. Then take a bobby pin and slide it through the elastic and into the hair above it. This creates an anchor that prevents the elastic from sliding down your short strands.
For extra security on really short pieces, I sometimes twist the very ends around the bobby pin before securing. It sounds complicated, but once you get the hang of it, the whole process takes about thirty seconds per braid.
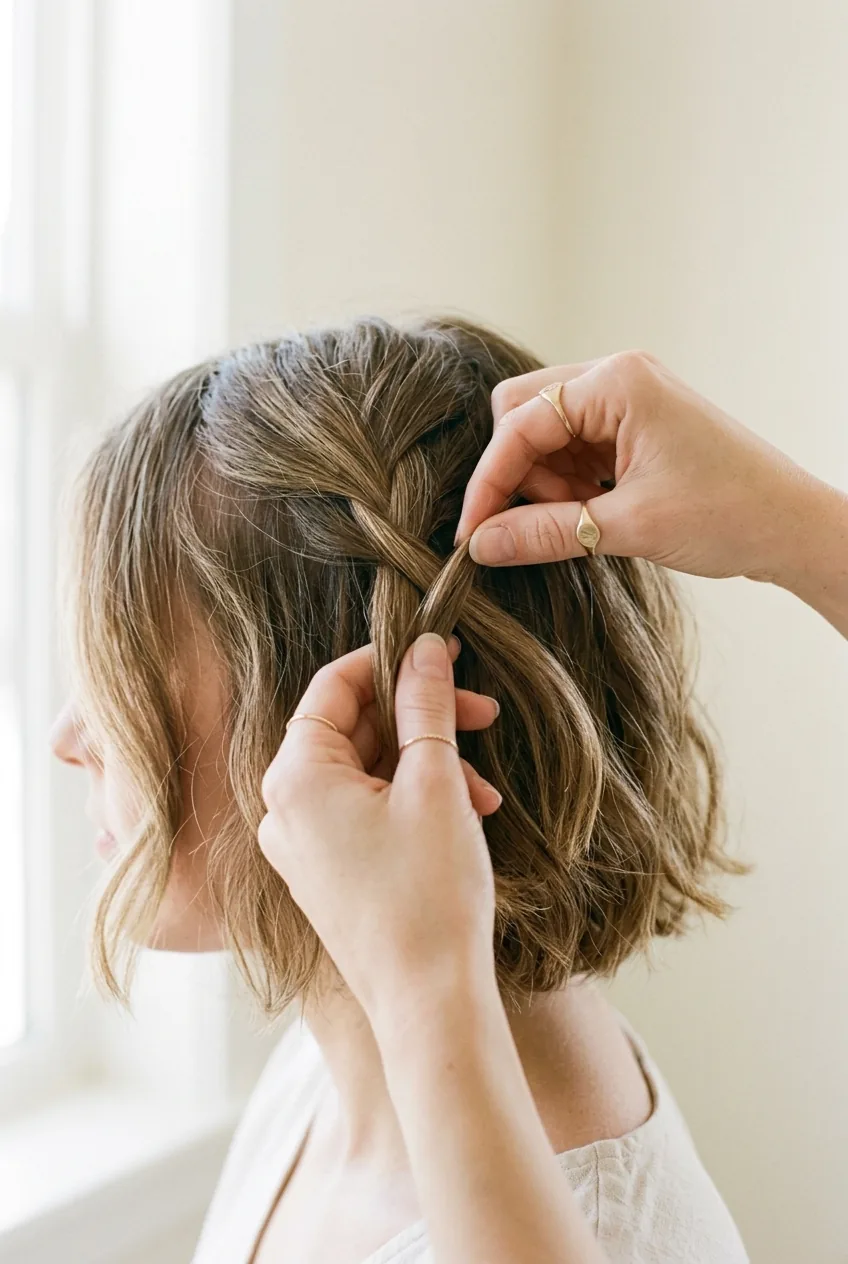
Step 6: Loosen and Shape
Now comes my favorite part — the transformation from “I tried to braid my hair” to “I’m a braiding goddess.” Gently tug at the sides of each braid to loosen them up. This technique is called “pancaking,” and it’s what makes layered cuts look particularly stunning in braids.
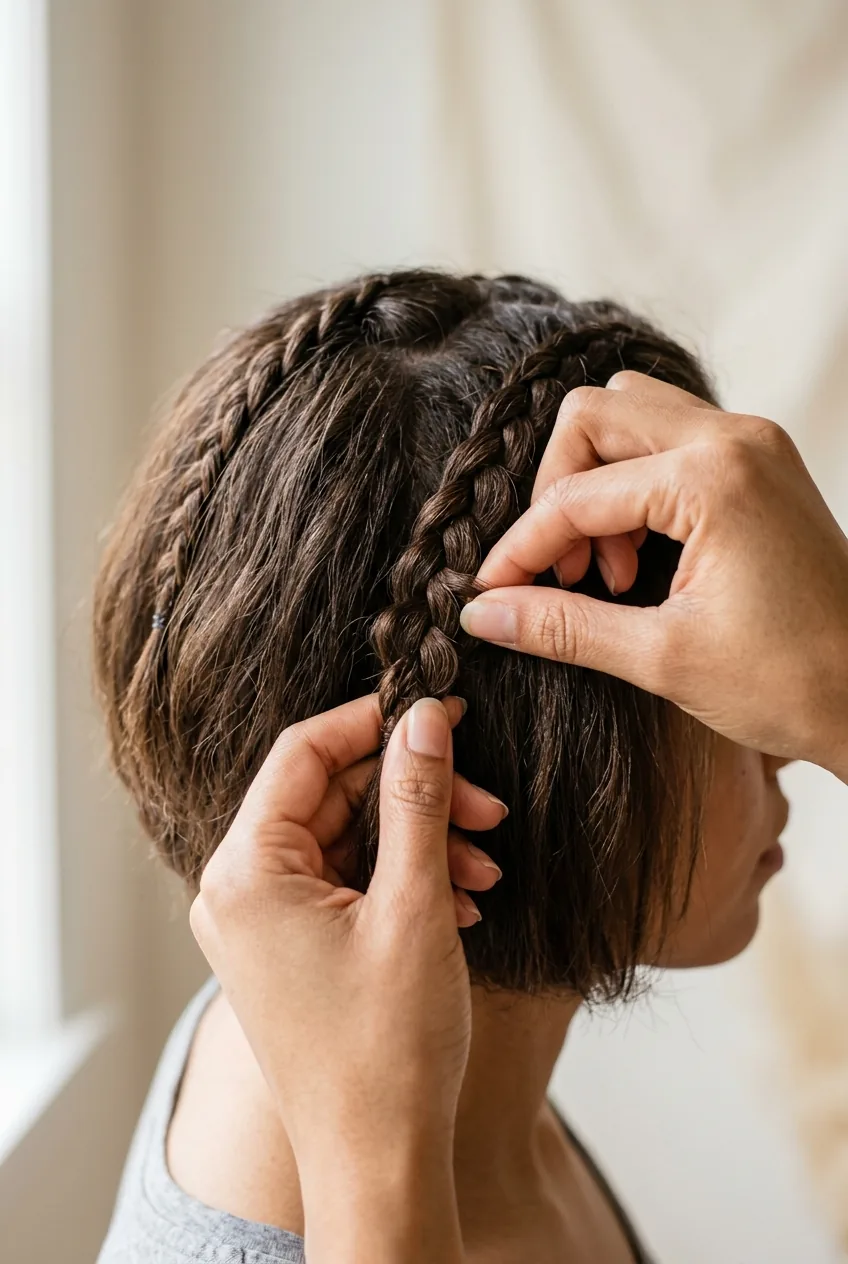
Start from the top of each braid and work your way down. Pull gently at the outer edges of each section, creating width and texture. The goal is to make your braids look fuller and more relaxed — less “I’m five years old” and more “effortless chic.”
Don’t be afraid to really work with the shape. Short bob braids should have movement and dimension. If a section looks too tight, loosen it. If something feels uneven, adjust it. This is your chance to customize the look to your face shape and personal style.
Step 7: Lock It In
The final step is all about longevity. Short bob braids want to rebel — they want to slip out, frizz up, and generally misbehave. Your job is to convince them to stay put without looking crunchy or overdone.
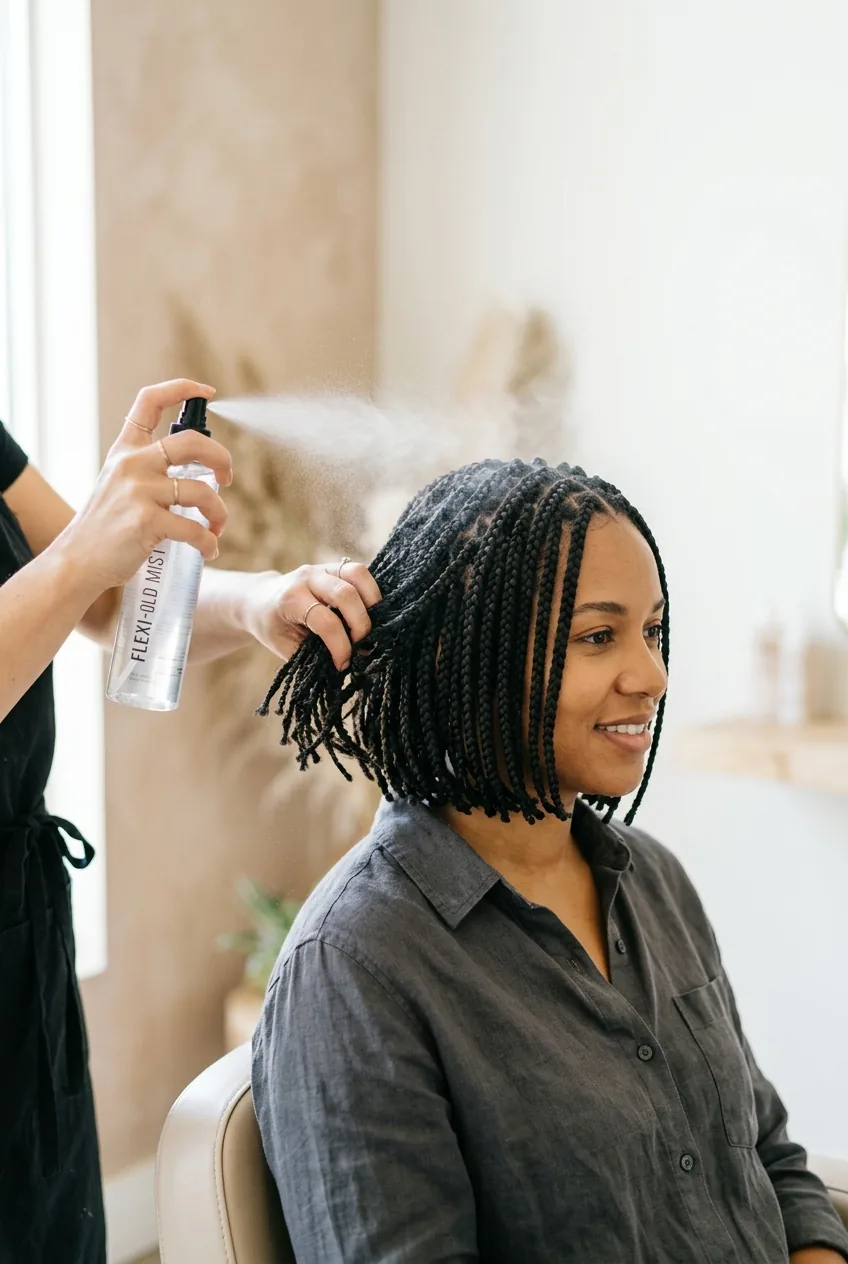
Mist your finished braids lightly with flexible hold hairspray. I emphasize lightly — you want to set the style, not shellac it. Then gently scrunch the braids with your hands to distribute the product and add a bit more texture.
For extra staying power, especially if you’re planning to wear this style all day, slide a few strategic bobby pins into spots where hair tends to slip. The key is placement — hide them in the natural folds of the braids where they won’t be visible.
And here’s a pro tip I learned from professional stylists: sleep with your braids loosely pinned up if you want them to last until the next day. It prevents the friction that causes them to unravel overnight.
Questions I Get About This
Will this work on super fine hair?
Absolutely, but you’ll want to use a bit more texturizing spray and really focus on those anchor points. Fine hair actually holds braids better than thick hair once you get the technique down.
How long do short bob braids typically last?
With proper securing, I can usually get 8-12 hours out of mine. If you sleep in them carefully, they can last overnight, though they’ll need some touch-up in the morning.
Can I add extensions to make braiding easier?
You can, but honestly, the whole point of this method is working with your natural length. Extensions can make short bob braids look disproportionate and less authentic.
What if my layers are too short in some spots?
Focus on braiding the longer sections and use bobby pins to tuck the shorter pieces into the braids. Sometimes shorter pieces actually add nice texture when they’re strategically placed.
After months of practice, I can honestly say this method transformed how I style my bob. What started as a frustrating limitation became one of my favorite go-to looks. The braids add texture and interest that you just can’t get with regular styling, and the best part? They actually make my hair look fuller and more voluminous than it naturally is.