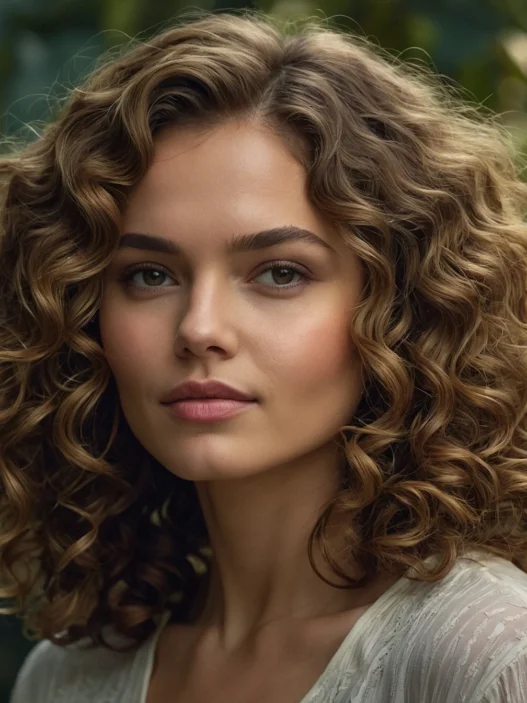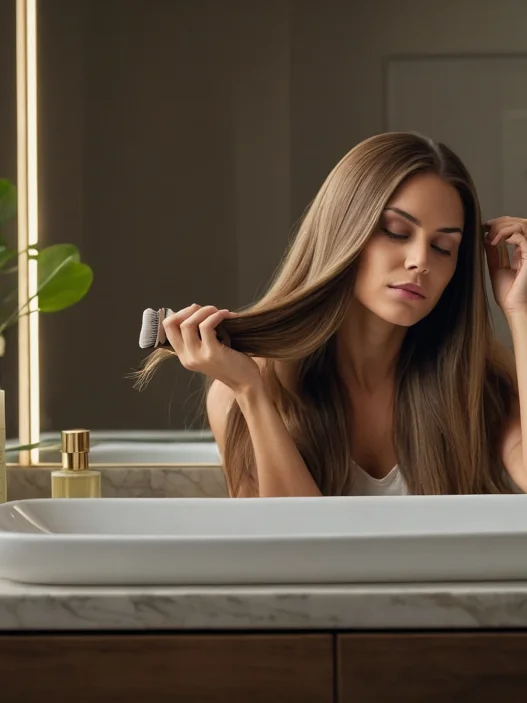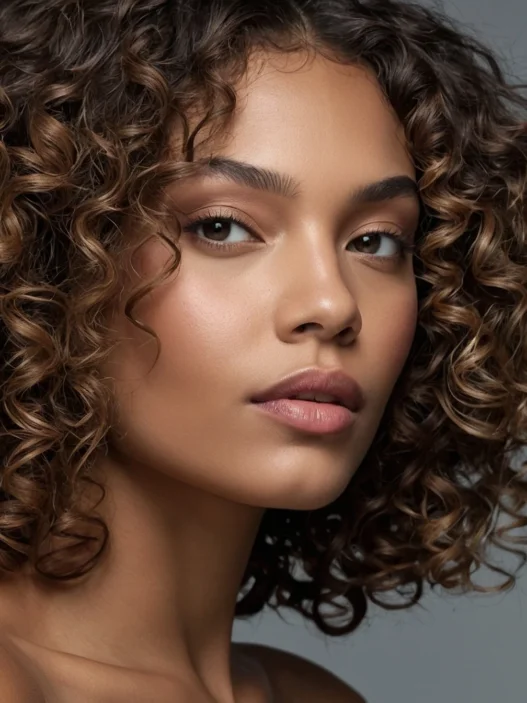

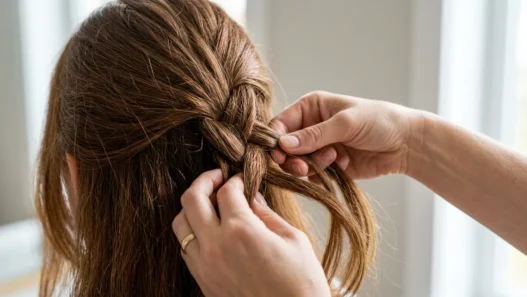






I used to look at those effortlessly wavy Instagram photos and wonder what magic potion those women were using. My waves would start gorgeous in the morning, then turn into a frizzy triangle by lunch. After two years of trial and error (and way too much money spent on products), I finally cracked the code. The secret isn’t in one miracle product — it’s in understanding your wave pattern and following a consistent routine that works with your hair, not against it.
What’s Inside This Wavy Hair Guide
Your Wavy Hair Toolkit
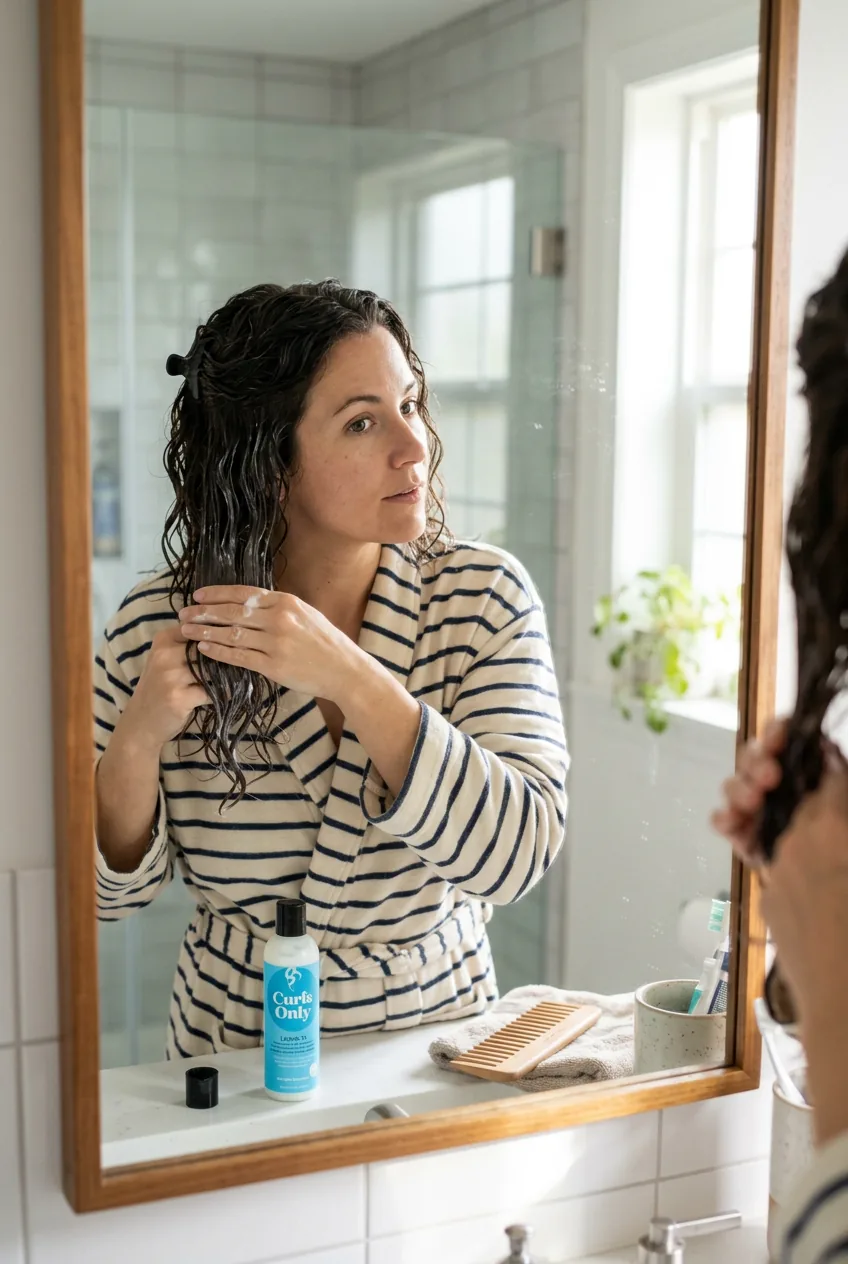
Before we dive into the routine, let’s talk tools. You don’t need a salon’s worth of equipment, but having the right basics makes all the difference. Here’s what I keep in my wavy hair arsenal:
- Wide-tooth comb or detangling brush (I swear by the Denman brush)
- Microfiber towel or cotton t-shirt (regular towels are the enemy of waves)
- Diffuser attachment for your blow dryer
- Sulfate-free shampoo and conditioner
- Leave-in conditioner
- Curl cream or wave enhancer
- Light-hold gel or mousse
- Hair clips for sectioning
- Silk or satin pillowcase (trust me on this one)
The timing? Plan for about 30-45 minutes from wash to styled. It sounds like a lot, but most of that is hands-off drying time. And honestly, once you nail this routine, your waves will look good for 2-3 days with minimal touch-ups.
The Prep Phase
This is where most people go wrong. They think wavy hair prep is just shampooing and moving on. But wavy hair is thirsty hair, and if you don’t set it up right from the start, no amount of styling products will save you.
Start with a sulfate-free shampoo, focusing only on your scalp. I massage it in for about 30 seconds — not scrubbing like I’m washing dishes, just gentle circular motions. The suds will clean your lengths as you rinse without stripping your hair’s natural oils.
Now here’s the game-changer: condition with your head upside down. Flip your hair forward and apply conditioner from mid-length to ends, using way more than you think you need. I’m talking handful-sized amounts for shoulder-length hair. Work it through with your fingers, then gently scrunch your hair toward your scalp. This is where your wave pattern starts forming.
My biggest rookie mistake? Rinsing all the conditioner out. I thought I was being thorough, but I was actually washing away the moisture my waves desperately needed. Now I rinse about 80% of it out, leaving just enough slip for the next steps.
Before you step out of the shower, do one final gentle scrunch with your hair still soaking wet. This helps encourage your natural wave pattern while your hair is most pliable.
Building the Foundation
This phase is all about creating the base that your waves will build on. Think of it like primer for your face — it might not seem necessary, but it makes everything that comes after work better and last longer.
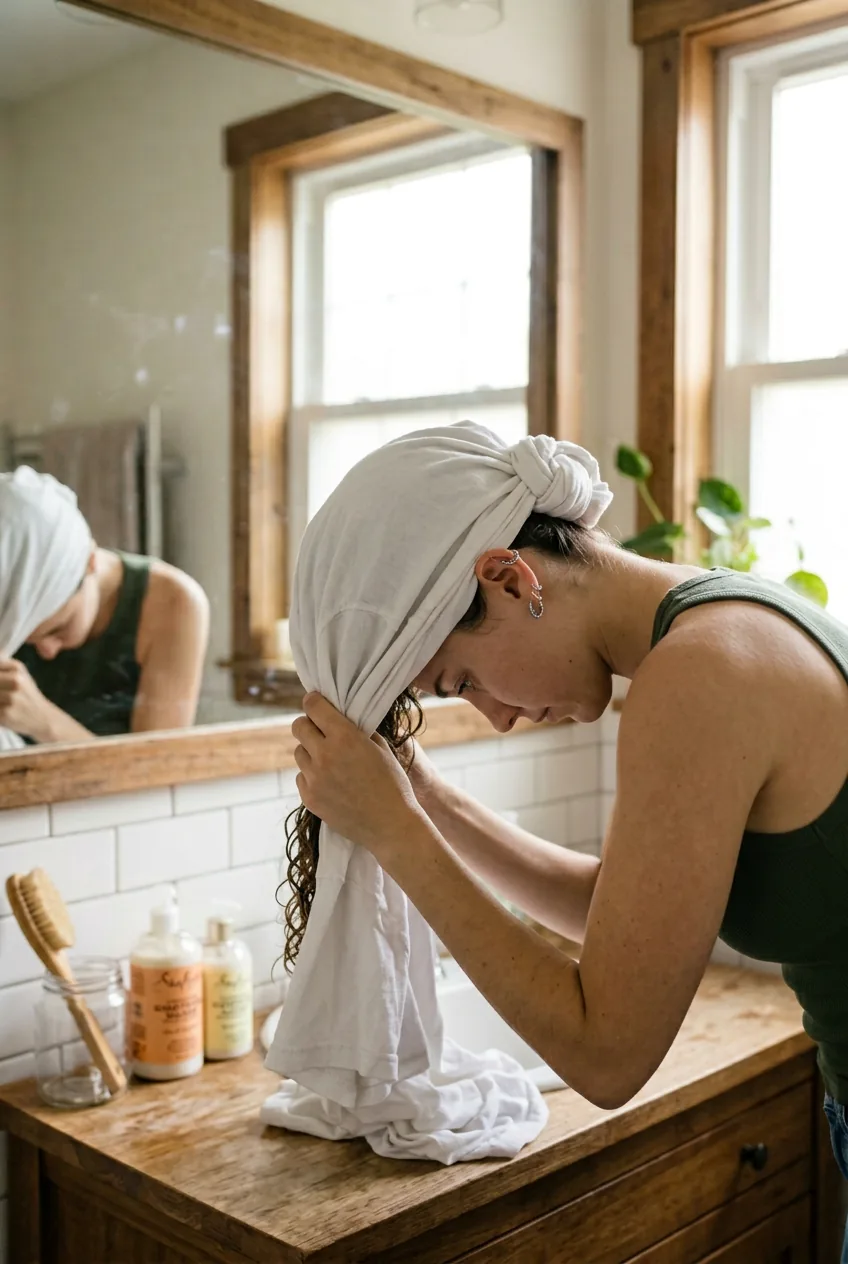
Right out of the shower, resist the urge to wrap your hair in a regular towel. Instead, gently press — don’t rub — with a microfiber towel or cotton t-shirt. I usually do this by sectioning my hair and pressing each section individually. The goal is to remove excess water without disturbing your forming wave pattern.
While your hair is still quite damp (about 70% wet), apply your leave-in conditioner. I section my hair into 4-6 pieces and apply product to each section, making sure to distribute evenly from roots to ends. This is where I also add any treatments for thick hair if I’m dealing with extra volume that day.
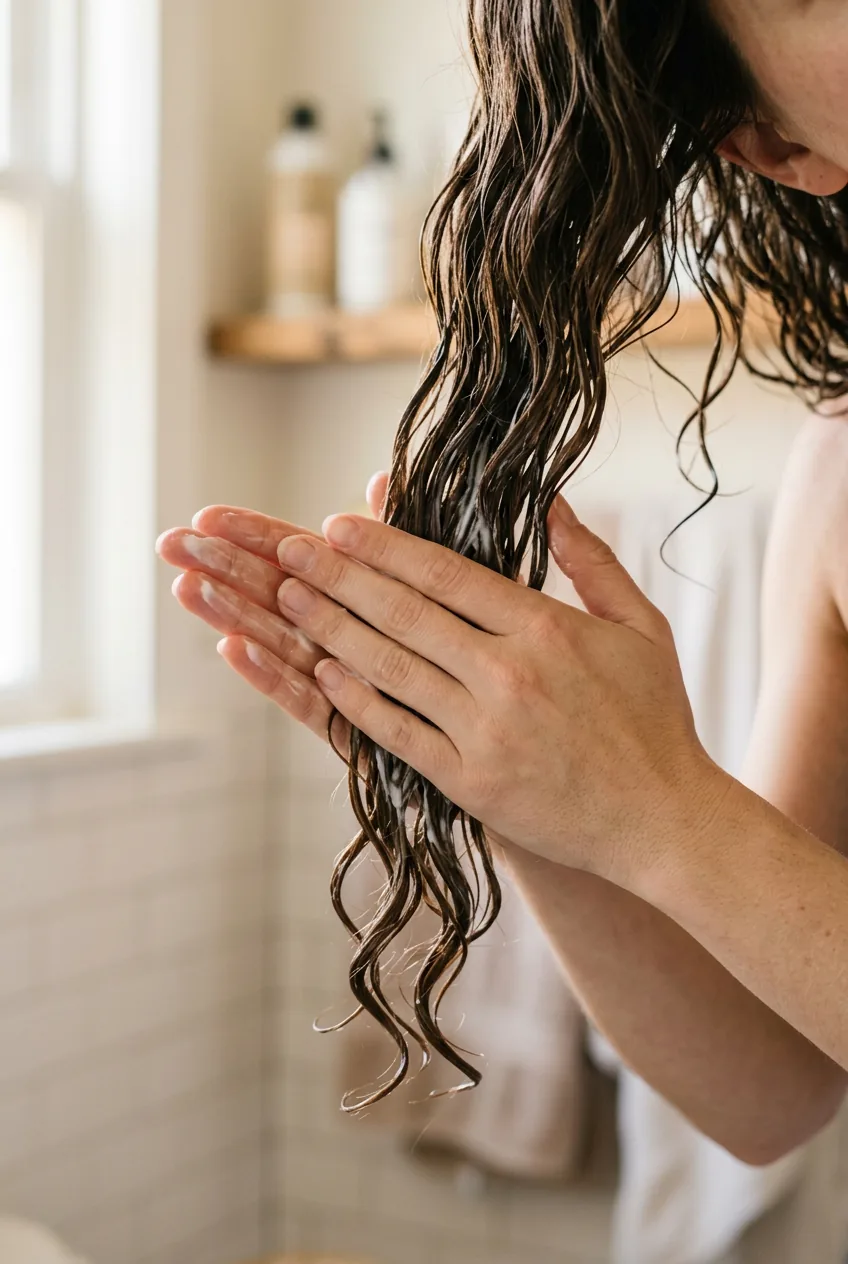
Here’s a technique that took me months to master: the “praying hands” method. Instead of scrunching product in (which can create frizz), smooth the product down each section with your palms pressed together like you’re praying, then gently scrunch just once at the ends. This seals the hair cuticle and encourages uniform wave formation.
Don’t skip the roots! Many wavy-haired people focus only on their ends, but your roots need moisture too. I apply a tiny amount of leave-in to my scalp area — not enough to make it greasy, just enough to keep those baby hairs from frizzing up later.
The Styling Phase

Now we’re getting to the fun part. This is where your waves really start to take shape, and where you can customize the routine based on what kind of wave day you’re going for.
On a typical day, I reach for my curl cream first. I use about a quarter-sized amount for my shoulder-length hair, warming it between my palms before applying. The key is to work in sections again — I usually do 6 sections, applying the cream with that praying hands motion, then scrunching gently from bottom to top.
For extra hold, I layer a light gel or mousse over the cream. This is where you can play with your results. Gel gives you more defined, longer-lasting waves but can feel crunchy until you scrunch it out later. Mousse gives softer, more touchable waves but might not last as long. I usually go with gel for day one of my wash cycle and mousse for refreshing on day two or three.
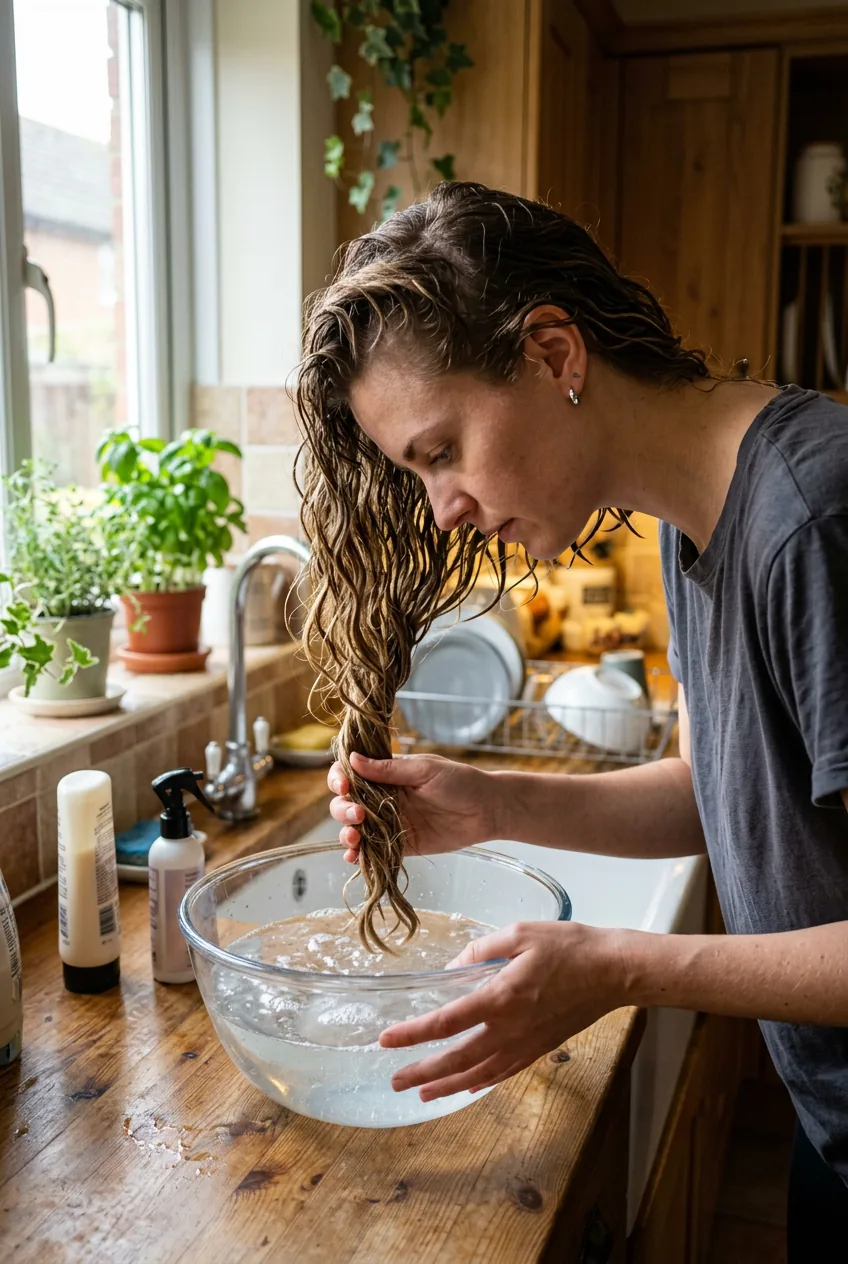
Here’s a pro tip that changed everything: the “bowl method.” Fill a large bowl with cool water and add a tiny bit of leave-in conditioner. Dip sections of your styled hair into the bowl and gently scrunch. This helps clump your waves together and reduces frizz. It sounds weird, I know, but the results are incredible.
If you have shorter hair or want more volume, try the “plopping” technique. Lay a cotton t-shirt flat, flip your hair into the center, and wrap it up like a turban. Leave it for 10-20 minutes while you do other things. This helps your waves set in their natural pattern without gravity pulling them down.
Drying and Finishing

The drying phase is where patience pays off. I know it’s tempting to rush this part, especially when you’re running late, but how you dry your waves makes or breaks the entire routine.
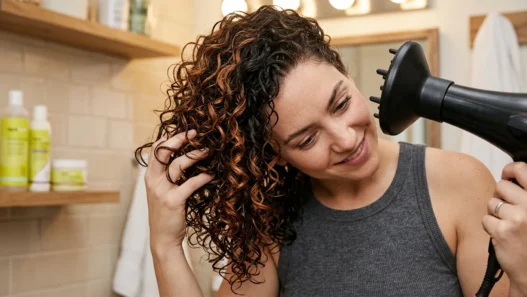
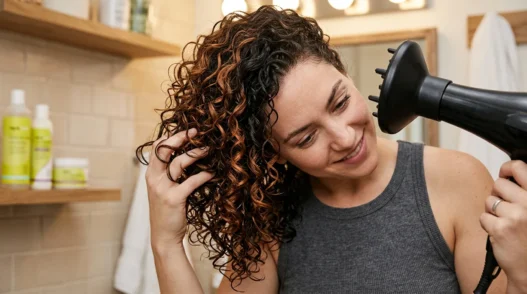
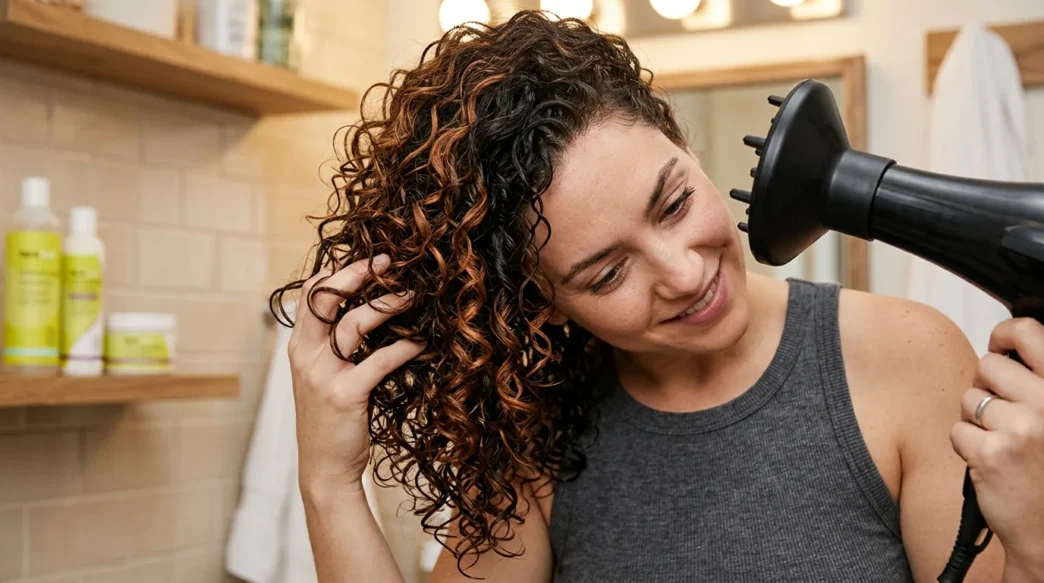
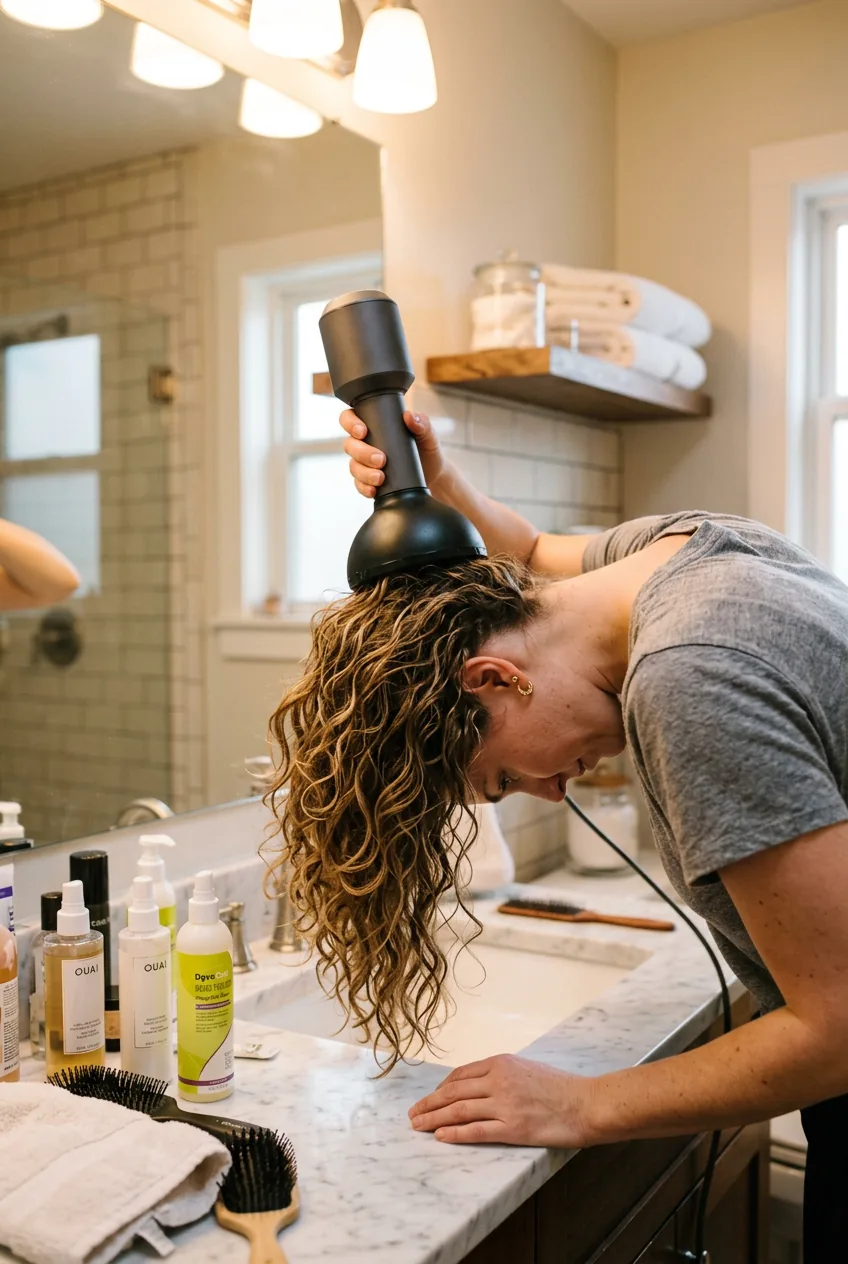
My preferred method is air drying about 60%, then finishing with a diffuser. I let my hair air dry for about 30-45 minutes after styling, depending on the humidity. When it’s about 40% dry, I flip my head upside down and start diffusing on low heat, medium speed.
The diffusing technique matters more than you’d think. I cup sections of my hair in the diffuser bowl and lift toward my scalp, holding for 30-60 seconds before moving to the next section. No moving the diffuser around — that creates frizz. Just lift, hold, release, repeat.
Once your hair is about 80% dry, switch to cool air for the final 10 minutes. This helps set your waves and adds shine. When you think you’re done, give it an extra 5 minutes — damp waves look defined but turn frizzy once they finish drying.
I used to skip the “scrunch out the crunch” step and wondered why my waves looked so stiff and unnatural. Once your hair is completely dry, gently scrunch out any gel cast with your hands or a tiny bit of oil. This reveals soft, bouncy waves that move naturally.
For sleeping, I gather my waves loosely at the very top of my head with a silk scrunchie — not a ponytail, more like a loose pineapple. This keeps them from getting crushed while I sleep. In the morning, I just shake them out and maybe spritz with a little water if they need refreshing.
The results? Defined, frizz-free waves that actually improve on day two and three. My waves used to fall flat by afternoon, but now they hold their shape for days. Sure, this routine takes more time than my old wash-and-air-dry approach, but seeing those bouncy, Instagram-worthy waves in my own mirror every morning makes every minute worth it. If you’re like me and have been struggling with your wavy hair, give this routine a solid two weeks. That’s how long it took for my hair to adjust and start showing its true potential. And trust me, once you see those perfect natural wave patterns emerge, you’ll never go back to fighting your texture again.