


I’ve been through every ponytail phase imaginable — from the messy mom bun days to desperately trying to recreate red carpet looks at my bathroom mirror. After years of trial and error (and way too many bobby pins on my floor), I’ve finally figured out which ponytail styles are actually doable for different skill levels.
Some days you need a 30-second miracle. Other days you want to channel your inner hair goddess. That’s exactly why I’ve ranked these 11 ponytail hairstyles from dead simple to “maybe save this for Sunday when you have three hours.”
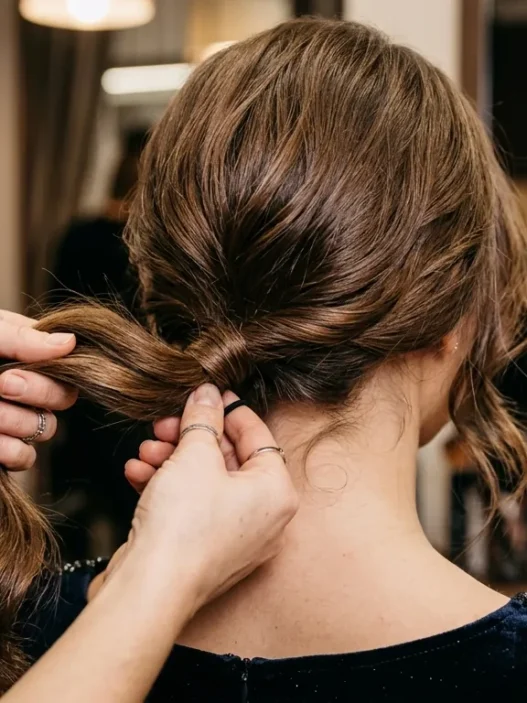
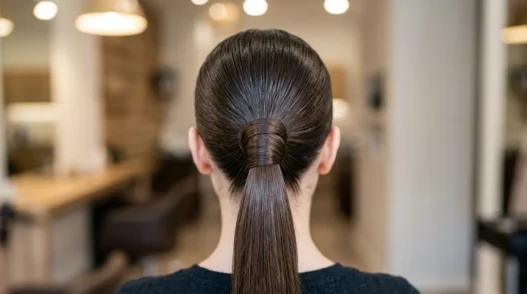
1. Beginner Friendly: Basic Low Ponytail

Difficulty: ⭐ (1/5) | Time: 30 seconds | Tools: Hair elastic
This is where everyone starts, and honestly? I still reach for this on rushed mornings. The key is positioning — too low looks droopy, too high becomes a mid-ponytail. Aim for the nape of your neck, right where your head naturally curves.
The only trick here is smoothing down flyaways with your palms as you gather. No brush needed if your hair cooperates. I wrap the elastic twice for fine hair, once for thick hair.
2. Beginner Friendly: Simple High Ponytail
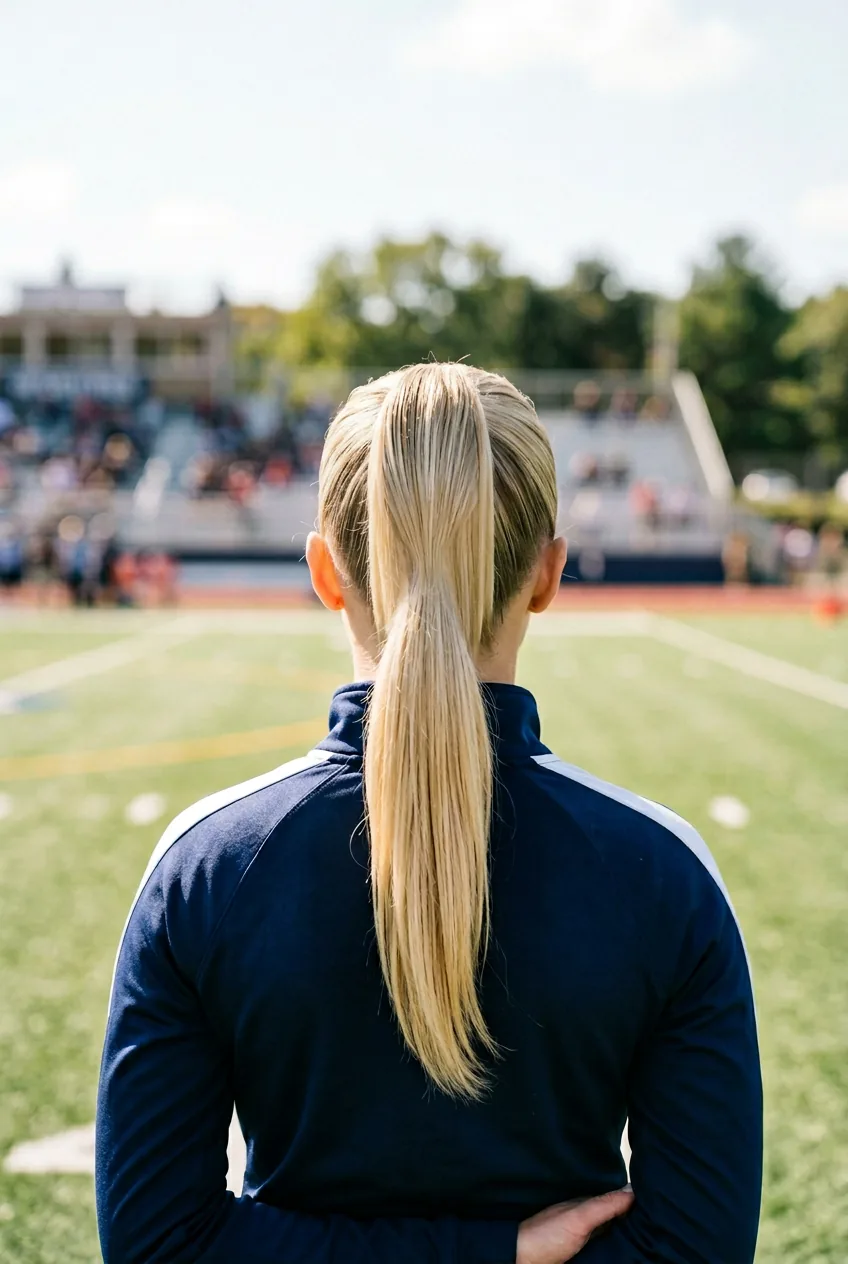
Difficulty: ⭐ (1/5) | Time: 45 seconds | Tools: Hair elastic, brush
The classic cheerleader look never goes out of style. Position it at the crown of your head — if you tilt your head back, that’s where the ponytail should sit. I brush everything straight up and back, keeping the tension firm but not painful.
Pro tip I learned the hard way: Secure it higher than you think you need. Ponytails always drop a bit throughout the day, especially if you have heavy or slippery hair.
3. Easy Plus: Side-Swept Ponytail
Difficulty: ⭐⭐ (2/5) | Time: 1 minute | Tools: Hair elastic, brush, light-hold hairspray
This adds instant elegance to the basic ponytail. Create a deep side part (way deeper than your usual part), then sweep everything to one side and secure at the base of your neck. The asymmetry is what makes this look intentional instead of accidental.
I mist the crown with hairspray before brushing to prevent the part from shifting. The side with less hair should stay sleek against your head — that contrast is everything.
4. Easy Plus: Textured Ponytail
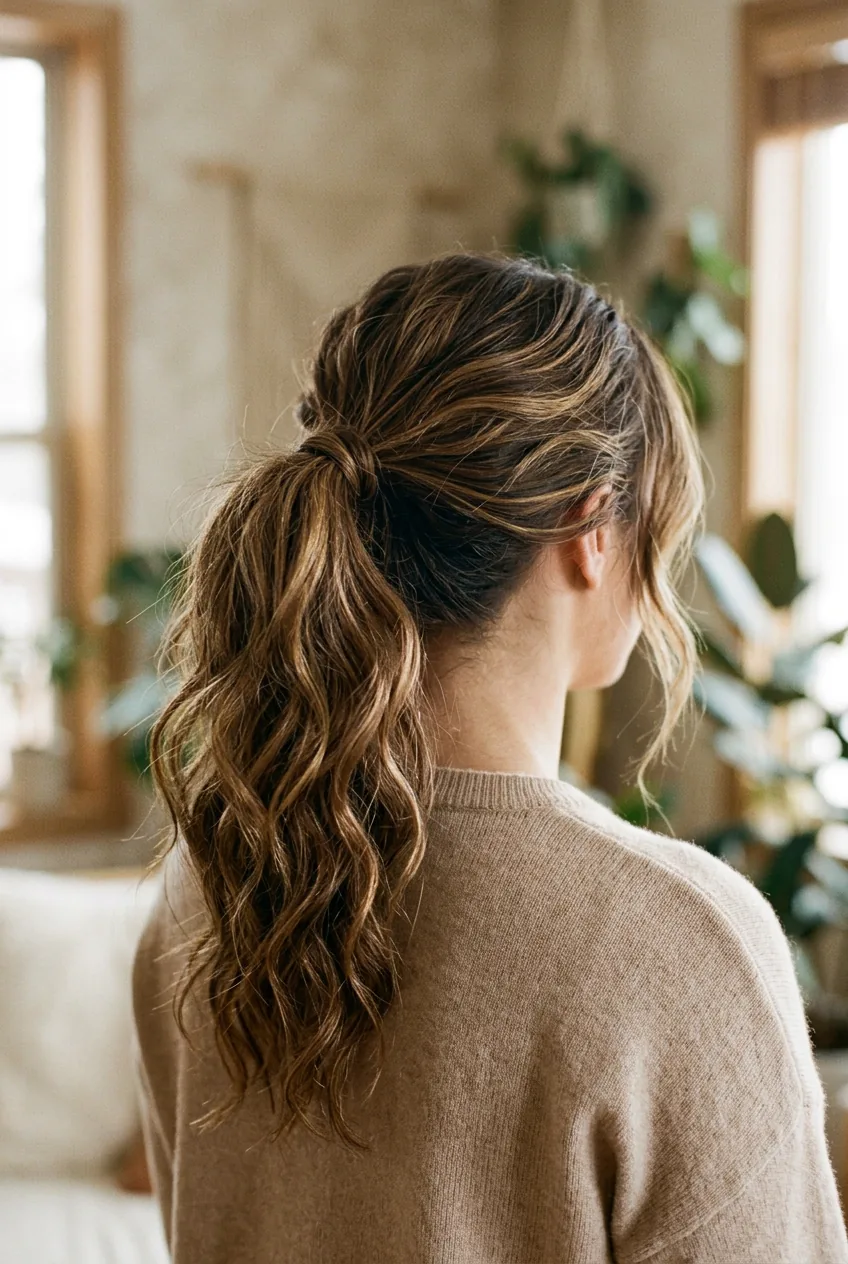
Difficulty: ⭐⭐ (2/5) | Time: 2 minutes | Tools: Hair elastic, texturizing spray, fingers
Perfect for second-day hair or when you want that effortless, undone vibe. Spray texturizing spray throughout damp or dry hair, then scrunch with your fingers to create that lived-in texture.
Instead of brushing everything smooth, I use my fingers to loosely gather the hair. The goal is controlled messiness — textured but not chaotic. Leave a few pieces around your face loose if they naturally fall that way.
My personal favorite for everyday wear is actually the textured ponytail. It works with my natural wave pattern and looks intentional even when I’m running late. Plus, it gets better throughout the day as the texture settles.
5. Intermediate: Bubble Ponytail
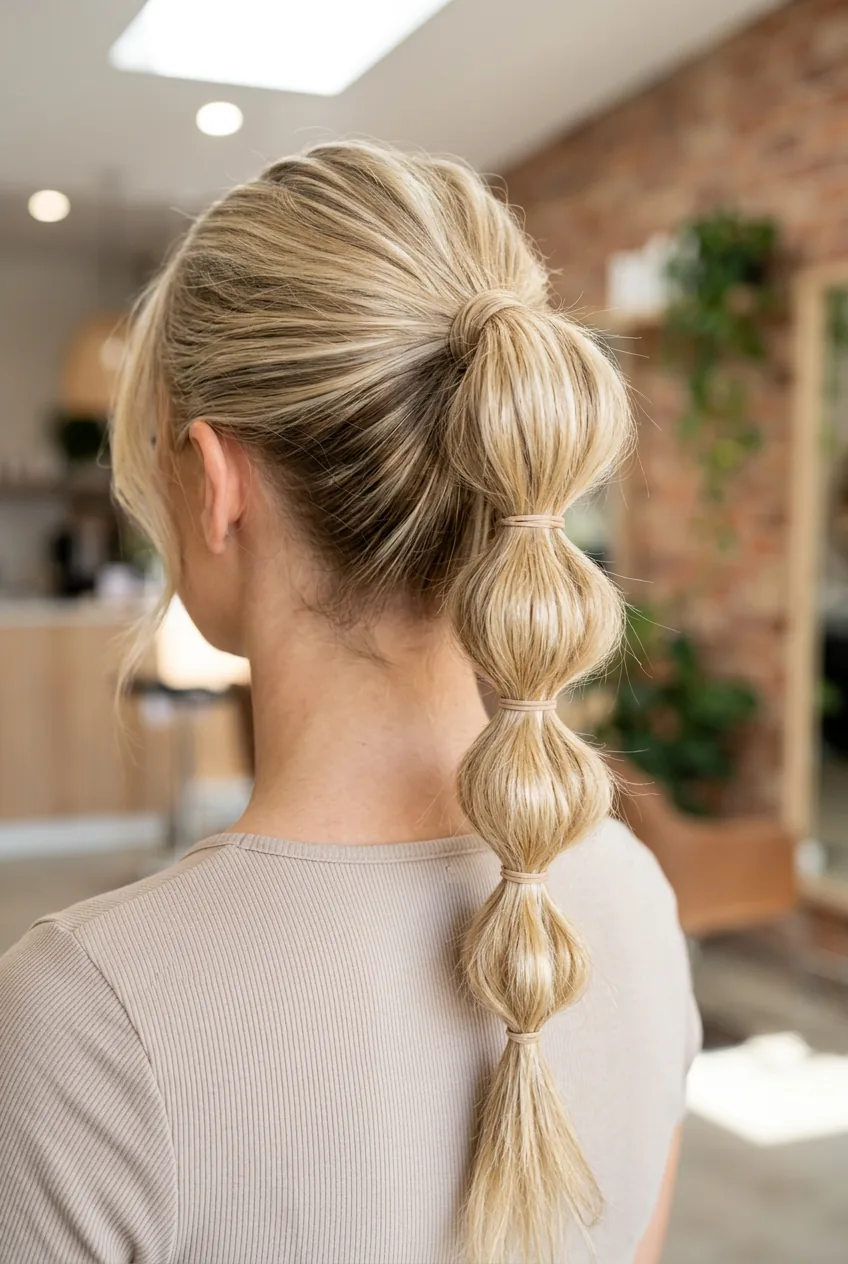
Difficulty: ⭐⭐⭐ (3/5) | Time: 3 minutes | Tools: Multiple hair elastics, tail comb
This Instagram-famous style looks way harder than it is. Start with a high ponytail, then add elastics every 2-3 inches down the length. The magic happens when you gently tug apart each “bubble” section to create volume.
I use the pointed end of a tail comb to carefully pull apart the hair in each bubble section. Work from the outside edges toward the center, and don’t be afraid to really fluff it out. The more volume, the more dramatic the effect.
This Tutorial Changed My Bubble Game
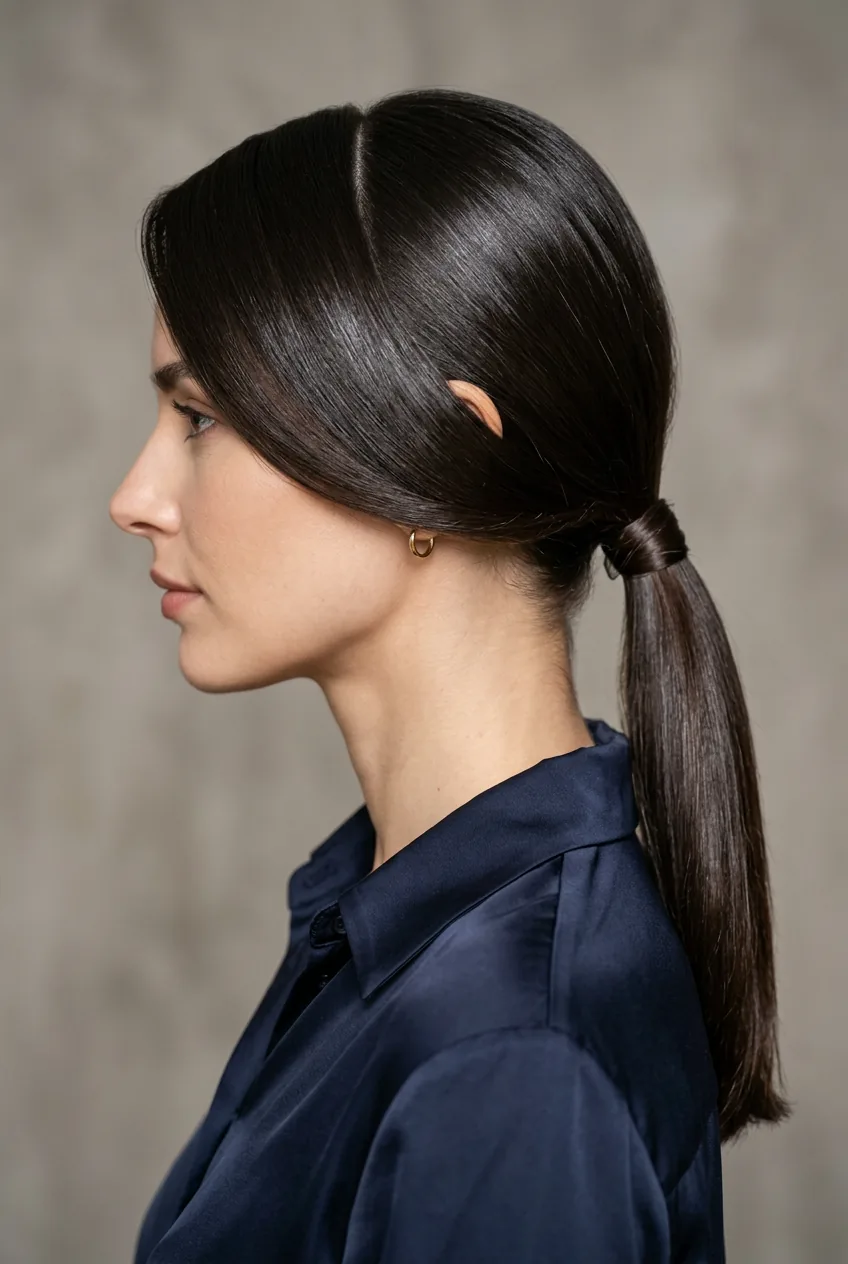
6. Intermediate: Sleek Center-Part Ponytail
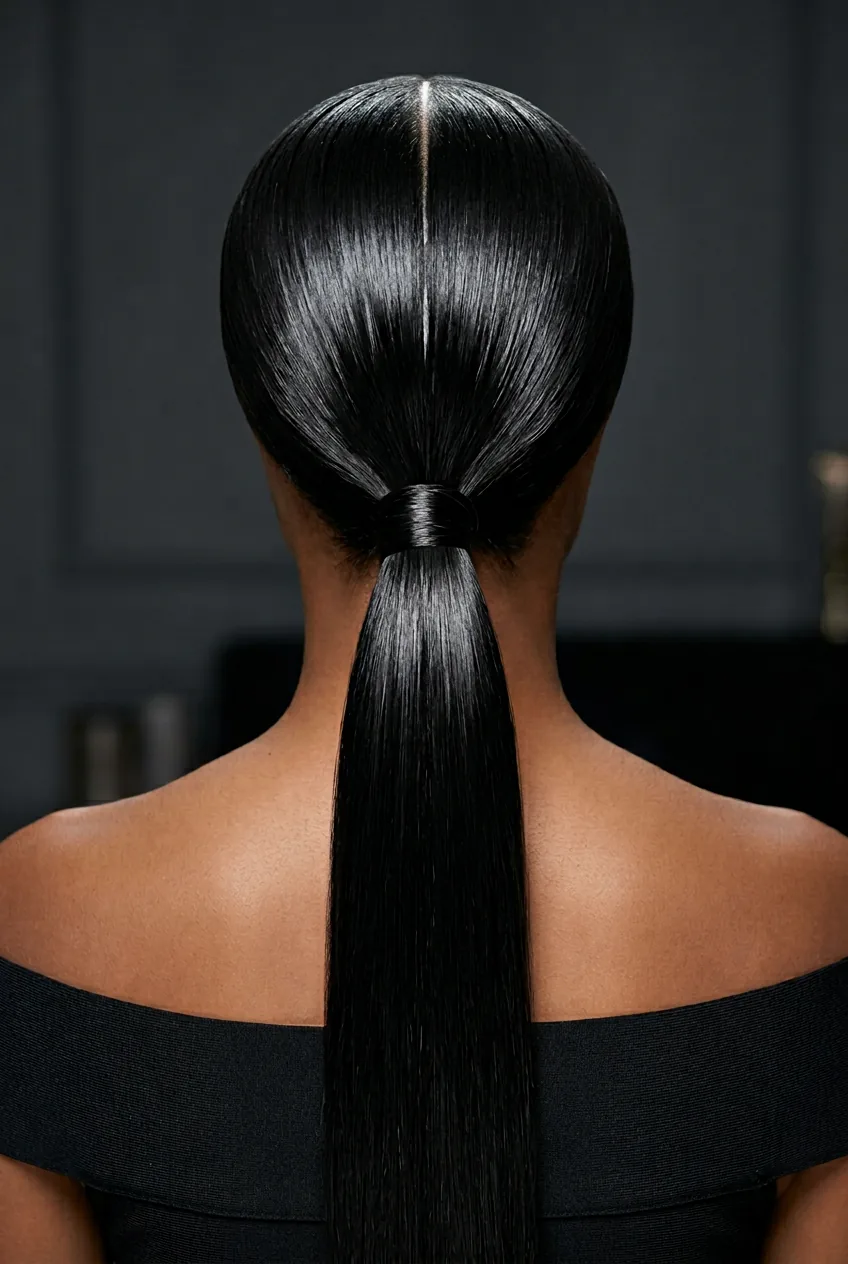
Difficulty: ⭐⭐⭐ (3/5) | Time: 4 minutes | Tools: Hair elastic, fine-tooth comb, strong-hold gel, flat iron
This is the red-carpet version of a simple ponytail. The precision is what makes it special — every hair needs to be in place. I start with slightly damp hair, apply strong-hold gel from roots to mid-lengths, then create a razor-sharp center part with the tail of a fine-tooth comb.
Brush everything back with tension, keeping the sides perfectly smooth. If you have any kinks or waves, smooth them with a flat iron before gathering into the ponytail. This look is all about that glass-like finish.
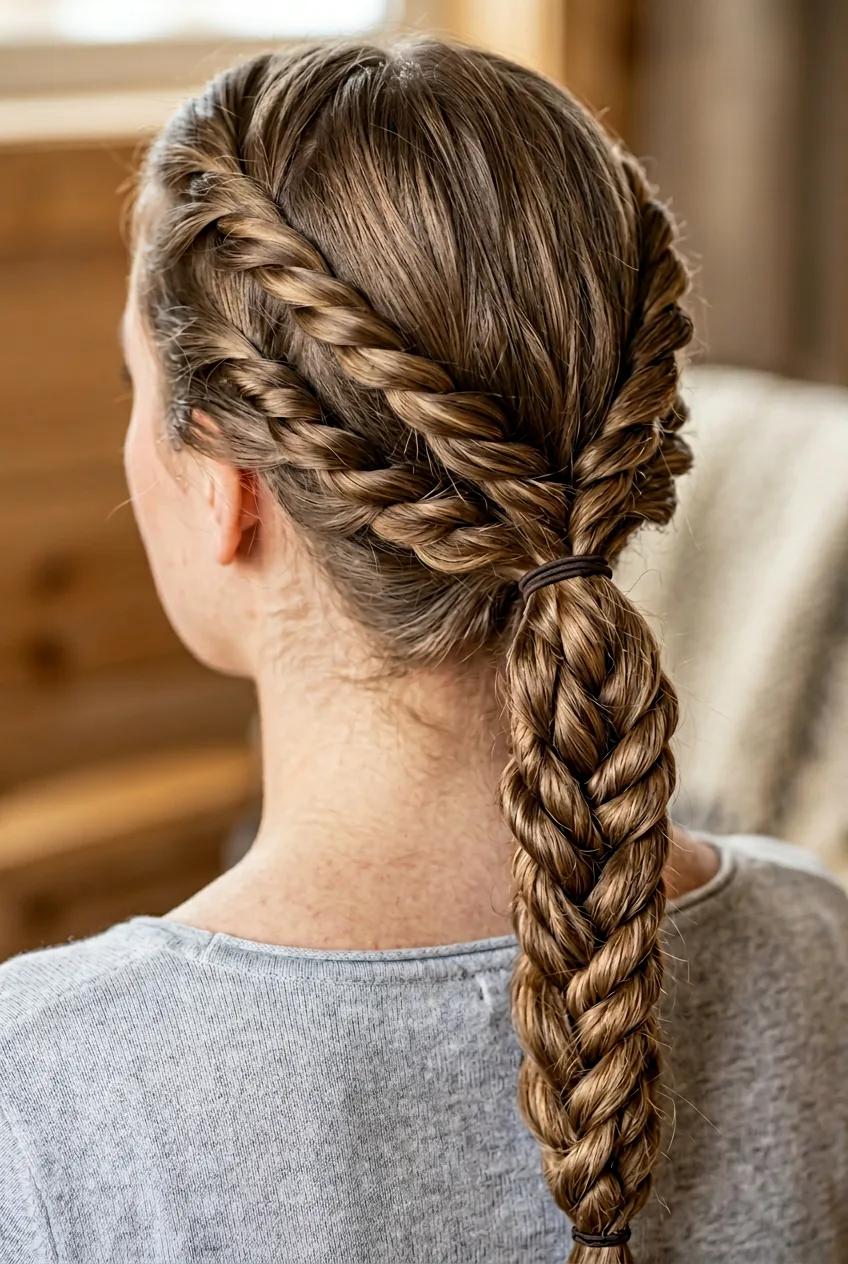
7. Intermediate Challenge: Braided Side Ponytail
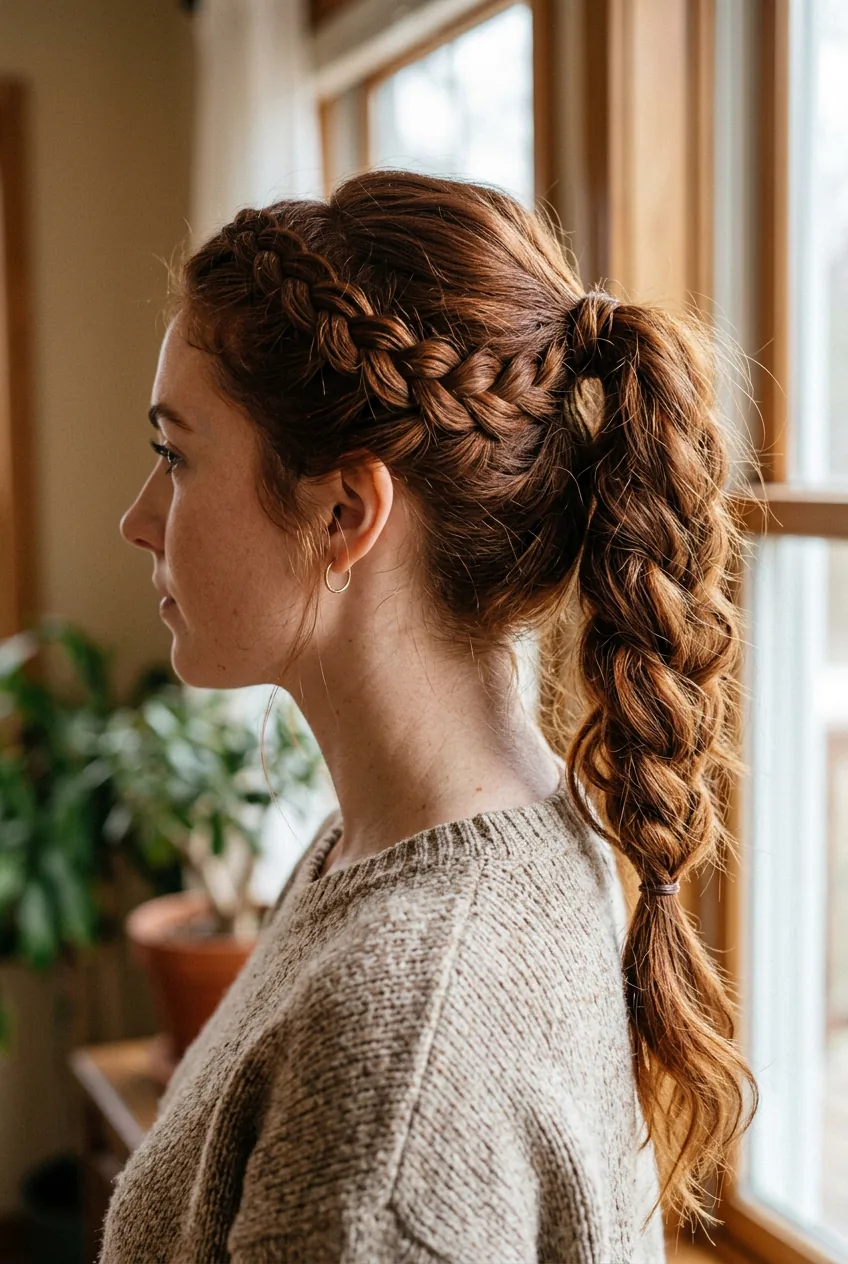
Difficulty: ⭐⭐⭐ (3/5) | Time: 5 minutes | Tools: Hair elastics, bobby pins
This combines basic braiding with ponytail skills. Create a loose Dutch or French braid along one side of your head, starting from your temple and working back toward your ear. Don’t worry about making it perfect — a slightly messy braid actually looks more modern.
When you reach your ear, gather the braided section with the rest of your hair into a side ponytail. The braid adds this beautiful detail that makes a regular ponytail look so much more thought-out. For extra security, I pin the braid in place before adding the elastic.
8. Advanced: Voluminous Ponytail
Difficulty: ⭐⭐⭐⭐ (4/5) | Time: 6 minutes | Tools: Hair elastics, teasing brush, volumizing mousse, bobby pins
This is for when you want major drama and height. The secret is creating volume at the crown before pulling everything back. I section off the top layer of hair, tease it gently at the roots, then smooth the surface layer over the teased section.
The trick is balancing volume with security. Too much teasing and it looks messy; too little and it falls flat. I use bobby pins to anchor the voluminous crown section before securing the ponytail. This creates that gorgeous lifted effect you see on the red carpet.
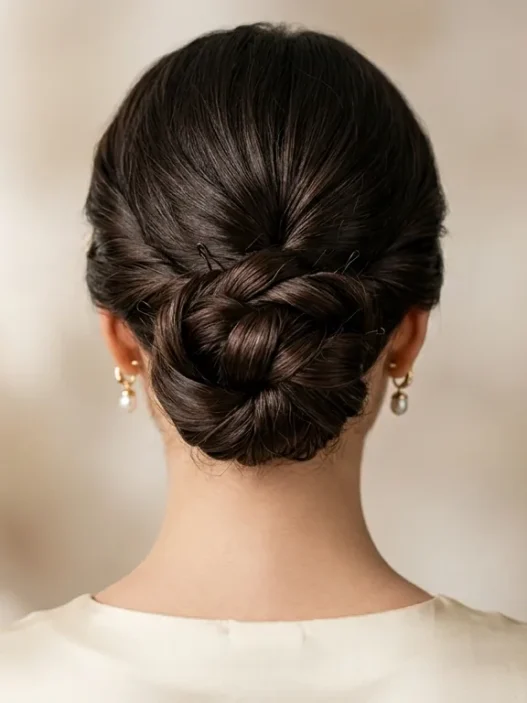
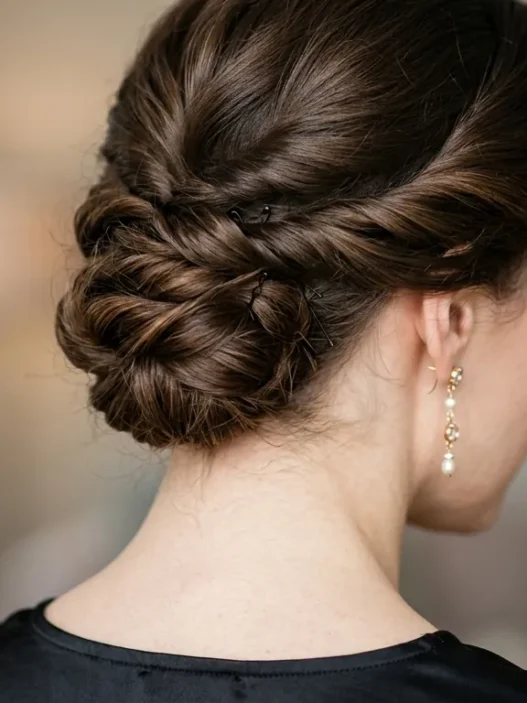
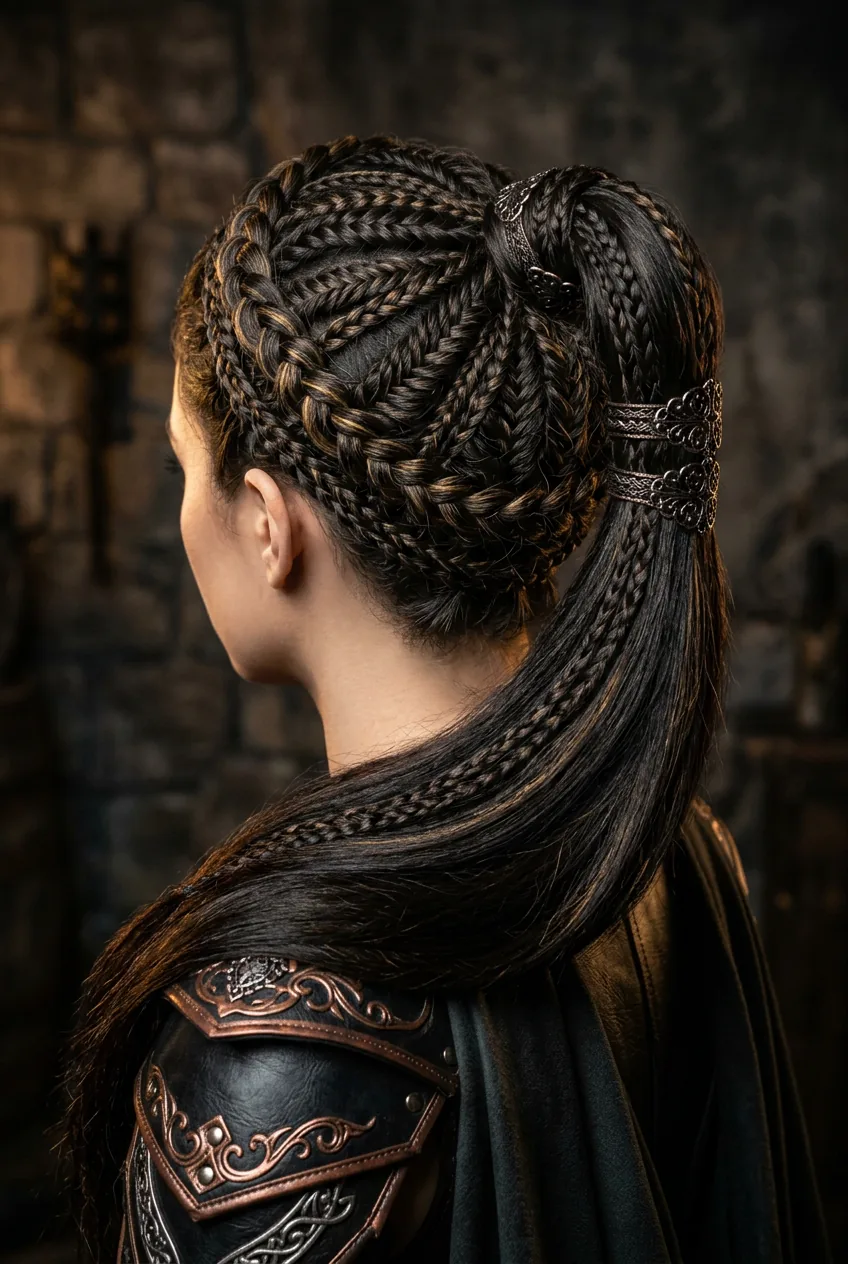
9. Advanced: Twisted Rope Ponytail
Difficulty: ⭐⭐⭐⭐ (4/5) | Time: 7 minutes | Tools: Hair elastics, bobby pins
This involves creating rope twists on both sides of your head before gathering everything into a ponytail. Section off hair from your temples, divide each section in half, then twist the two pieces around each other, adding more hair as you work toward the back.
The coordination required here is real — you’re essentially doing two rope braids simultaneously while keeping even tension. I usually do one side, pin it temporarily, then do the other side before combining everything. It creates this gorgeous textural detail that looks incredibly complex.
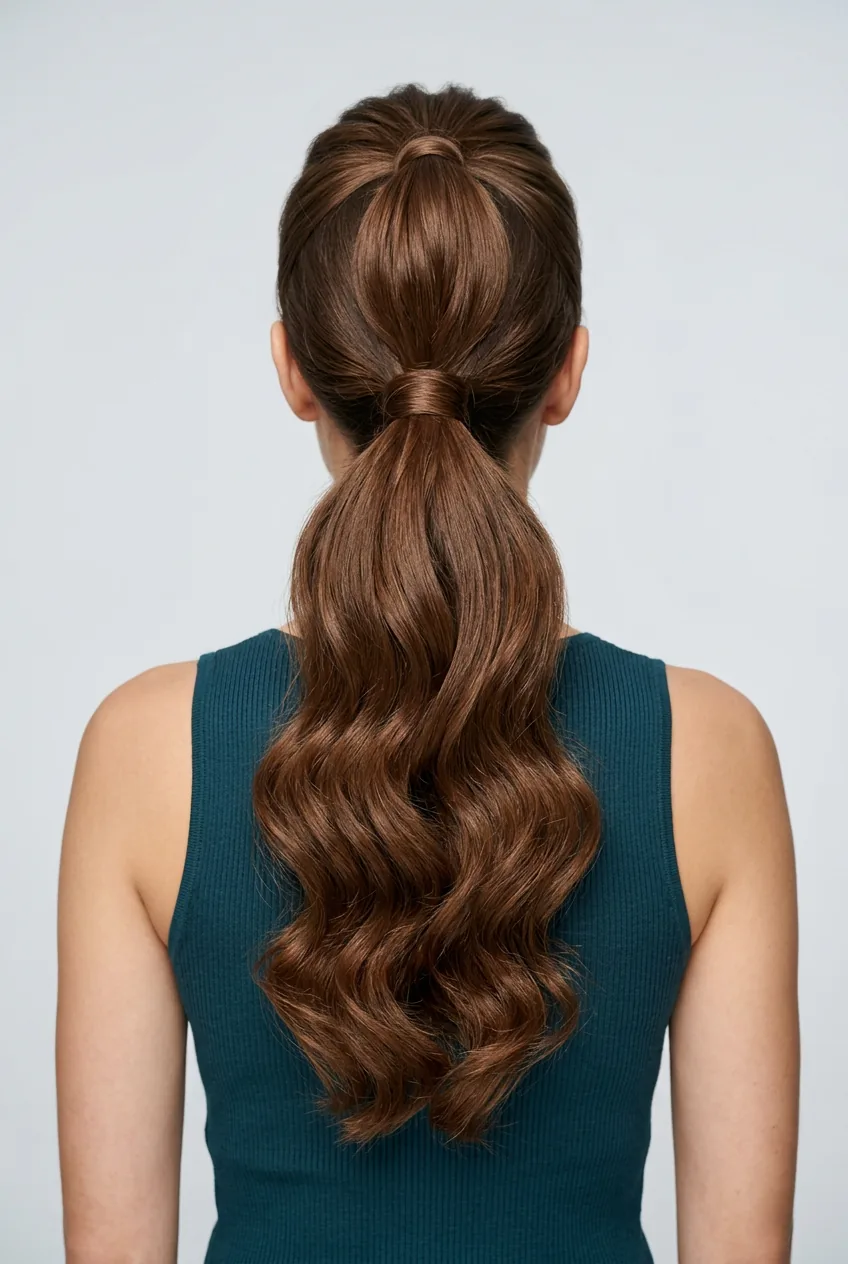
10. Advanced Challenge: Double Ponytail Illusion
Difficulty: ⭐⭐⭐⭐ (4/5) | Time: 8 minutes | Tools: Multiple hair elastics, bobby pins, tail comb
This creates the illusion of an impossibly long, full ponytail by stacking two ponytails. Create a half-up ponytail at the crown, then gather the remaining hair into a second ponytail directly underneath the first one.
The magic is in the positioning — the bottom ponytail needs to be hidden behind the top one, so when you look at it straight-on, it appears to be one incredibly voluminous ponytail. I tease the top ponytail slightly and use bobby pins to secure any pieces that might reveal the trick.
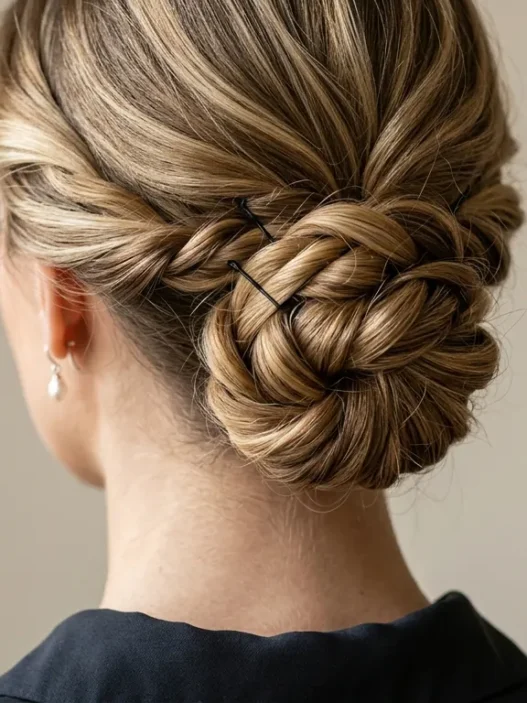
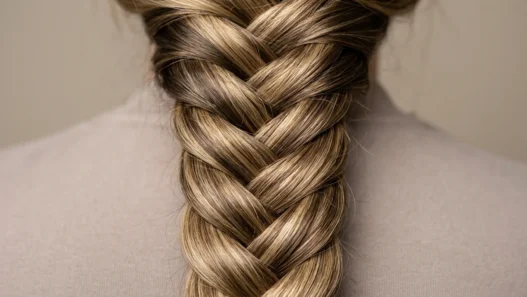
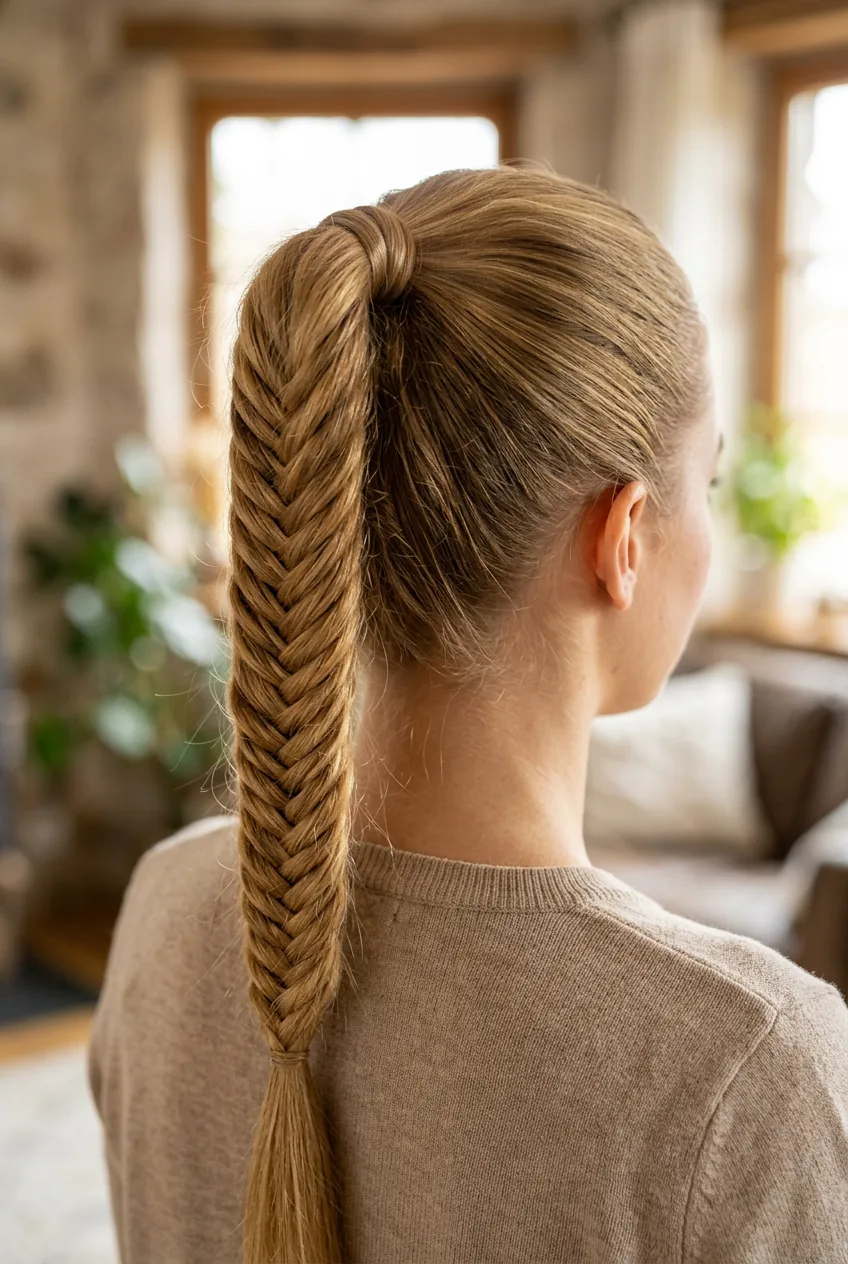
11. Expert Level: Fishtail Braid Ponytail
Difficulty: ⭐⭐⭐⭐⭐ (5/5) | Time: 12 minutes | Tools: Hair elastics, tail comb
This combines the complexity of fishtail braiding with ponytail styling. Start with a regular ponytail, then fishtail braid the entire length. The fishtail technique involves crossing small sections from the outside of each half over to the opposite side — it requires patience and practice.
What makes this particularly challenging is maintaining even sections while working with hair that’s already secured. I find it easier to do the fishtail with the ponytail hanging over my shoulder so I can see what I’m doing. The result is absolutely stunning — prom hairstyles don’t get more elegant than this.
Quick Answers for Ponytail Success
How do I prevent my ponytail from falling throughout the day?
Use two elastics instead of one — wrap the first one loosely, then add the second one tightly right on top. I also spray the elastic area with strong-hold hairspray before securing. For really heavy or slippery hair, add bobby pins in an X-pattern right above the elastic.
What’s the best way to hide a hair elastic?
Take a small section of hair from the underside of your ponytail and wrap it around the elastic base. Secure the end with a bobby pin tucked under the ponytail. Hair-colored elastics also make the base less obvious if you can’t be bothered with the wrapping technique.
Can I do these styles on short hair?
Most of these work on shoulder-length hair or longer. For shorter hair, try the low ponytail, side-swept ponytail, or textured ponytail — these work even with chin-length bobs. The key is adjusting your expectations and embracing a more relaxed, piece-y finish.
How tight should I make the ponytail?
Tight enough to stay secure but not so tight that it gives you a headache or creates tension lines on your scalp. I test by gently tugging on the ponytail — if individual hairs feel like they’re pulling, it’s too tight. You should be able to slide a finger under the elastic.
And there you have it — my complete ponytail progression from “I can barely manage a scrunchie” to “I might actually be a hair wizard.” Start with whatever matches your current skill level and work your way up. Trust me, even mastering just the first few will give you so many more options for those inevitable bad hair days.