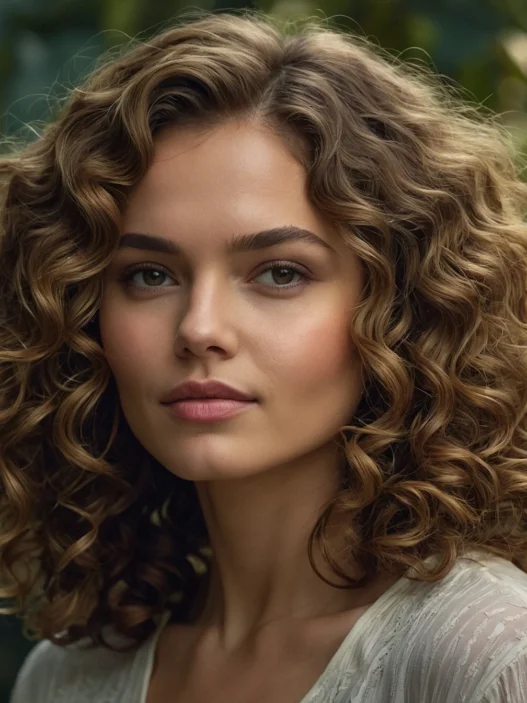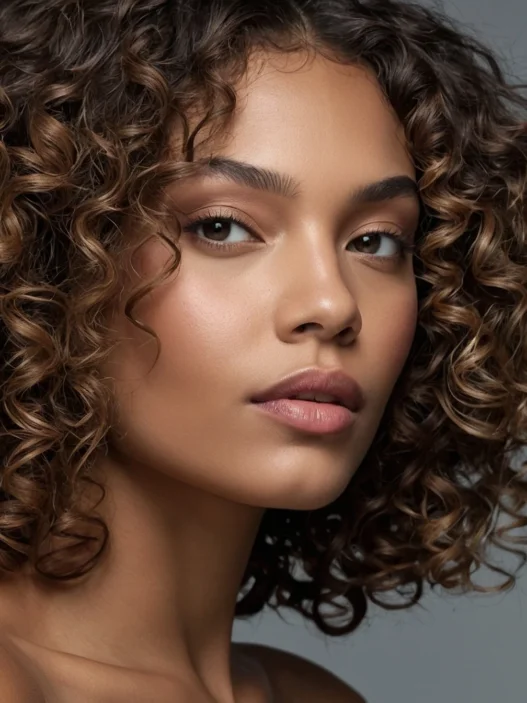








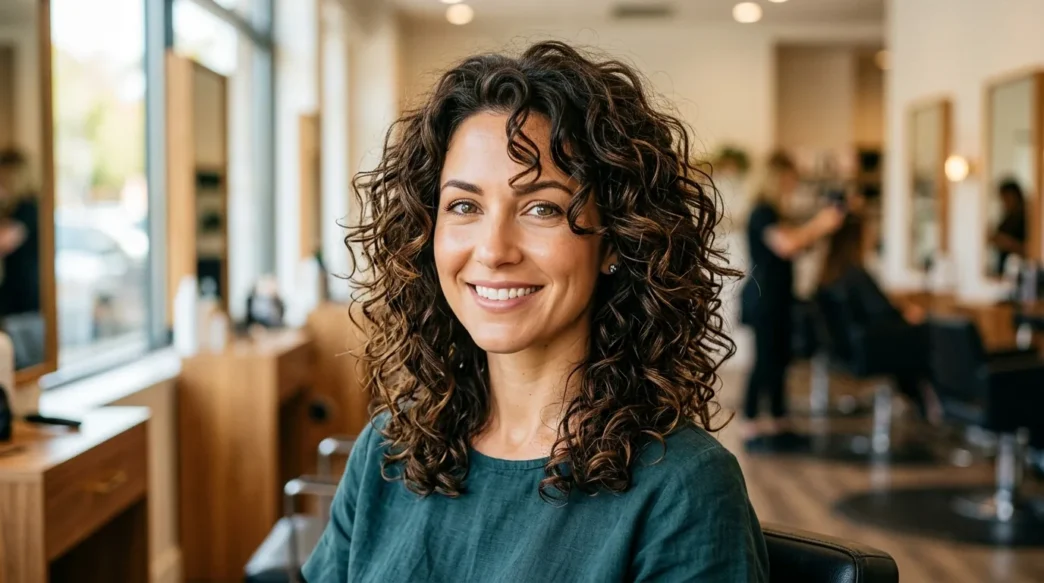
After years of fighting my curly hair with blunt cuts that looked like a triangle, I finally discovered the magic of a properly layered lob. My stylist completely transformed my look, but more importantly, she taught me how to recreate that bouncy, defined curl pattern at home. Now I wake up to hair that actually works with me instead of against me.
Your Complete Curly Lob Journey
Tools and Timing Overview
Before we dive into the phases, let me save you some frustration. This entire process takes about 45 minutes from start to finish. I used to rush through it in 20 minutes and wonder why my curls looked flat by noon.
Here’s what you’ll absolutely need:
- A diffuser attachment (game-changer, seriously)
- Wide-tooth comb for wet detangling
- Microfiber towel or cotton t-shirt
- Leave-in conditioner with curl cream
- Sectioning clips (at least 4)
- Light-hold gel or mousse
- Deep conditioning mask for weekly treatments
The timing matters more than I realized. I always do this routine on freshly washed hair, and I’ve learned that how often you wash makes a huge difference in how the layers respond.
The Foundation Phase
Everything starts with how you handle your hair right after washing. I used to grab a regular towel and scrunch the life out of my curls. Big mistake.
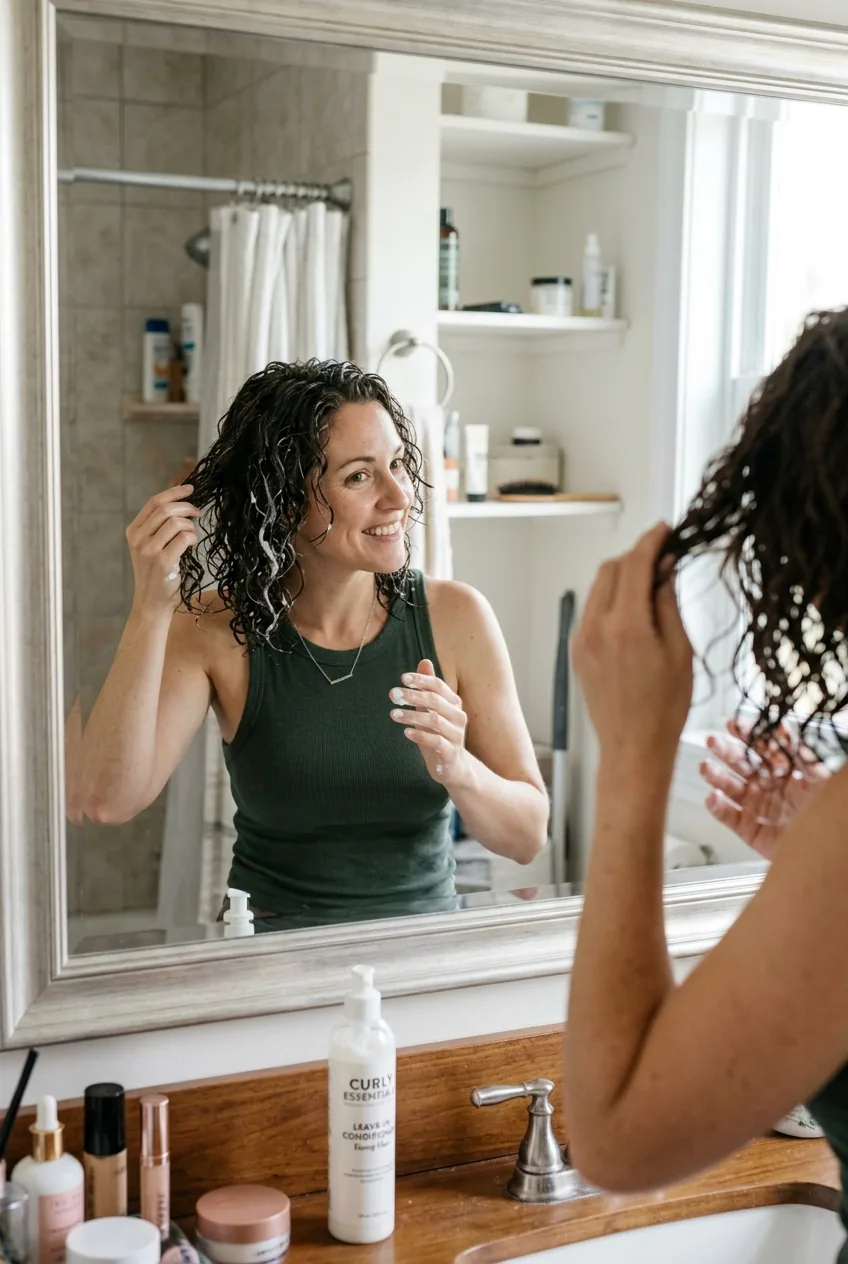
First, gently squeeze excess water from your hair using your hands. Don’t twist or wring — just press sections between your palms. Then comes the crucial part: instead of a terry cloth towel, use a microfiber towel or even an old cotton t-shirt. The difference in frizz reduction is incredible.

While your hair is still quite damp, apply your leave-in conditioner. I section my hair into four quadrants and work the product through each section with my fingers, focusing on mid-lengths to ends. The layers in a lob need this moisture distribution to curl uniformly.
Next, add your curl cream. This is where the layered cut really starts to show its magic — each layer grabs the product differently, creating natural volume and bounce. Work it through the same way, section by section.
I used to apply all my products at once, thinking it would save time. Instead, I got uneven curl formation and weird flat spots. Taking those extra two minutes to layer the products properly changed everything about my curl definition.
The Building Phase
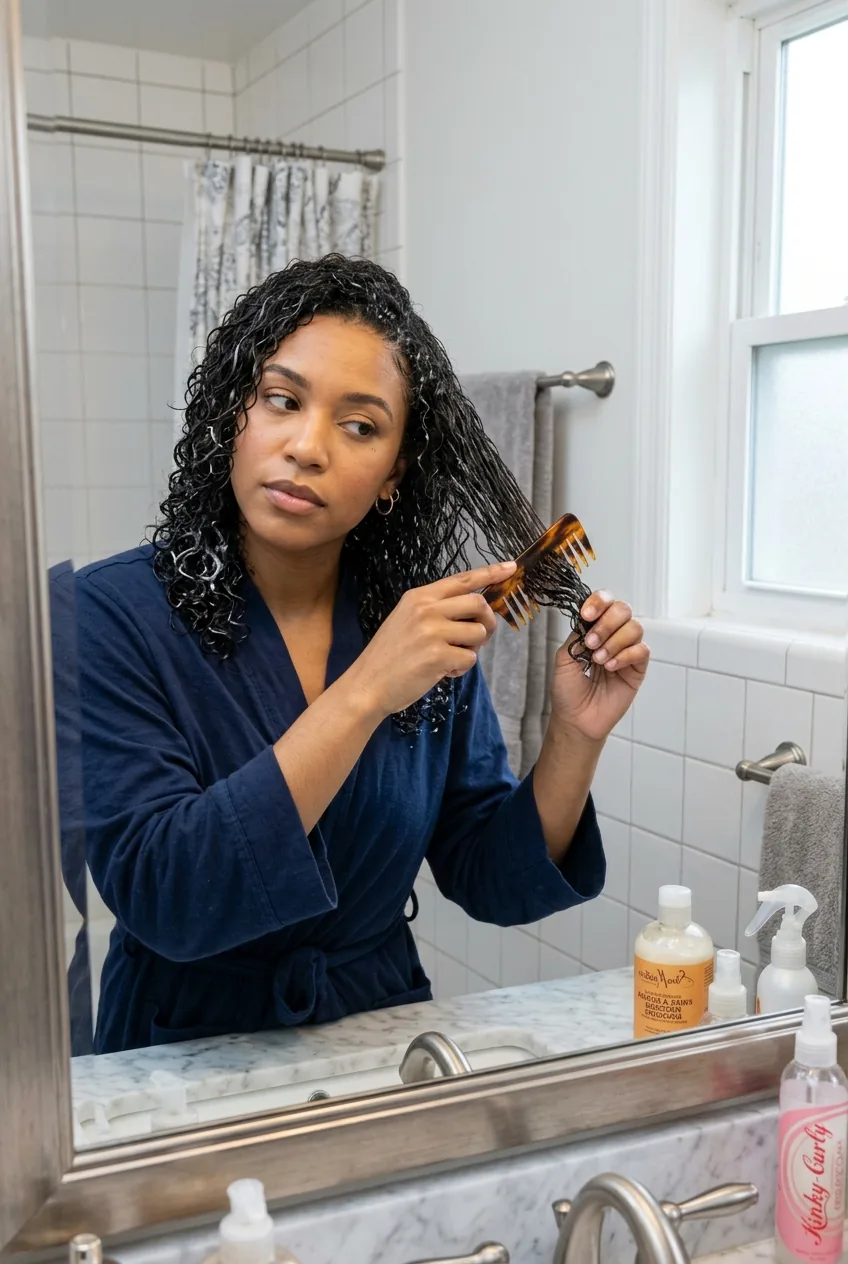
This phase is all about encouraging your natural curl pattern while the layers do their work. Start by combing through your damp hair with a wide-tooth comb, but only while the leave-in and curl cream are still wet and slippery.
Here’s the technique that transformed my curly lob: the “scrunch and lift” method. Cup sections of your hair in your palm and gently scrunch upward toward your scalp. The shorter layers will naturally lift and create volume, while the longer pieces form those gorgeous cascading curls.
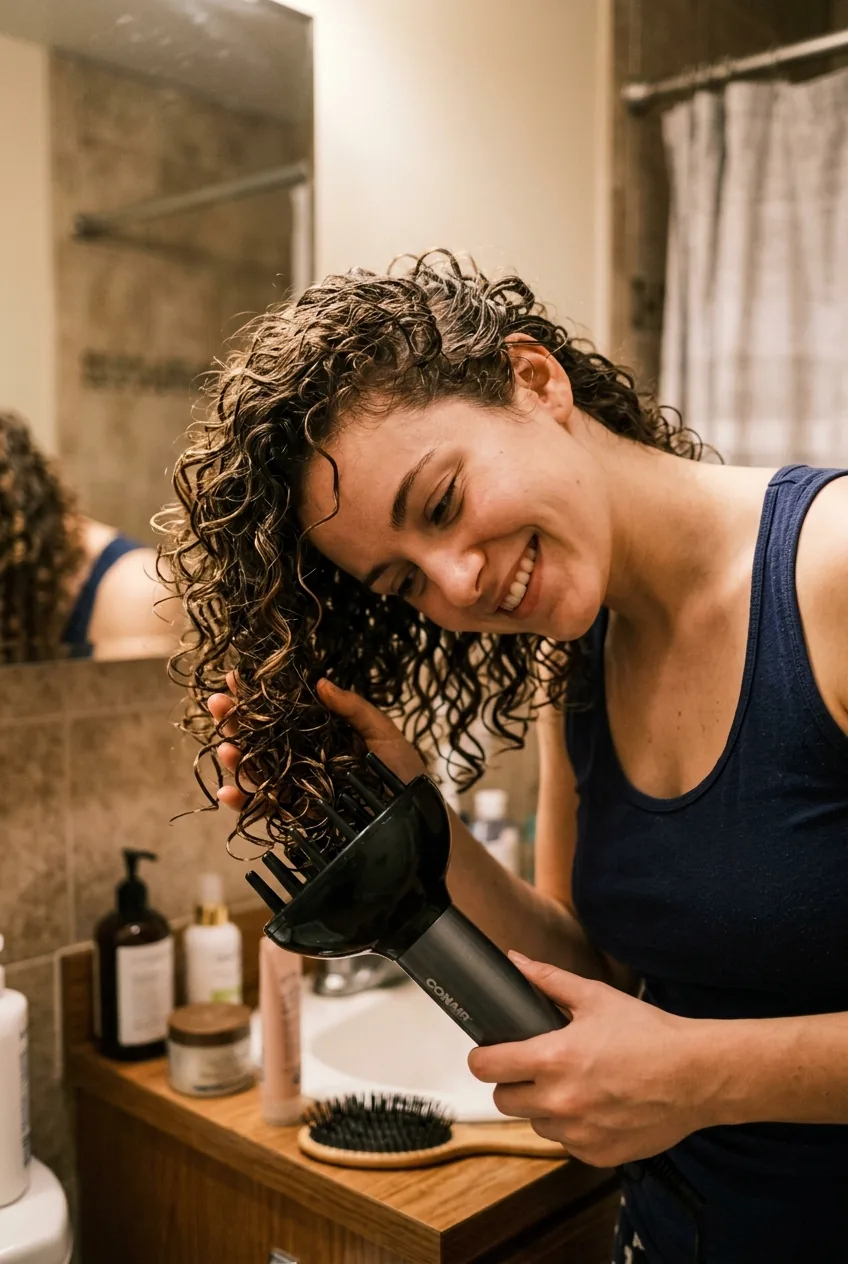
Now for the gel or mousse. I prefer a light-hold gel because it gives definition without weighing down the layers. Apply it using the same scrunching motion, working from the bottom layers up. The key is to maintain that curl formation we just created.
Don’t touch your hair after this point. I know it’s tempting to keep adjusting and scrunching, but your curls need time to set into their pattern. This is when I usually clip the top sections up and let the underlayers start their drying process.
The layered lob structure means your hair will dry at different rates. The shorter pieces around your face will be ready for diffusing first, while the back sections take longer. Embrace this timing difference — it’s what creates that effortless, lived-in texture we’re after.
The Finishing Touch
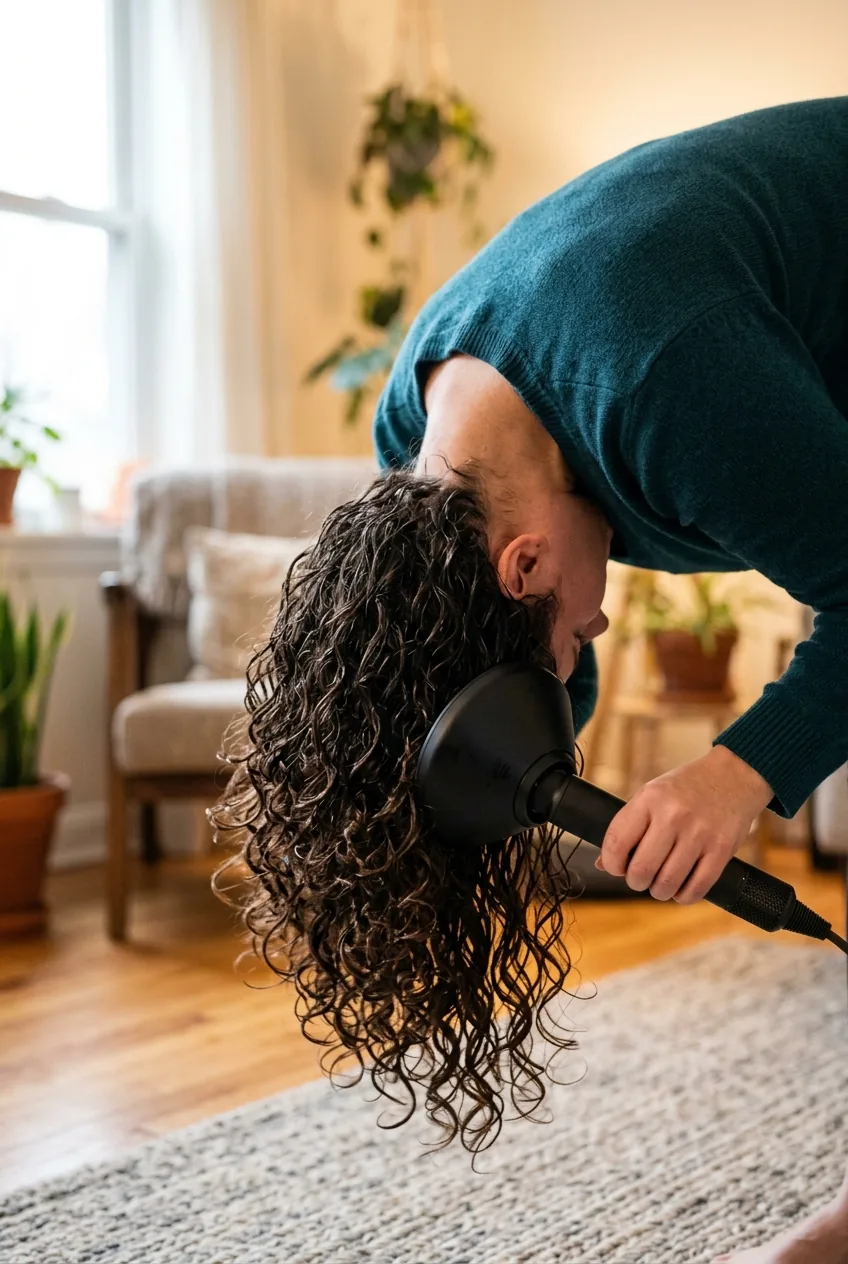
Diffusing is where the magic happens, but it’s also where I made my biggest mistakes initially. The trick with a layered lob is to work in sections and use different techniques for different areas.
Start with your diffuser on low heat and low speed. Cup a section of curls in the diffuser bowl and gently lift toward your scalp. Hold for about 30 seconds, then move to the next section. The layers respond beautifully to this lifting motion — you’ll see volume building naturally.
For the pieces around your face, I tilt my head to one side and diffuse while scrunching. This encourages those shorter layers to curl away from your face, creating that flattering frame that makes the lob so universally gorgeous.

The back sections need a different approach. I flip my head upside down and diffuse from underneath, which gives the longer layers incredible lift and prevents that flat-back problem that plagues so many curly lobs.
Once your hair is about 80% dry, switch to cool air for the final few minutes. This seals the curl pattern and reduces frizz. I learned this from watching way too many styling techniques for thin curly hair, and it works perfectly for the layered lob too.
The final step is “scrunching out the crunch” if you used gel. Gently scrunch your now-dry curls with your hands to soften the cast and reveal bouncy, touchable hair. The layers will have formed beautiful, separated curls that move naturally.
Watch This Diffusing Game-Changer
Maintenance and Upkeep

A layered lob grows out more gracefully than any other curly cut I’ve tried, but it still needs regular attention. I get mine trimmed every 8-10 weeks, focusing on maintaining the shortest layers around my face.
Between cuts, I refresh my curls every 2-3 days using a spray bottle with water and a tiny amount of leave-in conditioner. The layers reactivate beautifully with just a little moisture and gentle scrunching.
Weekly deep conditioning is non-negotiable. The layers mean more exposed ends, so moisture is crucial for preventing frizz and maintaining curl definition. I apply the mask focusing on mid-lengths and ends, then detangle with a wide-tooth comb before rinsing.
Sleep protection is huge for this cut. I use a silk pillowcase and either pineapple my curls on top of my head or use a buff to protect them overnight. The layers can get crushed easily if you sleep directly on them.
For seasonal adjustments, I modify my routine slightly. During winter curly hair care, I use heavier leave-ins and add a tiny amount of hair oil to combat dry air. Summer calls for lighter products and more frequent refresh sprays.
Quick Answers About Layered Curly Lobs
How often should I wash my layered curly lob?
I wash mine every 3-4 days, but it depends on your curl type and lifestyle. The layers actually help distribute natural oils better than a blunt cut, so you might be able to go longer between washes. Pay attention to how your scalp feels rather than following a strict schedule.
Can I air dry instead of diffusing?
Absolutely, but the results will be different. Air drying gives a more relaxed, loose curl pattern, while diffusing creates more defined, voluminous curls. I alternate between both methods depending on the look I want and how much time I have.
Will layers make my fine curly hair look thinner?
Actually, the opposite. Strategic layering removes weight and allows curls to spring up more, creating the illusion of fuller hair. The key is working with a stylist who understands curly hair and can place the layers to maximize volume rather than create gaps.
How long does it take to grow out if I don’t like it?
The beauty of a lob is that it grows out gracefully. Even if you decide layers aren’t for you, you’re looking at about 4-6 months to grow into a longer, more uniform length. During that time, the layers actually help your hair look intentional rather than just grown-out.
What’s the best way to ask for this cut at the salon?
Bring photos and be specific about wanting face-framing layers that work with your natural curl pattern. Ask for long layers rather than choppy ones, and make sure your stylist cuts your hair dry so they can see how each curl naturally falls.
Three months in, and I’m still obsessed with how my layered lob looks and feels. The routine has become second nature, and I actually look forward to styling my hair instead of dreading it. The combination of the right cut and proper technique has given me the bouncy, defined curls I always thought were impossible with my hair type.