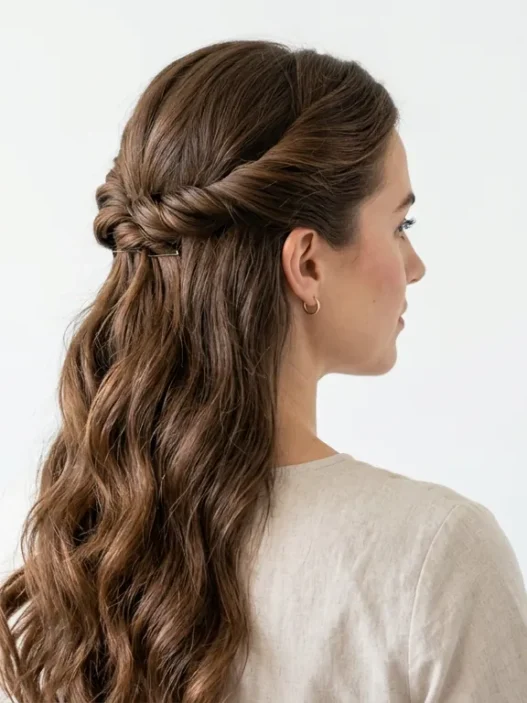


I spent months scrolling through Pinterest, saving hundreds of gorgeous wedding hair down photos. But every time I tried to recreate them, I ended up with limp, lifeless hair that looked nothing like those dreamy, romantic styles. The turning point came when I finally understood that wedding hair down isn’t about just curling your hair and calling it done — it’s about building a foundation that photographs beautifully and actually lasts through twelve hours of dancing.
What You’ll Need for This Look
I’ve learned the hard way that having the right tools makes all the difference. Here’s what actually works:
- Heat protectant spray (I’m obsessed with my thermal protector)
- Volumizing mousse — not the crunchy kind from the 90s
- 1.5-inch curling iron or wand
- Texturizing spray or sea salt spray
- Bobby pins in your exact hair color
- Clear elastic hair ties
- Light-hold hairspray
- Wide-tooth comb
- Sectioning clips
Starting with the Right Base
This is where most people mess up, and honestly, I did too for the longest time. I used to think I could just work with day-old hair and it would be fine. Wrong. Wedding hair down needs to start with the right foundation, and that means washing your hair the night before — not the morning of.
Here’s why: freshly washed hair is too slippery to hold curls well, but hair that’s been washed the morning of your wedding is usually still too clean. That sweet spot is about 12-18 hours after washing. Your natural oils start working in your favor without making everything look greasy.
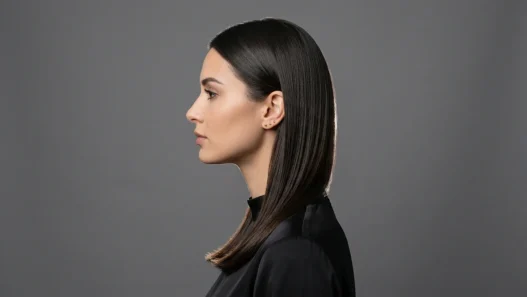
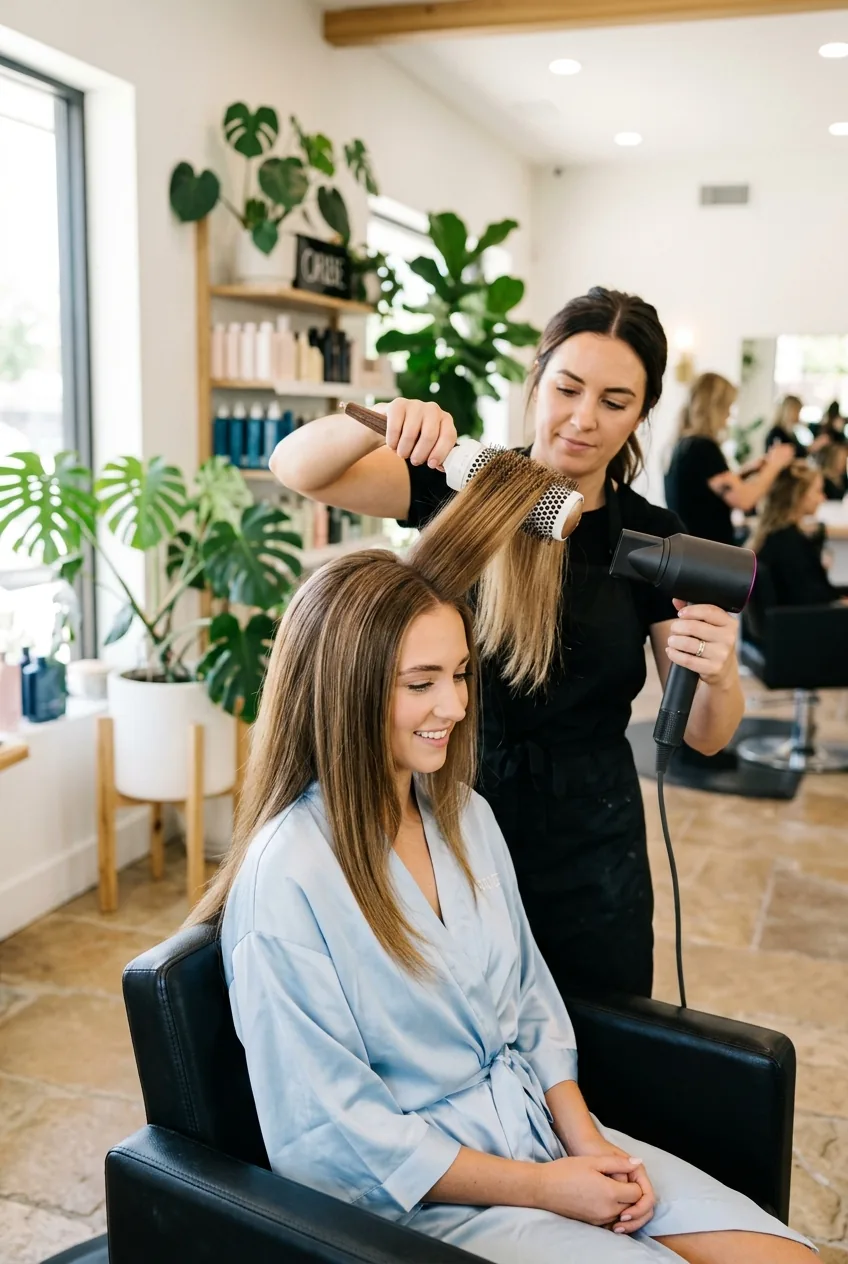
Apply your heat protectant to damp hair, then follow with volumizing mousse from mid-length to ends. I learned to avoid putting mousse at the roots — it just weighs everything down. Blow dry your hair completely smooth using a round brush. This step isn’t negotiable. Even if you’re adding waves later, you want that smooth base.
The Volume Secret Most Stylists Skip
I cannot stress this enough — volume is what separates amateur wedding hair from professional-looking wedding hair. But most tutorials skip right over this crucial step.
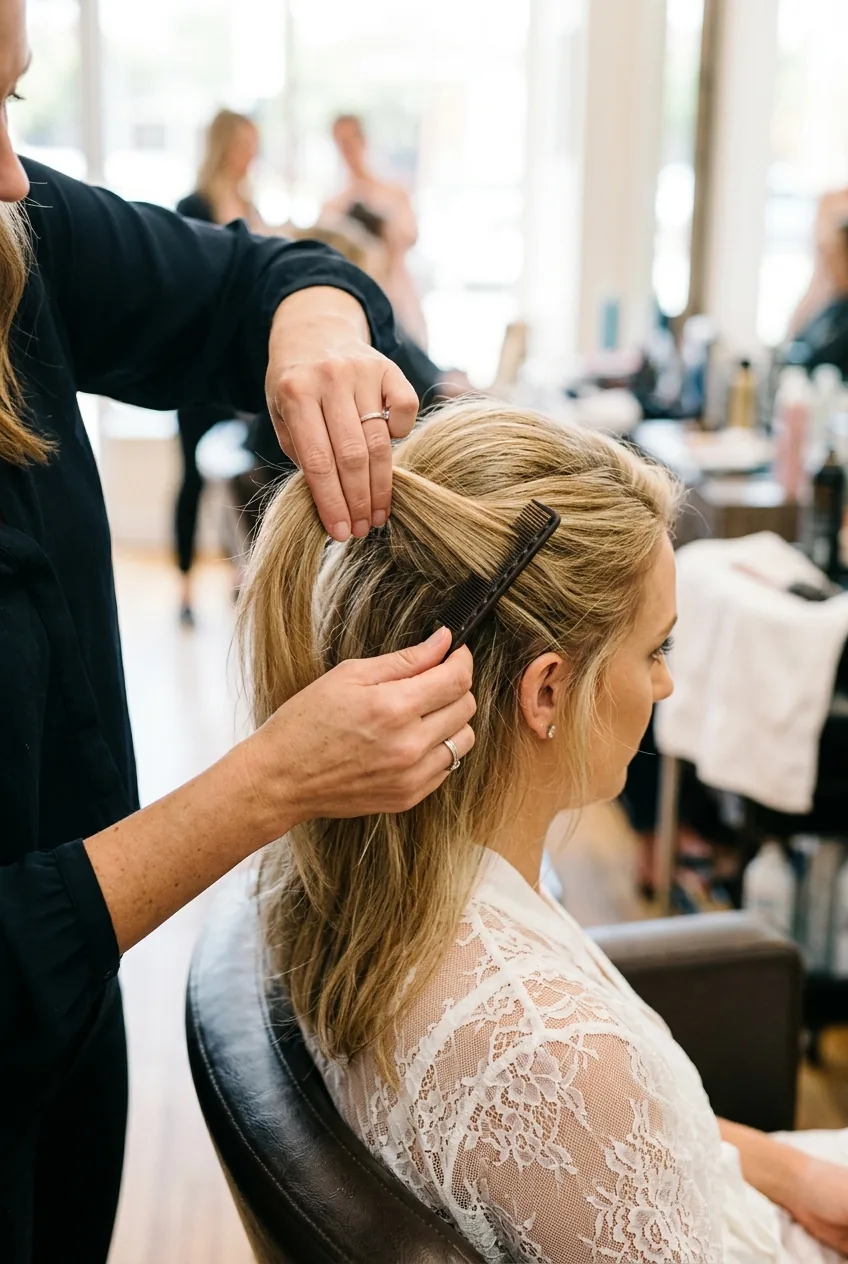
Before you touch a curling iron, you need to create invisible volume at the roots. Section off the top layer of your hair and clip it away. Working with the underneath sections, lightly tease at the roots with a fine-tooth comb. I’m talking gentle backcombing, not the ratted mess from the 80s.
The trick is to tease small sections — maybe an inch wide — and only go about two inches from the root. You want texture, not tangles. Once you’ve done this all around your head, gently smooth the top layer back over the teased sections. The volume is there, but it looks natural and romantic, not overdone.
I used to skip this step thinking the curls would provide enough volume. My wedding hair looked flat in every single photo until I figured this out. Don’t make my mistake — volume first, curls second.
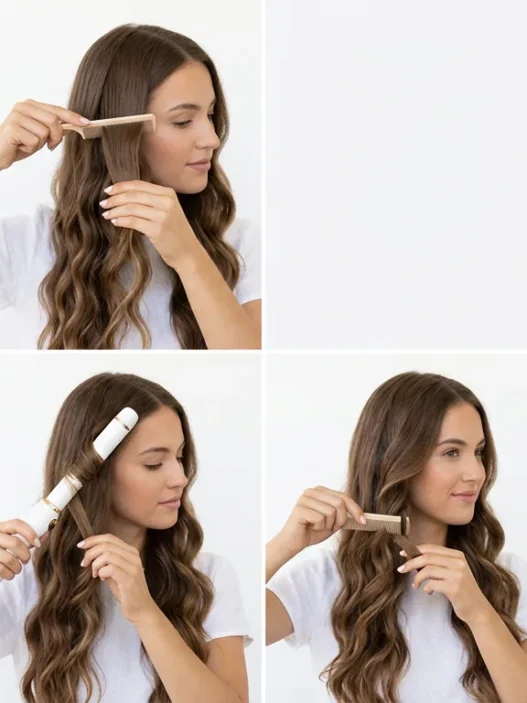
Creating Those Perfect Romantic Waves
Now comes the fun part, but also where technique really matters. I’ve tried every curling method in the book, and here’s what actually creates those soft, romantic waves that photograph beautifully.
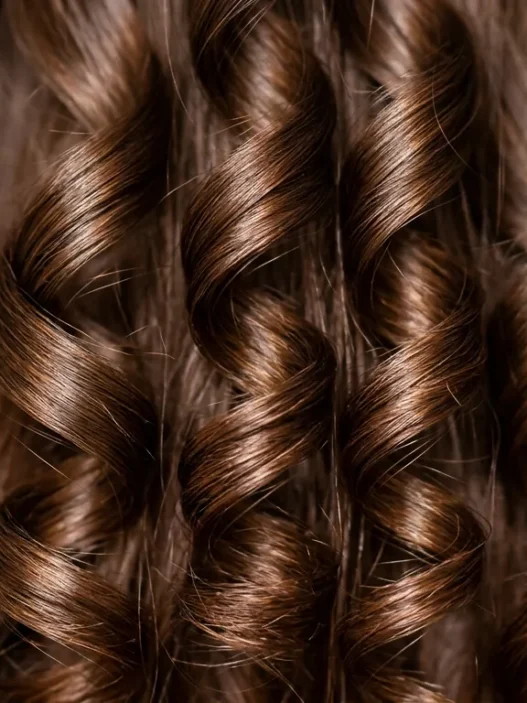
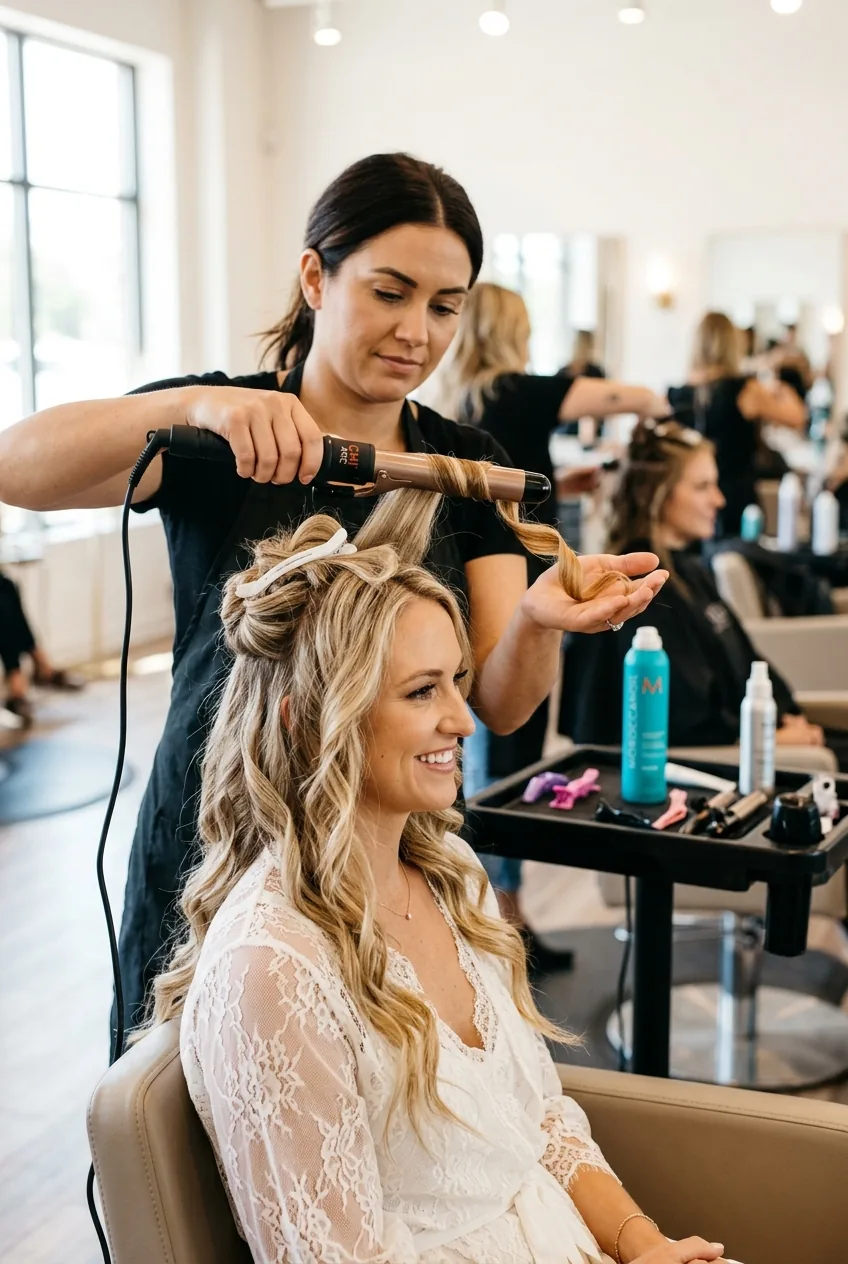
Work in sections about 1-2 inches wide. The key is inconsistency — I know that sounds weird, but hear me out. Curl some sections away from your face, some toward your face. Vary the direction. Hold some curls for 10 seconds, others for 8. This creates that natural, undone look instead of perfect ringlets.
Here’s the technique that changed everything for me: after you curl each section, don’t let it fall. Cup the warm curl in your palm and let it cool completely before releasing it. This sets the curl much better than just letting it drop. Once all your hair is curled and cooled, run your fingers through everything to break up the curls into soft waves.
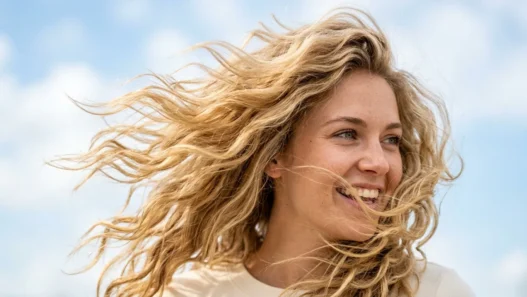
The goal isn’t tight curls — you want waves that look like you could have been born with them. Professional styling techniques make all the difference in achieving this effortless look.
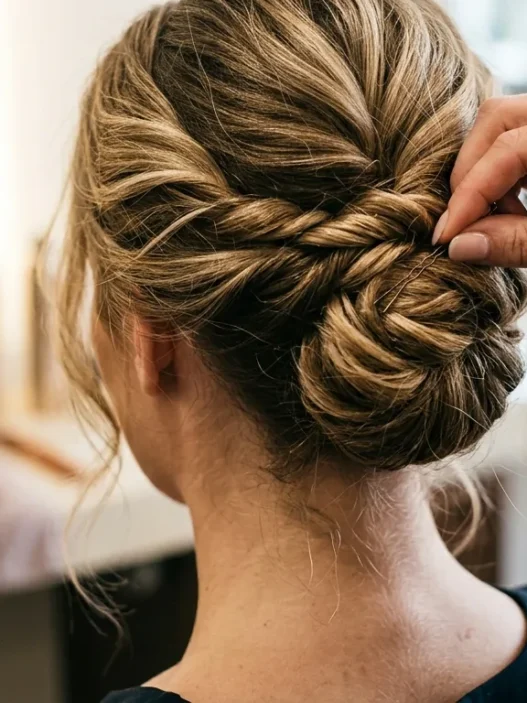
See the Curling Technique in Action
The Texturing Game-Changer
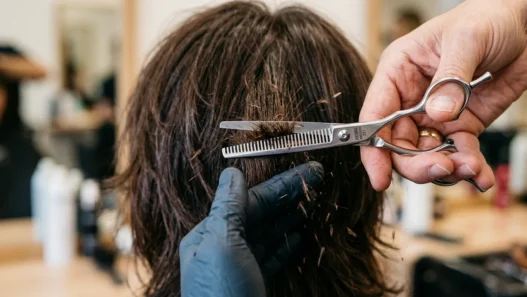
This step separates good wedding hair from absolutely stunning wedding hair. After you’ve created your waves, you need to add texture. Not grit, not crunch — just that perfect tousled texture that makes hair look effortlessly romantic.
Spray texturizing spray throughout your hair, focusing on the mid-lengths and ends. Then — and this is crucial — scrunch your hair gently while it’s still damp from the spray. This reactivates the waves and adds that piece-y, beachy texture that photographs so beautifully.
I like to flip my head upside down and scrunch from the ends up toward the roots. Don’t be afraid to really work the product through your hair. The texturizing spray also helps with longevity — your waves will hold their shape much better throughout the day.
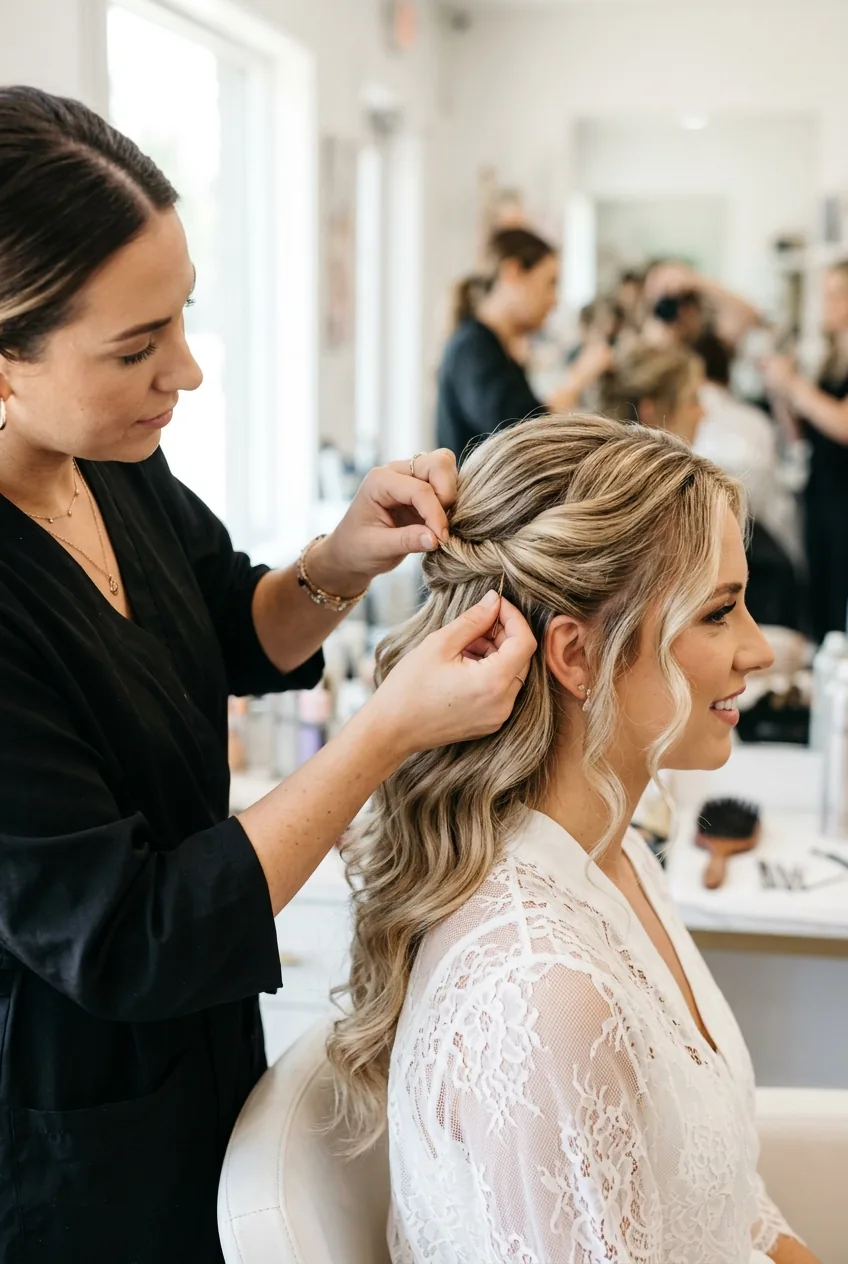
Strategic Pinning for Longevity
Here’s where most people think they’re done, but you’re not. Wedding hair down needs strategic support to last through ceremony, photos, dinner, and dancing. I learned this the hard way when my “perfect” hair fell flat by the time we got to the reception.
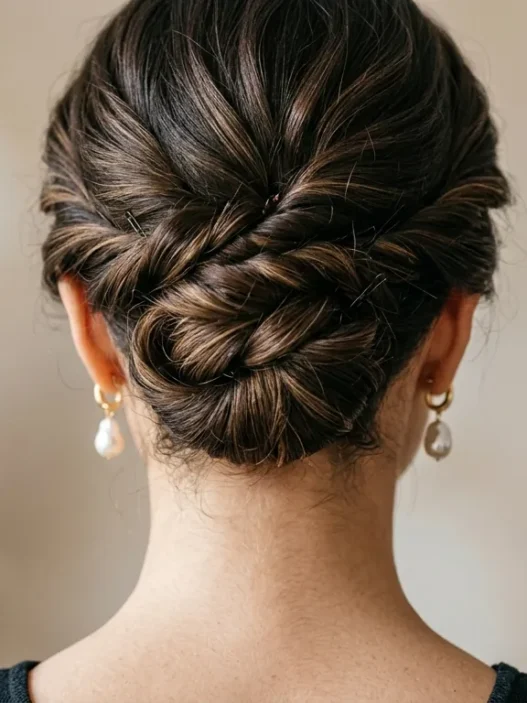
The secret is invisible pinning. Take small sections from each side of your head — maybe an inch wide at temple level — and gently twist them back. Pin them behind your ears with bobby pins that match your hair color exactly. This creates subtle support and keeps hair out of your face during the ceremony.
For extra hold, I also pin a few strategic curls. Choose 3-4 key curls around your face and gently pin them in place with bobby pins inserted horizontally. You can remove these pins later in the day if you want a completely loose look, but they help maintain the shape during the most important photos.
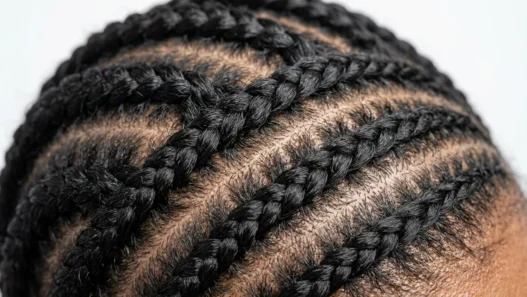
If you’re wearing thick hair hairstyles, you might need a few extra pins to manage the weight of all that hair.
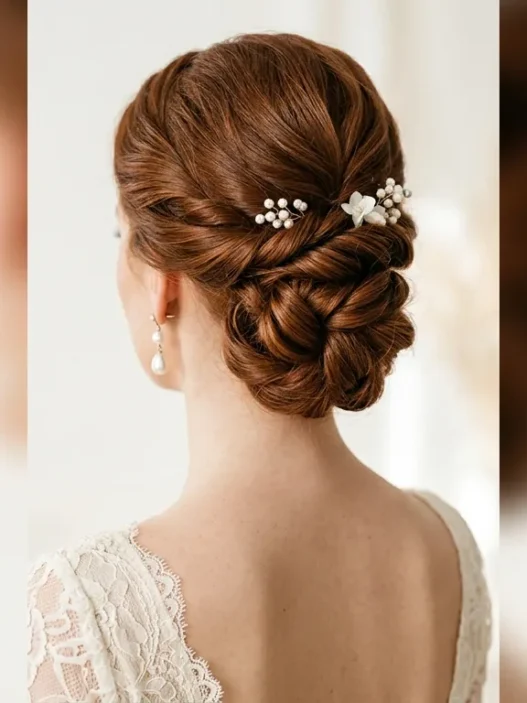
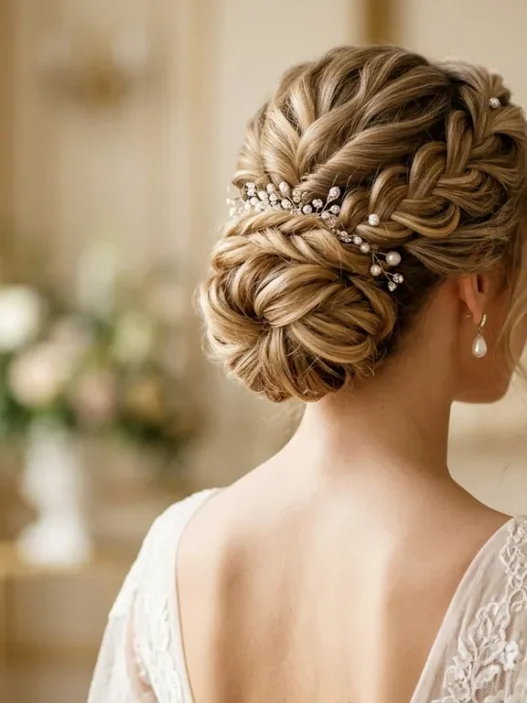
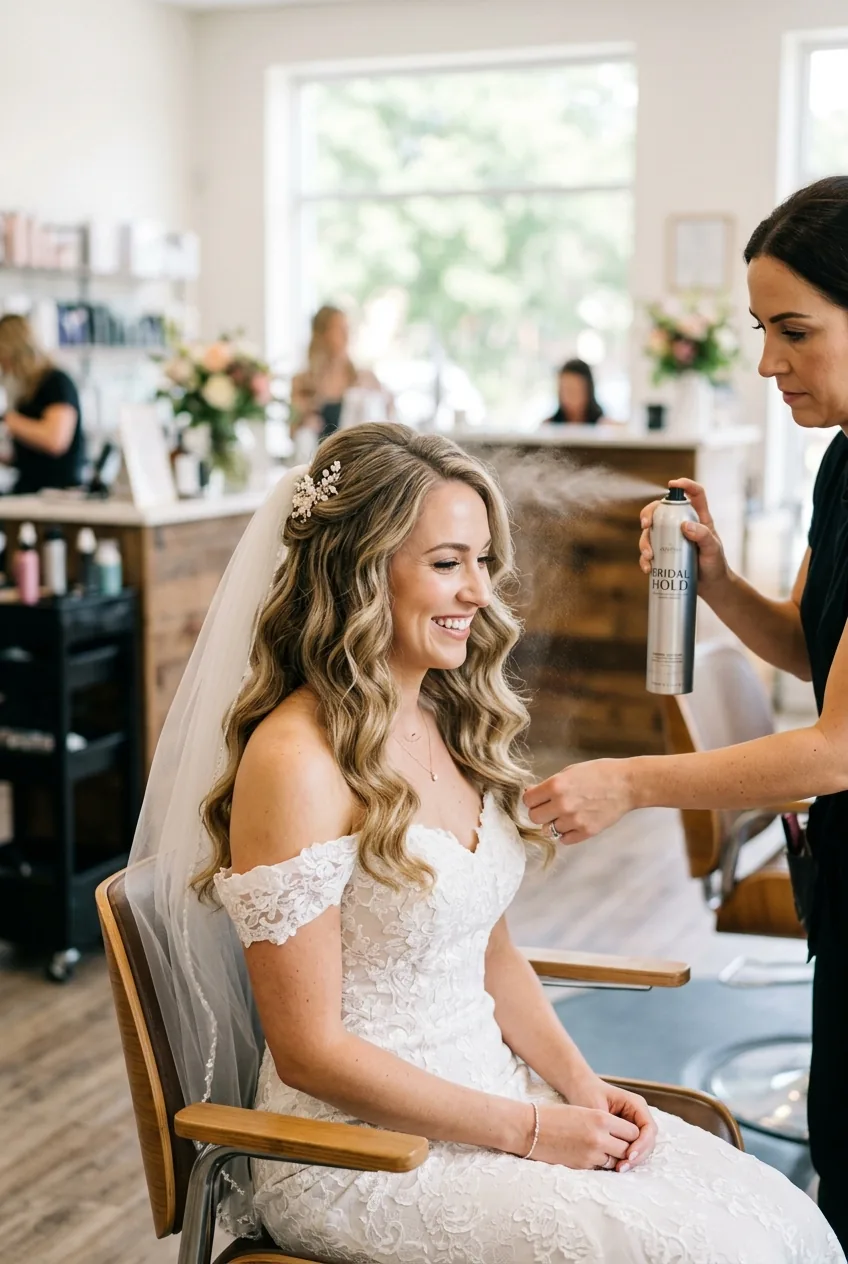
Final Touches That Make the Look
The difference between good and gorgeous is in these final details. First, check your hair from every angle. Use a hand mirror to see the back — this is what your photographer will be capturing during the ceremony.
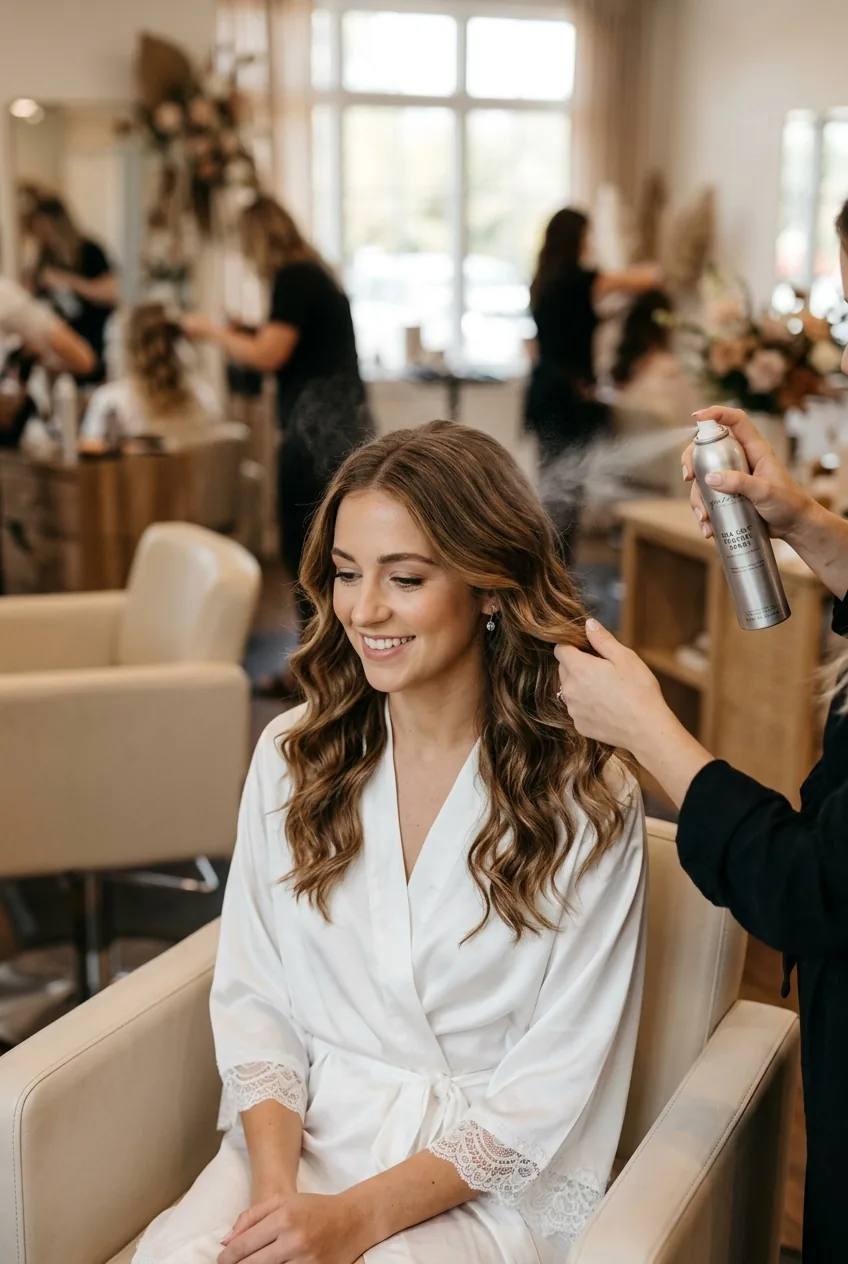
Lightly mist everything with a flexible hold hairspray. I hold the bottle about 12 inches away and spray in short bursts rather than one long spray. You want hold without stiffness.
Finally, and this might sound silly, but practice your head movements. Nod yes, shake your head no, look over your shoulder. Your hair should move naturally and fall back into place. If it doesn’t, you might have too much product or your pins are too tight.
Preparation techniques can make the difference between hair that looks great in the mirror and hair that photographs beautifully all day long.
Questions I Get About This Look
Can I do this style on myself the day of my wedding?
Absolutely, but I recommend doing a full practice run at least twice before your wedding day. The muscle memory makes a huge difference when you’re working with nervous hands. Also, have a backup person who can help with the back sections if needed.
How long will this style hold up during a long wedding day?
With proper preparation and the strategic pinning technique, this style should last 8-12 hours easily. I’ve worn it through 14-hour wedding days and still had gorgeous waves by the end of the night. The key is that invisible support structure we built in.
What if my hair doesn’t hold curls well normally?
The root teasing and texturizing spray make a massive difference for stubborn hair. Also, try using a smaller barrel curling iron and holding each curl longer. Some hair just needs more convincing, but this technique works even on the most resistant hair types.
Should I wash my hair the morning of or the night before?
Night before, always. Day-of hair is too clean and slippery. You want just enough natural oil to give the style grip and longevity. This timing also reduces stress on your wedding morning.
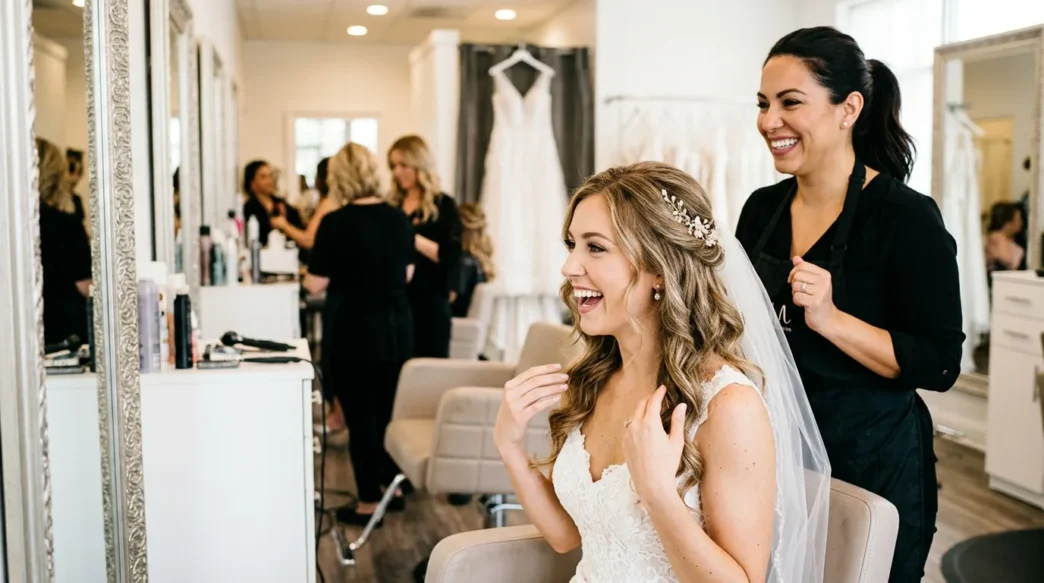
When I finally got this technique down, my wedding hair looked exactly like those Pinterest photos I’d been obsessing over. But more importantly, it felt like me — just the most polished, romantic version of myself. And it stayed perfect through twelve hours of the best day of my life.