


I spent years fighting my thin curly hair, loading it up with heavy creams that made my curls look sad and droopy by noon. Every product promised “definition without weight” but somehow my hair always ended up flat at the roots and stringy at the ends. Then I finally figured out that it wasn’t about finding the perfect product — it was about changing my entire approach to styling.
What You’ll Need
Before we dive in, let me share what actually works for thin curly hair. I’ve tried everything, and these are the tools that made the difference:
- Lightweight leave-in conditioner (not cream-based)
- Curl-enhancing mousse or foam
- Microfiber towel or cotton t-shirt
- Diffuser attachment for your blow dryer
- Wide-tooth comb
- Hair clips for sectioning
- Light-hold gel (optional, for extra definition)
The key word here is “lightweight.” I learned this the hard way when I kept reaching for those rich, creamy products that work great on thin hair hairstyles but completely overwhelmed my delicate curls.
Step 1: Start with Clean, Damp Hair
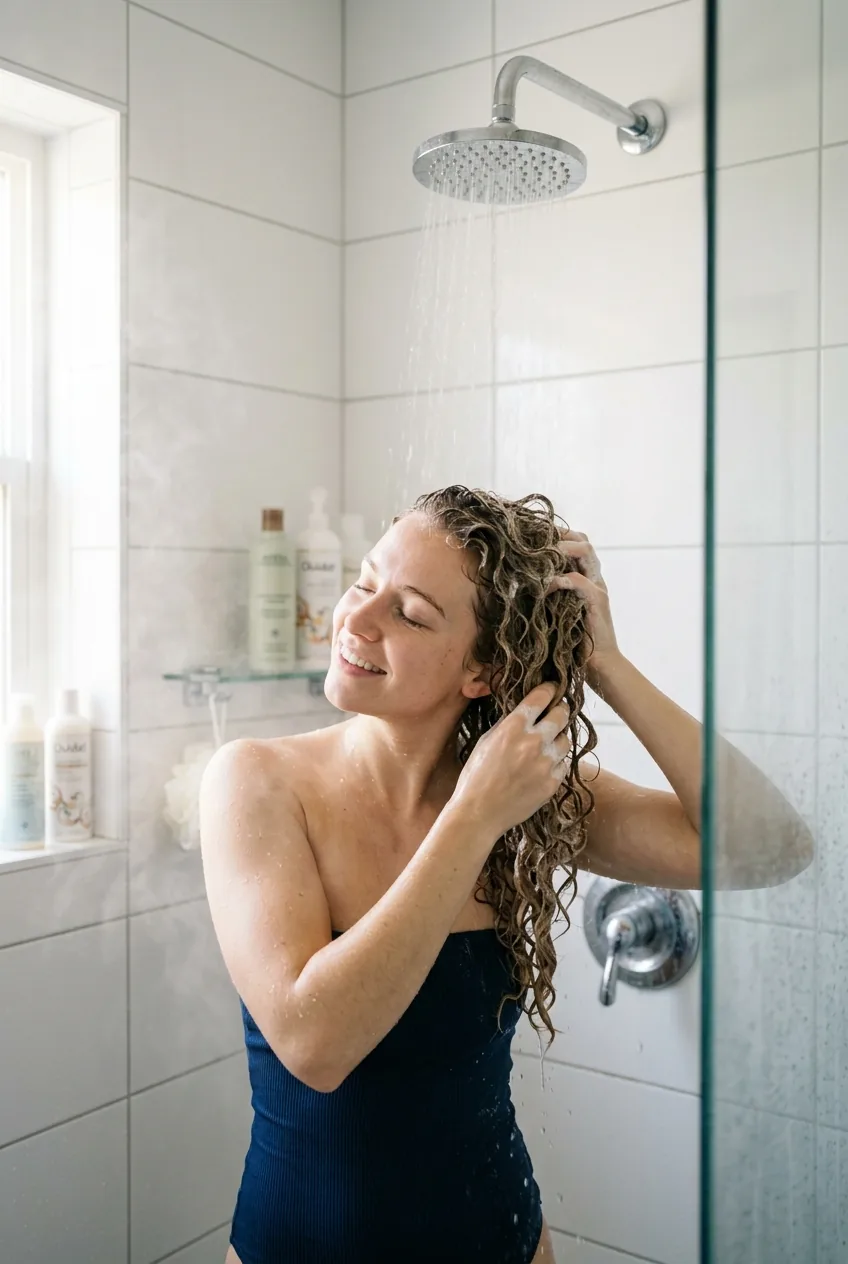
This might sound obvious, but the foundation matters more with thin curly hair than any other type. I always start with freshly washed hair using a sulfate-free shampoo that won’t strip my already-fragile strands.
After rinsing out my conditioner, I gently squeeze out excess water with my hands — never wringing or twisting. My hair should be damp, not soaking wet, but definitely not dry. Think of that sweet spot where your hair feels cool to the touch but isn’t dripping.
Here’s where most people go wrong: they towel-dry their hair first. Don’t do this. Terry cloth towels create frizz and break up your natural curl pattern before you even start styling. Save the microfiber towel for later.
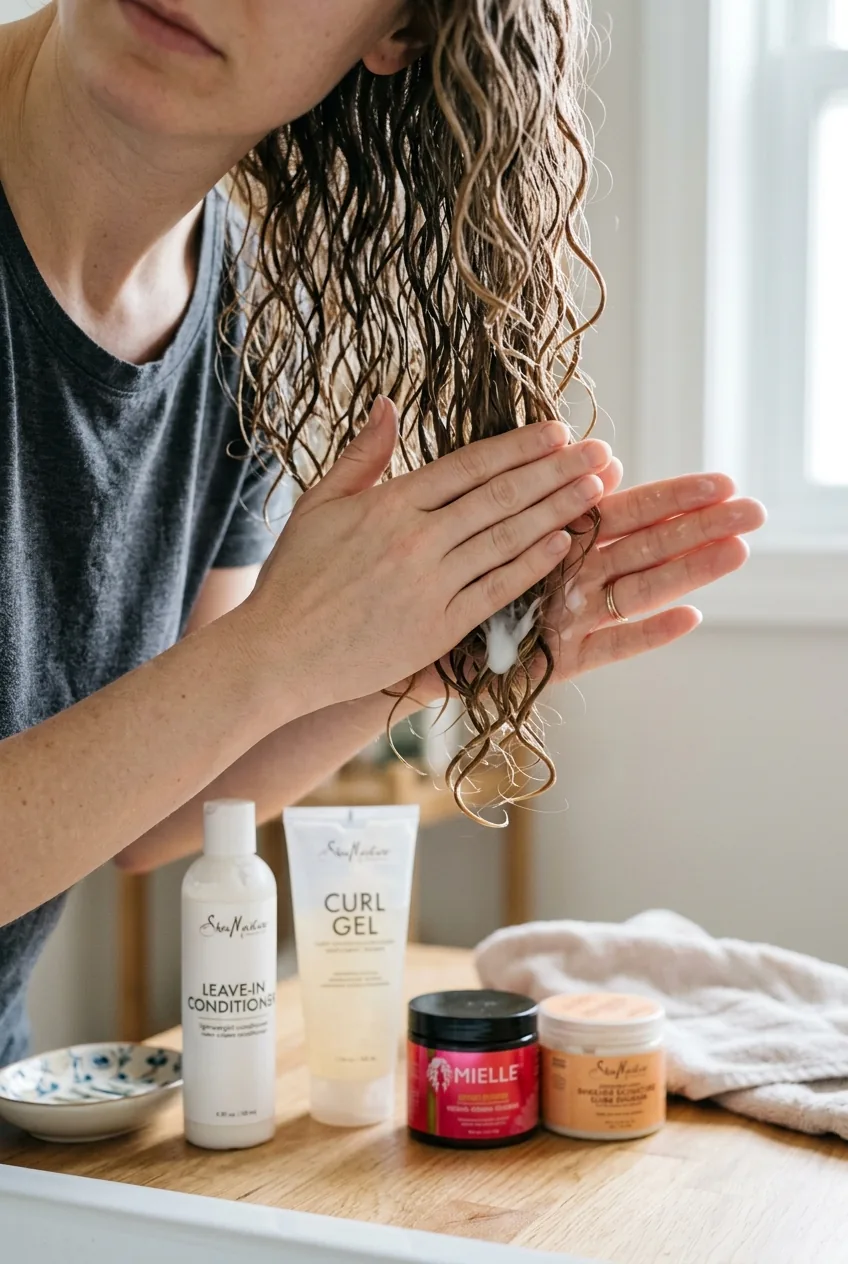
Step 2: Apply Products the Right Way
Product application can make or break thin curly hair. I use the “praying hands” method, which sounds weird but works incredibly well for distributing product evenly without disturbing the curl pattern.
First, I apply my leave-in conditioner. I put about a dime-sized amount in my palms, rub them together, then smooth the product down sections of my hair from mid-length to ends. Never start at the roots — that’s where thin hair gets weighed down fastest.
Next comes the mousse, and this is where the magic happens. I flip my head upside down and scrunch the mousse into my hair, focusing on the ends and working upward. The upside-down position helps create volume at the roots that I could never achieve standing upright.
I used to apply way too much product because I thought more would give me better definition. Wrong. With thin curly hair, less is always more. I had to train myself to use half the amount I thought I needed, and suddenly my curls stopped looking greasy and lifeless.
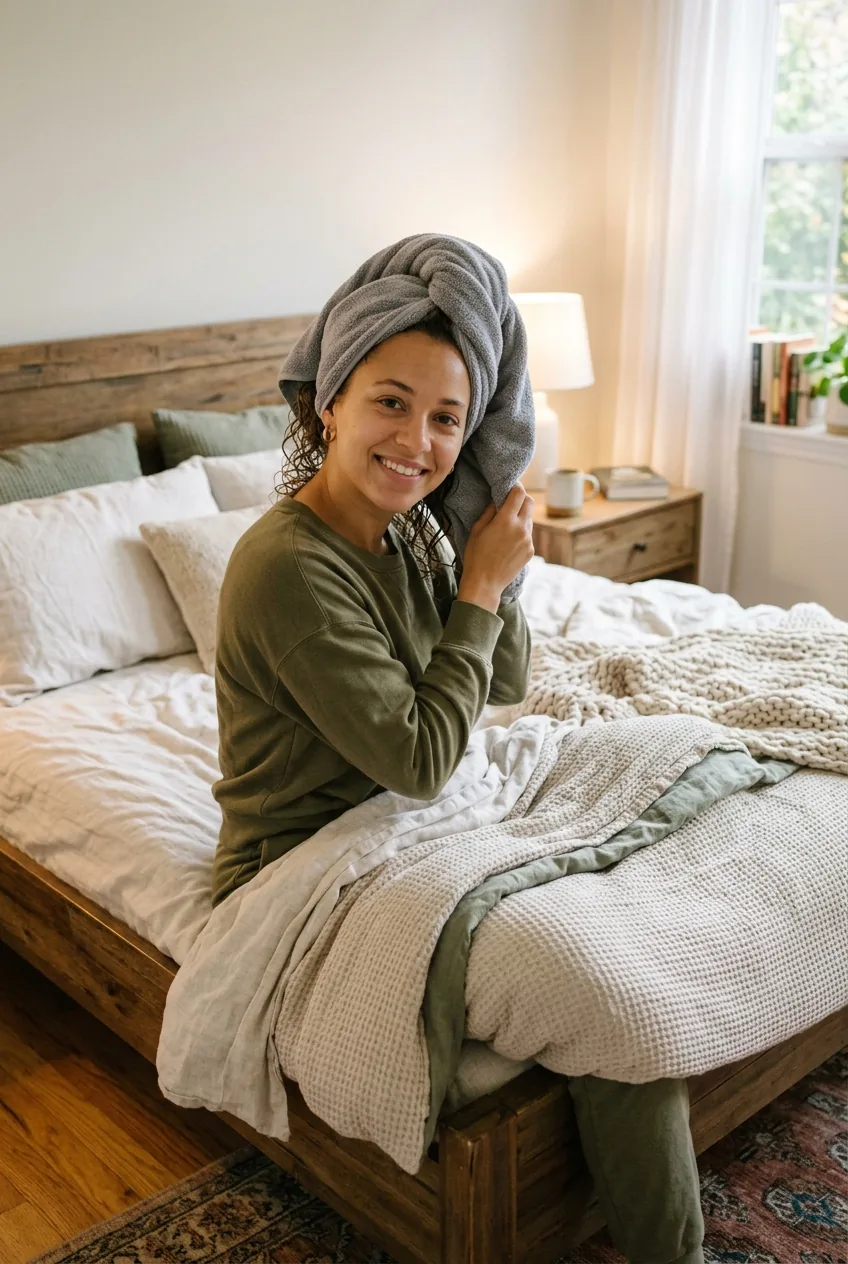
Step 3: Plop for Volume
Plopping changed everything for me. If you’ve never heard of it, plopping involves wrapping your wet, product-laden hair in a microfiber towel or cotton t-shirt to absorb excess moisture while maintaining your curl pattern and creating lift at the roots.
I lay my microfiber towel flat on my bed, flip my head upside down, and lower my hair onto the center of the towel. Then I wrap the sides around my head and twist the back portion, securing it at the nape of my neck. The key is keeping everything loose — this isn’t a tight turban.
For thin curly hair, I only plop for 10-15 minutes. Any longer and my hair gets too dry, any shorter and it’s still too wet for the next step. I use this time to get dressed or do my skincare routine.
When I unwrap my hair, my curls are already starting to take shape with way more volume than I’d get from air drying alone. Plopping techniques can vary, but this basic method works consistently for me.
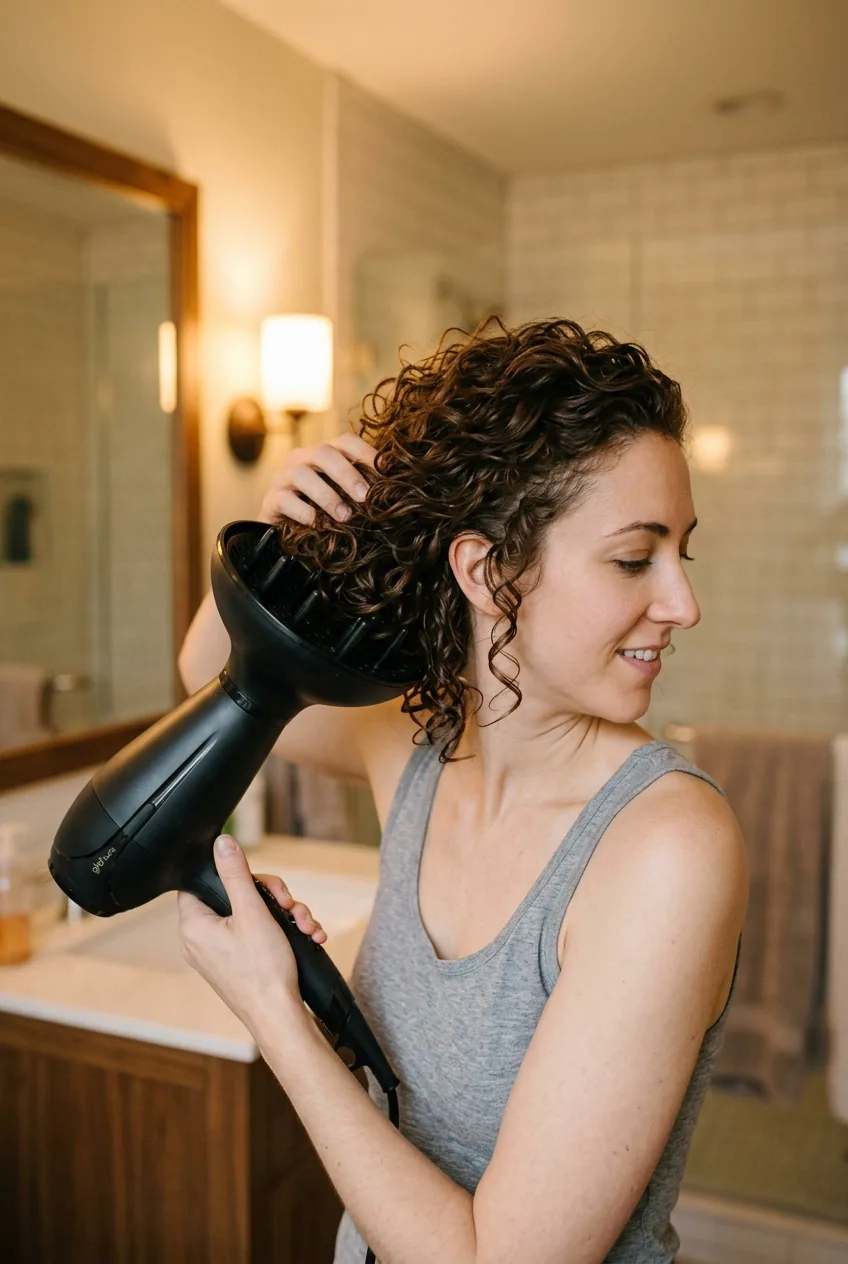
Step 4: Diffuse Strategically
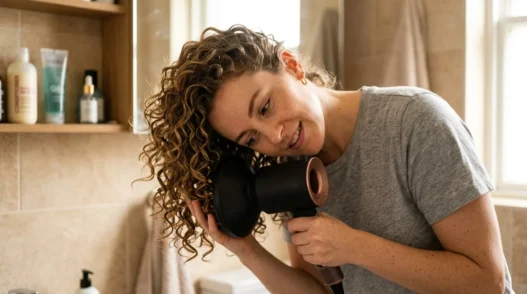
Diffusing thin curly hair requires a completely different approach than thick curls. I use low heat and low speed — high heat will fry my delicate strands, and high speed creates frizz.
I start by cupping sections of my hair in the diffuser bowl and holding it against my scalp for about 30 seconds at a time. This creates lift at the roots without disturbing the curl formation. Then I move the diffuser in a circular motion around each section, keeping it close to my head.
The biggest mistake I used to make? Moving the diffuser too much. Now I let each section sit and dry for longer periods instead of constantly moving the diffuser around. This prevents frizz and helps my curls set in their natural pattern.
I only diffuse until my hair is about 80% dry. The remaining moisture will air dry and helps prevent that crunchy, over-dried texture that can happen with thin hair.
See the Diffusing Technique in Action
Step 5: Finish and Set
Once my hair is mostly dry, I have two options depending on the look I want. For more defined curls, I scrunch in a tiny amount of light-hold gel while my hair still has that last bit of dampness. For softer, more voluminous curls, I skip the gel entirely.
The final step is something I call “scrunching out the crunch.” Even with lightweight products, there’s usually some stiffness from the mousse. I gently scrunch my completely dry curls with my hands to soften them and add movement.
If I need extra volume at the roots, I lift sections of my hair and give them a quick blast of cool air from the blow dryer (no diffuser). This sets the curl pattern and adds lasting lift.
For stylish updos for thin hair, I actually love starting with this styling method because it gives my hair so much more texture and body to work with.
Questions I Always Get About This Method
How often should I wash thin curly hair?
I wash mine every 2-3 days. Thin curly hair gets oily faster than thick hair, but over-washing strips the natural oils that help define curls. I use dry shampoo on day two to extend my style.
Can I sleep on my curls without ruining them?
Yes, but you need a silk or satin pillowcase and a loose scrunchie to create a very loose pineapple on top of your head. I also sometimes use a silk scarf wrapped loosely around my hairline.
What if my curls still look flat after trying this?
You might be using too much product or your hair might need a clarifying wash to remove buildup. I do a clarifying treatment once a month to reset my hair and make sure products can actually penetrate.
How long does this styling method take?
About 45 minutes total, including the 15-minute plopping time. The actual hands-on styling is maybe 20 minutes once you get the hang of it.
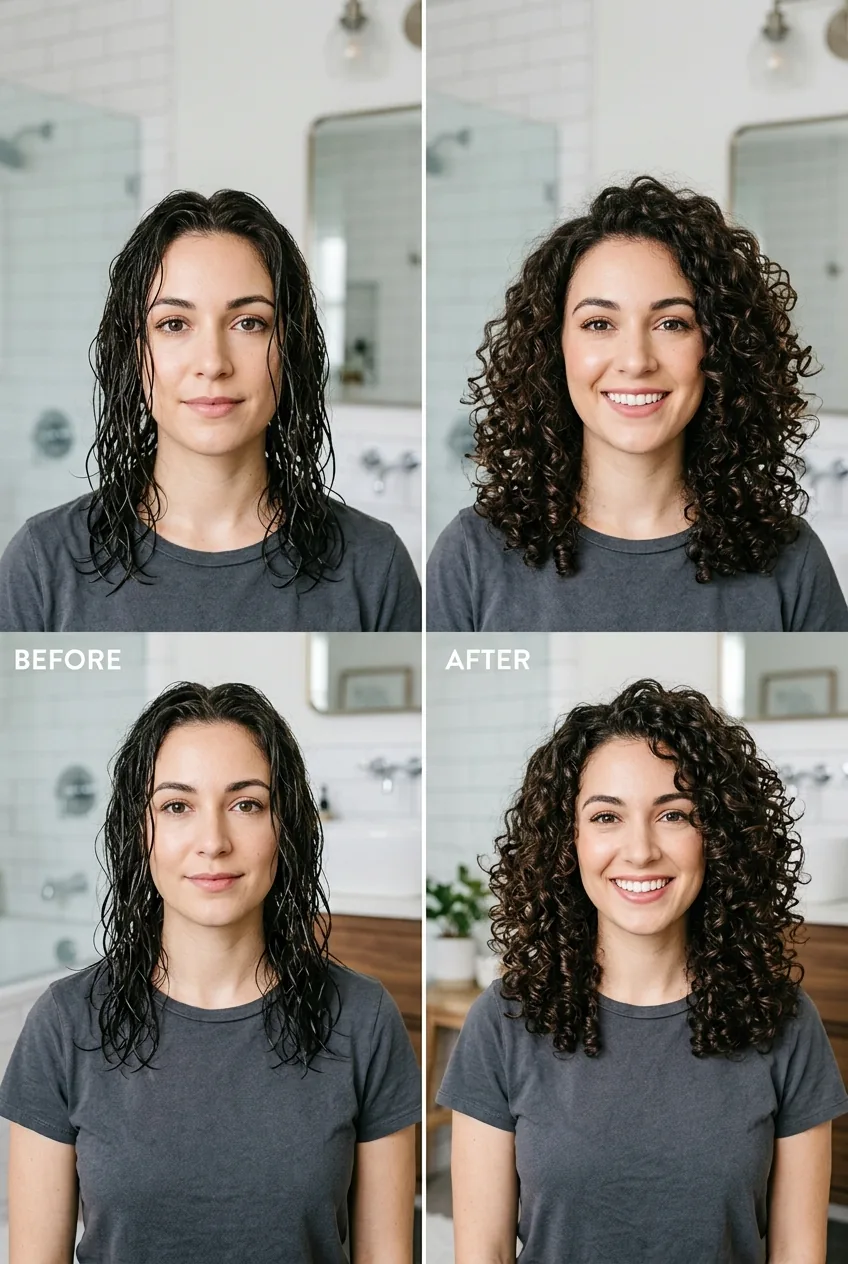
This method completely transformed how my thin curly hair looks and feels. Instead of fighting against my hair’s natural tendency to go flat, I’m working with it to create volume and definition that lasts all day. My curls bounce when I walk now instead of just hanging there limply — and honestly, that feeling never gets old.