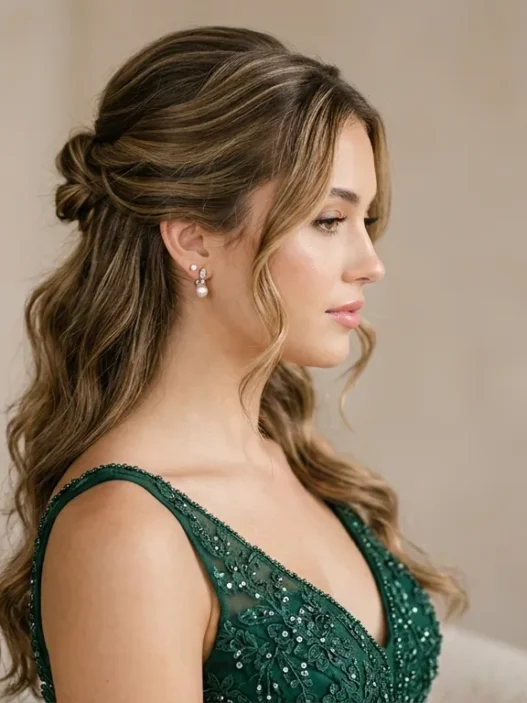


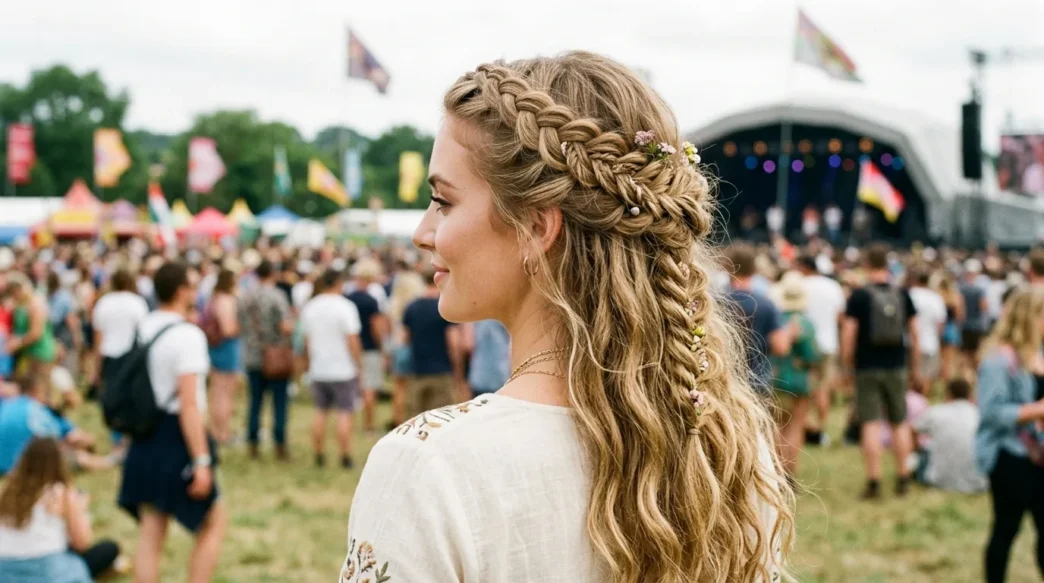
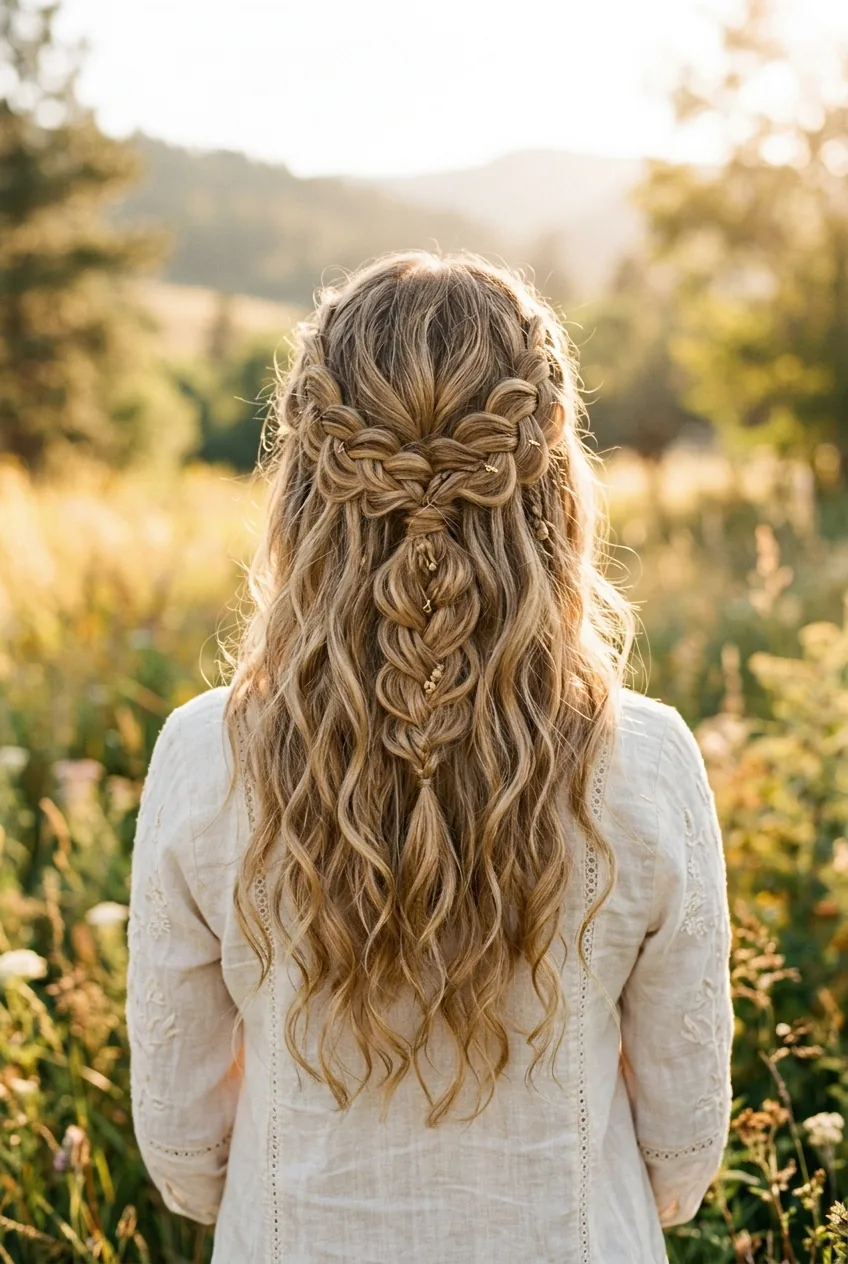
I discovered this braided half up boho look completely by accident last summer. My hair was a mess after a beach day, and I desperately needed something that looked intentional but effortless. What started as a quick fix became my signature festival style. Now I get asked about it constantly.
What You’ll Need
Here’s everything I keep within arm’s reach for this style:
- Sea salt spray (my holy grail for texture)
- A wide-tooth comb
- Clear elastic bands — the tiny ones
- Bobby pins that actually match your hair color
- Light-hold hairspray
- Your fingers (seriously, they’re your best tool here)
Don’t overthink the products. I’ve done this with literally just an elastic and bobby pins when I was desperate.
Step 1: Create Your Base Texture
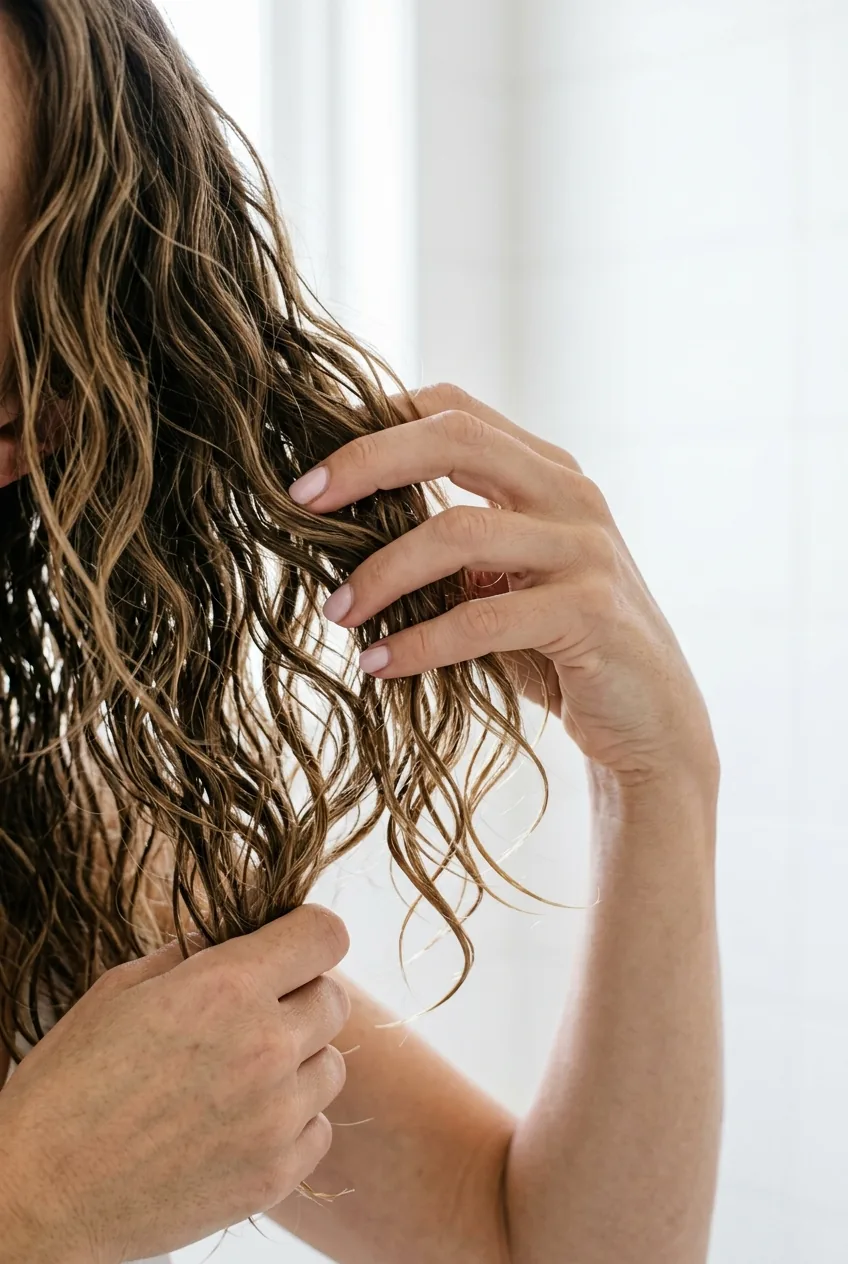
This whole look lives or dies on texture. And I mean that — smooth, freshly-washed hair will never give you that effortless boho vibe you’re after.
Start with slightly dirty hair. Day two or three is perfect. If your hair is squeaky clean, work some sea salt spray through damp strands and scrunch while it air dries.
I run my fingers through my hair to break up any sections that are too uniform. The goal is controlled chaos — like you just rolled out of bed after the most restful sleep of your life.
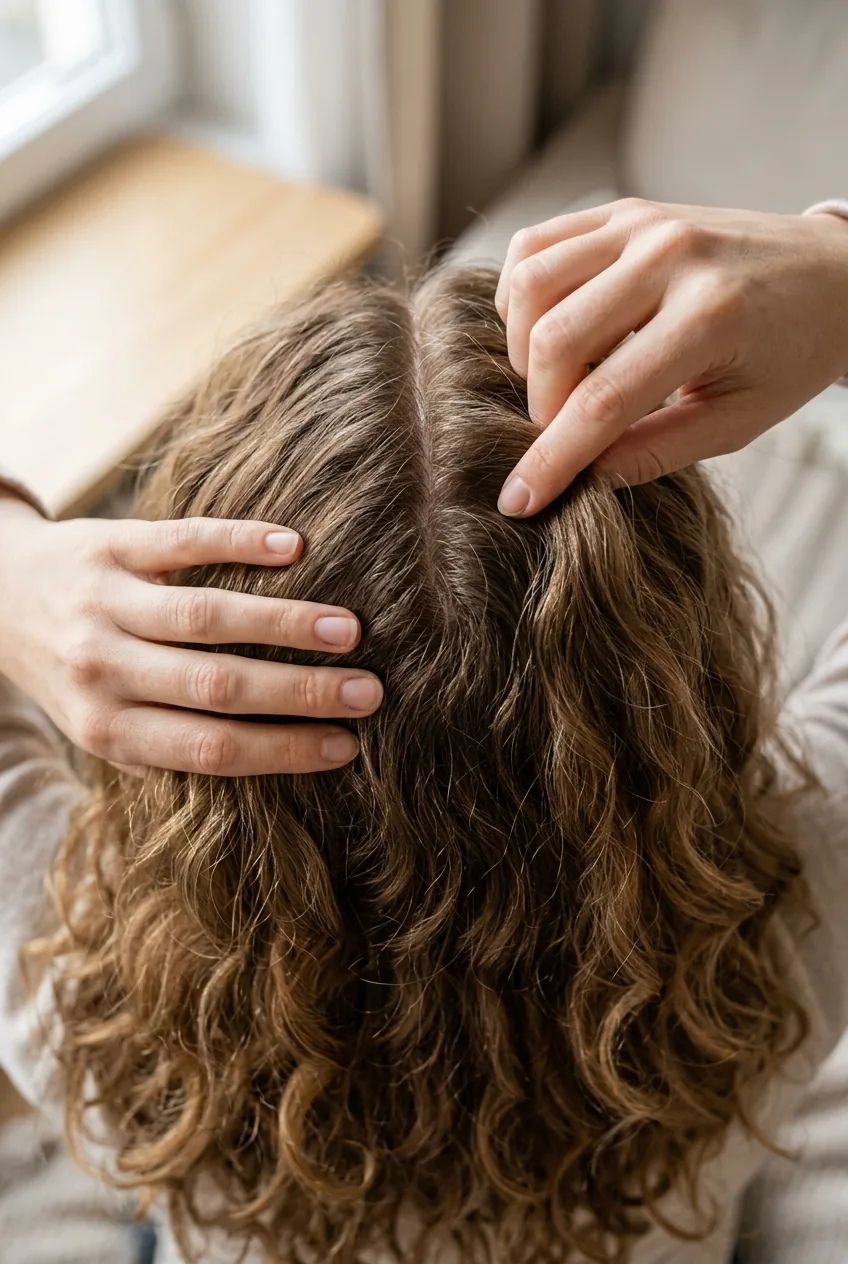
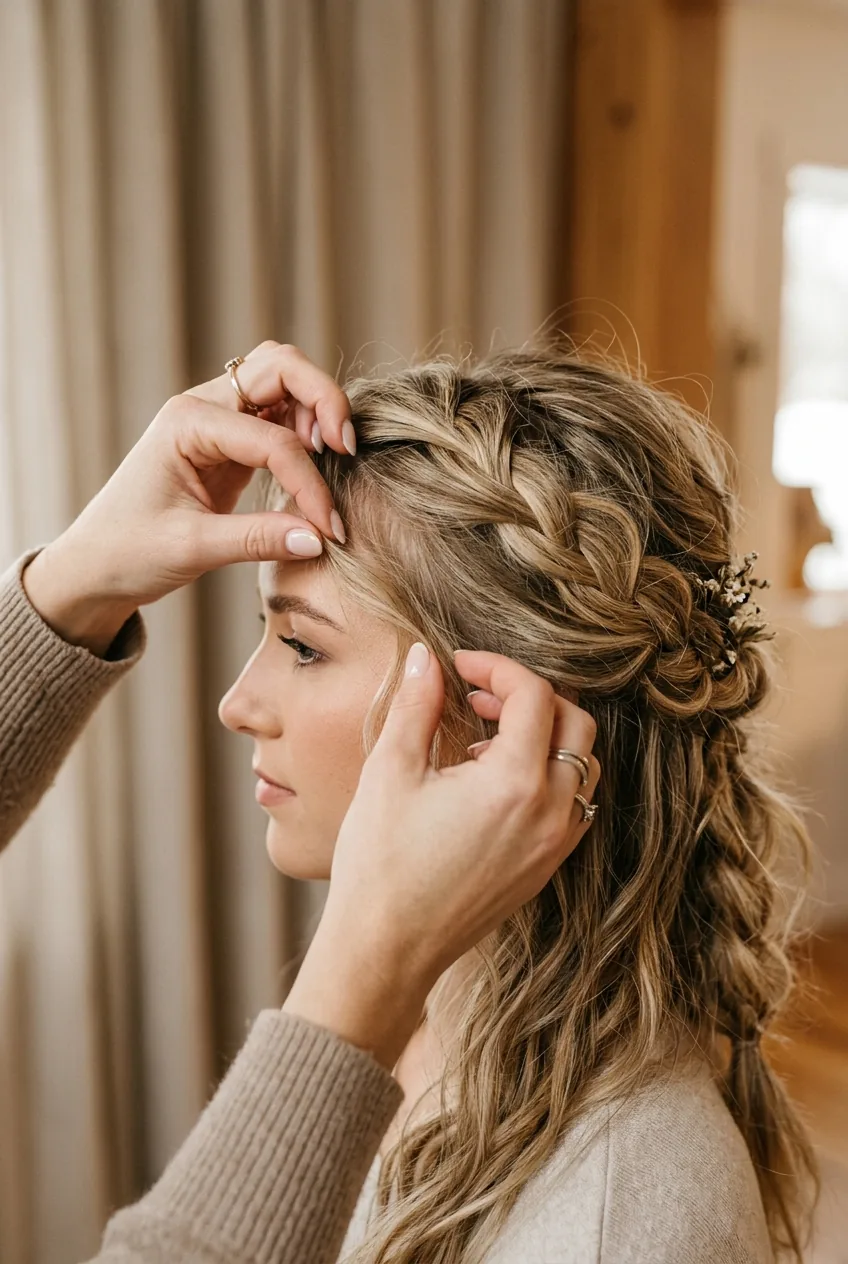
Step 2: Section and Secure
Here’s where most people go wrong — they make the section too neat. You want it wonky and organic.
Using your fingers (not a comb), gather the top section of hair from about ear to ear. Don’t follow your natural part too strictly. I actually like to shift mine slightly to one side for more movement.
Twist this section loosely and clip it up temporarily. We’re not securing it permanently yet — just getting it out of the way while we work on the braid itself.
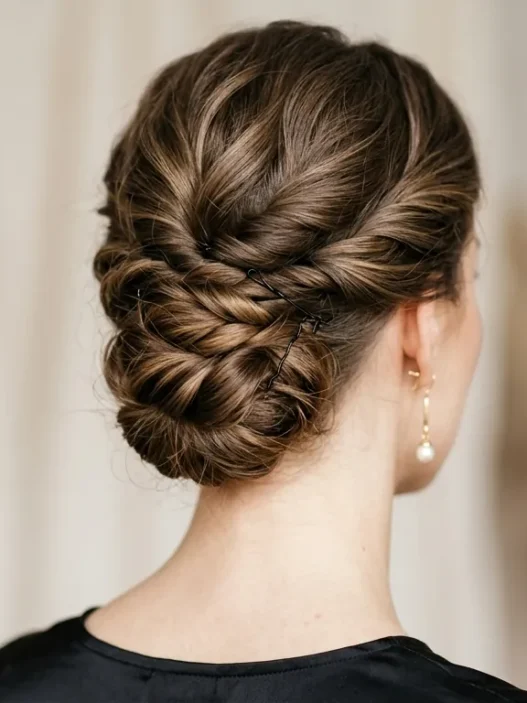
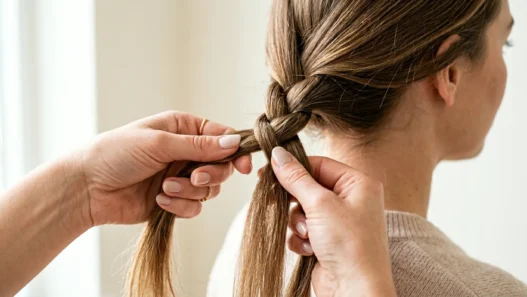
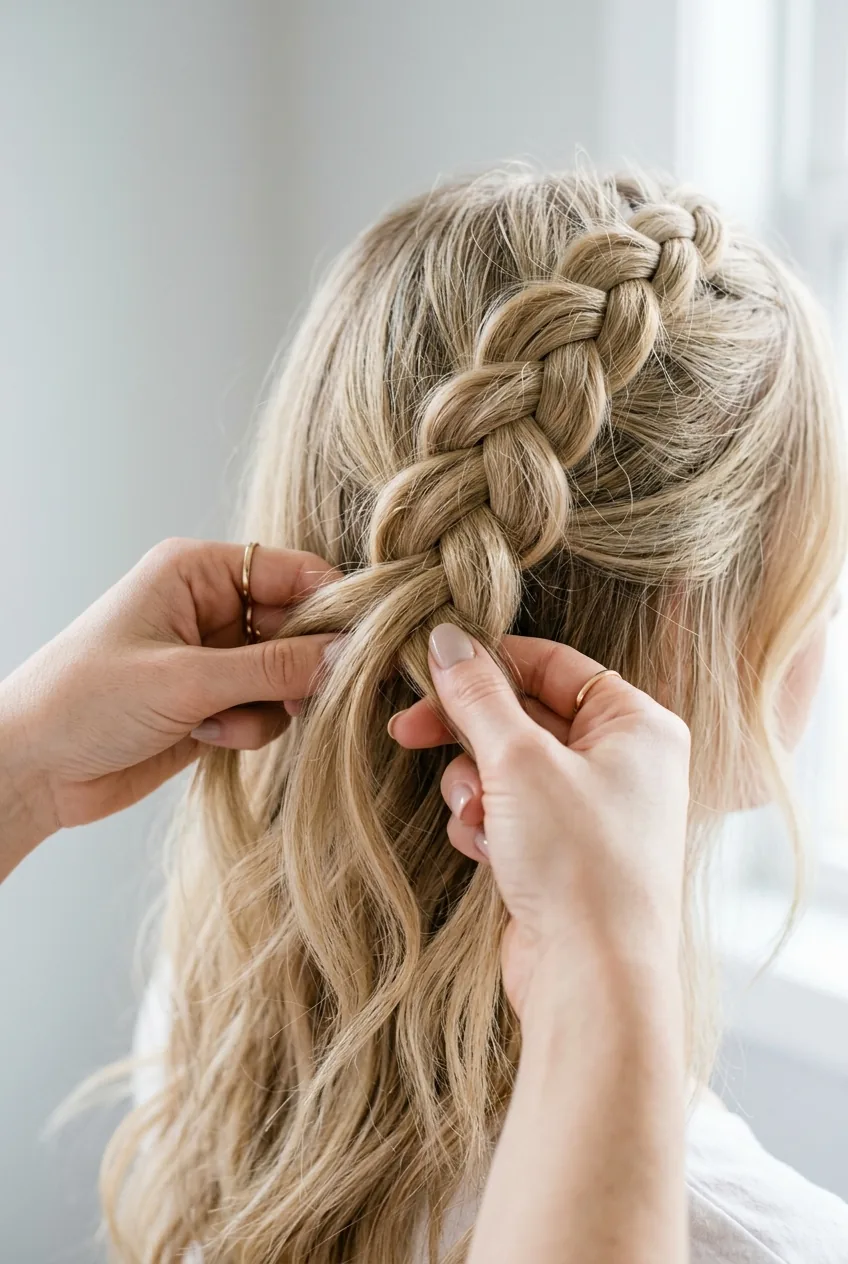
Step 3: Master the Loose Braid
This is the step that changed everything for me. I used to braid too tightly, trying to make it perfect. Wrong approach entirely.
My biggest mistake was trying to keep every strand in place while braiding. The whole point is for pieces to escape and frame your face naturally. Let them.
Take a small section from one side of your sectioned hair — maybe an inch wide. Divide it into three loose strands. But here’s the key: don’t pull them tight as you cross over.
Braid just three or four crossovers, then gently tug at the edges to loosen it up. You want it looking like it might fall apart at any second, but won’t actually do it.
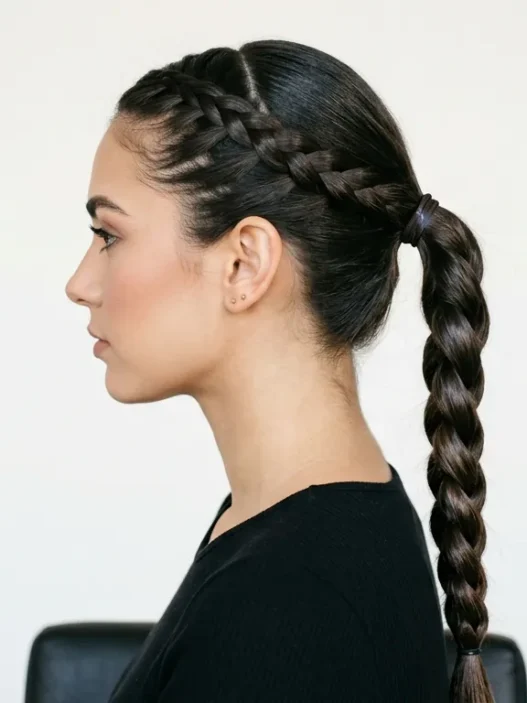
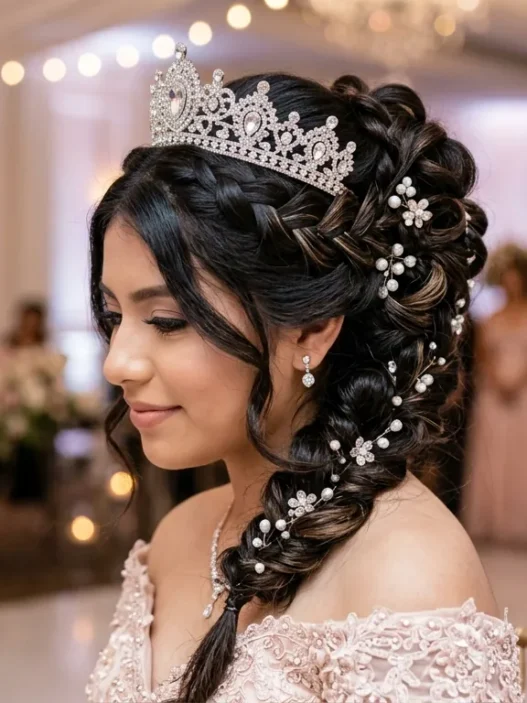
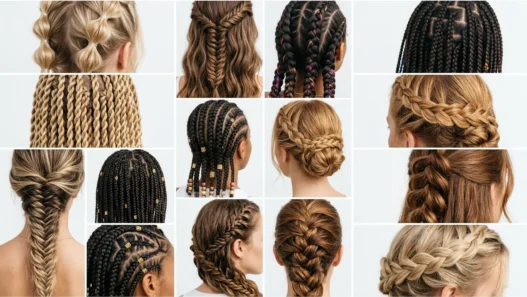
Some of my favorite braided styles for special occasions use this same loose technique — it works for everything from casual days to weddings.
Watch the Braiding Magic Happen
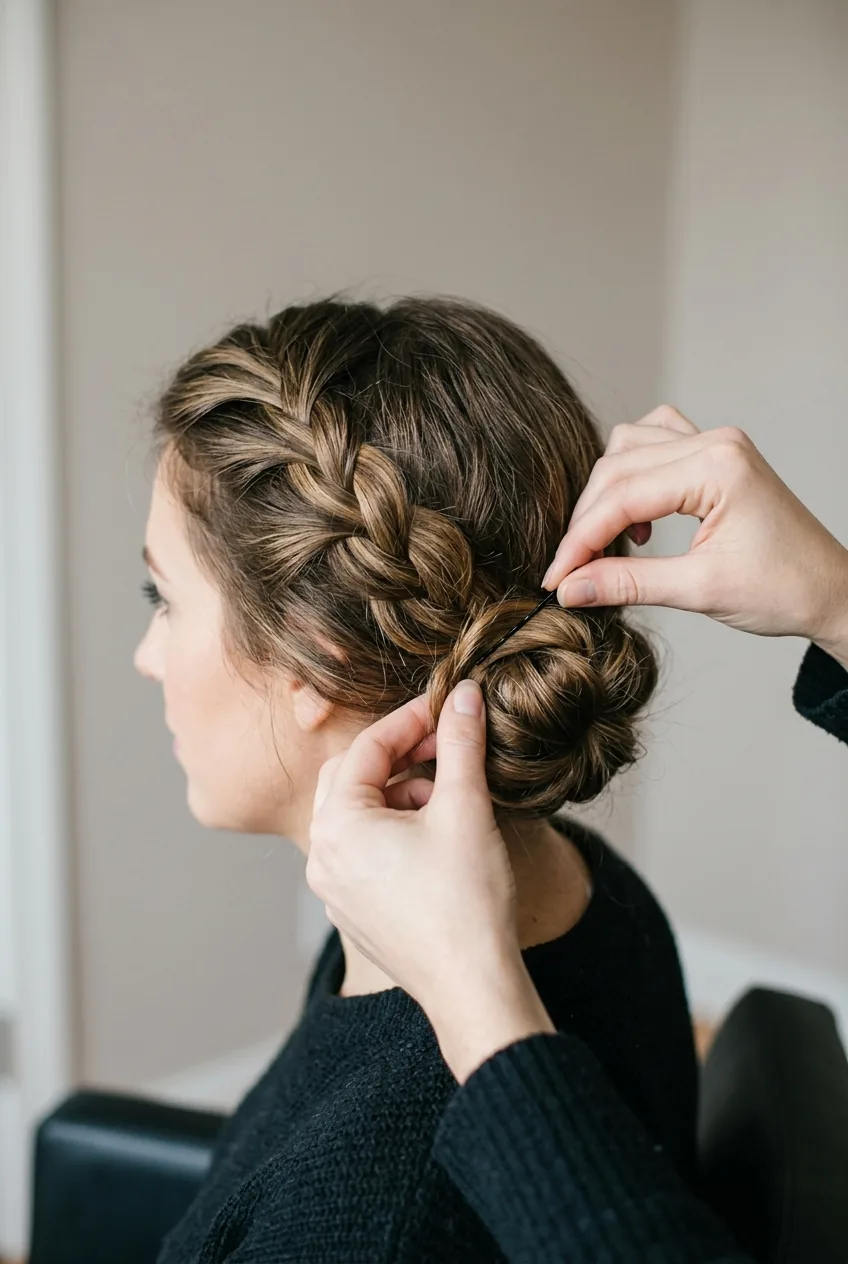
Step 4: Position and Pin
Now comes the artistic part. Position your loose braid wherever it feels right — slightly off-center usually works best.
I secure mine with two bobby pins inserted from opposite directions. This creates an X pattern that actually holds better than multiple pins going the same way.
Let the rest of your sectioned hair fall naturally around the braid. Some pieces should intermingle — that’s what makes it look intentional rather than like you just stuck a braid on top of loose hair.
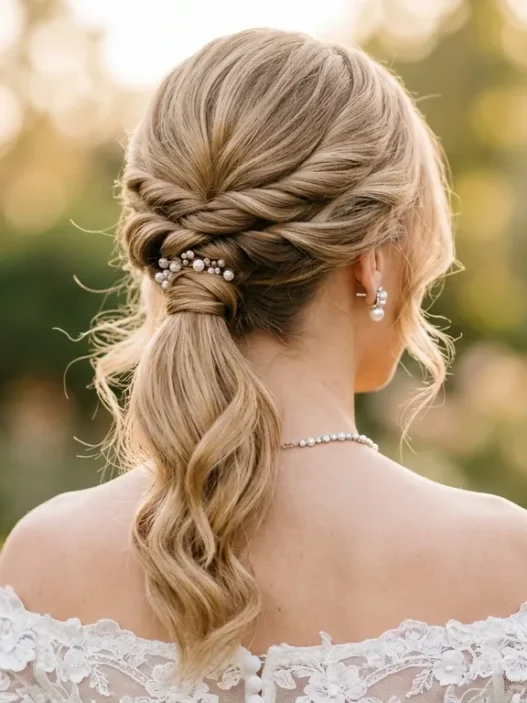
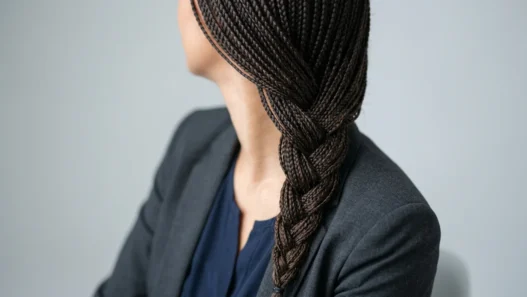
If you love this type of relaxed styling, you might also enjoy exploring different braided ponytail variations for when you want something slightly more polished.
Step 5: Perfect the Undone Look
This final step is what separates amateur from effortless. You need to mess it up just right.
Gently pull out a few face-framing pieces. Not symmetrically — that looks planned. Pull more from one side than the other. Twist them slightly around your finger, then let them fall.
Run your fingers through the loose hair at the back to create some separation and movement. The whole thing should feel like it could have happened naturally if you’d been lying in a field reading poetry.
A light mist of hairspray — and I mean light — helps everything stay put without looking stiff. I spray it on my hands first, then scrunch it through the ends.
Questions I Get About This Look
Does this work on short hair?
If you can get your hair into a small ponytail, you can do this. The braid might be tiny, but that actually looks really sweet. I’ve seen it work beautifully on shoulder-length cuts.
How long does it stay put?
All day if you use the right bobby pins. The loose style actually moves with you better than tight updos, so it looks good even when it shifts slightly.
Can I sleep in this style?
I wouldn’t recommend it. But the beauty is that it takes five minutes to recreate in the morning, and day-old hair actually works better for the texture anyway.
What if my braid looks too messy?
There’s messy-good and messy-bad. If pieces are sticking out in weird directions, smooth them down gently. The goal is controlled undone, not actually falling apart.
This braided half up boho style has become my signature because it works with my lifestyle — busy, a little chaotic, but still wanting to look put-together. It’s perfect for those days when you want to look like you tried, but not too hard. And honestly? Once you get the hang of that loose braiding technique, you’ll find yourself using it everywhere.