


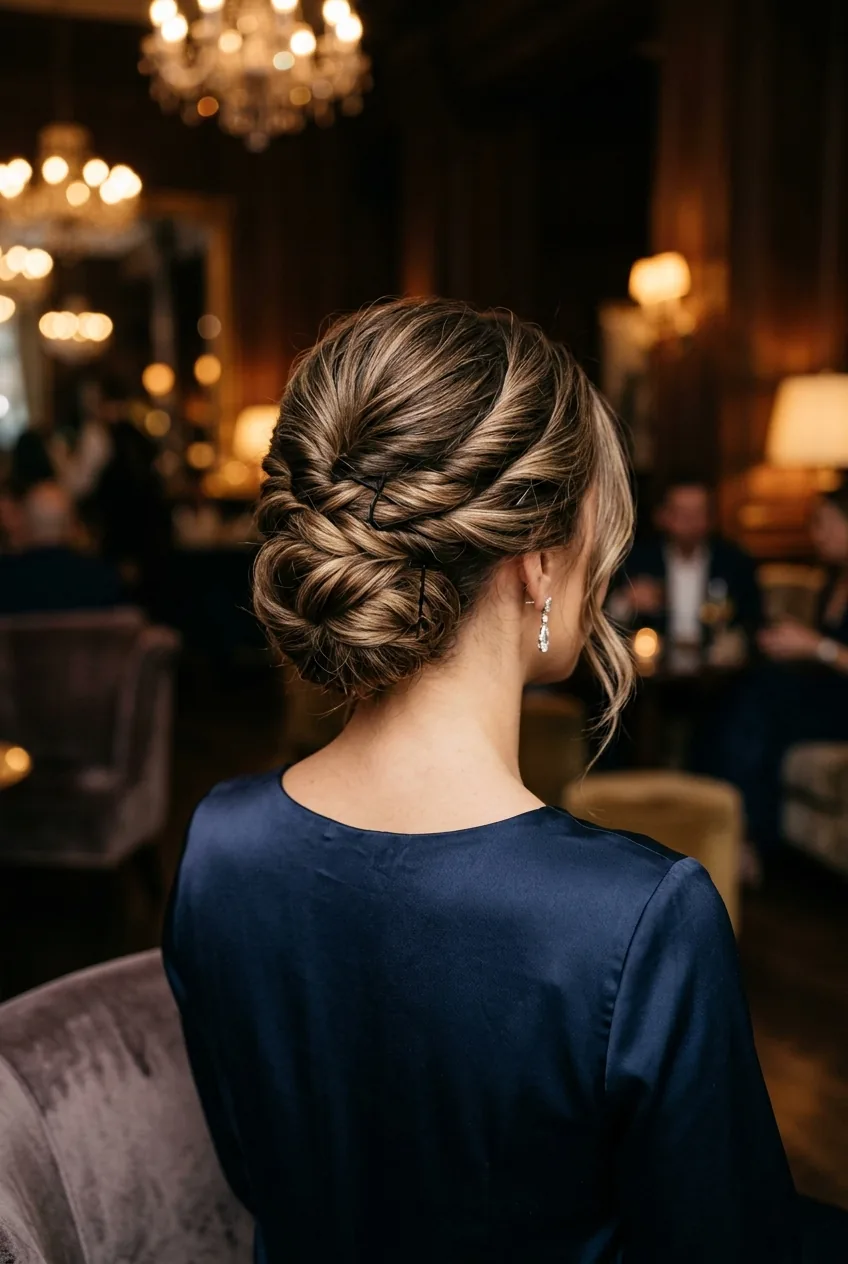
I used to be that person who’d attempt an updo, only to have half of it falling out by the time I reached the car. Sound familiar? After years of YouTube tutorials and salon observations, I finally cracked the code on a long hair updo that actually holds. This method works whether you’re heading to a wedding or just want to feel put-together on a Tuesday.
What You’ll Need
The beauty of this updo is its simplicity. No complicated contraptions required:
- A wide-tooth comb
- Hair elastic (clear or matching your hair color)
- 15-20 bobby pins (get the good ones — they matter)
- Light-hold hairspray
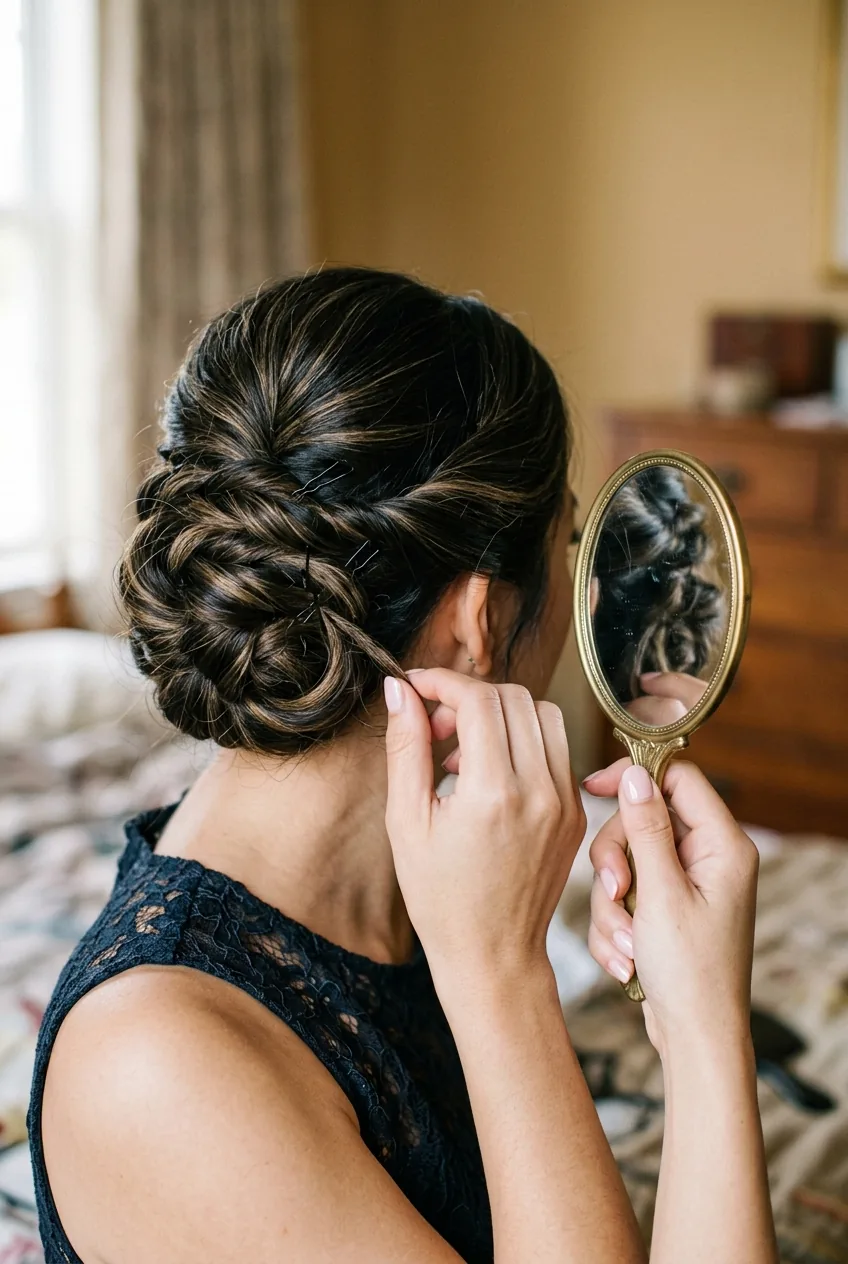
- A small mirror (trust me on this one)
- Hair oil or serum (optional but recommended)
I learned the hard way that cheap bobby pins are your enemy. Quality pins grip better and won’t snap under pressure.
Step 1: Create Your Base
Start with day-old hair if possible. Freshly washed hair is too slippery and won’t hold the style. If your hair is clean, work in a small amount of texturizing spray or sea salt spray from mid-length to ends.
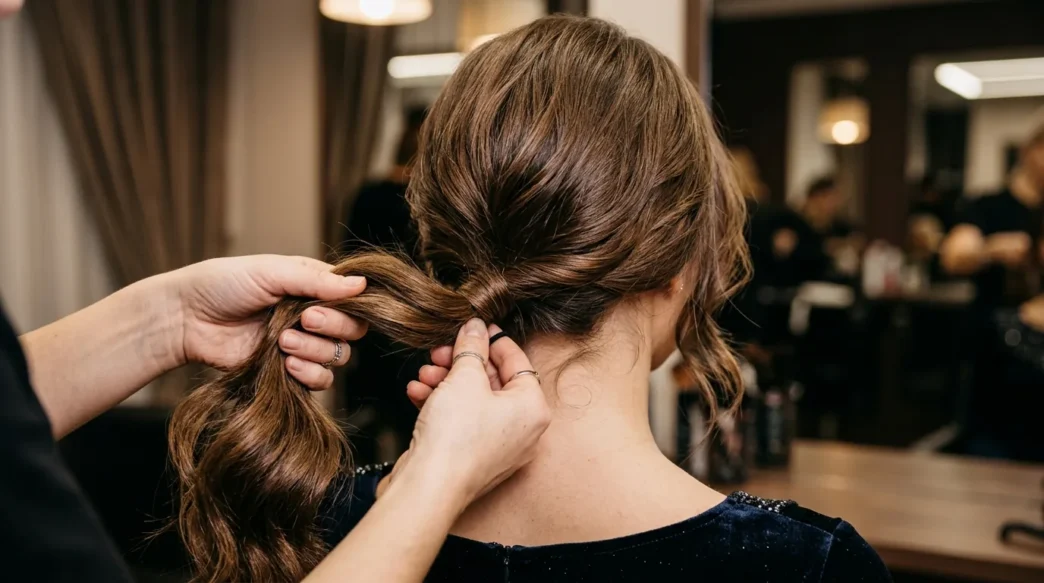
Brush your hair straight back, gathering it at the nape of your neck as if you’re making a low ponytail. But don’t secure it yet — we’re just finding our anchor point. This is where your updo will live, so make sure it feels comfortable and sits where you want it.
The key here is to avoid that dreaded “too tight” feeling. Your scalp shouldn’t be screaming at you. Find that sweet spot where everything feels secure but not painful.
Step 2: Section and Smooth
Now we’re going to create controlled chaos. Divide your gathered hair into three sections — left, right, and center. The center section should be the largest, about 60% of your hair. The side sections don’t need to be perfectly even.
Smooth each section with your comb, working out any bumps or tangles. This is where that hair oil comes in handy — a tiny drop on your palms can tame flyaways without making everything greasy.
Don’t stress about perfection here. The beauty of this style is that it looks effortlessly elegant, not like you spent two hours with a curling iron.
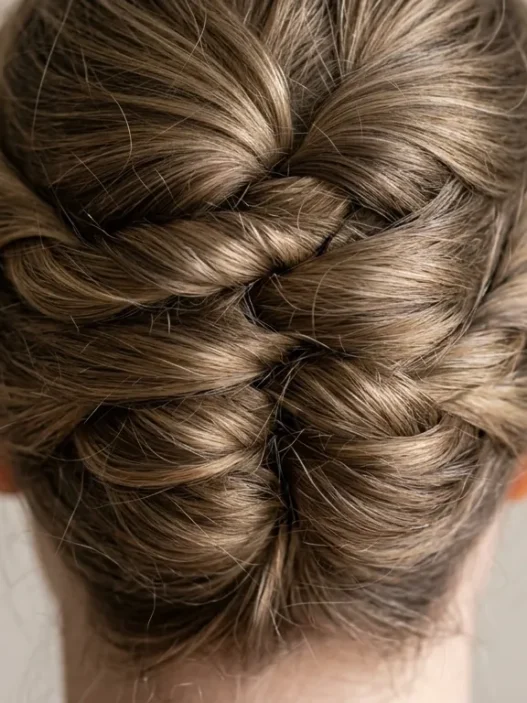
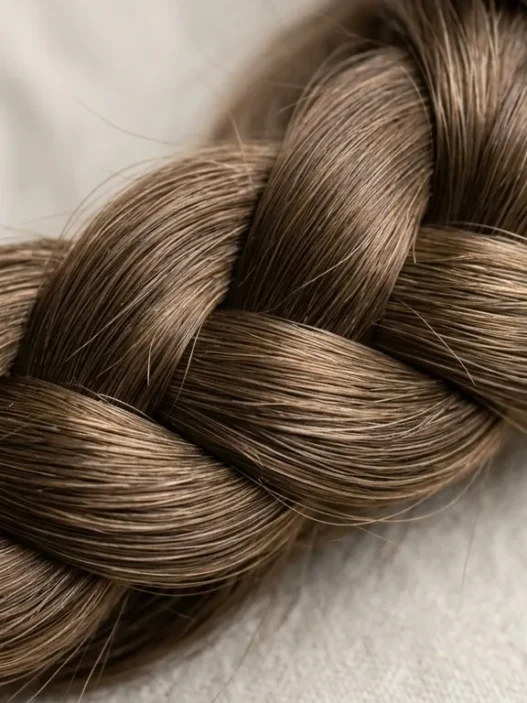
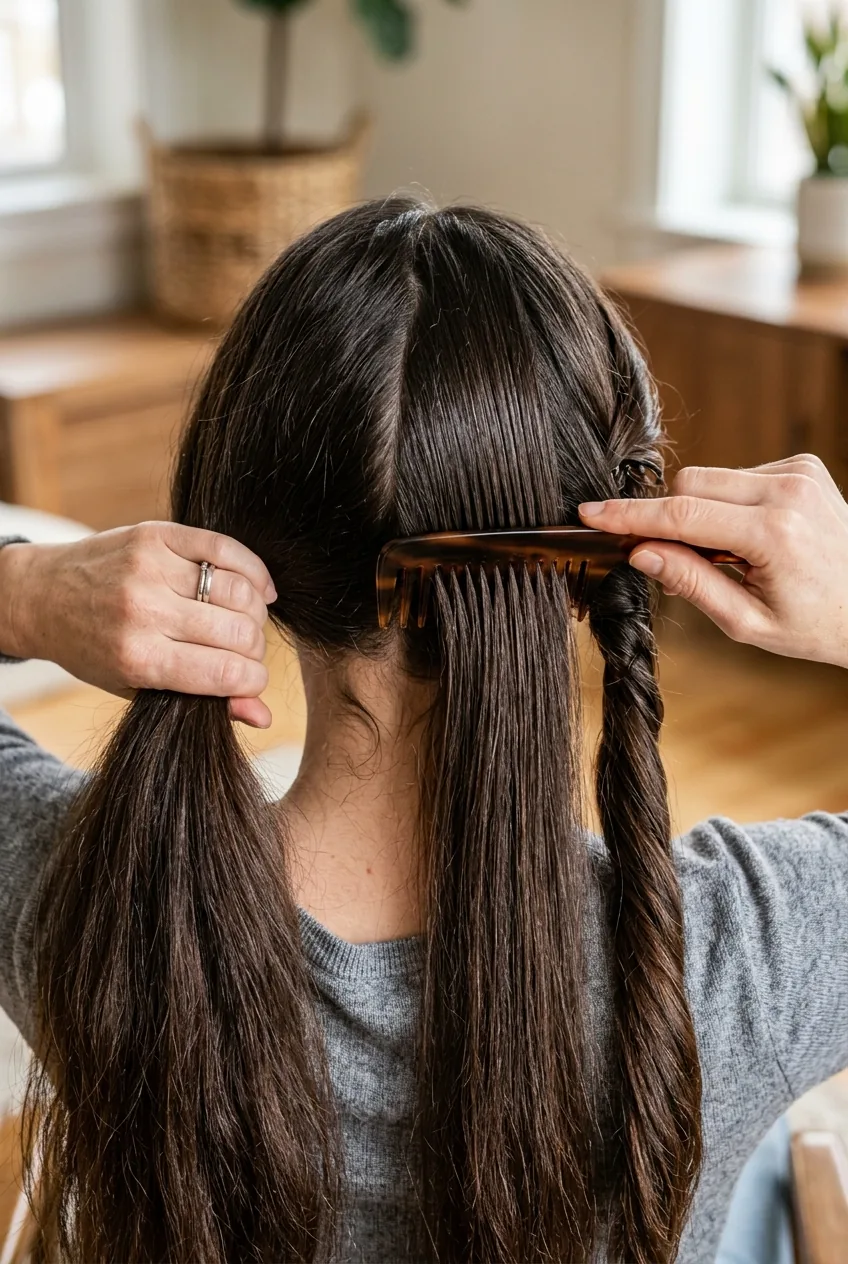
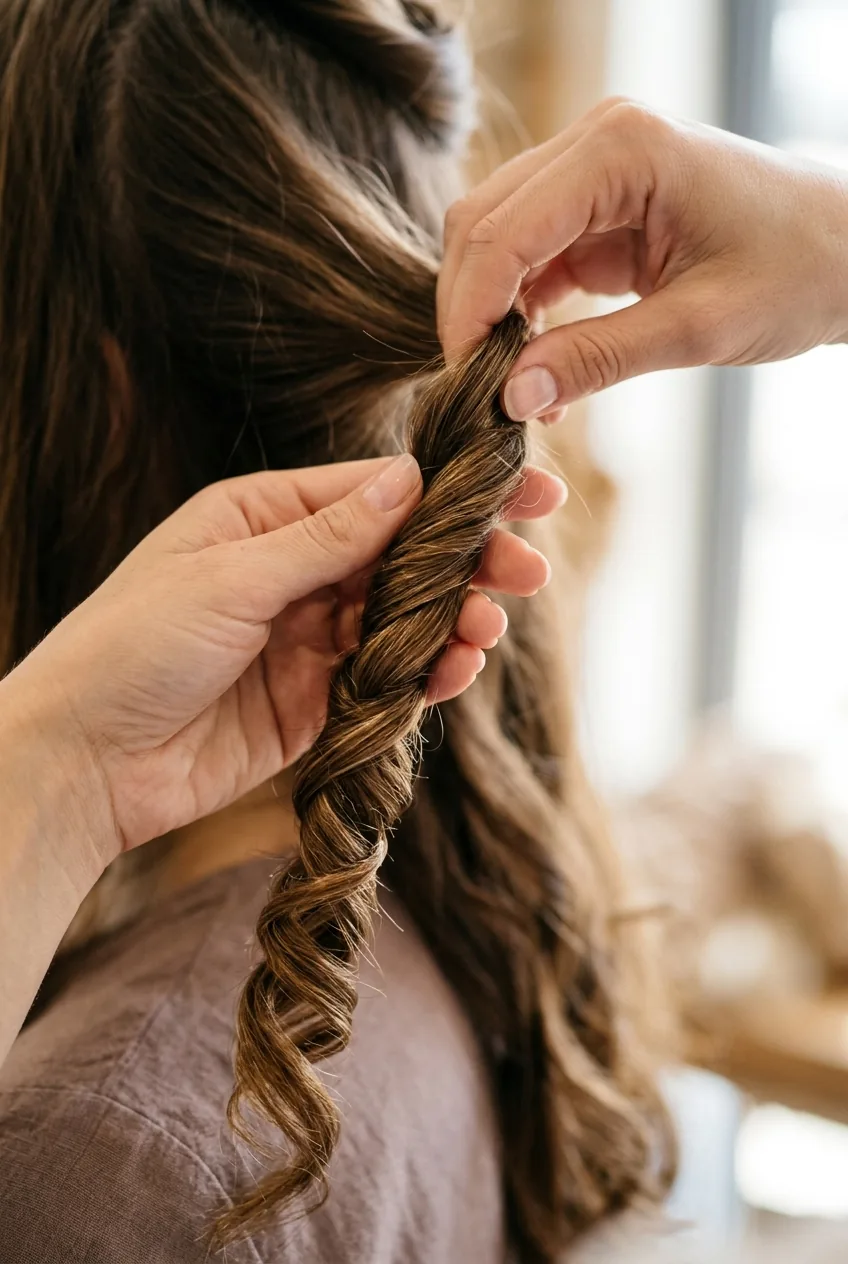
Step 3: The Foundation Twist
Take that center section and twist it clockwise — not too tight, just enough to create structure. As you twist, you’ll see it naturally wants to coil on itself. Let it.
Here’s where most people go wrong: they try to make the twist perfect. It doesn’t need to be. In fact, a slightly loose, organic twist looks more sophisticated than something that screams “I fought with my hair for an hour.”
Keep twisting until you have about 3-4 inches of ends remaining. This twisted section is going to be the foundation that everything else wraps around.
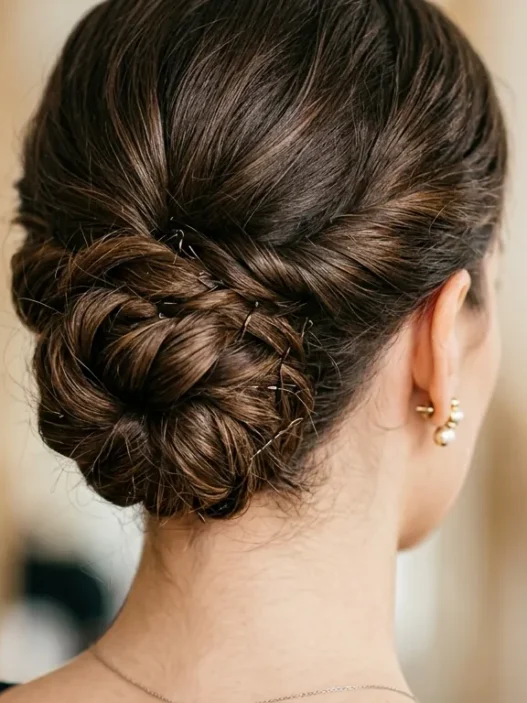
Step 4: Secure the Center
Now comes the magic. Take that twisted center section and coil it around itself at the base, creating a sort of loose bun. Don’t worry about it being perfectly round — we’re going for sophisticated texture, not a ballet bun.
Secure this coil with 4-5 bobby pins, inserting them at different angles to create a solid foundation. The trick is to cross your pins in an X pattern — this locks everything in place way better than just shoving pins in randomly.
I used to make the mistake of trying to hide every bobby pin. Big error. Strategic pin placement that you can slightly see actually looks more polished and intentional than desperately trying to bury them in your hair.
Your base should feel rock solid. Give it a gentle tug test — if it moves, add another pin.
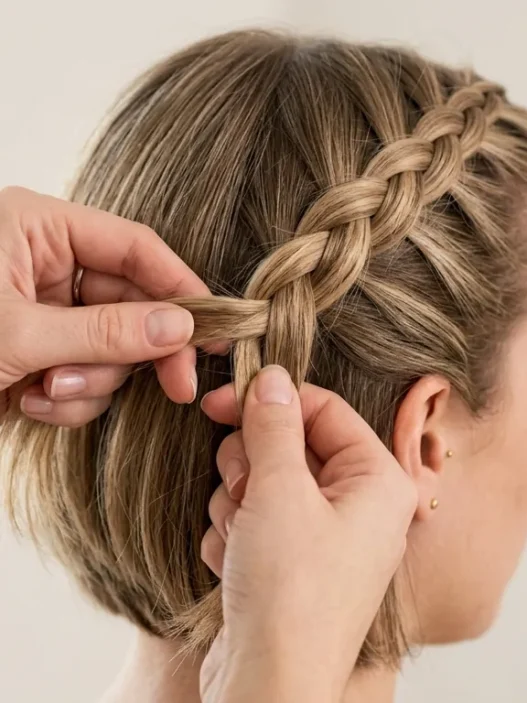
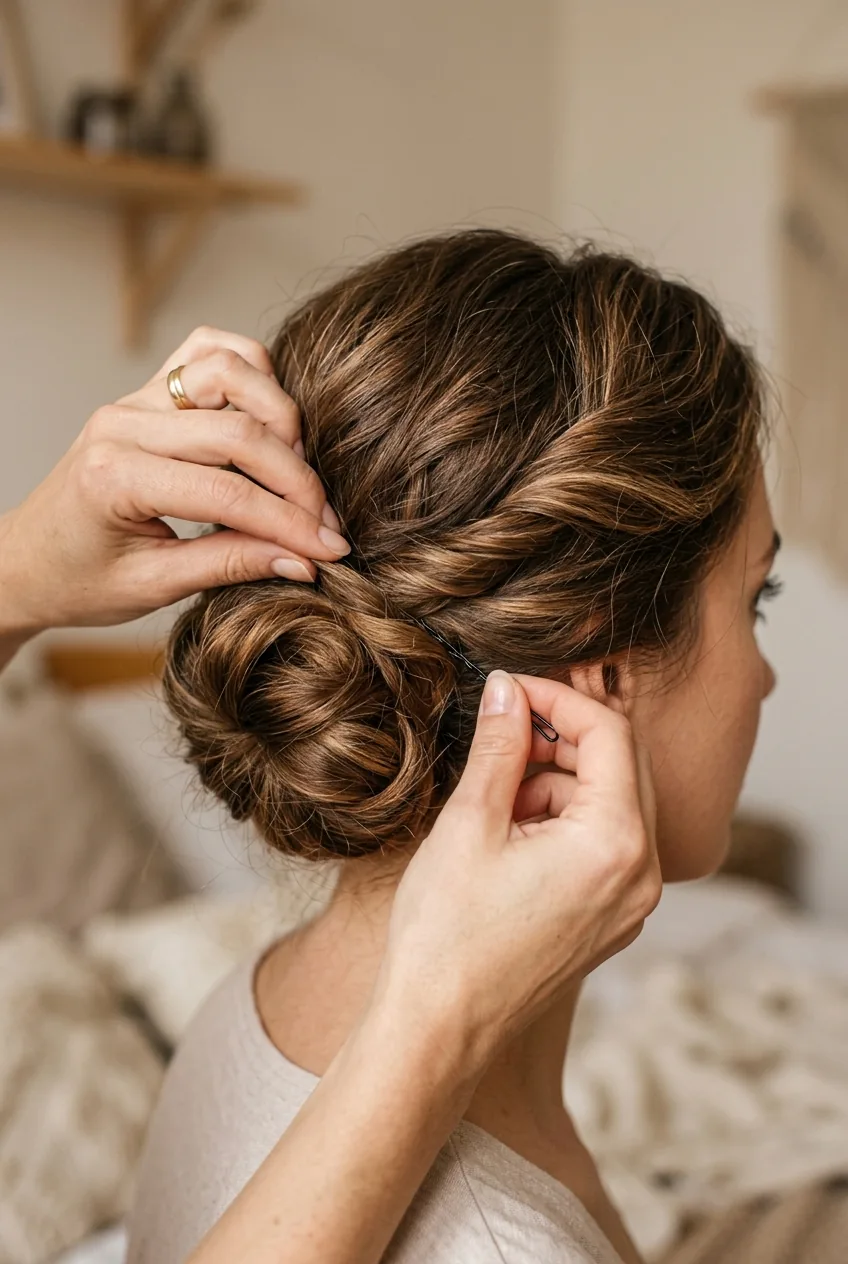
Step 5: Wrap and Tuck
Time to deal with those side sections. Take the left section and give it a loose twist — much looser than the center piece. Wrap this twisted section around your base bun, following the natural curve.
Here’s the crucial part: don’t pull it tight. Let it drape naturally, creating soft loops and curves. Secure with 2-3 bobby pins, tucking the ends under the base.
Repeat with the right section, wrapping it in the opposite direction. This creates beautiful dimension and prevents that “helmet head” look that nobody wants.
Some pieces might want to stick out or create little loops. Let them! These imperfections are what make the style look effortless and expensive. You want people wondering if you have a personal hairstylist.
This Tutorial Changed My Technique
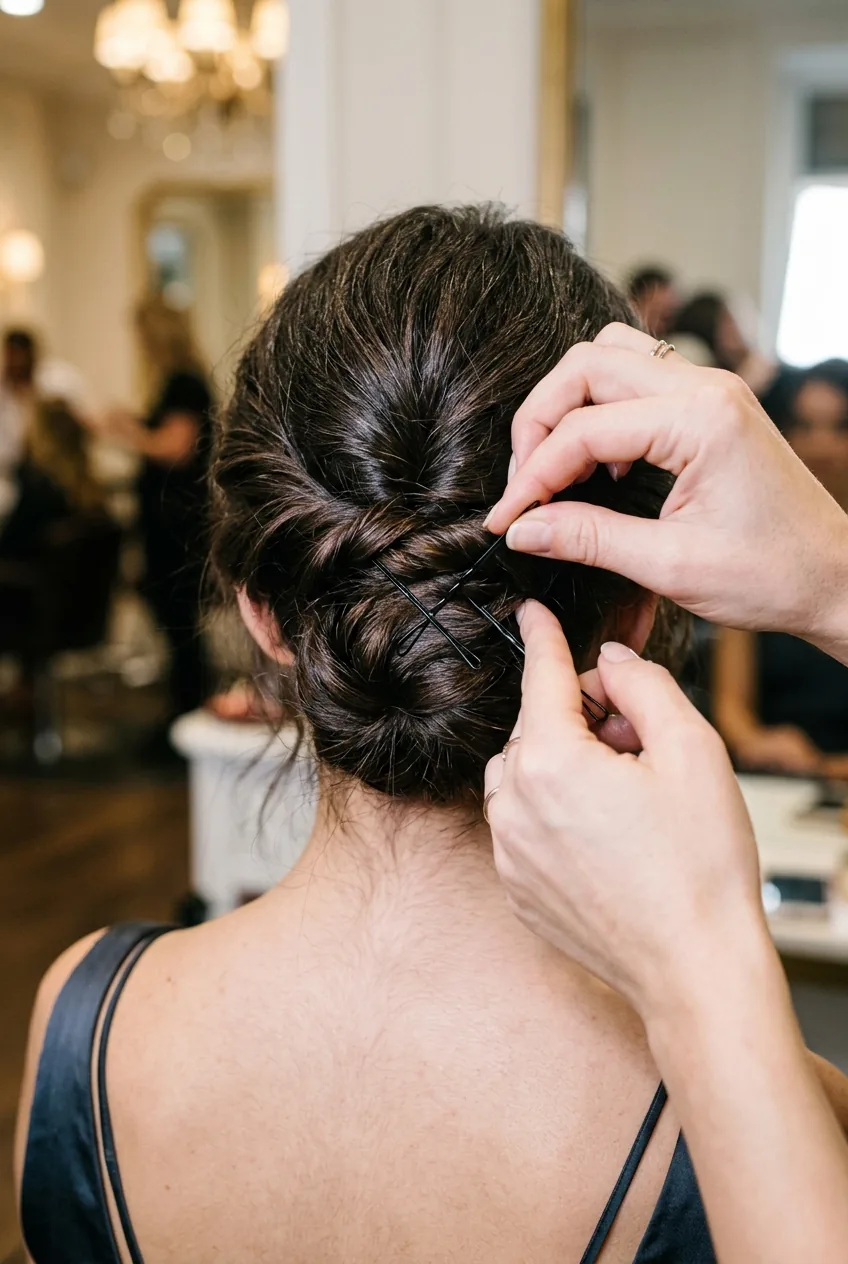
Step 6: Lock It Down
This final step separates the amateurs from the pros. Go around your entire updo and check for weak spots. Gently tug at different sections — if anything shifts, add a bobby pin.
Use your small mirror to check the back and sides. Look for any gaps where you can see scalp, and fill them in by gently pulling at the surrounding hair to create coverage.
Finish with a light mist of hairspray, holding the bottle about 8 inches away. Don’t drench it — you want hold without that crunchy, shellacked feeling.
For a softer look, you can gently pull out a few face-framing pieces before spraying. Some of the most gorgeous festive updos I’ve seen include these deliberate “imperfections.”
Questions I Always Get About This Method
How long will this updo actually last?
With proper pinning, I’ve had this style last 12+ hours through weddings, work days, and even light workouts. The key is using enough bobby pins in the foundation step.
Can I do this on freshly washed hair?
You can, but it’s trickier. Add texturizing spray or dry shampoo for grip, and expect to use a few more bobby pins. Day-old hair just cooperates better.
What if my hair is super thick or heavy?
Use more bobby pins — sometimes I’ll use 25-30 for really thick hair. Also, consider using two hair elastics to create your initial base before twisting. Thick hair techniques can be game-changers.
How do I sleep with this style intact?
Wrap a silk scarf loosely around the updo, or use a silk pillowcase. Avoid sleeping directly on the bun — try to position your head so the style sits higher on your pillow.
The first time I nailed this technique, I actually got compliments from strangers at the grocery store. That’s when I knew I’d found something special. It took me about three practice runs to get comfortable with the method, but now I can do it in under ten minutes. And the best part? It looks like I spent way more time on it than I actually did.