






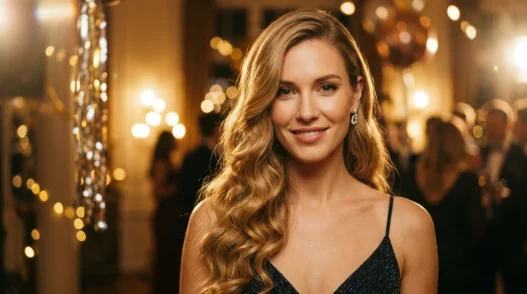
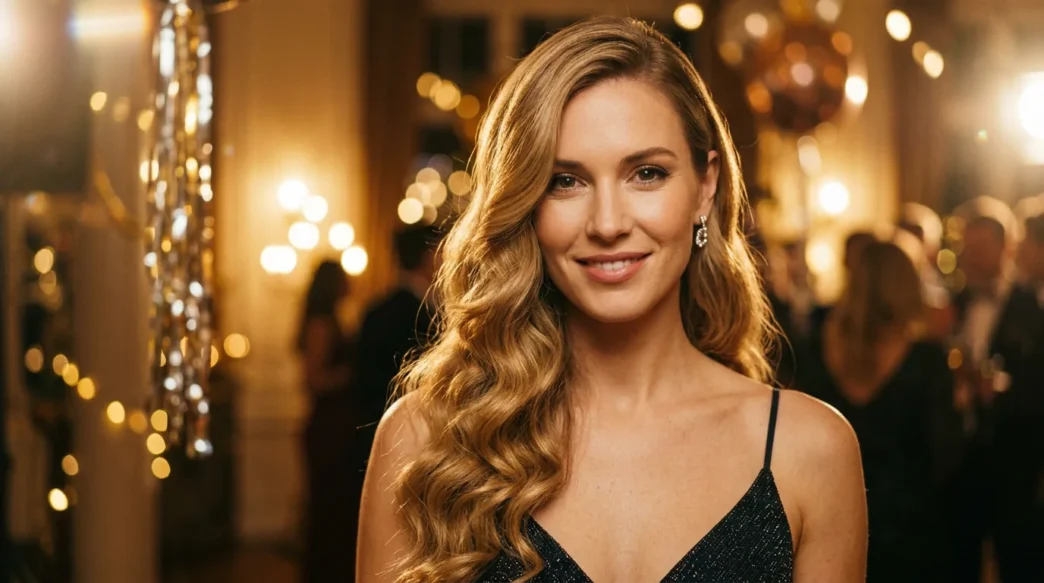
Last December I stood in my bathroom at 7pm with damp roots, a dress I loved, and absolutely zero plan for my hair. I wanted that soft, expensive-looking wave you see in every New Years Eve hairstyle photo, but my curls always fell flat by 10pm. After three years of testing on myself and my sister, I finally landed on a routine that actually holds through hugs, dancing, and cold midnight air.
This is my exact method for glam New Years Eve waves, all in one mirror, with one iron. It takes me about 40 minutes now, 55 when I was learning. And yes, it works if your hair is being difficult.
Time needed: 40-55 minutes, plus 10 minutes of cooling time where you should not touch anything. Hair length here is medium to long, but I added my short-hair notes where it matters.
Inside This Glam Waves Tutorial
- What You’ll Need
- Step 1: Start With Next-Day Hair
- Step 2: Section and Clip Like You Mean It
- Step 3: Curl in the Right Direction
- Step 4: The Front Pieces Make It Glam
- Step 5: Cool, Brush and Shake It Out
- Step 6: Add Shine and Lock It In
- Step 7: The Midnight Touch and Photos
- Glam Waves Questions for New Years Eve
What You’ll Need
I have tried this with a whole drawer of tools and I keep coming back to the same small pile. You do not need anything fancy, just the right sizes and a light hand with product.
- 1 to 1.25-inch curling iron with a clamp, heated and ready. My favorite is the 1.25-inch for that loose, party-ready bend.
- Heat protectant spray, the non-sticky kind you can mist all over
- Light-hold mousse or a root-lifting spray for next-day grit
- 4-6 small duckbill clips or alligator clips for sectioning
- Wide-tooth comb plus a soft boar-bristle brush for the brush-out
- Flexible-hold hairspray and one travel mini for your clutch
- Hair oil or shine serum, pea-sized only
- 2-3 bobby pins in your hair color and one small claw clip, just in case
Step 1: Start With Next-Day Hair
Freshly washed, slippery hair is the reason most New Years Eve hairstyles fall by dinner. I wash mine the morning before the party, or the night before if I am going out on the 31st. That one-day-old texture holds a curl so much better. If you did wash today, do not panic. Blow it out completely, I mean bone dry behind the ears and at the nape, then add grit back in.
I mist heat protectant all over first, then work a golf-ball of light-hold mousse just through my mids to ends. I flip my head upside down and rough-dry for 60 seconds for lift. You can read up on iconic red carpet holiday hair for inspiration here, because that smooth root with full ends is exactly what we are copying. My roots stay pretty clean and my ends get that touchable memory.
If your hair is fine like mine, add a little root-lifting spray right at the crown and part. I part mine slightly off center for a more old-Hollywood feel. Comb through with your wide-tooth comb so there are no tangles. Every snag will show as a kink later, so take the two minutes now.
Step 2: Section and Clip Like You Mean It
This is the boring step that makes the whole thing look professional. I split my hair into three horizontal layers: bottom nape layer, middle ear-level layer, and top crown layer. Clip the top two up and start at the bottom. When I skipped this my first year, the underneath stayed straight and poked out in photos. Never again.
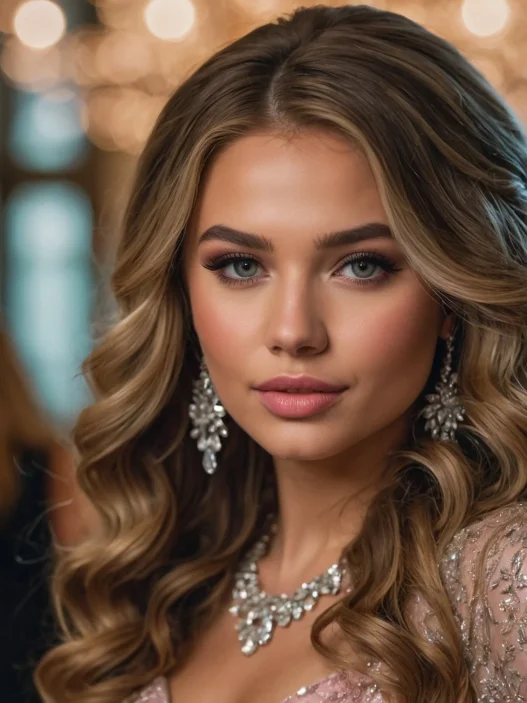
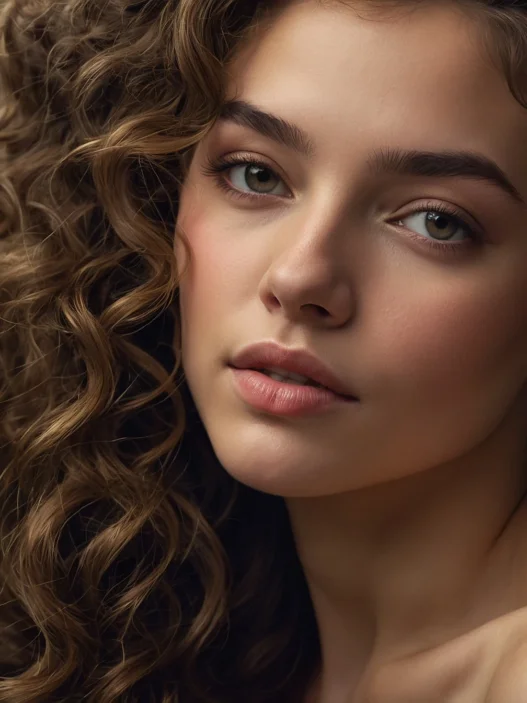
Keep each subsection about one to two inches wide, no thicker than the barrel. Thinner sections give you that defined, bouncy wave that still brushes out soft. Thicker ones give you one big bend that drops in an hour. I learned to check thickness by seeing if I can still see the gold barrel through the hair. Look at how she is holding hers in this shot, that thin, even wrap is what you want for every piece.
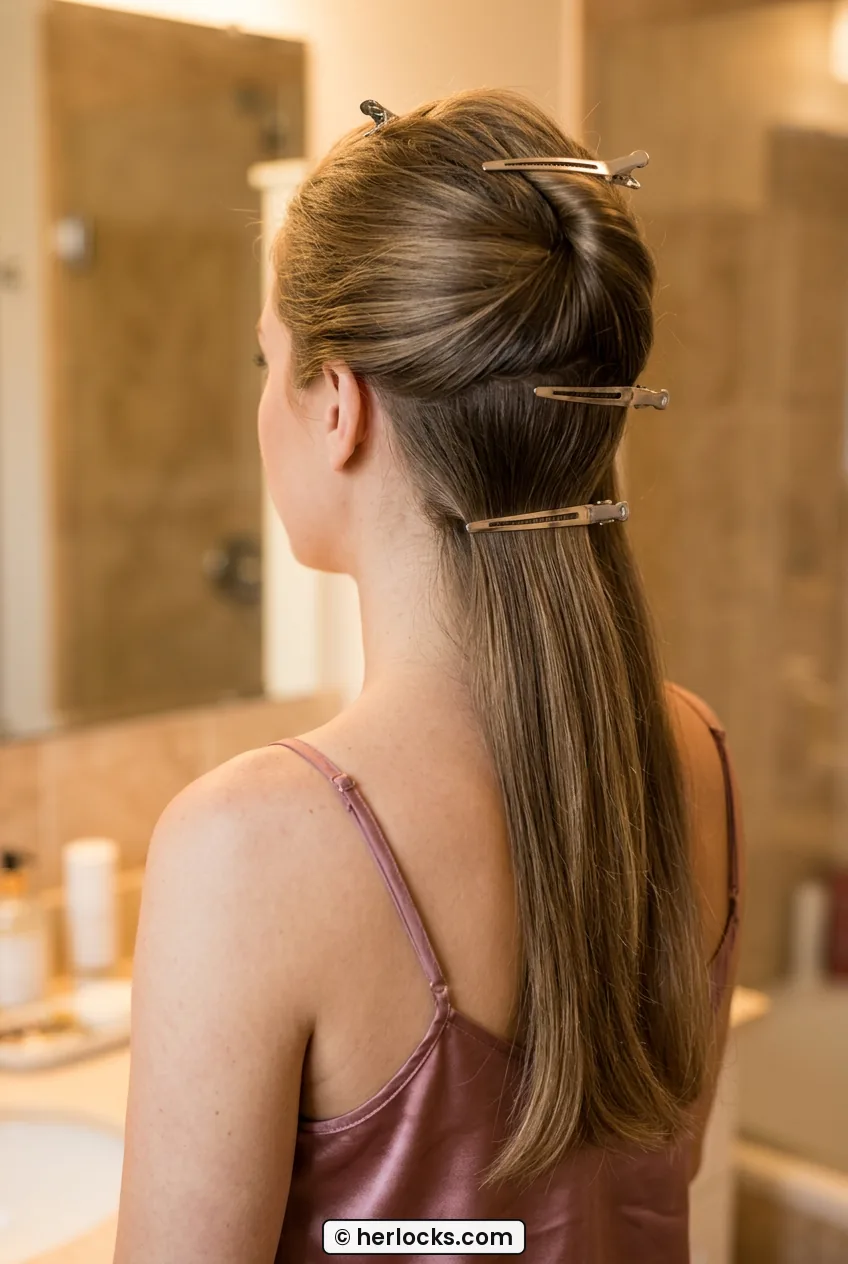
Learning proper sectioning from guides about curling iron techniques for beginners helped me stop rushing this part and actually get even heat on each piece. I also run my fingers down each section once before I heat it, just to make sure it is smooth and facing the same way. No twisting the section like a rope. Flat and smooth wins for glam.
Step 3: Curl in the Right Direction
Set your iron to 350 for fine or color-treated hair, up to 380 for thick hair. Any hotter and you get crispy ends that will not shine. Clamp about one inch up from the ends, slide the iron down to smooth the tip, then roll up, leaving about an inch of root straight. Hold for 8 to 10 seconds. Release the clamp and cup the warm curl in your palm for three seconds. That little pause sets the shape.
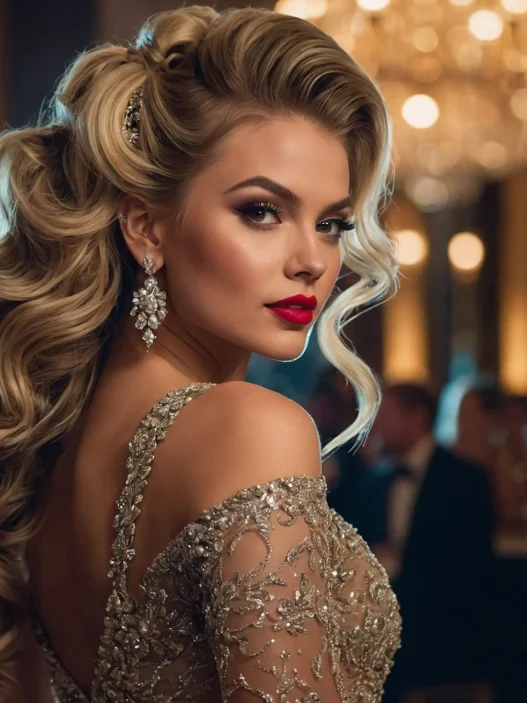
Direction matters more than people think. On the bottom and middle layers, I curl everything away from my face on both sides. It opens up the face and keeps the waves from collapsing into the neck. She has got the angle so right here, see how the barrel is vertical and a little behind her cheek? That backward roll is the whole trick for that lifted, party-night sweep.
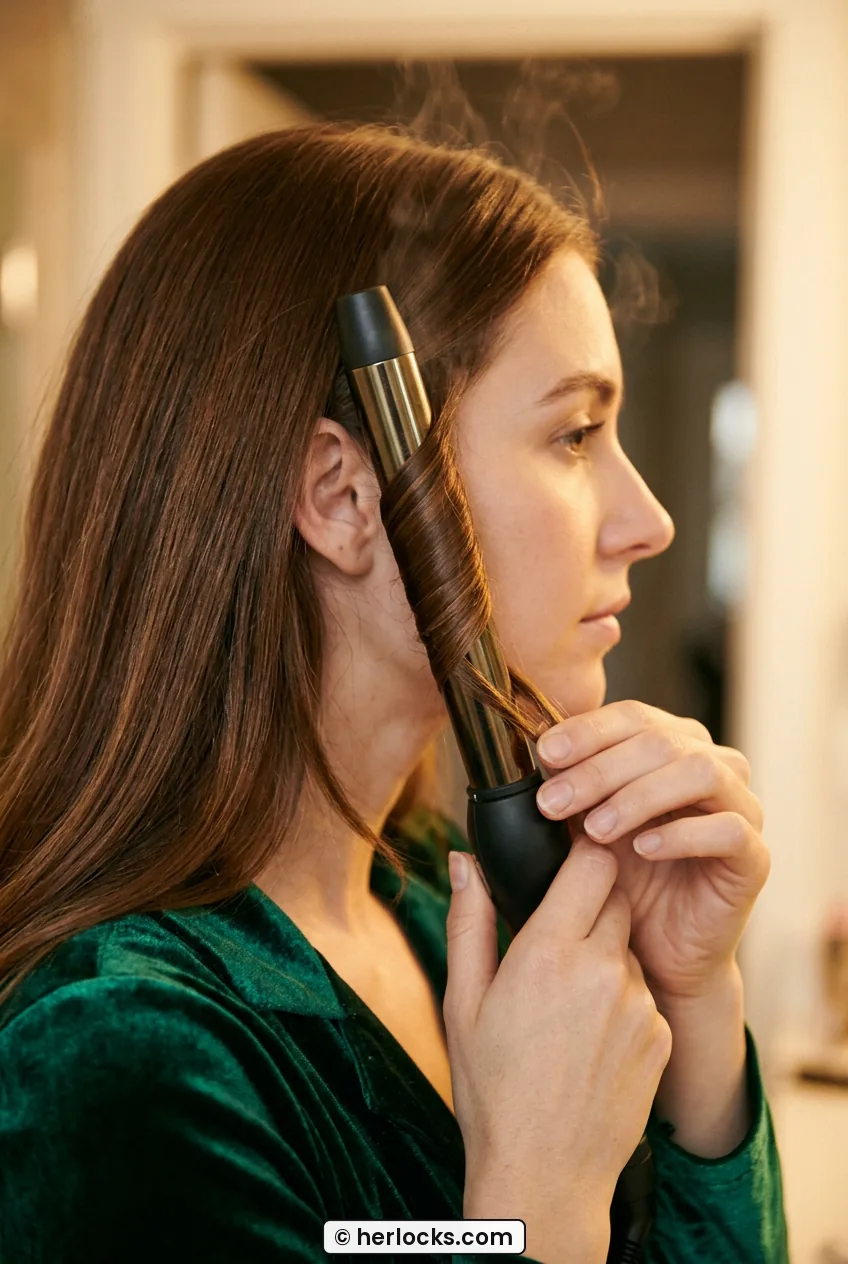
Do not tug the curl down after you release it. Let it spring. I work left side completely, then right side, so I do not get confused. For the back pieces I cannot see, I turn sideways to the mirror and bring each piece forward over my shoulder to curl it. Slower, but much more even than reaching blind behind my head.
See the Away-From-Face Technique Live
Step 4: The Front Pieces Make It Glam
The top layer and the two face-framing pieces are what make this read as glam and not just everyday curls. I take slightly smaller sections here, about one inch, for extra definition around the face. Curl away from the face again, but hold the iron a touch more diagonal so the wave falls like a ribbon over the shoulder.
This is where my short-hair friends should lean in. If your hair is chin-length or a bob, you do the same method but leave more root straight and use a 1-inch barrel. You want a deep side part and one side tucked behind the ear with a sparkly pin. I did this on my cousin last year who has a blunt bob, and those two front bends made her whole look. It photographs like a full glam wave even with less length.
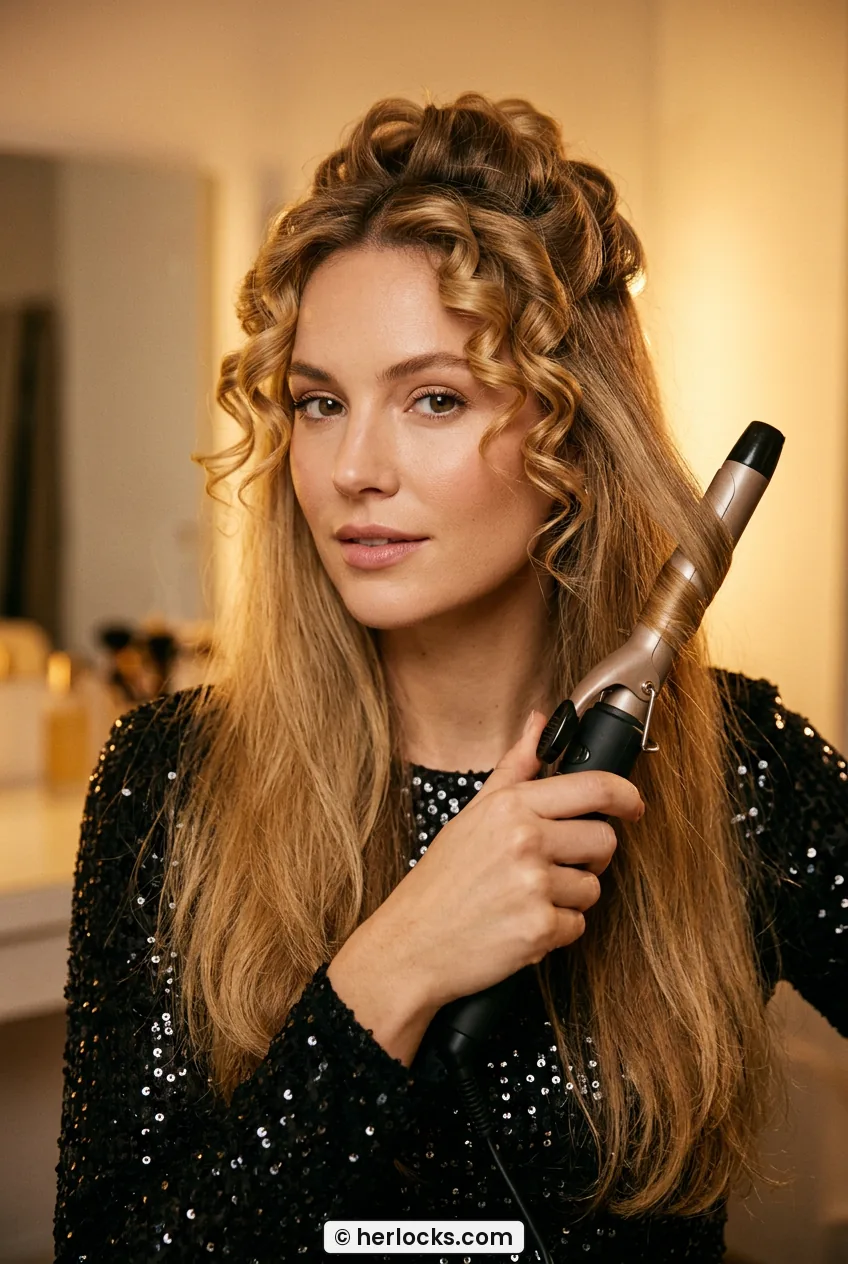
For long hair, leave the very front two inches to cool while you finish the crown. I always curl the crown pieces with a little more lift at the root, holding the iron out from the head for the first five seconds, then letting it settle. That gives height that survives a hug line at the door. If you want more drama, check how celebs wear celebrity inspired holiday hair ideas with that high-shine side sweep, because we are stealing that finish.
Mistake I made: my first time I curled toward my face because it felt more natural with my wrist. My hair collapsed into my cheeks by 9pm and every photo looked narrow. Curling away feels awkward for about ten minutes, then it clicks. If your wrist hurts, switch hands or turn your body, do not switch direction.
Step 5: Cool, Brush and Shake It Out
Walk away. Seriously. Let everything cool for at least 10 minutes while you do makeup or pick jewelry. Warm curls brushed too soon turn to fuzz. I usually clip my front pieces up out of the way with that small claw clip so they do not get flat while I do mascara. Cool hair holds memory, warm hair does not.
Once cool, I spray a whisper of flexible-hold hairspray in the air and walk through it, weird but it works for even coverage. Then I brush with my soft bristle brush, one slow stroke from roots to ends per section. The first brush stroke is scary. It looks too big. Keep going. By stroke three it melts into those soft, connected waves. I love this part so much, it is like watching it turn from prom curls to red carpet hair.
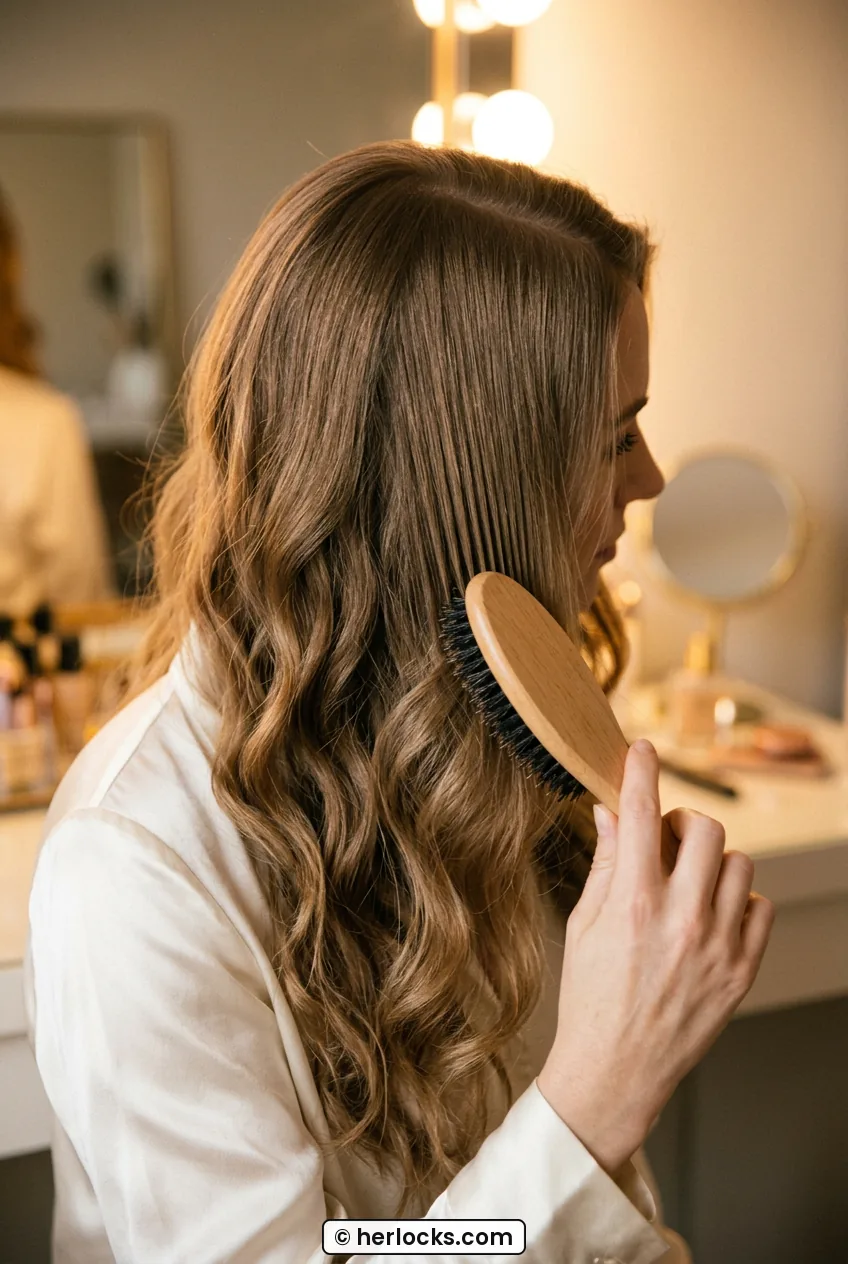
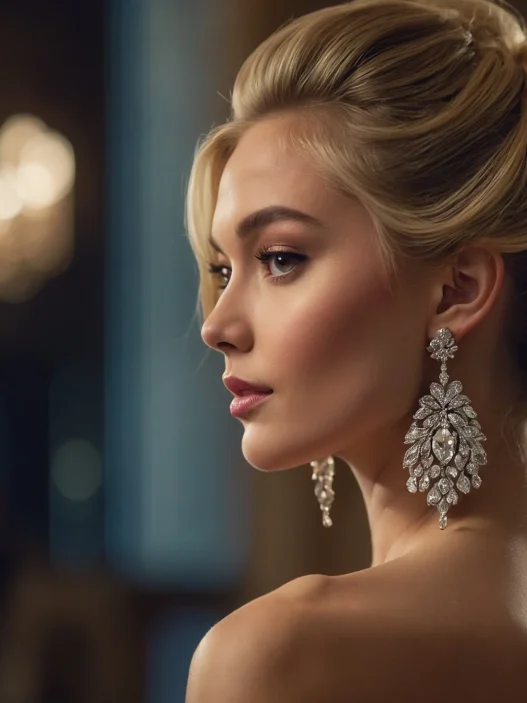
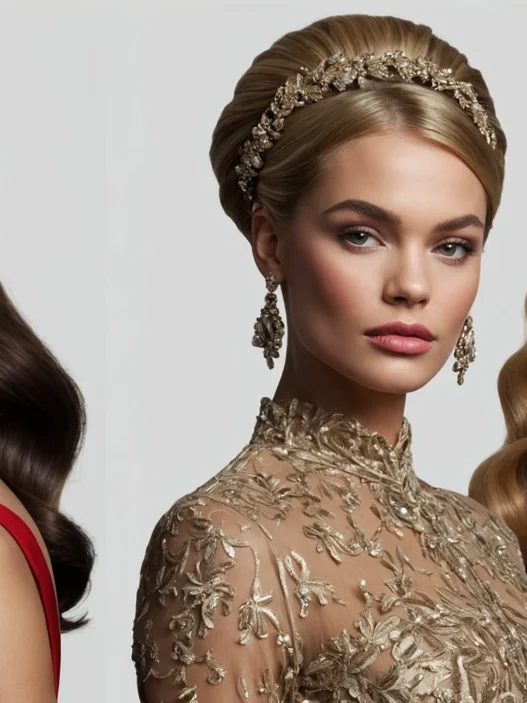
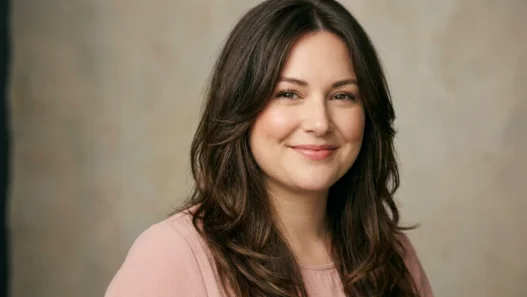
See how hers has that smooth top and airy ends? That is the brush-out doing its job, not extra curling. After brushing, I flip my head over, shake at the roots with my fingertips for five seconds, then flip back. I arrange the part with my fingers only, no comb now, to keep it soft. If a piece looks too tight still, I wrap just that piece around the cool barrel for five seconds with no heat and let it fall.
Step 6: Add Shine and Lock It In
Glam lives or dies on shine. I warm one pea-sized drop of hair oil between my palms until I barely feel it, then smooth it over just the bottom third of my hair. Ends only. If you put oil near the roots now, you will be flat by countdown. I press and glide, I do not rake. Think polishing, not scrunching.
Then I lock it. I hold flexible-hold hairspray 10 inches away and mist in three places: over the crown, left side, right side. Short, moving mists, never a soaking blast. Tips about making curls hold longer finally convinced me to layer light coats instead of one heavy one, and my waves stayed bouncy instead of crunchy. While it is still slightly tacky, I pinch a few ends to re-define them.
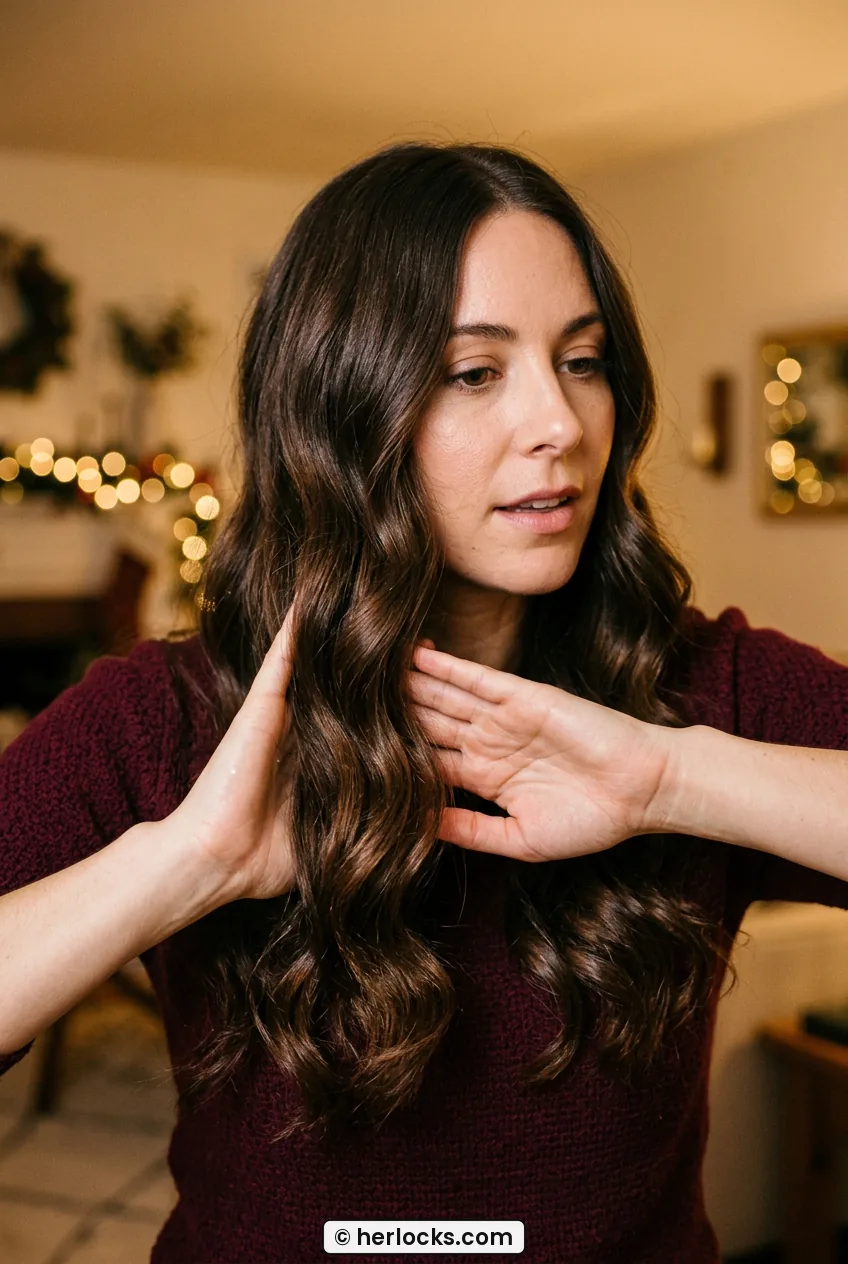
If it is humid or snowing, I add a second whisper of spray under the top layer too. Lift the crown, mist underneath, let it drop. That hidden layer is what keeps the volume from sliding. Similar tricks show up in prom party hairstyles glamorous looks that need to last through hours of dancing, and they work just as well for a long New Years night.
Step 7: The Midnight Touch and Photos
This last step is five minutes but it is the difference between pretty hair and party hair. I decide where my hair will live: usually over one shoulder or softly split with more volume on one side. I tuck one side lightly behind the ear and pin with a decorative bobby pin. Not tight, just to show an earring. Instant glam.
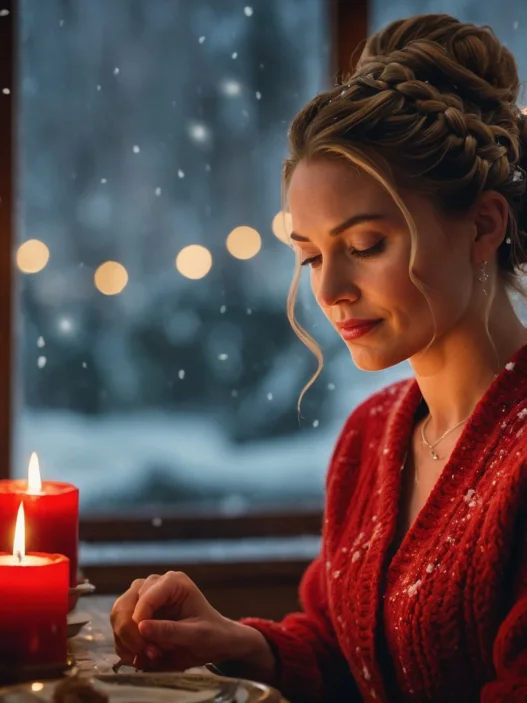
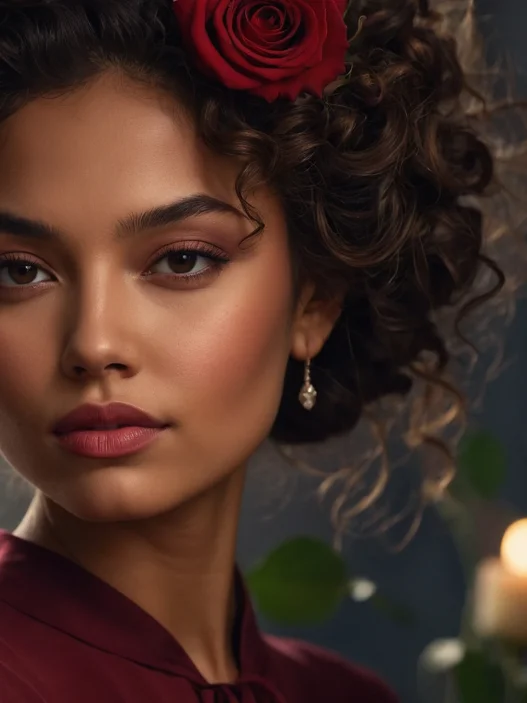
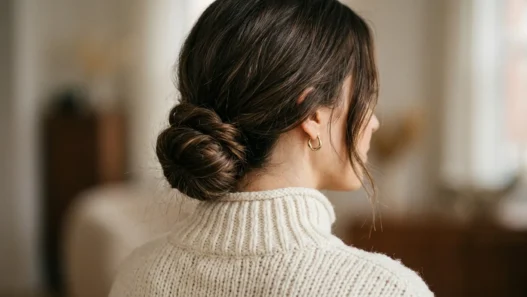
Here is my nod to a New Years Eve updo without redoing anything. If the dance floor gets hot or it starts raining on the way to the countdown, I gather the top half into a loose, low twist and pin it with three pins. The bottom waves still show, so it looks intentional. I practiced this once in my bathroom and now it is my backup plan. I love knowing I have an exit strategy that still looks dressed up.
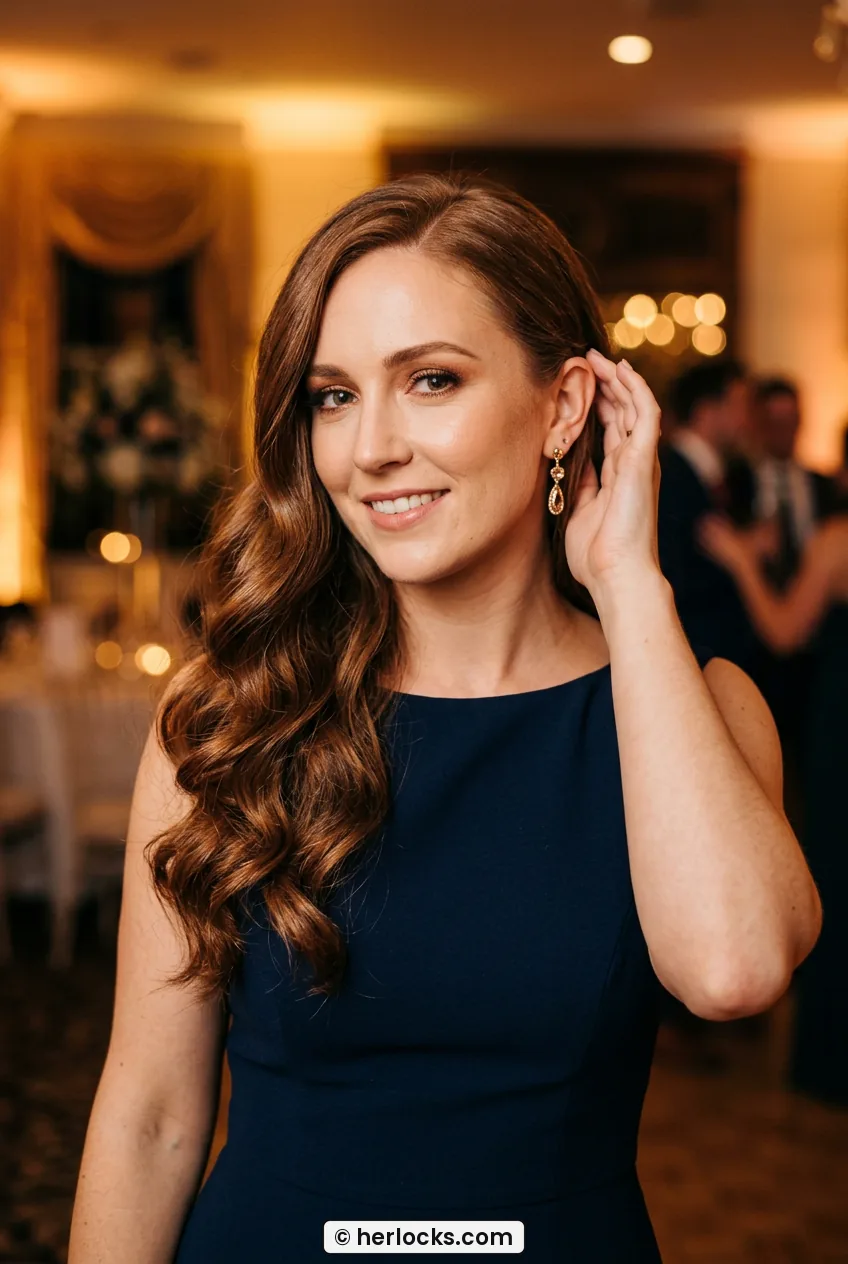
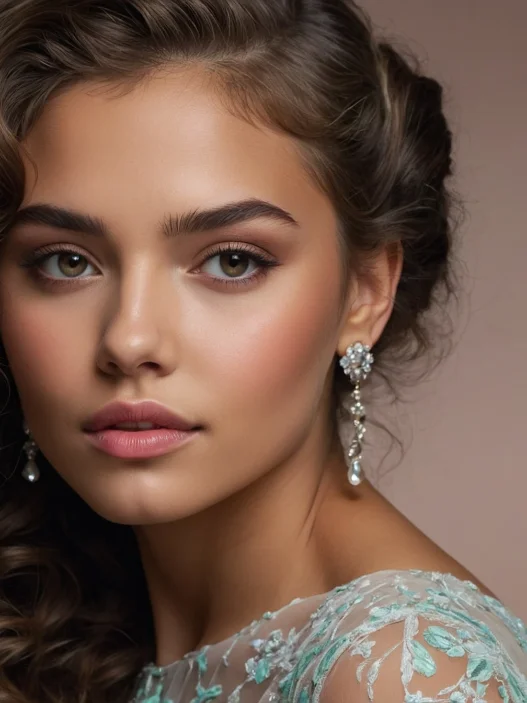
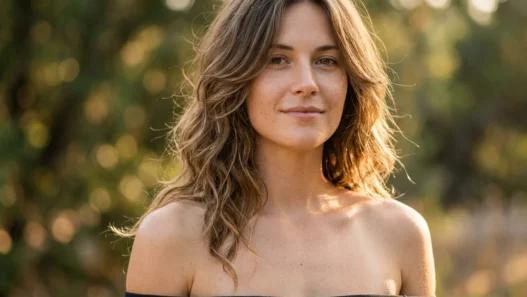
For photos, I fluff the roots one last time and turn slightly to the side so the light catches the shine. She is doing exactly what I mean here, chin up a little, waves falling forward over one shoulder for that full, golden-hour glow even indoors. I pack that mini hairspray, two pins, and a blotting paper in my bag. One quick fluff and mist at 11:30 and you are set for midnight kisses and flash.
If you want a more pinned finish later in the night, these glamorous Christmas curly updos use the same curl base, so you can twist up what you already built. And for next-day brunch hair, I sleep in a loose top bun and the waves are somehow even prettier. A little dry shampoo at the roots and done.
Glam Waves Questions for New Years Eve
Will glam waves hold on very fine, slippery hair?
Yes, but you need that second-day texture and smaller sections. I use mousse before curling and let each curl cool completely without touching it. My fine hair actually holds better than my sister’s thick hair once I stopped taking huge pieces.
What barrel size is best for a party wave, not tight curls?
I reach for a 1.25-inch barrel for medium to long hair because it gives that loose S-bend after brushing. For bobs or short hair, drop to a 1-inch barrel and leave the roots straighter so it does not pouf out too wide.
How do I keep the waves from dropping before midnight?
Cooling time plus light layers of spray matter more than heat. Cup each curl after releasing it, let everything cool for 10 minutes, then mist lightly. I also spray a little underneath the crown for hidden support.
Can I start with an updo base if it rains?
You can. Curl everything the same way, then pin just the top half back into a soft twist. I keep three bobby pins in my clutch for this. Looks like you planned a half-up style all along and the lower waves still show.
My hair at 1am last year still had that swoop over one shoulder and the ends looked shiny in every photo, not frizzy or separated. I danced, I hugged about twenty people, I stood outside in 38-degree air for the fireworks. When I got home I did not even want to take it out. If you try this, curl away from the face and let it cool, those two things do 80 percent of the work.