
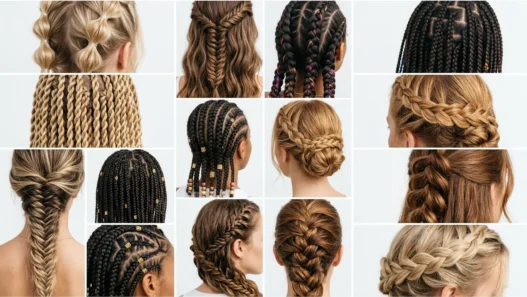


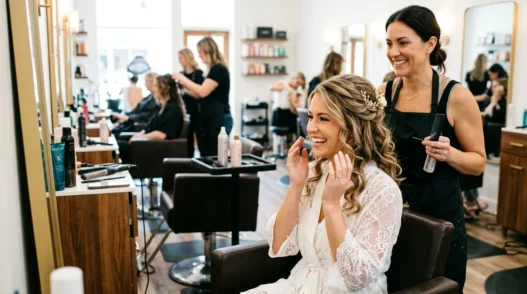

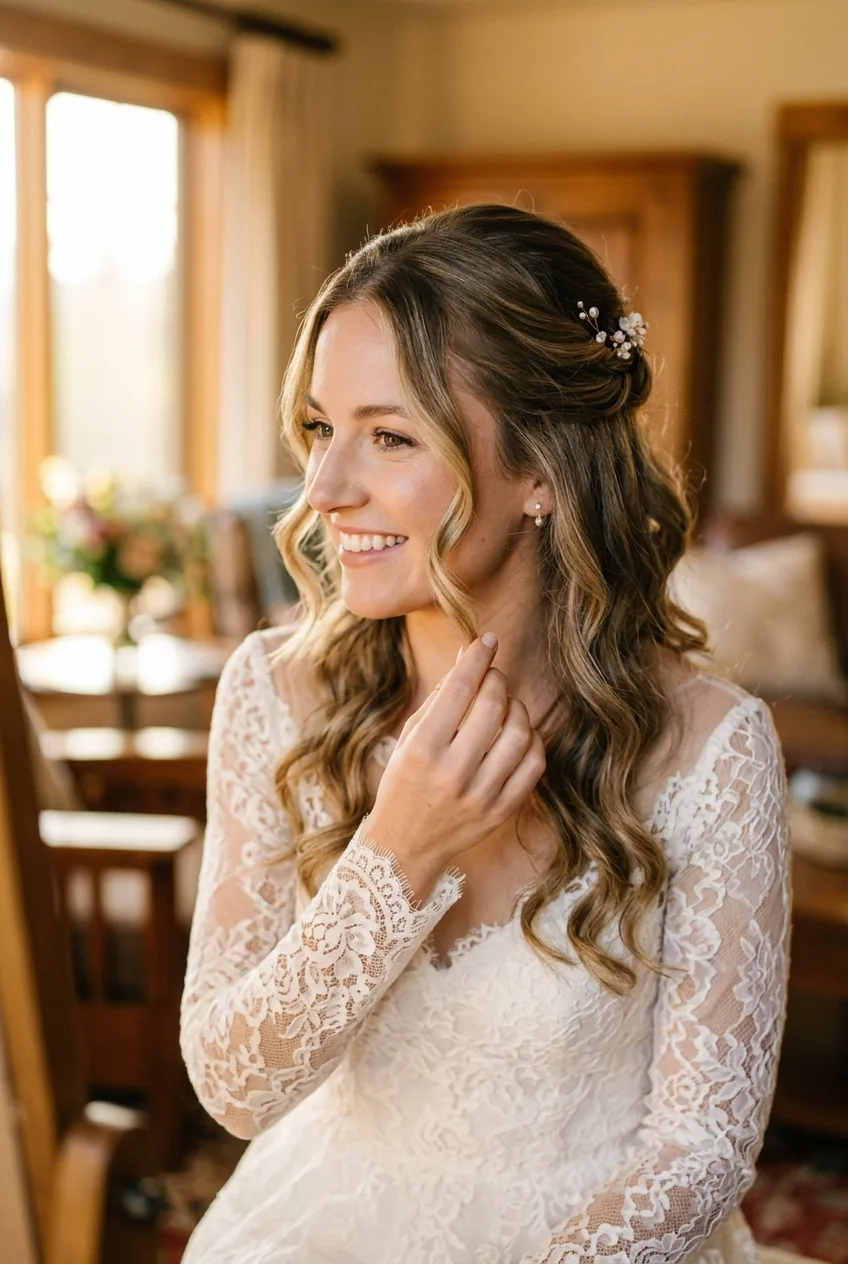
I’ll be honest — the first time I tried a bridal half up half down style for my sister’s wedding, it was a disaster. The top section kept sliding down, the curls fell flat within an hour, and I looked like I’d stuck my finger in an electrical socket. But three attempts later, I finally cracked the code on what makes this style actually work for a full day of celebration.
What You’ll Need for This Look
Here’s what I keep in my styling kit now — learned this list the hard way:
- Heat protectant spray (non-negotiable)
- Volumizing mousse or texturizing spray
- 1.5-inch curling iron or wand
- Fine-tooth comb and wide-tooth comb
- Clear elastic bands (at least 3 — trust me on this)
- Bobby pins that match your hair color
- U-pins for extra security
- Light-hold hairspray
- Hair clips for sectioning
- Small brush for smoothing
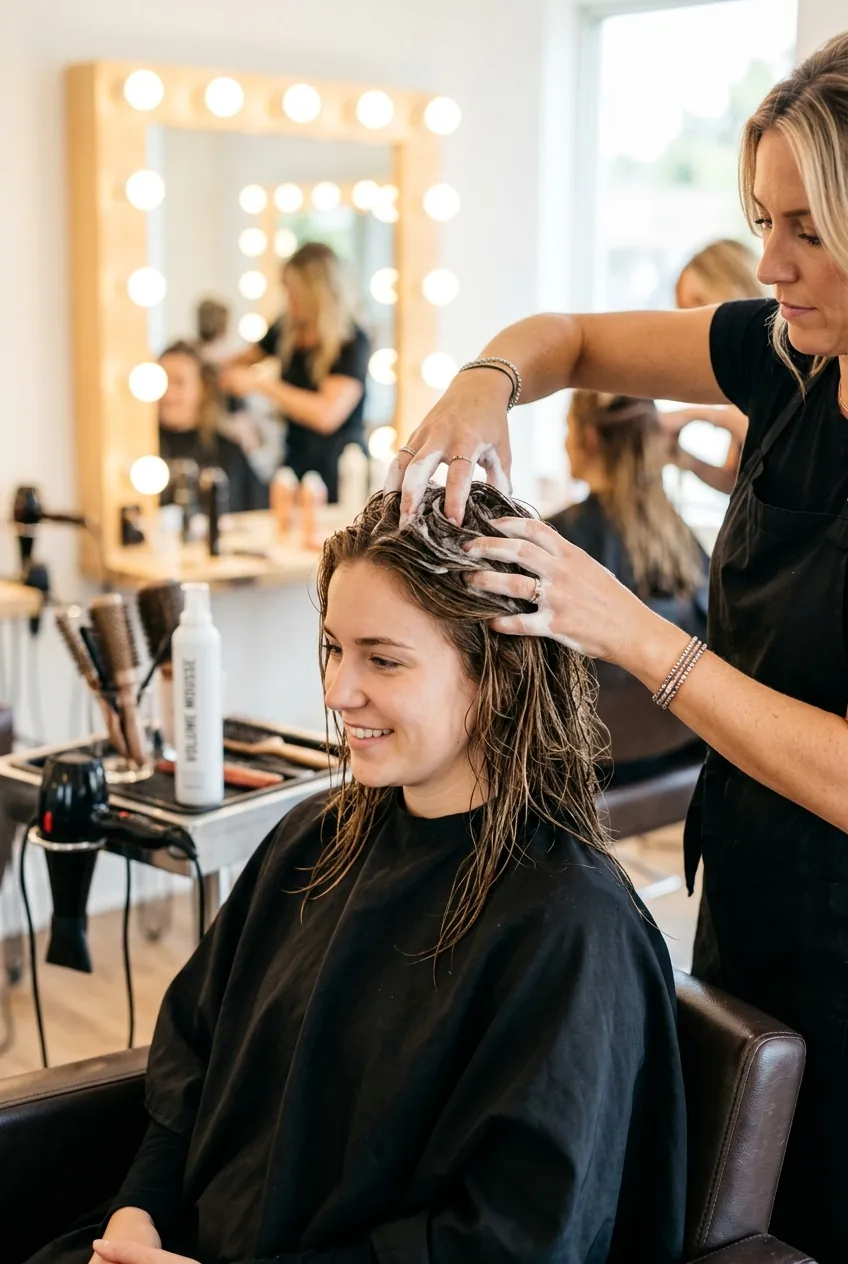
Getting Your Hair Ready
This part makes or breaks everything. I used to skip proper prep because I was eager to get to the “fun” styling part. Big mistake.
Start with hair that’s been washed the day before — not squeaky clean, not greasy. Day-old hair has just enough texture to hold styles better. If you must wash the same day, use a volumizing shampoo and skip heavy conditioner on your roots.
Work a golf ball-sized amount of volumizing mousse through damp hair, focusing on the roots and mid-lengths. I like to flip my head upside down while I do this — it helps distribute the product evenly and starts building that lift right from the start.
Blow dry your hair with a round brush, lifting sections at the root as you dry. This creates the foundation volume that’ll make your half-up section look fuller and more polished later.
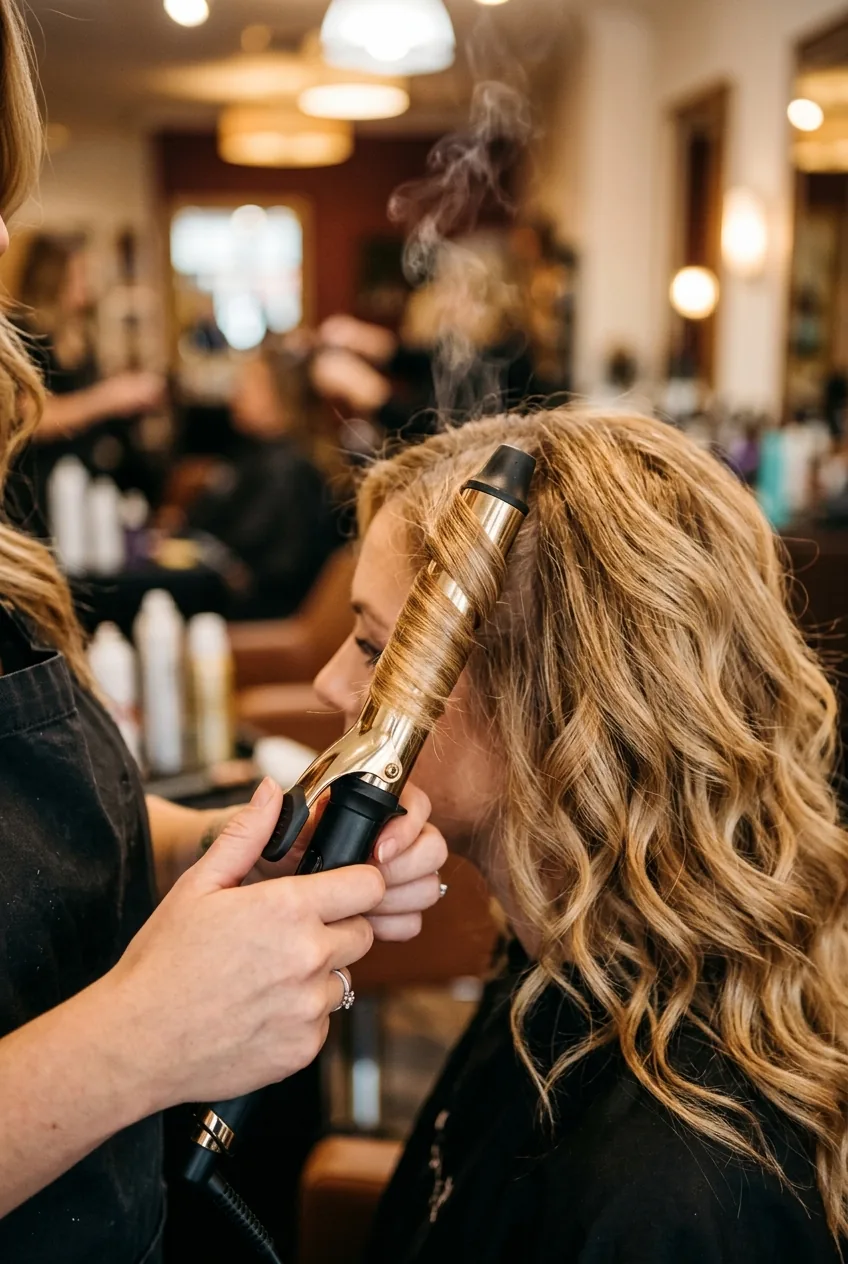
Creating the Perfect Base
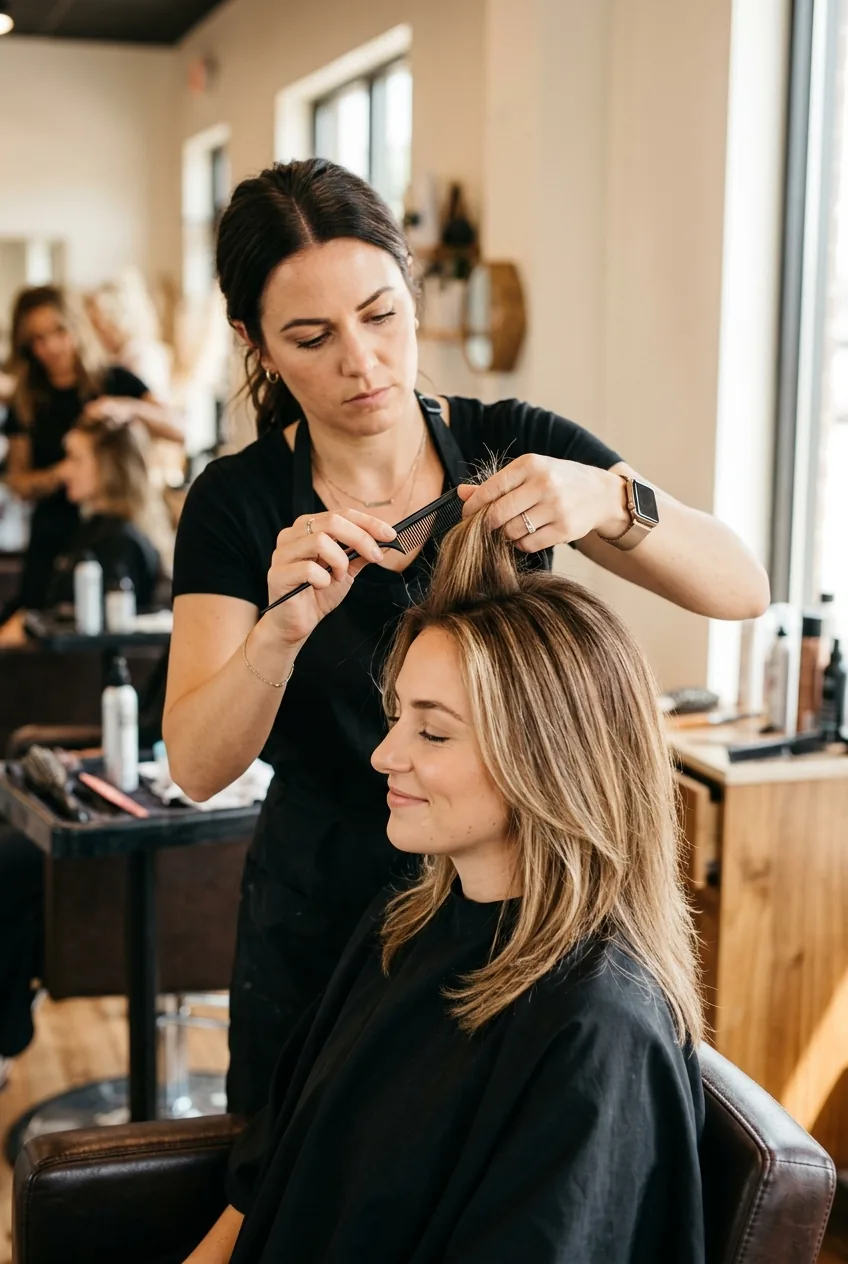
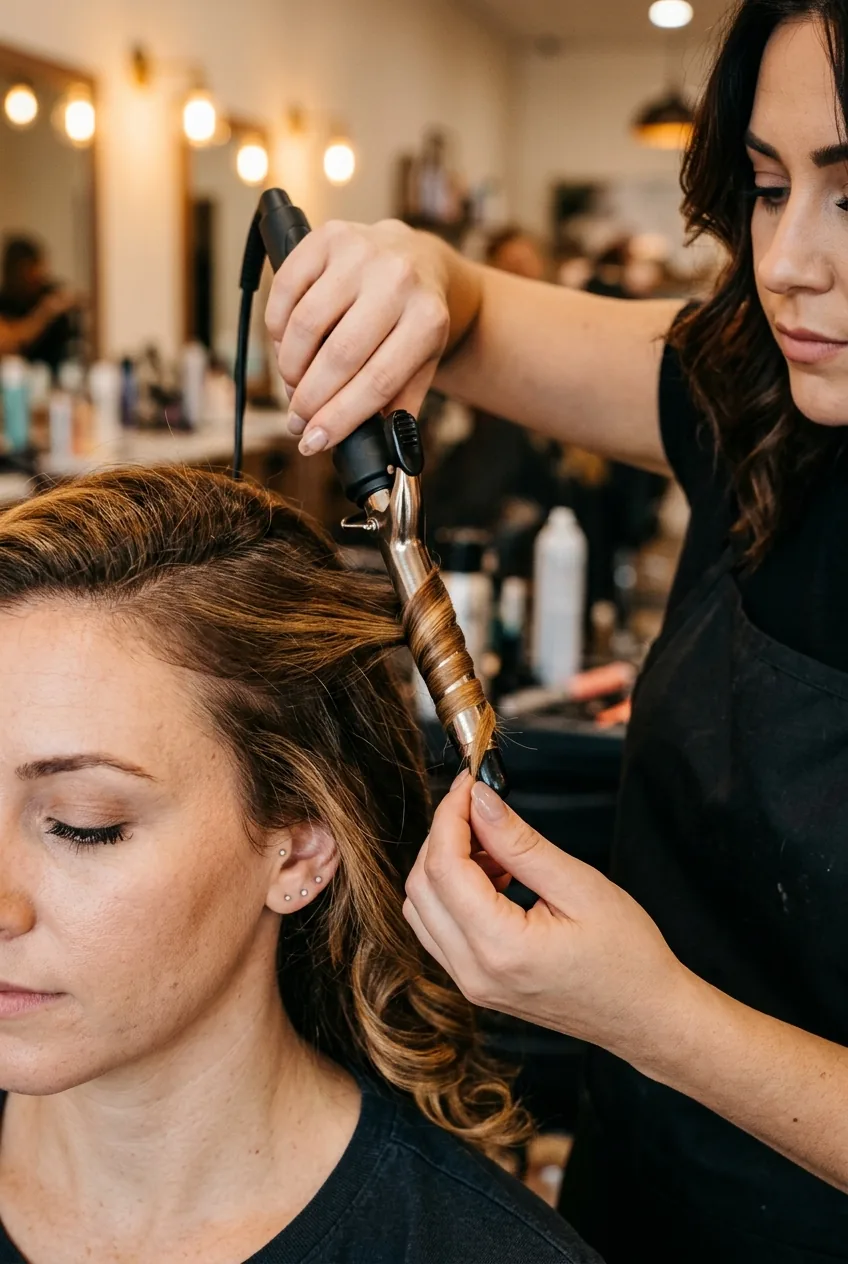
Now comes the curling, and this is where most people (myself included, originally) go wrong. You’re not trying to create perfect ringlets — you want loose, romantic waves that’ll blend beautifully once you put the style together.
Section your hair horizontally into three layers. Start with the bottom layer and work your way up. Curl 2-inch sections away from your face, but here’s the key: don’t curl the very ends. Leave about an inch uncurled for a more modern, less “done” look.
After curling each section, let it cool completely in your palm before releasing it. I know it’s tempting to rush, but this cooling time is what makes the curl last. Once you’ve curled everything, give your hair 10 minutes to set while you do your makeup.
Then — and this is crucial — gently rake through the curls with your fingers. You want to break them up into softer, more natural-looking waves. Proper hair preparation can make the difference between a style that holds and one that falls apart.
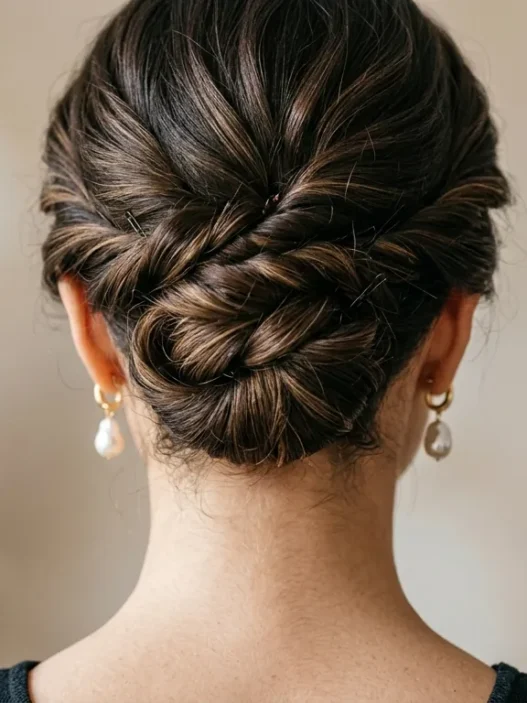
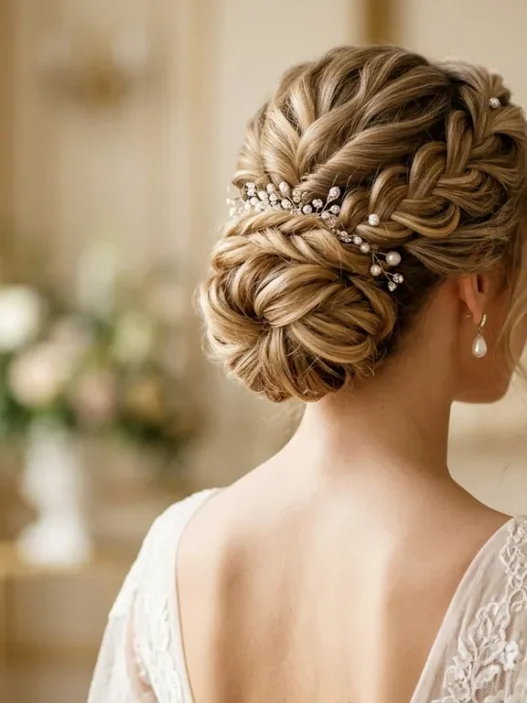
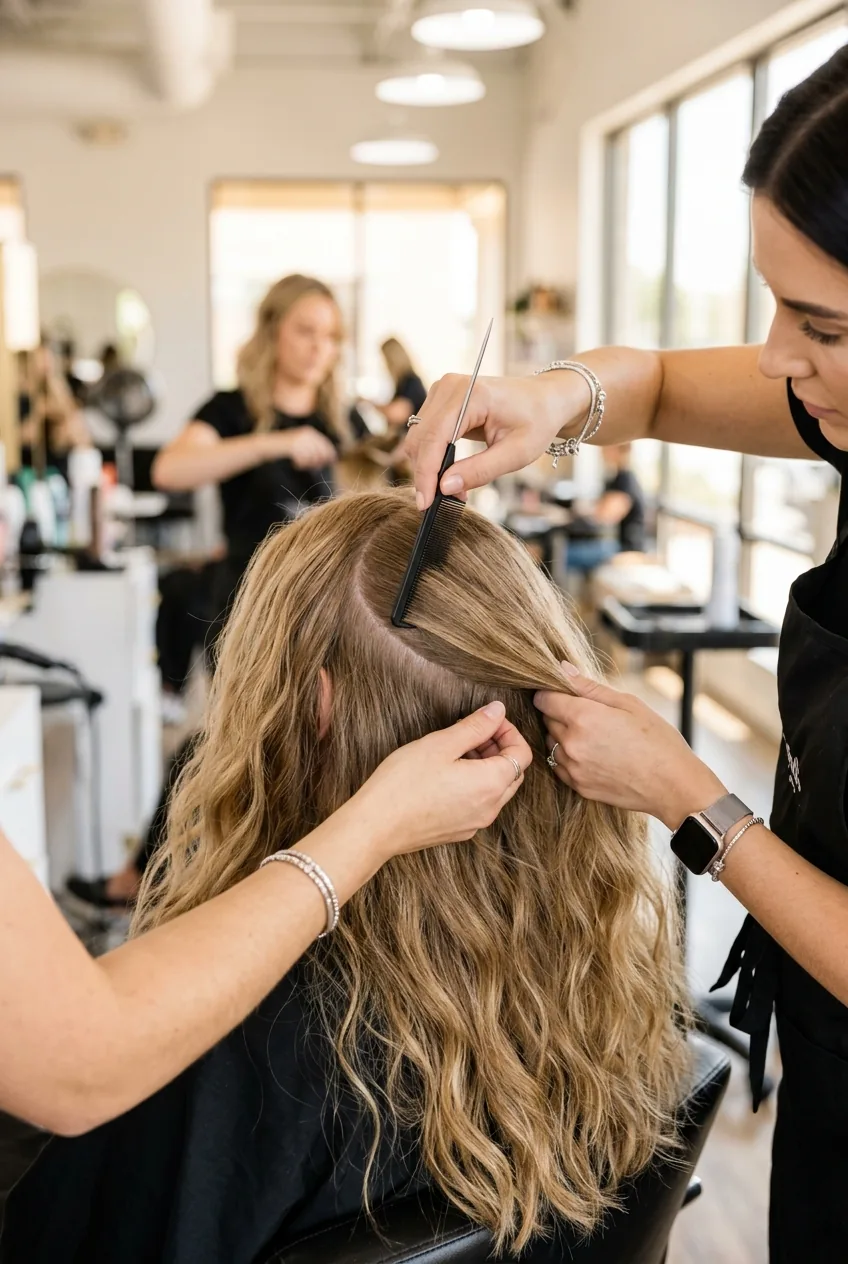
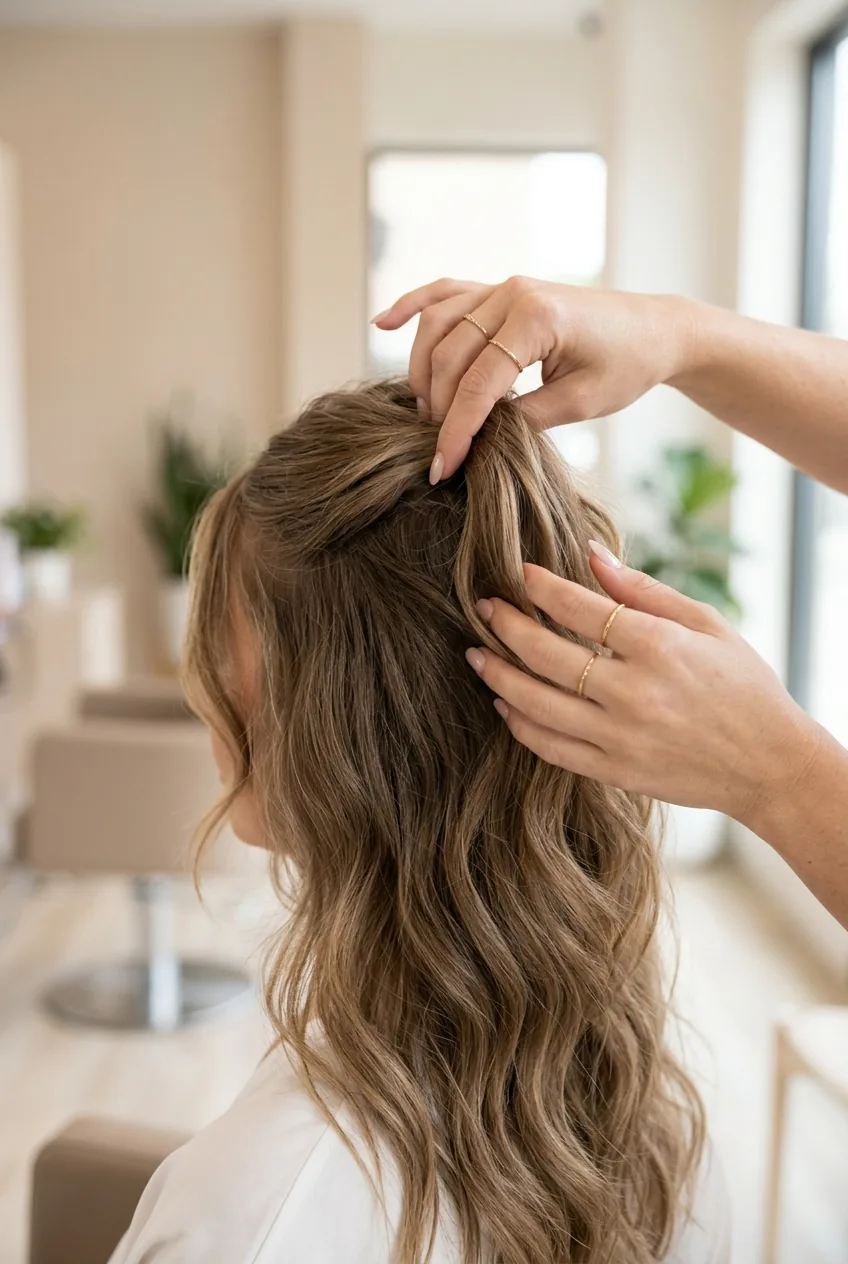
The Art of Strategic Sectioning
This is where the magic happens, and it’s honestly the part I struggled with most. The sectioning determines whether your bridal half up half down looks intentional and elegant or like you just grabbed random pieces and hoped for the best.
Start by parting your hair the way you normally wear it — fighting your natural part will just create problems later. Then, place your thumbs at your temples and slide them straight back until they meet your fingers at the crown of your head. This creates a perfect horseshoe shape that’ll give you the most flattering proportions.
My biggest mistake was making the half-up section too small. I was so afraid of taking too much hair that the final style looked wimpy and unbalanced. Don’t be conservative here — you want this section to have presence.
Here’s a trick I wish I’d known from the beginning: before you gather the hair, tease the crown section gently with a fine-tooth comb. Just a few gentle backcombing strokes to create some texture and volume. This prevents that flat, slicked-back look that screams “amateur hour.”
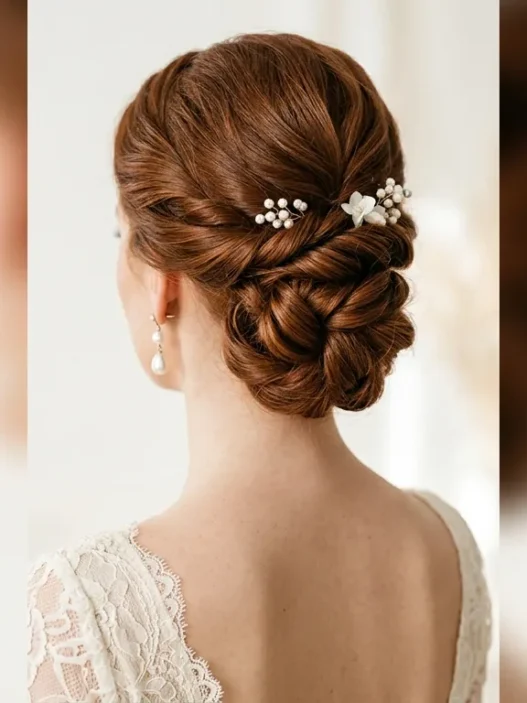
Building Volume That Stays
Volume is everything in a bridal half up half down style. Without it, the whole look falls flat — literally. But here’s what I learned: it’s not about teasing until your hair looks like a bird’s nest. It’s about strategic lifting and smart product placement.
Once you’ve sectioned your hair, don’t just pull it straight back. Instead, lift the crown section up and slightly forward before gathering it. This creates that beautiful rounded shape that photographs so well.
Hold the gathered hair with one hand while you gently tug at the crown with the other, pulling small pieces forward to create controlled volume. Think of it as “pancaking” your hair — you’re making it wider and fuller without making it messy.
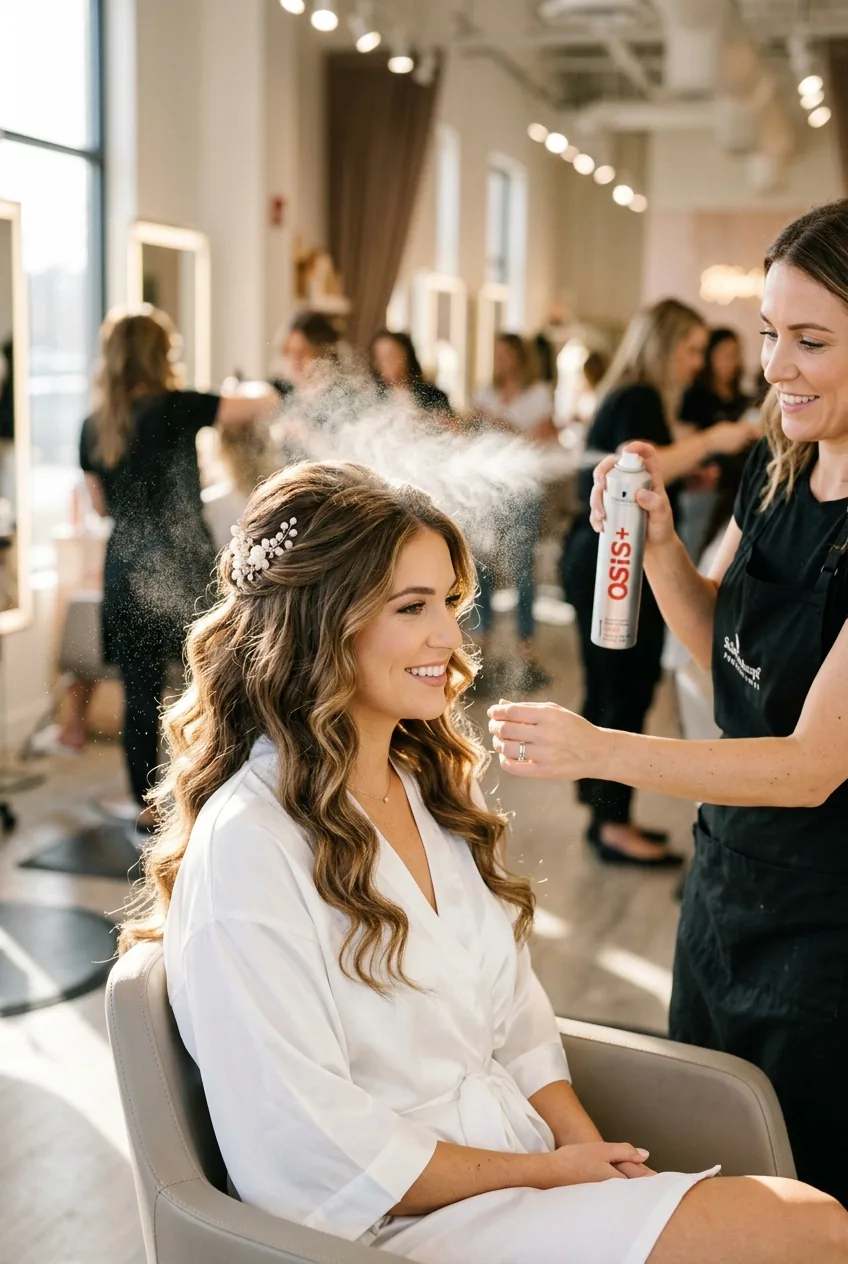
Spray the lifted section lightly with hairspray while holding it in place. This sets the volume before you secure it, which means it’s more likely to stay put through all the ceremony hugs and reception dancing.
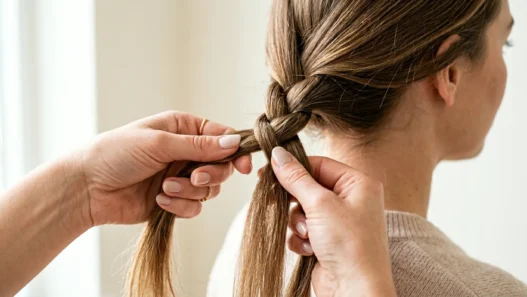
This Tutorial Changed My Technique
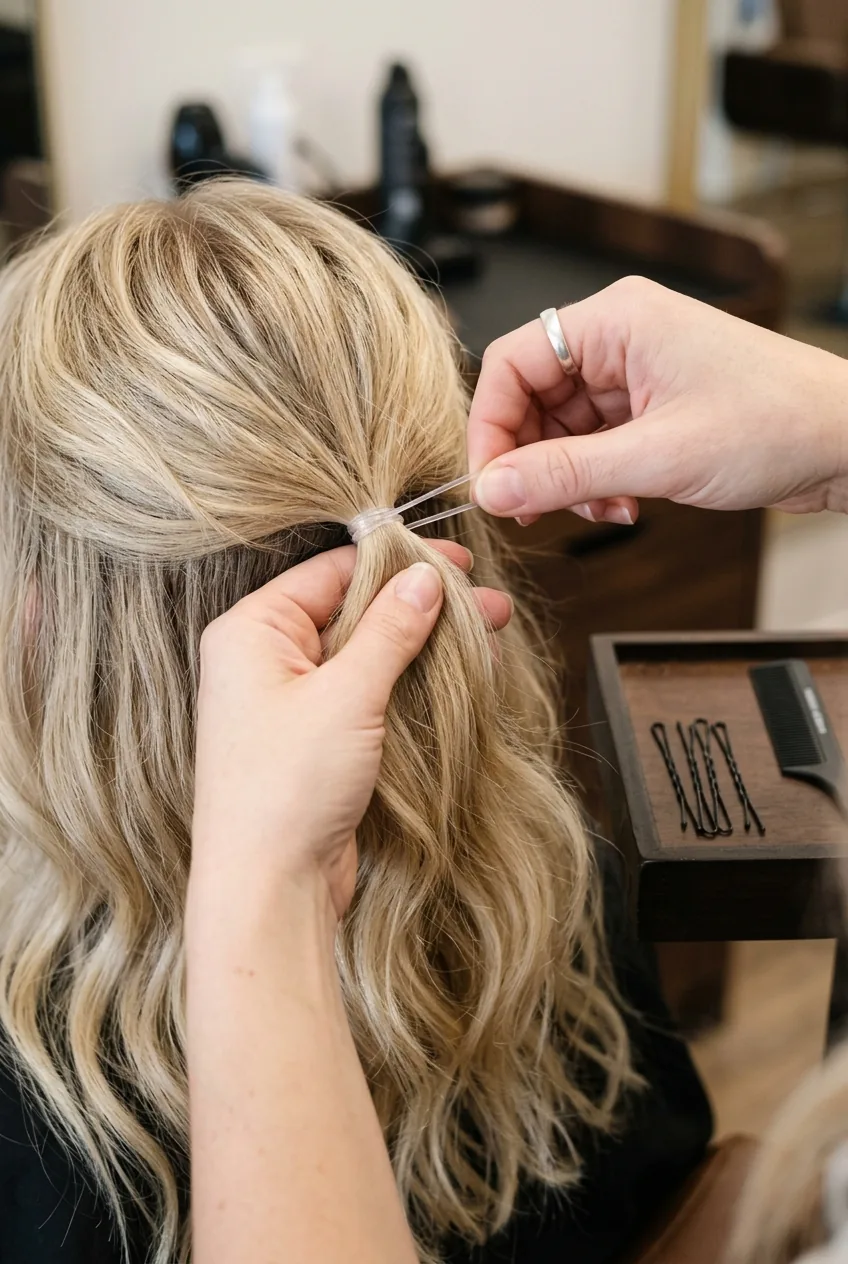
Securing Without the Bumps

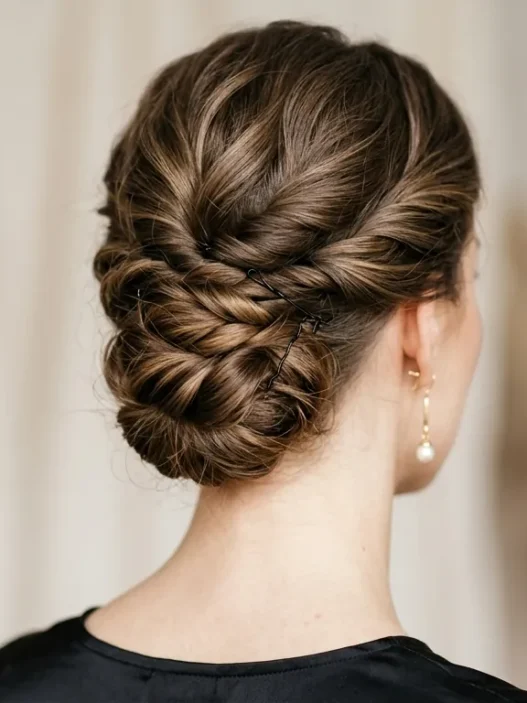
The elastic placement is critical. Too high and you get a ponytail vibe. Too low and it looks droopy. I aim for about two inches above where the back of my head starts to curve — right in that sweet spot where it feels secure but still looks romantic.
Wrap the clear elastic around twice (three times if you have fine hair), but don’t pull it super tight. You want it secure without creating a dent in your hair. Once it’s in place, wrap a small section of hair around the elastic to hide it completely.
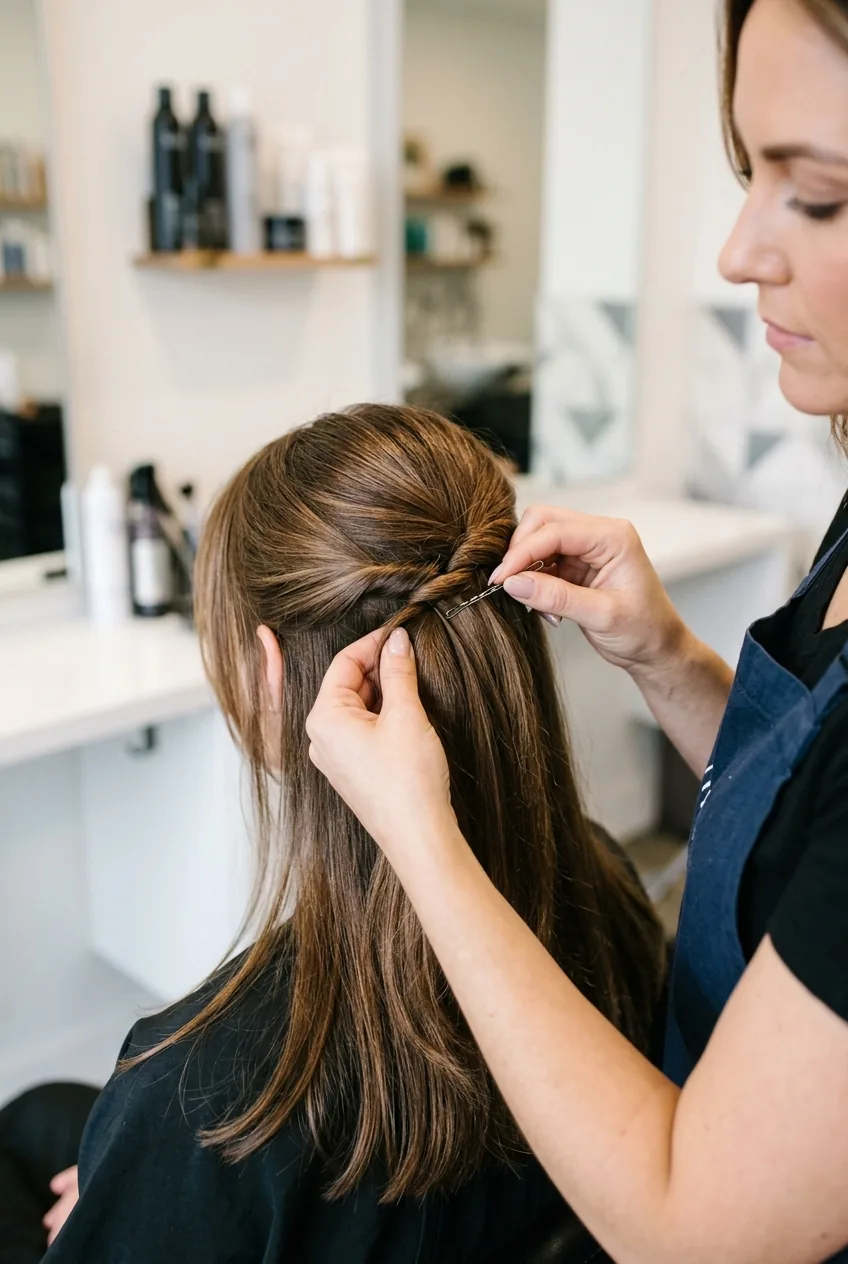
Now for the bobby pins — and this is where most tutorials fail you. You’re not just randomly stabbing pins into your hair hoping they’ll hold. Each pin has a job. Use them to secure any loose pieces, anchor the wrapped hair around the elastic, and create subtle lift where needed.
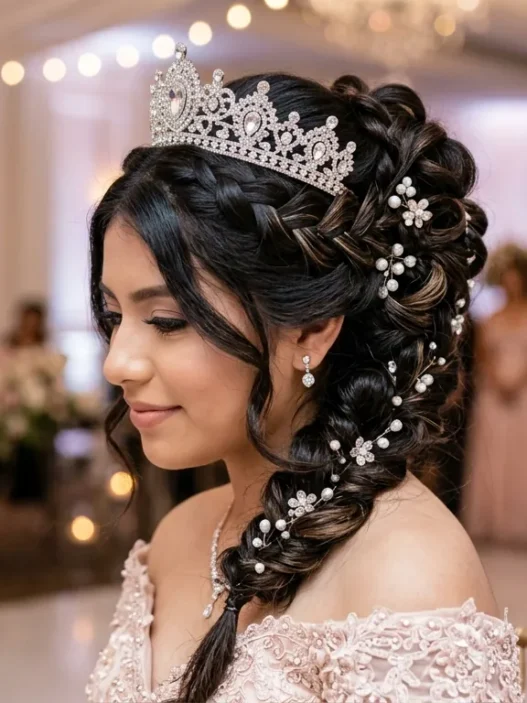
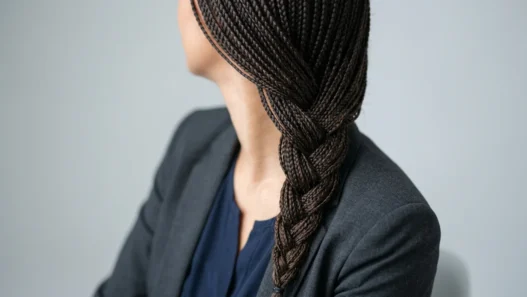
Pro tip: slide bobby pins in at an angle toward your head, not parallel to it. They grip better this way and are way less likely to slide out during the reception. If you’re doing braided half up boho styles, the same securing principle applies.
Adding Those Finishing Touches
This is where you go from “nice hair” to “bridal gorgeous.” The details matter so much more than I realized when I first started attempting this style.
Pull out a few face-framing pieces — but not too many. I’m talking about wispy, almost accidental-looking strands that soften the overall look. If you have layers, work with them. If you don’t, create some soft pieces by gently pulling at the hairline.
Curl these face-framing pieces with a smaller barrel (1-inch works perfectly) for tighter spirals that’ll relax into perfect waves. Curl them away from your face for the most flattering effect.
The final step is balancing the volumes. Look at your reflection from the side — does the top section complement the bottom? Sometimes I need to fluff the loose hair a bit more, or add texture spray to the lower section to match the volume up top.
Hairstyles that last all day require this kind of attention to balance and texture.
Finish with a light mist of flexible hold hairspray — emphasis on light. You want movement and touchable texture, not a helmet of hair that photographs stiff and unnatural.
What I Get Every Time Now
When I finally nailed this technique, the difference was immediate. The style stayed put through a 6-hour wedding celebration, looked intentional in every photo, and felt secure enough that I never once worried about it falling apart.
The best part? It works on pretty much every hair type. I’ve done variations for friends with fine hair, thick hair, and everything in between. The key is adjusting your sectioning and volume techniques to work with what you’ve got, not against it.
Now when people ask me for wedding hair advice, I always tell them: master this technique first. It’s romantic, versatile, and photograph-ready. Plus, once you get the hang of it, you can adapt it for any formal occasion — not just weddings.