


I used to think bubble ponytails were just for little kids. Then I saw this gorgeous version on a coworker and knew I had to figure it out. But my first attempts? Total disasters. The bubbles were uneven, the spacing was off, and the whole thing looked more “messy playground” than “chic Instagram.” After way too many failed attempts, I finally cracked the code.
What You’ll Need
Good news — you probably already have most of this stuff. The key is using clear elastic bands, not those thick fabric ones that create bulk.
- Clear hair elastics (at least 6-8 pieces)
- Fine-tooth comb or rat-tail comb
- Hair brush
- Texturizing spray or light hairspray
- Bobby pins (optional for flyaways)
- Hair oil or serum for shine
Step 1: Perfect Your Base
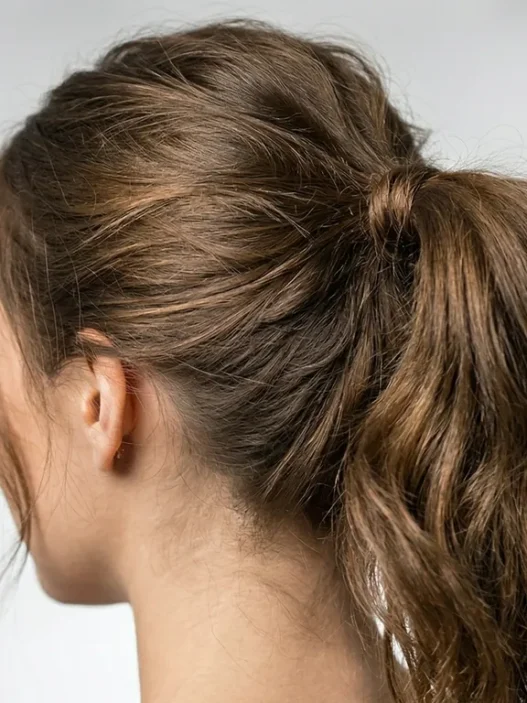
Start with day-old hair if possible. Freshly washed hair can be too slippery for this style. Brush everything back smoothly — I like to use a bit of texturizing spray here for grip. The goal is a sleek foundation that won’t have bumps or flyaways messing up your bubbles later.
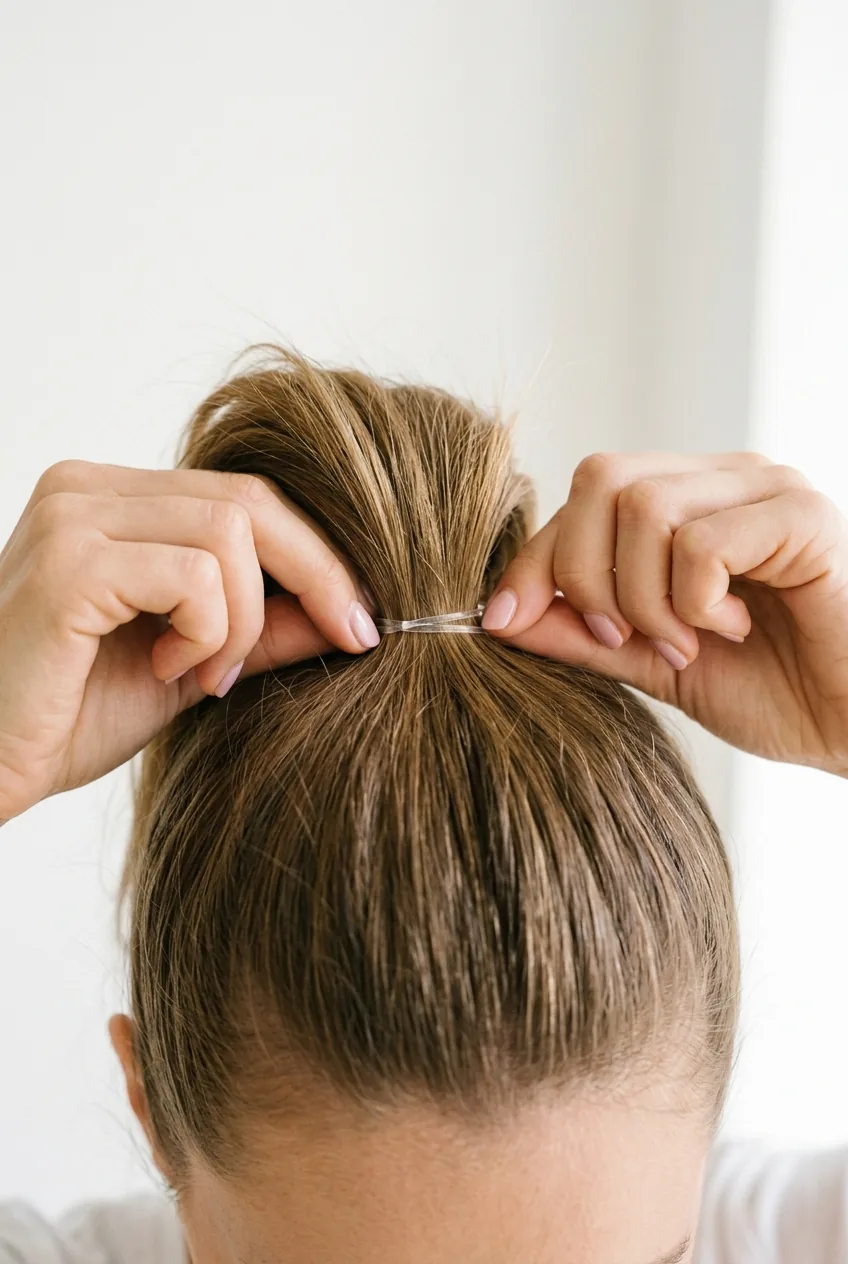
Pull your hair back into a high ponytail at the crown of your head. Not too tight though! You want it secure but comfortable. Use one clear elastic to secure it firmly. This base ponytail is everything — if it’s not positioned right, your whole bubble chain will look off.
Step 2: Section and Secure
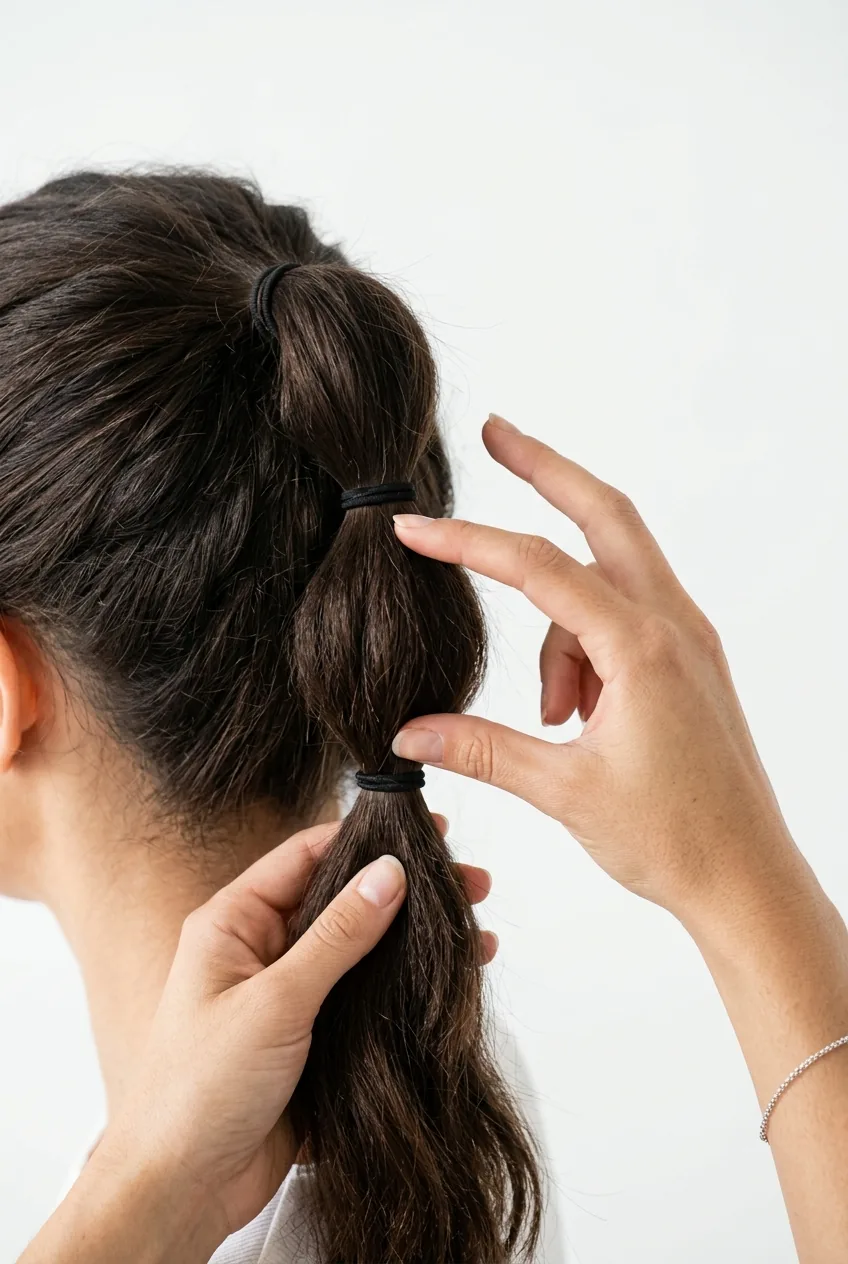
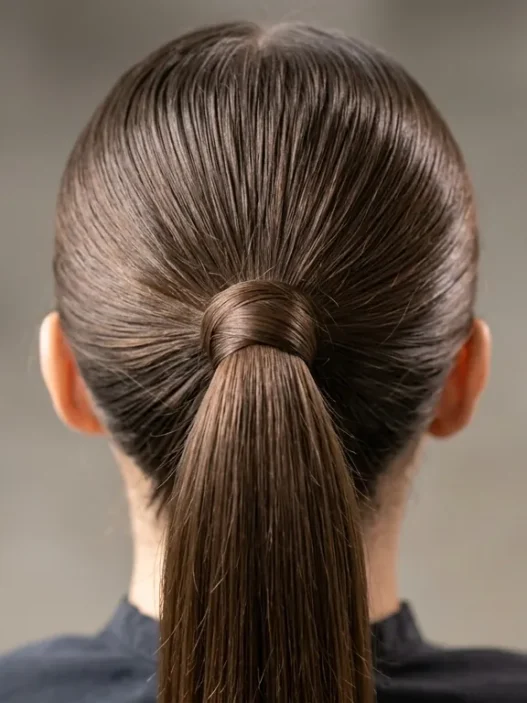
Here’s where most people go wrong — they eyeball the spacing. Don’t do that. Use your fingers to measure consistent sections down your ponytail. I usually make my first section about 2-3 inches from the base elastic. This distance works for most hair lengths, but adjust based on your ponytail length.
Once you’ve found your spot, wrap a clear elastic around the ponytail. Don’t pull it super tight yet — just snug enough to hold. You’ll adjust the tension in the next step. The spacing between elastics is what makes or breaks this whole look, so take your time here.
Step 3: Create the First Bubble
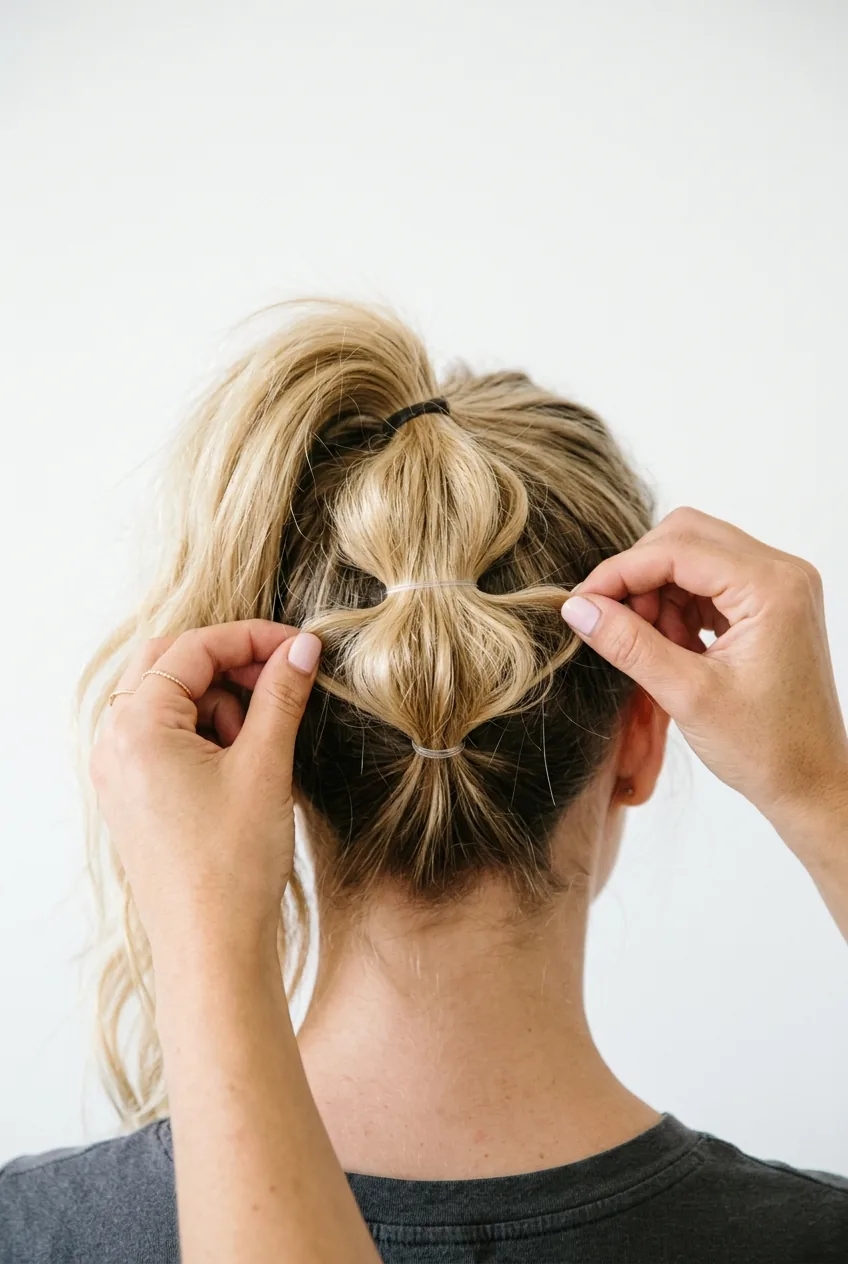
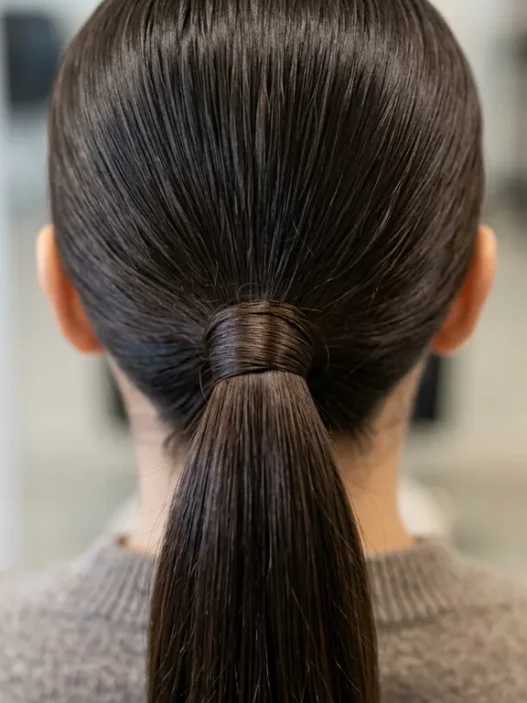
This is the magic moment. Gently tug at the hair between your base elastic and the second elastic. Pull small sections outward to create volume — think of it like gently inflating a balloon. Start at the sides and work your way around. The key word here is “gently.” You’re coaxing the hair, not yanking it.
Your first bubble should look full and round, not deflated or lopsided. If it’s not quite right, adjust the second elastic’s position or add more volume by tugging more hair. This first bubble sets the standard for all the others, so make it count.
I used to pull too hard when creating the bubbles and would end up with loose pieces everywhere. The trick is tiny, gentle tugs all around the section instead of one big pull. Way less messy.
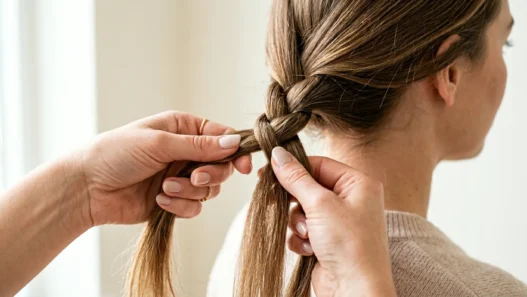
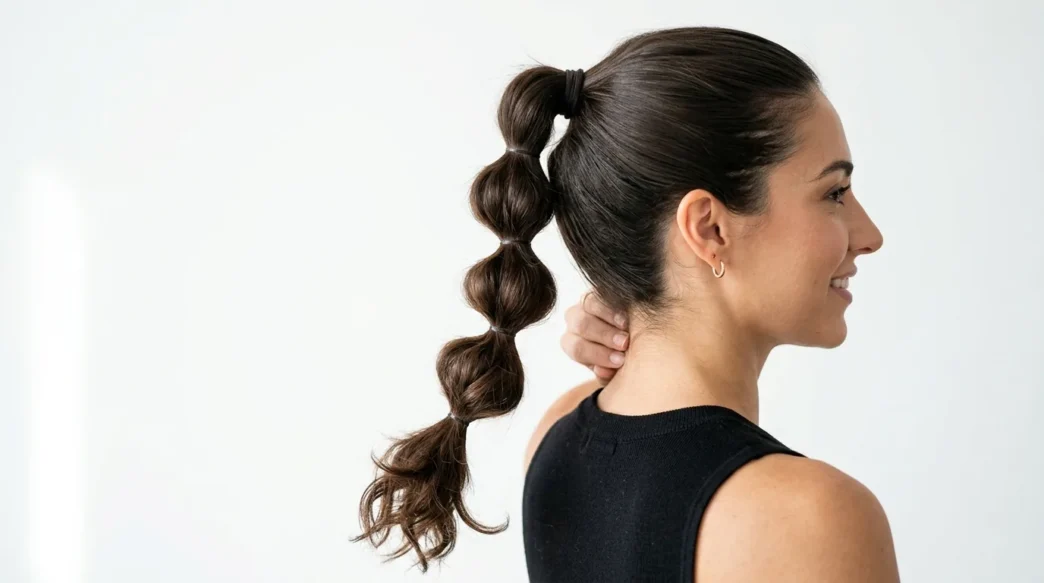
See the Bubble Technique in Action
Step 4: Build the Pattern
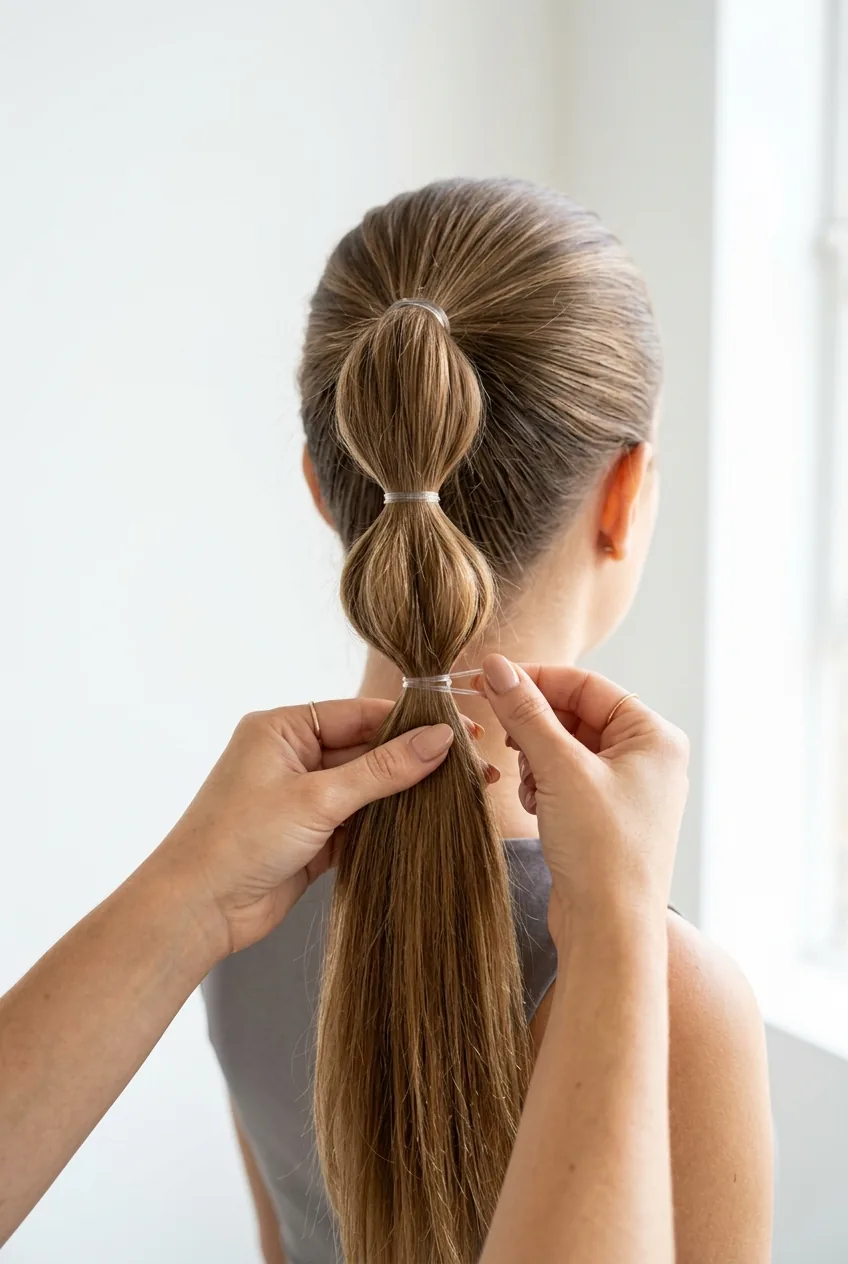
Now you’re going to repeat the process. Measure the same distance down from your second elastic and add a third elastic. Create your second bubble using the same gentle tugging technique. Then add a fourth elastic, create the third bubble, and so on.
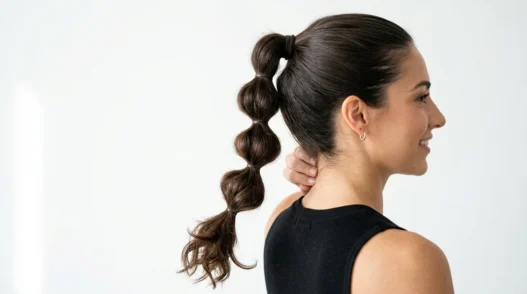
Each bubble should be roughly the same size as your first one. I usually get 4-5 bubbles depending on my hair length. Don’t worry if they’re not identical — slight variations actually look more natural and interesting than perfectly uniform ponytail styles.
Step 5: Perfect the Spacing
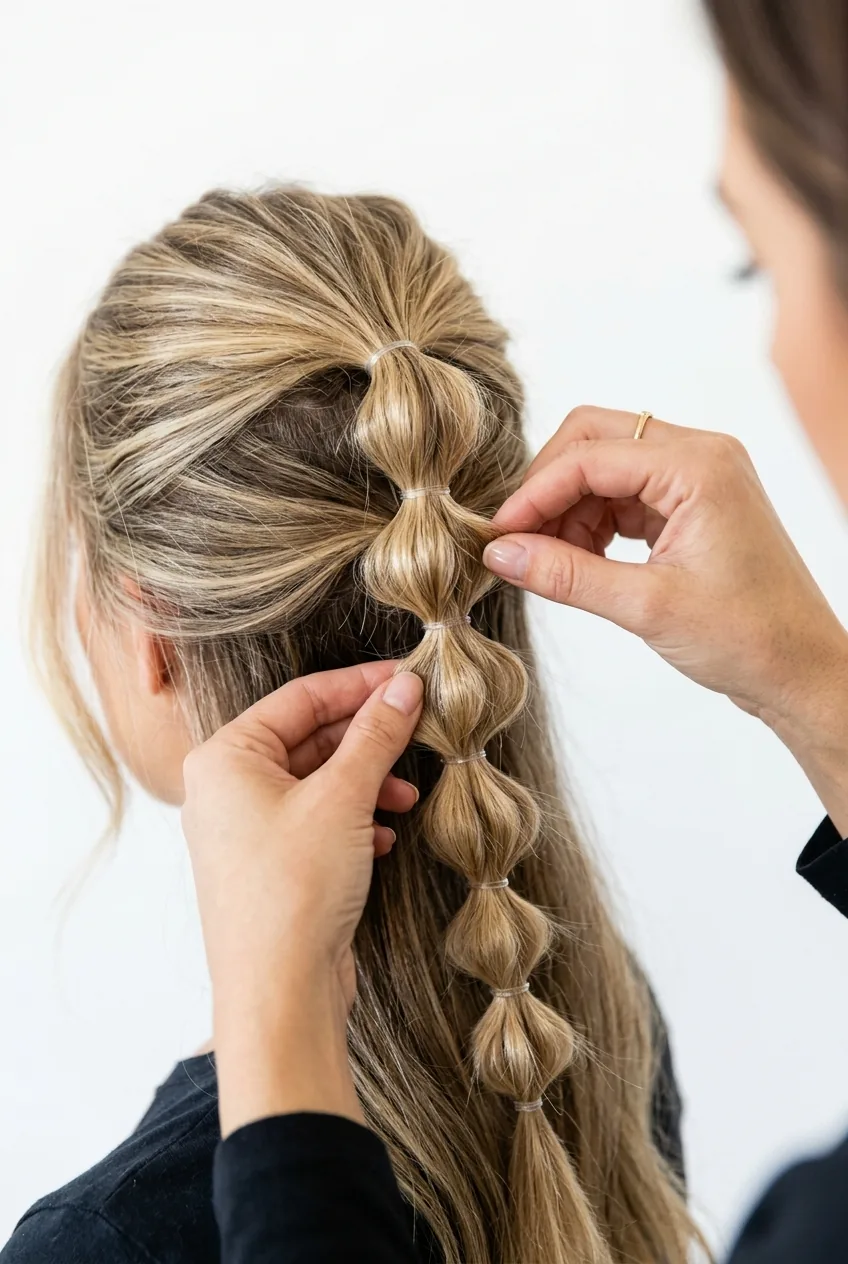
Step back and look at your bubble ponytail in the mirror. This is where you fine-tune everything. Are the bubbles evenly spaced? Do any look deflated or too small? Now’s the time to adjust.
You can gently pull more volume into any bubble that looks flat, or slide an elastic up or down slightly to improve spacing. Sometimes I’ll add one more tiny tug to the sides of each bubble just to make sure they’re all full and rounded. Common styling mistakes happen when people rush this step, but taking an extra minute here makes all the difference.
Step 6: Lock in the Look
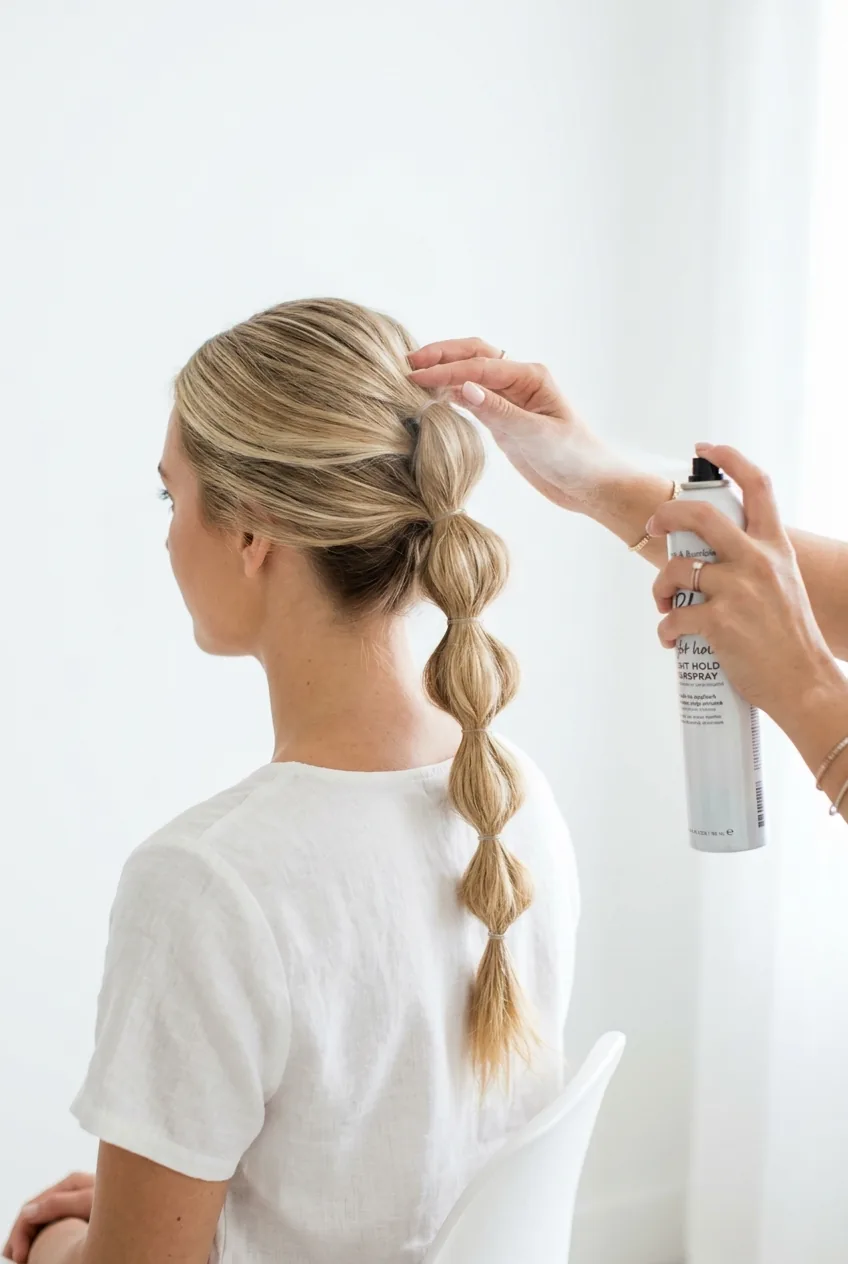
Almost done! Give the whole ponytail a light mist of hairspray to keep everything in place. I like to focus on the bubbles themselves rather than soaking the elastics. If you have any stubborn flyaways, smooth them down with a tiny bit of hair oil on your palms.
For extra polish, gently run your fingers along each elastic to make sure they’re sitting flush and not creating weird bumps. The clear elastics should basically disappear into your hair color. If any are too visible, you can carefully adjust their position.
Questions I Get About This
How long does a bubble ponytail stay put?
Mine usually lasts all day if I use good elastics and hairspray. The bubbles might lose a tiny bit of volume by evening, but it still looks intentional and cute.
Does this work on short hair?
You need at least shoulder-length hair to get 2-3 good bubbles. Shorter than that and you’re better off with regular ponytail variations.
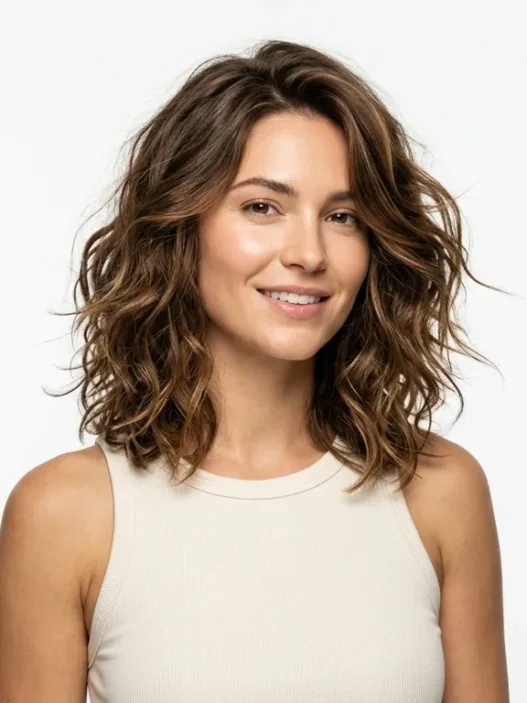
Can I do this on curly hair?
Absolutely! Curly ponytails actually create more natural-looking bubbles. You might not need to tug as much volume since the curls add their own fullness.
What if my elastics keep sliding down?
This usually means your hair is too slippery. Try using texturizing spray first, or switch to slightly grippier elastics. The clear ones from drugstores work better than the super thin ones.
Honestly, once I got the spacing right, this became my go-to style for days when I want to look put-together but don’t have time for anything complicated. It’s way more interesting than a regular ponytail but takes maybe five minutes. And I love how it looks slightly different each time depending on how full I make the bubbles.