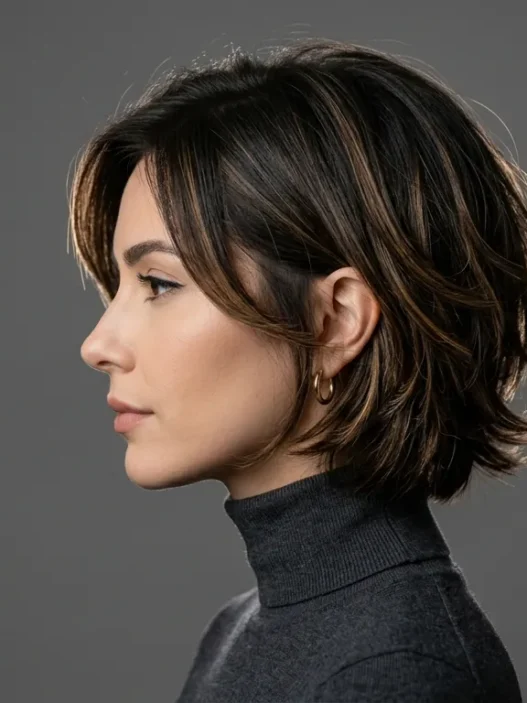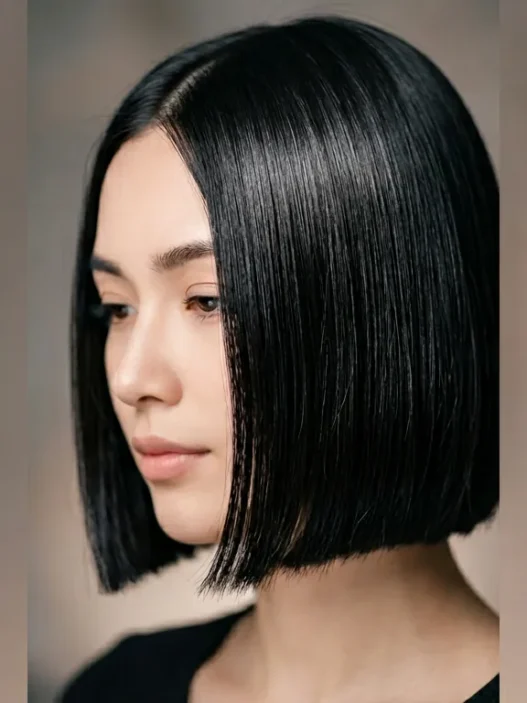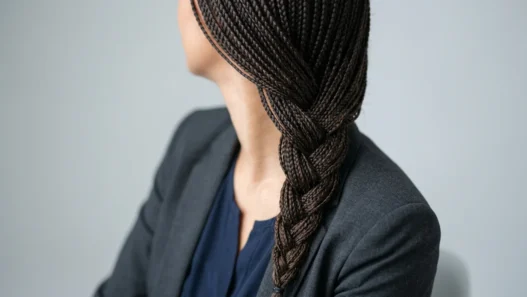


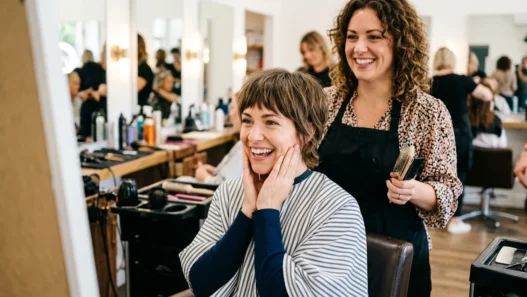

I’ve been obsessed with French bobs ever since I saw Caroline de Maigret rock one in a street style photo last year. That perfectly undone, effortlessly chic look seemed impossible to recreate — until I finally figured out the secret. It’s not about perfection. It’s about controlled messiness.
After months of trial and error (and way too many bad hair days), I developed this 6-step method that actually works. The key is working with your hair’s natural texture, not against it.
What You’ll Need
Here’s what I always have on my bathroom counter for this look:
- Wide-tooth comb or detangling brush
- Heat protectant spray (I’m obsessed with the Olaplex one)
- Texturizing mousse or sea salt spray
- Blow dryer with a diffuser attachment
- 1-inch curling iron or wand
- Lightweight hair oil or serum
- Texturizing spray for finishing
Don’t panic if you don’t have everything. The most important tools are the blow dryer, curling iron, and some kind of texture product. Everything else is just bonus points.
Step 1: Start with Damp Hair
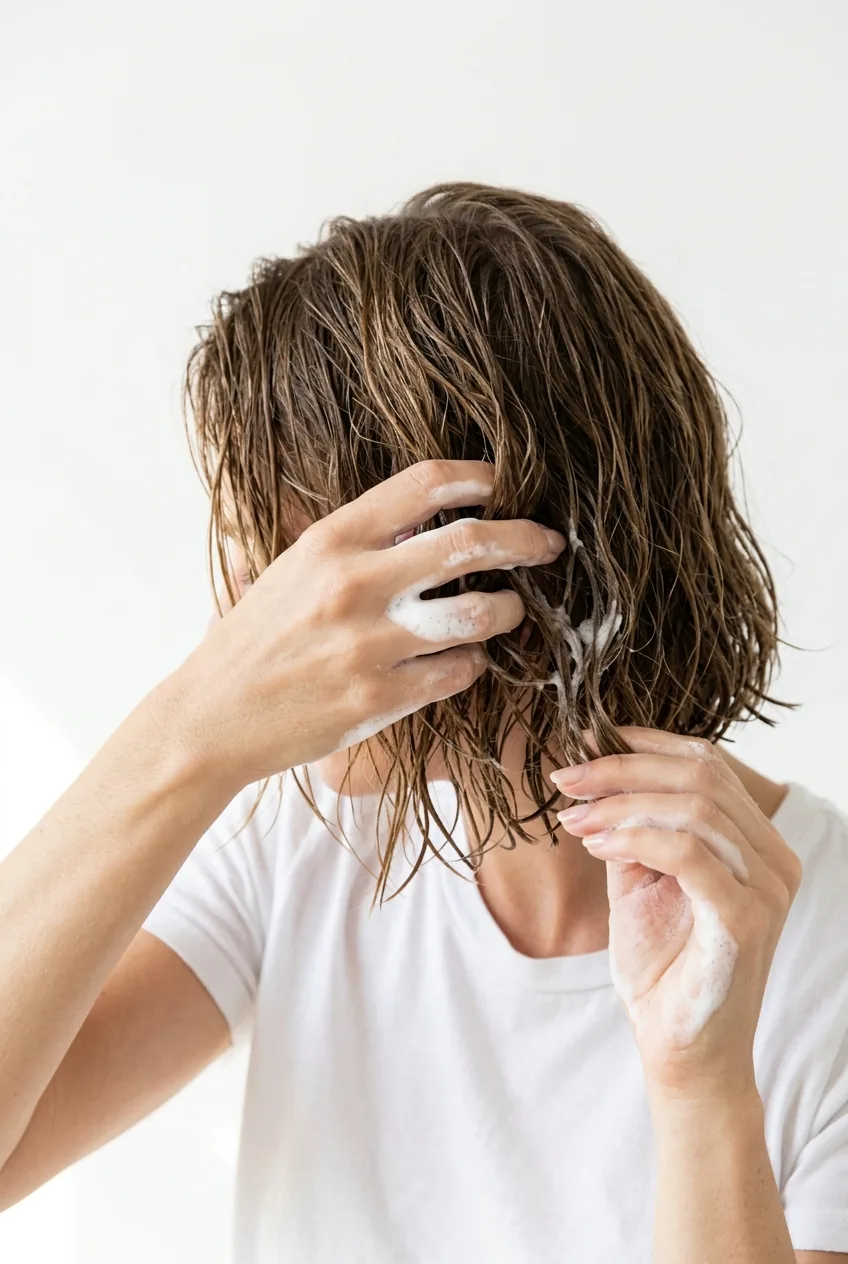
This isn’t rocket science, but timing matters. Your hair should be about 70% dry — not soaking wet, not completely dry. I usually towel-dry for about 5 minutes after washing, then let it air dry for another 10.
Gently detangle with your wide-tooth comb, starting from the ends and working up. French bobs are all about that effortless texture, so we don’t want to create any unnecessary breakage or frizz right from the start.
Step 2: Apply Your Texture Base
This is where the magic starts. Spray your heat protectant evenly through your hair, focusing on the mid-lengths and ends. Then comes your texture product — and this is crucial.
If you have fine hair like mine, use a lightweight mousse. Thick hair? Go for sea salt spray. The goal is to give your hair some grip and hold without weighing it down. I scrunch the product in gently, never combing it through — that keeps the natural texture intact.
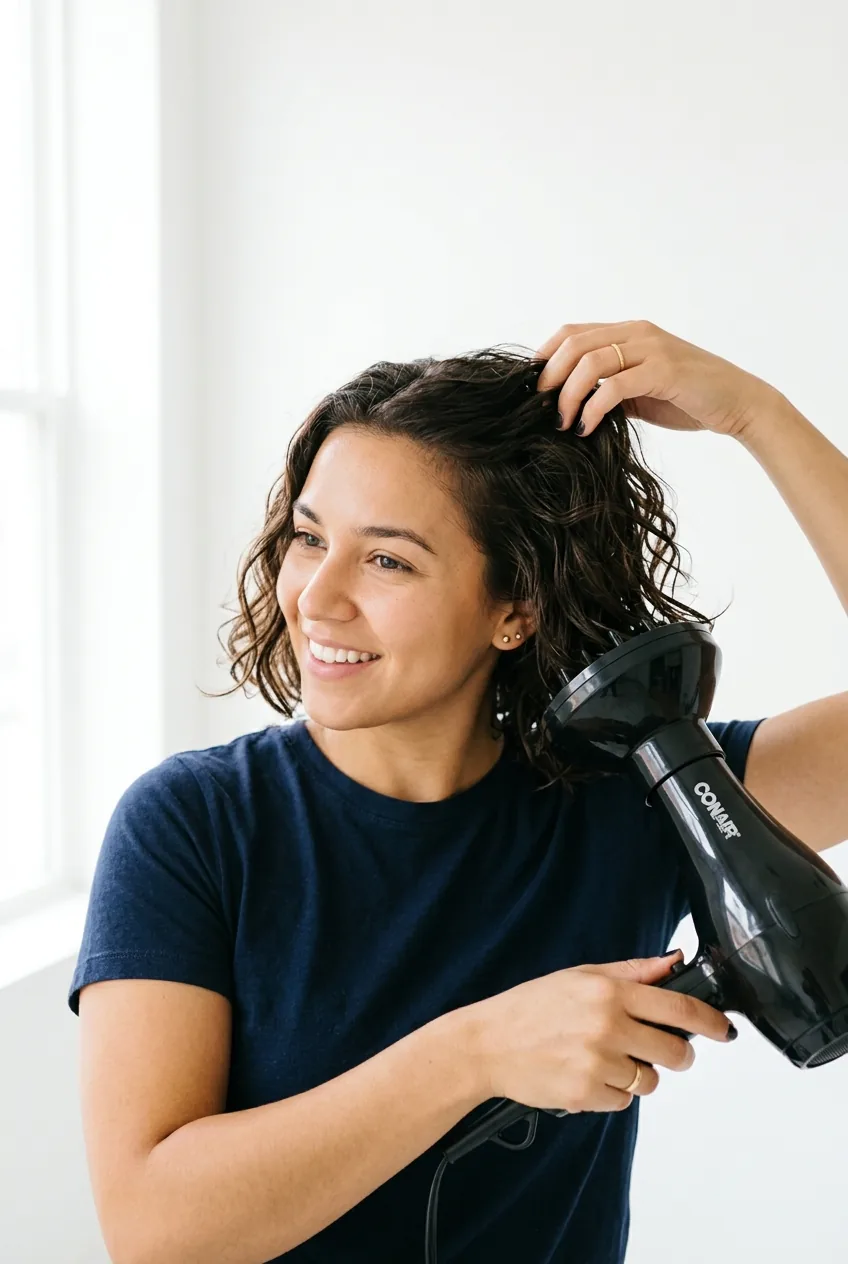
Step 3: Rough Dry for Volume
Here’s where most people go wrong. They try to make their hair perfectly smooth. But French bobs are supposed to have that lived-in, slightly messy quality.
Using your diffuser on medium heat, scrunch your hair upward while drying. Don’t aim for perfection — you want some natural wave and volume. I flip my head upside down for the first few minutes to get lift at the roots.
The key is to stop when your hair is about 90% dry. Leave that last bit of moisture — it helps the curling iron grab better in the next step.
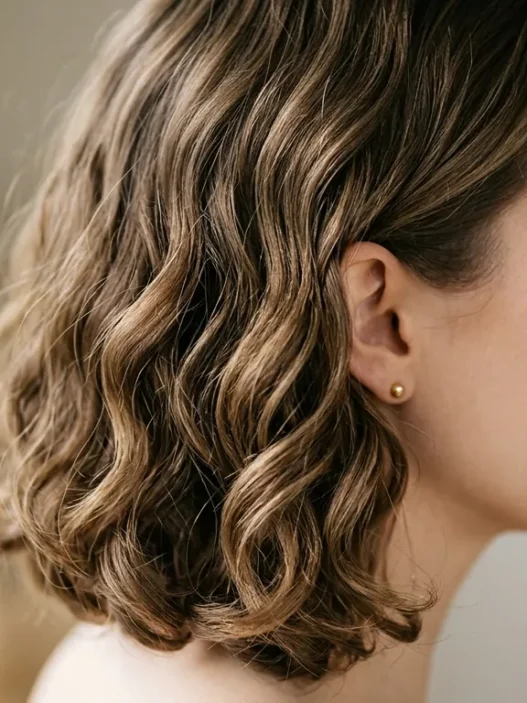
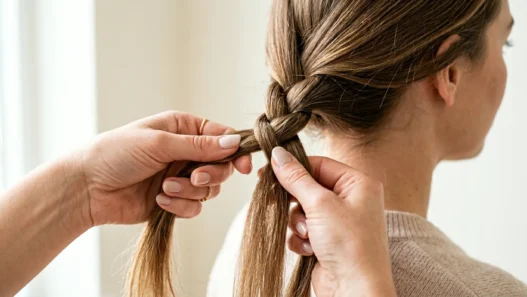
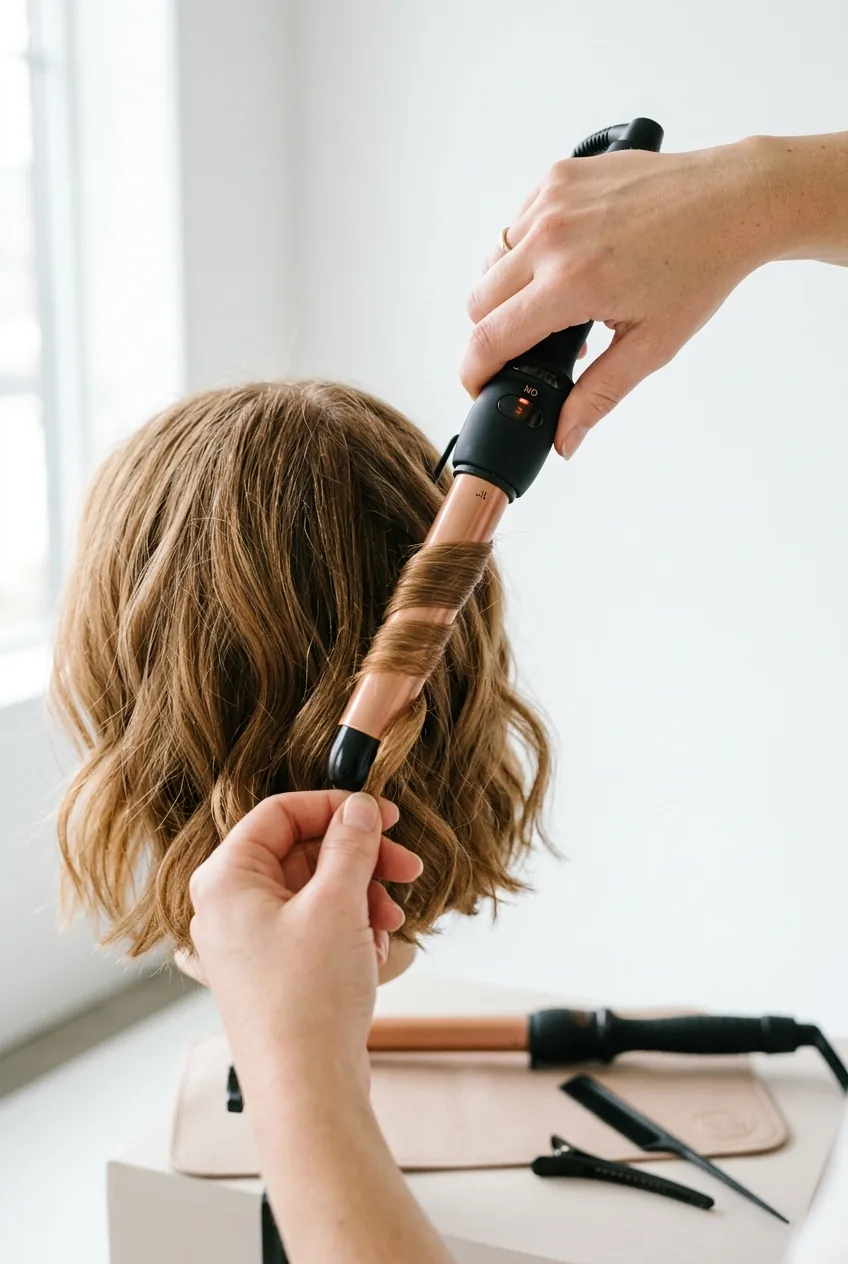
Step 4: Create Natural Bend
This is the step that changed everything for me. Instead of curling every piece in the same direction like I used to, I alternate the curl direction and vary the tension.
Take 1-inch sections and wrap them around your curling iron — but here’s the trick. Curl some pieces away from your face, some toward your face. Hold some for 8 seconds, others for just 4. This creates that natural, undone look that screams Parisian cool.
I used to curl every section for exactly 10 seconds in the same direction. The result? Ringlets that looked way too perfect and definitely not French. Now I embrace the randomness, and my hair actually looks effortless.
Watch the Curling Technique in Action
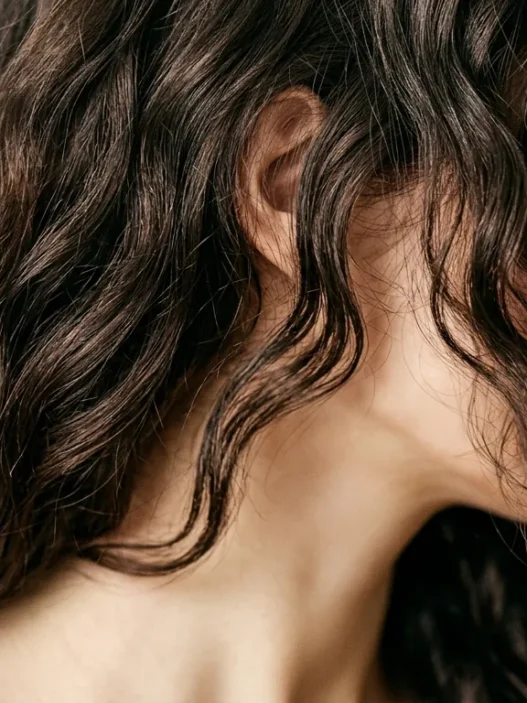
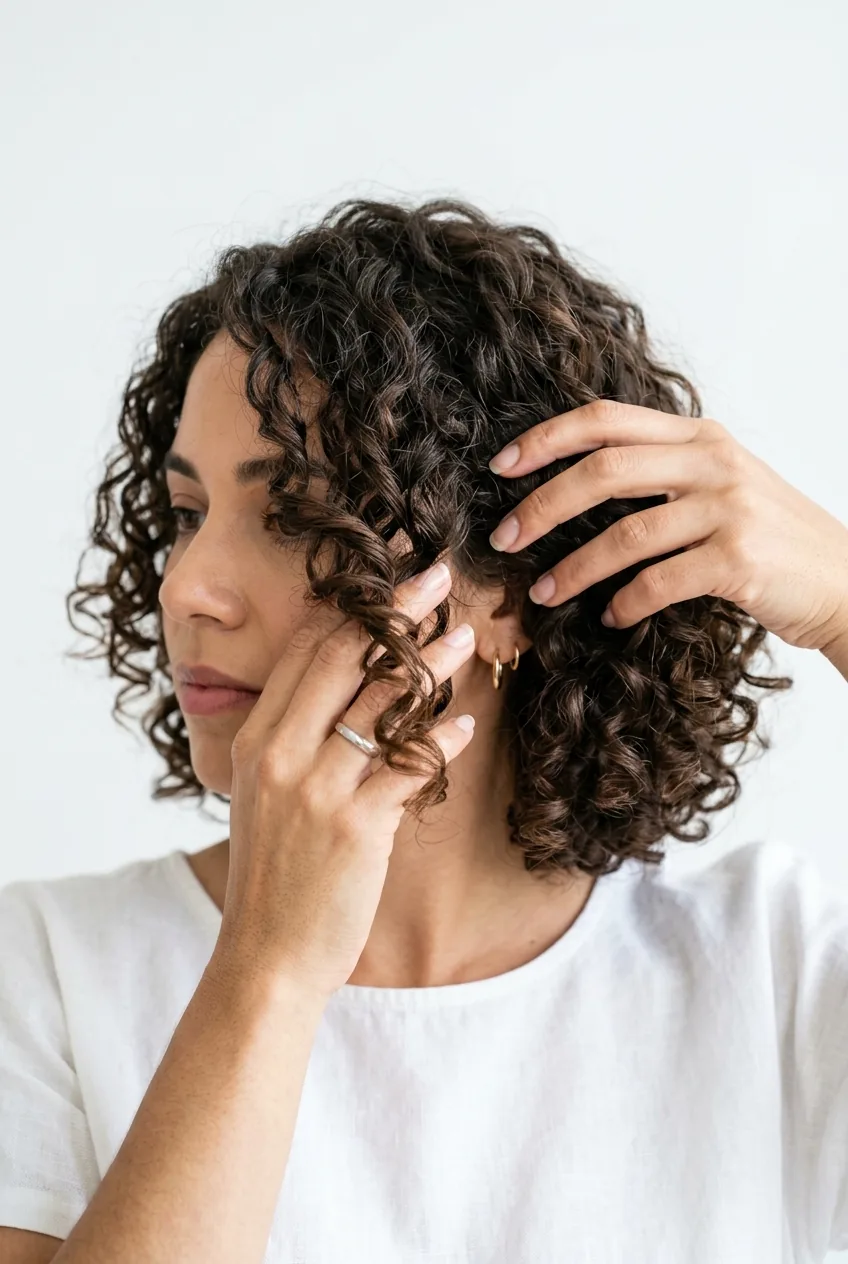
Step 5: Add Movement
Once all your sections are curled, resist the urge to run your fingers through immediately. Let the curls cool for about 2 minutes — this helps them hold their shape longer.
Then, and only then, gently shake out the curls with your fingers. Don’t brush them — just scrunch and separate to break up any sections that look too uniform. The goal is movement, not waves.
If you have chic bob hairstyles that tend to fall flat, this is where you can add some extra lift at the crown by gently teasing with your fingers.
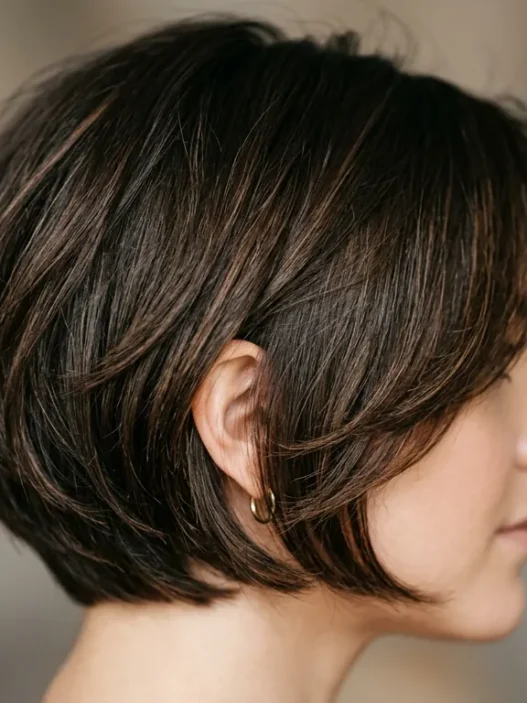
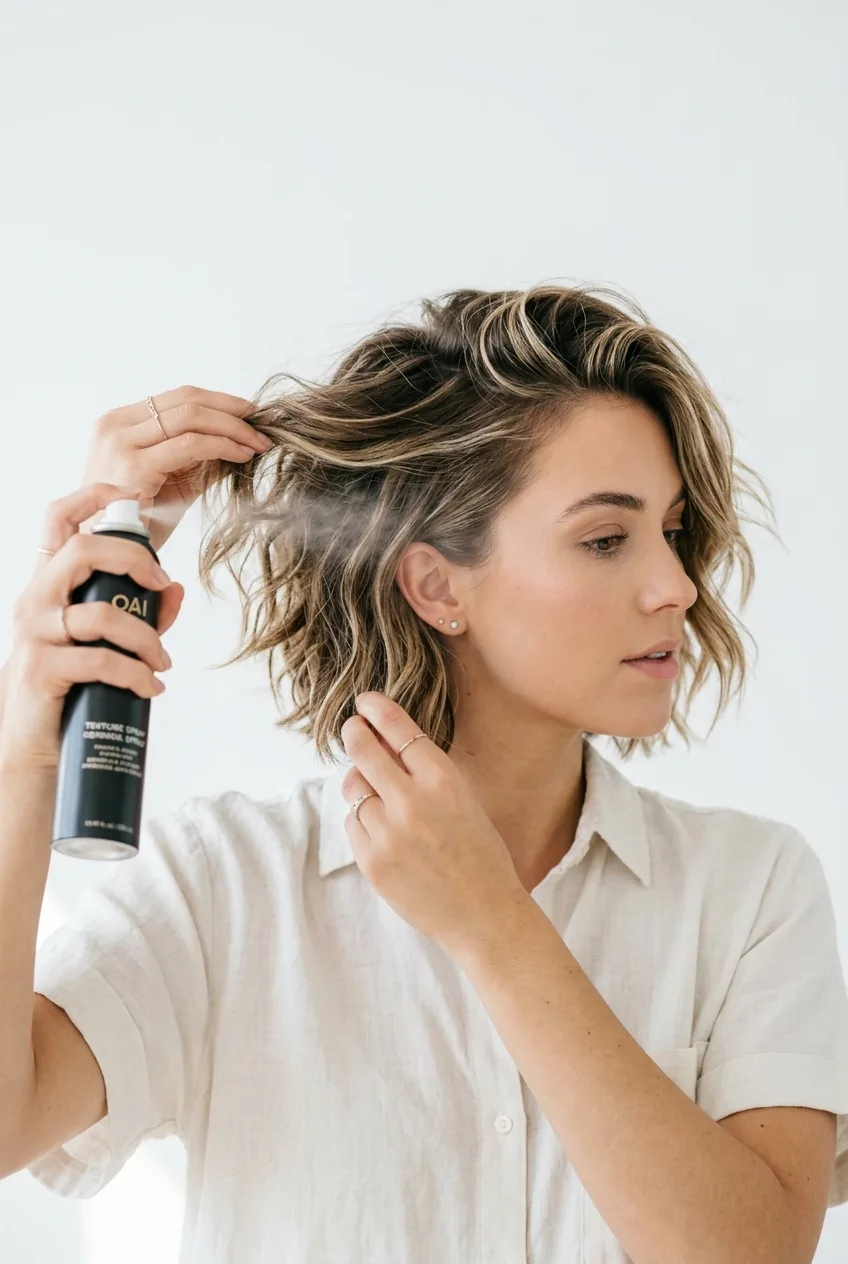
Step 6: Finish with Texture

The final touch is what separates a good French bob from a great one. Take a tiny amount of lightweight hair oil — seriously, just a drop — and run it through the very ends of your hair.
Then mist with texturizing spray, focusing on the mid-lengths. Professional styling products make a difference here, but drugstore options work fine too. The spray adds that piece-y, slightly tousled finish that makes the whole look come together.
Finally, give your hair one last scrunch with your hands and you’re done. The whole process takes about 15 minutes once you get the hang of it.
Quick Answers
How long does this French bob styling last?
On my hair, it lasts about 2-3 days with minimal touch-ups. I just mist with water and scrunch on day two, maybe add a bit more texturizing spray on day three. The beauty of this style is that it actually looks better when it’s slightly slept-on.
Can I do this on freshly washed hair?
Absolutely, but day-old hair actually works better. The natural oils give you more grip and texture. If you must start with clean hair, skip conditioner on your ends or use a lightweight leave-in instead.
What if my hair is naturally straight and fine?
This technique actually works amazingly on fine, straight hair — that’s my hair type exactly. The key is using less product and working in smaller sections. Your curls might not last as long, but the overall texture and movement will still give you that French girl vibe.
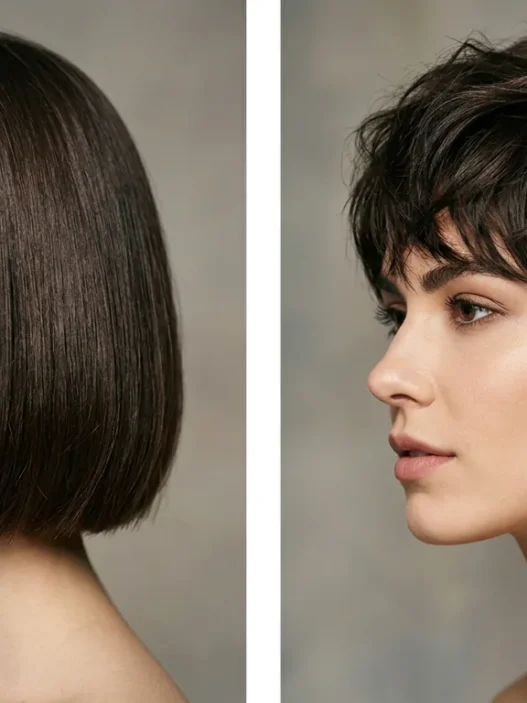
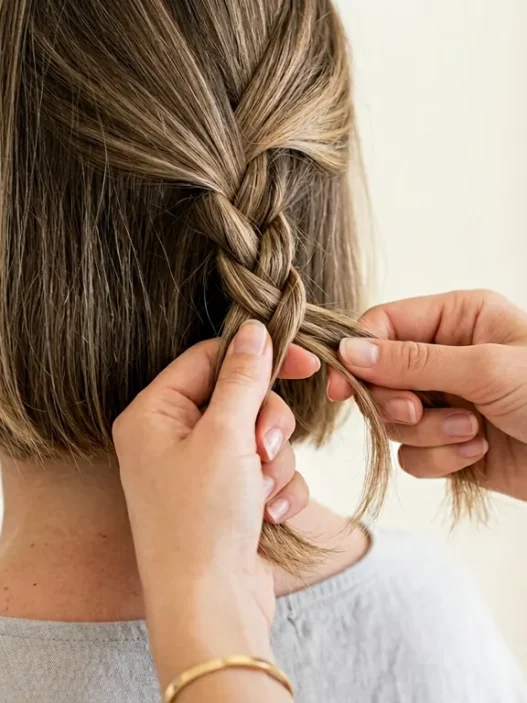
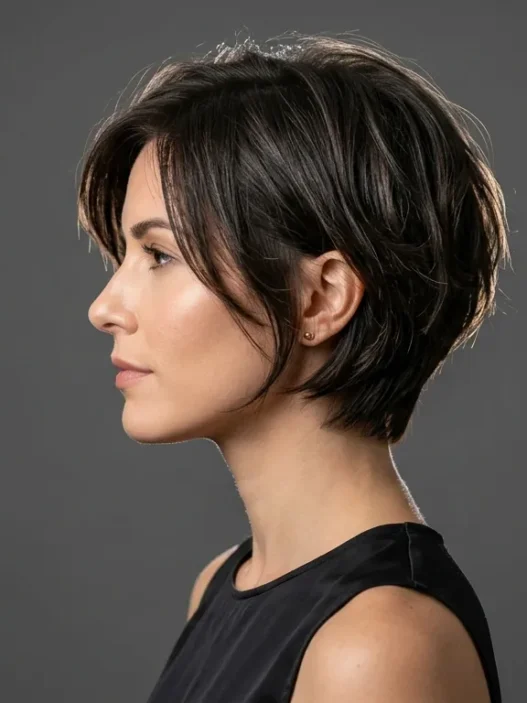
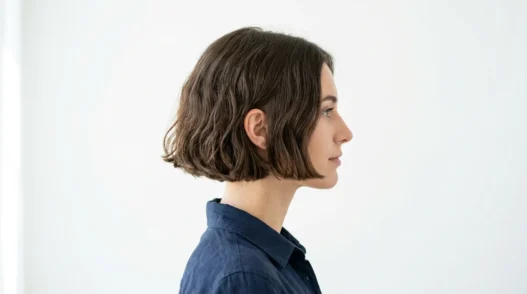
Do I need to cut my hair a specific way first?
Any bob length works, but the styling looks best on bobs that hit between your jawline and collarbone. French layering techniques can help add more texture if your cut is too blunt, but it’s not strictly necessary.
I’ve been using this method for about six months now, and honestly, it’s revolutionized my morning routine. My hair used to look flat and boring by noon, but now I get compliments on that “effortless” look all day long. The best part? It only gets better with practice.