


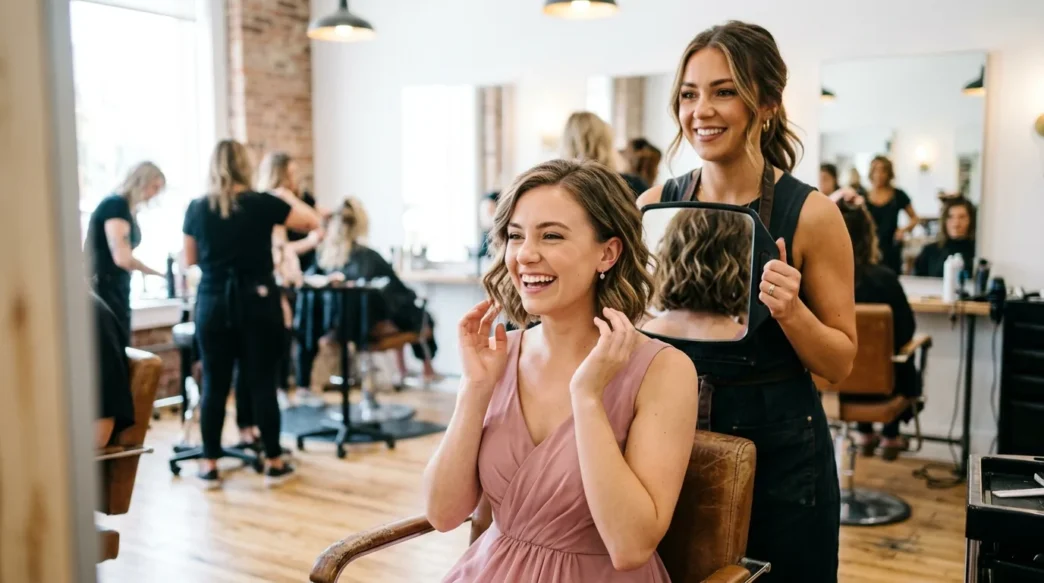
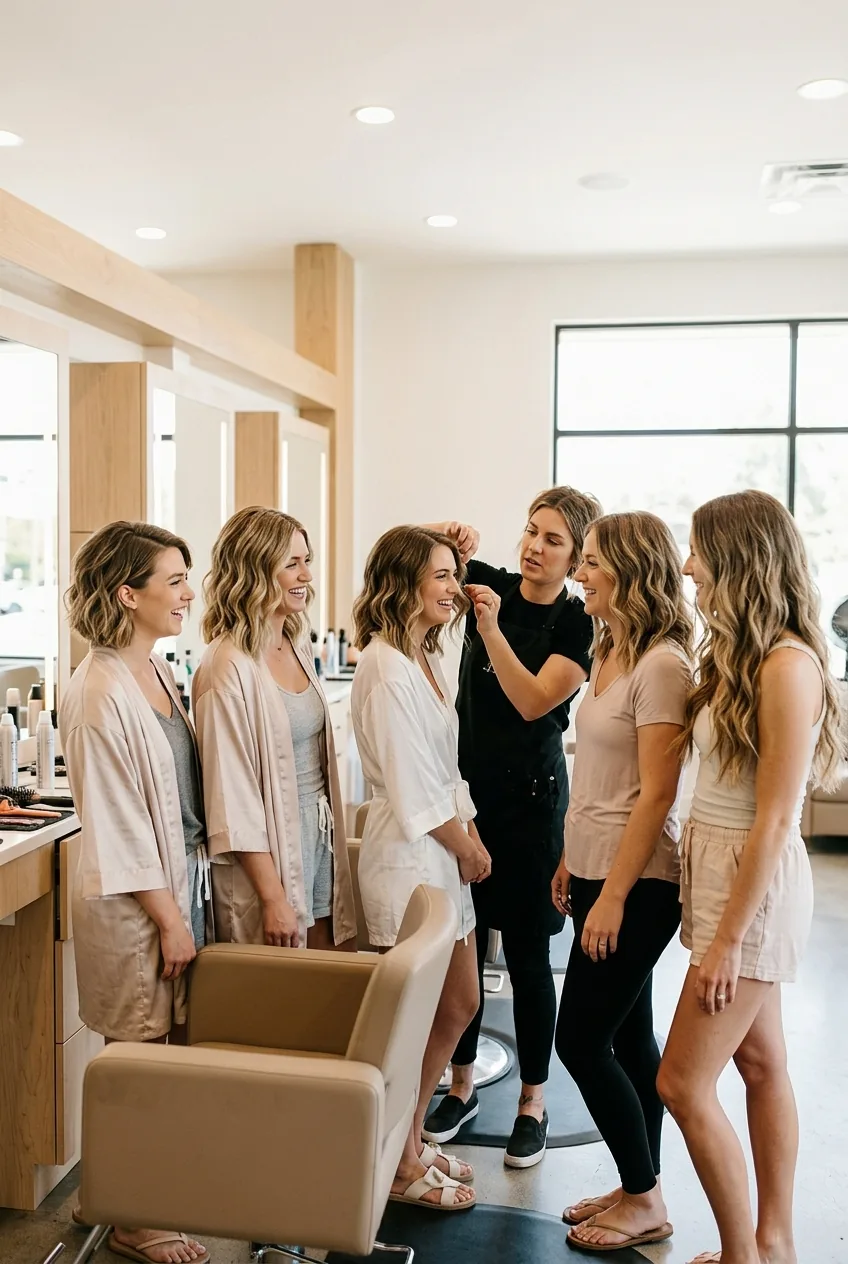
Last summer, I was tasked with helping my sister choose haircuts for her six bridesmaids. What started as a simple “let’s all get cute bobs” quickly turned into a nightmare when I realized how different everyone’s face shapes and hair types were. After three salon consultations and way too much Pinterest scrolling, I developed a foolproof method that actually works.
What You’ll Need Before Starting
Grab these essentials before diving in — trust me, having everything ready makes this so much smoother:
- Photos of each bridesmaid from multiple angles (front, side profile, hair up)
- Hair texture samples or recent photos of their natural hair
- Wedding timeline and styling budget
- Screenshots of hairstyles you’re considering
- A good relationship with a stylist who gets it
Step 1: Understanding Face Shapes First

Here’s what I learned the hard way — you can’t just pick one cute cut and expect it to work on everyone. I spent an entire afternoon studying each bridesmaid’s bone structure, and honestly? It was a game-changer.
Round faces need length and angles. I steered my sister’s friend Emma away from that chin-length bob she wanted and toward a longer, layered cut instead. The difference was incredible — suddenly her cheekbones popped.
Square faces benefit from softness. Sharp, blunt cuts can emphasize strong jawlines in ways that photograph harshly. I learned this when professional stylists recommend adding subtle layers around the face to create movement.
Oval faces are the lucky ones — almost anything works. But that doesn’t mean you should default to boring. This is your chance to try something bold since the proportions will naturally balance.
Step 2: Hair Type Reality Check
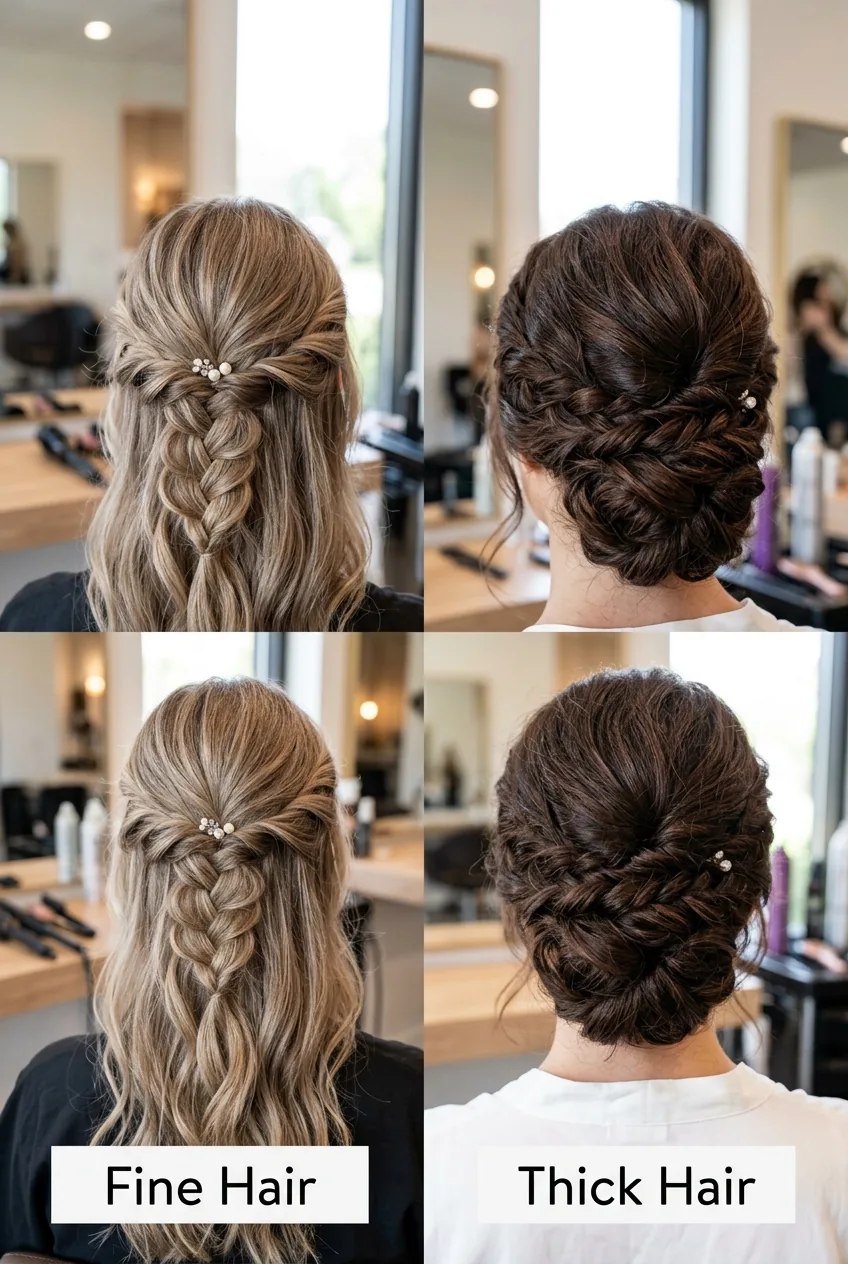
I made this mistake with bridesmaid number three — assuming her fine hair would behave like my thick, coarse texture. Spoiler alert: it didn’t.
Fine hair looks amazing in blunt cuts that create the illusion of thickness. But it also falls flat quickly, so anything requiring major volume is setting everyone up for stress on the wedding day.
My biggest bridesmaid haircut mistake? Choosing styles based on how they looked in photos instead of considering how each person’s hair actually moves and holds shape. Three hours before the ceremony, two bridesmaids were in tears because their cuts weren’t cooperating.
Thick, coarse hair can handle dramatic changes but takes longer to style. If you’re working with tight wedding day timelines, factor this in. Sometimes a trim and reshape works better than a complete transformation.
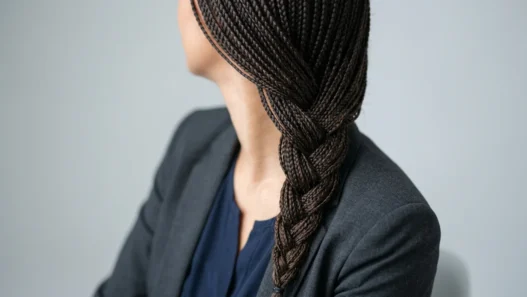
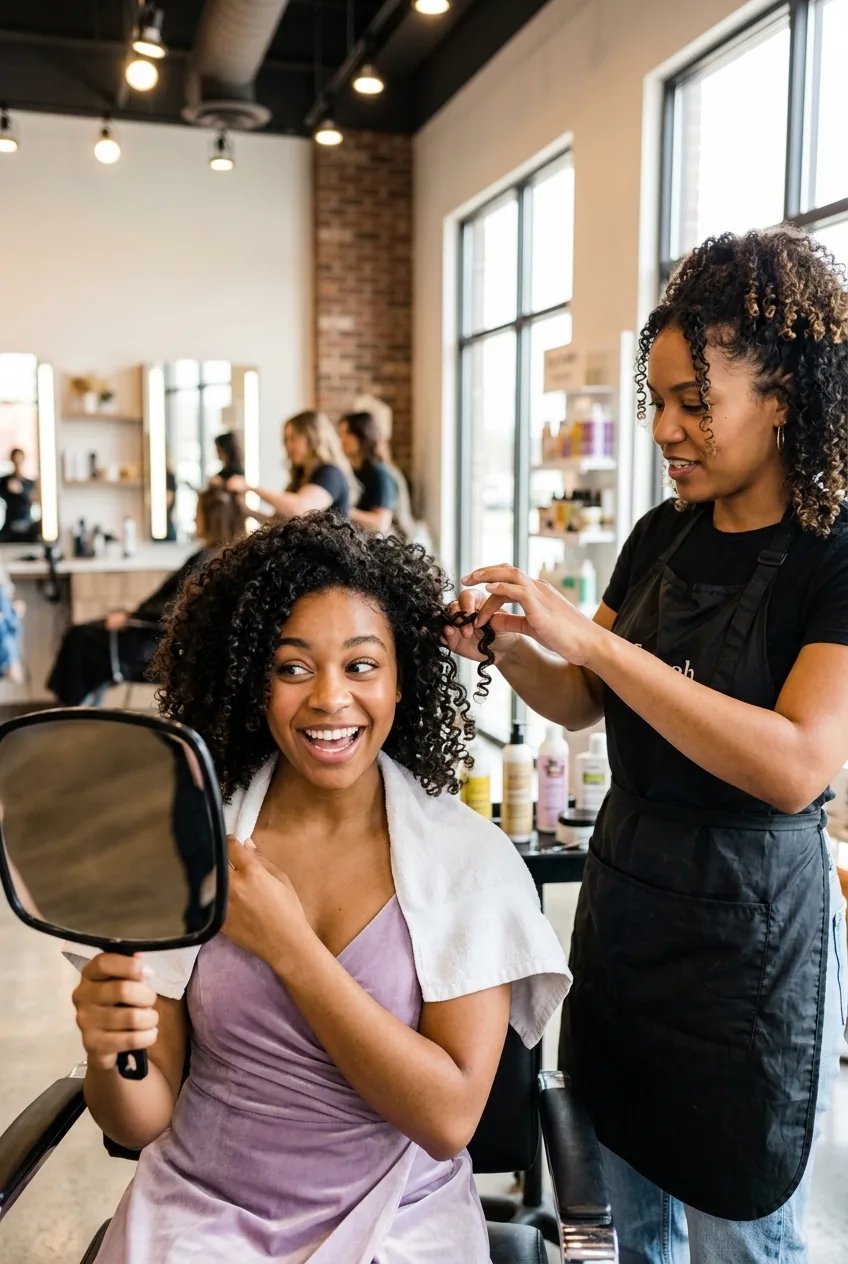
Curly hair has its own rules entirely. Don’t fight the natural texture — work with it. Some of the most stunning bridesmaid looks I’ve seen embraced natural curl patterns instead of forcing straight styles.
Step 3: Length Guidelines That Work
Length is where I see brides get most stressed. Everyone wants cohesion, but identical lengths rarely work on different people.
Instead, think about proportional harmony. If your tallest bridesmaid looks great in a shoulder-length cut, your petite bridesmaid might need something slightly shorter to achieve the same visual balance.
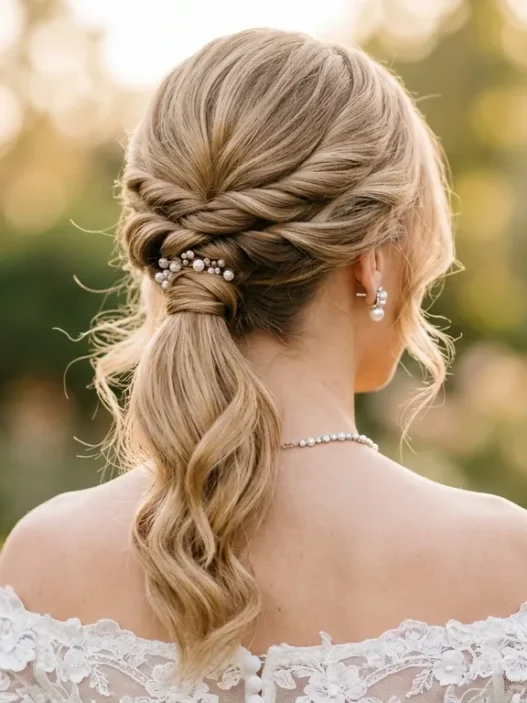
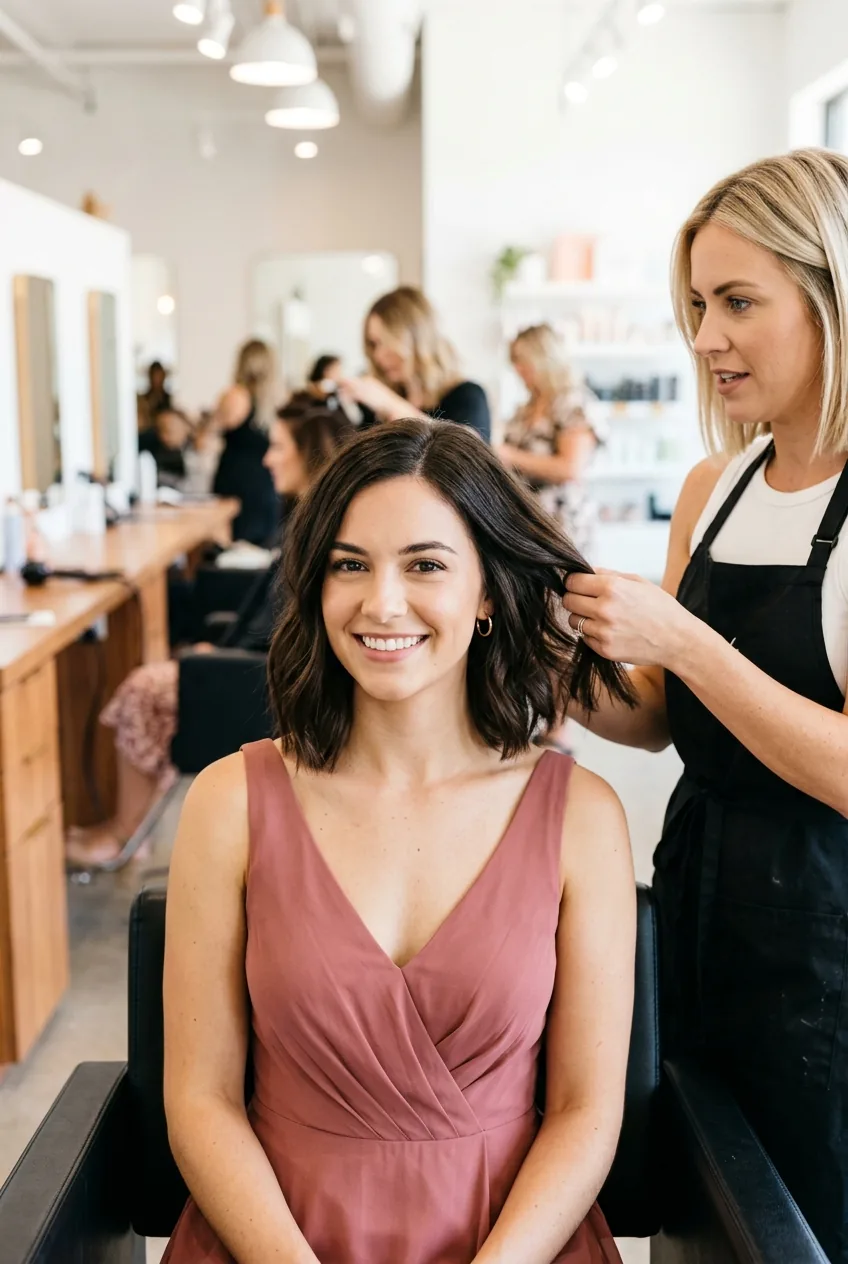
I love the “collar bone rule” — cuts that hit around the collar bone area are incredibly versatile for sleek ponytail styles and work beautifully for both casual and formal wedding looks.
Shorter cuts need more maintenance but photograph beautifully. If someone’s been wanting to go short, a wedding is actually perfect timing — they’ll be motivated to keep up with trims.
Step 4: Texture Considerations
This is where the magic happens. Texture can unify different lengths and face shapes in ways that identical cuts never could.
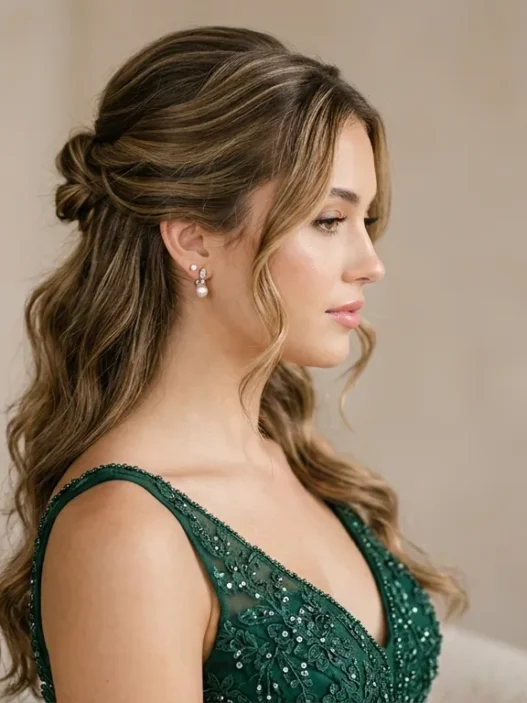
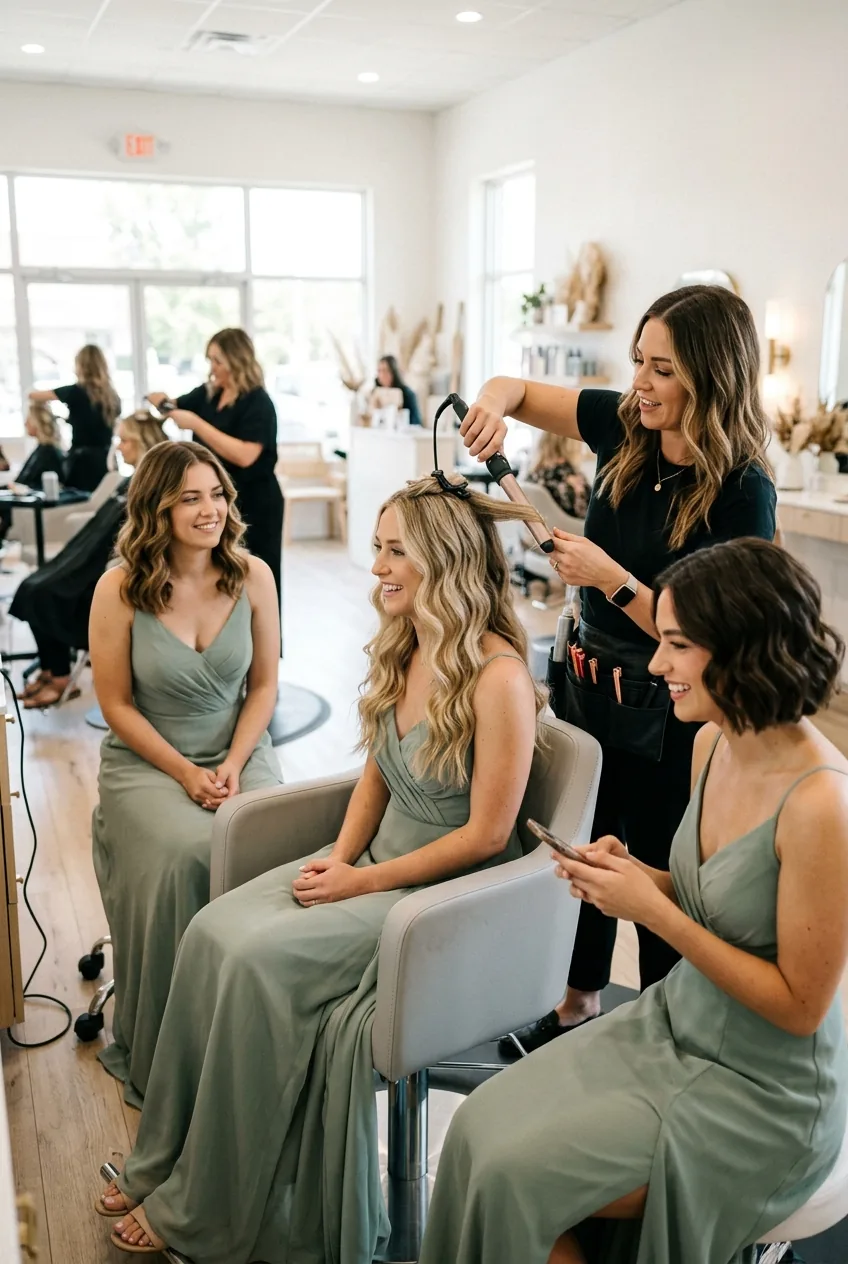
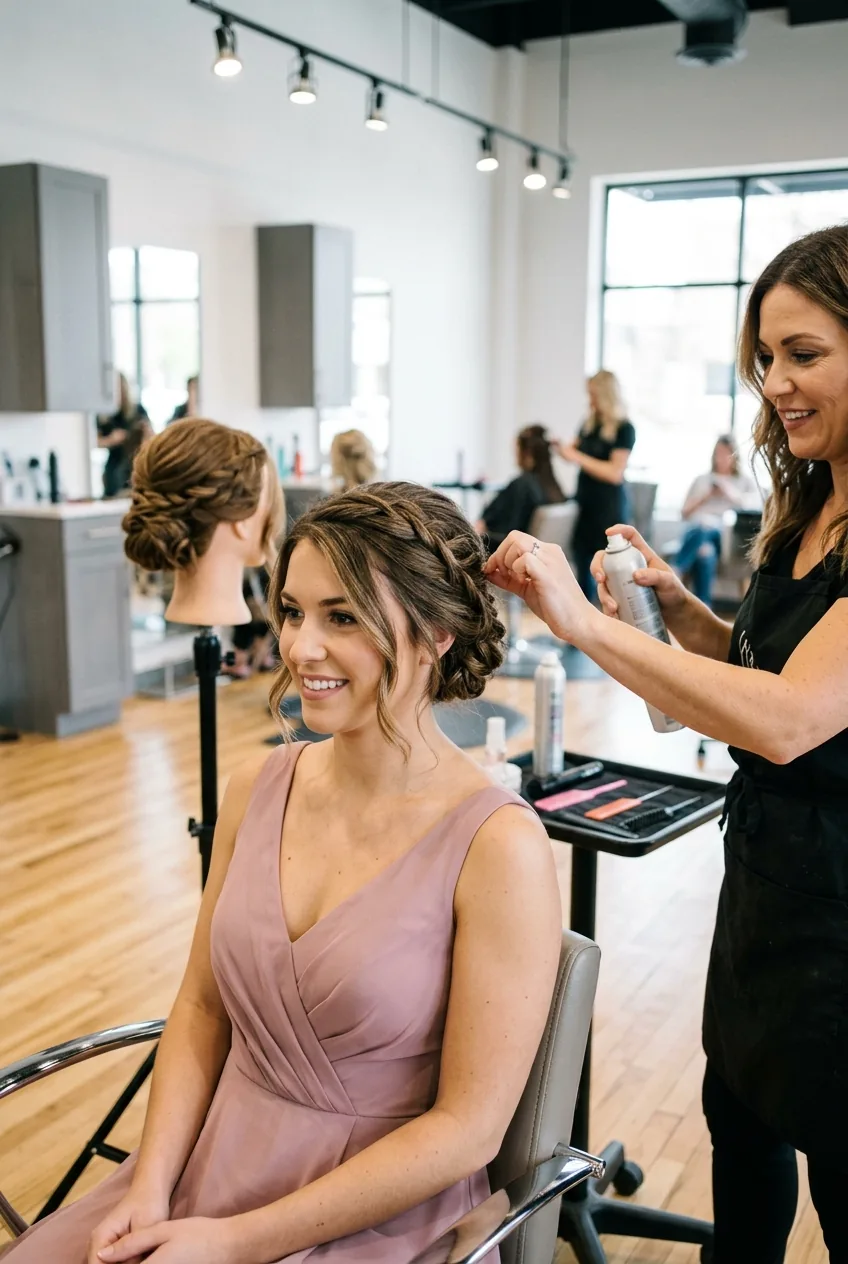
Soft waves are your best friend for group cohesion. They work on every length and can be styled differently on each person while still looking coordinated in photos.
Straight, sleek styles require hair that naturally cooperates or a lot of styling time. Beautiful? Absolutely. Practical for a group? Sometimes questionable.
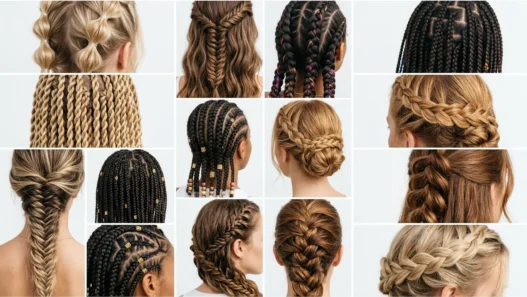
Textured, piece-y cuts are having a major moment right now. They’re forgiving, low-maintenance, and give everyone personality within the group look.
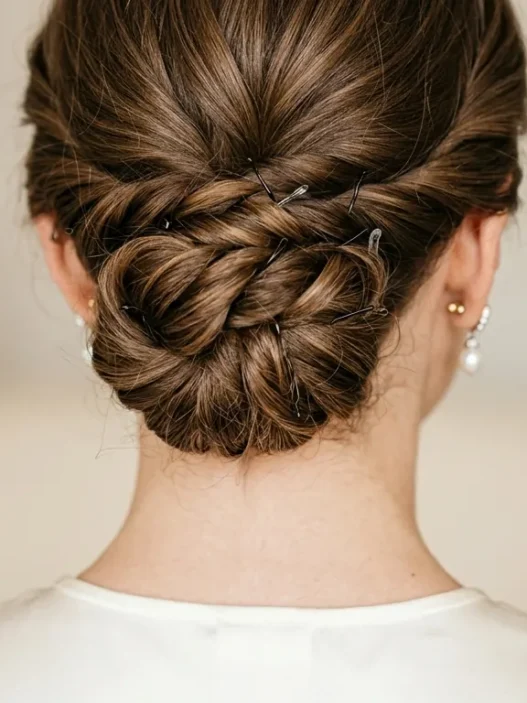
See the Texture Magic in Action
Step 5: Color Coordination Tips
Color can make or break your group photos. I learned this when one bridesmaid showed up with box-dye black hair that photographed completely differently than everyone else’s natural browns.
If someone wants a major color change, schedule it at least six weeks before the wedding. This gives time for adjustments and lets the color settle naturally.
Subtle highlights or lowlights can add dimension without dramatic changes. They also help hair cuts look more expensive and photographed — something about the light-catching variation just works.
Consider the wedding venue lighting. Outdoor ceremonies show color differently than indoor receptions. Color specialists suggest consulting with your photographer about how different tones will appear in their typical editing style.
Step 6: Final Styling Strategy
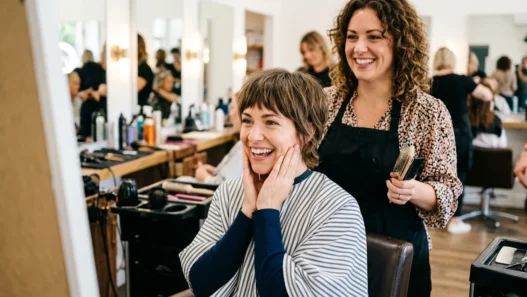
The actual wedding day styling matters just as much as the cut itself. I always recommend scheduling a practice run two weeks before the wedding.
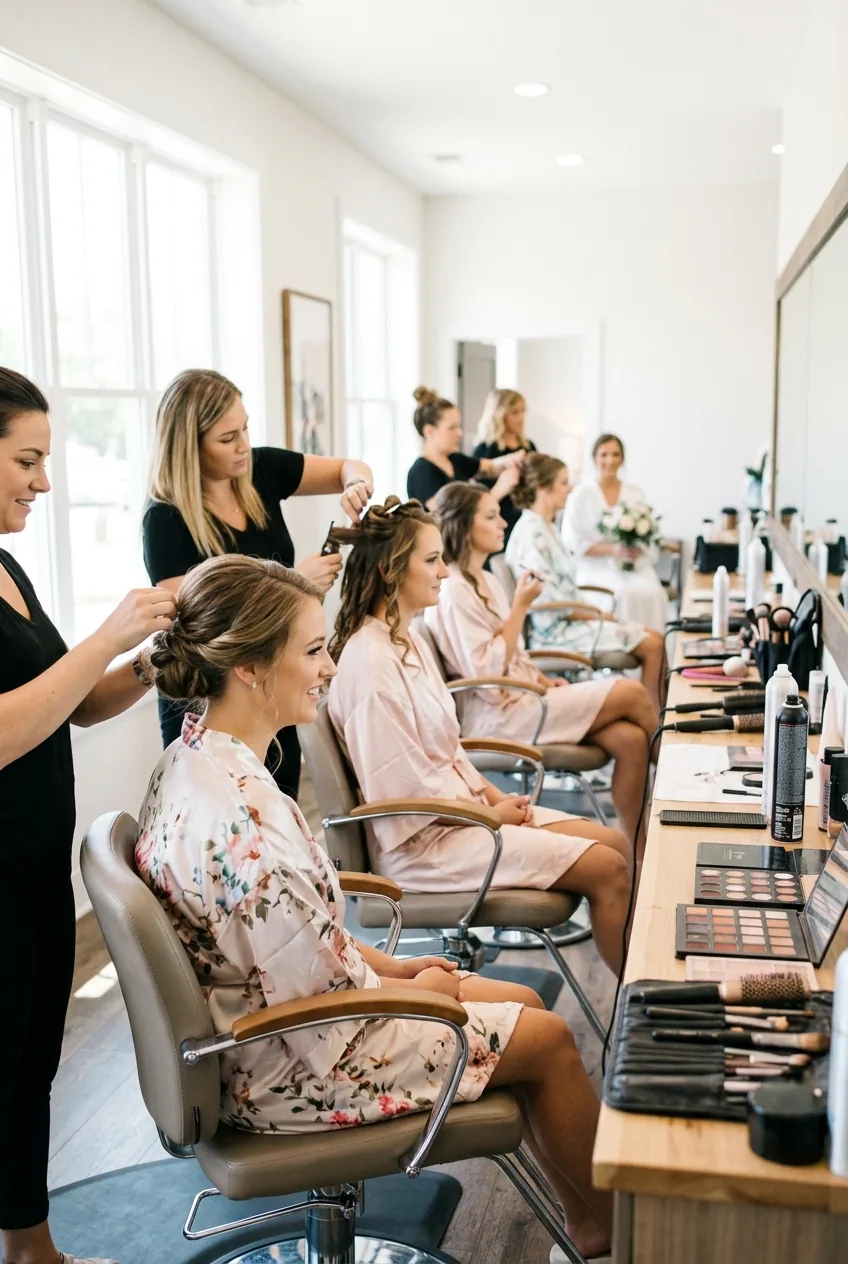
Create a realistic timeline. If you have six bridesmaids and two stylists, don’t expect everyone to be camera-ready in an hour. Math doesn’t lie, and stressed bridesmaids don’t photograph well.
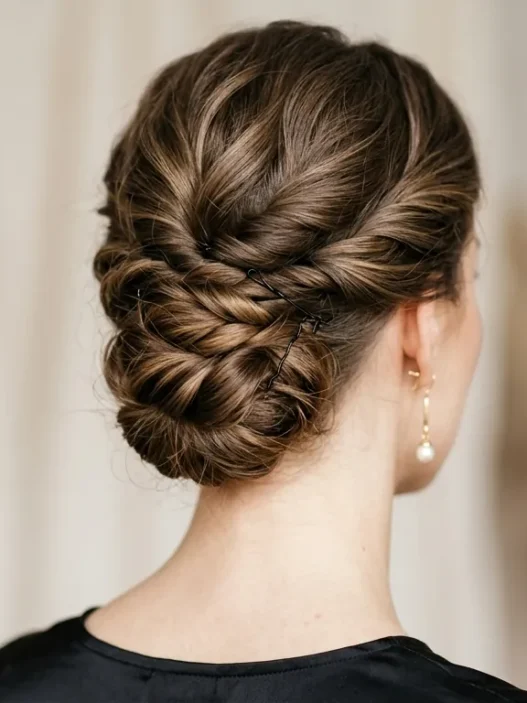
Have backup plans. Weather, humidity, and pre-wedding nerves can all affect how hair behaves. Simple updos or half-up styles can save the day when curls fall flat or straight hair gets frizzy.
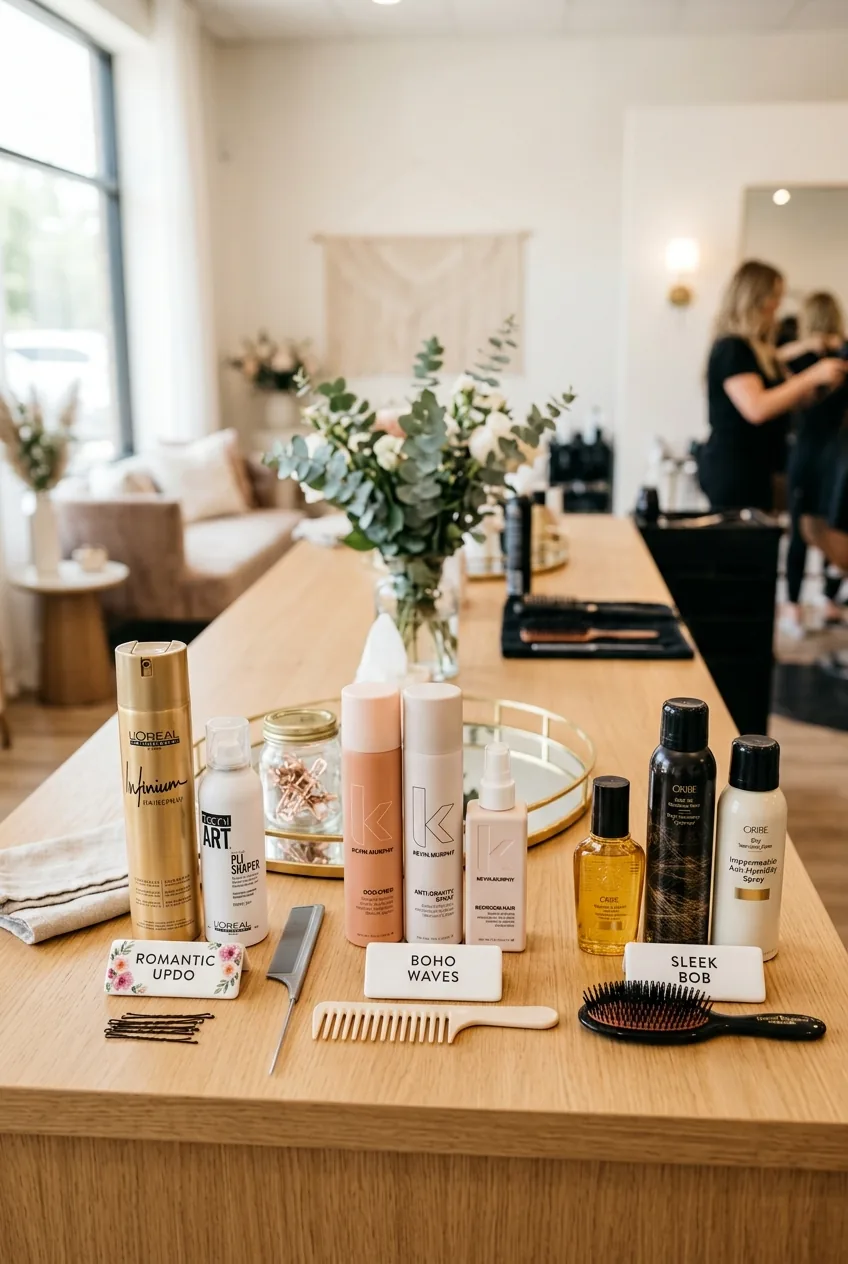
Stock up on the right products beforehand. Each hair type needs different support — texture spray for fine hair, smoothing serum for thick hair, curl cream for natural texture. Don’t wait until the morning of to figure this out.
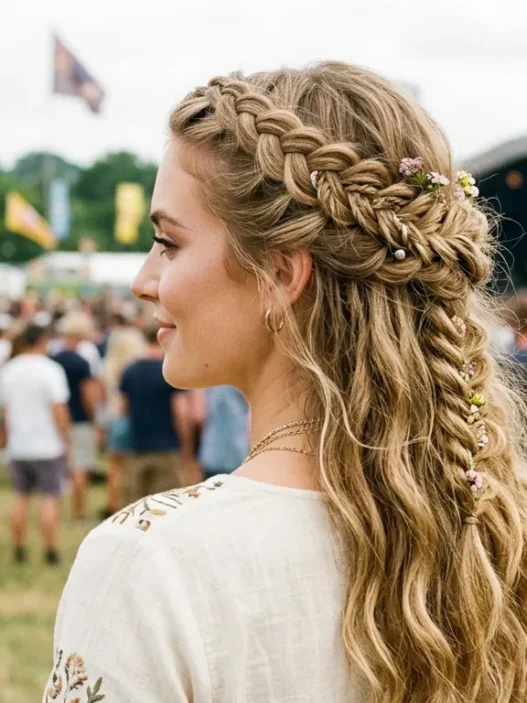
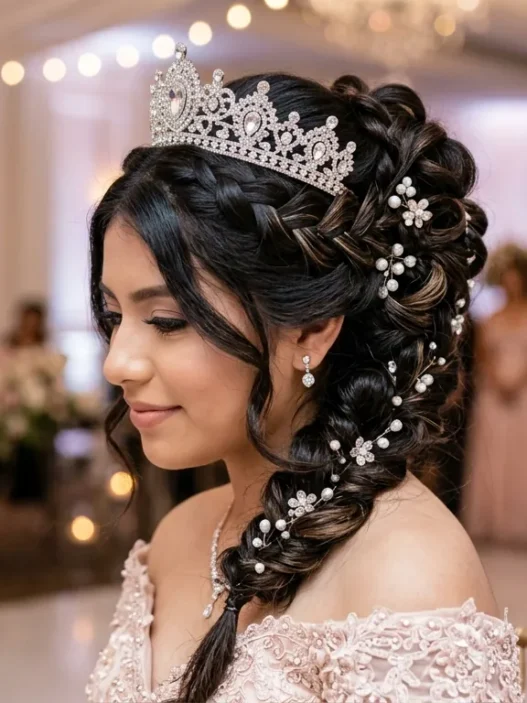
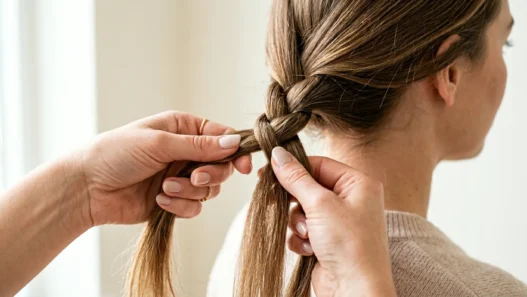
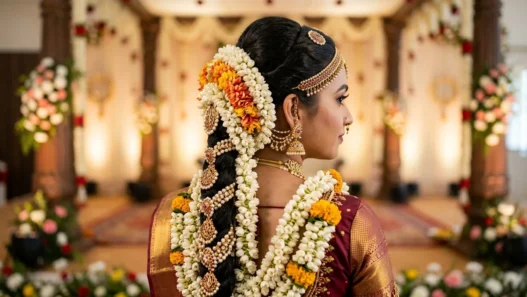
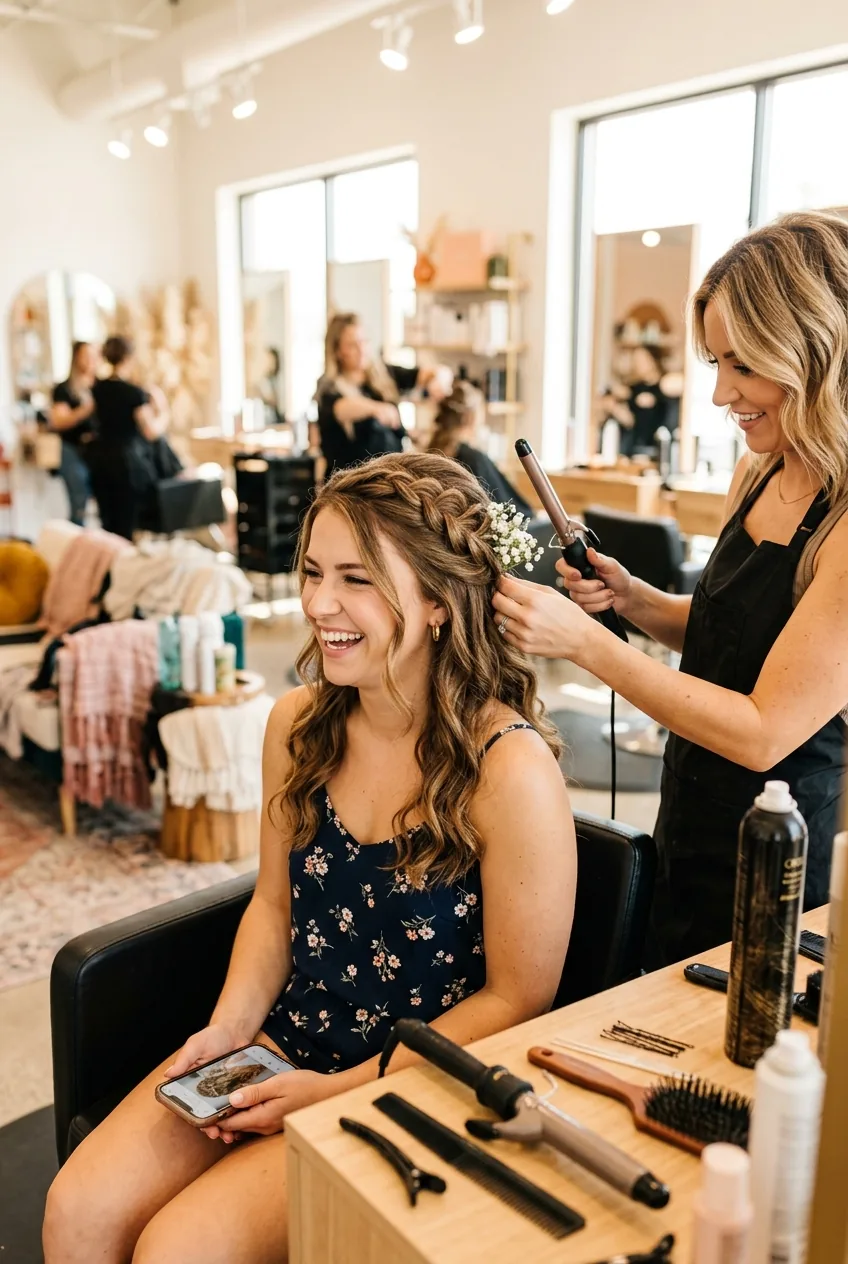
Consider incorporating floral-inspired braided styles for a romantic touch that photographs beautifully and works with most face shapes.
Questions I Always Get About Bridesmaid Haircuts
Should all bridesmaids have the same exact cut?
Not unless they all have identical face shapes and hair types — which never happens. Focus on complementary styles that photograph well together instead of forcing everyone into the same mold.
How far in advance should bridesmaids get their haircuts?
Two to three weeks before the wedding is perfect. This gives time for the cut to settle and grow out slightly, which always looks more natural. Plus, if someone hates it, there’s time for adjustments.
What if a bridesmaid refuses to cut her hair?
Work with what you’ve got! Long hair can be styled to complement shorter cuts through updos, braids, or half-up styles. The key is unified styling approach, not identical lengths.
How do you handle different hair colors in the group?
Embrace the variation but keep it intentional. If someone has dramatically different color, consider subtle adjustments to create harmony. Sometimes a glossing treatment can bridge the gap between different shades.
The result? My sister’s wedding photos looked absolutely stunning, and every bridesmaid felt confident in her individual cut. No tears, no emergency salon visits, and definitely no regrets. Sometimes the best bridesmaid haircut strategy is the one that celebrates each person’s unique beauty while creating a cohesive group look.