


I used to think updos were impossible with my long, heavy hair. Every ponytail would droop within an hour, and fancy buns looked gorgeous in the mirror but turned into a hot mess by dinner time. After way too many failed attempts at important events, I finally figured out what I was doing wrong — and developed these five foolproof ponytail updos that actually work on long hair.
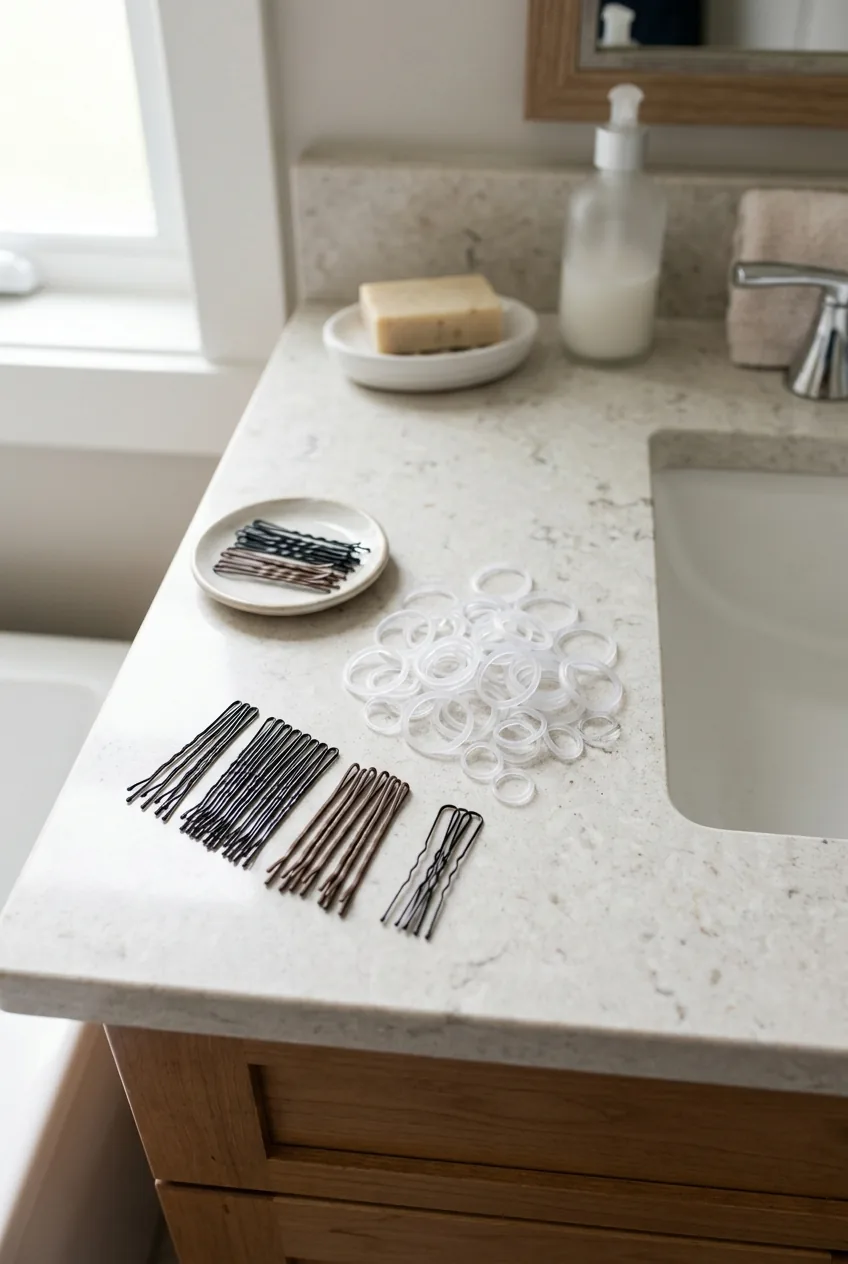
What You’ll Need

Before we dive in, let’s talk supplies. I’ve learned the hard way that using the wrong tools is like building a house on sand — everything looks great until it doesn’t.
- Clear elastic hair ties (at least 3-4 — trust me on this)
- Bobby pins in your hair color (I go through about 10-15 per updo)
- A fine-tooth comb for teasing
- Hair clips for sectioning
- Strong-hold hairspray
- Texturizing spray for grip
- A hair donut or sock bun maker (optional but game-changing)
The texturizing spray is non-negotiable if your hair is slippery or freshly washed. Clean hair looks pretty but doesn’t hold styles worth a damn.
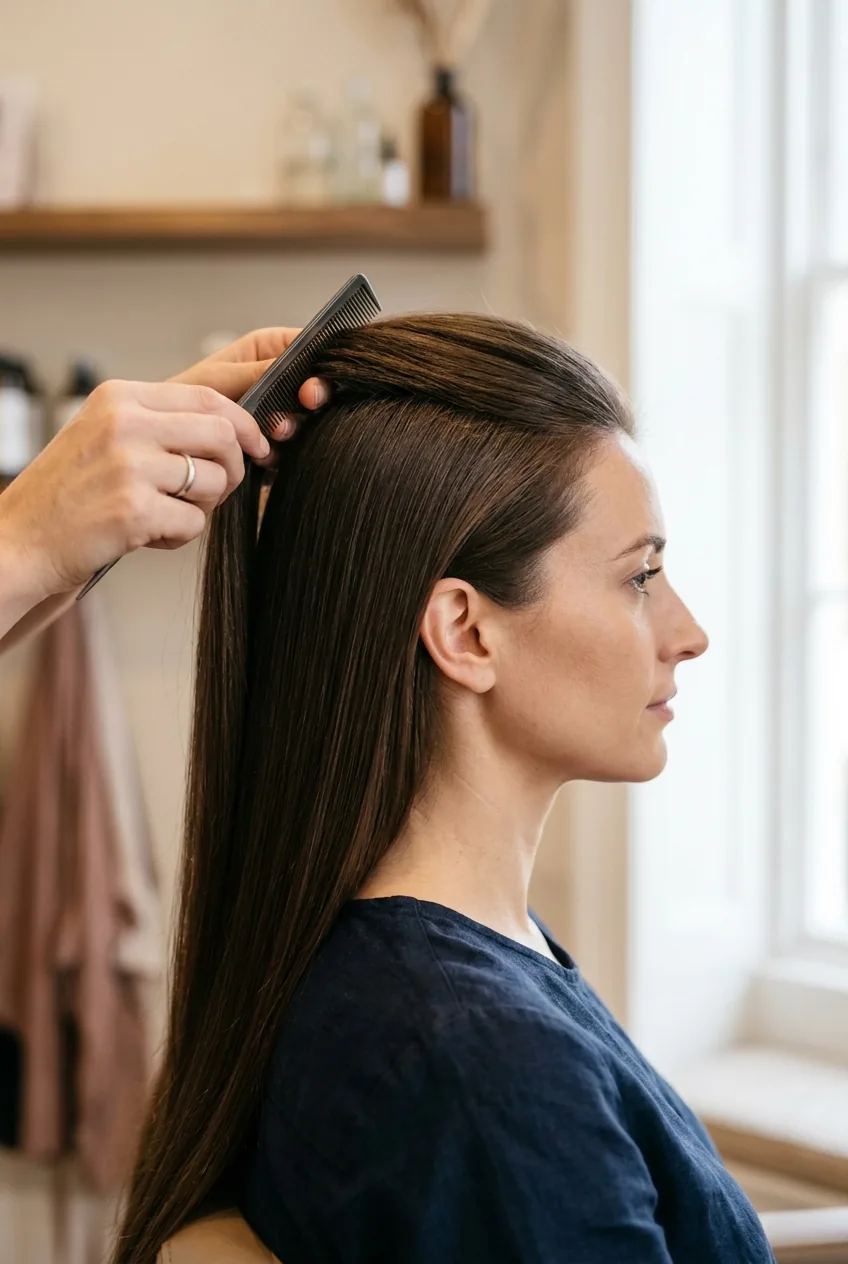
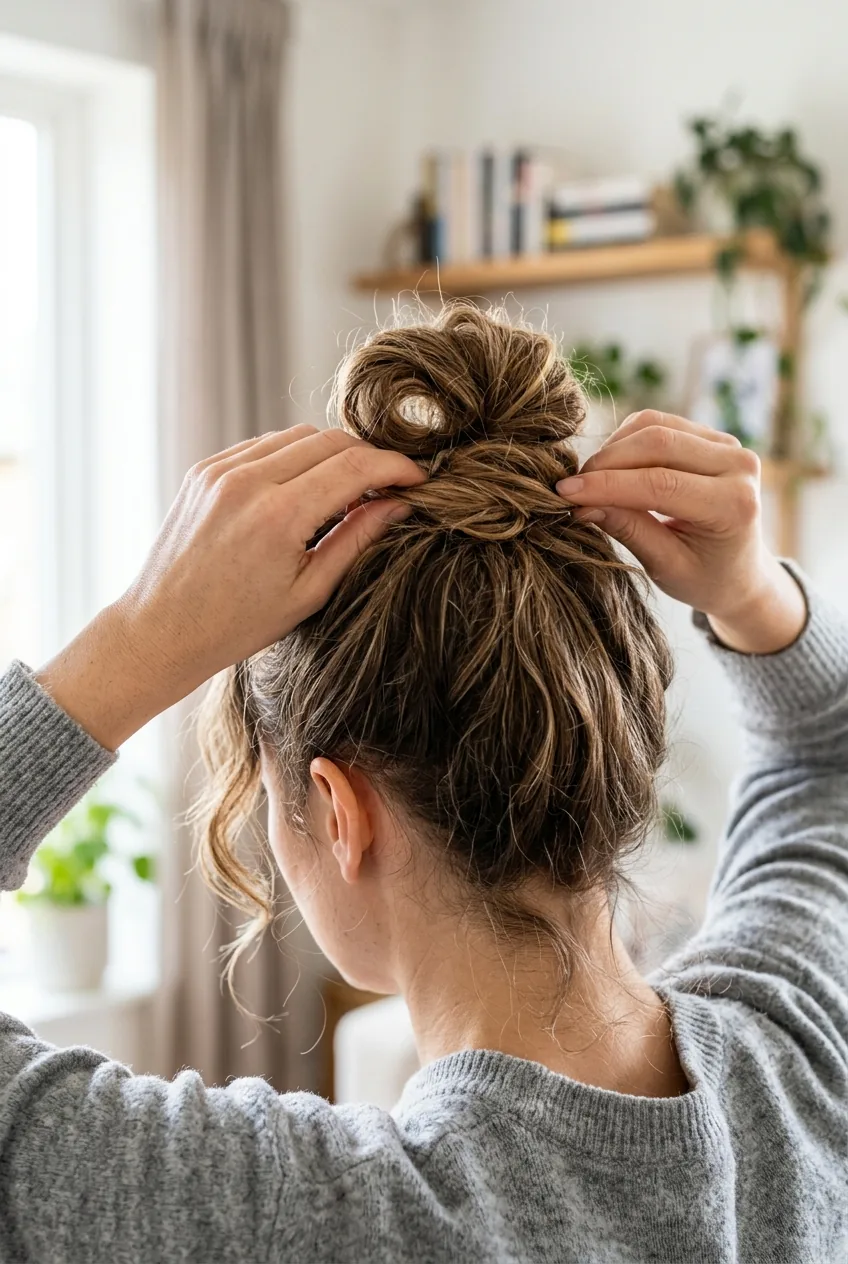
Step 1: Quick Hair Prep That Makes Everything Easier
I used to skip this step and wonder why my updos fell apart. Now I know better.
Start with day-old hair if possible. If your hair is freshly washed, work a small amount of texturizing spray through damp hair and rough-dry it with your fingers. You want some texture and grip, not that silky-smooth feeling that looks gorgeous but won’t hold a style.
Brush your hair completely smooth, then lightly backcomb the crown area. Just a few gentle strokes — we’re creating foundation, not a beehive. This tiny bit of texture at the roots will anchor everything that comes next.
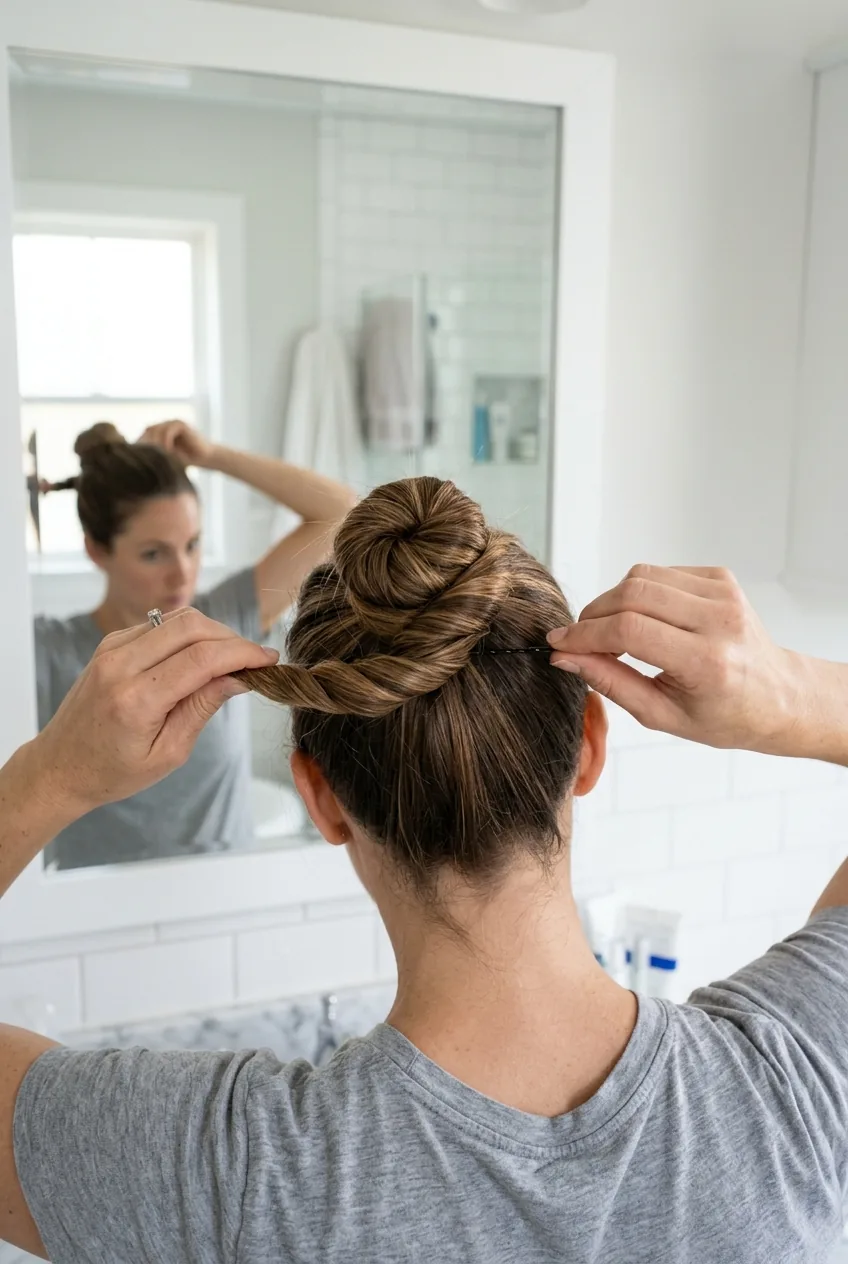
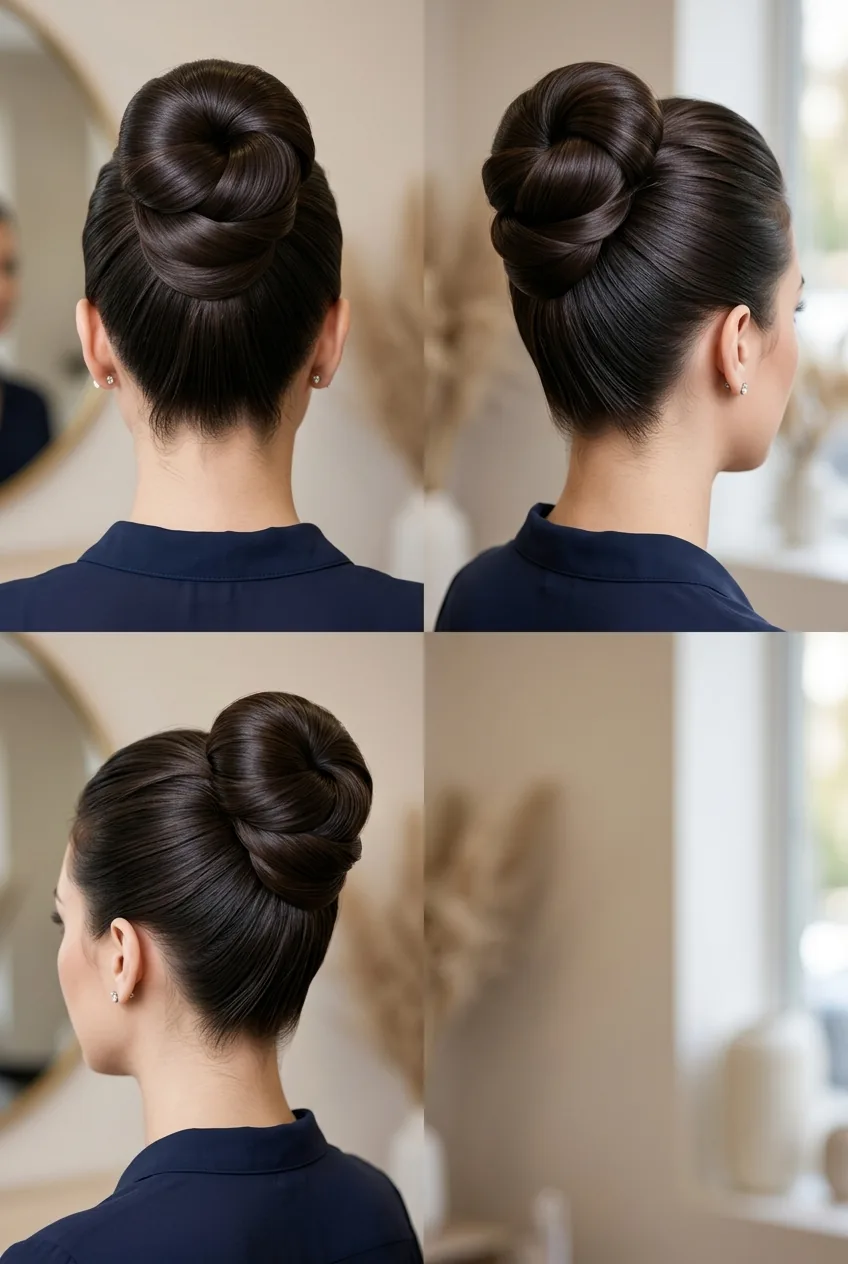
Step 2: The Classic High Twist That Never Fails
This is my go-to for when I need to look put-together in under five minutes. The twist adds visual interest without requiring actual braiding skills.
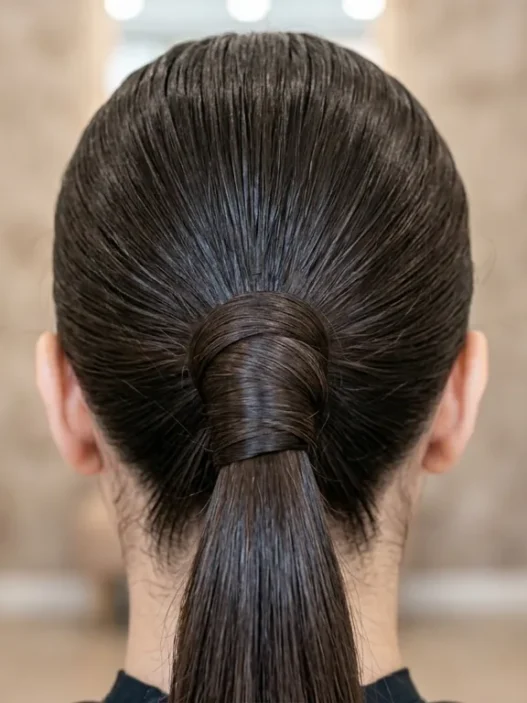
Gather all your hair into a high ponytail at the crown of your head. Secure with a clear elastic, then take a small section of hair from the ponytail and wrap it around the elastic to hide it. Pin that section underneath with a bobby pin.
Here’s the magic part: twist the entire ponytail in one direction until it naturally wants to coil back on itself. Let it! Guide it into a loose bun shape and secure with bobby pins, leaving the ends slightly messy for that effortless vibe.
My biggest mistake with this style was trying to make it too perfect. The looser and more relaxed I kept it, the more elegant it looked and the better it held up.
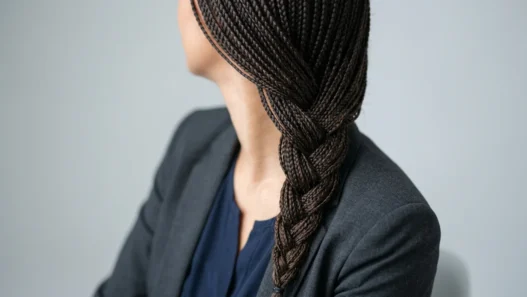
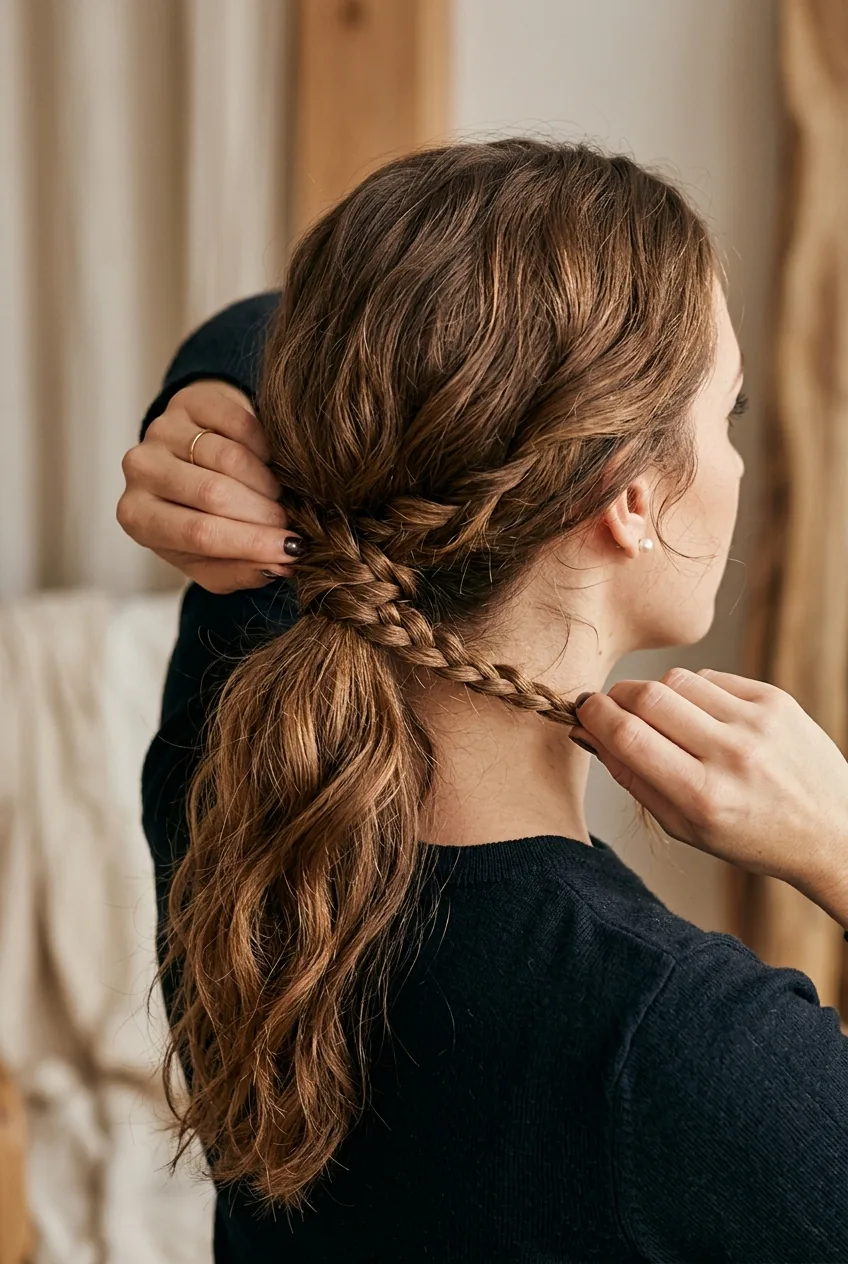
Step 3: Low Braided Wrap Updo for Extra Security
When I need an updo that absolutely will not budge — wedding guest, job interview, long day at work — this is my secret weapon.
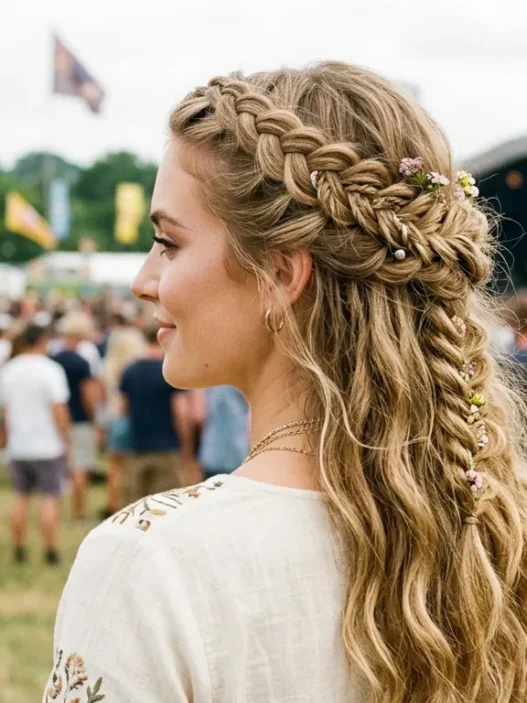
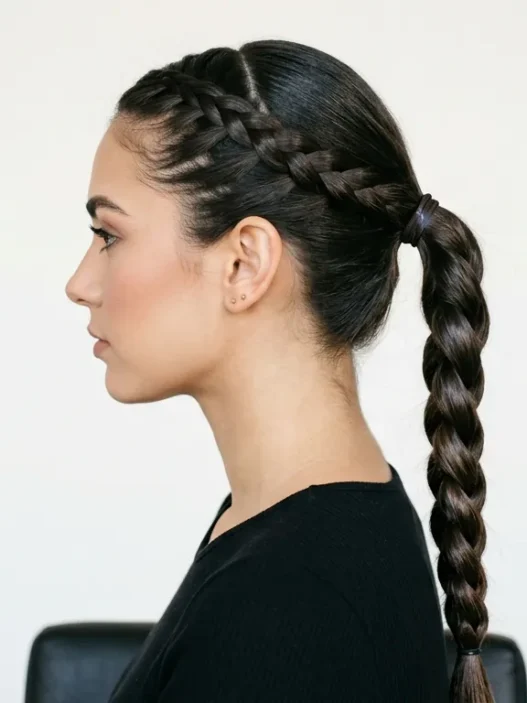
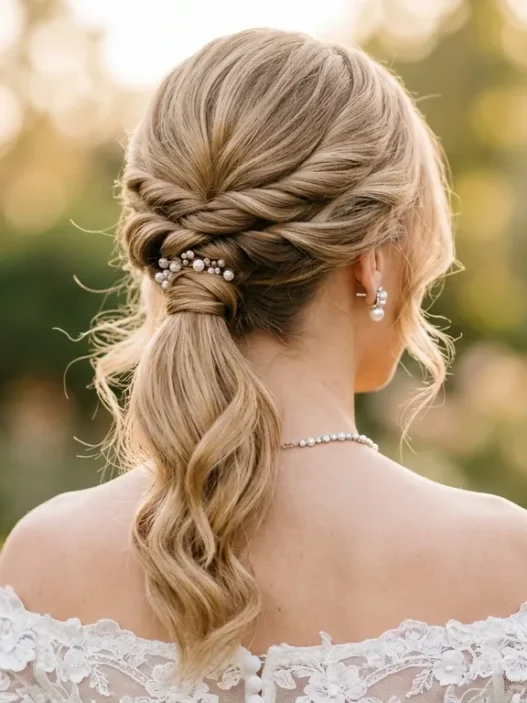
Start with a low ponytail at the nape of your neck. Before securing, leave out a thin section on each side of your head. Tie the ponytail with a clear elastic, then braid the entire length loosely. Secure the end with another elastic.
Wrap the braid around the base of the ponytail, tucking the end under and pinning securely. Now take those side sections you left out earlier and twist them back, wrapping them around the bun to hide any pins or elastic. This creates a romantic, braided crown effect that looks way more complicated than it is.
The braid gives you so much more surface area to pin into compared to loose hair. It’s like having built-in anchors throughout your updo.
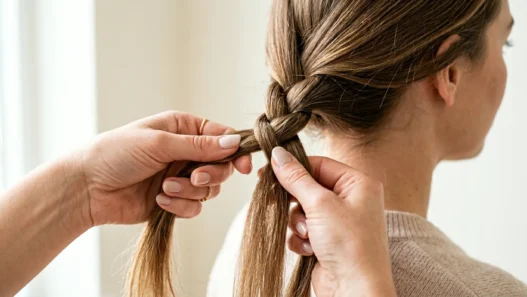
See the Braiding Technique in Action
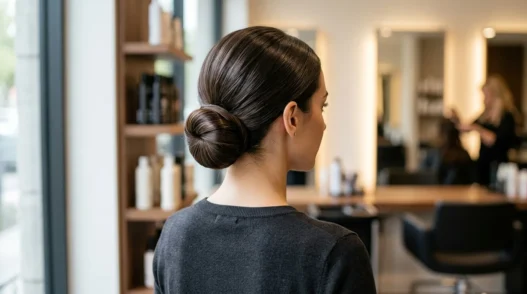
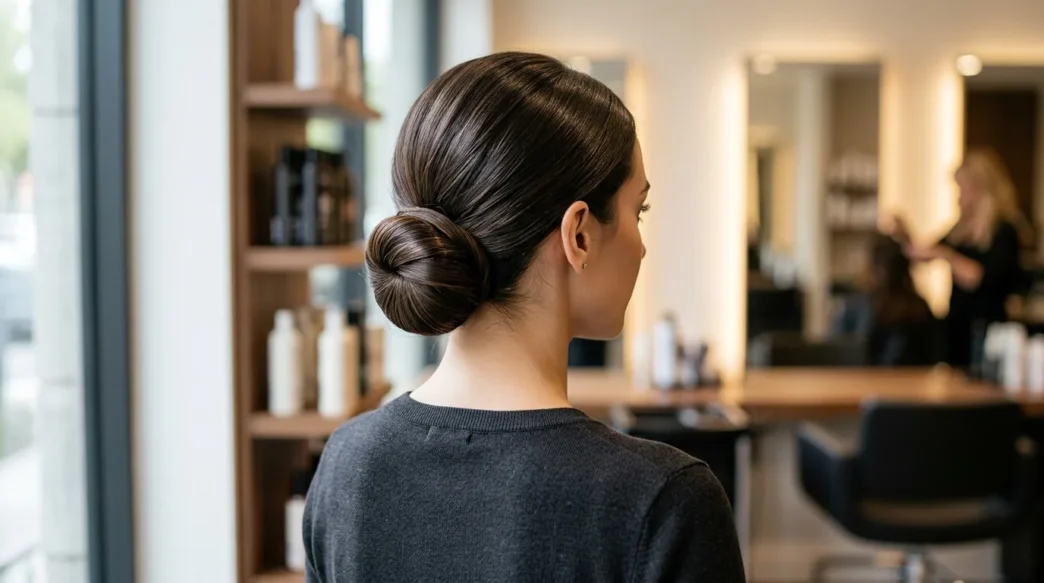
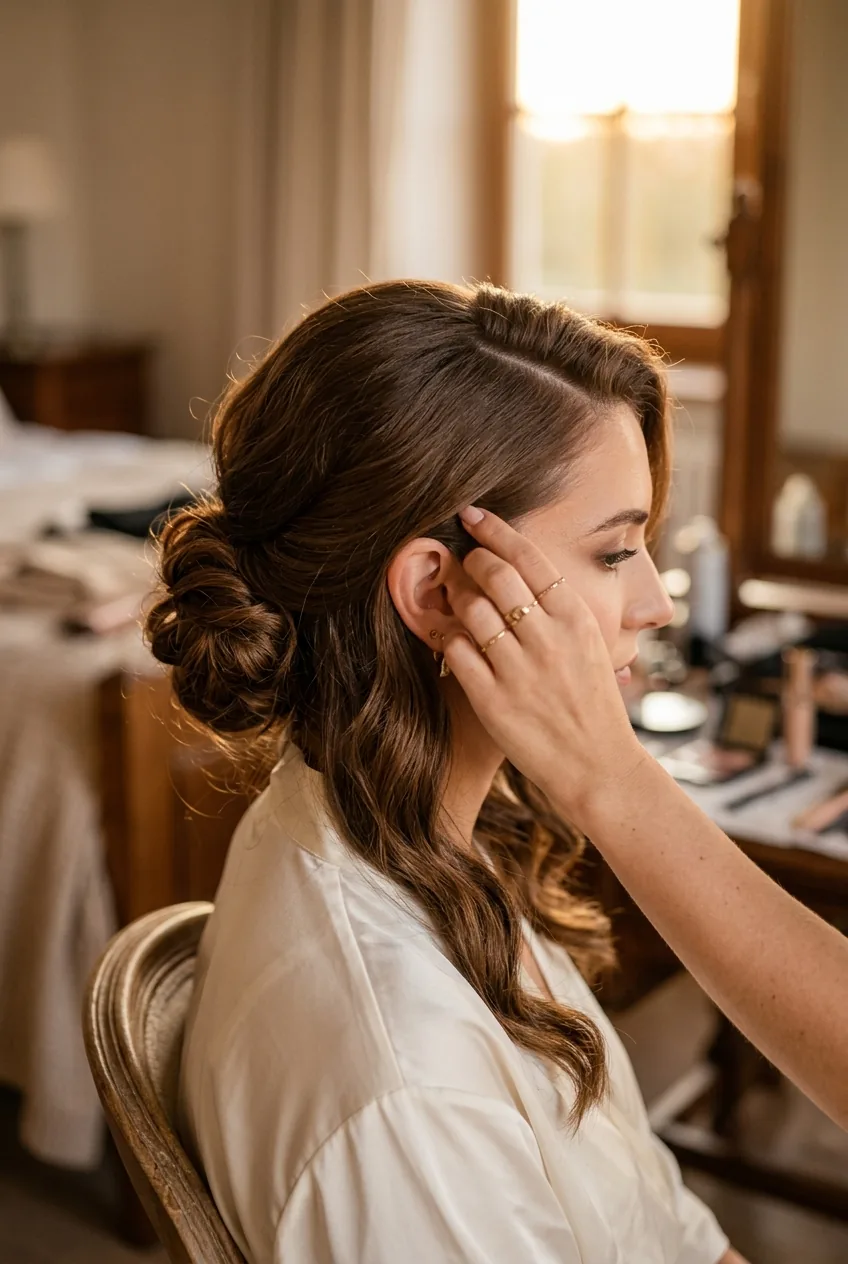
Step 4: Side-Swept Romantic Bun
This one makes me feel like I should be walking down a red carpet, but it’s actually pretty simple once you get the hang of it.
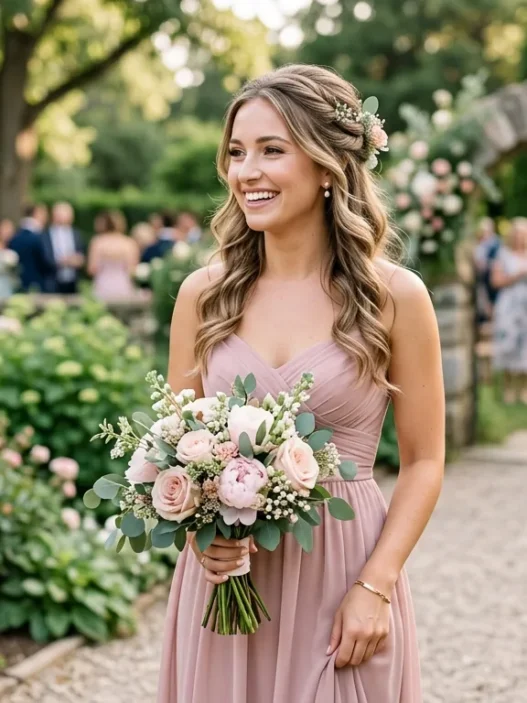
Create a deep side part and sweep all your hair to one side, gathering it into a low ponytail just behind your ear. The asymmetry is what makes this look so elegant and modern.
Loosely twist the ponytail and wrap it into a low bun, but here’s the key: don’t pull it tight. You want it soft and slightly undone, with a few pieces naturally falling around your face. Pin the bun in place, then gently pull at the crown to create a little volume and soften the look.
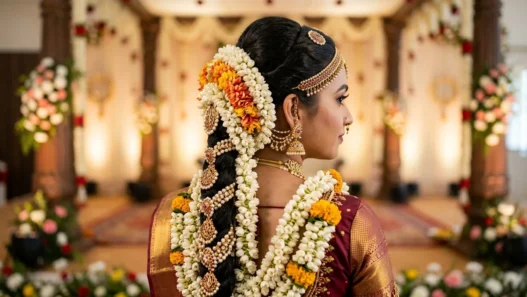
I love how this style works with festive updos for special occasions — it’s formal enough for events but soft enough for everyday elegance.
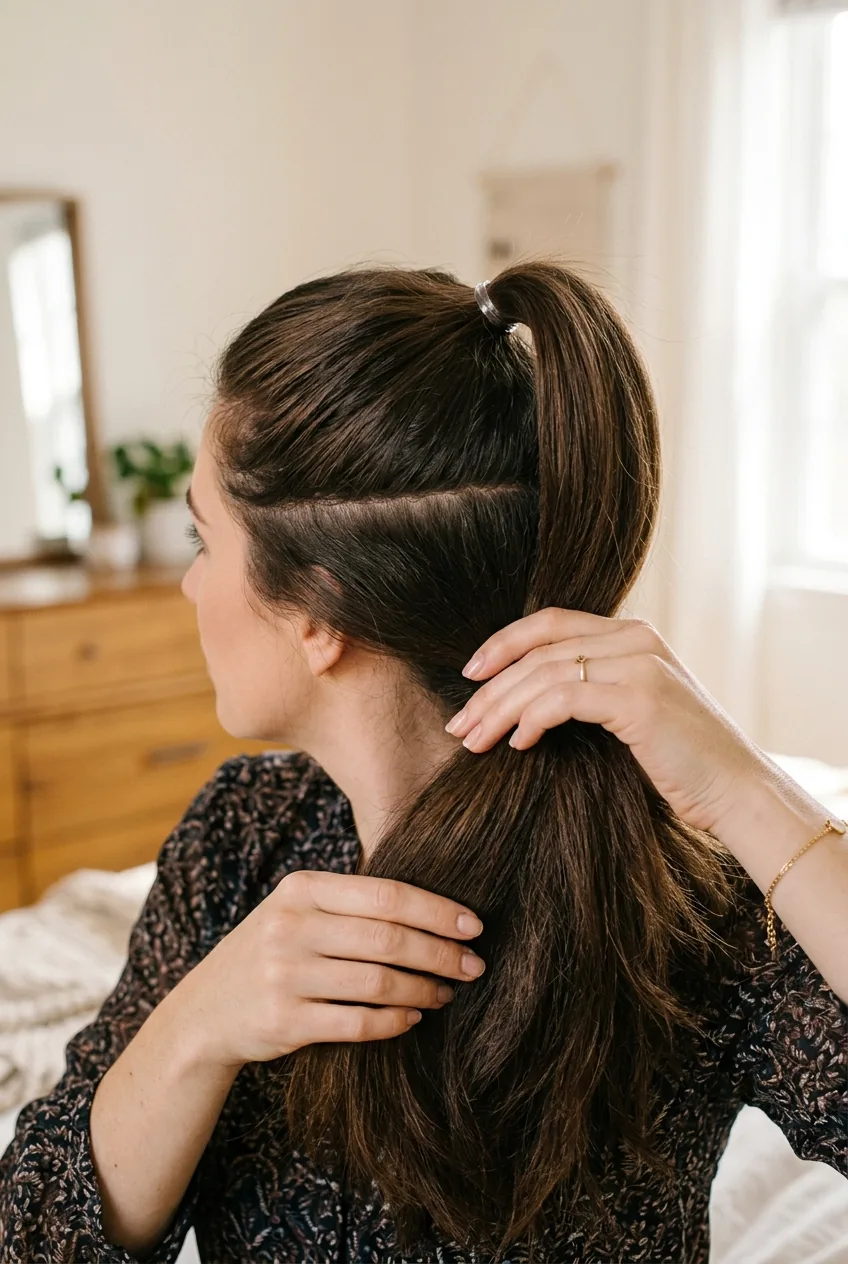
Step 5: Double Ponytail Volume Trick
This technique completely changed my updo game. I learned it from a hairstylist who was working on someone with similar long, heavy hair, and it’s brilliant for creating the illusion of thickness and volume.
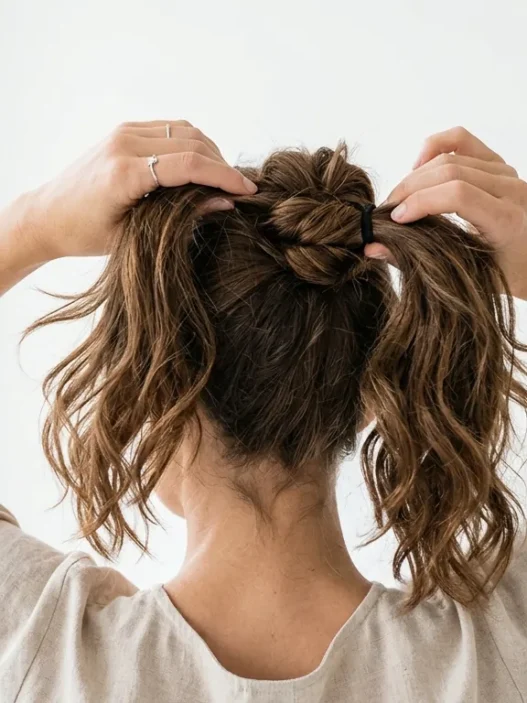
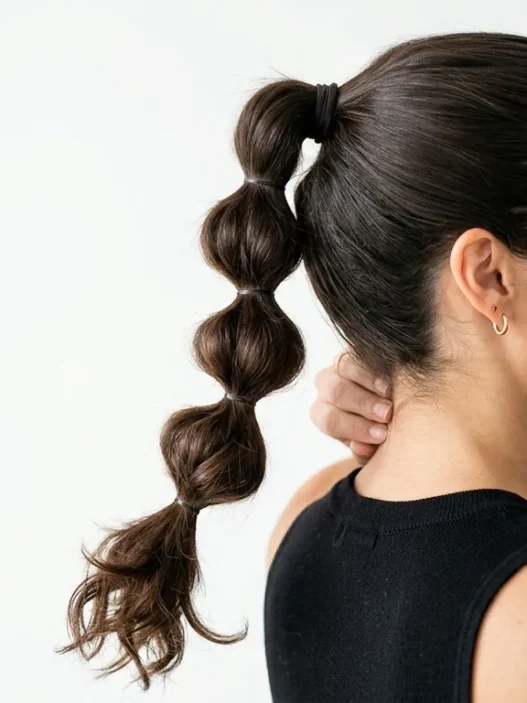
Section your hair horizontally from ear to ear. Create a high ponytail with the top section and secure it. Then gather the bottom section into a second ponytail directly underneath the first one. The magic happens when you combine them — suddenly you have twice the volume and the weight is distributed more evenly.
From here, you can twist both ponytails together and create a fuller bun, or braid them together for extra texture. The double ponytail foundation makes everything look more voluminous and helps the updo hold its shape longer.
This technique works especially well if you have long fine hair that tends to look limp in updos.
Step 6: Messy Textured Topknot
Sometimes you want to look effortlessly chic, and this topknot delivers that perfectly imperfect vibe I’m always chasing.
Flip your head upside down and gather all your hair at the very top of your head. Don’t worry about getting every strand smooth — the messier the better with this one. Secure with a clear elastic, but on the last pull-through, don’t pull your hair all the way through. Leave a loop.
Wrap the remaining hair around the base of the loop and pin it in place. Then gently pull at the loop to make it fuller and more textured. Pull out a few face-framing pieces and maybe let some shorter layers escape naturally.
The beauty of this style is that it gets better throughout the day as it gets a little messier. Perfect for casual winter days when you want to look put-together but not overdone.
Questions I Get About These Updos
How long does each updo actually take?
The classic high twist takes about 3-4 minutes once you get the hang of it. The braided wrap updo is the longest at maybe 8-10 minutes, but it’s also the most secure. The others fall somewhere in between, usually 5-6 minutes.
What if my hair is too heavy and pulls everything down?
The double ponytail trick is your best friend here. By creating two anchor points instead of one, you distribute the weight better. Also, use more bobby pins than you think you need — I use at least 10-12 for heavy hair.
Can these work on layered long hair?
Absolutely! The layers actually help with texture and grip. Just expect some pieces to naturally fall out, which often looks better anyway. The messy topknot especially loves layers.
Should I use hairspray before or after styling?
Both! A light mist of strong-hold hairspray before styling helps with grip, then a final spritz after everything’s pinned locks it all in place. Don’t go overboard though — too much product makes hair stiff and unnatural looking.
These five ponytail updos have completely changed my relationship with long hair styling. Instead of dreading formal events or hot summer days, I actually look forward to trying different variations. The key is practice — each one gets faster and more natural the more you do it. And honestly? The “mistakes” often end up looking the most beautiful.