


I’ve been cutting lobs for five years now, and honestly? I used to mess them up constantly. Too blunt for round faces, too wispy for square jaws, completely wrong proportions for oval shapes. Then I figured out that the secret isn’t in following one formula — it’s in understanding how each face shape needs its own tweaks.
Last month alone, I gave seven different women lob cuts, and each one looked completely different. That’s when I knew I had to share this method.
Your Complete Lob Cutting Roadmap
- Understanding Your Face Shape First
- What You’ll Need for the Perfect Lob
- Step 1: Creating the Foundation Cut
- Step 2: Angle Adjustments for Your Features
- Step 3: Adding Movement with Layers
- Step 4: Texturizing for Natural Flow
- Step 5: Face-Framing Pieces
- Step 6: Final Length Check
- Step 7: Styling for Maximum Impact
Understanding Your Face Shape First
Before you even touch the scissors, spend five minutes really looking at your face shape. I mean really looking. Pull your hair completely back and trace your jawline, forehead, and cheekbones in the mirror.
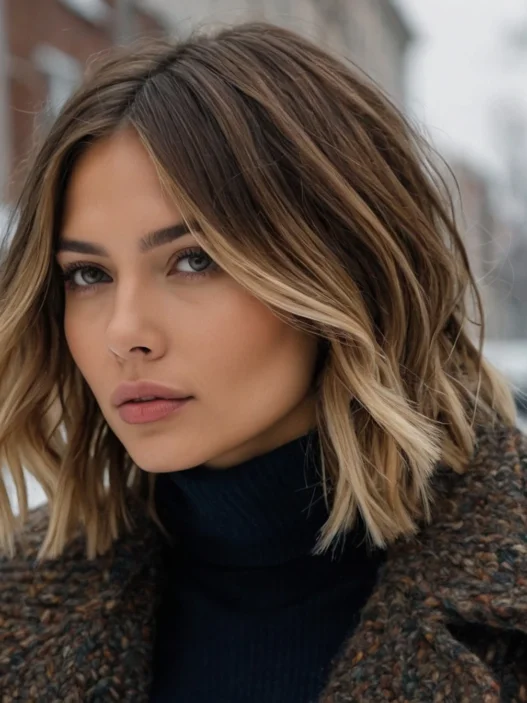
Round faces need length and angles to create definition. Square faces benefit from softening around the jaw. Oval faces (lucky you) can handle almost any lob variation. Heart shapes need volume at the chin level.
The biggest mistake I see? Women copying a celebrity lob without considering their own bone structure. Don’t do this to yourself.
What You’ll Need for the Perfect Lob
Honestly, you don’t need a salon’s worth of tools. But you do need the right basics:
- Sharp haircutting shears (not your kitchen scissors, please)
- Fine-tooth comb for clean sections
- Spray bottle with water
- Hair clips to section off areas
- Hand mirror to check the back
- Professional cutting shears make a huge difference in clean lines
- Good lighting — natural light near a window works perfectly
I learned the hard way that trying to cut a lob with dull scissors gives you those raggedy, uneven ends that scream “home haircut.” Invest in decent shears. Your hair will thank you.
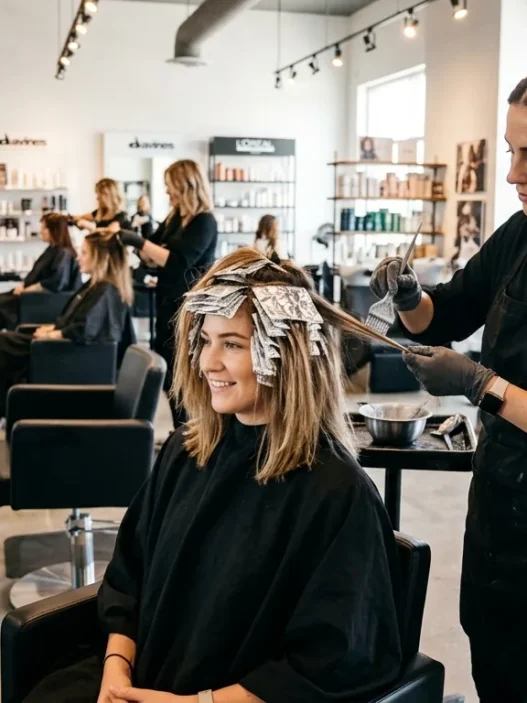
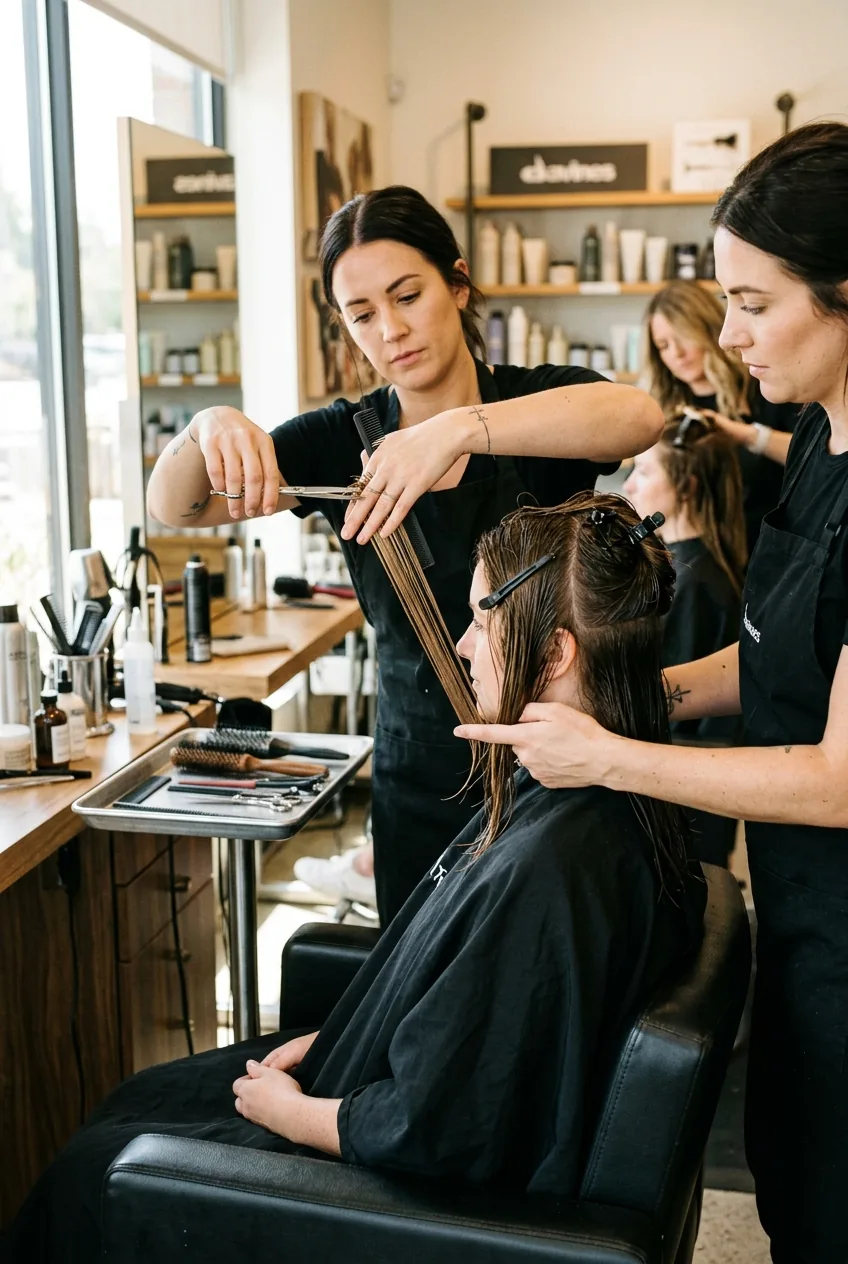
Step 1: Creating the Foundation Cut
Start with clean, damp hair. I always cut lobs on slightly wet hair because it shows the true length and fall. Completely wet hair stretches too much, and dry hair bounces unpredictably.
Section off the top half of your hair and clip it up. You’re working with the bottom section first — this becomes your guide length. Cut straight across at your desired length, typically between the collarbone and shoulders.
Here’s where I used to mess up: rushing this first cut. Take your time. This foundation determines everything else.
Step 2: Angle Adjustments for Your Features
Now comes the magic. Instead of keeping everything blunt, you’re going to create subtle angles that flatter your specific face shape.
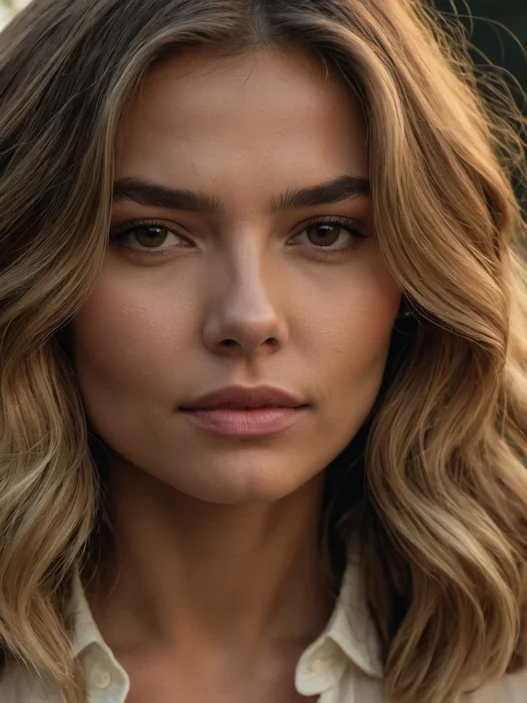
For round faces: Make the front pieces about half an inch longer than the back. This creates vertical lines that elongate your face. For square faces: Keep the back slightly shorter and graduate longer toward the front, but soften the angles with gentle layers.
I once cut a perfectly even lob on my friend with a square jawline, and it made her look like she was wearing a helmet. The angle is everything — don’t skip this step like I did.
The key is subtlety. We’re talking about small adjustments, not dramatic differences.
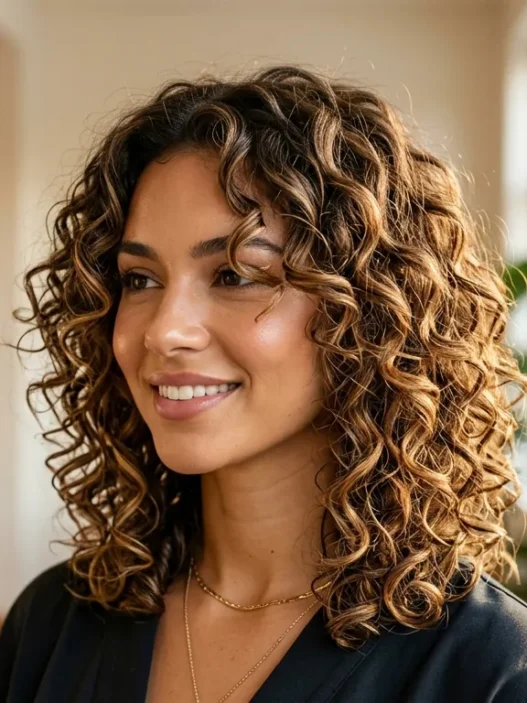
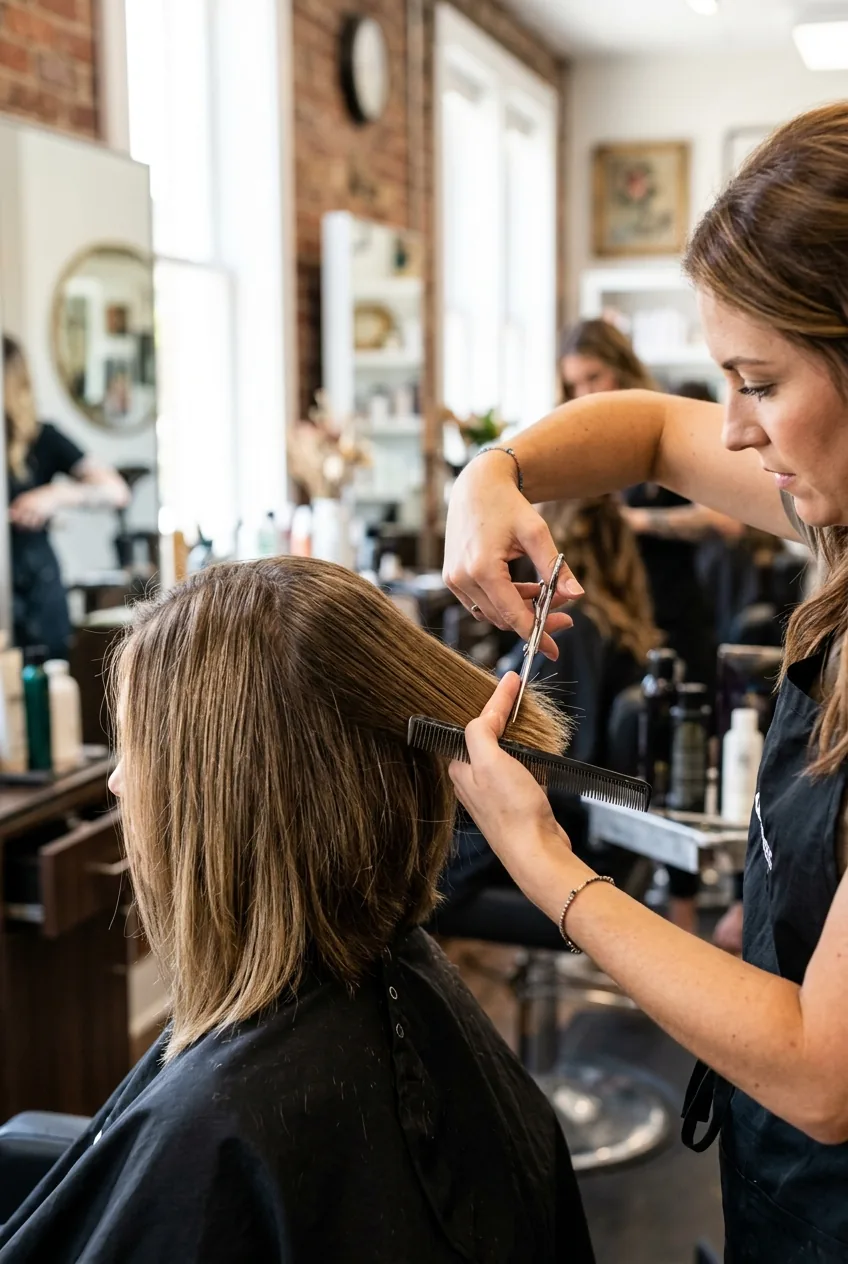
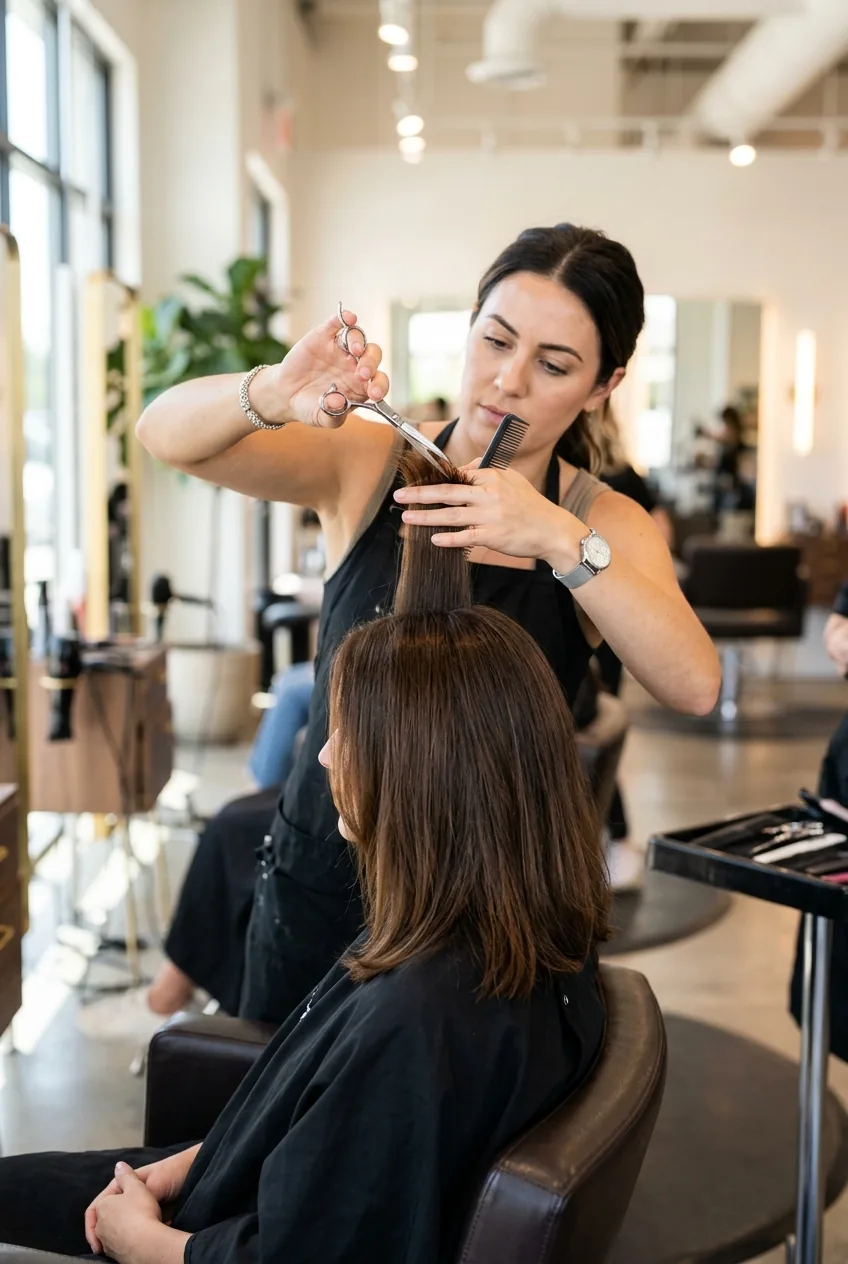
Step 3: Adding Movement with Layers
This is where your lob goes from basic to beautiful. I add very subtle layers starting about two inches from the ends. Not choppy layers — think gentle graduation.
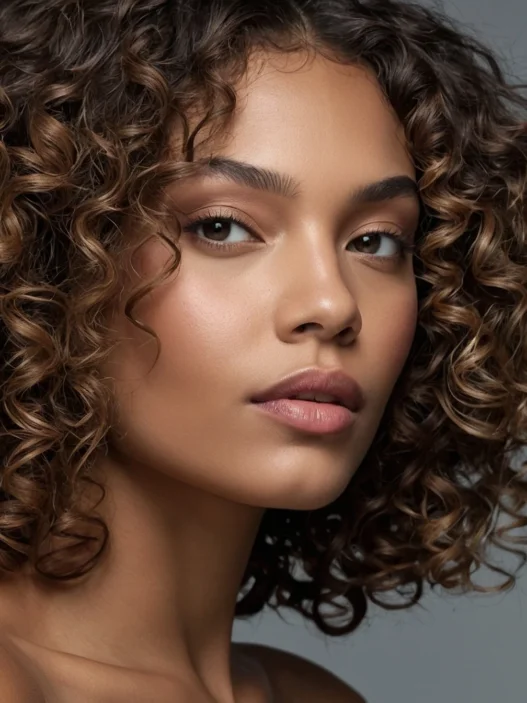
Work in small sections, cutting at a slight upward angle. You want to create movement without sacrificing the lob’s signature weight and density. The layers should be almost invisible when the hair is straight but show up beautifully when styled with waves.
Pro tip: err on the side of too few layers rather than too many. You can always add more, but you can’t put hair back.
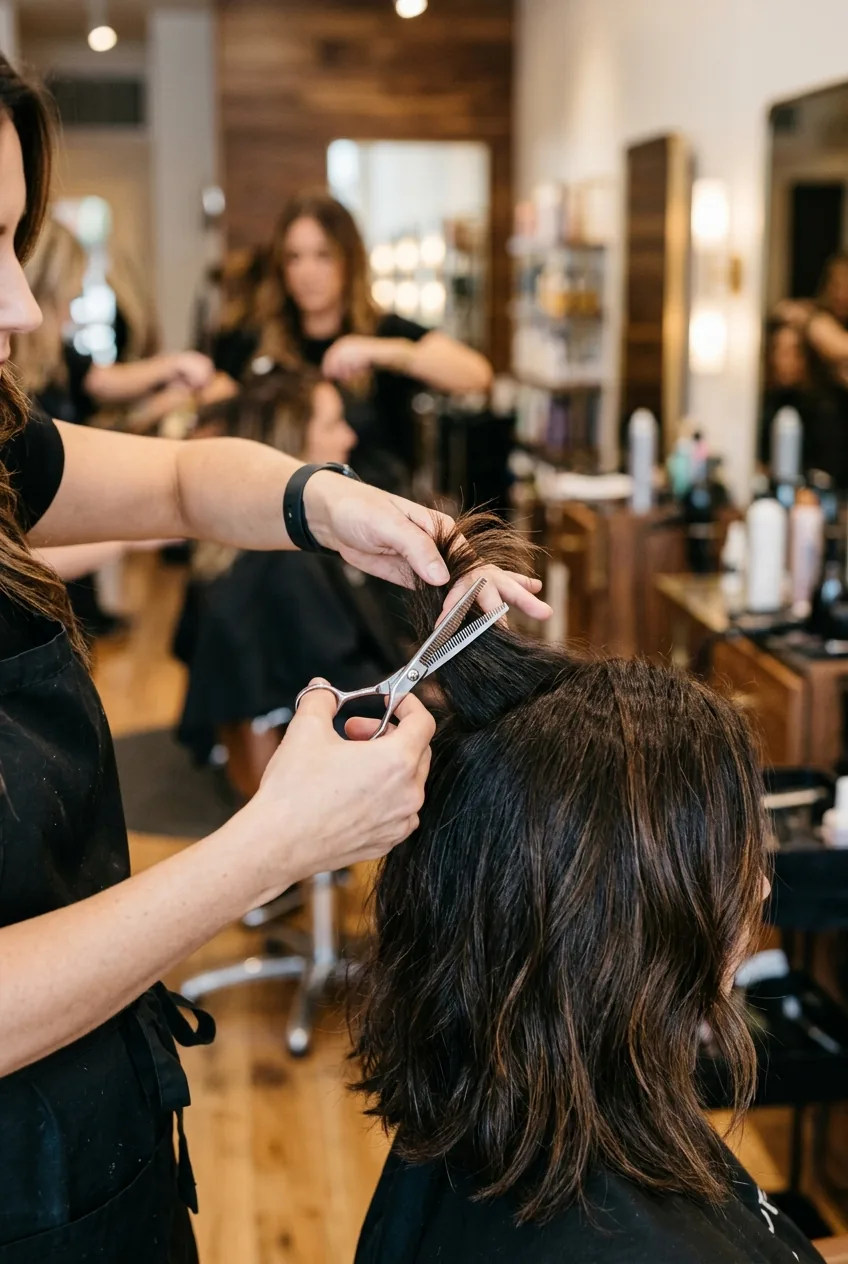
Step 4: Texturizing for Natural Flow

Here’s the technique that changed everything for me. Instead of point cutting (which can look choppy), I use a gentle sliding motion with the shears to soften the ends.
Hold small sections of hair taut and slide the open shears down the last inch, barely cutting. This removes weight without creating obvious texture lines. It’s the difference between a lob that looks professional and one that looks homemade.
Focus especially on the perimeter — those are the ends people see most. This technique works whether your hair is naturally straight or has some wave to it.
This Technique Changed My Game
Step 5: Face-Framing Pieces
The face-framing pieces make or break a lob. I take sections from about ear level forward and cut them at a very slight angle — longer in front, gradually shorter as you move back.
These pieces should blend seamlessly with the rest of the cut. No harsh lines, no obvious disconnection. When you tuck your hair behind your ears, these pieces should fall naturally forward to soften your jawline.
For those with shorter styles previously, this step is crucial for avoiding that awkward grow-out phase look.
Step 6: Final Length Check
Step back and look at your work. Check both sides for evenness, but don’t obsess over millimeter-perfect symmetry. Hair moves, and perfect symmetry can actually look unnatural.
Have someone check the back for you, or use a hand mirror. Look for any obvious unevenness or pieces that stick out awkwardly. Make tiny adjustments as needed.
This is also when you’ll notice if you need to refine those face-framing pieces. Sometimes they look perfect wet but need tweaking once they start to dry.
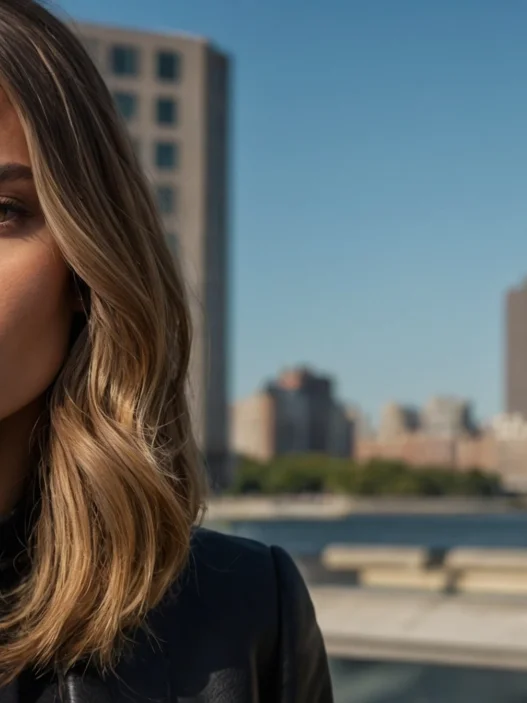
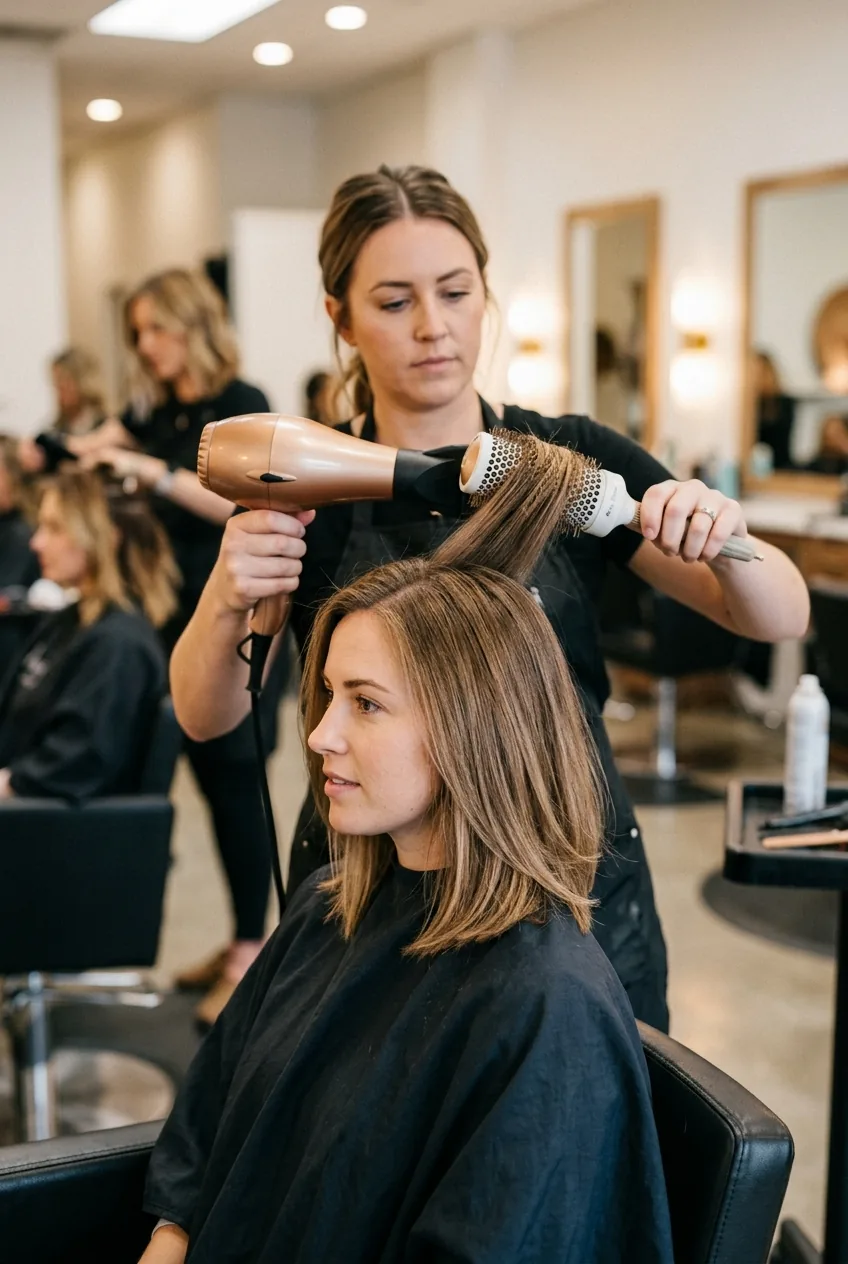
Step 7: Styling for Maximum Impact
The best lob in the world looks mediocre with bad styling. I always finish with a technique that brings out the cut’s natural movement.
For straight hair: Use a round brush while blow-drying to create subtle curve at the ends. For wavy hair: scrunch with a lightweight mousse and air dry for effortless texture. For thick hair: Professional thinning techniques can help reduce bulk without losing the lob’s shape.
The styling should enhance what you’ve created, not fight against it. If you find yourself struggling to make it look good, you might need to adjust the cut slightly.
After perfecting this method, I’ve cut lobs on friends with completely different hair types and face shapes. Every single one photographs beautifully and styles easily. The secret is really in those subtle adjustments for each person’s features.
My favorite transformation was on my friend Sarah, who has a heart-shaped face and fine hair. The customized angles and gentle texturizing gave her hair so much more life. She gets compliments every day now.
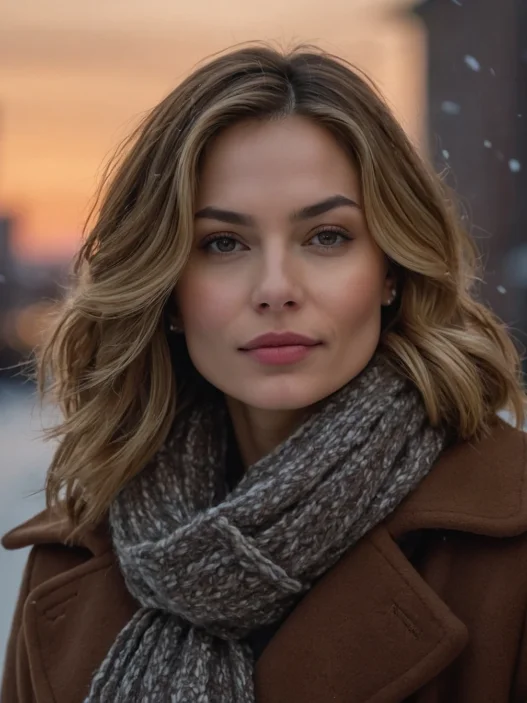
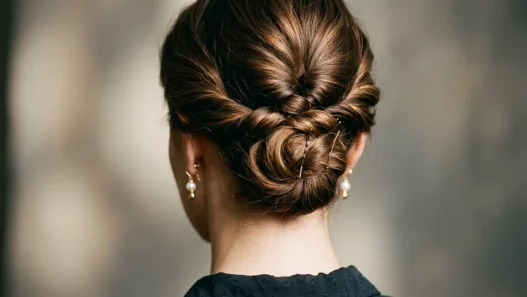
And if you’re thinking about trying this for special occasions, lobs are incredibly versatile. They look just as stunning worn sleek and straight as they do with loose waves or even pulled into a low ponytail.