







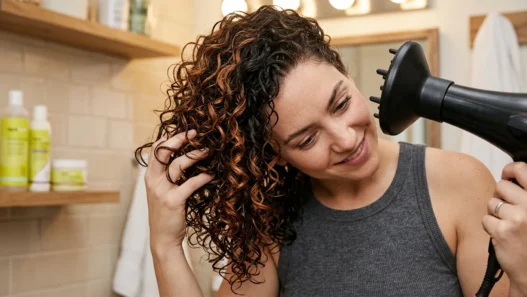



I chopped my hair to collarbone length last spring and immediately regretted how I styled it at home. In the salon mirror it looked bouncy and expensive, and in my bathroom mirror it looked like a triangle. I finally asked my stylist to watch her hands, not just the cut, and that changed everything for me.
I spent the next three months copying exactly what she did with a layered lob, on damp hair, on second-day hair, on frizzy August hair. This is the 6-step method I use now. It is the only way I get that light, swingy salon shape without spending 40 minutes with three brushes.
Follow My Salon-Style Layered Lob Routine
- What You’ll Need
- Step 1: What Stylists Do Differently in the Prep
- Step 2: The Salon Technique for Directional Drying
- Step 3: Why Editorial Hair Always Looks Polished at the Ends
- Step 4: Building Soft Texture Like a Pro
- Step 5: Adapting Pro Tricks for Real Life Bangs and Curls
- Step 6: The Lived-In Finish That Lasts
- Layered Lob Questions From My Chair
What You’ll Need
I used to pile every hot tool on my counter for this haircut and that was half the problem. Stylists use less, but they use the right things in the right order. This is my tight little kit now.
- A light-weight leave-in cream, not a heavy oil yet
- A golf-ball amount of root-lifting mousse or a fine-mist thickening spray
- One medium round brush, 1.5-inch, with a smooth mixed-bristle head
- A blow dryer with a nozzle, I am serious about the nozzle
- A 1-inch flat iron or a 1.25-inch curling iron, just one
- Two or three small duckbill clips for the crown
- A dry texture spray and a flexible-hold hairspray
- A wide-tooth comb and a tail comb for a clean center or side part
Step 1: What Stylists Do Differently in the Prep
The biggest gap between salon hair and home hair happens before the dryer even turns on. At home I used to towel-dry roughly, slap on serum, and hope. My stylist preps soaking-wet hair like she is setting a foundation, and I copy her now almost exactly.
Start with really damp hair, not half-dry. I gently squeeze with a microfiber towel, then I comb through with a wide-tooth comb from ends up. I part it where I actually want to wear it while it is wet, because that center or deep side part determines how those shorter face-framing layers fall. If I try to switch the part when it is dry, that top layer kicks out weird.
Then product layering. I rake a pea-size amount of leave-in cream mid-length to ends only. Then I add mousse just at the roots with my fingertips, lifting in small zigzags. You can read more about how different hold levels behave in guides to volumizing mousse for fine hair because I learned the hard way that a too-strong mousse makes the crown crunchy on day two.
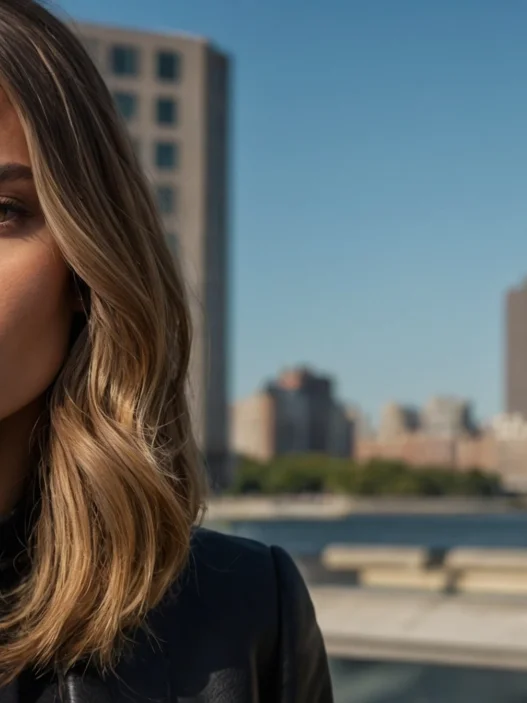
Look at how she is working product through in this photo. See how her hands are right at the mid-shaft, not globbed on the ends? That even distribution is what stops my bottom layer from looking stringy while the top looks puffy. It took me a week to get the amounts right.
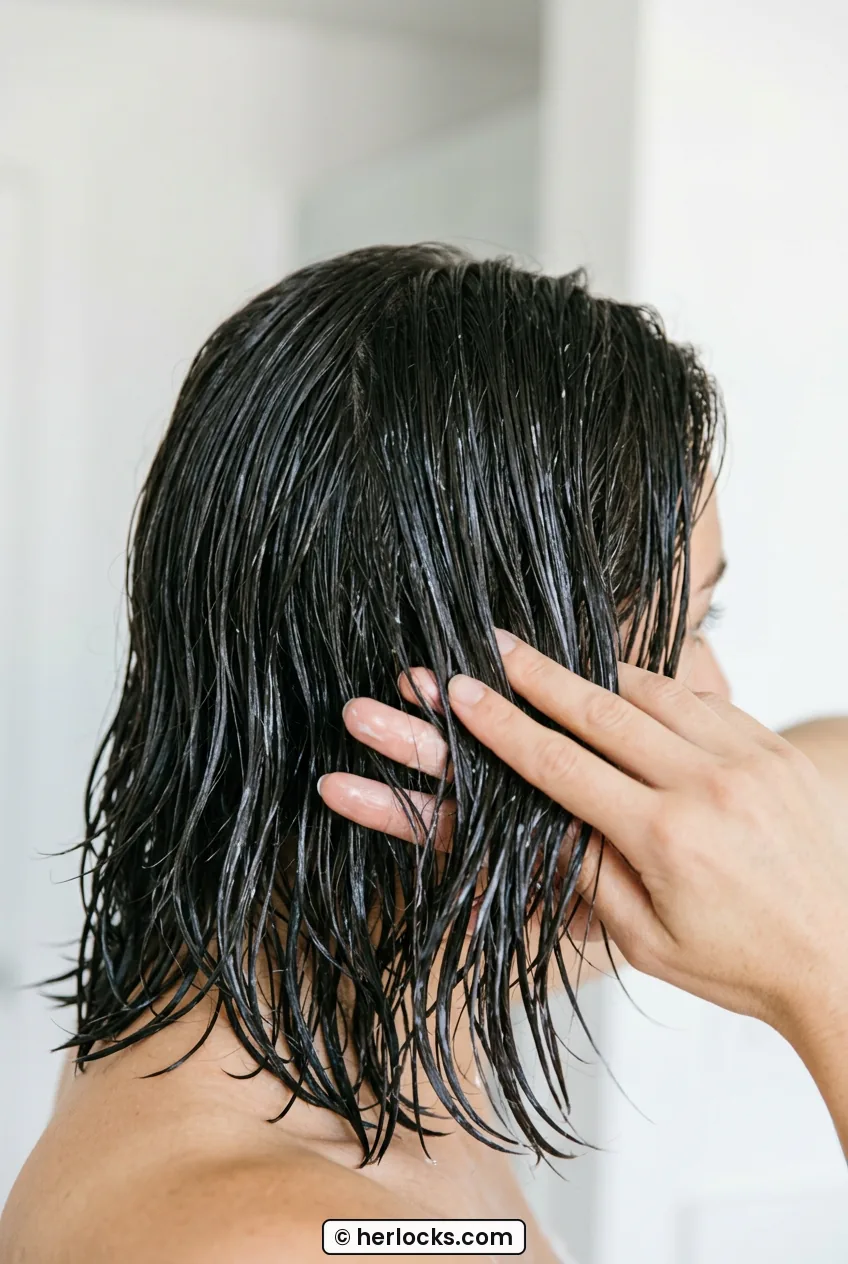
My favorite detail she taught me: leave the hair wetter than you think. Stylists want that slight drip because water is their heat protectant and their stretch. If my hair is already 70 percent dry from scrolling my phone, I mist it back down with a spray bottle. A damp canvas gives me that smooth, swollen cuticle instead of frizz.
Step 2: The Salon Technique for Directional Drying
This is the step that made me gasp in the chair. She did not round-brush my whole head from soaking wet. She rough-dried first with just her fingers and the nozzle pointed down, flipping everything side to side.
I do the same now. Dryer on medium-high heat, medium speed. I point the nozzle down the hair shaft the entire time and I toss my hair left, then right, then upside down for 10 seconds. I stop at about 80 percent dry, when it is still cool to the touch in places but no longer dripping. That rough-dry builds the airy lift at the roots that a round brush alone never gives.
Then I clip up the top. I make a horseshoe section from temple to temple and clip the crown up. I dry the underlayer first, smooth and straight down with just tension from my fingers. This is especially important if you have a longer version that brushes your shoulders. I linked my thoughts on length in my notes on long bob lob styles because that extra inch changes how much you need to dry under versus over.
She is doing exactly what I mean here. See how her dryer nozzle is angled straight down and her other hand is pulling that lower section taut? That downward air flow seals the shorter inner layers flat so they do not poke out later.
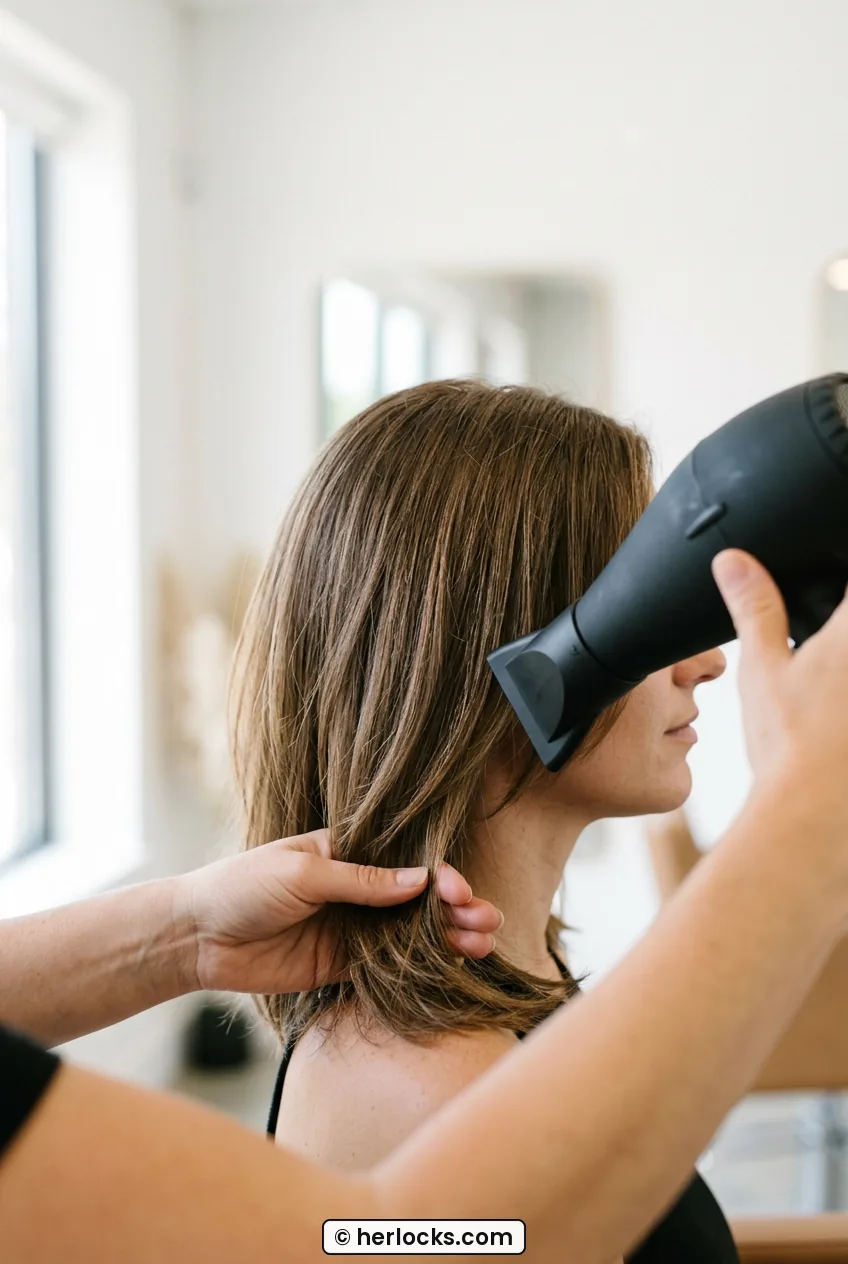
For the top, I take 2-inch sections and use the round brush now, but only now. Brush under the section, dryer following the brush, slow pull. And here is the pro move: over-direct the front pieces forward over your face for the first pass, then sweep them back. That forward pull gives those face-framing layers that soft bend instead of a hard flip. My hair used to wing out like a 90s sitcom mom before I learned the forward trick.
My mistake: I used to round-brush soaking-wet hair section by section from the start. It took forever, my arms burned, and the roots went flat by noon. Rough-drying to 80 percent first cut my time in half and my lift actually lasts.
Step 3: Why Editorial Hair Always Looks Polished at the Ends
Salon lobs never look blunt or straggly at the bottom, even when they are choppy. I thought that was just a good haircut. It is mostly how they finish the last inch.
Once I am fully dry, I do a quick pass with a flat iron, but not to straighten. I call it sealing. I take 1.5-inch sections and glide the iron through once, with a tiny bevel under at the very ends, like turning a steering wheel just a quarter turn. The top layer gets a soft under-bend, the very bottom layer I sometimes bevel just slightly outward so it does not tuck under and get bulky on my neck.
The temperature matters more than I expected. I keep mine at 340 to 360 degrees. Any hotter and those thin ends on a layered cut go wispy and white-looking. If your ends feel crispy, you do not need more oil, you need less heat and one pass. Pros will tell you the same in any breakdown of heat styling for short hair and I wish I had listened sooner.
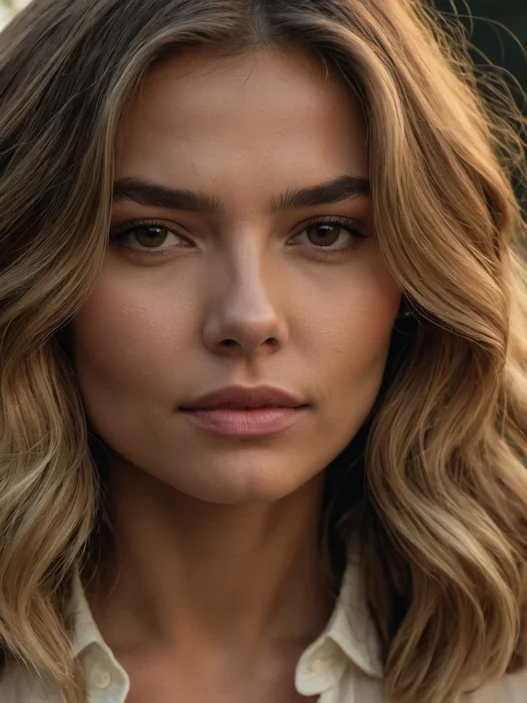
This is the length I am talking about. See how it hits just below her collarbone with that clean, feathered edge? She has got that barely-there bend I aim for, not a curl, just polish.
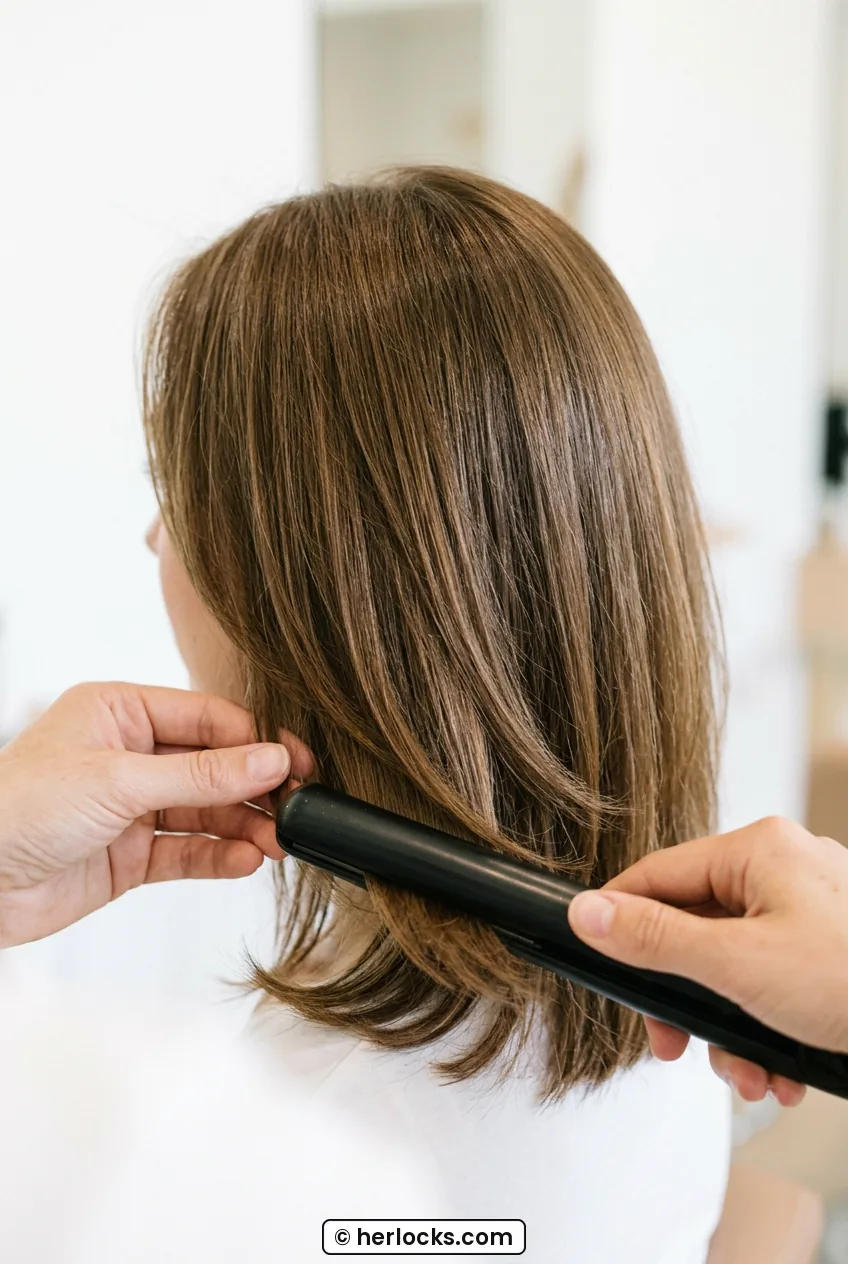
I also learned to iron in alternating directions on the two front pieces. Left front piece bends slightly back and under, right front piece does the same. If I bend both forward, they meet under my chin and make my face look narrower in a weird way. Alternating gives symmetry when I talk and move. Small thing, huge difference in photos.
If you love summer texture and want to keep this step lighter, I skip the iron completely on humid days and just smooth with the round brush. I wrote more about that air-dried approach alongside wavy lob hairstyles for summer because heat plus sweat is a losing battle and soft air-dried ends can look just as intentional.
Step 4: Building Soft Texture Like a Pro
This is where most at-home layered lobs go wrong, including mine for months. I would curl every piece the same way with the same iron and wonder why it looked like a pageant. Stylists do not curl, they detail.
I take my 1.25-inch iron and I work only through the middle third, from cheek to shoulder, leaving the roots flat and the last inch alone. I wrap 1-inch vertical sections away from my face, hold for six seconds, slide out, and tug the warm curl gently straight. I skip every third section entirely. That skipped piece is what creates that lived-in, shaggy separation instead of a solid wave helmet.
For the crown layers, I use a totally different motion. I pinch the hair at the root, lift straight up, and give one soft bend with the iron two inches off the scalp, then release. The section is held straight up from the head, clearly vertical, not pulled forward and not laid flat. I hold that upright lift until it cools, the vertical elevation unmistakable. That lift is the whole secret to a textured shape that does not collapse. I picked up a similar root-lift idea while reading about volume techniques for layered hair and it works even better on collarbone length because there is less weight pulling it down.
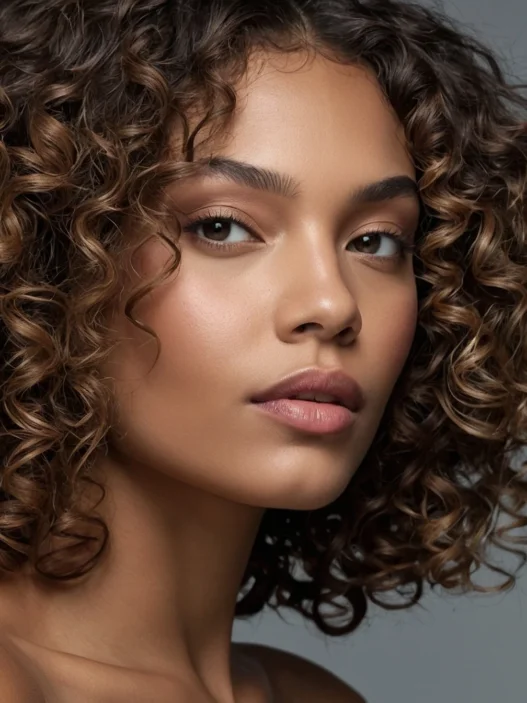
Look at how she is wearing hers in this next photo, that piecey separation through the ends is exactly what I mean about leaving gaps. Not every strand needs to be waved. The straight bits make the wavy bits look cooler.
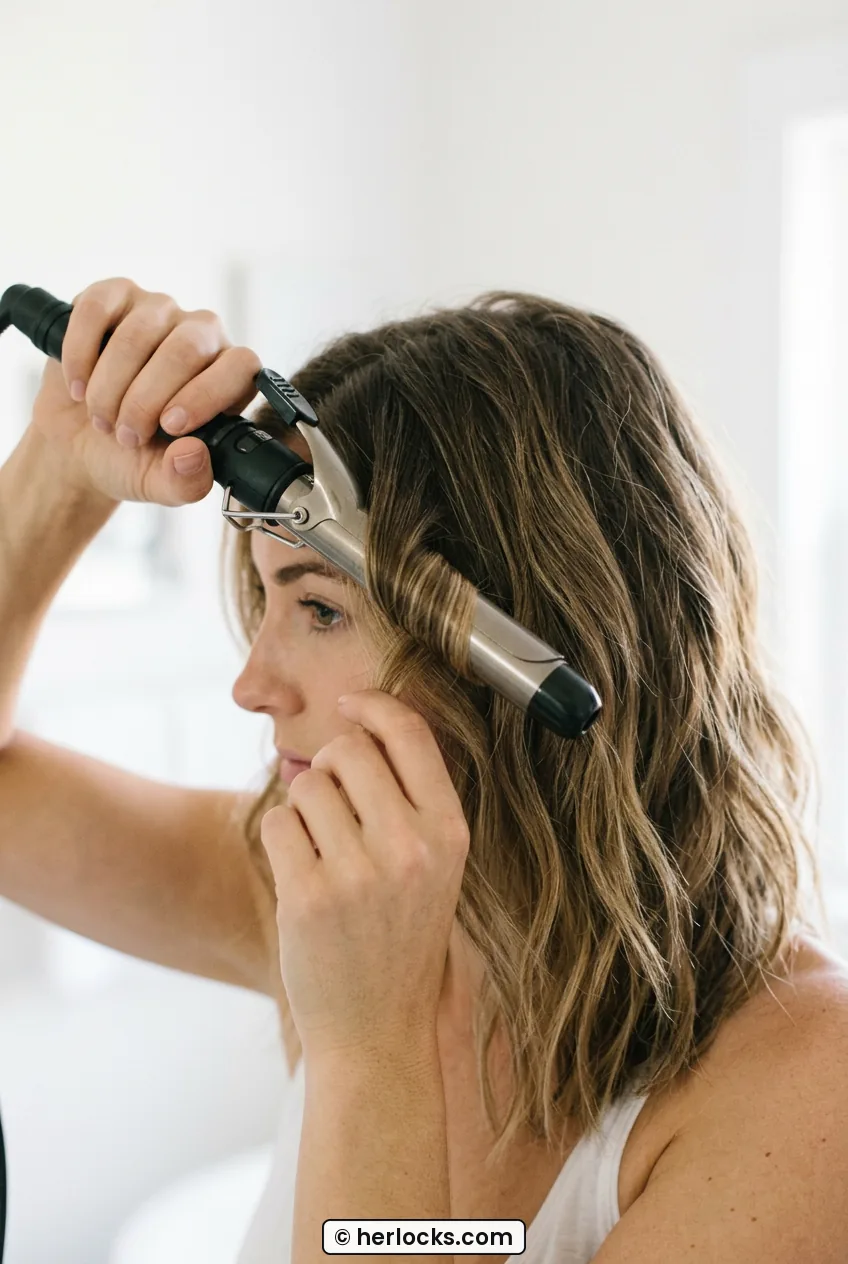
And please shake it out like you mean it. I flip upside down, shake at the roots with my fingertips, then rake a rice-grain amount of cream just over the very ends to piece them. If I want more grit, I spray dry texture spray from 10 inches away into the mid-lengths, never on the roots on wash day or I get itchy by night.
See the Texture Technique Live
Step 5: Adapting Pro Tricks for Real Life Bangs and Curls
Not every layered lob is worn straight and center-parted, and pros adjust instantly. I have curtain bangs in winter and I curl my natural wave more in summer, so I had to learn two mini-adaptations. This step is short, but it saves the whole style.
For bangs or a heavy face frame: dry them first, always first, while they are wettest. I place a small round brush under my curtain pieces, blow down and slightly to the side, then part them in the middle and pinch the bend with a cool shot. If I dry the back first, my front pieces set in a weird split. I keep a whole post on fringe shapes in my notes on trendy lob hairstyles with bangs because bang length totally changes where that bend should sit.
She has got a similar forehead to mine, and honestly, this soft parted fringe looks incredible on her. See how it opens in the center instead of sitting heavy? That is the cool-shot pinch I am talking about.
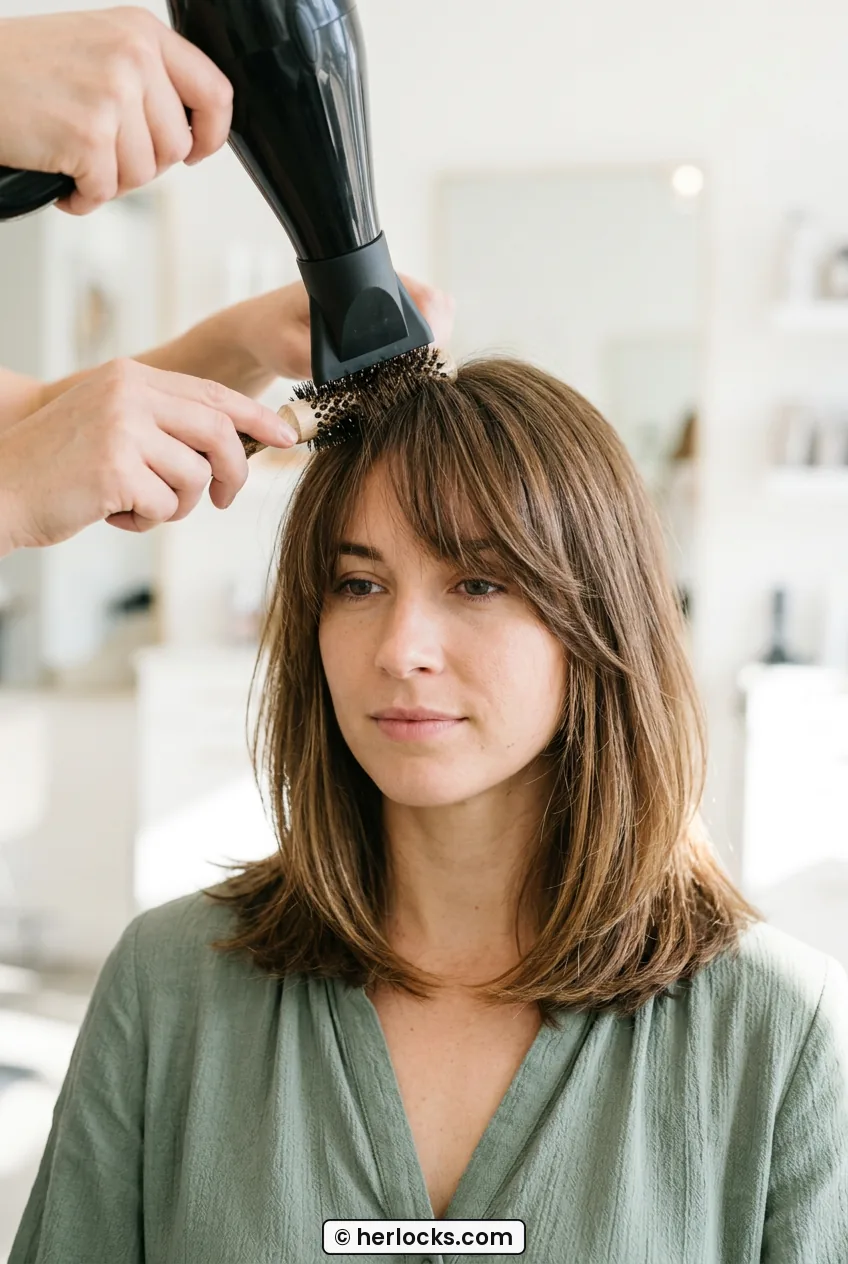
For natural curls or waves: do not brush them out dry. I refresh with water plus a little leave-in, then I twist 1-inch sections around my finger in the direction they already want to go and diffuse on low. I only detail the top layer with the iron if one curl is frizzy, otherwise I leave the pattern alone. Scrunching all over just makes layers fluffy in the wrong places.
One more insider tip my stylist gave me for color-treated hair: if you have balayage or lighter ends, those pieces will wave faster and frizz faster. I heat-style lightened sections for two seconds less and add an extra drop of cream there. My experience with blended color and movement matches what I saved from lob styles with balayage because dimension shows so much more when the texture is piecey, not over-curled.
Step 6: The Lived-In Finish That Lasts
A salon finish looks soft but it does not move an inch when you leave. Mine used to either go stiff or fall flat. The difference is where you spray and how you break it up after.
I spray flexible-hold hairspray onto my hands first, not directly onto my hair. Then I lightly rake through the mid-lengths to set the bend without coating it. Then one soft veil from 12 inches away over the whole head, wait 20 seconds, and break it. I slide my fingers under the top layer and gently push up at the roots to crack that hold. That gives movement with memory.
At night I loosely twist my lob into a low, loose bun on top of my head with a silk scrunchie, no pulling at the front. In the morning I shake, add a puff of dry shampoo only at the part line, and re-bend just the two front pieces. I get three good days this way, four if I am not working out. For cold months when static hits, my winter refresh routine borrows a lot from lob hairstyles for winter because hats flatten everything and you need a different re-fluff.
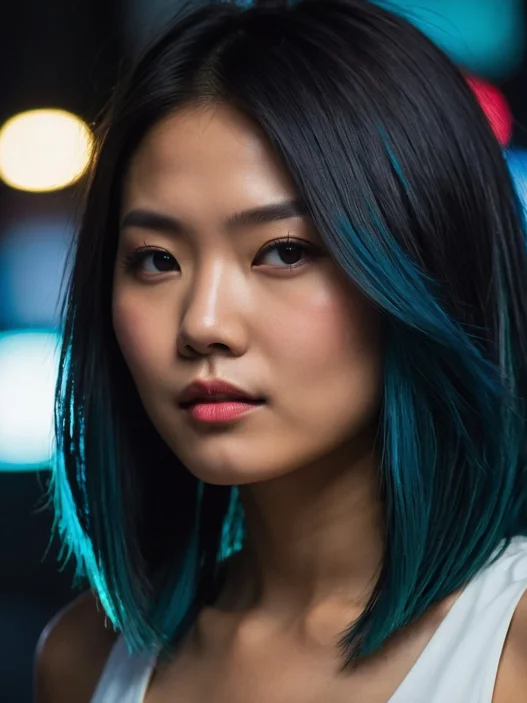
This final photo is my goal every morning. See how her ends flick in different directions but the top still looks smooth? That controlled mess is the stylist finish. It reads effortless, but it is totally engineered.
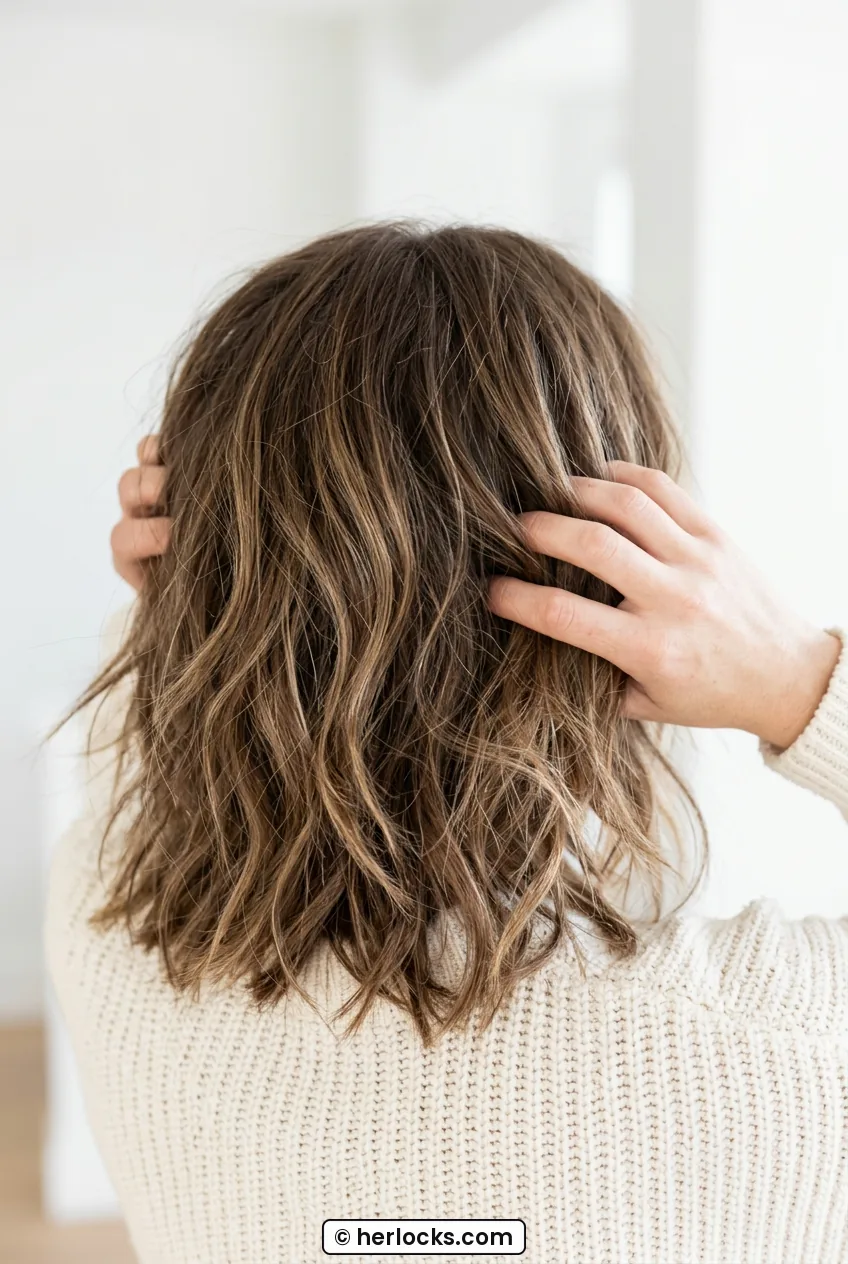
What I got after doing all six steps in order surprised me. My lob swings when I walk now instead of sticking to my neck. The layers actually show, that shorter top piece floats over the longer bottom instead of blending into one heavy shelf. And I use less heat than before because the blow-dry does 70 percent of the work. My last trim looked better for six weeks, not two, which tells me it was never just the cut. It was the technique.
Layered Lob Questions From My Chair
Will a layered lob work on fine hair or will it look thin?
It works beautifully if the layers stay long and internal. I ask for soft, blended layers that start at the chin, not short, choppy ones up high. The root-lift drying in Step 2 matters more than the cut itself for fine hair.
How do I keep the ends from flipping out?
That flip is usually from tucking hair behind your ears while damp or drying without a nozzle. I dry forward first, then bevel under lightly with the iron. If one side still kicks, I re-wet just that piece and redry it forward.
Can I get this movement without heat every day?
Yes, and I do it twice a week. I rough-dry to damp, twist two loose front braids overnight, and shake out with texture spray. You lose a little polish at the ends but you keep that airy separation.
How often does a layered lob need a trim?
For me it is every 8 to 10 weeks to keep the shape. I go in at 6 weeks just for a dry dusting of the face frame if my bangs are growing out. Waiting too long turns layers into weight and the swing disappears.