







I have a round face, full cheeks, soft jaw, almost no angles unless I contour like my life depends on it. And for years I thought that meant I had fewer options. It does not. It just means placement matters more. Where your layers start, where your part sits, where the ends land, all of that changes everything.
This year I paid closer attention to what my stylist was actually doing and why. I asked a million questions, I took photos in gross salon lighting, I lived with good cuts and bad ones. These are the haircuts for round faces I keep coming back to in 2026, the ones that give me length without hiding my face.
My Go-To Cuts That Make Round Faces Look Longer
- 1. Long Soft Layers That Fall Past the Chin
- 2. Textured Lob That Hits the Collarbone
- 3. Side-Parted Bob With a Deep Angle
- 4. Wispy Curtain Bangs With Medium Length
- 5. Short Pixie With Height on Top
- 6. Face-Framing Shag With Choppy Ends
- 7. Sleek Middle Part With Long Length
- 8. Bouncy Blowout Bob With Side Sweep
- 9. Grown-Out Curtain Fringe With Soft Waves
1. Long Soft Layers That Fall Past the Chin
I love this one because it is the least scary place to start. When my hair was one length and hitting right at my chin, my face looked wider. Just wider. My stylist slid those front layers down to about two inches below my jaw and suddenly I had a neck again.
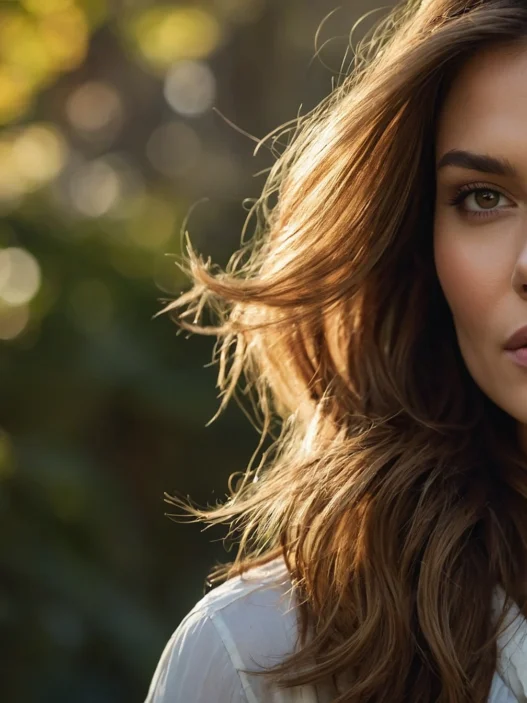
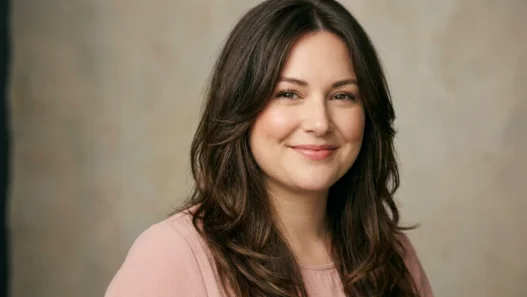
Why does it work for round faces? Lengthening the line. The eye follows those long, face-framing pieces down instead of stopping at the widest part of your cheeks. Ask for soft, blended layers, not chunky steps. The shortest face-framing layer should start at or below the lip, never at the cheekbone. And keep the part slightly off center, it breaks up that perfect circle symmetry.
She is wearing hers exactly how I mean, see how those front pieces skim past her chin and curl just under? That little inward bend at the ends is doing all the slimming work. I style mine with a big round brush, just turning under at the bottom. If you have fine texture, this is where I would peek at hairstyles for fine hair first, because weight placement matters so much more when your hair is silky.
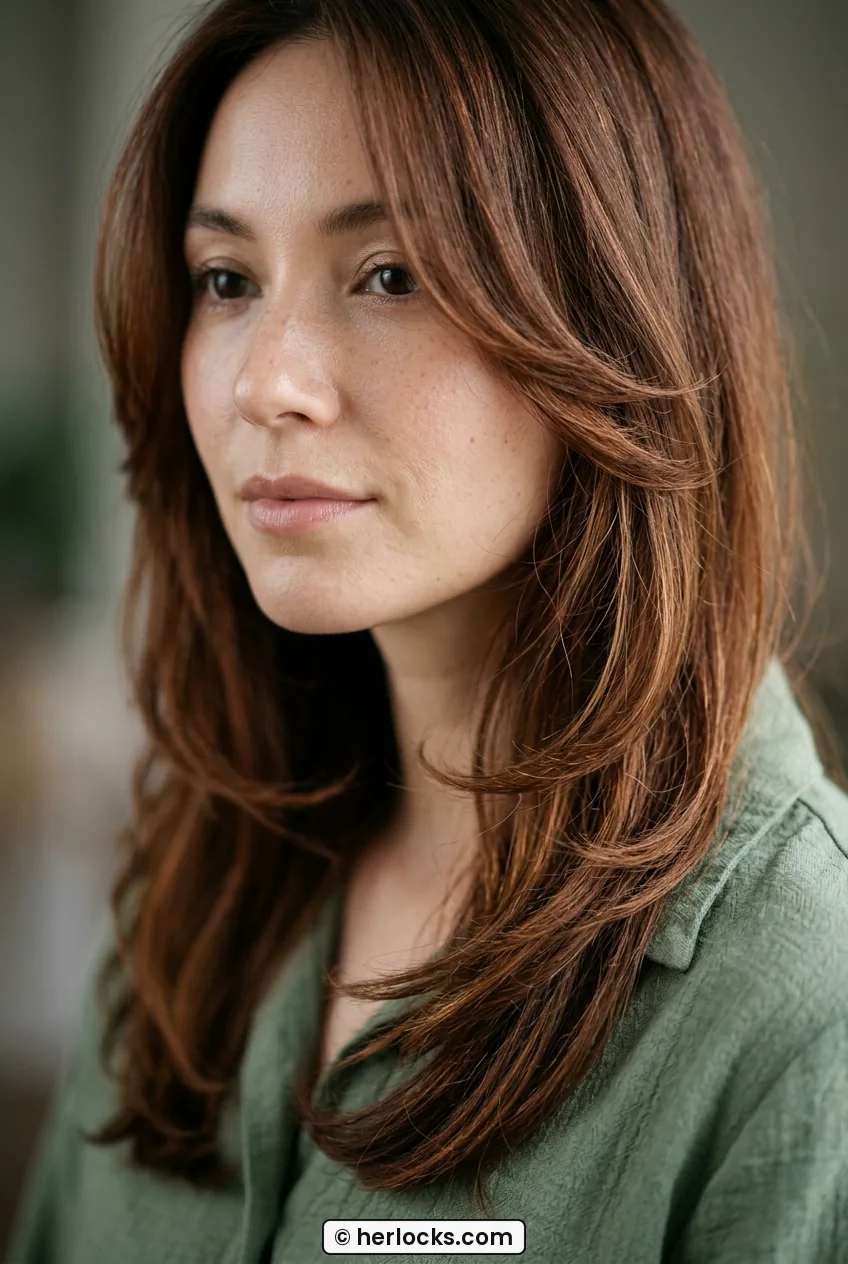
My mistake the first time? I asked for layers that were too short around the face. They flipped out at cheek level and made everything poof. If yours does that, ask your stylist to grow that front piece out and add a longer, well-blended layer underneath. You can also read up on how a good stylist talks through face framing layer placement with photos before your cut so you leave with length, not width.
2. Textured Lob That Hits the Collarbone
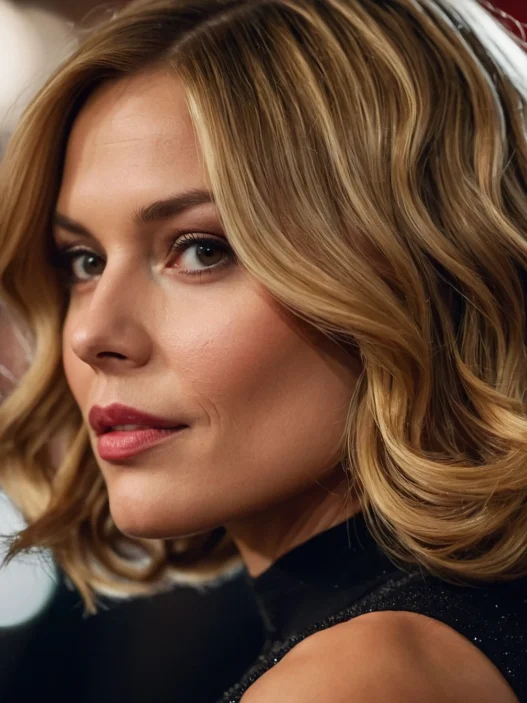
The lob is my sweet spot for medium length. Not short enough to puff out, not long enough to drag me down. When it hits right on the collarbone, it gives my round face this lovely vertical line.
Look at how she is wearing hers, straight on the top with just a little bend through the ends. That is the trick. Too much volume at the sides will widen you, but lived-in texture through the mid-lengths keeps it narrow. I ask for a one-length base with light, internal texture, and front pieces that are maybe half an inch longer than the back. It keeps the shape from going triangle.
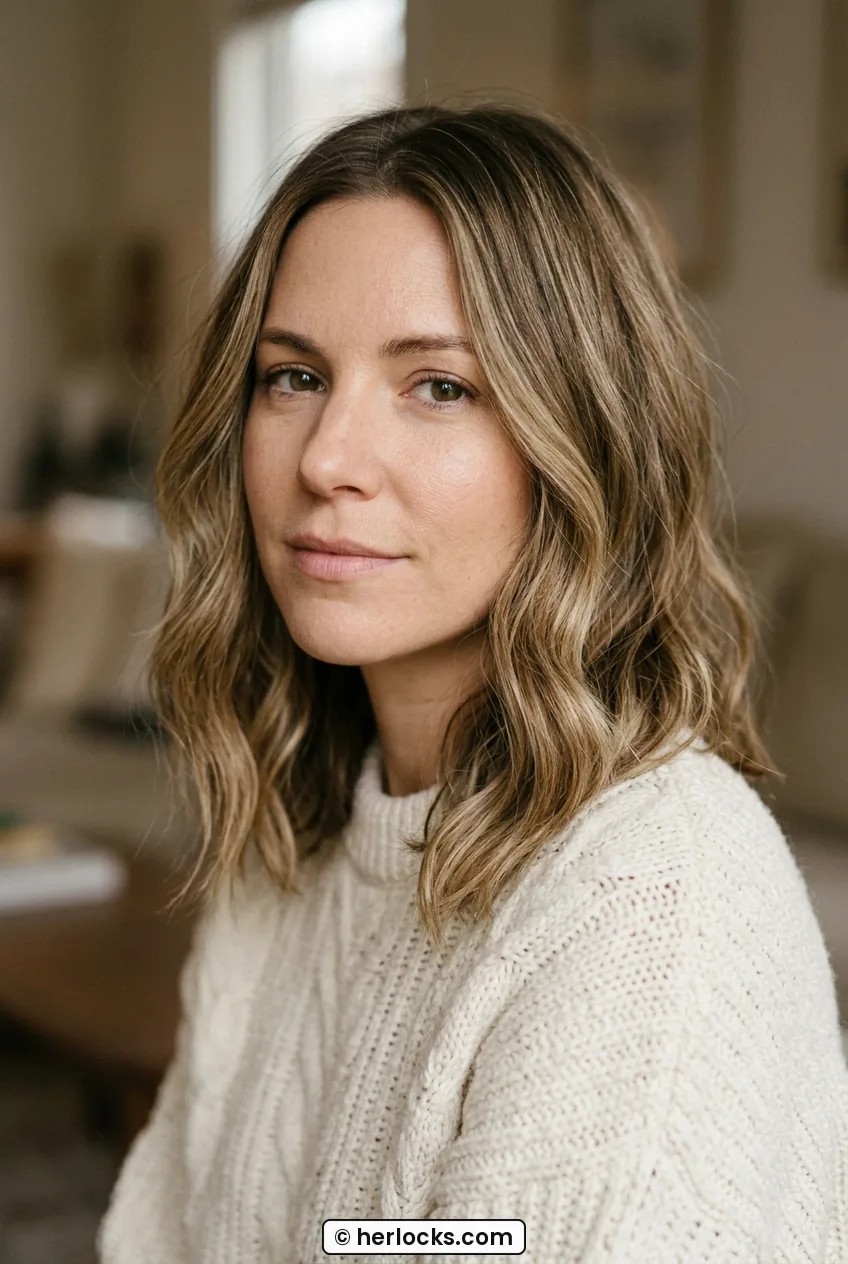
Parting is huge here. A deep side part or an off-center part instantly makes a lob more flattering for a fuller face than a dead-center part with no layers. And honestly? A lob grows out beautifully. Mine went from sharp to shaggy without that awkward stage. For styling, I use a flat iron to create a loose S-bend, leaving the last inch straight. It looks cool, not done.
3. Side-Parted Bob With a Deep Angle
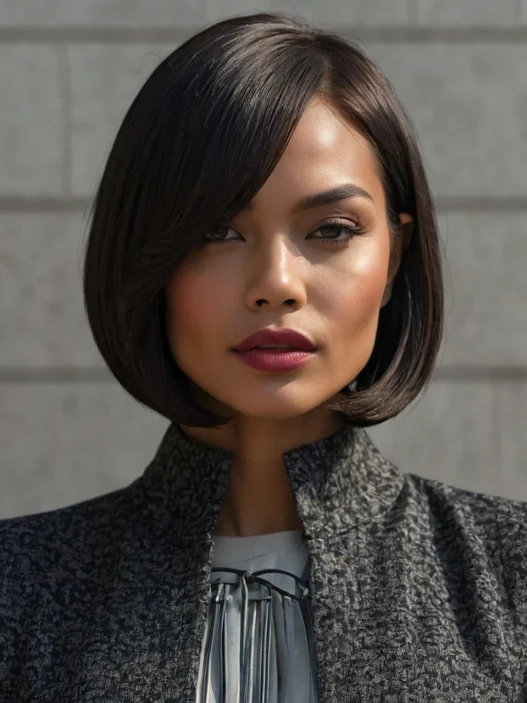
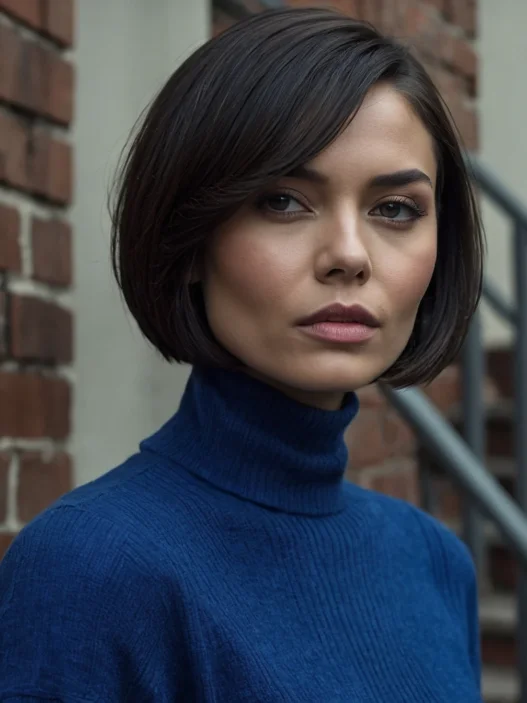
Okay, can we talk about bobs for a minute? I avoided them for years because I thought short haircuts for round faces were a no. Then my friend with almost my exact face shape showed up with this angled bob and I was stunned. It was shorter in back, longer in front, with a deep side part.
This is the length I am talking about. See how it hits just below her chin in front? That forward angle covers the jaw corners just enough while the stacked back gives lift. It creates a diagonal line, and diagonals are magic on round faces because they break the roundness.
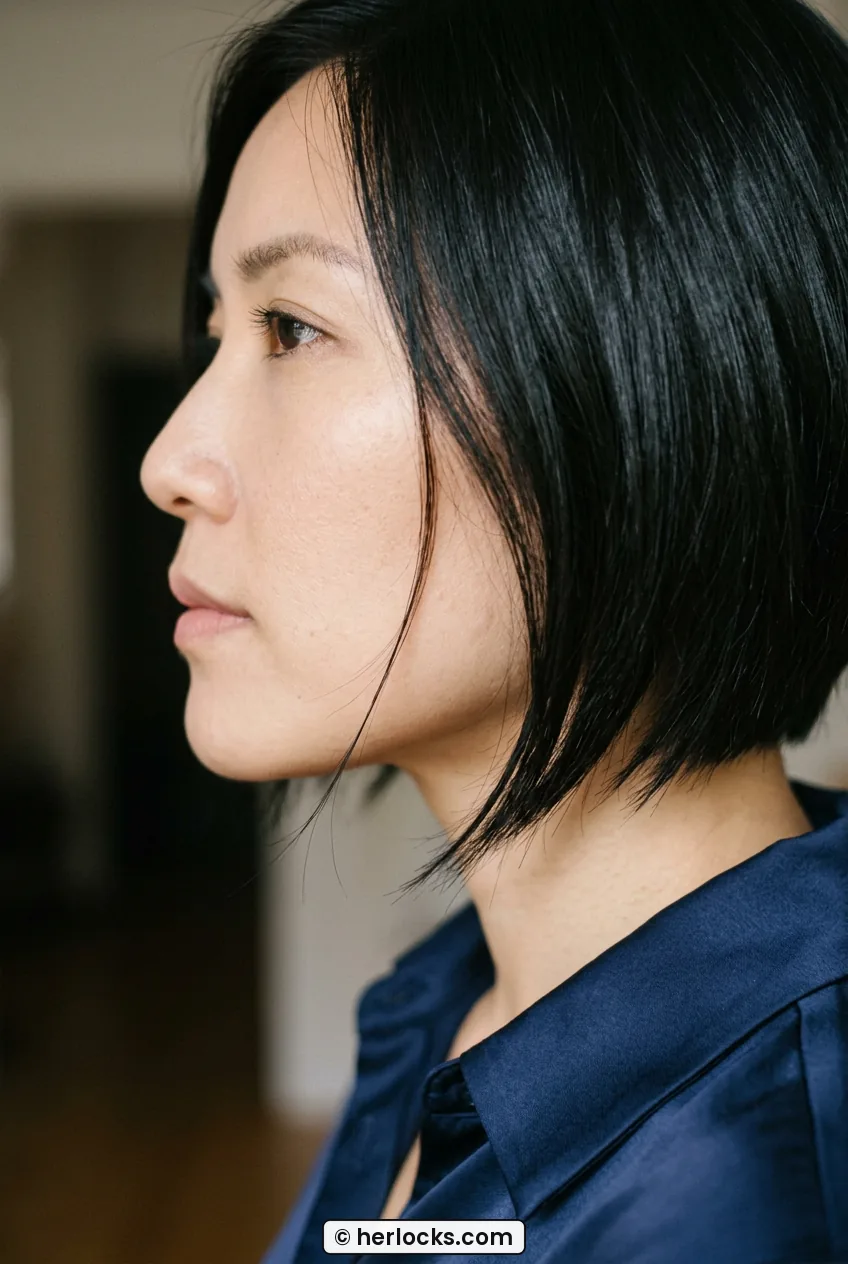
If you want to try a bob cut for a round face, bring three photos, not one. A front view, a side view, and a back view. Ask for a clean, slightly A-line shape with minimal bulk behind the ears. My stylist point-cuts the ends so they are soft, not blunt and boxy. I tuck one side lightly behind my ear when I want more asymmetry. And if you have ever had a bob go wrong, this story about a haircut round face disaster fix made me feel so much less alone.
One more thing. Blow dry the front pieces forward and under, not back. I learned that the hard way after a whole week of them flipping out like wings.
4. Wispy Curtain Bangs With Medium Length
Bangs for a round face? Yes, but not all bangs. A heavy, straight-across fringe cut my face in half and made my cheeks look rounder. Curtain bangs did the opposite.
I love a wispy, parted fringe that opens in the middle and melts into face-framing layers. It creates a long, upside-down V that draws the eye down the center of your face. So flattering. Keep them light and feathery, with the shortest piece around the bridge of the nose and the longest pieces blending into your layers at the lips or chin.
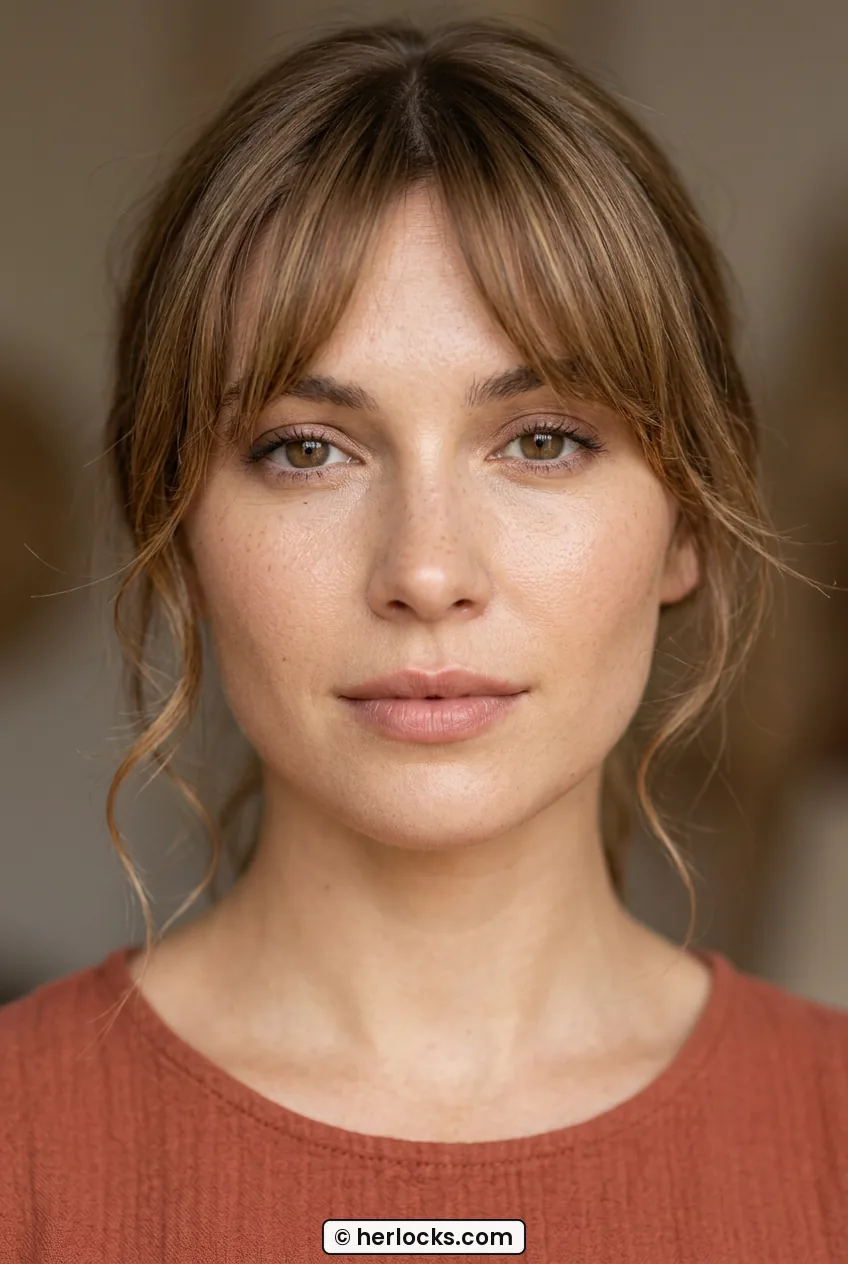
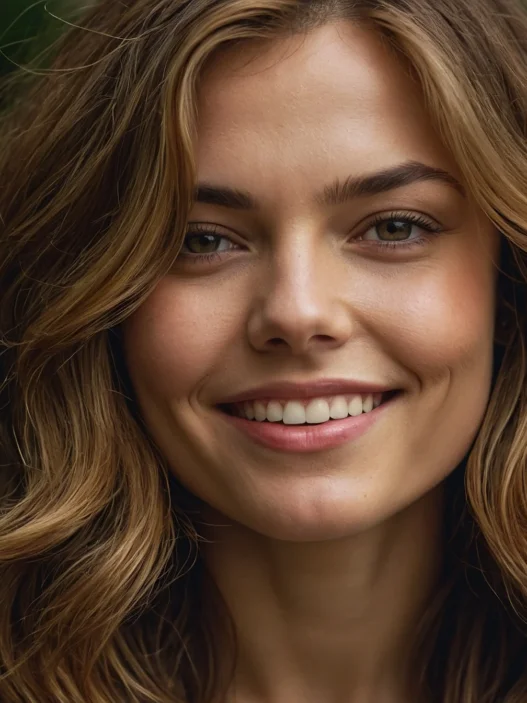
She has got a similar face shape to mine, and honestly, this cut looks incredible on her. See how the curtain pieces hug her cheekbones instead of sitting on them? That is what you want to show your stylist. I style mine by blow drying with a small round brush, pulling the left piece left and the right piece right. Thirty seconds. Done. You can learn more about getting that split right with curtain bang styling basics on a day when you have clean hair and five minutes.
This is my personal pick for 2026. If you only change one thing, try a soft curtain fringe with longer sides. It made my face look slimmer without me losing any length, and I still tie my hair up every gym day.
See Curtain Bangs Styled Live
5. Short Pixie With Height on Top
I know. A pixie sounds terrifying when you have round cheeks. I put this off until last spring, and then I just did it. And? I wish I had done it earlier.
The secret is not the shortness, it is the shape. You need height on top and closeness on the sides. That vertical volume elongates. Flat on top with width at the ears does the opposite. Ask for longer, textured pieces through the crown, tapered sides, and a little side-swept fringe that hits diagonally across the forehead.
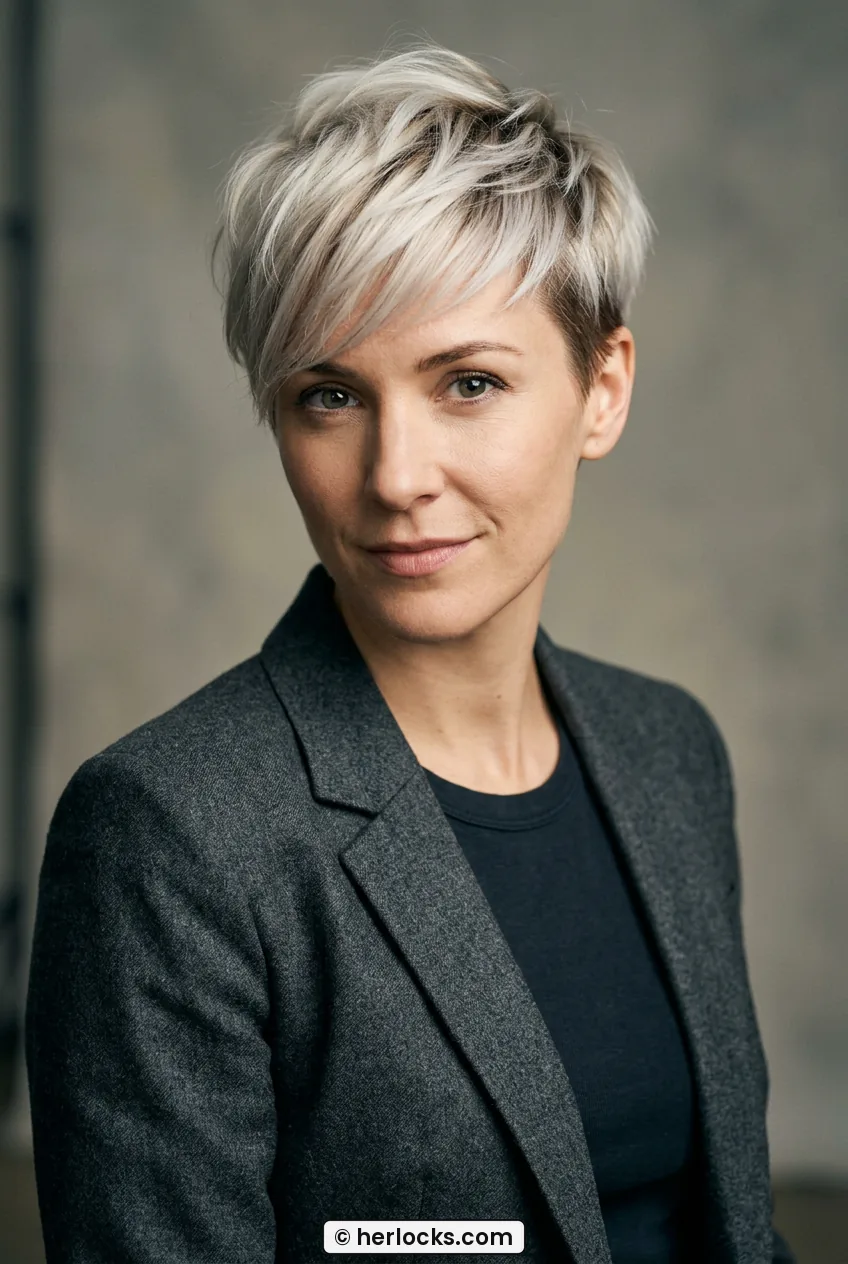
Look at how she is wearing hers, that piecey lift at the crown is exactly what I mean about adding length. I use a tiny bit of matte paste, lift at the roots with my fingers, and push everything slightly forward and to one side. It takes two minutes. If you are over 40 and on the fence, I spent a whole evening scrolling through pixie cuts over 40 and it gave me the courage to book the appointment.
Fair warning, pixies need trims every 4-6 weeks to keep that shape. I set a reminder on my phone or I turn into a fluffy mushroom by week seven.
6. Face-Framing Shag With Choppy Ends
The shag is such a fun one for round faces because it is all about vertical texture. Choppy layers, wispy ends, curtain fringe, it all moves up and down instead of out. Which is precisely what we want.
When I tried this, my stylist kept the layers around my face long and piecey, shortest at the nose, then cascading down. The crown got lots of short, airy layers for lift. The ends were razor-cut so they flicked, not puffed. The result? My face looked narrower even though my hair was actually bigger on top.

The woman in this photo nails it. See those uneven, face-hugging tendrils around her jawline? They are not perfect, and that is why it works. Perfectly round, blunt lines emphasize roundness. Broken, lived-in lines soften it. I air dry with mousse and scrunch, then piece out the front bits with a little wax. If your hair is thick, ask for internal weight removal, not just shorter layers. My thick-haired friends swear by checking hairstyles for thick hair before asking for a shag, so the volume sits where you want it.
7. Sleek Middle Part With Long Length
This one surprises people. A middle part on a round face? But when the hair is long and sleek, with long layers starting below the chest, that center part creates a long, clean curtain that actually slims.
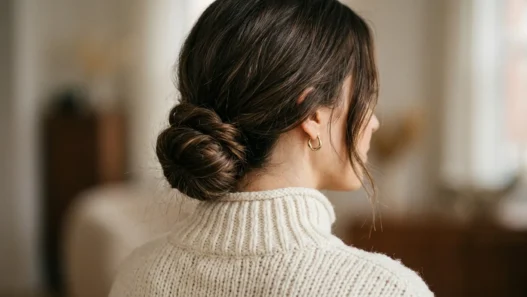
Key word: long. This only works if the front pieces fall well past your shoulders. Chin-length middle parts widen. Waist-length middle parts lengthen. It is all about where the eye stops. My hair is naturally wavy, so I flat iron just the top six inches for that glassy root, then let the ends do their thing. Tuck one side very loosely behind one ear for a little asymmetry.
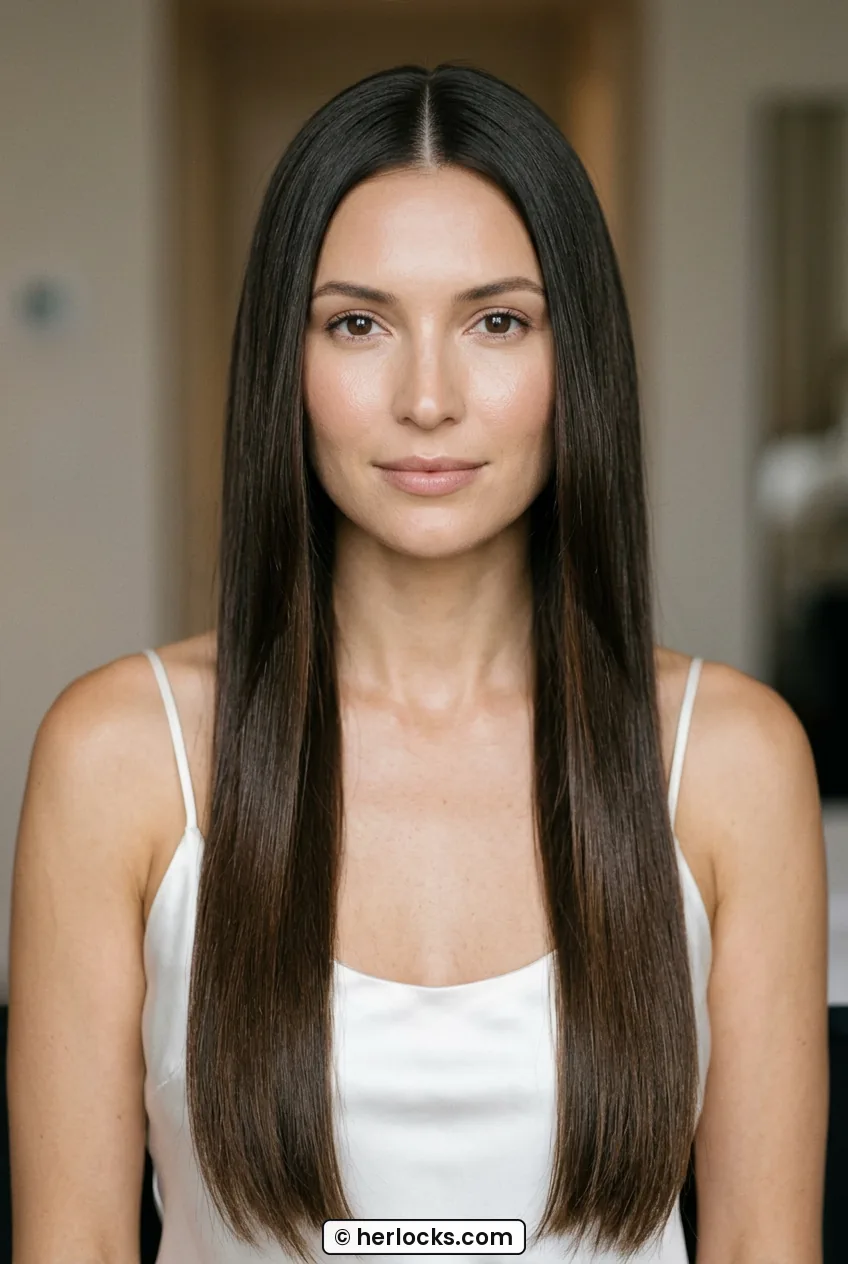
Notice how her hair sits close to her cheeks without adding width? That close fit is essential. If you get puffiness at ear level, it ruins the effect. I use a smoothing cream just through that zone and keep volume at the ends. For a sleeker finish that lasts through humidity, I followed sleek blowout techniques for high-shine straight hair and it changed my routine completely.
8. Bouncy Blowout Bob With Side Sweep
Think 90s supermodel, but chin to shoulder length. Big, bouncy, swept to one side. I wore this to a wedding last fall and three people asked if I had lost weight. Nope. Just a good side sweep.
A side-swept blowout bob works because all that movement goes diagonally. The deep side part lifts the roots on one side, the ends curve under on the other. It is dynamic, not static. Round faces love movement. Ask for a bob with long layers and a side fringe that blends from about eyebrow length into the front. Keep the back slightly stacked so it does not sit flat.
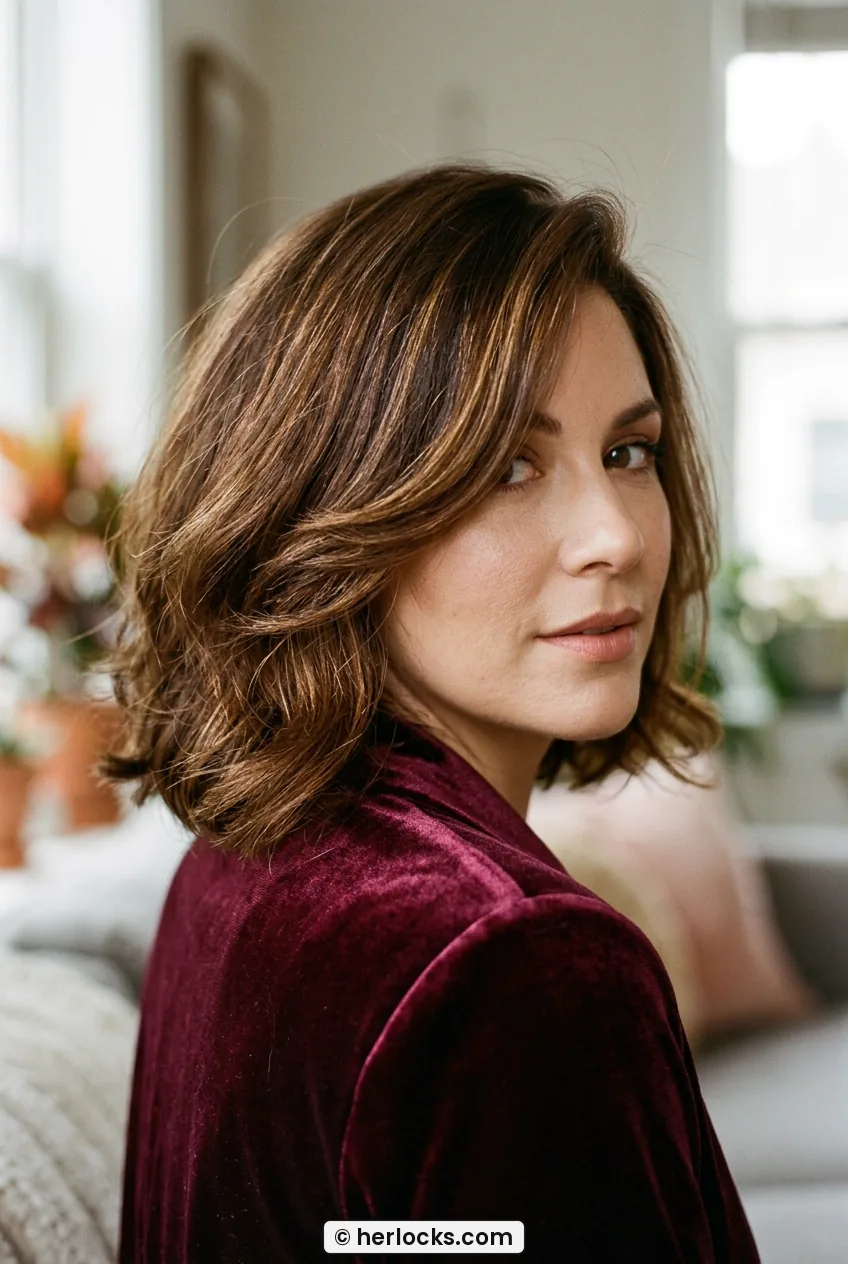
To style, I rough dry to 80 percent, then use a large round brush, over-directing everything to the opposite side for lift before sweeping it back. Velcro rollers on top for ten minutes while I do makeup? Chef kiss. Volume where you want it, slimness where you need it. And please, a heat protectant. That bouncy, healthy shine only happens when the ends are not fried.
9. Grown-Out Curtain Fringe With Soft Waves
Last one, and it is my low-maintenance love. If you are growing out bangs or just want softness without commitment, let your fringe grow to cheek to jaw length and wear it parted with soft waves. It is romantic, forgiving, and so flattering on fuller cheeks.
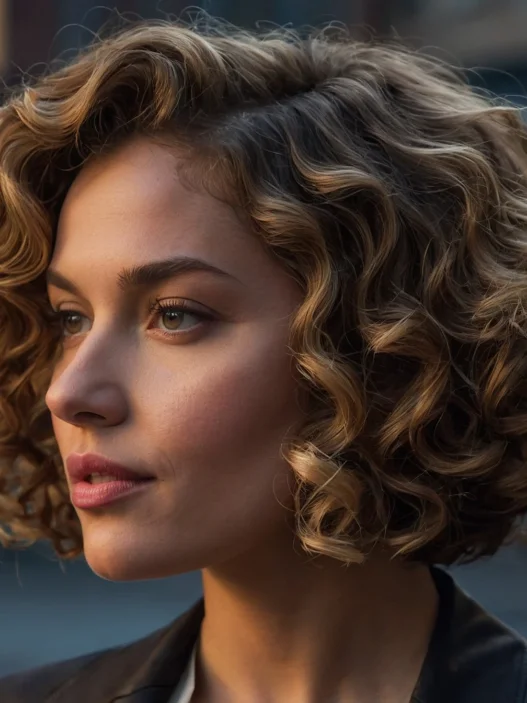
Medium length haircut for round faces plus grown-out fringe is basically a match made in heaven. The waves should start below the ear, not at the cheek. Why? Volume at cheek level widens. Volume at jaw level and below lengthens. I curl away from my face with a one-inch iron, leaving the ends out for a beachier finish, then shake it out.
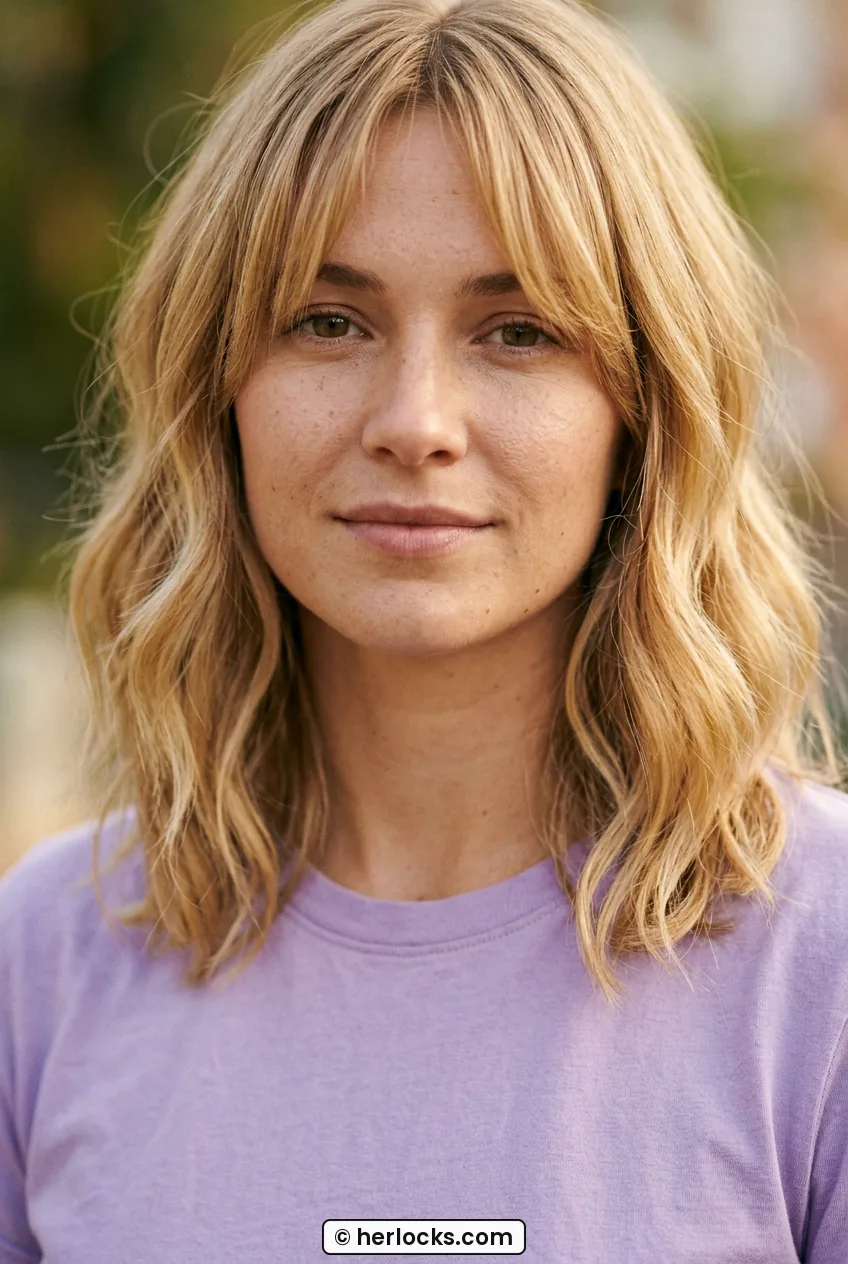
She shows it perfectly here, those loose waves opening away from the center and grazing her jawline. That is the face-slimming curtain in action. I refresh mine on day two with dry shampoo at the roots and just re-curl the two front pieces. Two minutes and I look polished again. For wave definition that does not fall flat by lunch, I picked up tips from long lasting wave methods applied with a light touch so the fringe stays soft.
Round Face Hair Questions I Hear All the Time
What length is most slimming for a round face?
In my experience, collarbone to chest length is the sweet spot. It gives you that vertical line without dragging. Short can work too, but it needs angles or height to balance width.
Are blunt bobs bad for round faces?
Not bad, just tricky. A chin-length blunt bob with a center part can emphasize width. The same bob with a side part, some texture, and front pieces a touch longer is a whole different story.
Where should layers start on a round face?
I tell my stylist to start face-framing layers at the lips or lower. Anything that ends right at the fullest part of the cheek tends to puff out and widen.
Can I wear a middle part with a round face?
Yes, if you pair it with length and closeness through the sides. Long, sleek hair with a middle part looks stunning. Shorter, voluminous middle parts are harder to pull off.
So which one are you trying first? I am still bouncing between my lob and those curtain bangs, depending on how lazy I feel about styling. Send me a DM if you chop, I live for a good before and after. And remember, it is just hair, but the right placement makes you feel like yourself, only a little more lifted.