


I’ve been obsessing over sleek ponytails lately. What started as a quick gym hairstyle has become my go-to for everything from client meetings to date nights. But here’s what I learned after trying dozens of techniques — not all sleek ponytails are created equal, and some are way harder to nail than others.
That’s why I’m breaking down my nine favorite sleek ponytail methods by skill level. Whether you’re a total beginner or someone who can French braid blindfolded, there’s a perfect technique waiting for you here.
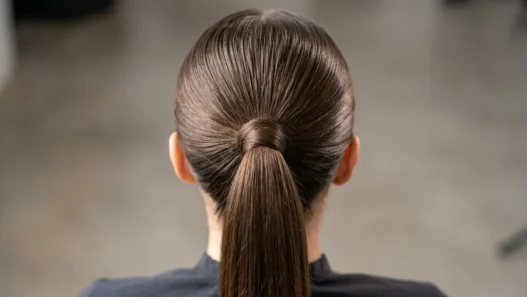
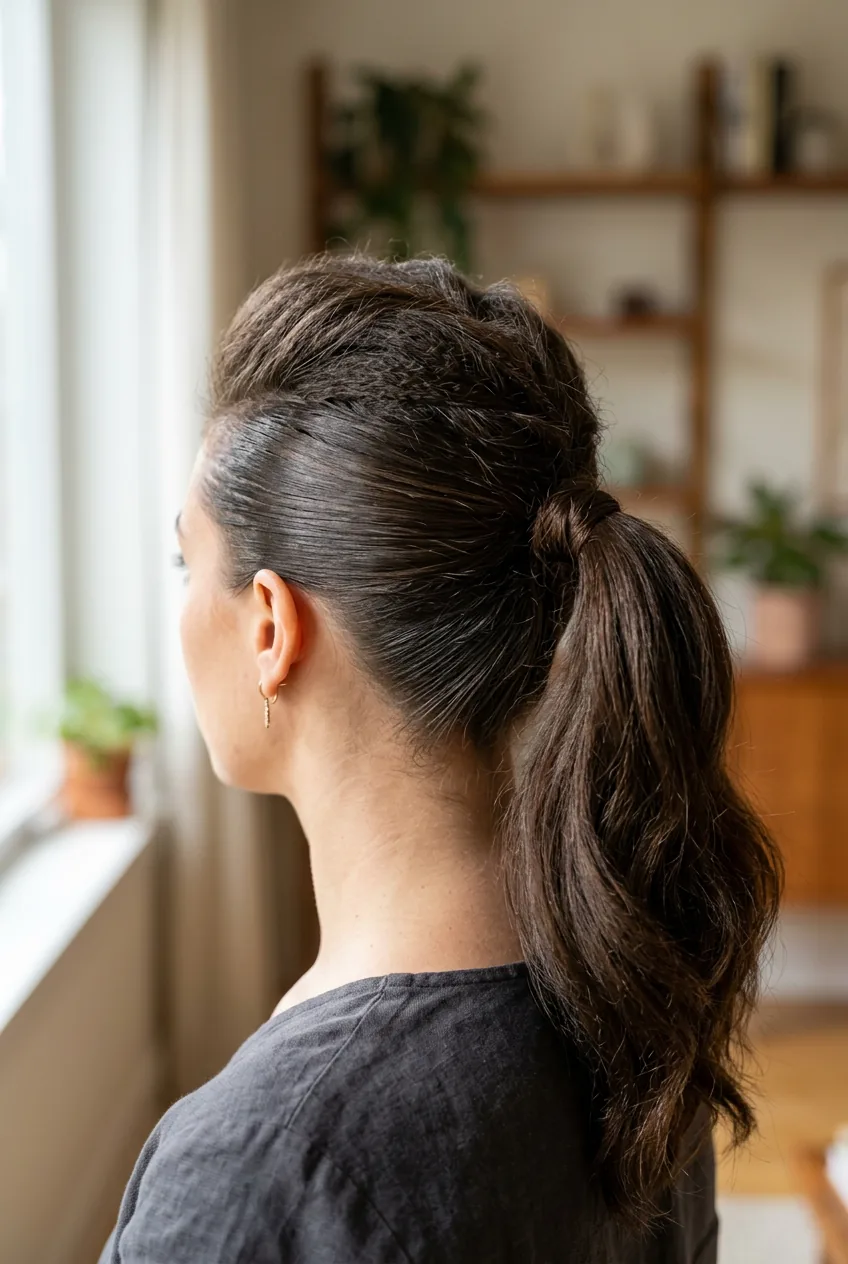
1. Beginner Friendly: Basic Mid-Height Classic

Difficulty: ★☆☆☆☆
Time: 3-5 minutes
Tools: Hair elastic, brush, light-hold hairspray
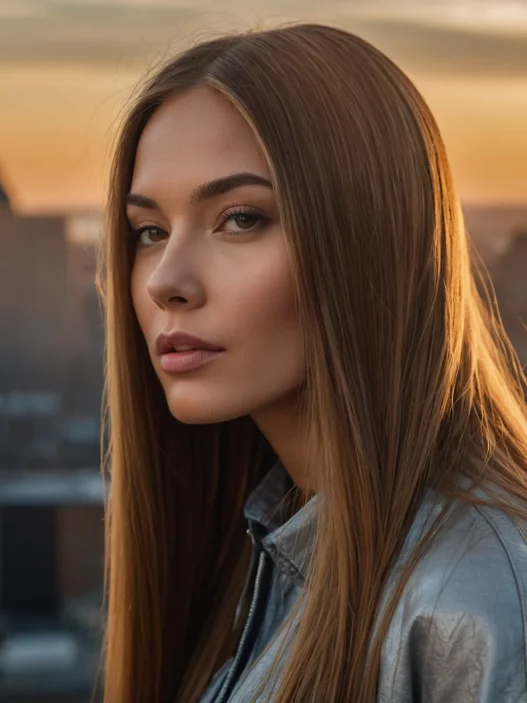
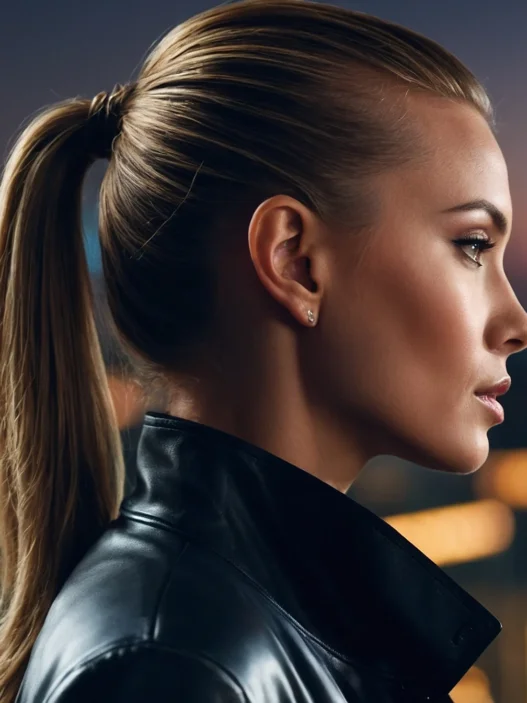
This is where everyone should start. The mid-height ponytail sits right at the occipital bone — that’s the bump at the back of your head. It’s the most forgiving placement because slight variations in height don’t dramatically change the look.
I love this technique for rushed mornings. Brush everything back smooth, secure with an elastic, and hit it with a light mist of hairspray. The key is getting the hair taut at the crown without creating that dreaded “helmet head” effect.
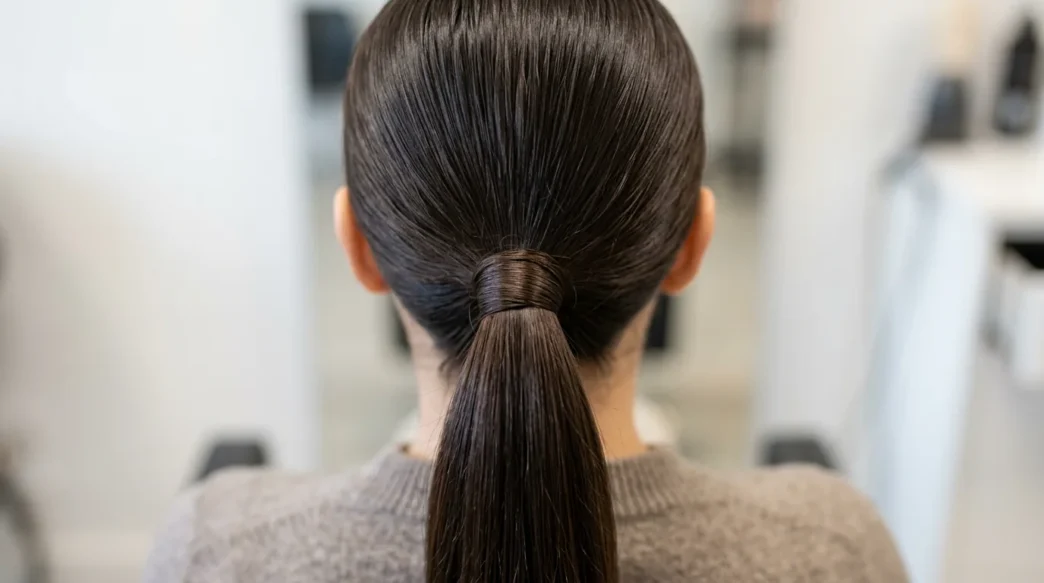
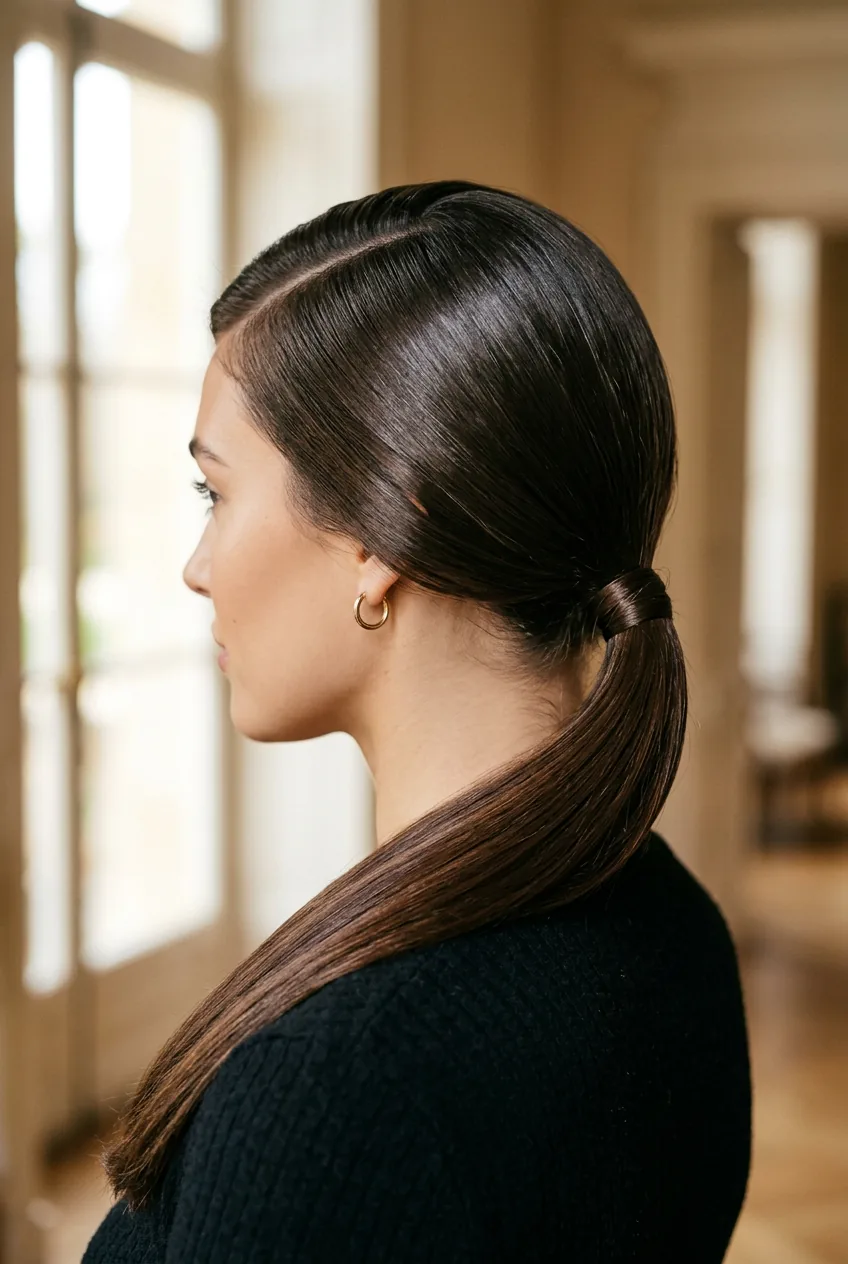
2. Beginner Friendly: Low Nape Sophistication
Difficulty: ★☆☆☆☆
Time: 4-6 minutes
Tools: Fine-tooth comb, hair elastic, smoothing serum
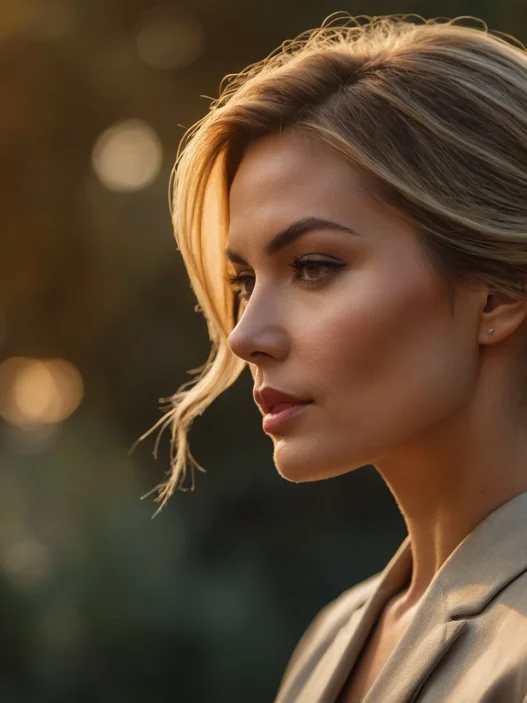
The low ponytail is criminally underrated. Positioned right at the nape of your neck, it feels effortlessly chic without trying too hard. I reach for this style when I want to look put-together but not overdone.
The secret is using a fine-tooth comb to create the smoothest possible surface. Work in small sections, combing each piece back individually before gathering everything together. A tiny amount of straight sleek styling serum makes all the difference here.
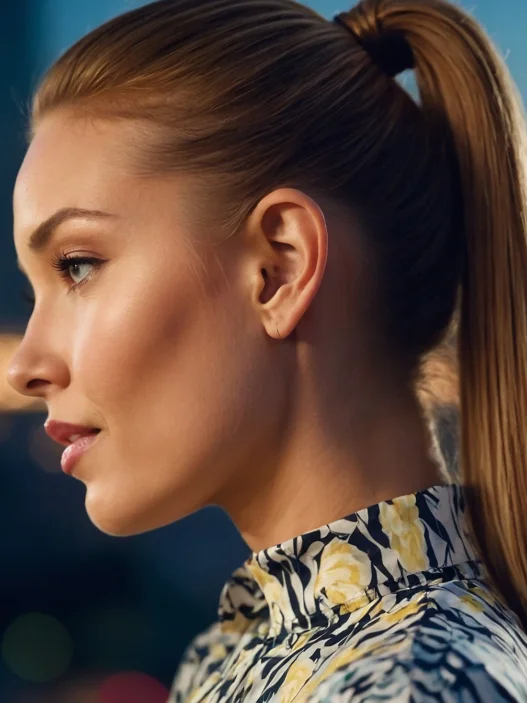
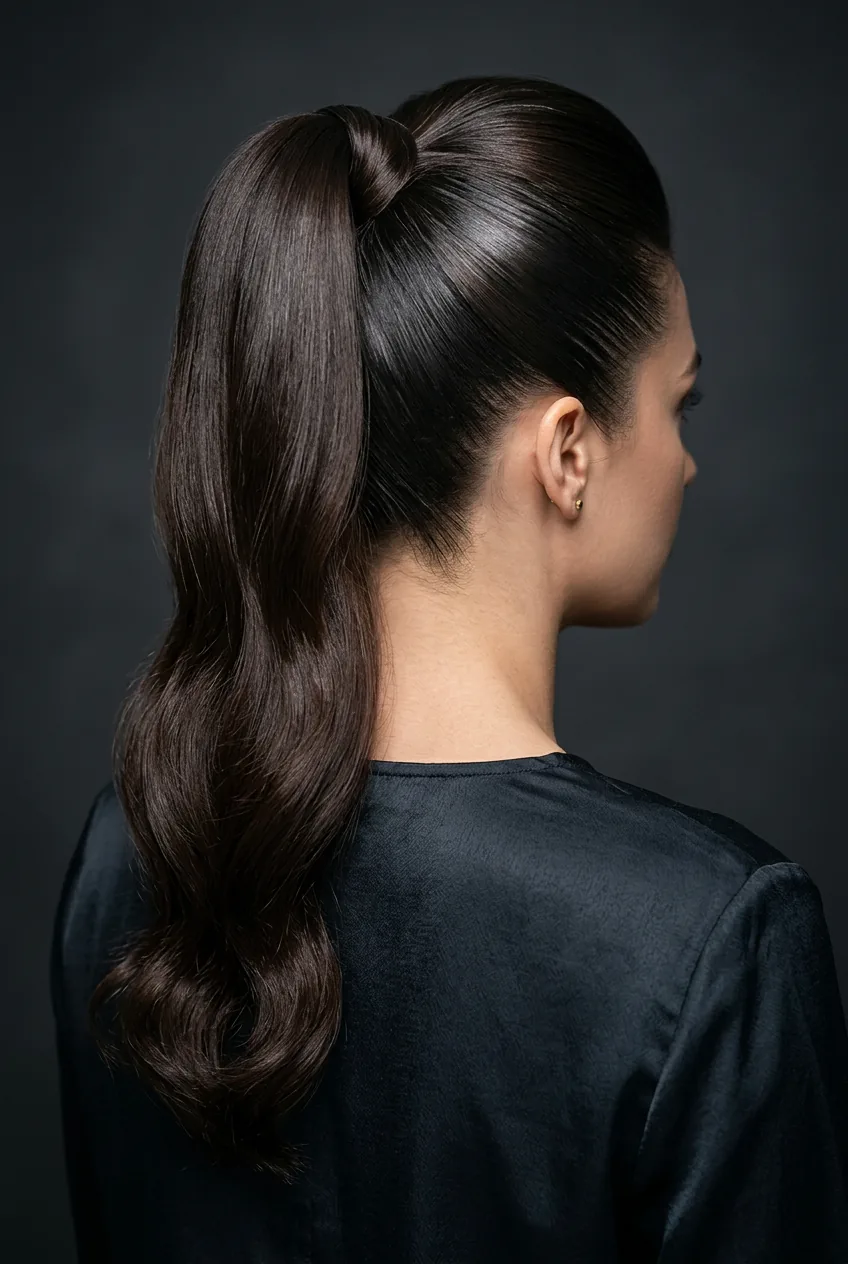
3. Intermediate Challenge: High Crown Drama
Difficulty: ★★★☆☆
Time: 8-12 minutes
Tools: Paddle brush, rattail comb, strong-hold elastic, bobby pins
Now we’re getting into territory that requires some practice. The high ponytail sits right at the crown of your head, and placement is everything. Too far back and you look like you’re going to the gym. Too far forward and it feels costume-y.
I use the “ear to ear” rule — imagine a line connecting the tops of your ears, then place the ponytail where that line intersects your center part. The challenging part is getting all the hair gathered smoothly without any bumps or loose pieces.
My personal pick for everyday versatility? The high crown drama. It photographs beautifully, works with every face shape I’ve tried it on, and transitions seamlessly from day to evening with just a jewelry swap.
4. Intermediate Challenge: Side-Swept Elegance
Difficulty: ★★★☆☆
Time: 10-15 minutes
Tools: Wide-tooth comb, smoothing brush, hair elastic, strong-hold gel
This technique adds asymmetry to the classic sleek ponytail. You create a deep side part, then sweep all the hair to one side before gathering it into a low or mid-height position. The result feels red-carpet worthy.
The tricky part is maintaining that dramatic sweep without having pieces fall out throughout the day. I’ve found that applying gel to damp hair, then blow-drying in the direction of the sweep, creates the strongest foundation. Professional styling techniques can make this look last all day.
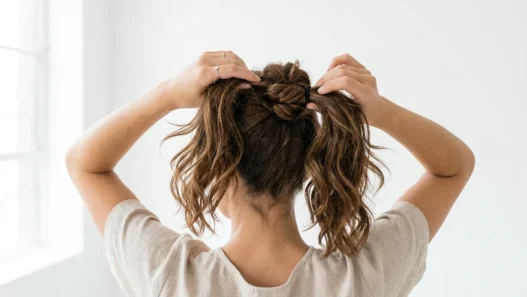
5. Intermediate Challenge: Textured Sleek Hybrid
Difficulty: ★★★☆☆
Time: 12-18 minutes
Tools: Texturizing spray, smoothing brush, hair elastic, light-hold hairspray
This is my answer to the question “Can sleek hair still have personality?” You create subtle texture at the crown while keeping the length smooth and polished. It’s like controlled messiness — harder to achieve than it looks.
Start by misting the crown area with texturizing spray, then gently tease with a brush to create soft volume. The key word is gentle — you want texture, not a rat’s nest. Then smooth the sides back into your ponytail as usual.
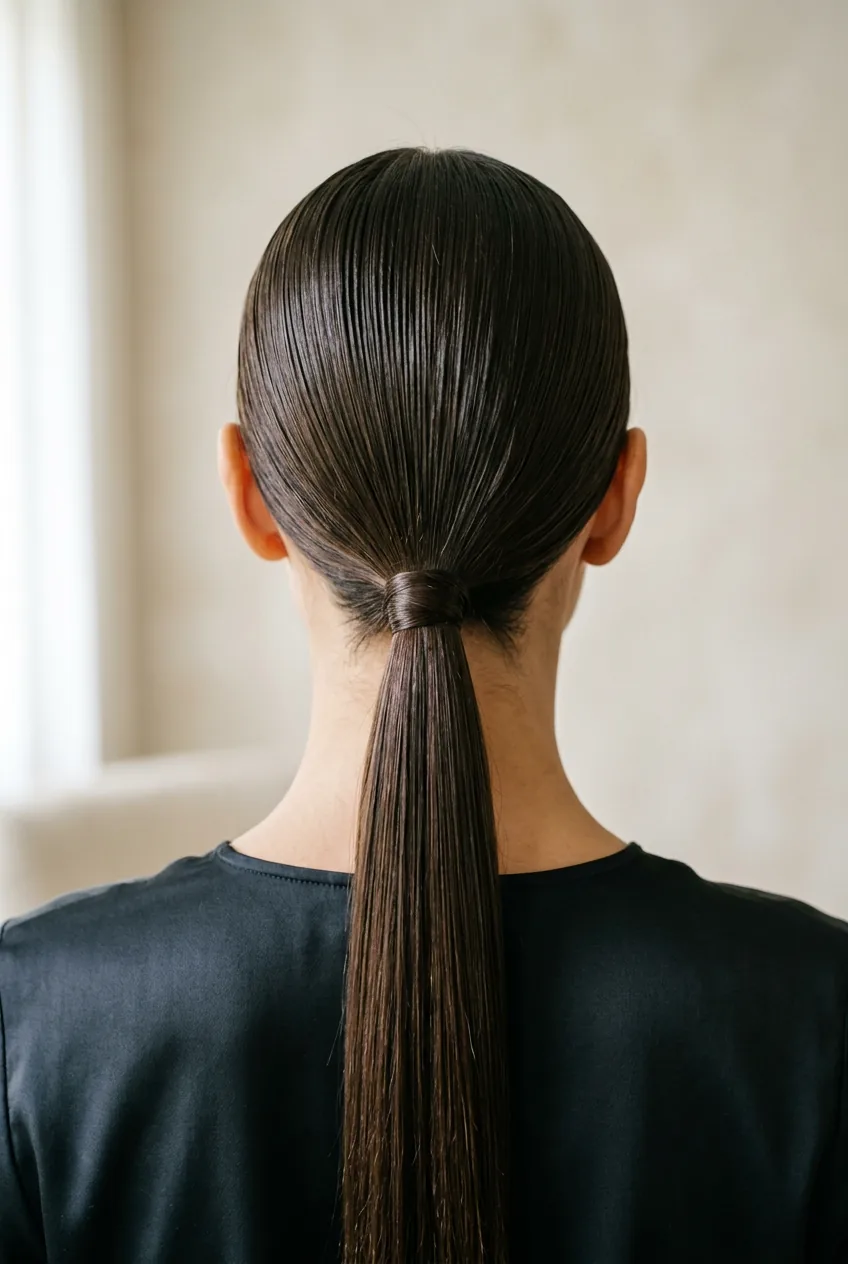
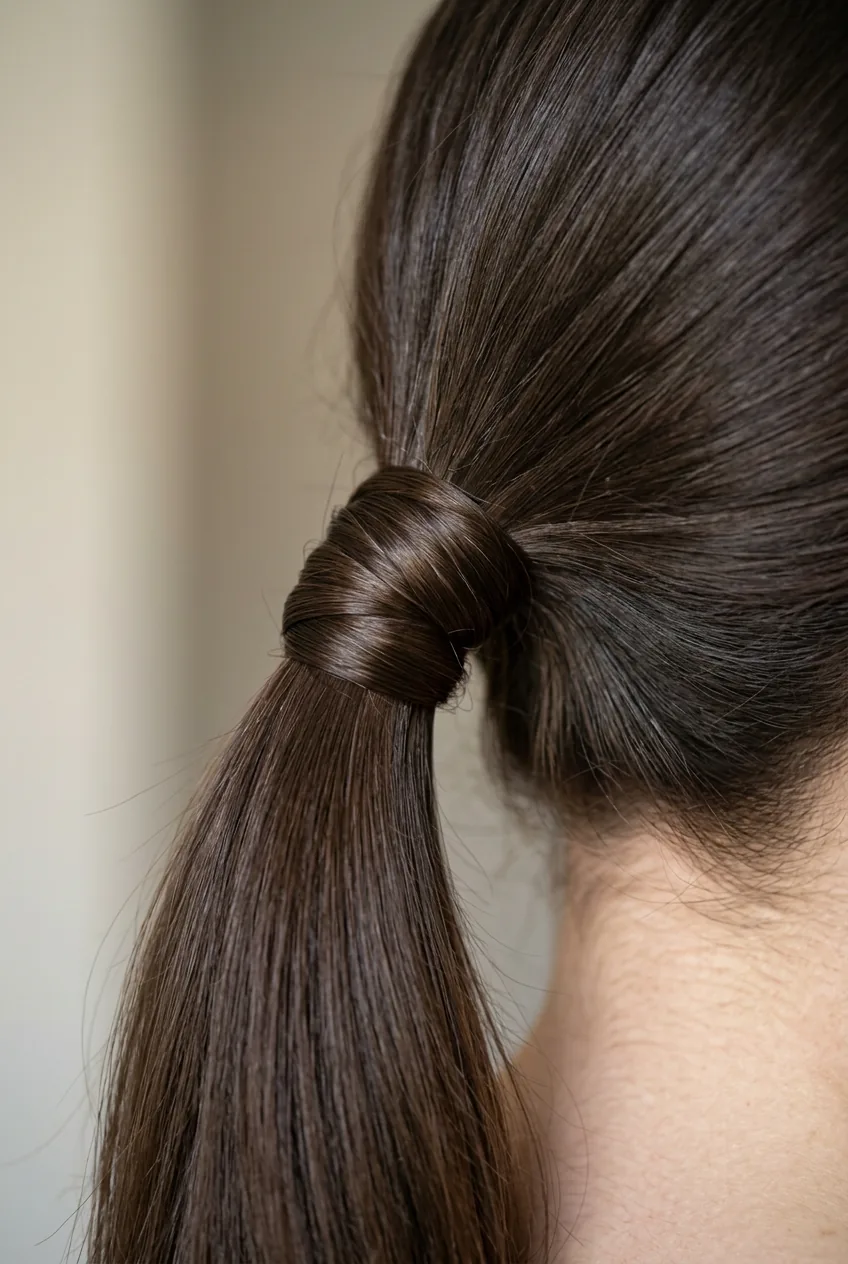
6. Advanced Level: Wrapped Elastic Perfection
Difficulty: ★★★★☆
Time: 15-20 minutes
Tools: Clear elastic, bobby pins, small hair section, smoothing serum
This is where we separate the casuals from the committed. You create your sleek ponytail as usual, then take a small section from the ponytail itself and wrap it around the elastic to hide it completely. The finish looks incredibly polished and expensive.
The challenge is getting the wrap tight enough to stay put while making it look effortless. I separate about a half-inch section from the underside of the ponytail, wrap it clockwise around the base three to four times, then secure the end with a bobby pin hidden underneath.
Watch This Wrapping Technique
7. Advanced Level: Double Ponytail Illusion
Difficulty: ★★★★☆
Time: 18-25 minutes
Tools: Two hair elastics, rattail comb, bobby pins, volumizing spray
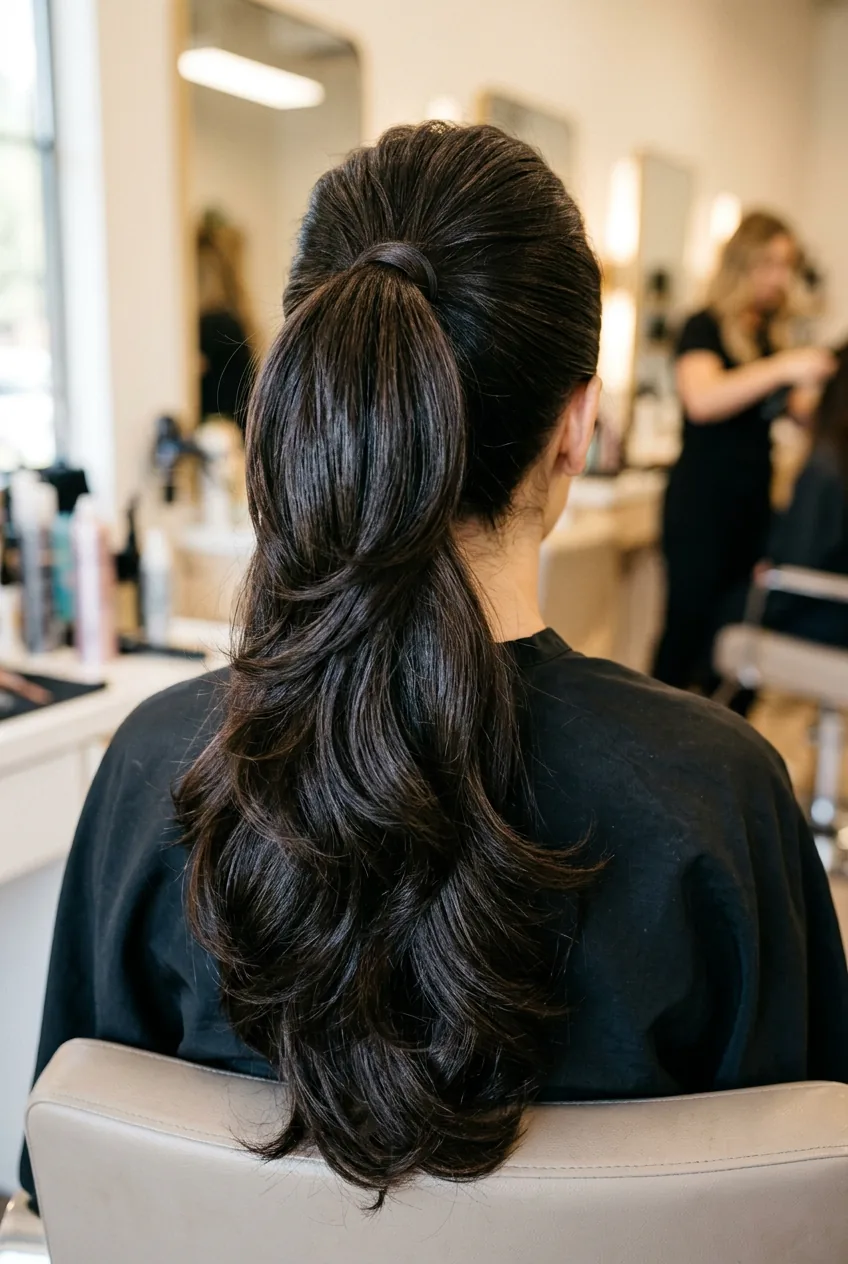
This technique creates the illusion of incredibly thick, long hair by stacking two ponytails. You create a smaller ponytail at the crown, then gather the remaining hair into a second ponytail positioned lower, creating amazing volume and length.
The secret is in the placement. The top ponytail should sit about two inches above where you want the final result to appear. When done correctly, it looks like one impossibly full ponytail. I learned this trick from a braided ponytail tutorial and adapted it for sleek styles.
8. Advanced Level: Braided Base Foundation
Difficulty: ★★★★★
Time: 20-30 minutes
Tools: Rattail comb, multiple small elastics, bobby pins, strong-hold gel
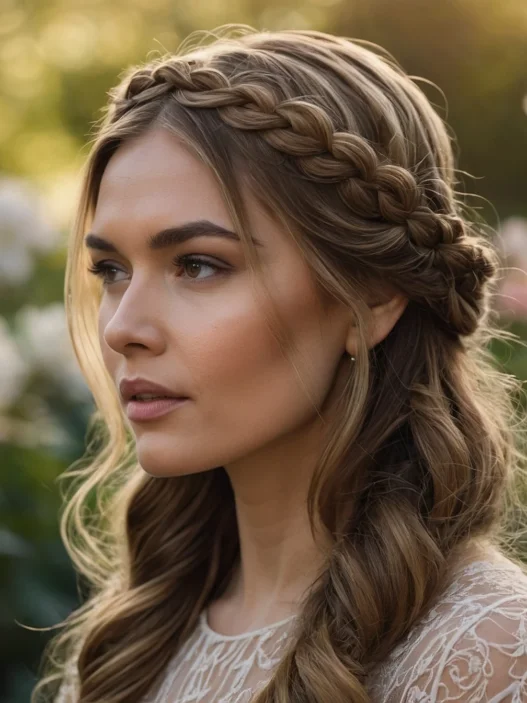
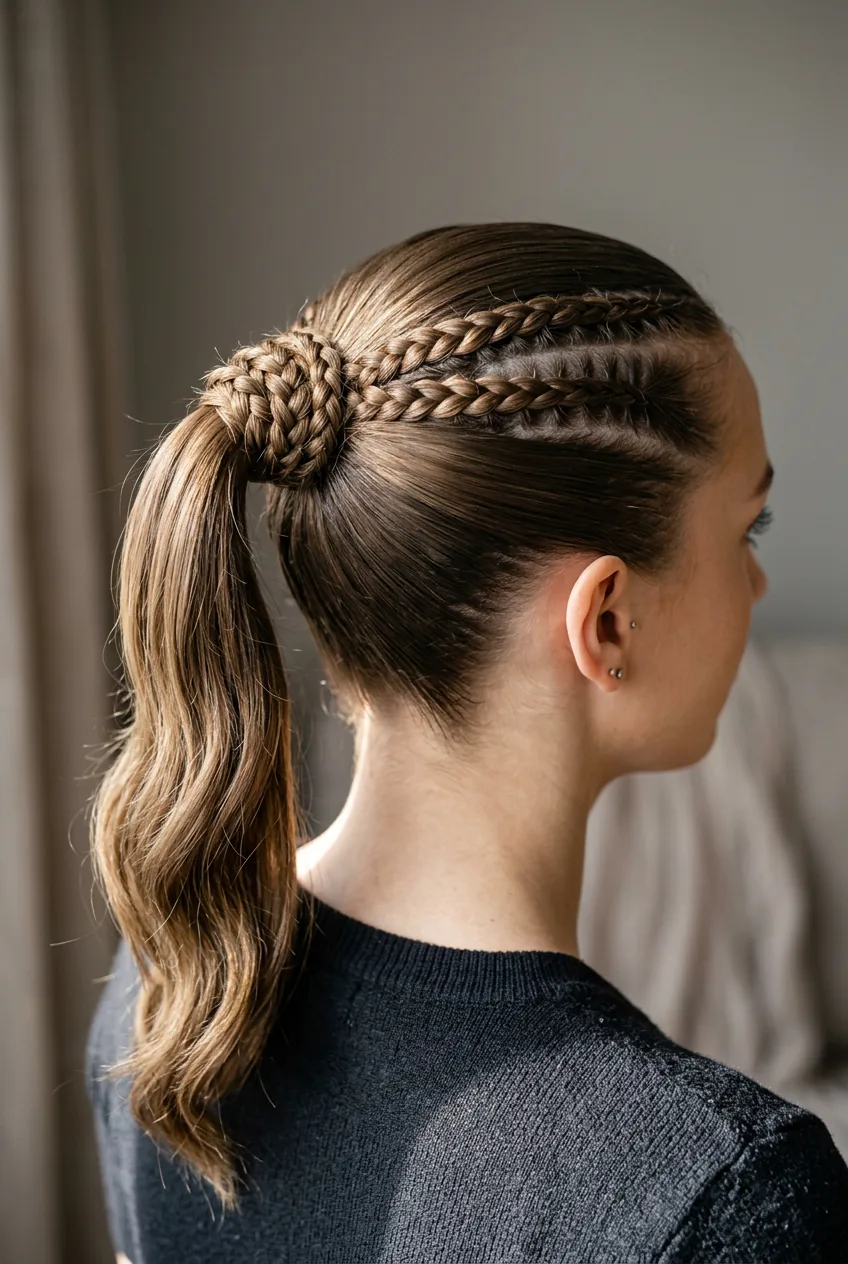
Here’s where things get seriously technical. You create tiny Dutch braids along the hairline, then incorporate them into a sleek ponytail. The braids add incredible staying power and a subtle detail that elevates the entire look.
I typically do three small braids — one at each temple and one at the center of the hairline. Each braid is only about two inches long before being integrated into the smooth gathered hair. The contrast between the textured braids and sleek ponytail is stunning but requires serious coordination.
9. Advanced Level: Sculptural High Fashion
Difficulty: ★★★★★
Time: 25-40 minutes
Tools: Multiple brushes, strong-hold gel, hair elastics, bobby pins, shine spray
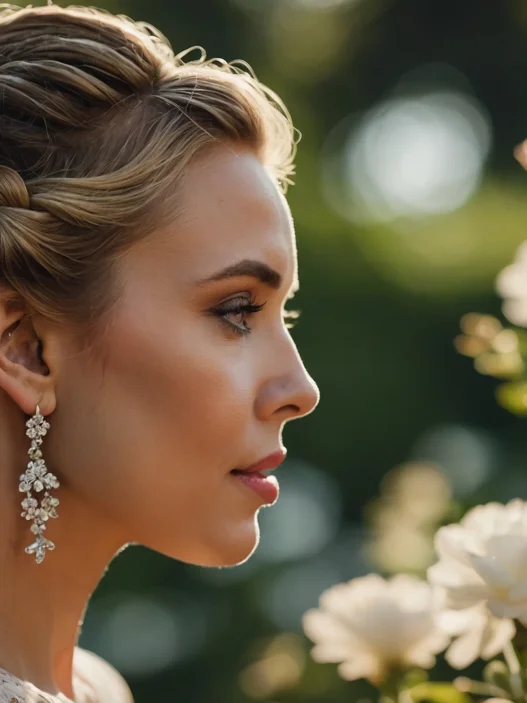
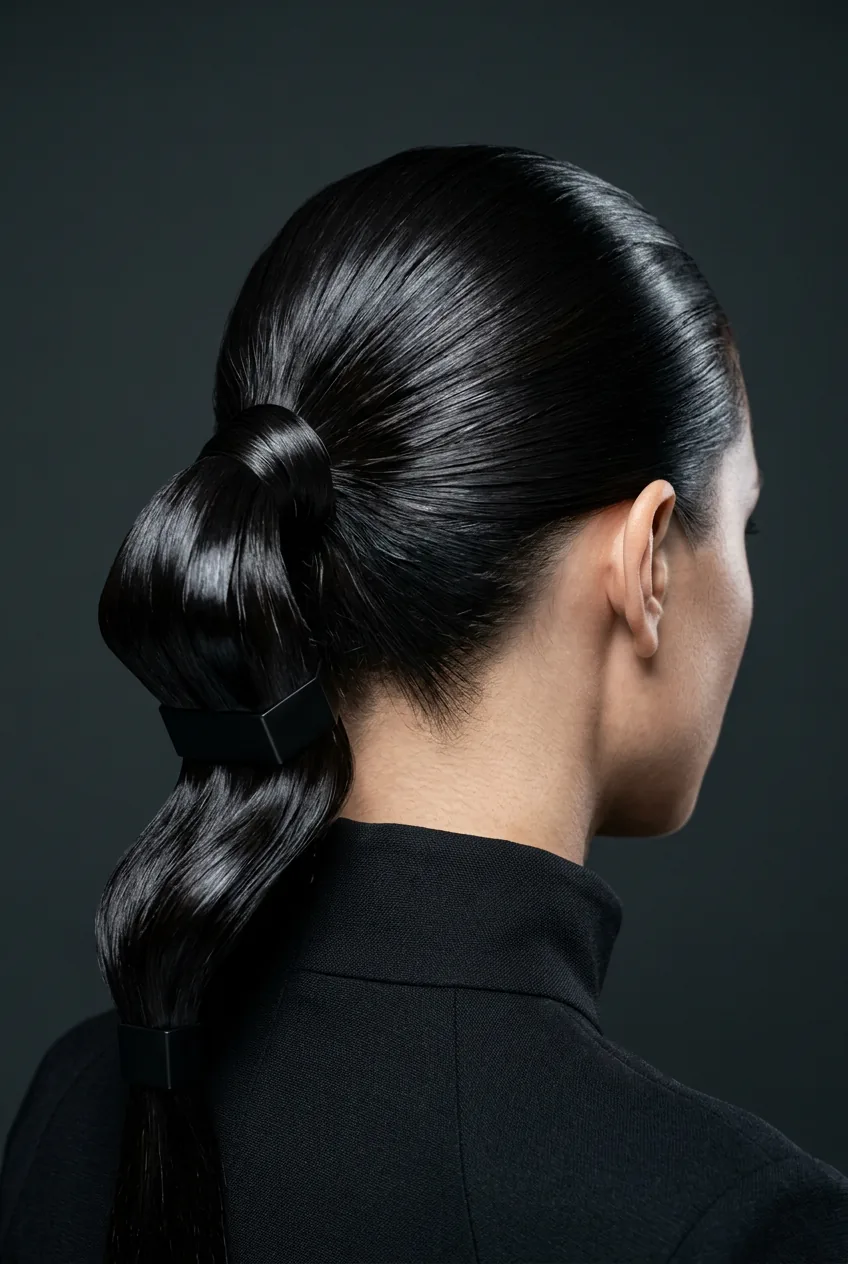
This is runway-level perfection. Think glass-smooth surface, architectural precision, and not a single hair out of place. It’s the kind of ponytail that makes people stop and stare, wondering how you achieved such perfection.
The process involves multiple layers of product application, precise sectioning, and building the style in stages. Advanced styling methods are essential here — this isn’t something you rush through on a Tuesday morning. But the result? Pure art.
I save this technique for special events when I have time to really focus. The key is working in thin sections and building up the smoothness gradually rather than trying to force everything into place at once.
Questions I Get About These Techniques
How long do these sleek ponytails actually last?
The beginner techniques typically hold for 6-8 hours with minimal touch-ups. Advanced styles can last all day if you use the right products and techniques. The wrapped elastic and braided base versions are practically indestructible.
Can I do these on second-day hair?
Actually, yes! Second-day hair often holds sleek styles better because it has natural oils that help with grip and smoothness. I sometimes prefer it over freshly washed hair, especially for the intermediate techniques.
What if my hair is too fine for these styles?
Fine hair actually works beautifully with sleek ponytails — you just need to adjust your approach. Use volumizing products at the roots before styling, and consider the double ponytail technique for added fullness.
Should I straighten my hair first?
Not necessarily. If you have naturally straight or slightly wavy hair, good brushing technique and the right products can achieve sleekness without heat damage. Save the flat iron for when you really need that glass-like finish.
The beauty of having nine different techniques is that there’s honestly something here for every skill level and time constraint. I still reach for that basic mid-height classic on busy mornings, but when I want to feel extra put-together, those advanced techniques are absolutely worth the effort.