


I’ve been obsessing over ponytails lately because honestly? They’re having a major moment. Gone are the days when ponytails meant throwing your hair back in a basic elastic when you’re running late. I’ve tested dozens of styles over the past few months, and what I love most is how they range from “throw-it-up-in-thirty-seconds” easy to “Instagram-worthy-masterpiece” complex.
The best part? You can literally work your way up the difficulty ladder as your skills improve.
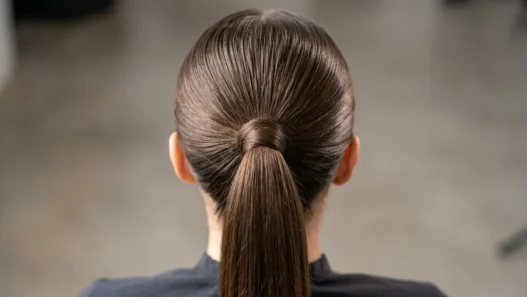
1. Beginner Friendly: Basic High Ponytail
Difficulty: ⭐ (1/5) | Time: 30 seconds | Tools: Hair elastic
This is where everyone starts, and honestly, there’s beauty in its simplicity. I still reach for this when I’m rushing out the door or need something that’ll stay put during a workout. The key is getting the height right — aim for the crown of your head, not the back.
Pro tip I learned the hard way: smooth your hair with your palms before securing. Those little flyaways that seem cute in mirrors become distracting bumps in photos.
2. Beginner Friendly: Low Side Ponytail

Difficulty: ⭐ (1/5) | Time: 1 minute | Tools: Hair elastic, brush
This one feels more sophisticated than the basic high pony, but it’s just as easy. I love how it looks effortlessly chic — perfect for those days when you want to look put-together without actually trying.
The trick is placing it at the nape of your neck, slightly off-center. I usually go for the right side because that’s where my hair naturally wants to fall anyway.
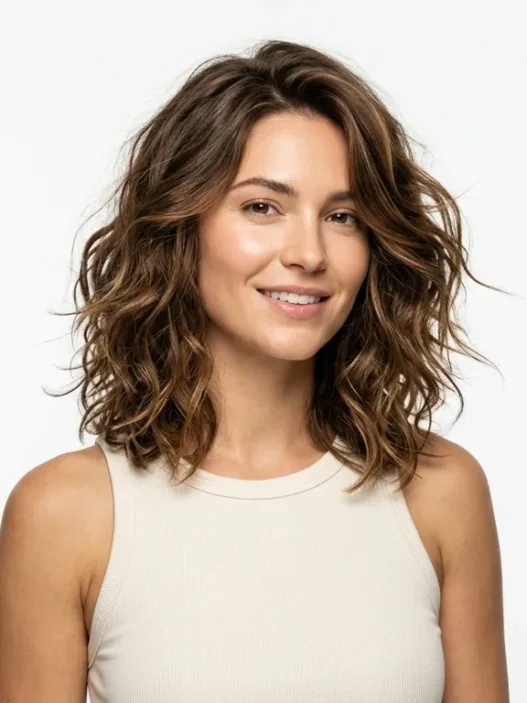
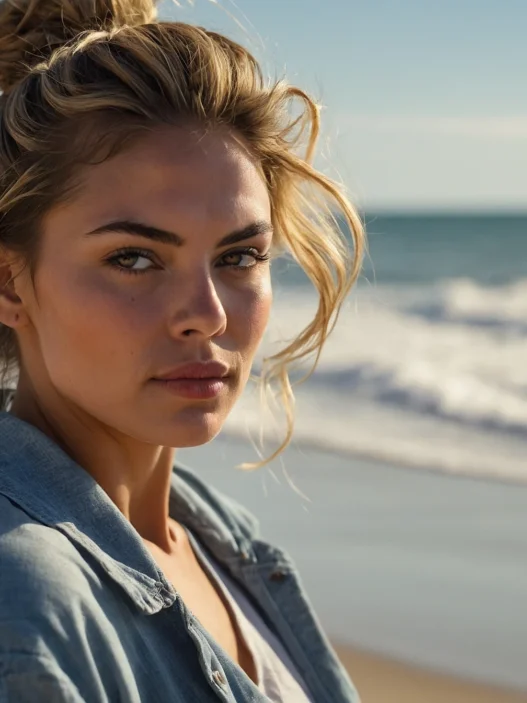
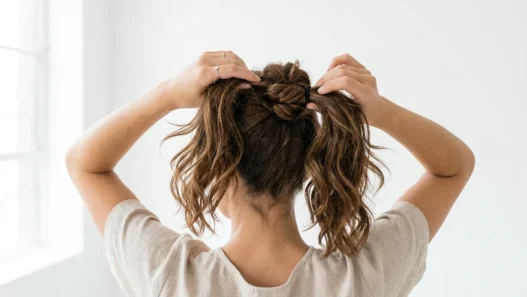
3. Beginner Friendly: Textured Messy Pony
Difficulty: ⭐⭐ (2/5) | Time: 2 minutes | Tools: Hair elastic, texturizing spray, fingers
Here’s where we start having some fun. This style is forgiving because “messy” is literally in the name — imperfection is the goal. I spray some texturizing spray through damp hair, scrunch it up, and let it air dry with some natural texture.
The secret is gently tugging pieces loose around your face after you secure the ponytail. Don’t go overboard — just a few strategic pulls to soften the look.
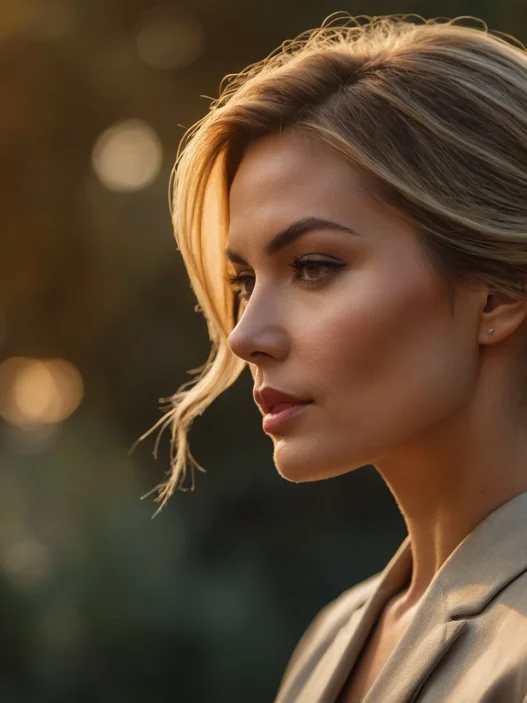
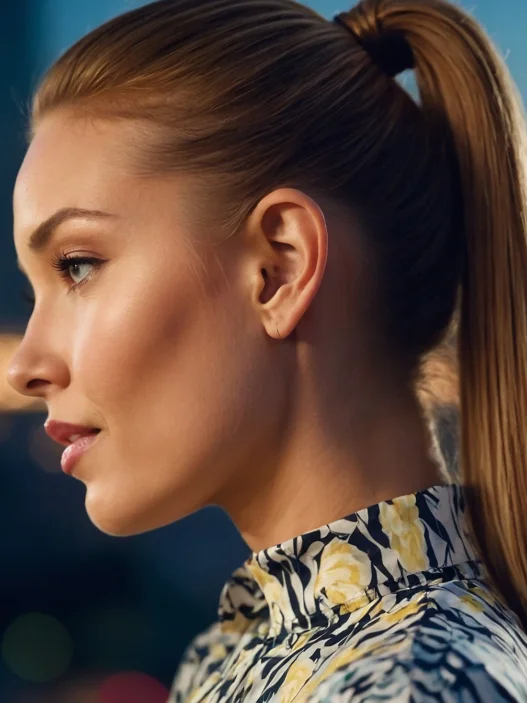
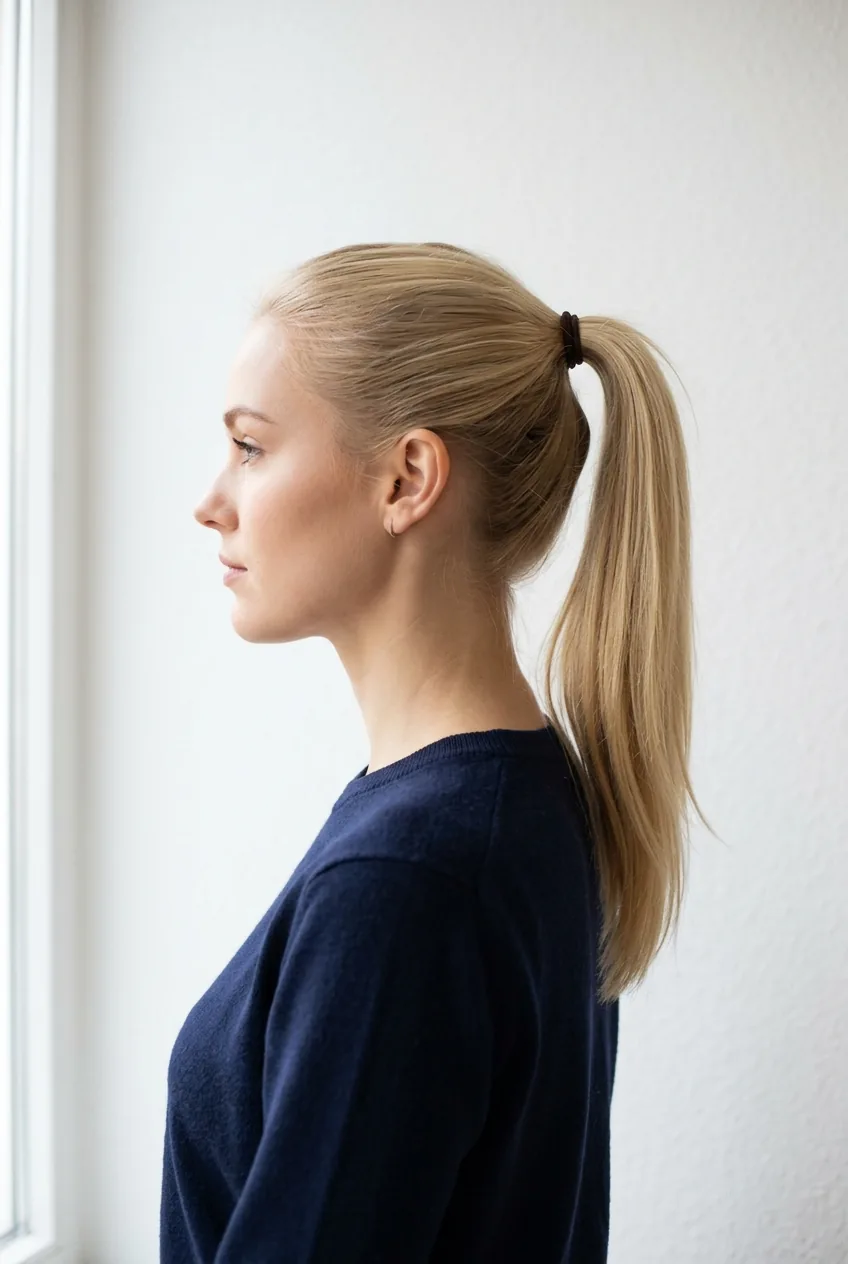
4. Intermediate Challenge: Sleek Center Part Ponytail

Difficulty: ⭐⭐ (2/5) | Time: 3 minutes | Tools: Hair elastic, fine-tooth comb, hair gel or pomade
This is where technique starts mattering more than luck. Getting that razor-sharp center part takes practice — I use the end of a rat-tail comb and work in good lighting. The sleekness comes from applying a small amount of strong-hold gel to damp hair before blow-drying.
My personal pick for everyday elegance. I probably wear this style three times a week because it works with everything from jeans to blazers. The center part makes my face look more symmetrical, and the sleek finish feels modern.
The ponytail sits at mid-head level — not high, not low. It’s all about that perfect balance.
5. Intermediate Challenge: Bubble Ponytail
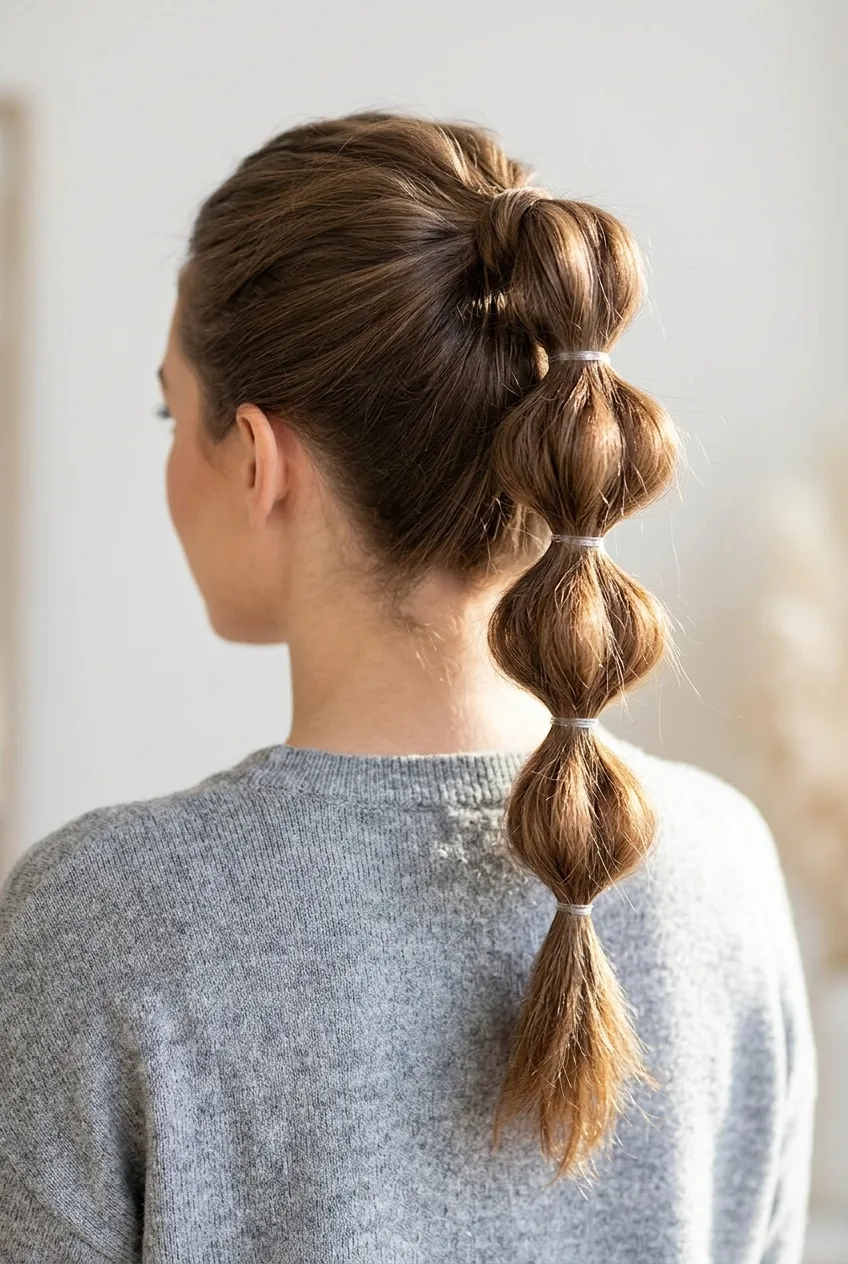
Difficulty: ⭐⭐⭐ (3/5) | Time: 4 minutes | Tools: 4-5 clear hair elastics, tail comb
Instagram made this style famous, and I can see why. It’s playful without being childish. You create the “bubbles” by securing elastics down the length of your ponytail, then gently pulling each section apart to create volume.
The spacing between elastics is crucial — I go for about 2-3 inches apart depending on my hair length. Too close together and it looks cramped; too far apart and you lose the bubble effect.
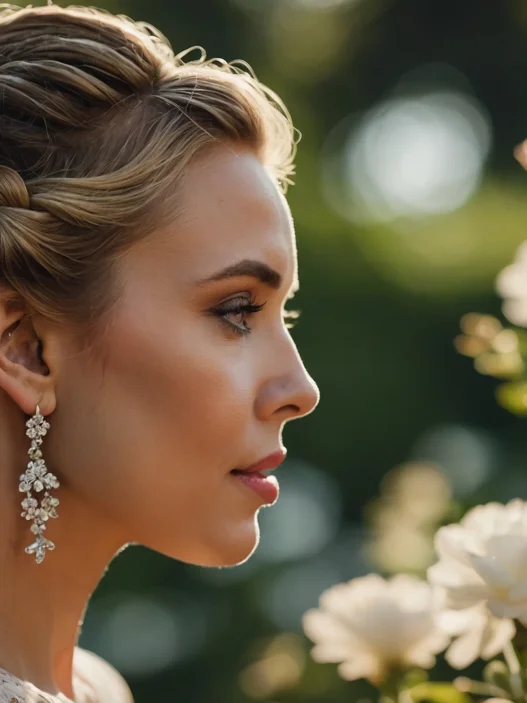
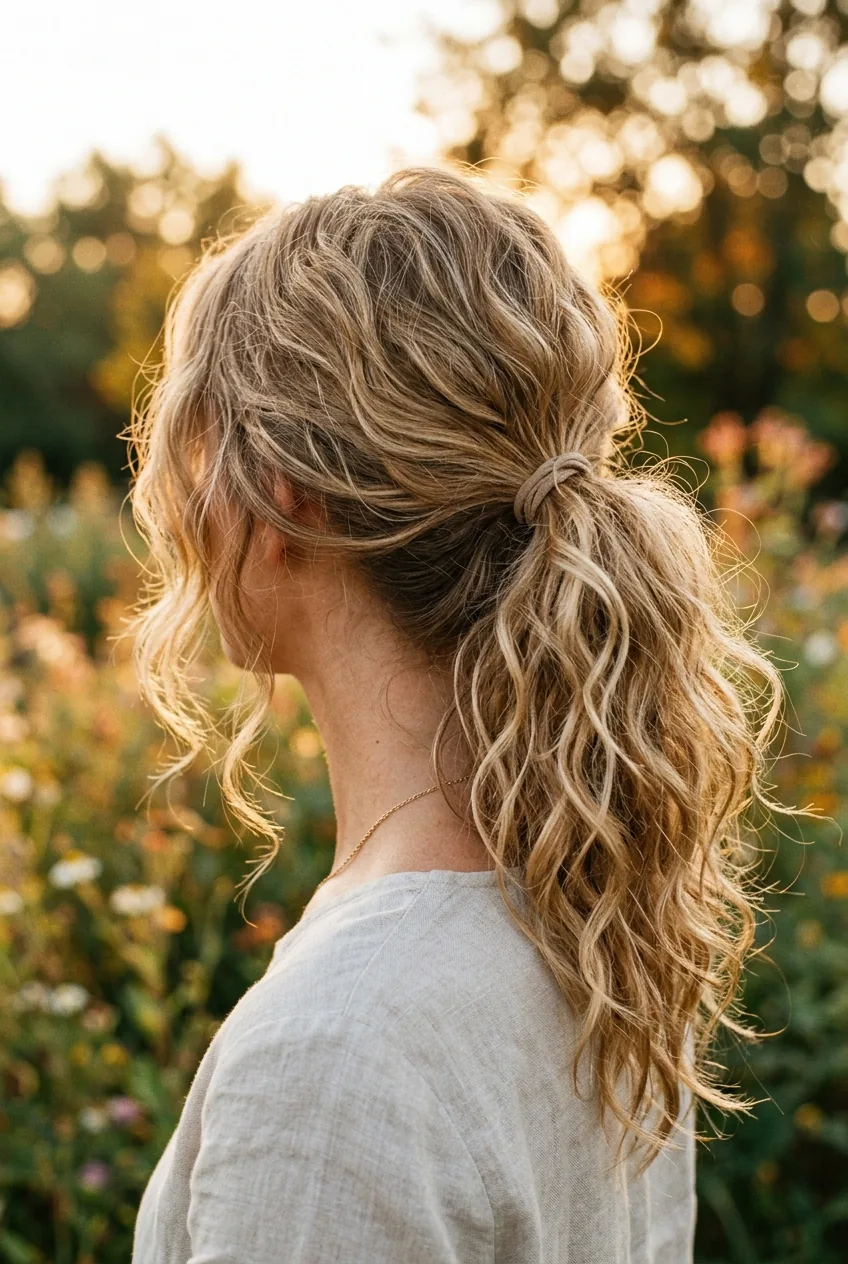
6. Intermediate Challenge: Twisted Side Pony
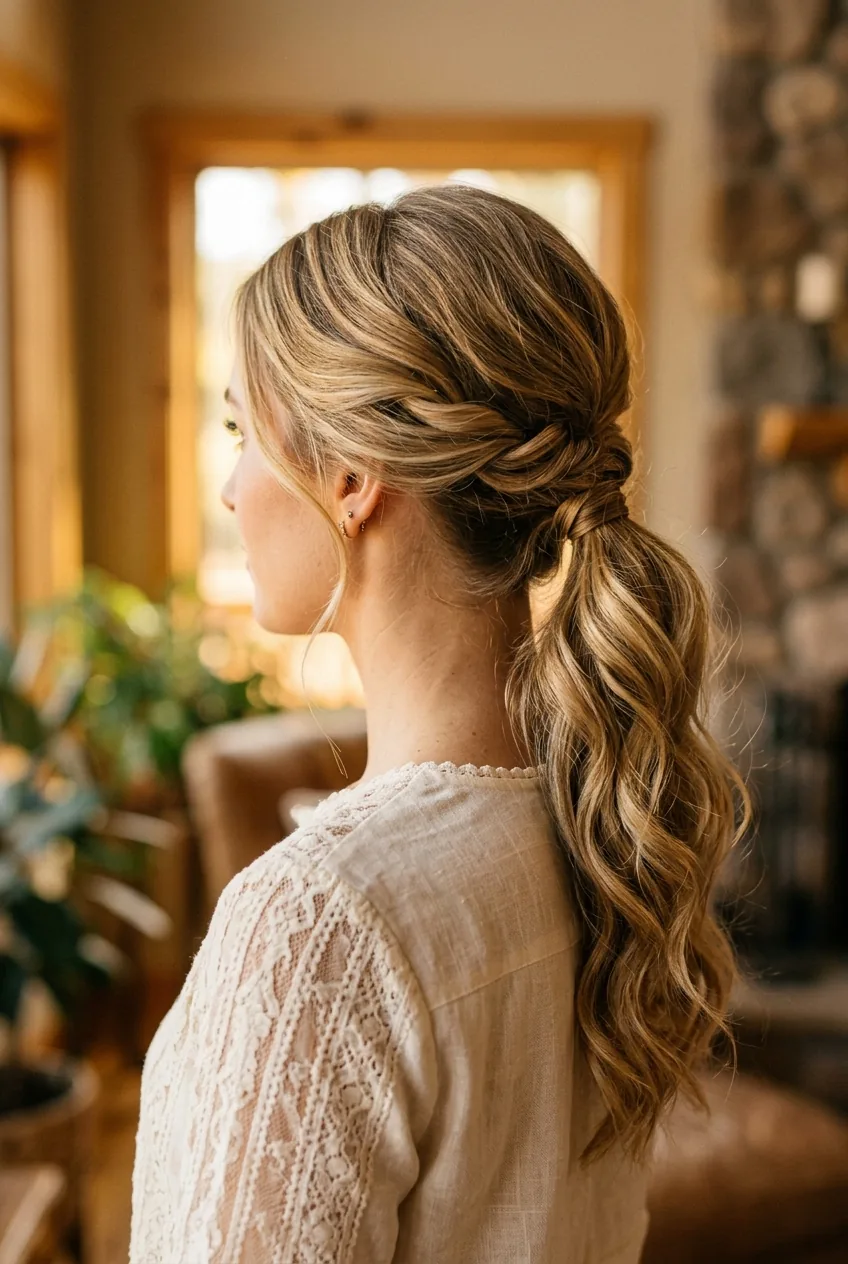
Difficulty: ⭐⭐⭐ (3/5) | Time: 4 minutes | Tools: Hair elastic, bobby pins
This one adds romantic detail without requiring advanced braiding skills. I take a section from the heavy side of my part, twist it back, and incorporate it into the ponytail base. The twist should be loose and soft — not tight like a rope.
What I love about this style is how it photographs. The twist catches light beautifully and adds dimension from every angle.
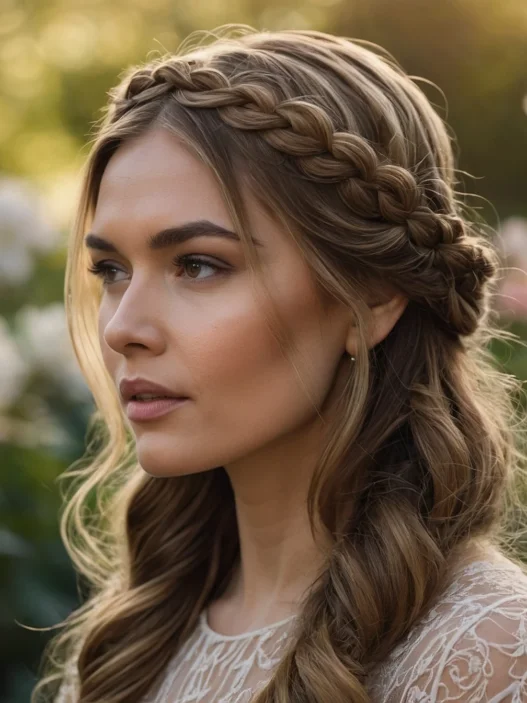
7. Intermediate Challenge: Braided Base Ponytail
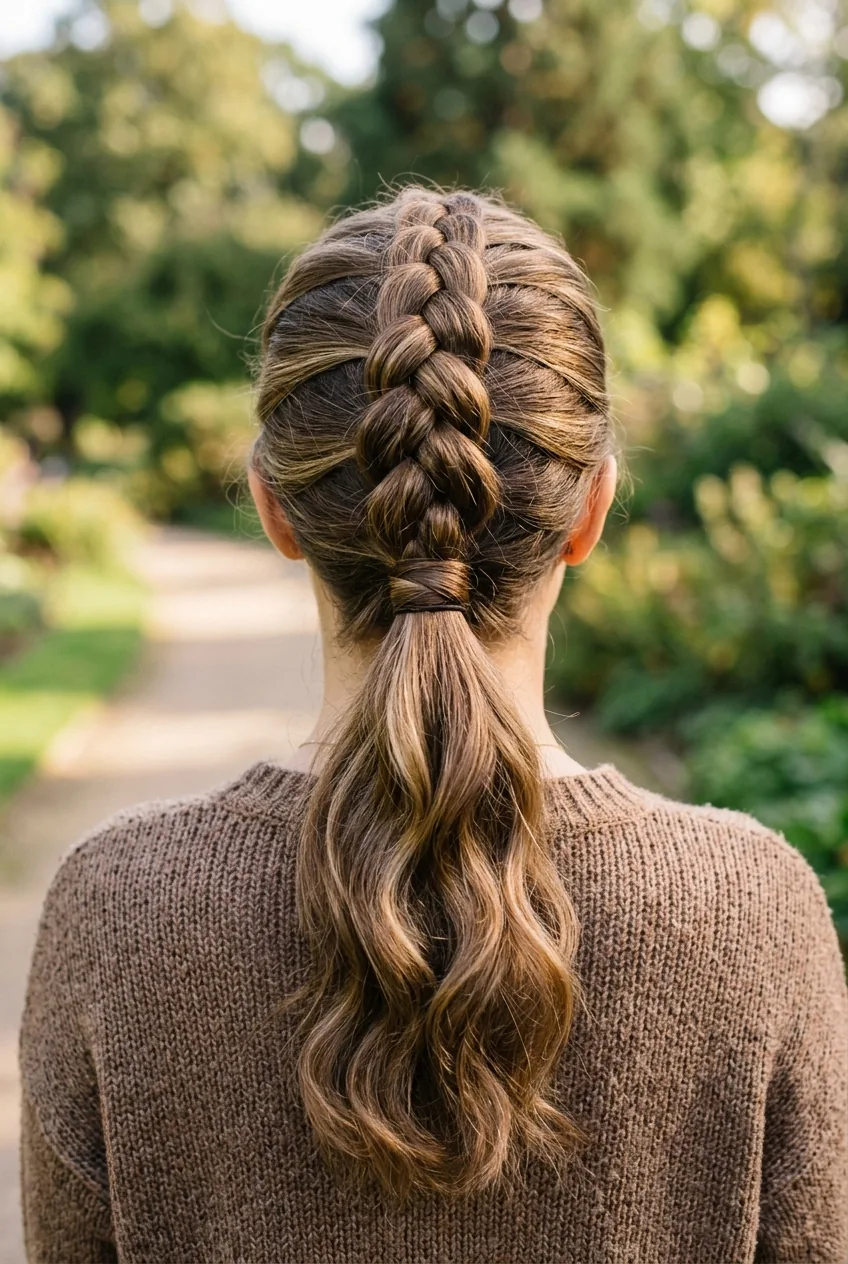
Difficulty: ⭐⭐⭐ (3/5) | Time: 5 minutes | Tools: Hair elastic, bobby pins
Here’s where basic braiding skills become essential. I create a small Dutch or French braid starting at my hairline and braid it back to where the ponytail will sit. Then I gather everything together and secure it.
The braid doesn’t have to be perfect — in fact, I prefer it slightly loose and lived-in. It’s one of those celebrity hairstyles that looks complicated but becomes muscle memory after a few tries.
Watch This Braiding Technique
8. Advanced Level: Voluminous Crown Pony
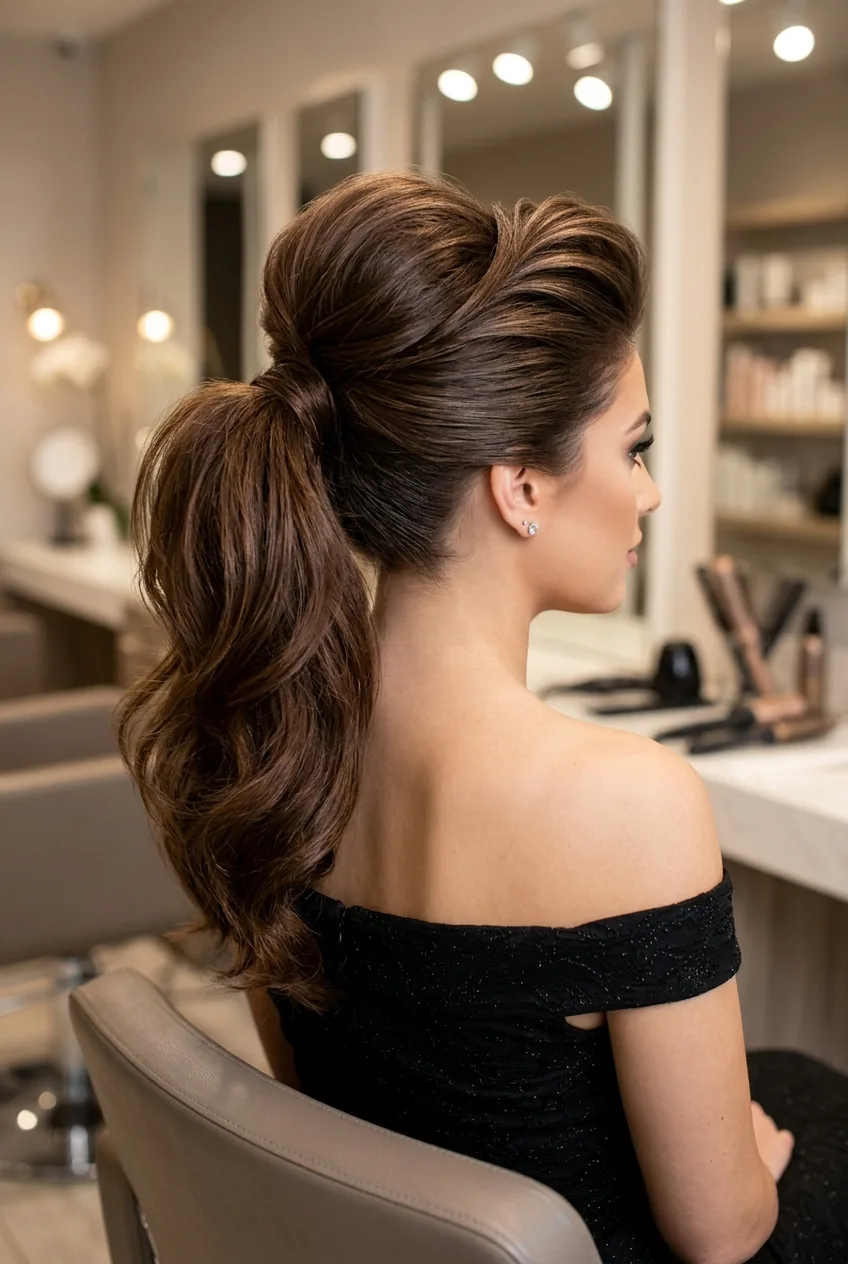
Difficulty: ⭐⭐⭐⭐ (4/5) | Time: 6 minutes | Tools: Hair elastic, teasing comb, hairspray, bobby pins
This is where we enter red-carpet territory. The volume comes from strategic teasing at the crown — but it’s all about the technique. I section my hair horizontally, tease the under-layers, then smooth the top layer over the teased sections.
The ponytail sits high, and that height combined with the crown volume creates this gorgeous, elongating effect. It’s dramatic without being over-the-top.
9. Advanced Level: Double Dutch Braid Ponytail
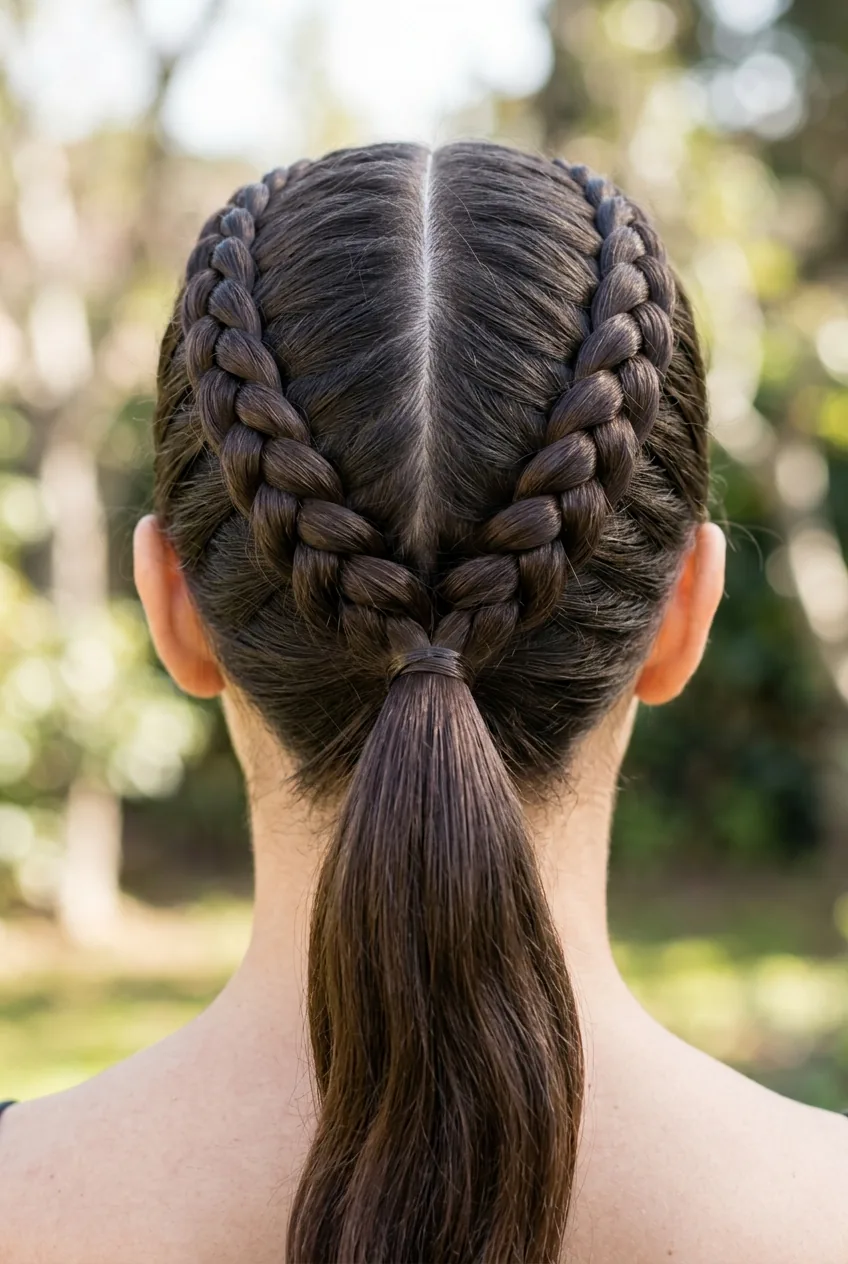
Difficulty: ⭐⭐⭐⭐ (4/5) | Time: 8 minutes | Tools: Hair elastic, bobby pins, tail comb
Two Dutch braids that feed into one ponytail — it sounds intimidating but breaks down into manageable steps. I part my hair down the middle, create a Dutch braid on each side starting at my temples, then gather both braids plus the remaining hair into one ponytail.
The challenge is keeping the braids even and maintaining tension throughout. But once you nail it? It’s such a statement look.
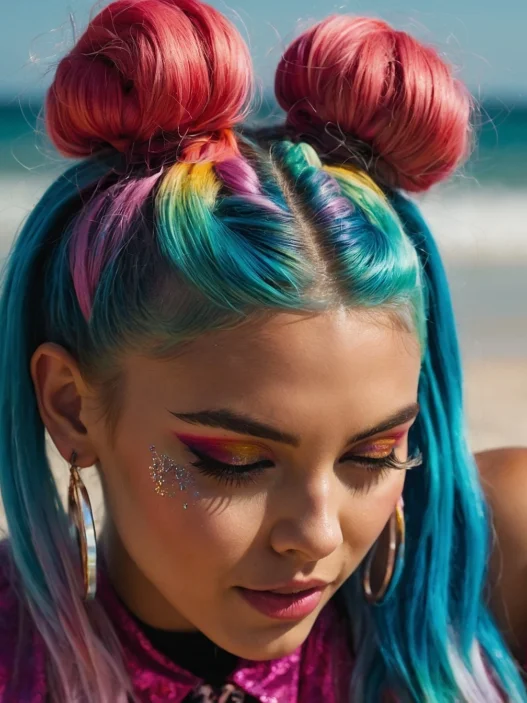
10. Advanced Level: Faux Hawk Ponytail
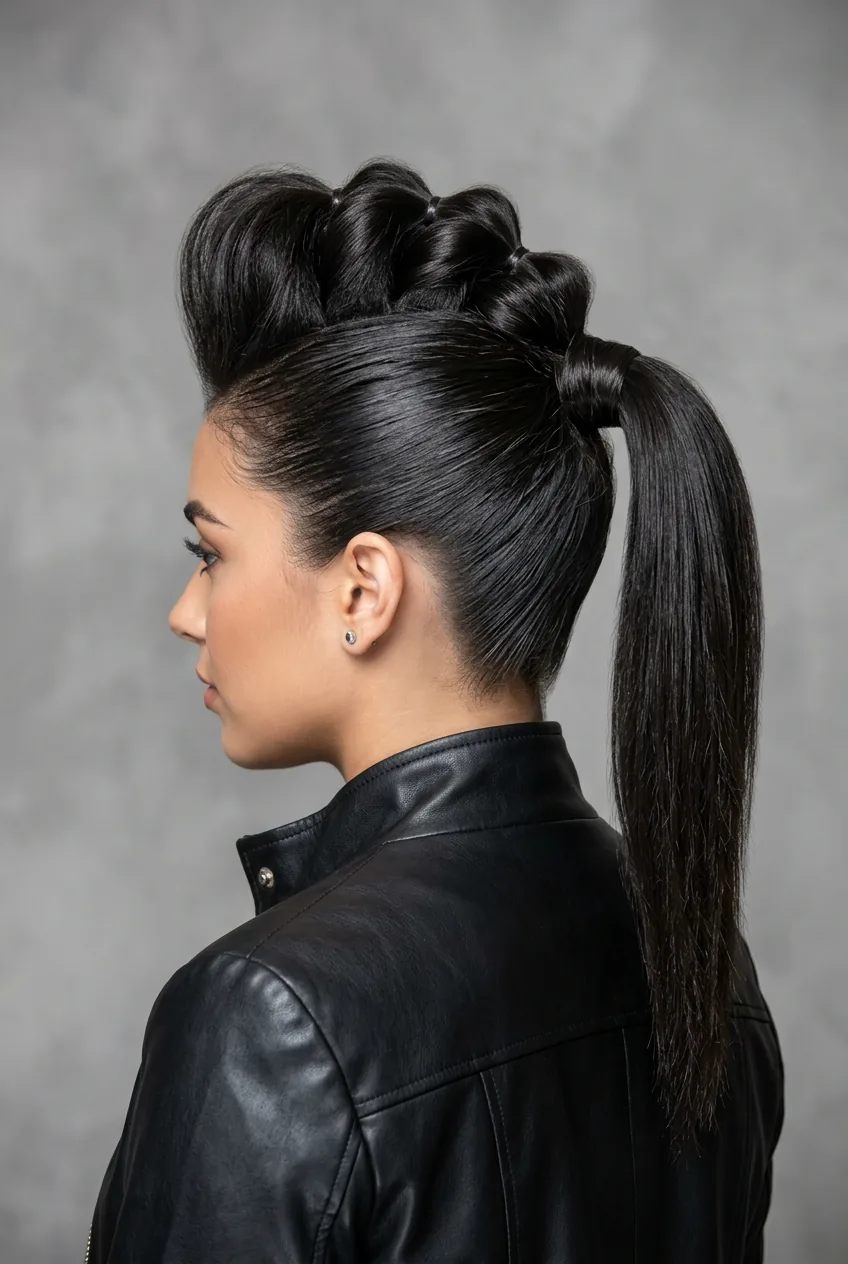
Difficulty: ⭐⭐⭐⭐⭐ (5/5) | Time: 10 minutes | Tools: Multiple hair elastics, bobby pins, strong-hold gel, teasing comb
This edgy style requires serious sectioning skills. I create multiple small ponytails down the center of my head, each one positioned higher than the last to create that mohawk silhouette. Then I tease each section and pin the sides sleek.
It’s punk-inspired but polished — perfect when you want to make a statement. The precision required makes this one of the most challenging styles on this list.
11. Advanced Level: Intricate Rope Braid Pony
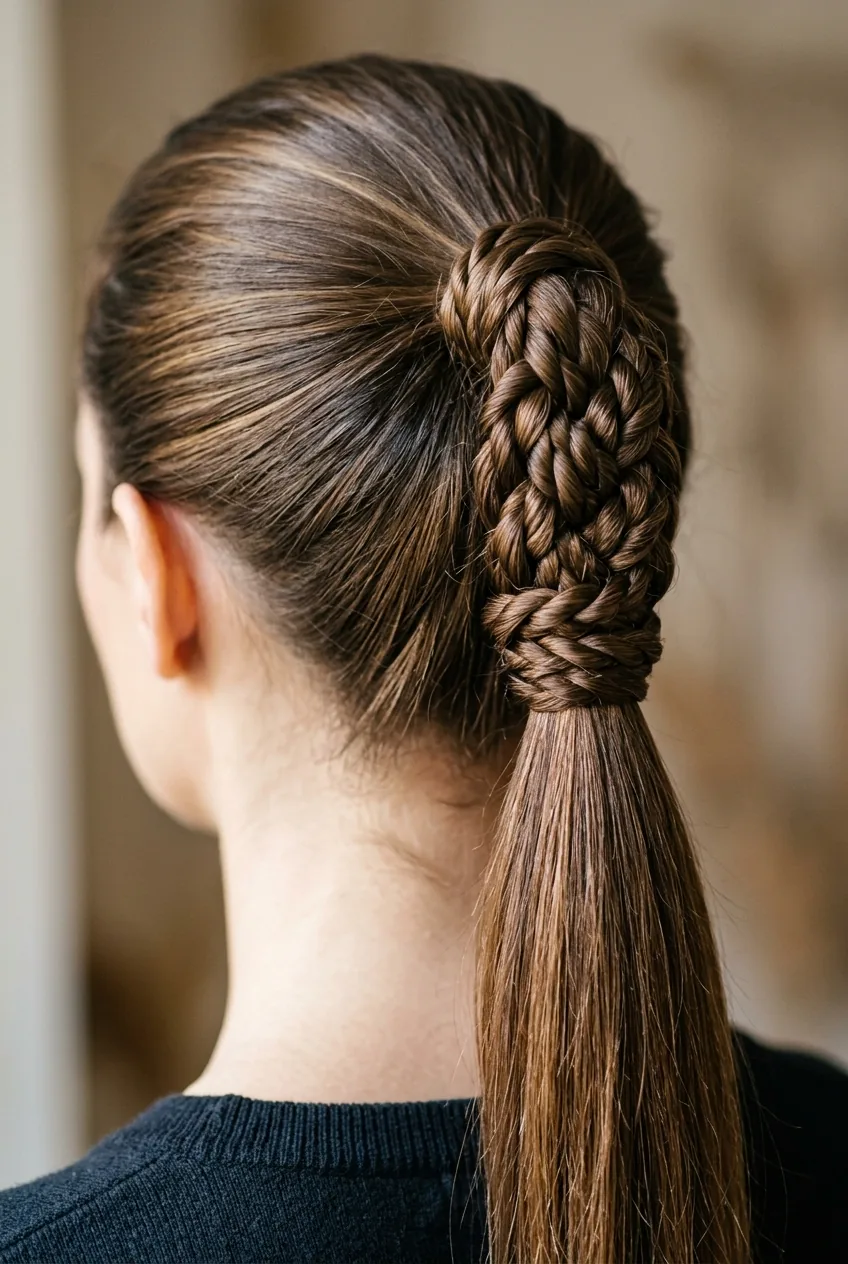
Difficulty: ⭐⭐⭐⭐⭐ (5/5) | Time: 12 minutes | Tools: Hair elastic, bobby pins, texturizing spray
The most complex style on this list involves creating a rope braid that wraps around the base of your ponytail. I start with a high ponytail, then take a section from underneath, divide it in two, and twist each section in opposite directions while wrapping them around each other.
Then comes the tricky part — wrapping this rope braid around the elastic and pinning it securely so it looks seamless. The result is this incredible textural detail that looks like it took hours.
Mastering rope braids opens up so many styling possibilities. It’s a technique I use in various layered medium hairstyles when I want to add unexpected texture.
Quick Answers for Your Ponytail Journey
How long should I practice each difficulty level before moving up?
I recommend mastering each level for about a week before progressing. You’ll know you’re ready when you can complete the style without looking in a mirror constantly.
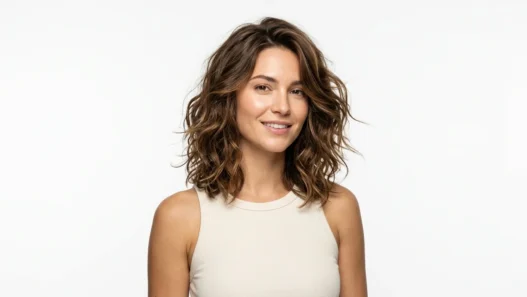
What’s the best hair length for these ponytail styles?
Most of these work on shoulder-length hair and longer. The bubble ponytail and rope braid styles really shine with longer hair, while the basic styles work on any length that can be gathered.
Can I do advanced ponytails on myself or do I need help?
All of these are designed for solo styling, though the advanced ones require patience and practice. I use a three-way mirror for the trickier back sections — it’s a game-changer.
Which elastics work best for these styles?
Clear elastics for styles where they’ll show, snag-free fabric elastics for everyday wear. Quality hair ties make a huge difference in how long your style lasts and how much damage you avoid.
Starting with the basics and working your way up is honestly the most satisfying way to expand your styling skills. I still wear that simple high ponytail some days — but now I know I can create something show-stopping when the mood strikes.