


I’ll be honest — I used to think face framing layers were just another hairstylist buzzword. You know, like “lived-in color” or “effortless waves.” But then I got my first proper set of face framing layers at thirty-two, and I literally gasped when I looked in the mirror. Not because they were dramatic or trendy, but because for the first time in my adult life, my hair actually worked with my face instead of against it.
What You’ll Learn About Face Framing Layers
Why Face Framing Layers Really Work
Here’s what I wish someone had told me twenty years ago: face framing layers aren’t about following trends. They’re about understanding basic visual principles that have worked since humans first started caring about how they look.
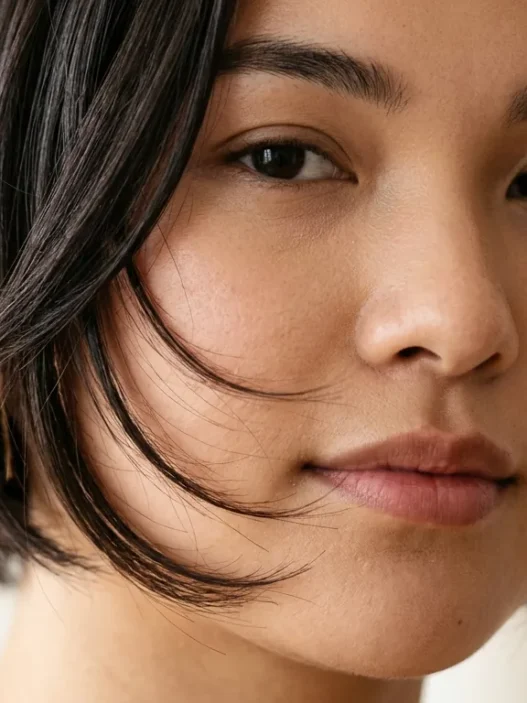
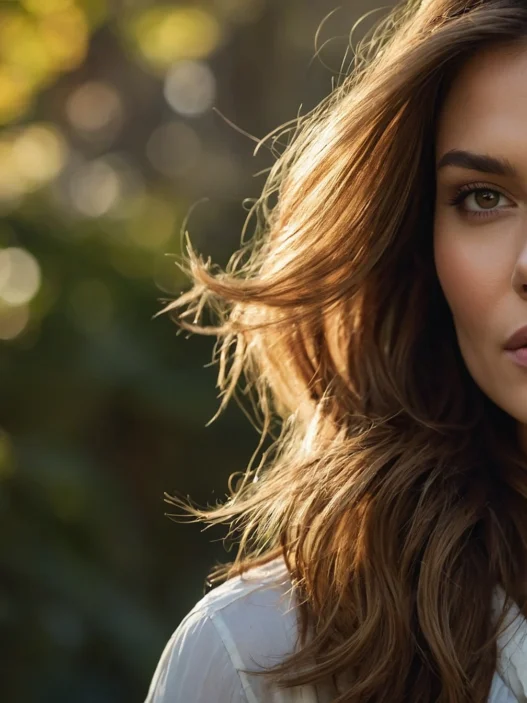
The magic happens because shorter pieces around your face create what stylists call “movement” — but what it really does is draw the eye in a specific pattern. Instead of your hair hanging like a curtain, those shorter pieces create little curves and shadows that naturally soften whatever you think are your “problem areas.”
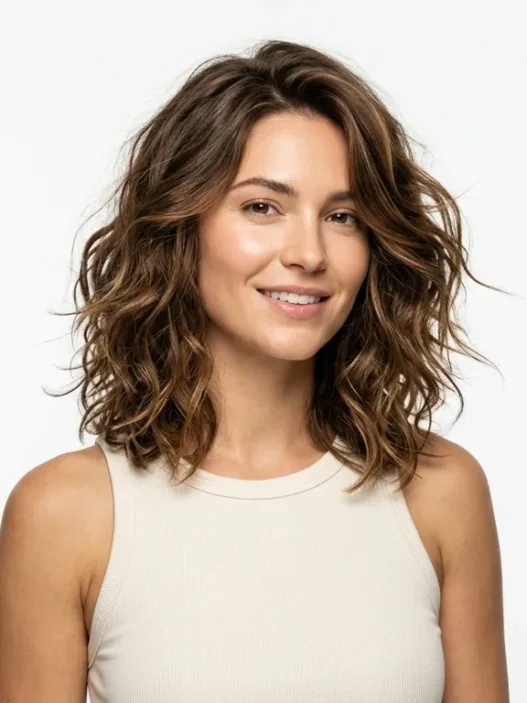
I’ve watched this work on literally dozens of women with completely different face shapes. My friend Sarah has a strong, square jawline that she’s always been self-conscious about. But with the right face framing layers that hit just below her chin, that jaw becomes this gorgeous, defined feature instead of something she wants to hide.
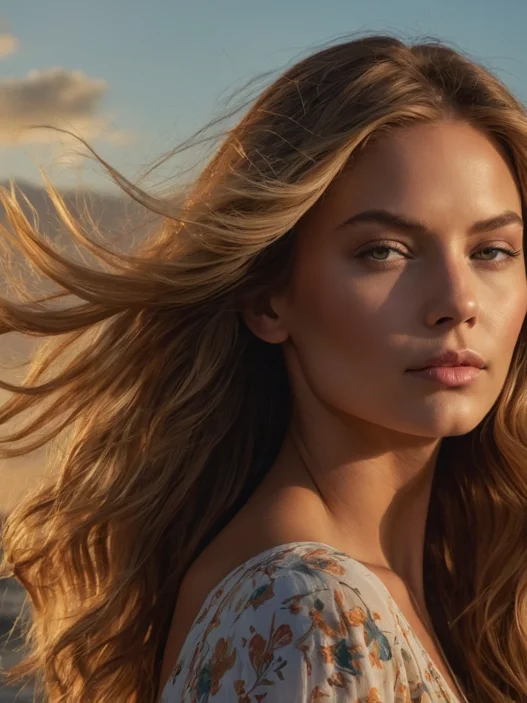
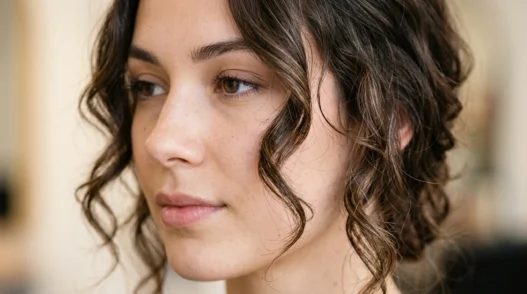
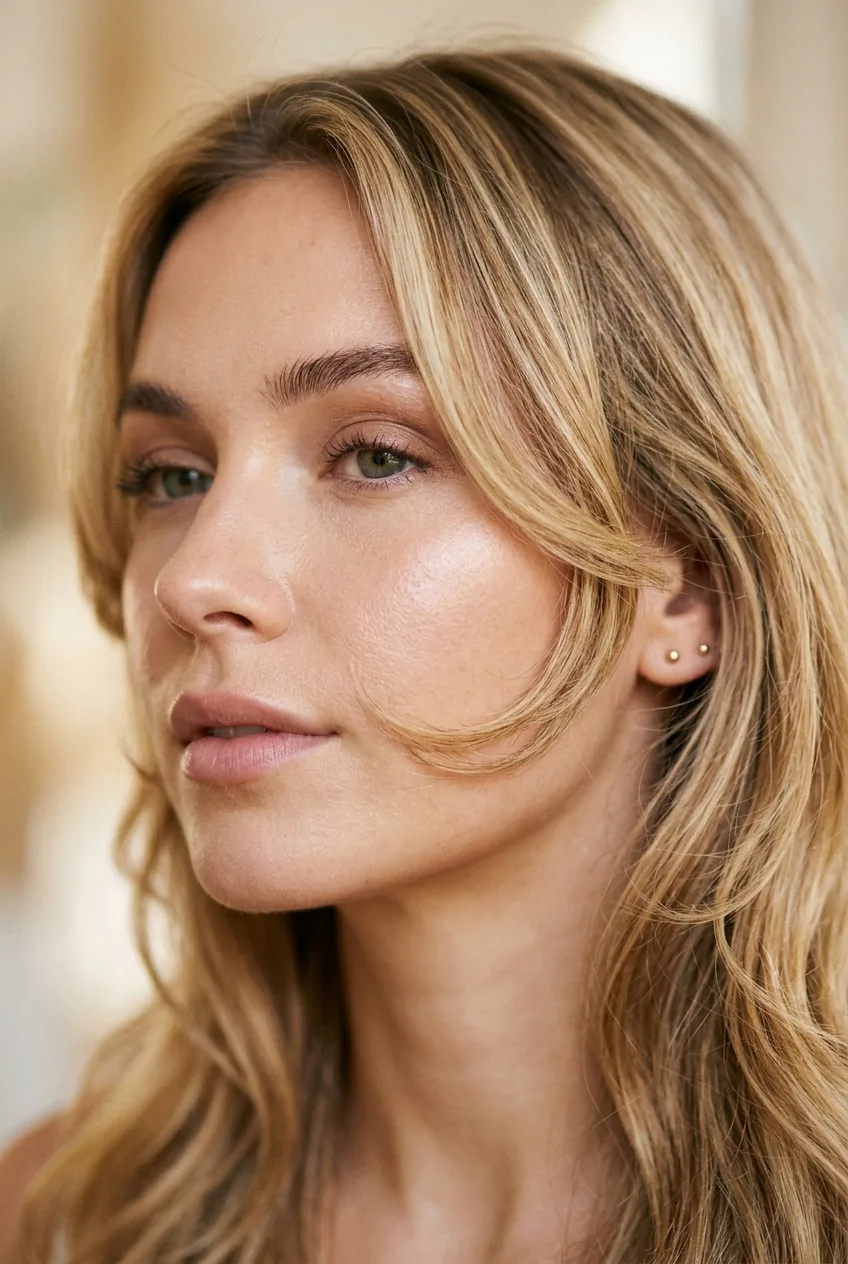
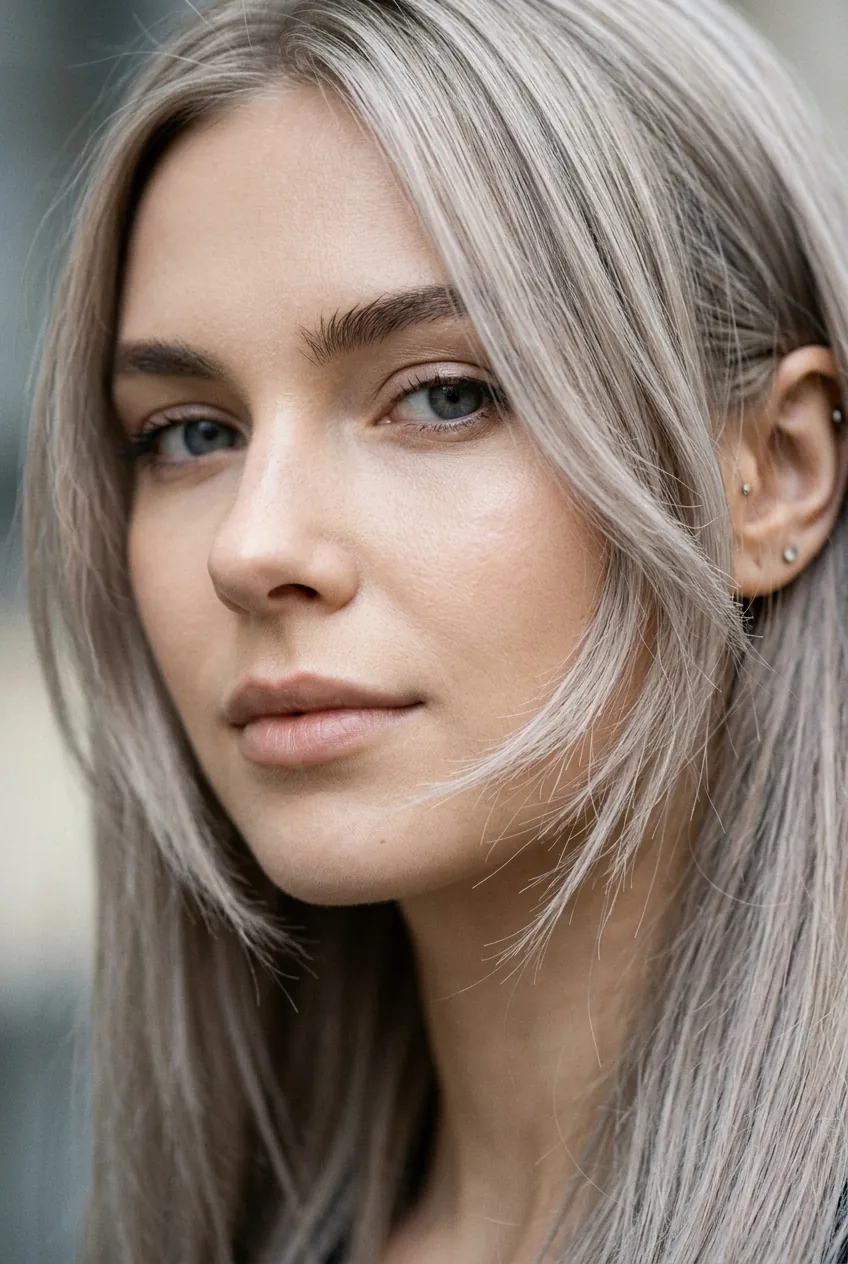
And here’s the part that surprised me most — they work on every hair type. Fine hair gets instant volume around the face. Thick hair gets movement and reduces that heavy, triangular look. Curly hair gets definition in all the right places. The key isn’t the hair type; it’s understanding where to place them.
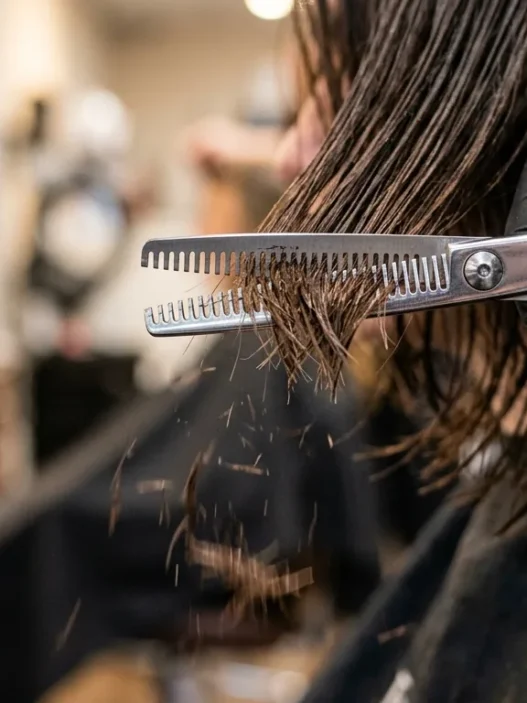
The reason so many women are disappointed with face framing layers is simple: most stylists cut them as an afterthought. They finish your haircut, then add a few shorter pieces around your face and call it “face framing.” But real face framing layers are planned from the very beginning of the cut.
The Science Behind Strategic Layer Placement
This is where things get fascinating, and why I became obsessed with understanding this technique. There’s actual science behind why certain layer placements work better than others — it’s not just about what looks “pretty” in the moment.
The golden rule that most people never hear about? Your shortest face framing layer should hit at the widest part of your face. For most of us, that’s somewhere around the cheekbone area. But here’s where it gets interesting — it’s not about your technical face shape. It’s about where your face appears widest when you’re looking straight ahead in natural lighting.
I learned this from a stylist in Beverly Hills who works with actresses. She told me that face shapes are basically irrelevant once you understand proportions. What matters is creating the illusion of balance, and you do that by adding visual weight where your face is narrower and reducing it where it’s wider.
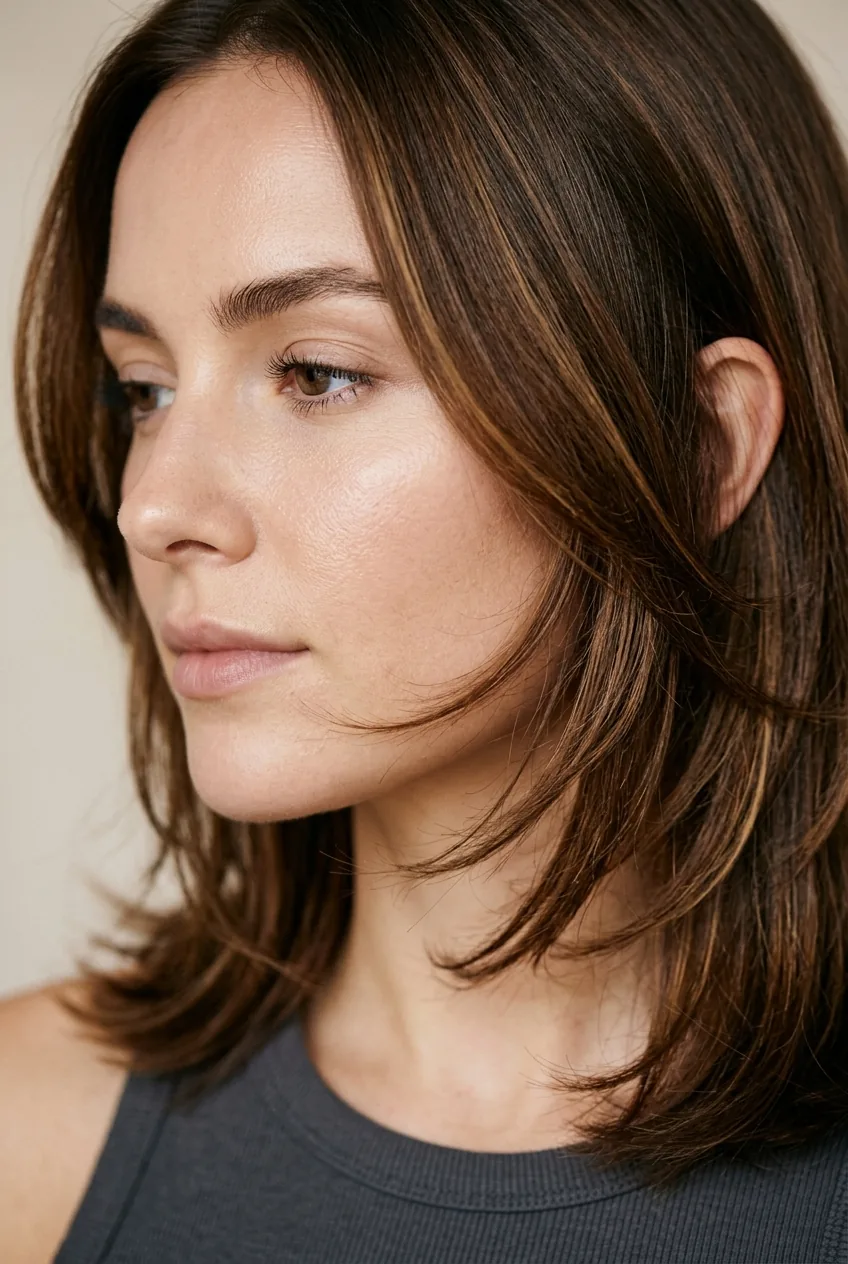
The second layer should hit right at your jawline — not below it, not above it, but exactly where your jaw creates that angle. This creates what hair professionals call a “cascade effect” where each layer builds on the one above it. Professional cutting techniques make all the difference in how these layers interact with each other.
Here’s something most stylists won’t tell you: the angle of the cut matters just as much as the length. Layers cut straight across create a harsh line. Layers cut at a slight angle (what we call “point cutting”) create soft, feathery edges that move with your face instead of sitting on it like a helmet.
And timing? Face framing layers need to be refreshed every 6-8 weeks, not every 3-4 months like the rest of your haircut. They grow out faster because they’re shorter, and when they grow out, they stop framing your face and start looking like mistakes.
What Most Stylists Get Wrong About Face Shapes
Okay, this is going to be controversial, but I’m going to say it anyway: the whole “face shape” system that most salons use is outdated and frankly, kind of useless for real women with real faces.
How many times have you been told you have a “round face” and need layers to “elongate” it? Or that you have an “oval face” and can wear anything? I’ve heard this from at least five different stylists, and honestly, it’s lazy advice that leads to mediocre results.
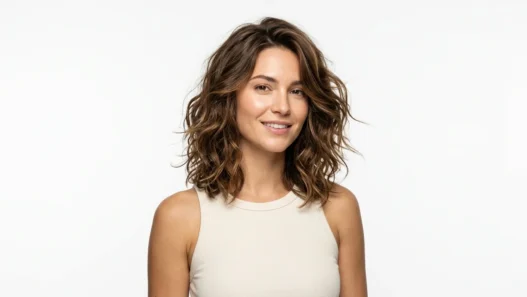
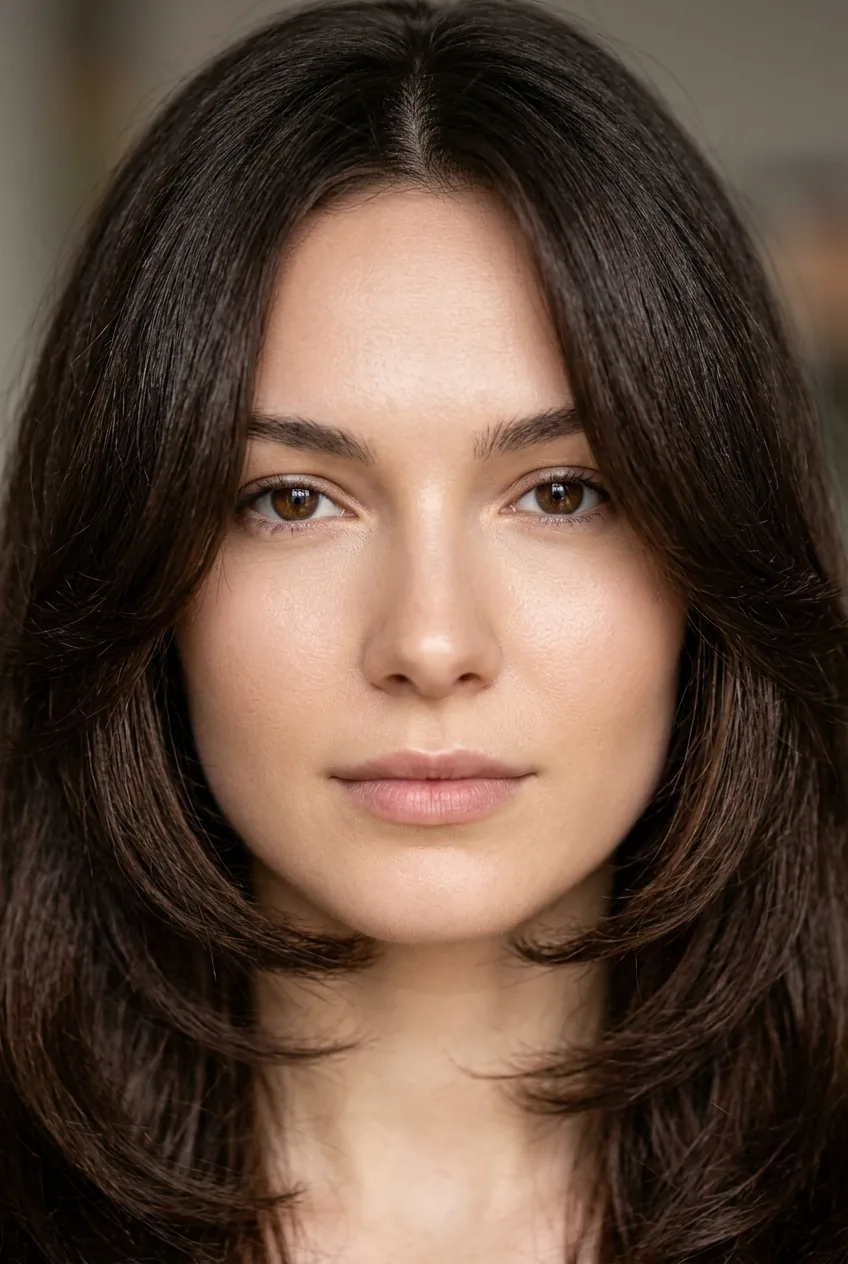
Real faces don’t fit into neat little categories. I have what textbooks would call an “oval” face, but my forehead is actually pretty wide, and my chin is more pointed than the “ideal” oval suggests. When stylists follow the textbook rules for oval faces, I end up looking washed out.
The better approach? Look at your face in natural lighting — not those harsh salon lights — and identify what you actually want to emphasize or soften. Maybe you love your strong jawline but want to balance a broader forehead. Or maybe you want to highlight your cheekbones while minimizing a wider chin area.
Here’s my controversial opinion: face framing layers should enhance your natural features, not try to make you look like someone else. If you have a round face and you like how round and soft it looks, why would you want layers that make it appear longer? Work with what you have, not against it.
The best stylist I ever worked with didn’t even mention face shapes. She looked at my face for about thirty seconds, asked me what I liked and didn’t like about my current cut, and then created layers that made me look like the best version of myself — not like I was trying to fit into some predetermined category.
For special occasions, these layers can be styled in completely different ways too. 6 Simple Steps to Flawless Formal Hairstyles That Won’t Fall Apart shows exactly how versatile face framing layers can be when you need to dress them up.
The Nuance Nobody Mentions — Texture Matters
This is the part that took me the longest to figure out, and honestly, it’s the most important piece of the puzzle. Your hair’s natural texture determines everything about how face framing layers will look and behave — and most people (including stylists) don’t give this nearly enough attention.
Fine, straight hair needs layers cut with a razor, not scissors. Scissors create blunt edges that make fine hair look even thinner around the face. But razor cutting creates those soft, feathery edges that add visual volume and movement. The downside? Razor cuts grow out faster and can look messy if you skip appointments.
Thick, coarse hair is the opposite. Razor cutting makes it look fuzzy and uncontrolled around the face. Sharp, precise scissor cuts create clean lines that actually make thick hair look more refined and polished. The key is not cutting too many layers — thick hair can overwhelm your face if there’s too much going on.
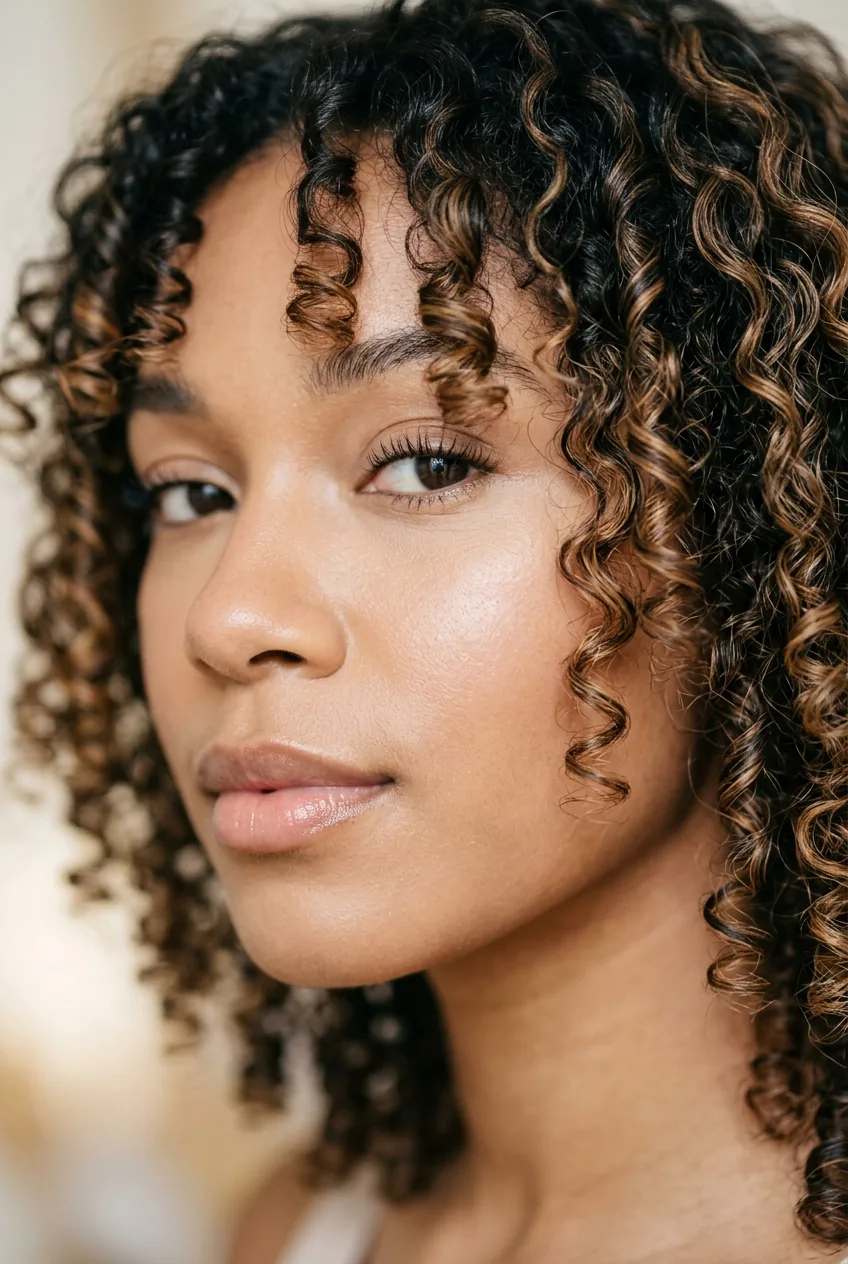
Curly hair is where most stylists completely mess up face framing layers. They cut the layers when the hair is wet and straight, which means when it dries and curls up, those layers end up in completely different places than intended. Curly hair should be cut dry, in its natural state, so the stylist can see exactly where each curl falls.
Here’s something I learned the hard way: your styling routine has to change with face framing layers. If you’re used to letting your hair air dry into a basic shape, these layers need a little more attention. Not high-maintenance attention, but you’ll need to at least scrunch them with some texturizing cream or lightly diffuse them to get the intended effect.
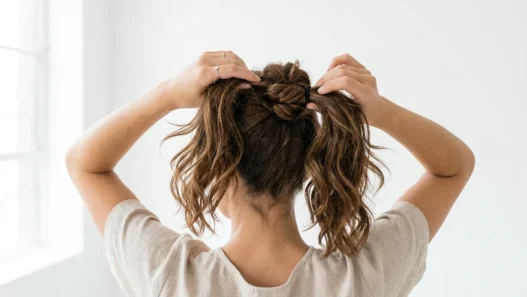
The biggest mistake I see women make is getting beautiful face framing layers and then styling their hair the exact same way they always have. These layers are designed to move and create shape — if you’re brushing everything straight back into a ponytail every day, you’re wasting their potential.
And here’s my final piece of hard-earned wisdom: face framing layers look different throughout your menstrual cycle. I know that sounds crazy, but hormonal changes affect how your hair holds curl and volume. What looks perfect one week might look flat or frizzy the next. Having a backup styling method for “off” days makes all the difference.
The truth about face framing layers is that they’re not a magical solution that works the same way on everyone. They’re a technique that, when done thoughtfully with your specific face and hair texture in mind, can completely transform how you feel about your hair. But like most things worth having, they require a little knowledge, the right stylist, and honest communication about what you actually want to achieve.