

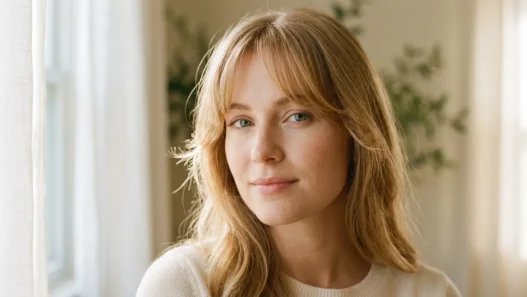

I’ll be honest — I avoided the butterfly haircut for months because I was terrified of ending up with a mullet. But after watching my friend absolutely nail hers and seeing how it transformed her whole face, I knew I had to figure out the technique. Turns out, the butterfly cut isn’t just about layers — it’s about strategic, face-framing layers that create movement without sacrificing length.
Your Butterfly Haircut Roadmap
What You’ll Need for This Cut
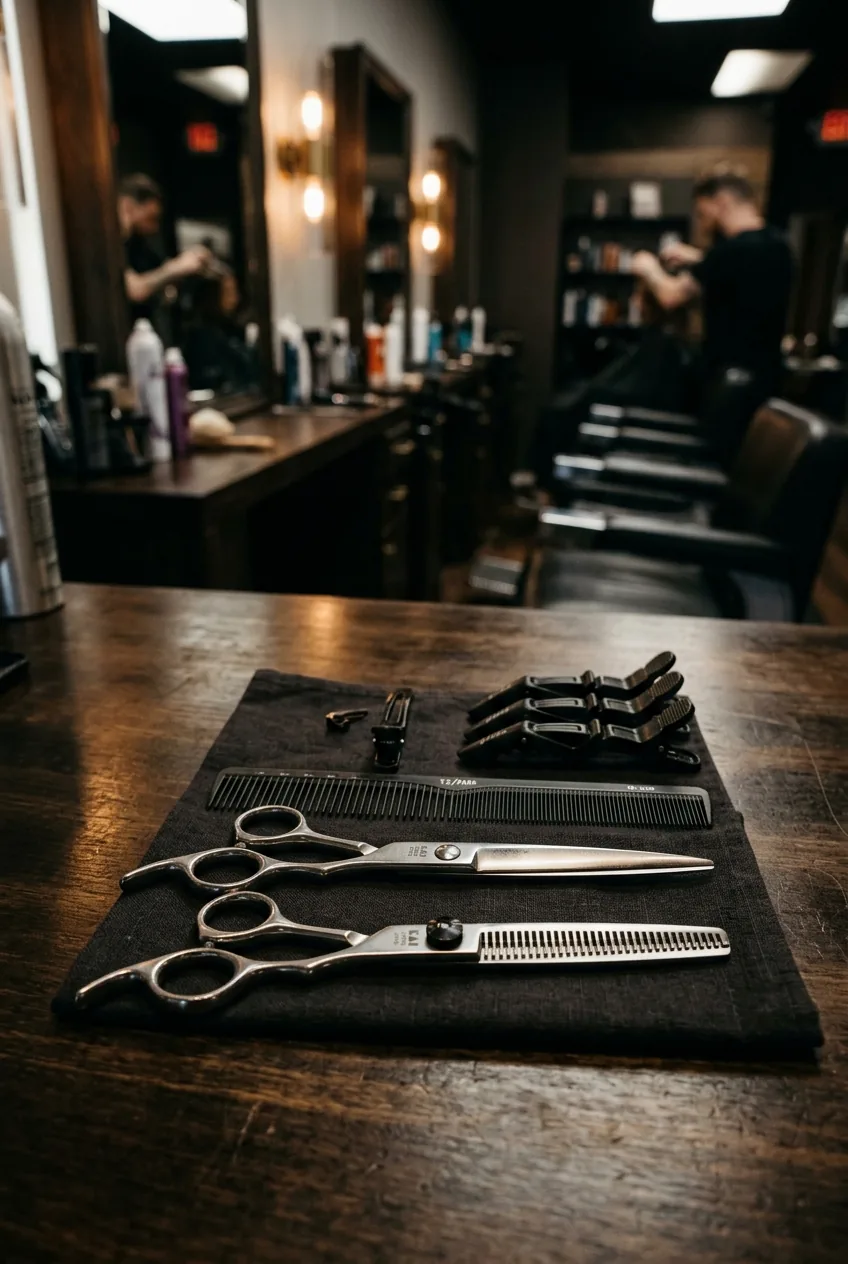
Before we dive into the actual cutting, let’s talk tools. I learned the hard way that trying to wing it with kitchen scissors is a recipe for disaster.
- Professional hair shears (6-7 inches work best)
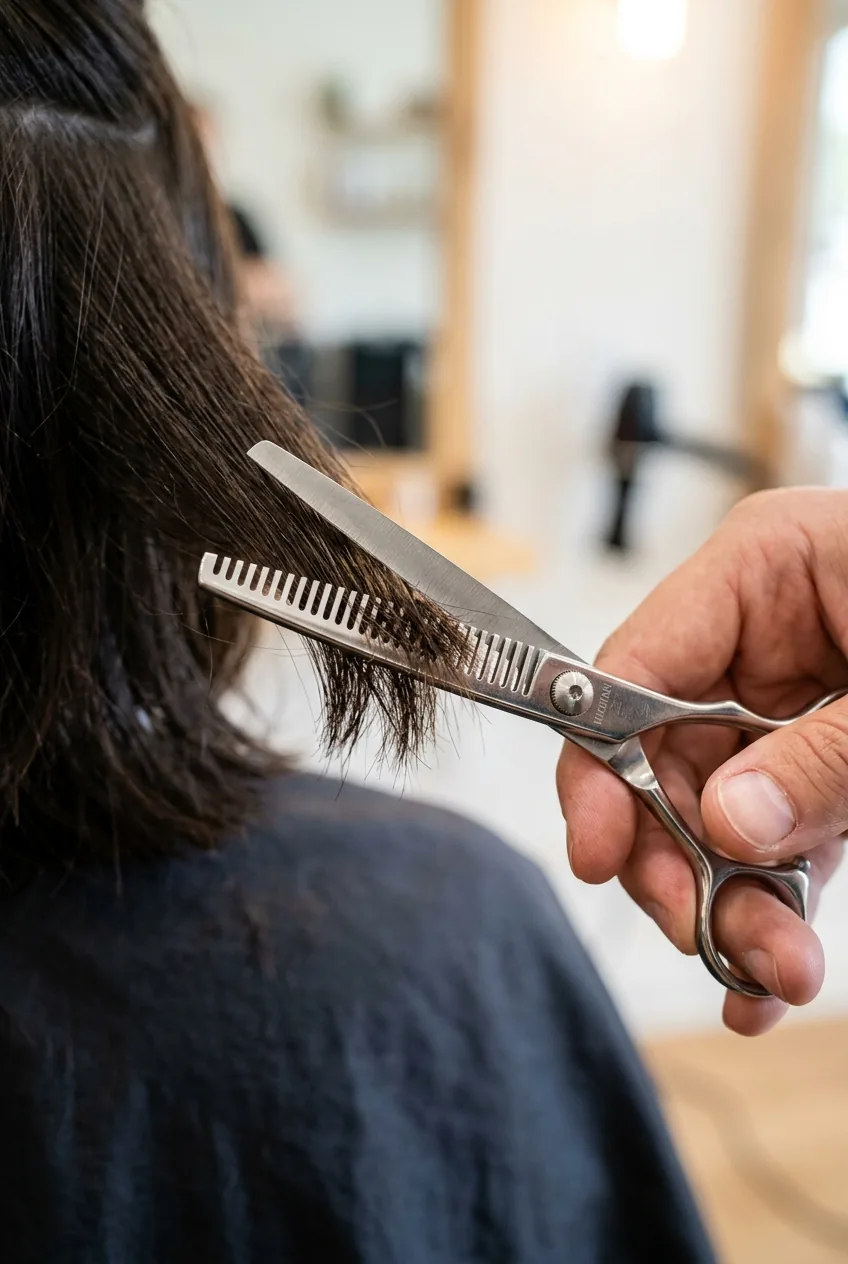
- Thinning shears for texturizing
- Fine-tooth rat tail comb
- Hair clips for sectioning
- Spray bottle with water
- Hair ties
- Good lighting (seriously, this matters more than you think)
- A trusted friend or mirror setup that lets you see the back
The timing varies, but plan for about 2-3 hours if you’re doing this yourself. Professional cuts take about 45 minutes, but we’re being extra careful here.
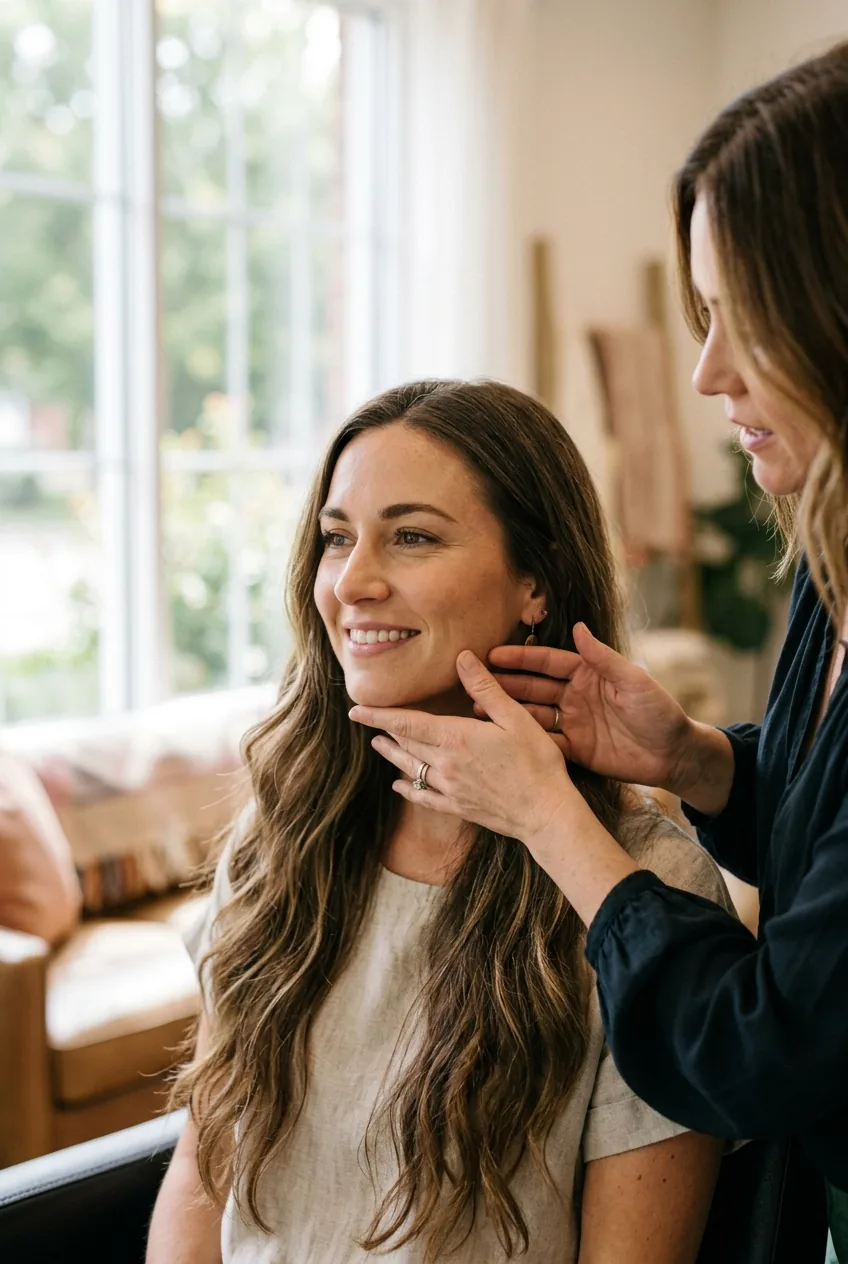
The Assessment Phase
This is where most people rush and regret it later. I spent a solid 20 minutes just studying my face shape and hair texture before making the first cut, and it made all the difference.
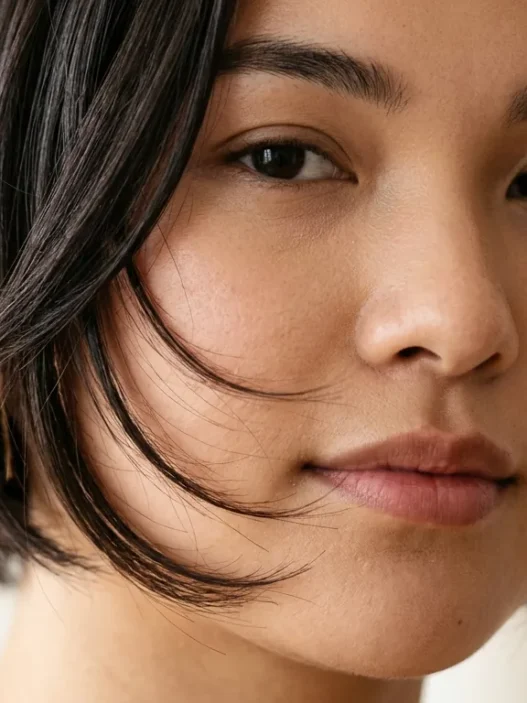
Start by examining your face shape in natural light. The butterfly cut works on most face shapes, but the placement of those shorter layers changes everything. For round faces, you want the shortest layers to hit below the cheekbones. Square faces benefit from softer, more graduated layers that start around the jawline.
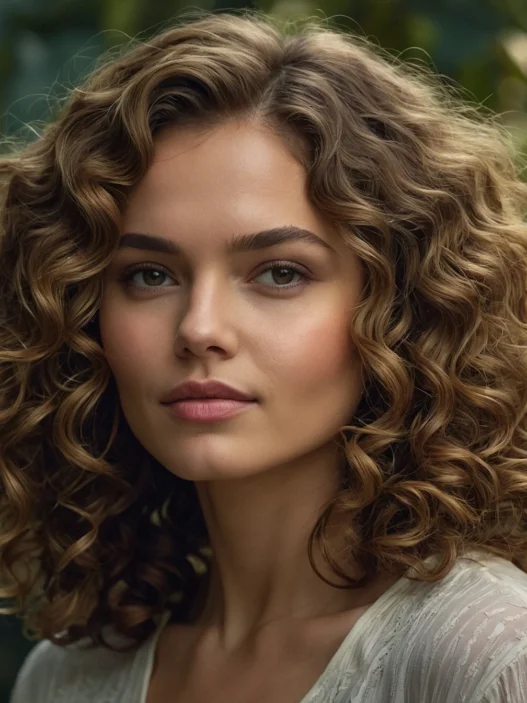
Next, assess your hair type. Fine hair needs fewer, more strategic layers to avoid looking wispy. Thick hair can handle more dramatic layering. Curly hair? The butterfly cut is gorgeous on curls, but you’ll cut it longer since curls spring up.
I made the mistake of not considering my cowlick pattern during this phase. Ended up with one side that flipped out weird for weeks until it grew out enough to behave. Learn from my pain — check how your hair naturally falls first.
Take photos of your hair from multiple angles. I know it sounds extra, but having a reference point helps you stay consistent as you work around your head.
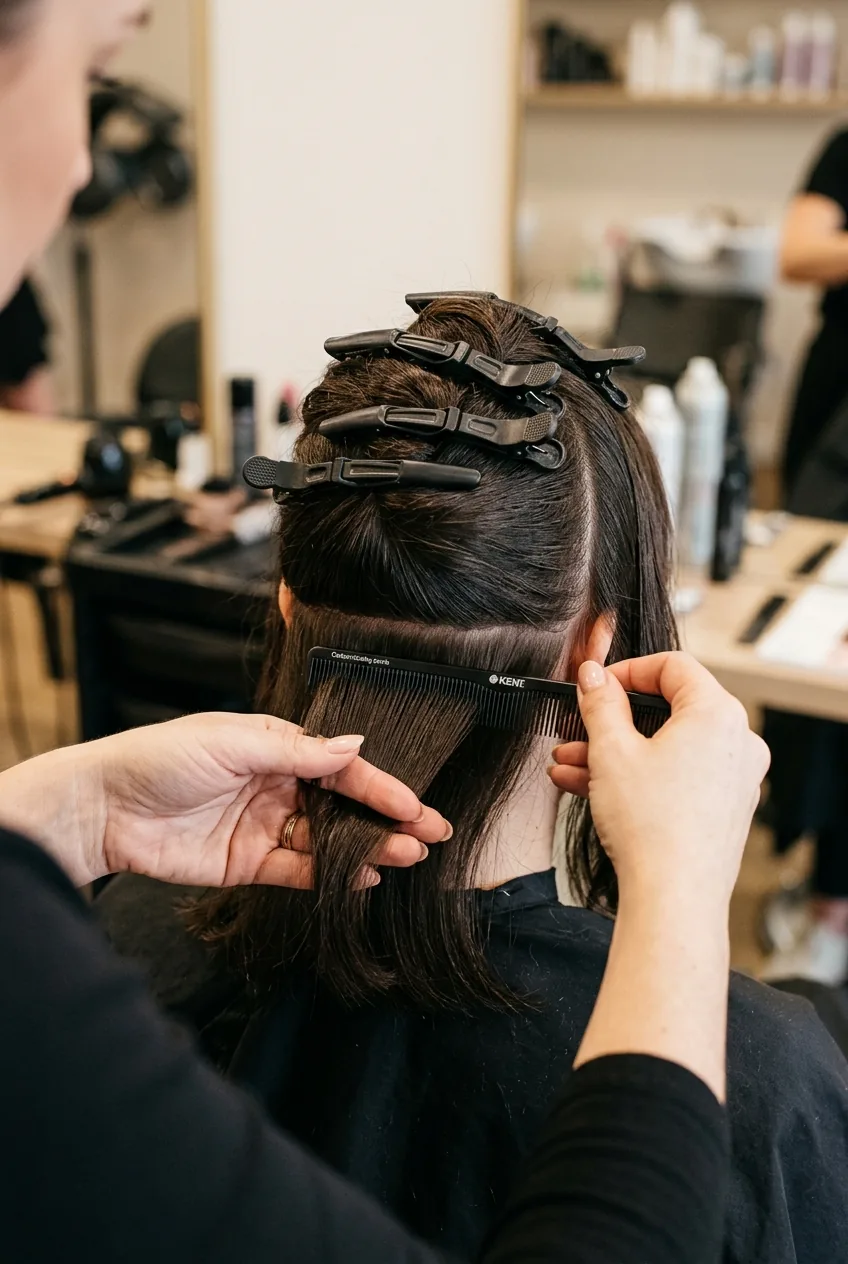
Building Your Foundation
Now we’re getting into the actual prep work. This phase is about creating clean sections and establishing your baseline length.
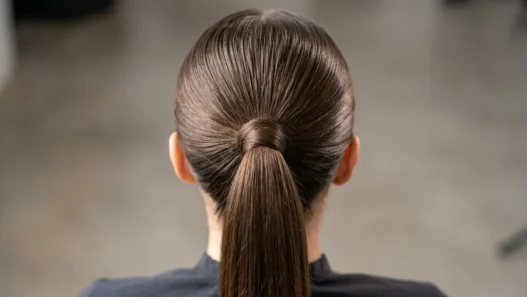
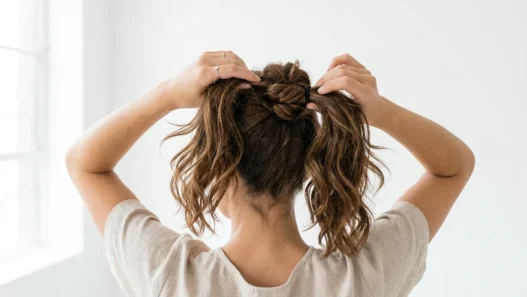
Start with damp hair — not soaking wet, but evenly moist. I use a spray bottle to keep sections damp as I work. Create a center part that extends all the way to the nape of your neck. This becomes your guide for keeping everything symmetrical.
Section your hair horizontally into three main zones: the crown area (from the temples back to the crown), the mid-section (ear to ear), and the bottom section. Clip the top two sections up and out of the way.
Here’s where it gets crucial — establish your longest layer first. This becomes your safety net. I always start with the bottom section and cut it to my desired longest length, usually leaving it about an inch longer than I ultimately want. You can always cut more, but you can’t add length back.
Work in small subsections, pulling the hair straight down and cutting in a slight upward angle. This creates a subtle graduation that prevents the blunt, heavy look that can happen with straight-across cuts.
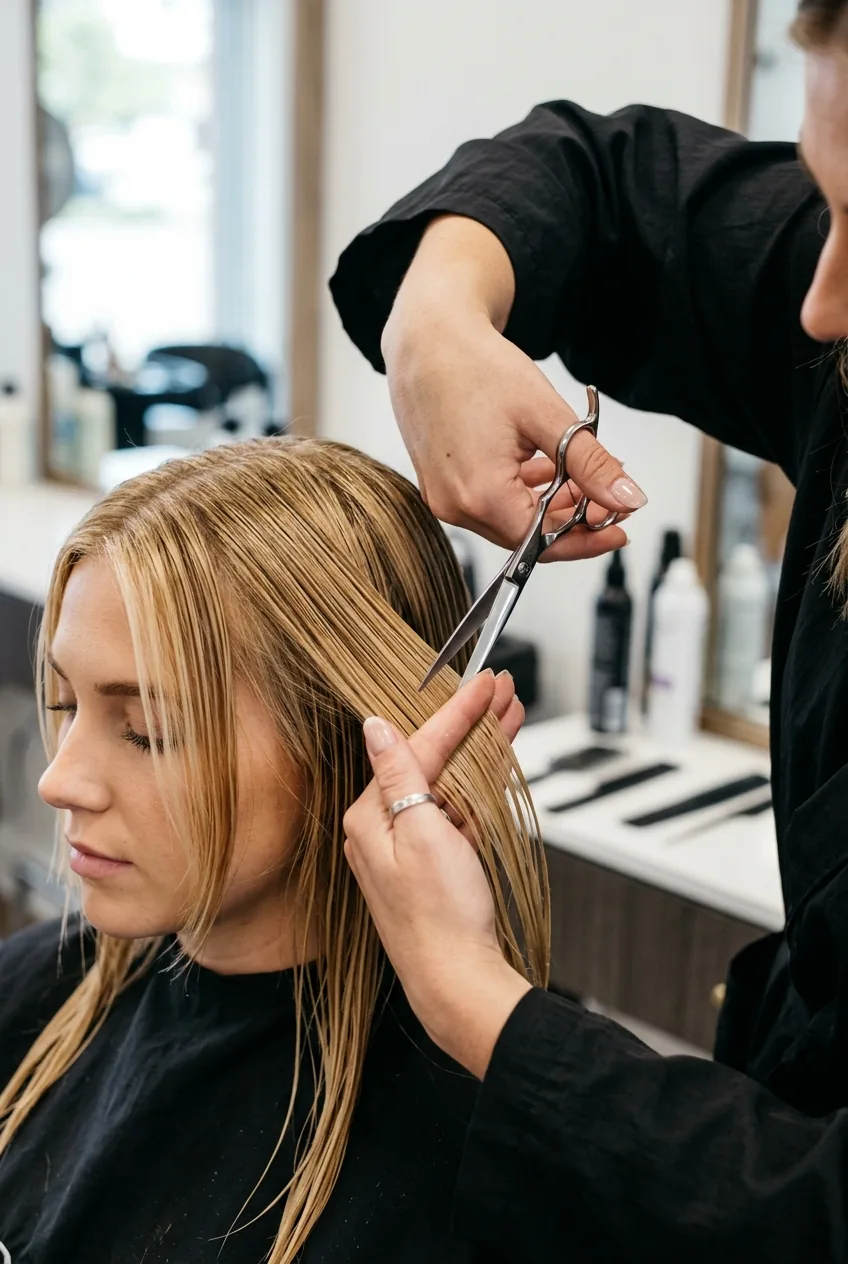
Creating the Butterfly Effect
This is where the magic happens — creating those signature face-framing layers that make the butterfly cut so flattering.
Release the middle section and start working on your first set of layers. The key is to use a technique called point cutting, where you hold the shears vertically and make small, precise cuts into the ends. This creates natural texture and movement.
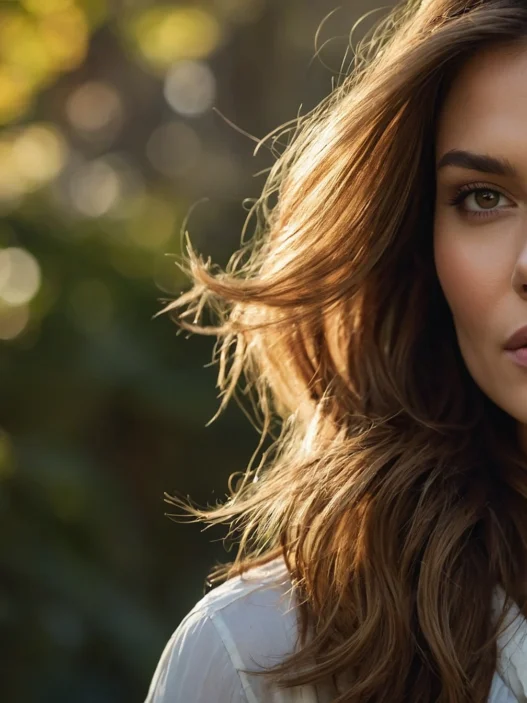
For the face-framing pieces, I work at a 45-degree angle, cutting from shorter in the front to longer toward the back. The shortest pieces should hit right around your collarbones — any shorter and you risk looking like you have a bob sitting on top of long hair.
Here’s my favorite trick: twist small sections of hair before cutting. This creates natural variation in length that mimics how hair naturally moves and falls. It’s especially effective for the layers around your face.
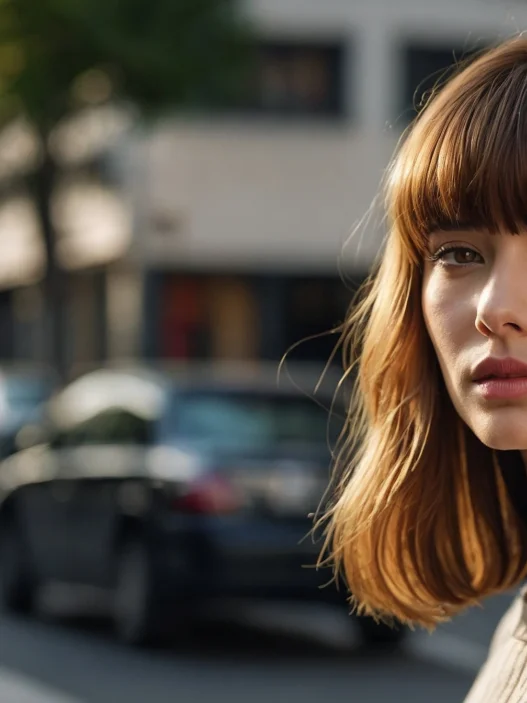
Pay special attention to the pieces that frame your face. These should be cut at a slight angle, shorter in front and gradually getting longer as they move toward your ears. Face-framing techniques can make or break the entire look.
The crown section gets the most dramatic layering. I create a horseshoe-shaped section from temple to temple, going over the crown of the head. These layers should be the shortest, creating that signature “butterfly wing” effect when you move your head.
Watch the Technique in Action
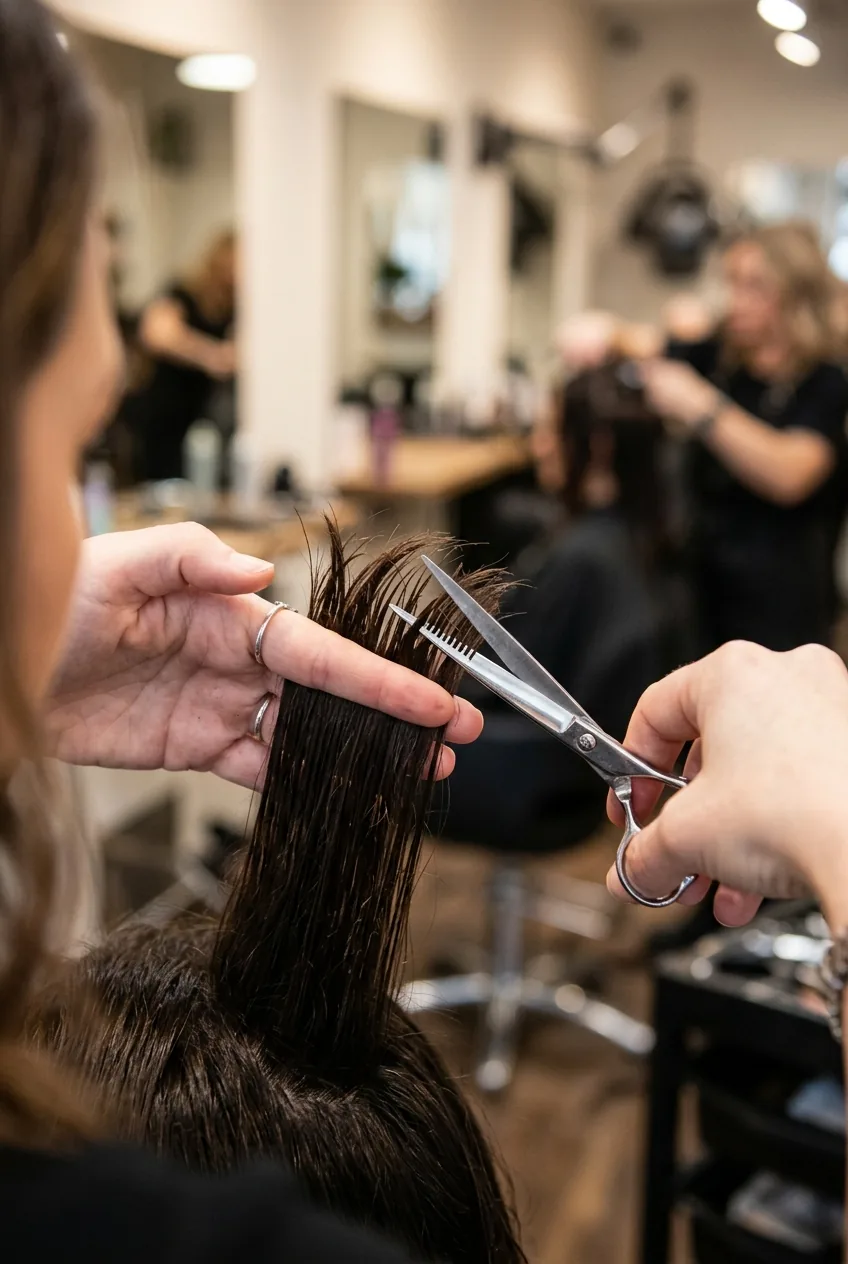
The Finishing Touch
This final phase is all about refinement and creating that effortless, lived-in texture that makes the butterfly cut look professionally done.
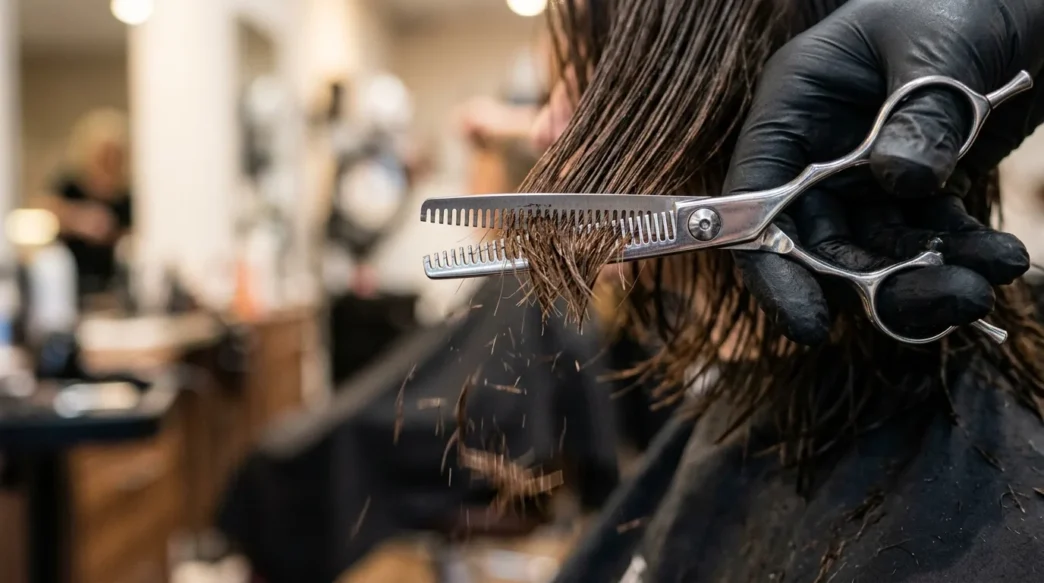
Break out those thinning shears — they’re about to become your best friend. Use them to soften any harsh lines and create natural texture throughout the cut. Focus on the ends of the layers, making quick, light cuts to remove bulk without shortening the length significantly.
Check your work by running your fingers through your hair and watching how it falls. The layers should blend seamlessly, with no obvious “steps” or choppy sections. If you spot any unevenness, now’s the time to make micro-adjustments.
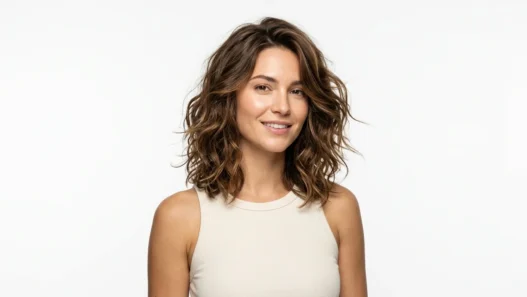
Style it with minimal product to see how it naturally behaves. I use a lightweight mousse and scrunch gently, then let it air dry. The butterfly cut should have natural movement and body without needing heavy styling.
One thing I wish someone had told me: the cut looks different wet versus dry. Don’t panic if it seems too layered when wet — it settles beautifully once dry.
For maintenance, you’ll want to trim every 6-8 weeks to keep the shape fresh. The beauty of the butterfly cut is that it grows out gracefully, so you have some wiggle room if you can’t get to the salon right away.
Questions I Get About This Cut
Can I do the butterfly cut on curly hair?
Absolutely! Just remember to cut curly hair when it’s dry and in its natural state. Cut longer than you think you need since curls spring up significantly once they’re cut.
How much length will I lose overall?
The bottom length stays mostly intact — you’ll only lose about an inch for cleanup. The layers are where the real cutting happens, with the shortest pieces typically hitting around collarbone length.
What if I mess up the layers?
Don’t try to fix major mistakes yourself. A professional can usually salvage uneven layers by adjusting the overall shape. The butterfly cut is forgiving, but dramatic corrections are best left to experts.
Does this work on fine hair?
Yes, but you need to be more conservative with the layering. Fine hair can look wispy if over-layered, so stick to subtle graduation and focus the shortest layers around the face rather than throughout the entire head.
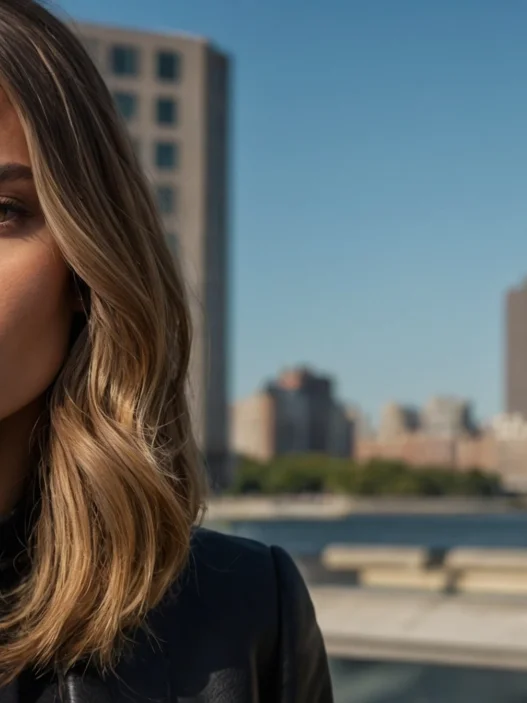
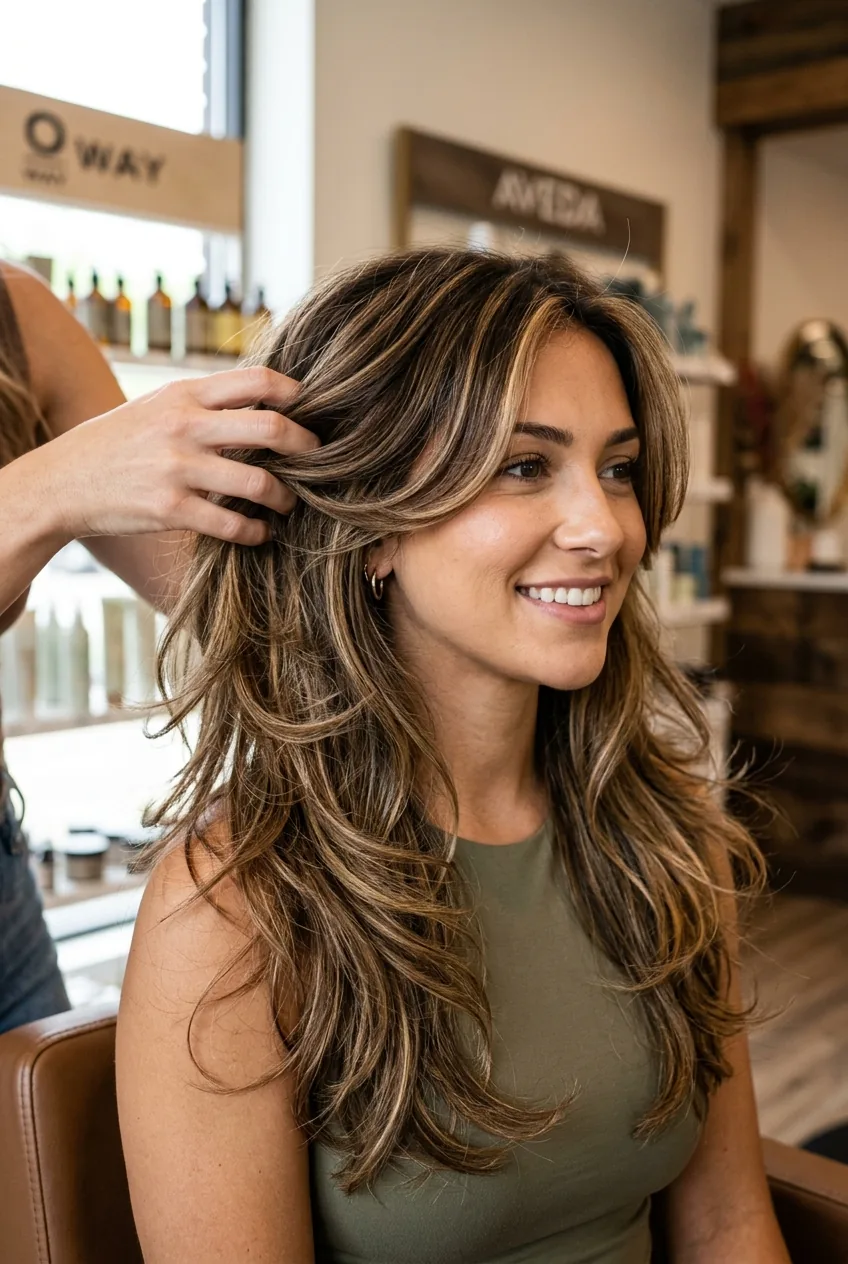
The result? I finally have that effortless, move-with-me hair I’d been chasing for years. My butterfly cut has incredible movement, frames my face beautifully, and somehow makes my hair look thicker than it actually is. Best of all, it styles itself — most mornings I just scrunch in some leave-in conditioner and I’m good to go. If you’re considering making the leap, take your time with the assessment phase. The actual cutting goes faster than you’d think once you have a solid plan.