


I’ll be honest — when I first got my shoulder length haircut two years ago, I thought styling would be easy. Medium length, not too short, not too long. How hard could it be? Turns out, this length is trickier than I expected. It’s right in that awkward zone where it can flip out weirdly or hang limp if you don’t know what you’re doing. After lots of trial and error (and some truly awful hair days), I finally cracked the code.
Complete Styling Guide Contents
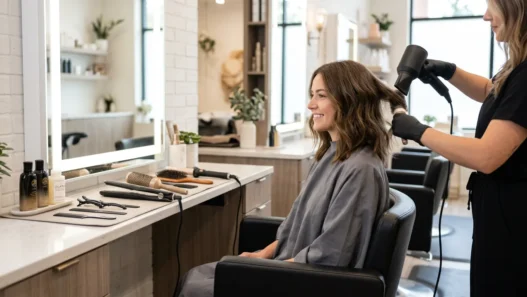
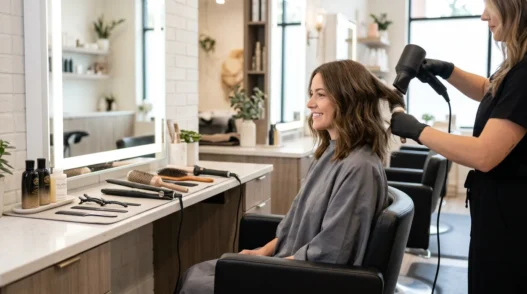
Essential Tools and Timing
Before we dive into techniques, let’s talk about what you actually need. I used to think any old blow dryer would work, but shoulder length hair demands better tools.
- Ionic blow dryer (1875 watts minimum — trust me on this)
- Round brush, 2-inch barrel for volume
- Paddle brush for smoothing
- Wide-tooth comb for wet hair
- Heat protectant spray
- Volumizing mousse
- Flexible hold hairspray
- Hair clips for sectioning
- Optional: flat iron or 1.5-inch curling iron
Time-wise, plan for 15-20 minutes for a basic blow-dry, 25-30 minutes if you’re adding curls or waves. I know it sounds like a lot, but once you get the routine down, you’ll be flying through it.
The Foundation Phase
This is where most people go wrong. They rush through the prep thinking it doesn’t matter. But foundation work determines whether your style lasts two hours or all day.
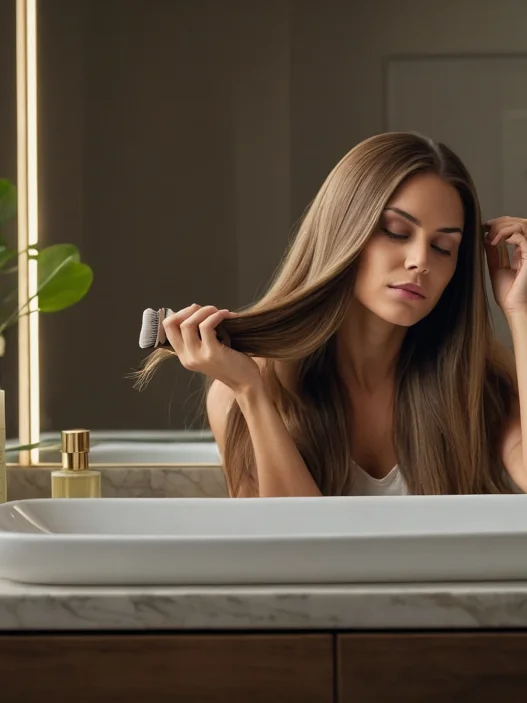
Start with freshly washed hair that’s about 80% dry. Not dripping wet, but not bone dry either. Apply your heat protectant from mid-length to ends — shoulder length hair gets the most heat damage at the ends since they’re older and more fragile.
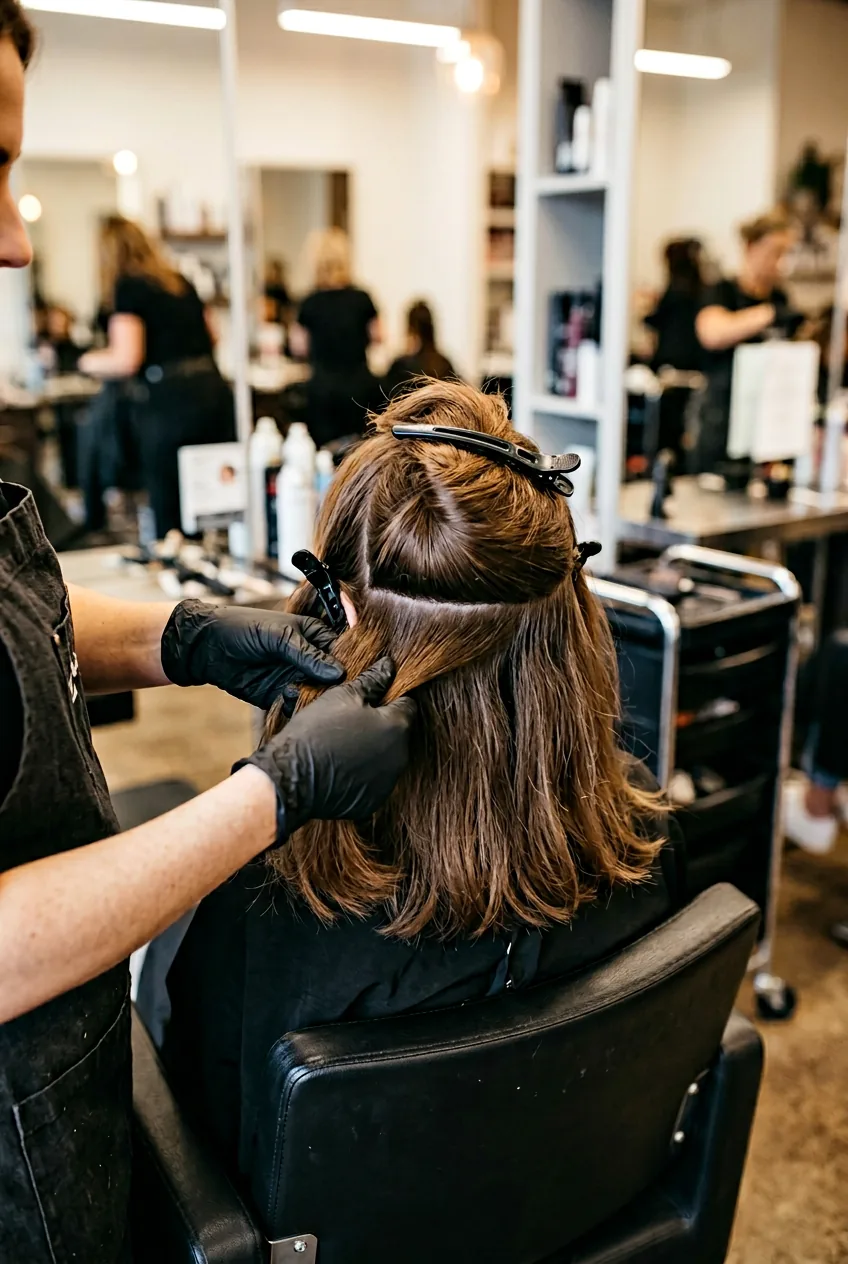
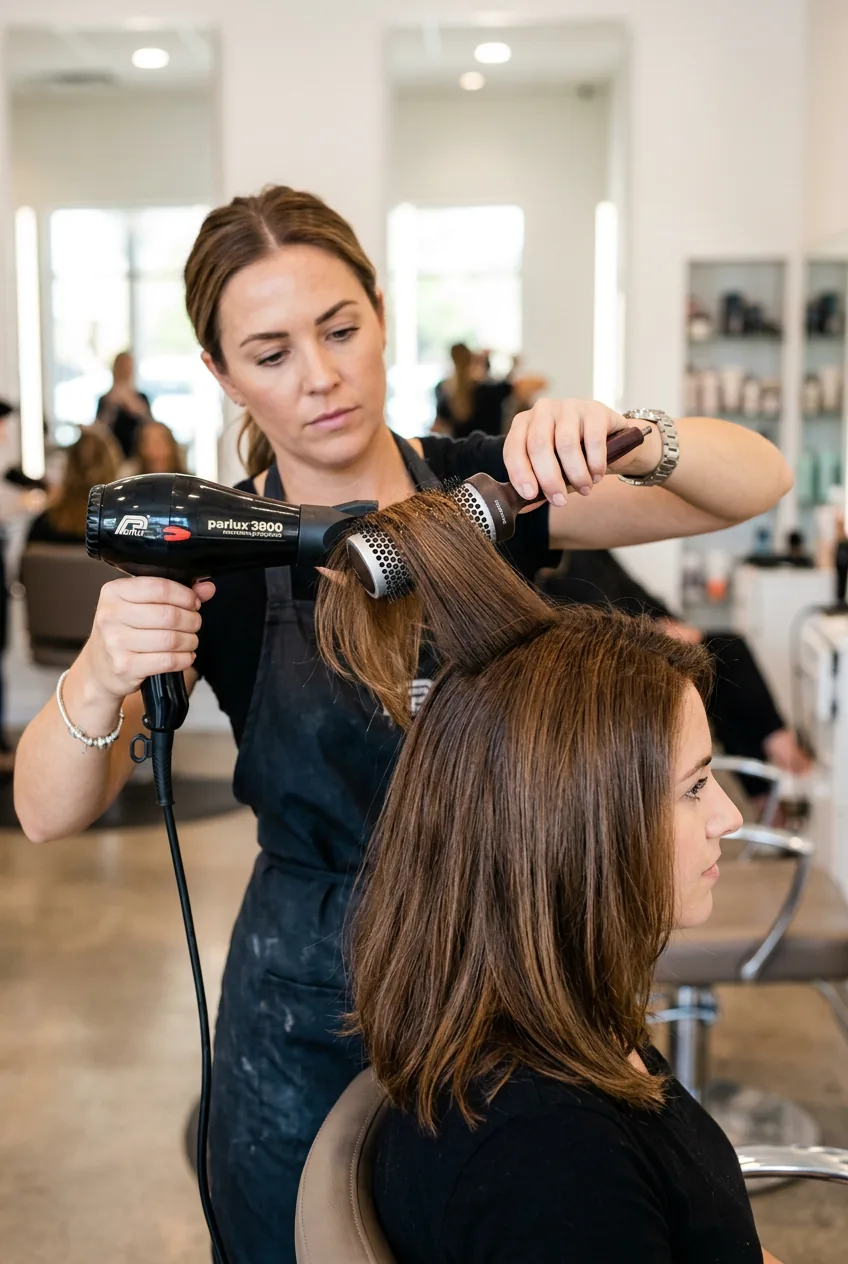
Now here’s the game changer: section your hair properly. I used to just randomly blow dry sections, wondering why some pieces looked great and others looked flat. Create three horizontal sections — bottom, middle, and top. Clip the upper sections away and start with the bottom layer.
I made this mistake for months: starting with the top sections first. Your freshly styled bottom layers get crushed under the weight of wet hair above them. Always work bottom to top!
For the actual blow-drying technique, hold your round brush underneath each section and pull the hair taut while directing airflow down the hair shaft. This smooths the cuticle and creates that salon-level shine. Don’t just wave the dryer around randomly.
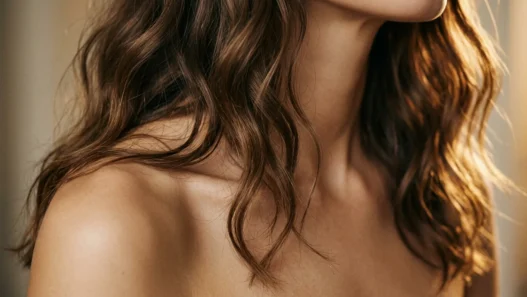
Creating Movement and Texture
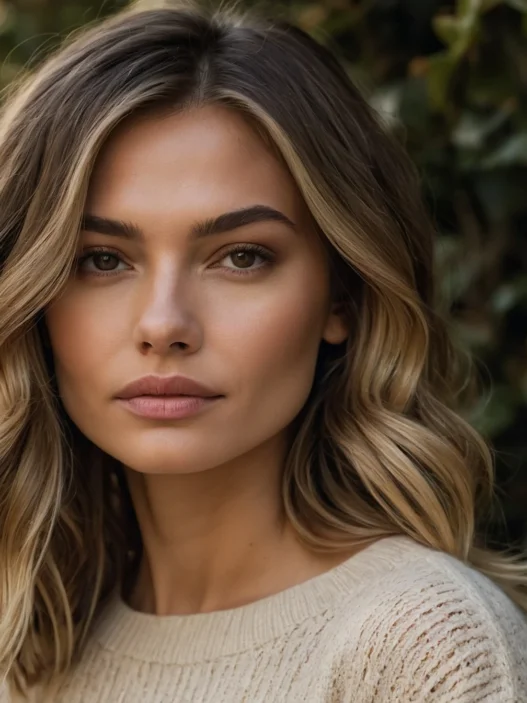
This is where shoulder length cuts really shine. They’re perfect for adding movement without looking overdone. The key is understanding that this length wants to flip and curve naturally — work with it, don’t fight it.
For subtle waves, wrap sections around your round brush and hold for 3-4 seconds before releasing. Don’t make the sections too big — about 2 inches wide works perfectly. I love how wavy shoulder length cuts can look effortlessly chic when styled properly.

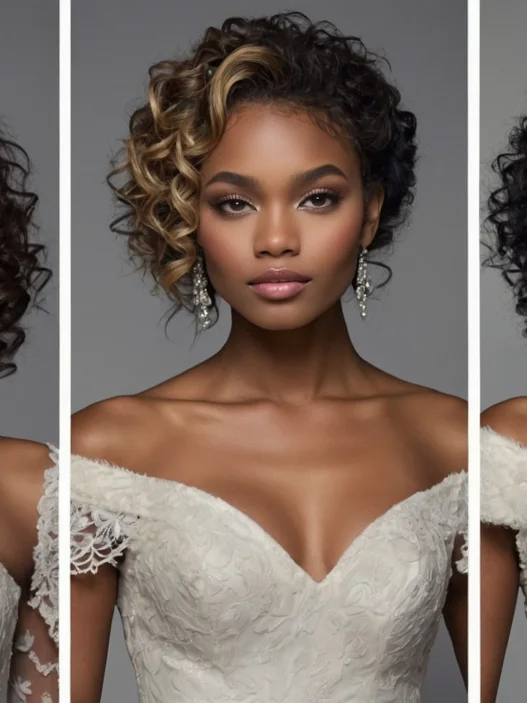
If you want more defined curls, switch to a curling iron after blow-drying. The trick with shoulder length hair is alternating curl directions. Curl one section away from your face, the next toward your face. This creates that lived-in, beachy texture that looks expensive.
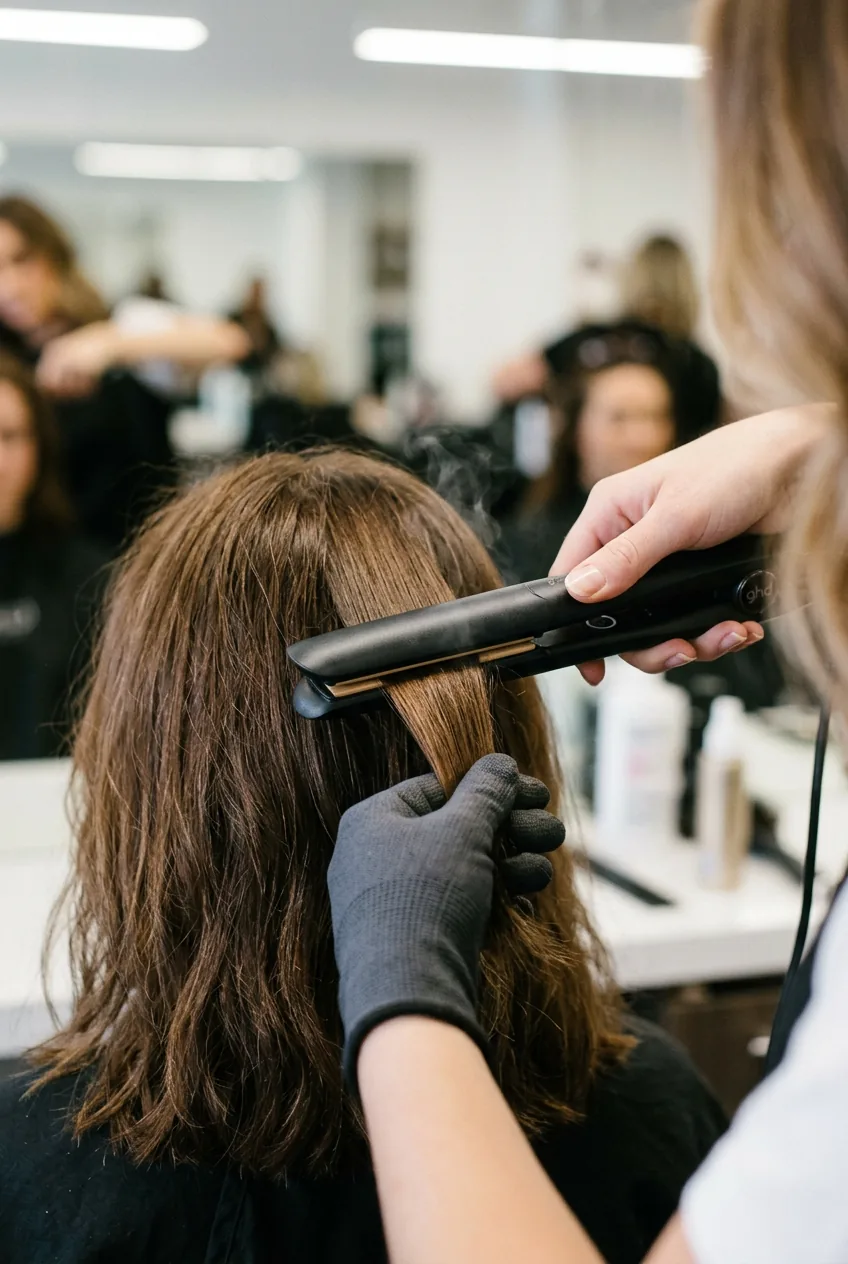
For straight styles, use a flat iron in small sections, but here’s what most people don’t know: curve the iron slightly as you reach the ends. A completely straight, blunt end looks harsh and dated. That subtle curve softens the whole look.
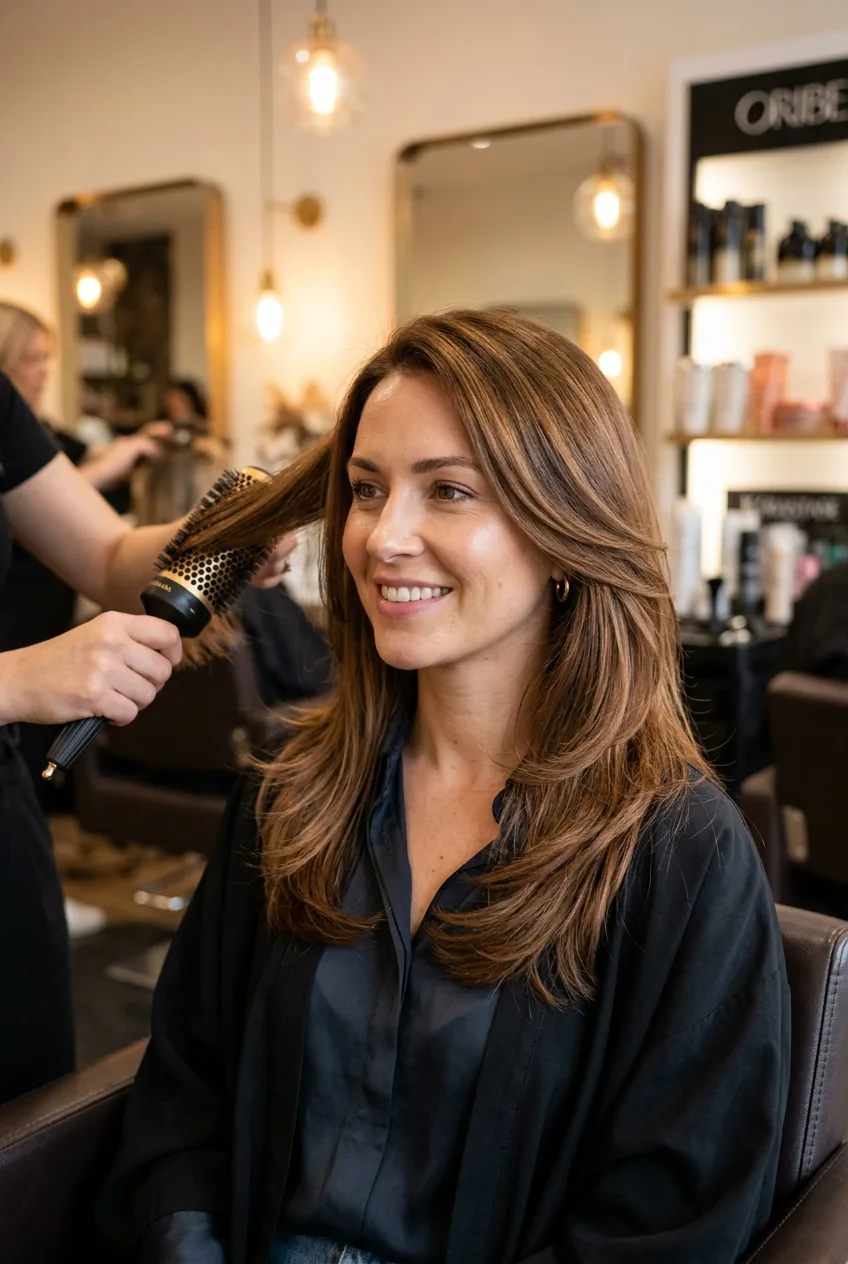
Volume is everything at this length. If your hair falls flat, try this: lift sections straight up as you blow dry, then immediately hit them with cool air while they’re still lifted. The cool air sets the lift and gives you that bouncy, just-left-the-salon look.
Watch This Technique in Action
The Polishing Touch
This final phase is what separates good styling from great styling. It’s all about the details that make people ask where you got your hair done.
First, check your layers. Shoulder length cuts often have subtle layering that needs a little help to look intentional. Scrunch any pieces that look too uniform — you want some texture and movement, not helmet hair.
Face-framing is crucial at this length. Take the front sections and give them a slight bend toward your face with your flat iron or round brush. This creates that flattering frame that makes your whole face look more polished. Professional styling tips can really elevate your whole look.
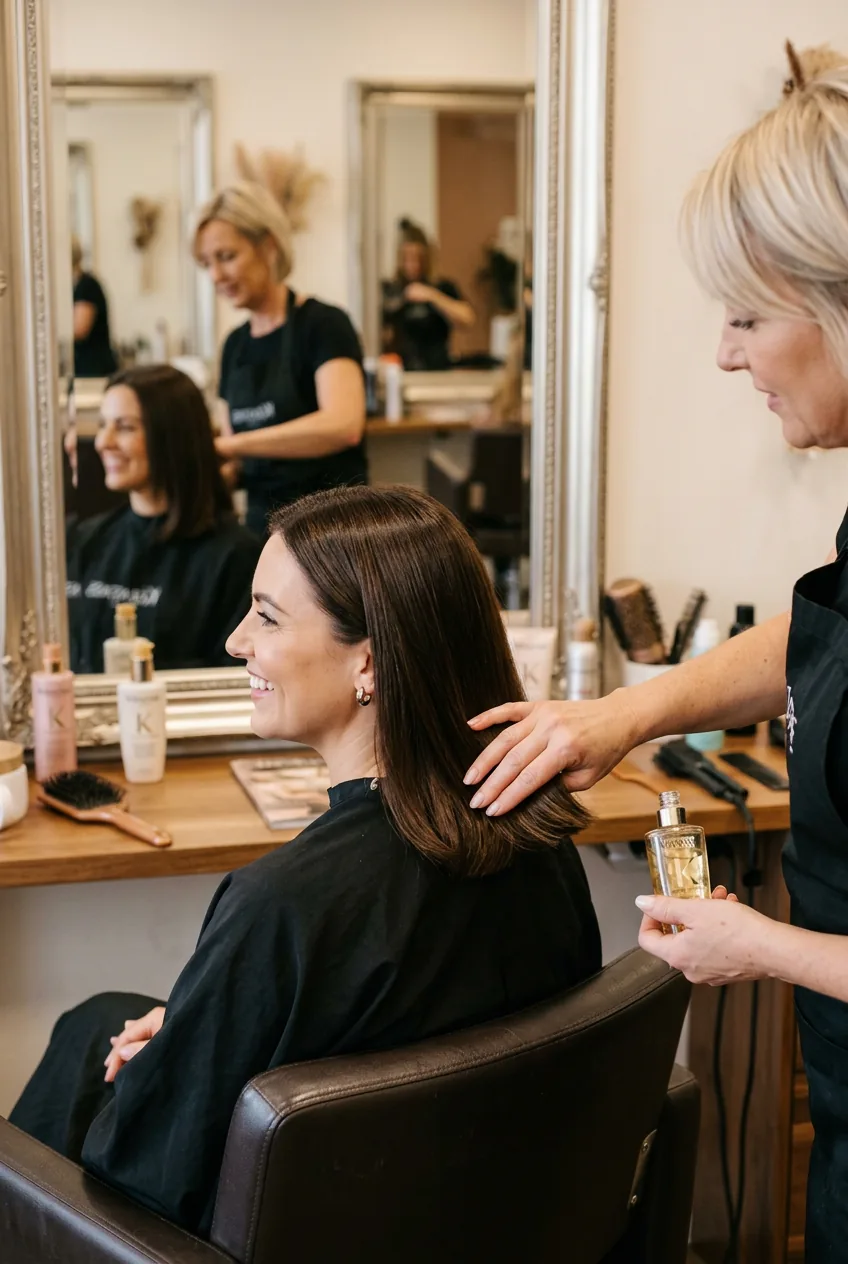
Now for products. Less is more, but strategic application makes all the difference. A tiny amount of lightweight serum on the ends prevents frizz without weighing hair down. I run maybe half a pump through my ends and that’s it.
Hairspray should be your final step, not something you spray throughout styling. Hold the bottle 8-10 inches away and give your whole head a light mist. Focus on the areas that tend to fall flat first — usually around the crown and sides.
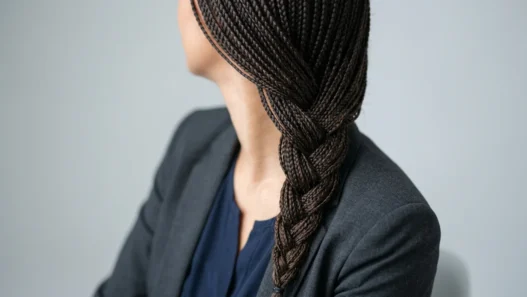
For special occasions, try incorporating some braided elements into your shoulder length style. Even a simple side braid can make your everyday cut look totally different and special.
Quick Questions I Get About This
How often should I wash shoulder length hair before styling?
Every 2-3 days works best for most people. Day-old hair actually styles easier because it has some natural texture and grip. Freshly washed hair can be too slippery to hold curl well.
Can I sleep on freshly styled shoulder length hair?
Absolutely, but use a silk pillowcase or wrap it in a silk scarf. The smooth surface prevents friction that causes frizz and flattening. I also loosely twist it up with a scrunchie — never tight ponytails.
Why does my shoulder length hair look flat by afternoon?
Usually it’s product buildup or using too much conditioner near the roots. Try clarifying shampoo once a week and only condition from mid-length down. Also check if you’re over-brushing throughout the day.
Should I cut my own layers to refresh the style?
Please don’t. Shoulder length cuts need precise layering to look intentional rather than choppy. A professional trim every 8-10 weeks keeps the shape sharp and prevents that grown-out, uneven look.
The best part about mastering these techniques? Once you get them down, styling becomes almost automatic. My shoulder length haircut went from being a daily struggle to my favorite thing about getting ready. It’s versatile enough for work meetings and date nights, but easy enough that I don’t dread Monday mornings anymore.