


I’ve been doing my hair for longer than I care to admit, and one thing I’ve learned is that not all “easy” hairstyles are created equal. What’s effortless for someone who’s been braiding since childhood might feel impossible when you’re rushing out the door on a Tuesday morning. That’s why I’ve organized these 12 styles by actual difficulty — from the ones I can do half-asleep to the styles that still make me take a deep breath before starting.
1. Beginner Friendly: Low Ponytail

Difficulty: ⭐ (1/5)
Time: 30 seconds
Tools: Hair elastic
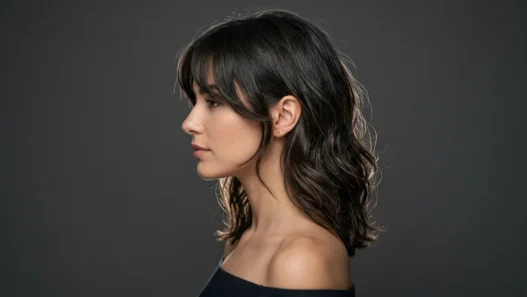
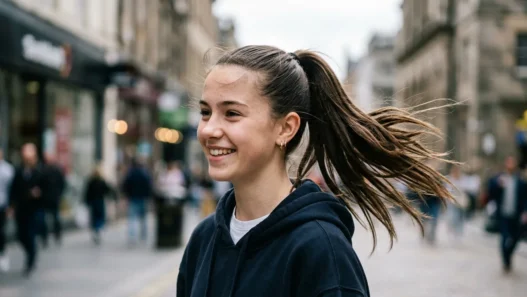
If you can hold a hair tie, you can master this one. I love how a low ponytail works on literally every hair length — from chin-length bobs to waist-length hair. The key is positioning it at the nape of your neck rather than mid-head height.
For fine hair, tease the crown slightly before pulling back. For thick hair, use a snag-free elastic to avoid breakage. See how she’s got that effortless drape? That’s what happens when you don’t pull too tight.
2. Beginner Friendly: Half-Up Twist

Difficulty: ⭐ (1/5)
Time: 1 minute
Tools: Small elastic or bobby pins
This is my go-to when I want to look put-together but can’t be bothered with anything complicated. Take sections from each temple, twist them back, and secure at the crown. It works beautifully on shoulder-length hair and longer.
The magic happens when you gently tug at the twisted sections to loosen them slightly. Creates instant volume and texture. I do this almost every morning when working from home — it keeps hair out of my face without the commitment of a full updo.
3. Beginner Friendly: Messy Bun

Difficulty: ⭐⭐ (2/5)
Time: 2 minutes
Tools: Hair elastic, 3-4 bobby pins
The “messy” part is both a blessing and a curse — it’s forgiving, but there’s a fine line between effortlessly undone and just plain messy. I’ve found the sweet spot is in the preparation. Start with day-old hair or add some texturizing spray first.
Gather hair into a high ponytail, but on the last loop, don’t pull the ends all the way through. Leave a loop with the ends sticking out. Then, wrap those ends around the base and pin strategically. Pull out a few face-framing pieces and you’re golden.
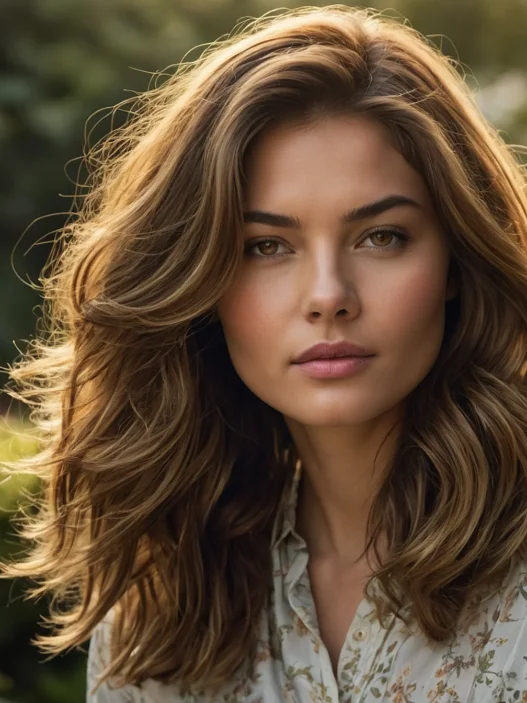
4. Easy Intermediate: Side Braid

Difficulty: ⭐⭐ (2/5)
Time: 3 minutes
Tools: Hair elastic
A simple three-strand braid becomes infinitely more interesting when you sweep all your hair to one side first. This works on medium to long hair and adds that casual, romantic vibe I’m always chasing.
The trick is starting the braid lower than you think you should — about ear level rather than at the nape. It creates a beautiful cascade effect. I like to pancake (gently pull apart) the braid afterward to make it look fuller and more relaxed. Perfect for formal hairstyles when you want something elegant but not too precious.
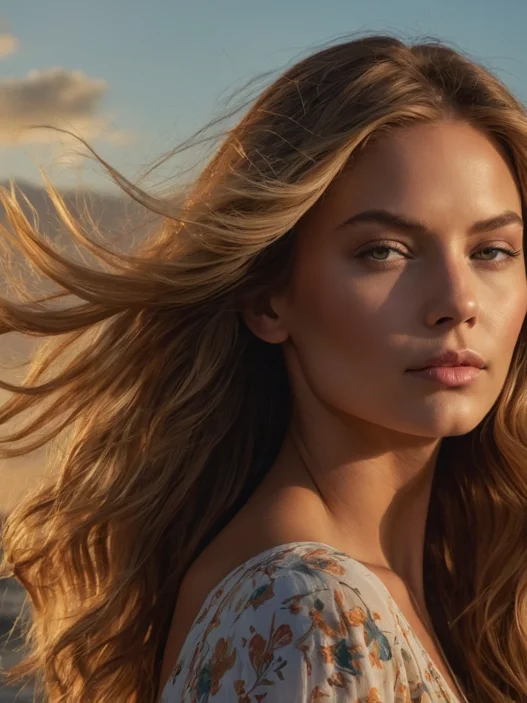
5. Easy Intermediate: Beach Waves

Difficulty: ⭐⭐ (2/5)
Time: 5 minutes
Tools: Sea salt spray, diffuser (optional)
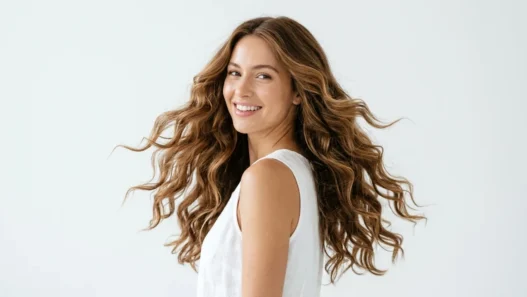
Here’s my confession: I’ve never actually achieved beach waves at an actual beach. But I’ve perfected the look in my bathroom, and it’s become my signature style for everything from coffee dates to dinner parties.
The no-heat method works best for me. Apply sea salt spray to damp hair, scrunch with your hands, then either air dry or diffuse on low heat. The key is not touching it while it dries — I learned this the hard way after years of creating frizzy disasters.
My personal pick for this difficulty level has to be the beach waves. There’s something so effortlessly chic about them, and once you get the technique down, it becomes second nature. Plus, they work on practically every face shape and hair length I’ve tried them on.
The Technique That Changed My Waves
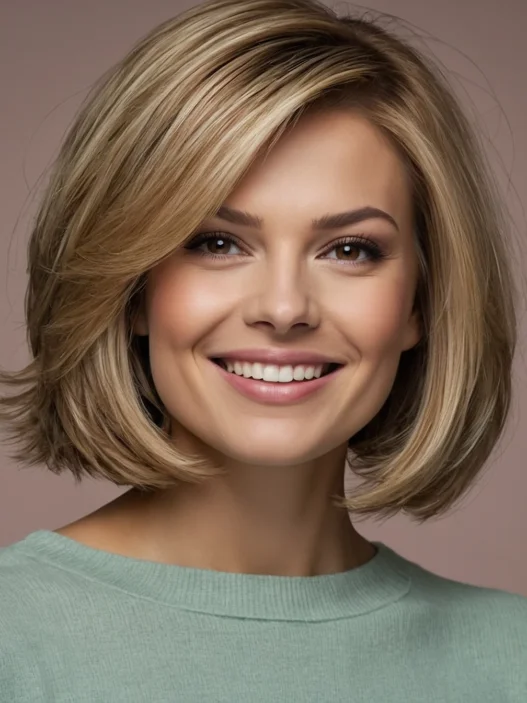
6. Intermediate: Sleek Bob

Difficulty: ⭐⭐⭐ (3/5)
Time: 8 minutes
Tools: Flat iron, heat protectant, smoothing serum
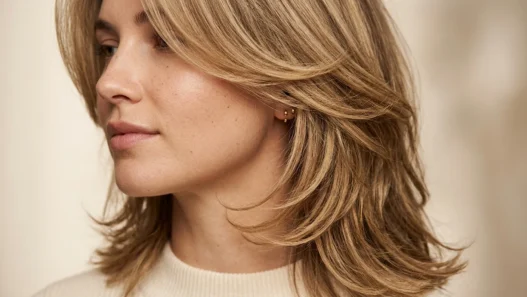
This one requires some arm strength and patience, but the results are so worth it. A perfectly sleek bob looks expensive and polished in a way that makes me feel like I have my life together (even when I definitely don’t).
Section your hair horizontally and work in small pieces. The slower you move the flat iron, the better the results. I always finish with a tiny amount of smoothing serum — just on the ends and mid-lengths, never at the roots. Look at how glossy and mirror-like her finish is? That’s the goal.
7. Intermediate: French Braid

Difficulty: ⭐⭐⭐ (3/5)
Time: 6 minutes
Tools: Hair elastic, practice, patience
I’m not going to lie — this took me embarrassingly long to master. But once it clicks, it’s like riding a bike. The French braid is elegant, practical, and works for everything from gym sessions to wedding guest looks.
Start with three small sections at your hairline. As you braid down, keep adding small pieces from each side. The key is maintaining even tension — not so tight it hurts, not so loose it falls apart. Proper sectioning techniques make all the difference when you’re learning.
8. Intermediate Challenge: Top Knot

Difficulty: ⭐⭐⭐ (3/5)
Time: 4 minutes
Tools: Hair elastic, 4-6 bobby pins, texturizing spray
The top knot sounds simple in theory, but achieving that perfectly imperfect balance takes some finesse. Too neat and it looks severe. Too messy and it looks sloppy. I’ve found the sweet spot lies in the prep work and strategic pin placement.
Flip your head upside down and gather hair into a very high ponytail. Twist the ponytail and wrap it around the base, securing with pins as you go. The trick is leaving the ends slightly loose and textured rather than tucking everything in perfectly. This style is perfect for those days when you want to look effortlessly cool.
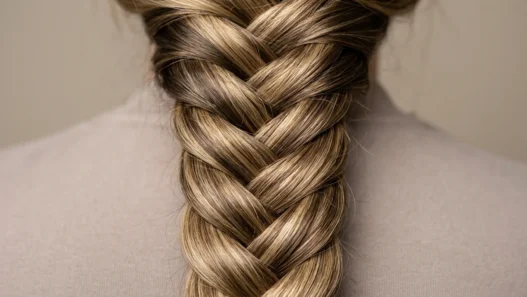
9. Intermediate Challenge: Fishtail Braid

Difficulty: ⭐⭐⭐⭐ (4/5)
Time: 10 minutes
Tools: Hair elastic, texturizing spray
The fishtail braid looks incredibly complex but is actually quite simple once you understand the pattern. It’s just two sections instead of three, but the crossover technique creates that beautiful, intricate weave pattern.
Divide hair into two sections. Take a thin strand from the outer edge of one section and cross it over to join the other section. Repeat on the other side. The smaller your strands, the more detailed the pattern will be. I always pancake this braid afterward — it creates such a romantic, full effect that makes the time investment worth it.
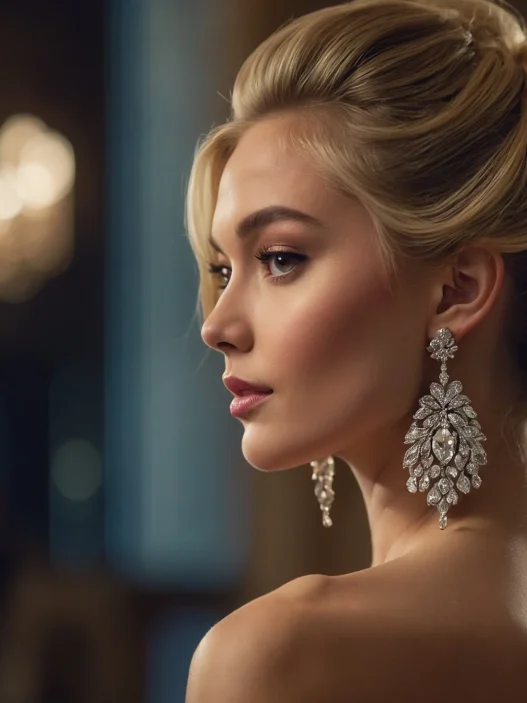
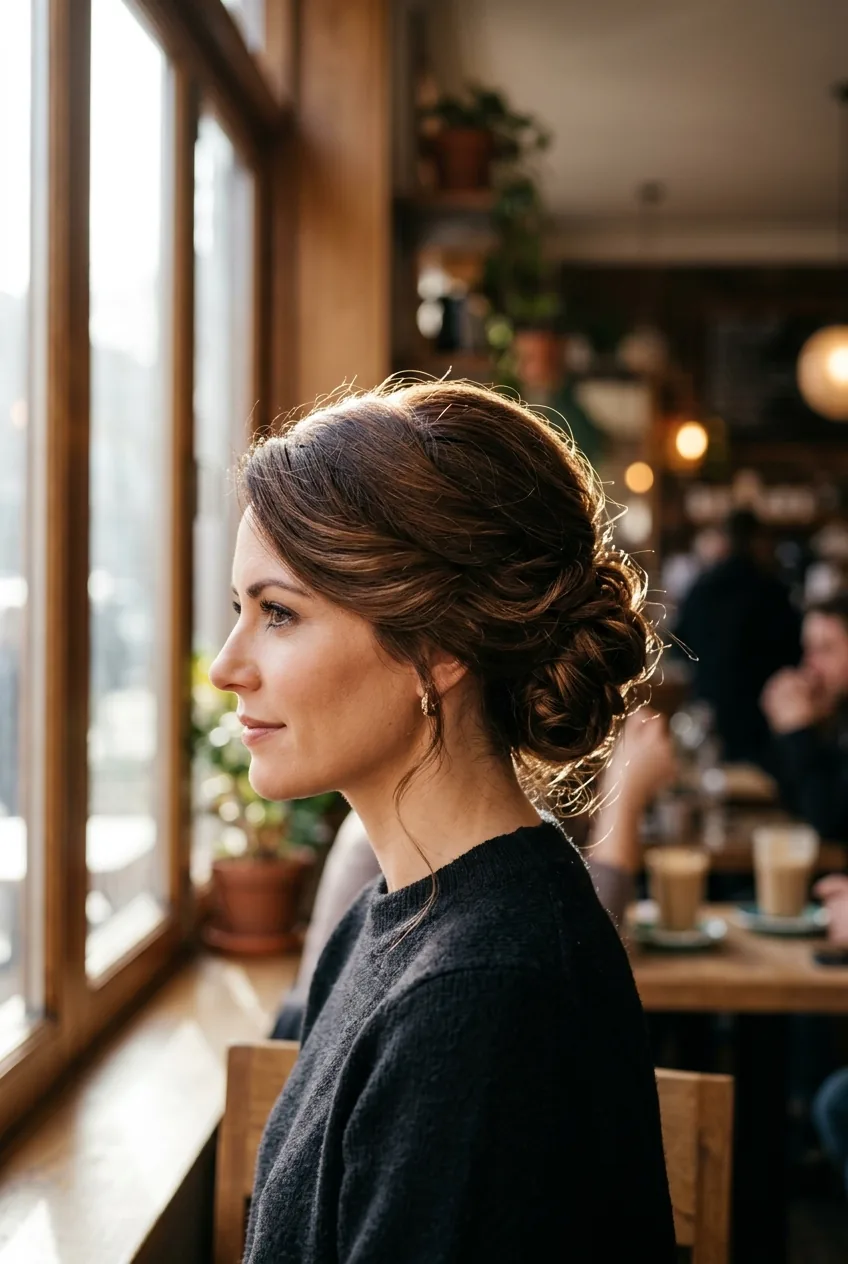
10. Advanced Level: Twisted Updo
Difficulty: ⭐⭐⭐⭐ (4/5)
Time: 12 minutes
Tools: 8-10 bobby pins, hair elastic, strong-hold hairspray
This is where things get interesting. The twisted updo combines multiple techniques — sectioning, twisting, and strategic pinning — to create something that looks like it required a professional stylist.
Start by creating a deep side part. Take a section from the heavier side and begin twisting it back along your hairline. As you twist, keep adding hair from below until you reach your ear. Pin temporarily, then repeat on the other side. Gather all the remaining hair into a low bun and arrange your twists around it. The final result feels very editorial and special-occasion appropriate.
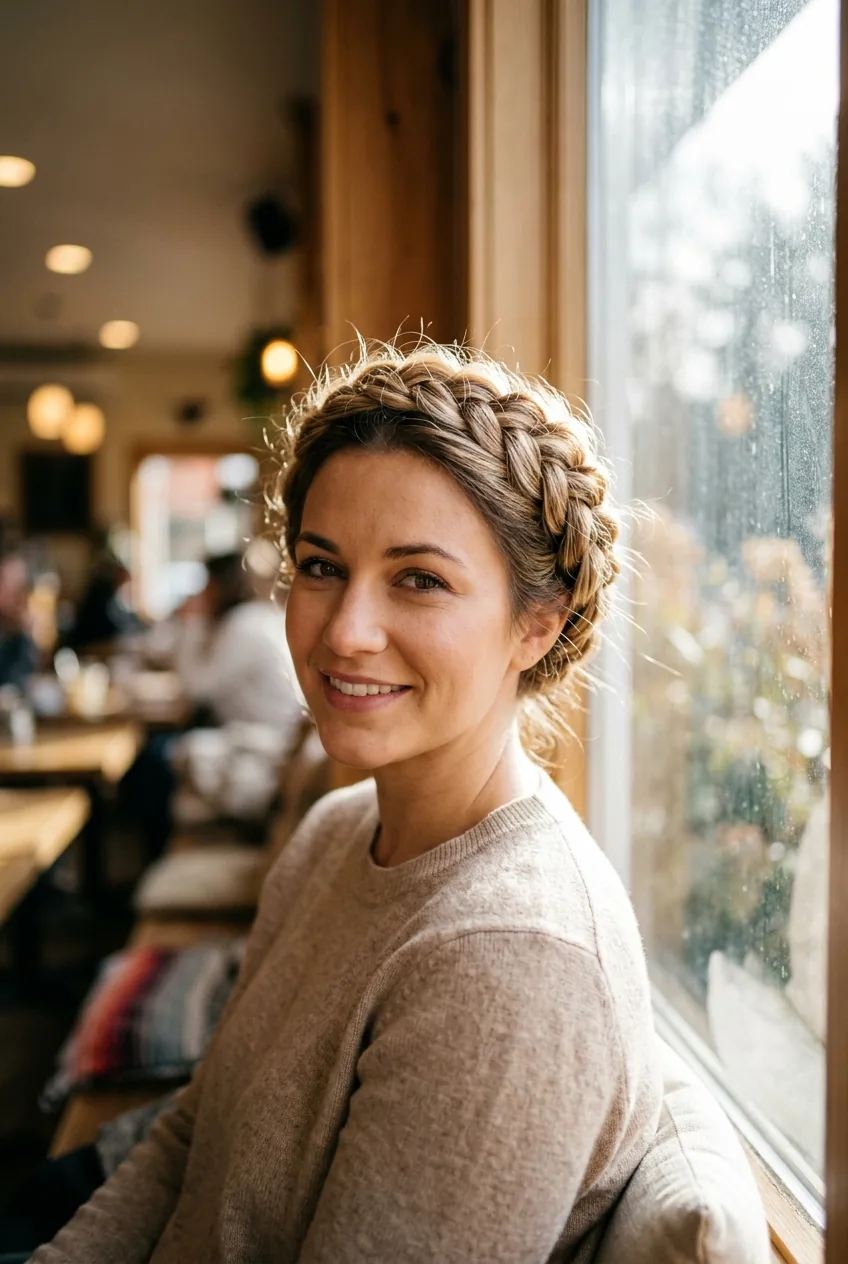
11. Advanced Level: Dutch Crown Braid
Difficulty: ⭐⭐⭐⭐⭐ (5/5)
Time: 15 minutes
Tools: Hair elastic, 6-8 bobby pins, strong-hold gel
I’ll be honest — this one took me months to master, and I still have days where it doesn’t cooperate. But when it works? It’s absolutely stunning. The Dutch crown braid wraps around your head like a halo, and it’s perfect for special occasions or when you want to feel like a modern-day princess.
Start at your part and begin Dutch braiding (braiding under instead of over) along your hairline. The trick is maintaining consistent tension while following the curve of your head. When you reach your starting point, continue braiding the remaining length and pin it under the crown. This style definitely requires some arm endurance and spatial awareness, but the wow factor is unmatched.
12. Advanced Master: Romantic Chignon

Difficulty: ⭐⭐⭐⭐⭐ (5/5)
Time: 18 minutes
Tools: Multiple hair elastics, 10-12 bobby pins, texturizing spray, hairspray
The romantic chignon is my holy grail of elegant hairstyles. It’s the kind of updo that makes people ask if you went to a salon, but once you master the technique, you can create it at home. It requires patience, practice, and honestly, a bit of natural dexterity.
Create loose waves throughout your hair first — this gives the chignon texture and fullness. Then, section your hair into three parts: one at each temple and one at the back. Loosely braid or twist each section, then arrange them into a low, asymmetrical bun at the nape of your neck. The key is allowing pieces to fall naturally and not trying to make it too perfect. Pull out a few face-framing tendrils and you’ve achieved that effortlessly romantic look that works beautifully for braided wedding hairstyles or any formal event.
Questions I Get About These Styles
Can I do these styles on wet hair?
Most of these work better on dry or slightly damp hair. Wet hair is heavier and more likely to slip out of styles. The exception is beach waves, which actually benefit from starting with damp hair and sea salt spray.
How do I make these last all day?
Prep is everything. Use texturizing spray before styling to give your hair grip, and don’t be shy with bobby pins. I always use more pins than I think I need, especially for the advanced styles. A light mist of hairspray at the end helps too.
What if my hair is too fine for these styles?
Fine hair can definitely do these styles! The key is creating texture first. Dry shampoo, texturizing spray, or even sleeping in braids the night before can give fine hair the grip it needs. Check out these best hairstyles for thin hair for more specific techniques.
Should I start with the hardest styles first?
Absolutely not! Master the basics first. Each skill level builds on the previous ones — the hand coordination you develop doing simple ponytails and braids is essential for the advanced techniques. Trust the process and work your way up gradually.
The beauty of having styles at every difficulty level is that there’s always something perfect for your current skill level and time constraints. Some mornings call for a 30-second ponytail, others deserve the full romantic chignon treatment. And honestly? The journey from beginner to advanced is half the fun. Each time you master a new technique, it opens up possibilities you never knew existed.