


I walked into three different salons last month asking for a butterfly haircut. One gave me a basic shag, another created what looked like a mullet gone wrong, and the third charged me $150 for layers that disappeared after one wash. That’s when I realized most people — including many stylists — don’t actually understand what makes this cut work.
The butterfly haircut became TikTok famous for a reason. Done right, it creates this gorgeous face-framing effect that’s both retro and modern. But there’s a massive gap between the Instagram photos and what most people end up with. I’ve spent the last few months figuring out exactly why.
What Makes a Butterfly Cut Actually Different
Here’s what nobody explains properly: a butterfly cut isn’t just “layers.” It’s a very specific layering technique that creates shorter pieces around your face while keeping length at the back. Think of it as a reverse mullet situation — shorter in front, longer in back — but executed with way more finesse.
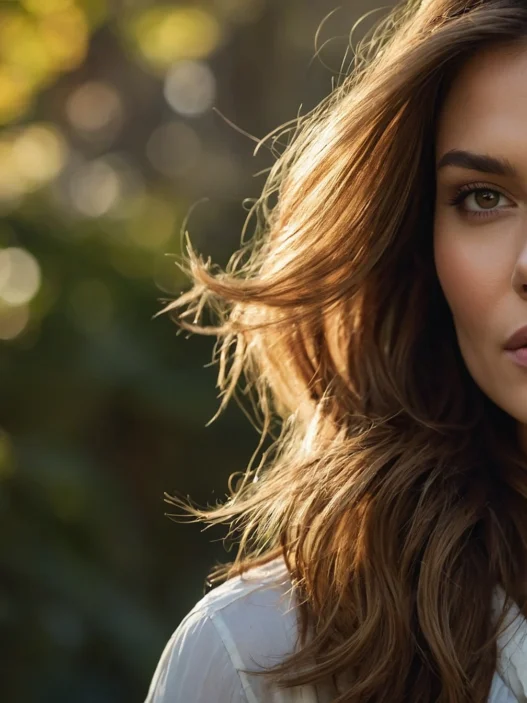
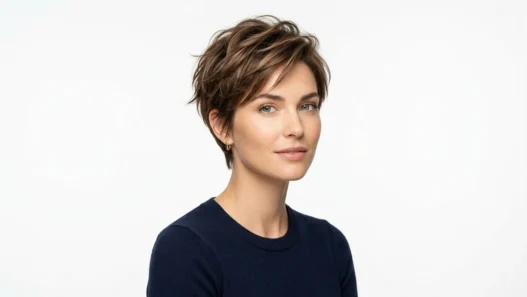
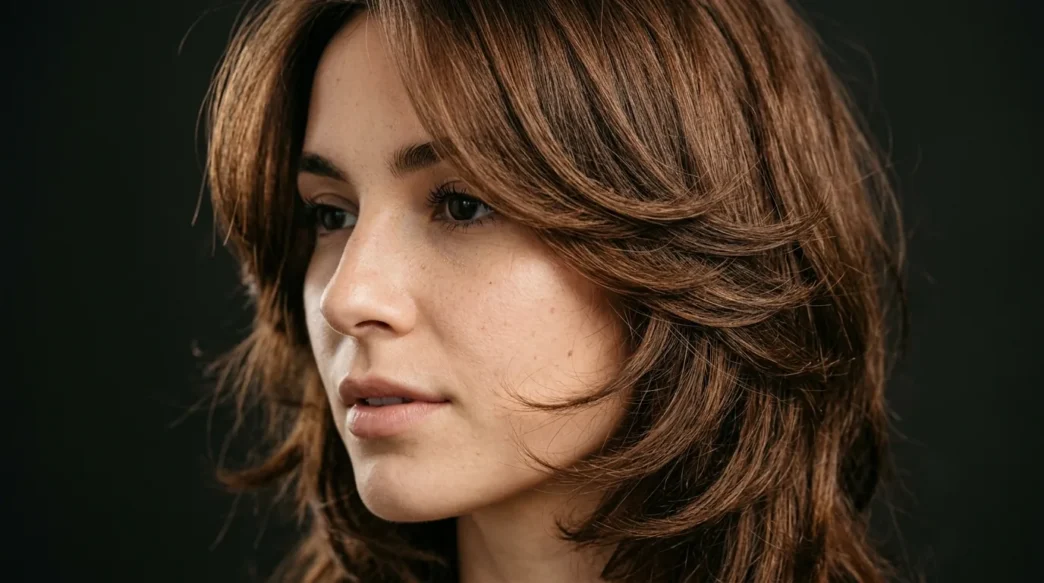
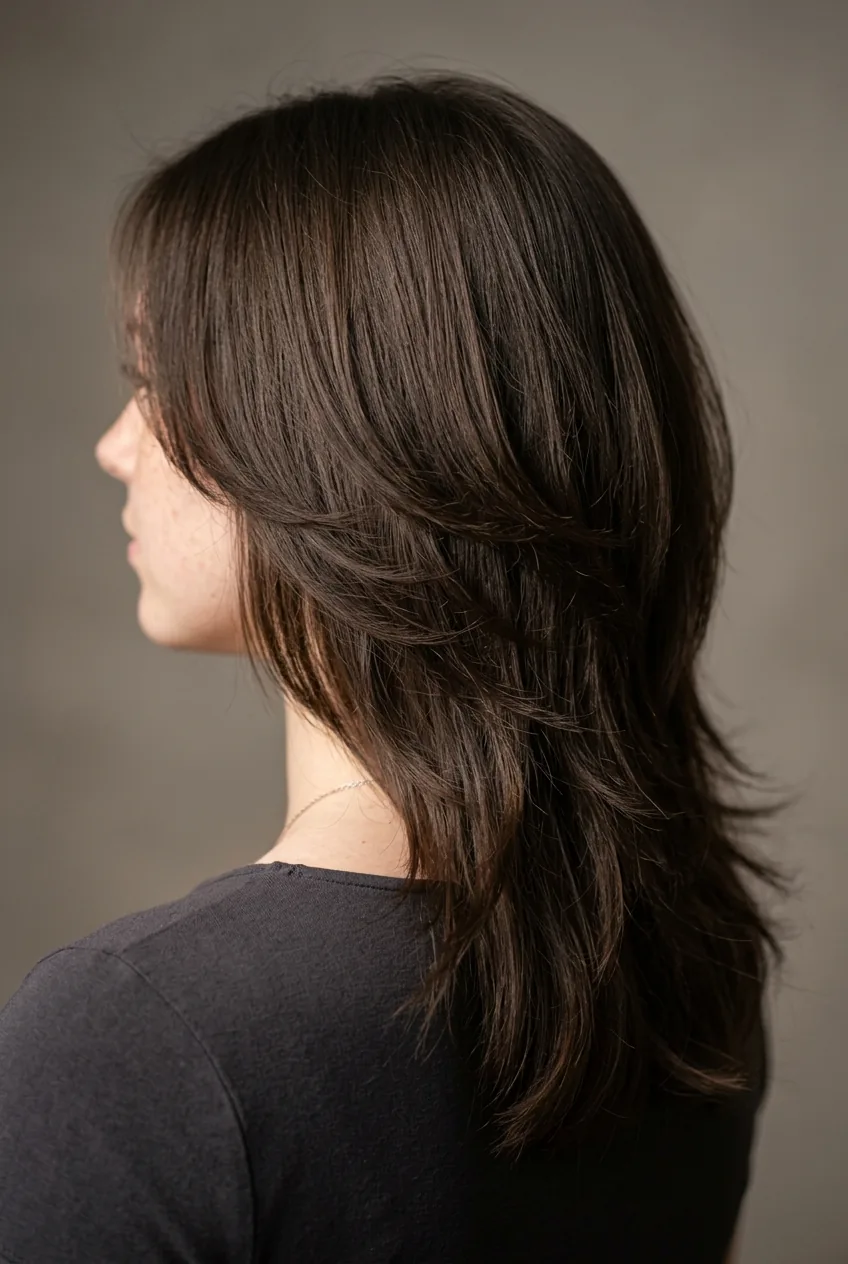
The key is in those face-framing layers. They should start around your cheekbones and gradually get longer as they move toward your ears. When styled correctly, these layers flip outward slightly, creating that “butterfly wing” effect that gives the cut its name. See how she’s got those shorter pieces catching the light? That’s exactly what I mean about the wing-like movement.
What makes this different from a regular shag is the intentional weight distribution. A shag removes weight evenly throughout. A butterfly cut keeps weight in the back and removes it strategically at the front. This creates movement without sacrificing volume — something I learned the hard way after getting three terrible shags when I asked for butterfly cuts.
The technique also involves cutting at different angles. The face-framing pieces are cut at a steep angle to create that flip-out effect, while the back is layered more subtly to maintain fullness. Most stylists either make all the layers the same angle (creating a basic shag) or go too dramatic with the face-framing pieces (hello, 1980s flashback).
Why Most Salons Butcher This Cut

After talking to six different stylists about this cut, I’ve identified the three main ways they mess it up. First, they panic about the layers and make them too subtle. The face-framing pieces end up barely noticeable, and you’re left with an expensive trim that looks like nothing happened.
Second mistake? Going too heavy-handed with the thinning shears. I watched one stylist essentially destroy my friend’s hair density by over-texturizing every single layer. The butterfly cut needs some weight to create that beautiful movement — thin it out too much and you’ll get stringy, lifeless pieces that won’t hold their shape.
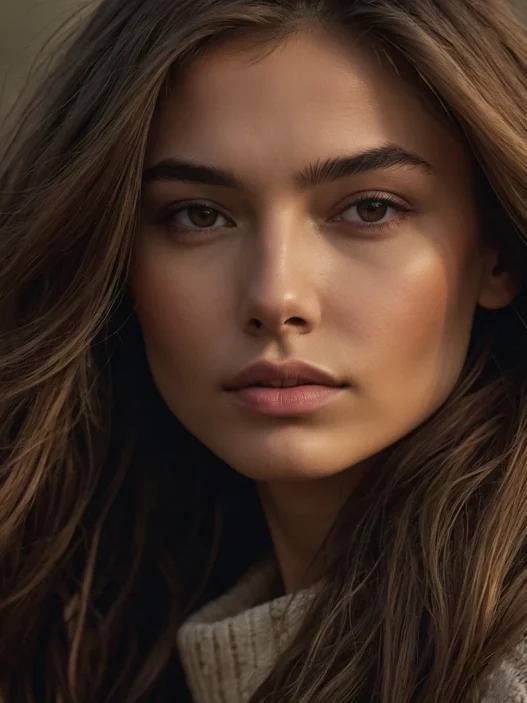
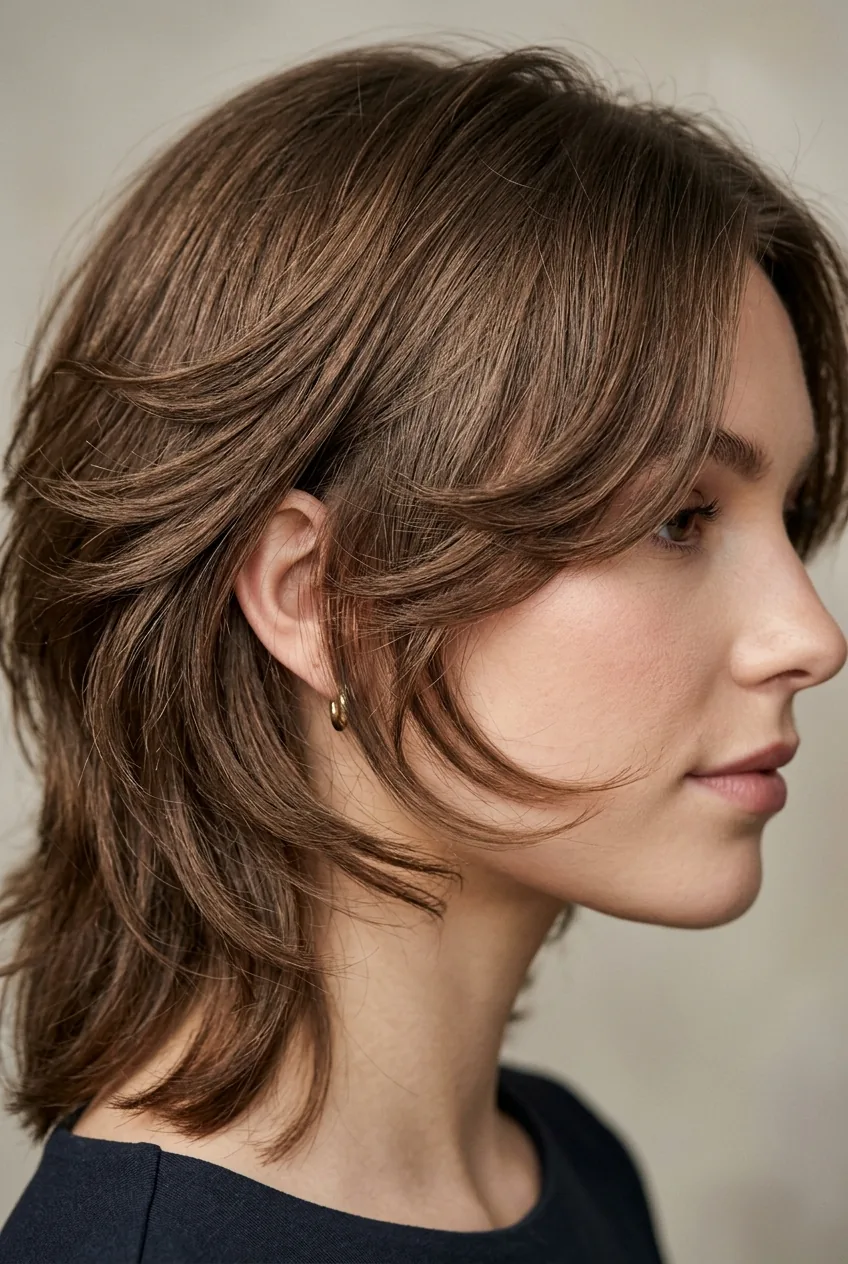
But the biggest issue is that many stylists don’t understand hair growth patterns. They cut the face-framing layers too short without considering how your hair naturally falls. Look at how her layers work with her cowlick instead of fighting it — that’s the difference between a $200 cut that grows out beautifully and one that looks awkward in three weeks.
The solution? Find a stylist who specializes in layered cuts and has recent photos of butterfly cuts they’ve done. Don’t just show them a Pinterest photo and hope for the best. Ask specifically about their layering technique and whether they understand the difference between this and a shag. If they can’t explain it clearly, find someone else.
I’ve also learned to be specific about what I DON’T want. “No thinning shears on the face-framing pieces” and “keep weight in the back” are now part of my standard salon vocabulary. It might sound demanding, but it’s better than walking out with a cut that doesn’t work.
The Face Shape Reality Check
Instagram will tell you butterfly cuts work on everyone. I’m here to tell you that’s complete nonsense. Like any cut with dramatic face-framing layers, this works beautifully on some face shapes and can be absolutely devastating on others.
Oval and heart-shaped faces? You hit the lottery with this cut. The shorter layers balance wider foreheads and add width at the jawline where you need it. I have a heart-shaped face, and this cut makes my chin look more defined while softening my forehead. It’s like face-framing magic when done right.
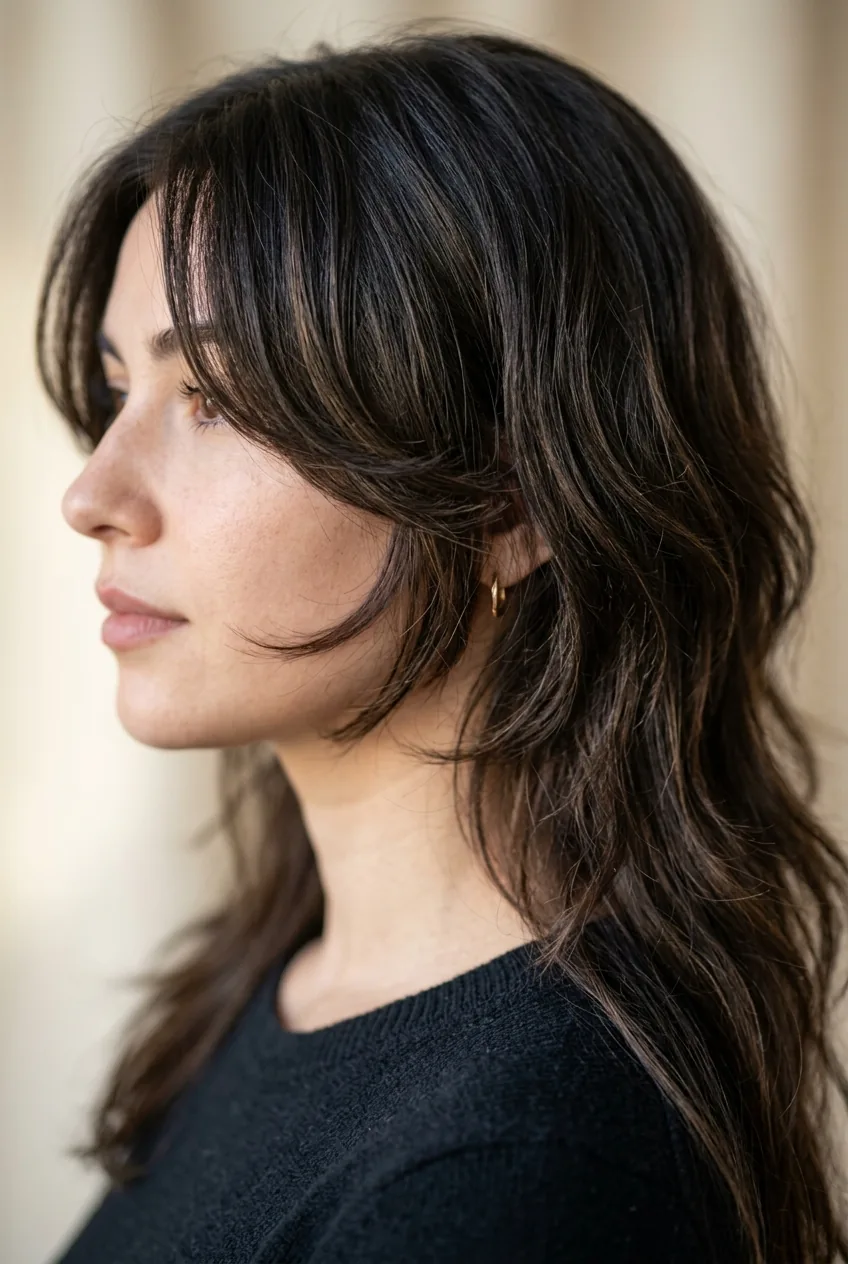
Round faces need to be more careful. The key is getting the layers to start below your cheekbones, not at them. Look at her placement here — the shortest pieces hit just below the cheek, creating length instead of adding width. Start the layers too high and you’ll emphasize the roundness you’re trying to minimize.
Square faces can look amazing with this cut, but only if the layers are soft and blended. Harsh, choppy layers will emphasize your strong jawline in an unflattering way. The goal is to soften those angles, not compete with them. I’ve seen square-faced friends look incredible with this cut when the stylist knows how to create movement without harsh lines.
Long faces should probably skip this trend entirely. The shorter face-framing layers can make your face look even longer, especially if you have fine hair. If you’re determined to try it, make sure the layers start much lower and blend gradually — essentially creating a very subtle version of the cut.
Getting the Length and Layers Right
This is where most people get it wrong before they even sit in the salon chair. The butterfly cut works best on medium to long hair — think collarbone length or longer. I’ve seen people try to recreate this on chin-length bobs, and it just doesn’t translate. You need length in the back to create that contrast with the shorter face-framing pieces.
The face-framing layers should start somewhere between your cheekbones and jawline, depending on your face shape. But here’s the crucial part: they need to be significantly shorter than the rest of your hair. We’re talking at least 3-4 inches of difference between those front pieces and your longest layers. Less than that and the effect gets lost.
I learned this the hard way when a conservative stylist only took off an inch from my face-framing pieces. The cut looked identical to what I walked in with, just slightly shorter overall. When I went back and asked her to go more dramatic, suddenly the butterfly effect appeared. Sometimes you have to be brave with the length difference.
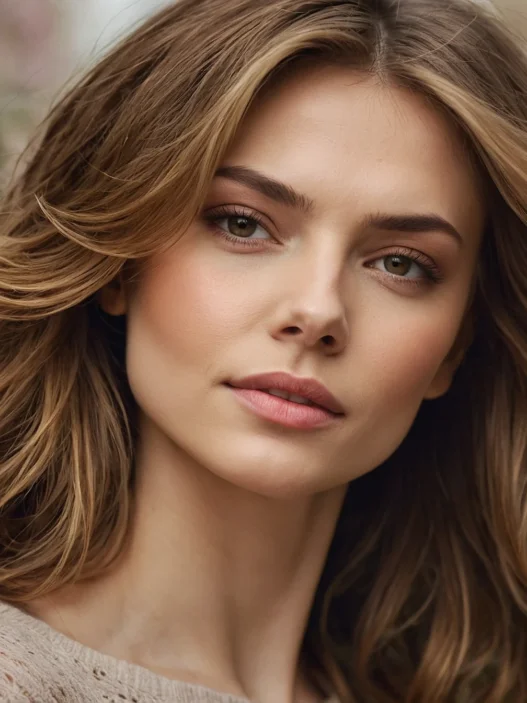
The back layers are just as important but require a lighter touch. You want some layering to prevent a mullet situation, but not so much that you lose density. Think gentle graduation rather than dramatic steps. See how smoothly her back layers blend? That’s the goal — movement without obvious chop marks.
Hair texture matters enormously here. Fine hair needs fewer, more strategic layers to avoid looking thin and stringy. Thick hair can handle more aggressive layering and actually benefits from it. Curly hair? That’s a whole different conversation that deserves its own post, but generally, the layers need to follow your curl pattern, not fight it.
Styling Without Looking Overdone
The biggest styling mistake I see with butterfly cuts is over-curling those face-framing layers. Yes, they should have movement, but they shouldn’t look like you stuck your finger in an electrical socket. The goal is soft, natural-looking flips that enhance your bone structure.
My daily routine is embarrassingly simple: I rough-dry my hair with a paddle brush, then use a 1.5-inch curling iron to add slight bends to just the front pieces. The key word is “slight.” I’m creating gentle C-curves, not full spirals. The whole process takes maybe five minutes.
Product choice matters more than you might think. Heavy creams and oils will weigh down those delicate layers and eliminate the movement you’re after. I stick to lightweight mousse at the roots for volume and a tiny amount of texturizing spray on the lengths. Lightweight styling products make all the difference for maintaining that airy, butterfly-wing effect.
Air-drying can work beautifully if you have naturally wavy or curly hair, but you’ll need to scrunch some product into those face-framing pieces to encourage them to flip outward. Without any styling, they tend to fall flat against your face and lose the whole point of the cut.
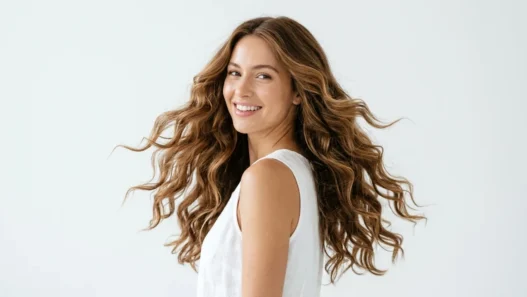
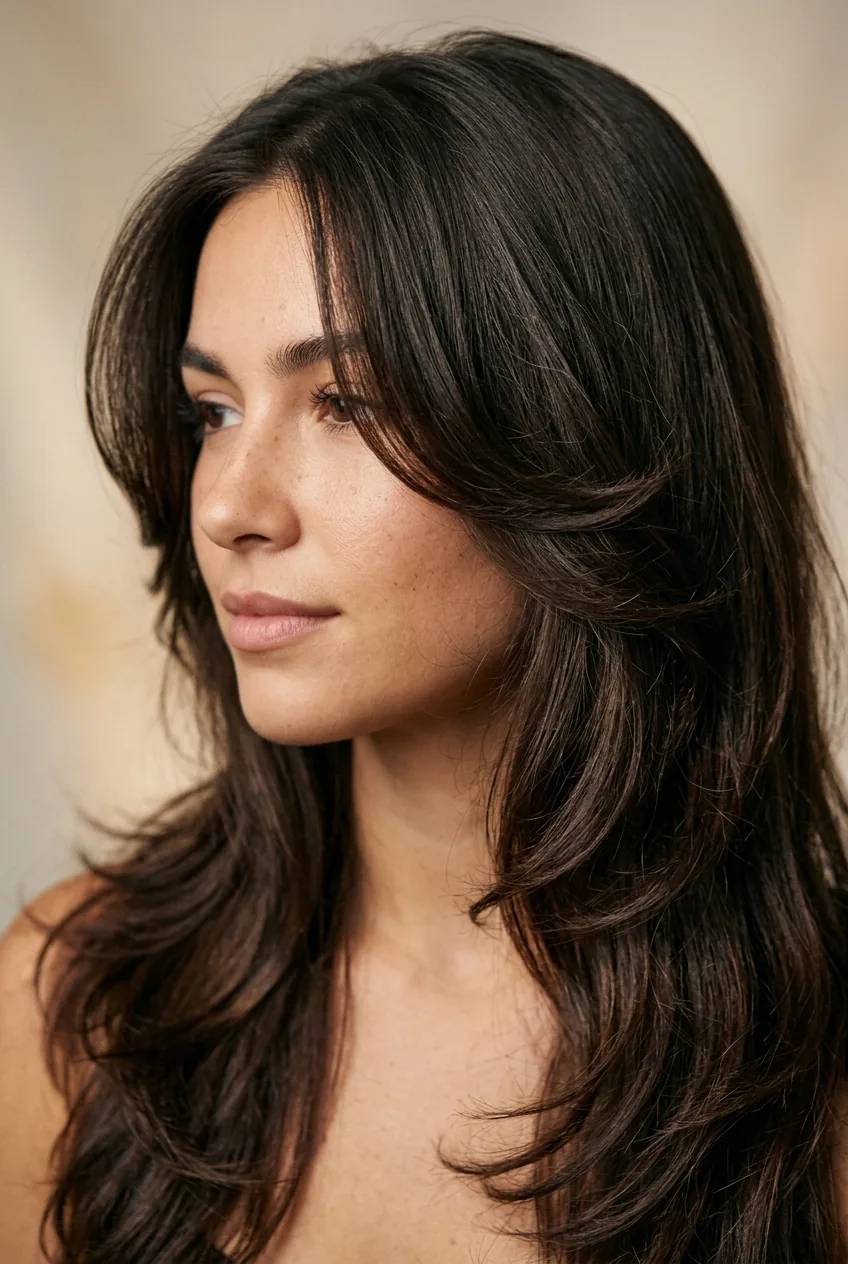
For special occasions, I’ll add more curl throughout the rest of my hair to balance the face-framing pieces. But for everyday wear, the contrast between the textured front and smoother back actually looks more modern and effortless. Check out how naturally her layers fall here — that’s achievable with minimal styling once you have the right cut.
This Tutorial Changed My Styling Game
When to Skip This Trend Entirely
I’m going to be brutally honest here: this cut isn’t for everyone, and pretending otherwise does nobody any favors. If you have extremely fine hair that already struggles with volume, adding layers will only make it look thinner. I’ve seen friends with baby-fine hair try this cut and end up looking like they have half the hair they started with.
Similarly, if you’re someone who literally never styles their hair — and I mean never touches a curling iron or even blow-dries — skip this cut. Those face-framing layers need some encouragement to do their thing. Air-dried and completely unstyled, they’ll just hang limply around your face and make you look like you need a haircut.
Professional environments might be another consideration. While the cut can look polished when styled properly, there’s something inherently casual about it. If you work in a very conservative field, you might want to stick with more traditional layered cuts that offer versatility for both casual and formal styling.
Hair growth patterns can also be deal-breakers. If you have strong cowlicks or double crowns that already make styling difficult, adding dramatic face-framing layers might create more problems than it solves. A good stylist should evaluate your growth patterns before attempting this cut.
And honestly? If you’re looking for a low-maintenance cut, this isn’t it. The butterfly cut looks best with regular trims every 6-8 weeks and daily styling. If you’re hoping for a wash-and-go option, there are better choices out there. I love my butterfly cut, but I’m realistic about the maintenance it requires.
The butterfly cut can be absolutely gorgeous when executed properly, but it’s not the universal flattering cut that social media makes it out to be. Like any dramatic style choice, it requires the right hair type, face shape, and commitment to styling. When all those pieces align though? It’s pretty magical.