


I’ve been obsessing over high buns for years, and honestly? The skill range is wild. Some take thirty seconds. Others require actual engineering skills and about seventeen bobby pins. I decided to map them all out from “I can do this half-asleep” to “maybe I should call a professional.” Because let’s be real — we all need options for different energy levels.
Your High Bun Roadmap
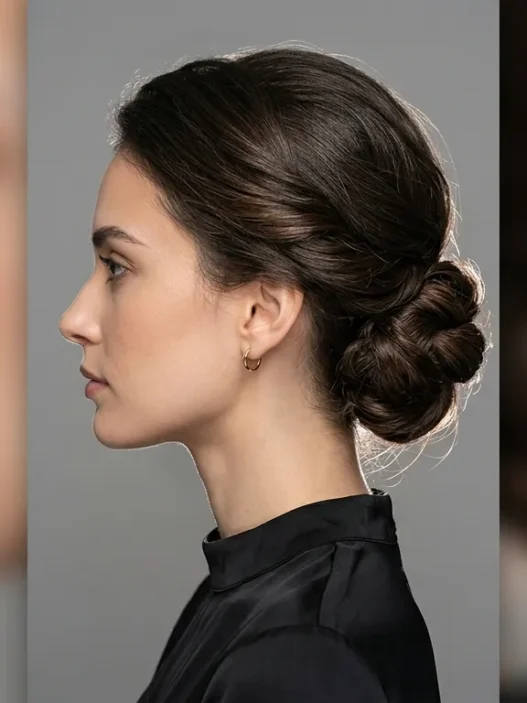
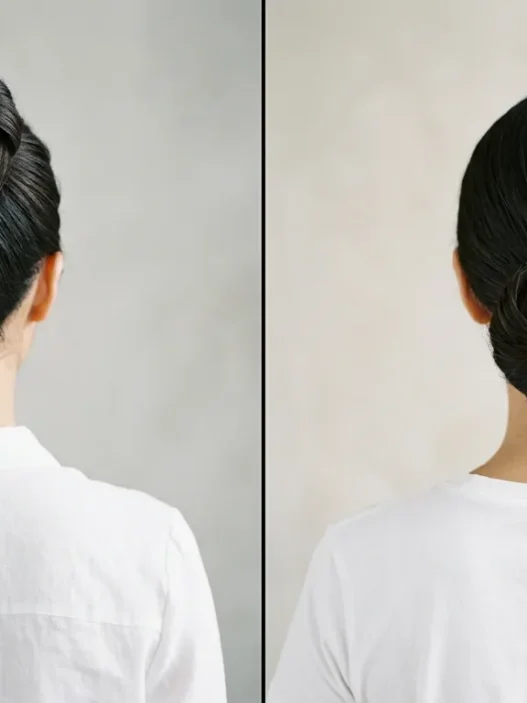
1. Beginner Friendly: Basic High Ponytail Bun

Difficulty: 1/10 | Time: 2 minutes | Tools: Hair tie, bobby pins
This is where everyone starts, and honestly, it’s still my go-to when I’m running late. Pull your hair into a high ponytail, twist it around the base, and secure with bobby pins. The beauty is in the imperfection — a few flyaways actually make it look more effortless.
The key is getting that ponytail high enough. I aim for the crown of my head, not the back. If you can feel the ponytail when you lean back in a chair, it’s too low.
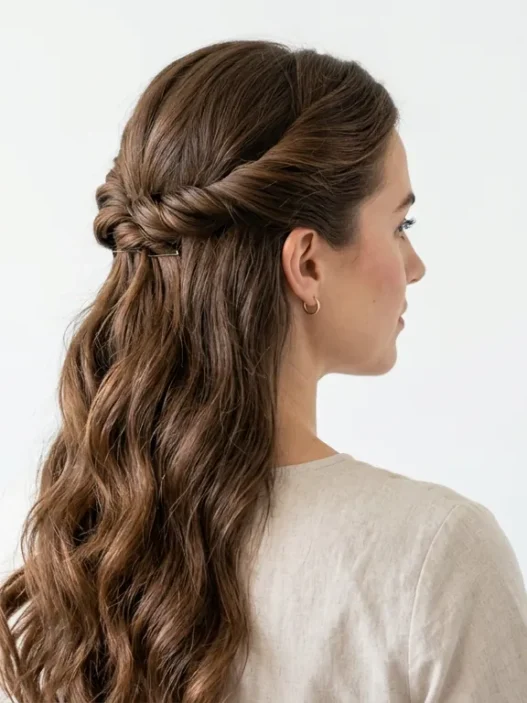
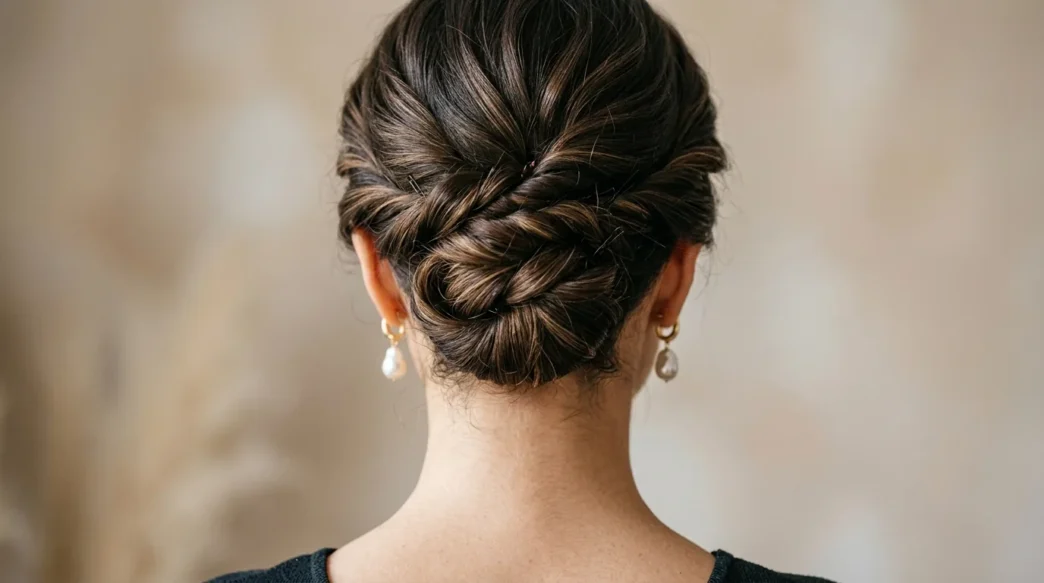
2. Beginner Friendly: Twisted High Bun
Difficulty: 2/10 | Time: 3 minutes | Tools: Hair tie, bobby pins
Same starting point as the basic bun, but instead of just wrapping the ponytail around, you twist it first. This creates these gorgeous spiraled sections that look way more intentional. I love how the twist catches light differently than a regular bun.
Pro tip: twist in the same direction your hair naturally grows from your crown. Fighting against your hair’s natural pattern just creates frizz and frustration.
3. Beginner Friendly: Sock Bun Method
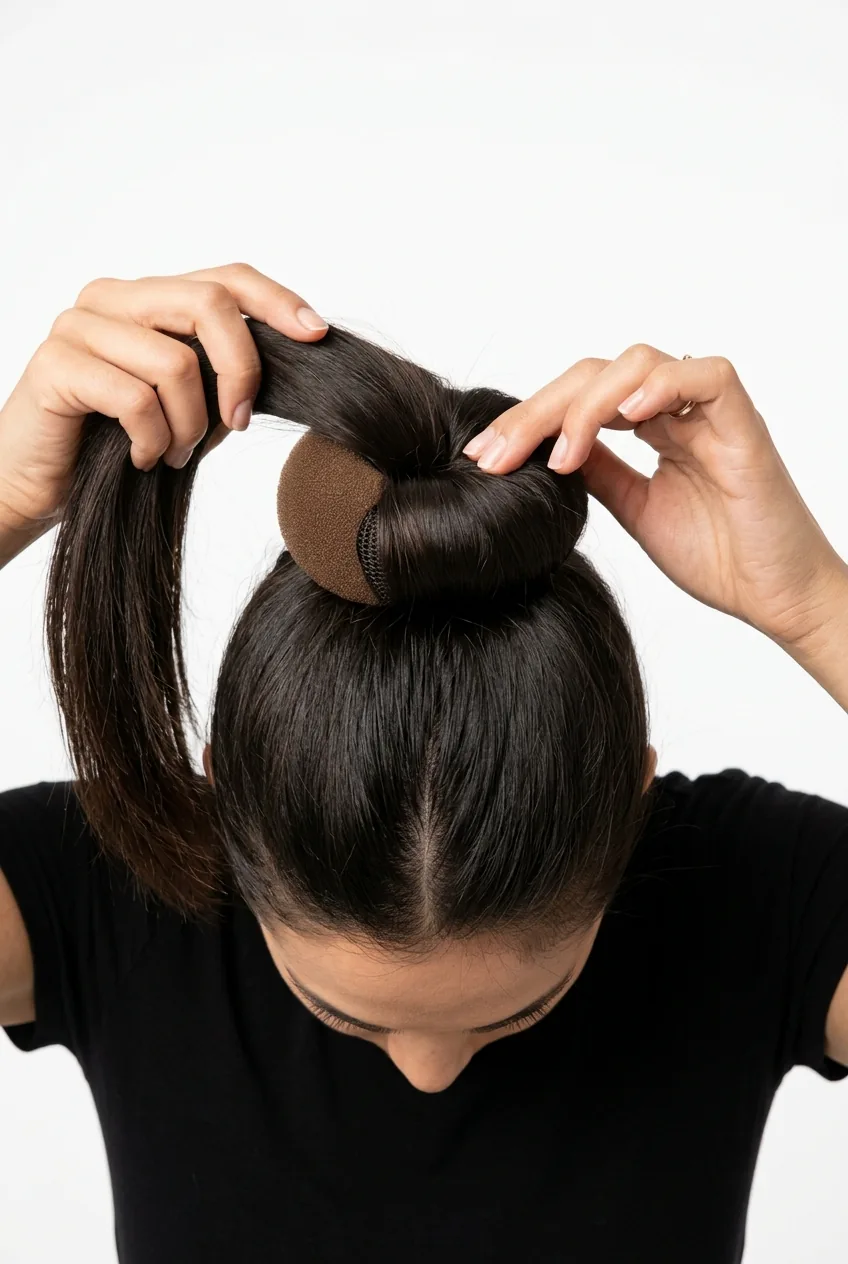
Difficulty: 2/10 | Time: 4 minutes | Tools: Sock bun donut, hair tie, bobby pins
Game changer for thin hair. That little foam donut (or actual sock with the toe cut off) gives you the volume that genetics didn’t. Pull your ponytail through the center, spread your hair evenly around it, then roll it down to the base.
I keep three different sized donuts because my hair thickness varies with the seasons. Winter static makes everything flat, so I go bigger. Summer humidity gives me natural volume, so I scale down.
4. Easy: Messy High Bun with Texture
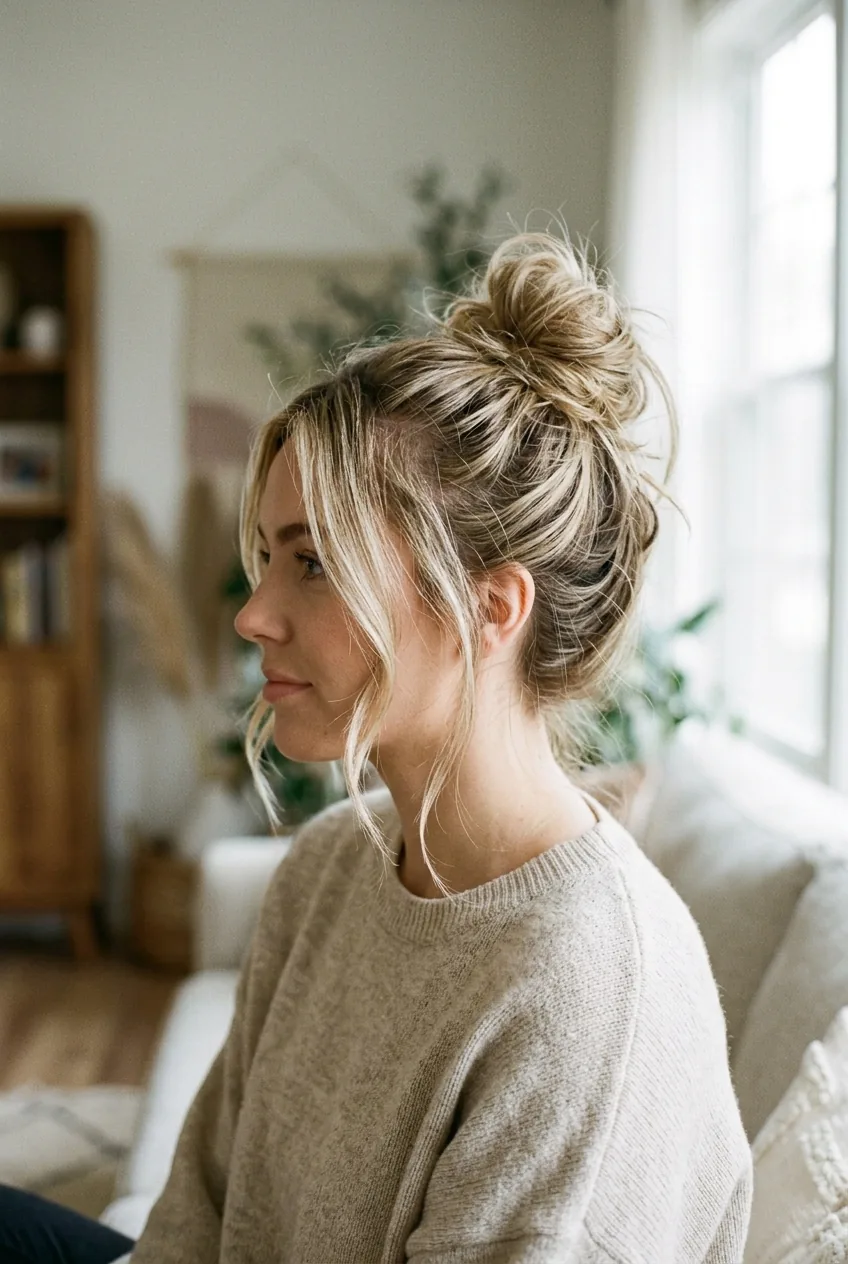
Difficulty: 3/10 | Time: 5 minutes | Tools: Texturizing spray, hair tie, bobby pins
This is the “I didn’t try but actually I did” bun. The secret is adding texture before you start. I spray my hair with texturizing spray, scrunch it a bit, then do a loose ponytail. Don’t make it perfect — leave some pieces out around your face.
When you twist the ponytail into a bun, don’t pull it tight. Let it be loose and chunky. Pin it strategically but leave some ends poking out. The messier it looks, the more expensive it appears. Weird but true.
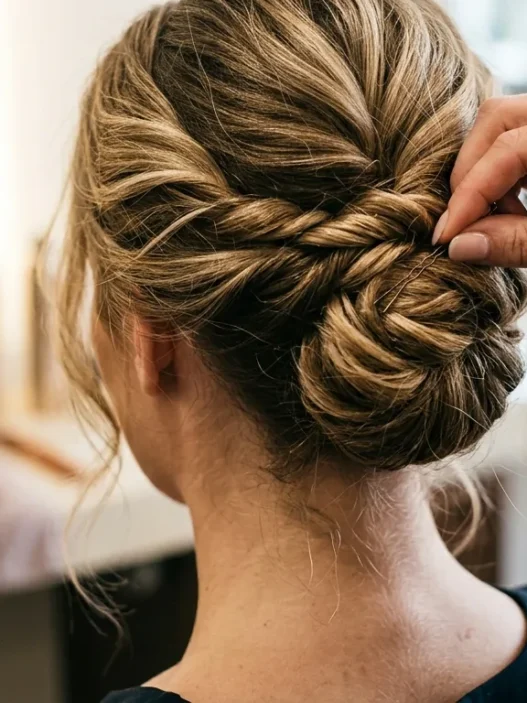
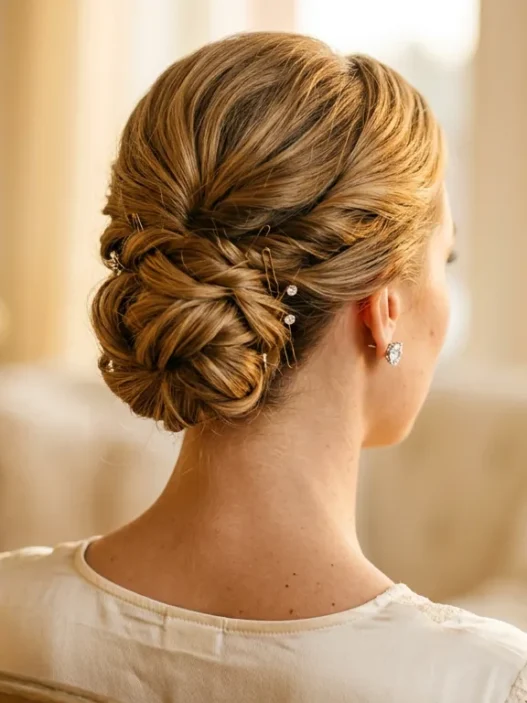
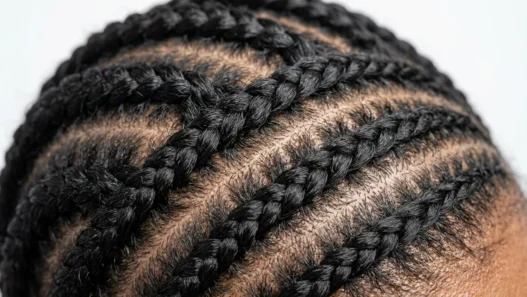
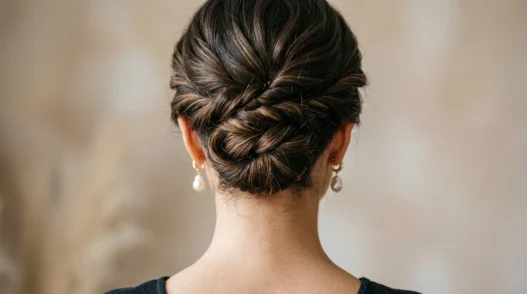
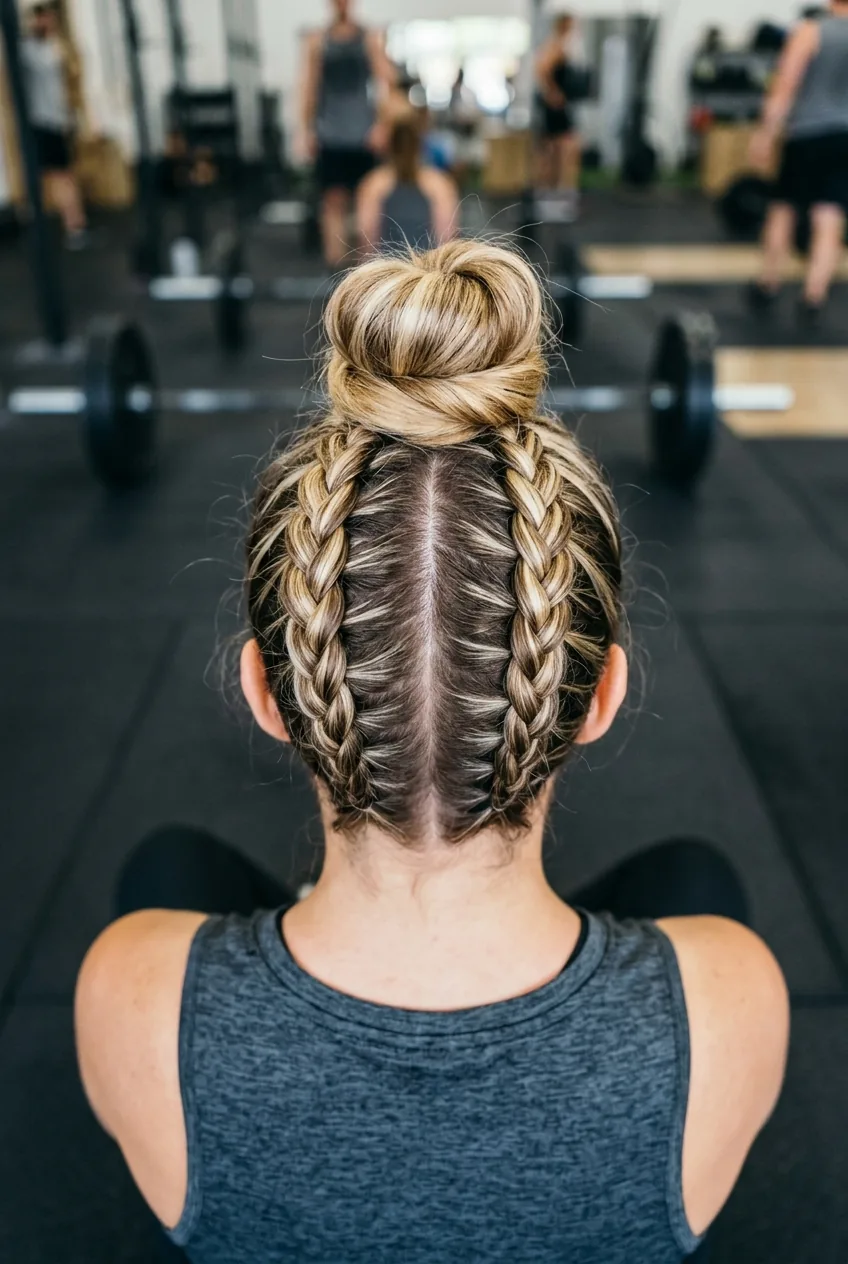
5. Easy: Braided High Bun Base
Difficulty: 4/10 | Time: 6 minutes | Tools: Hair ties, bobby pins
Instead of a regular ponytail, you braid your hair first, then coil the braid into a bun. The braid texture gives you these beautiful ridged patterns that look incredibly intricate but are surprisingly simple to create.
I like to loosen the braid slightly after I secure it — gently tug at the edges to make it fuller. This technique works especially well with ponytail hairstyles when you want something more elevated.
My personal favorite from this list? The braided base bun. It looks complicated enough to impress but is forgiving enough for my chaotic mornings. Plus, the braid texture holds bobby pins like velcro.
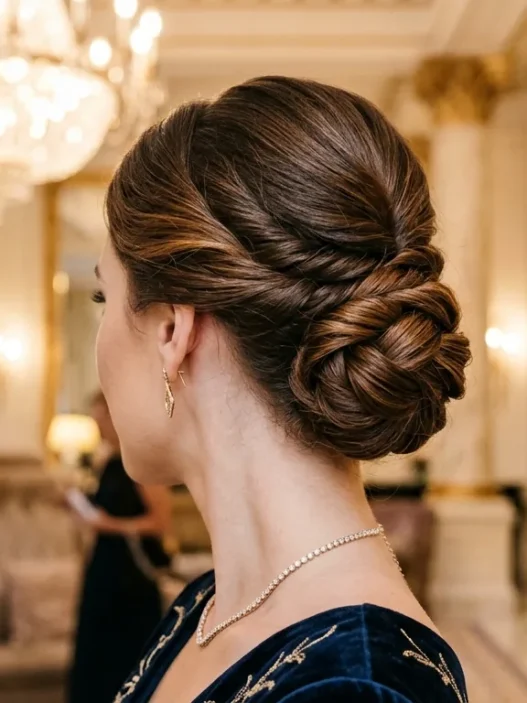
6. Intermediate Challenge: French Twist High Bun
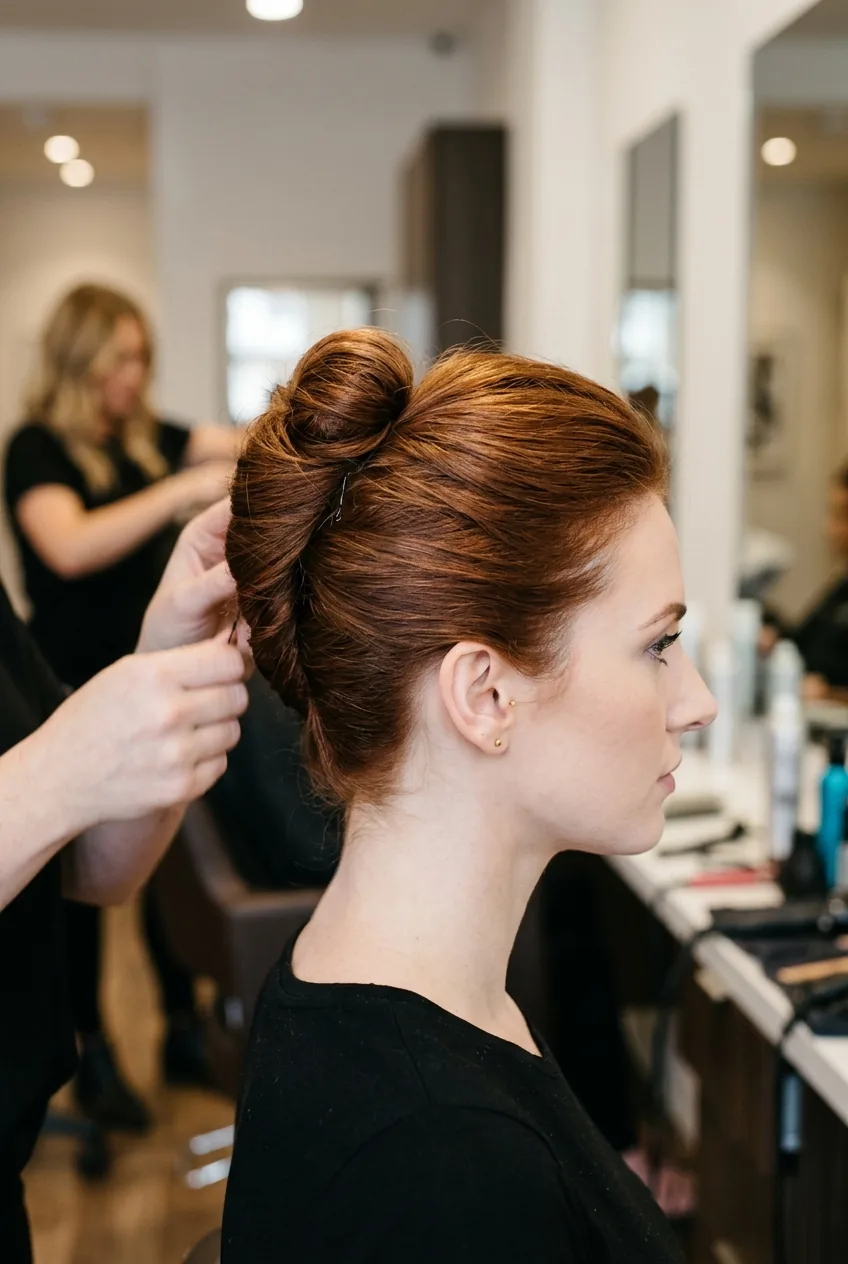
Difficulty: 5/10 | Time: 8 minutes | Tools: Rat tail comb, bobby pins, hairspray
Here’s where things get interesting. You’re essentially doing a French twist that ends in a high bun instead of tucking under. Start at the nape, gather sections as you twist upward, then coil the remaining length into a bun at the crown.
The tricky part is keeping tension consistent as you twist upward. Too loose and it falls apart. Too tight and you get a helmet head situation. Mastering the twist technique took me months to perfect, but it’s so worth it.
Watch the Twist Technique
7. Intermediate Challenge: Pin Curls High Bun
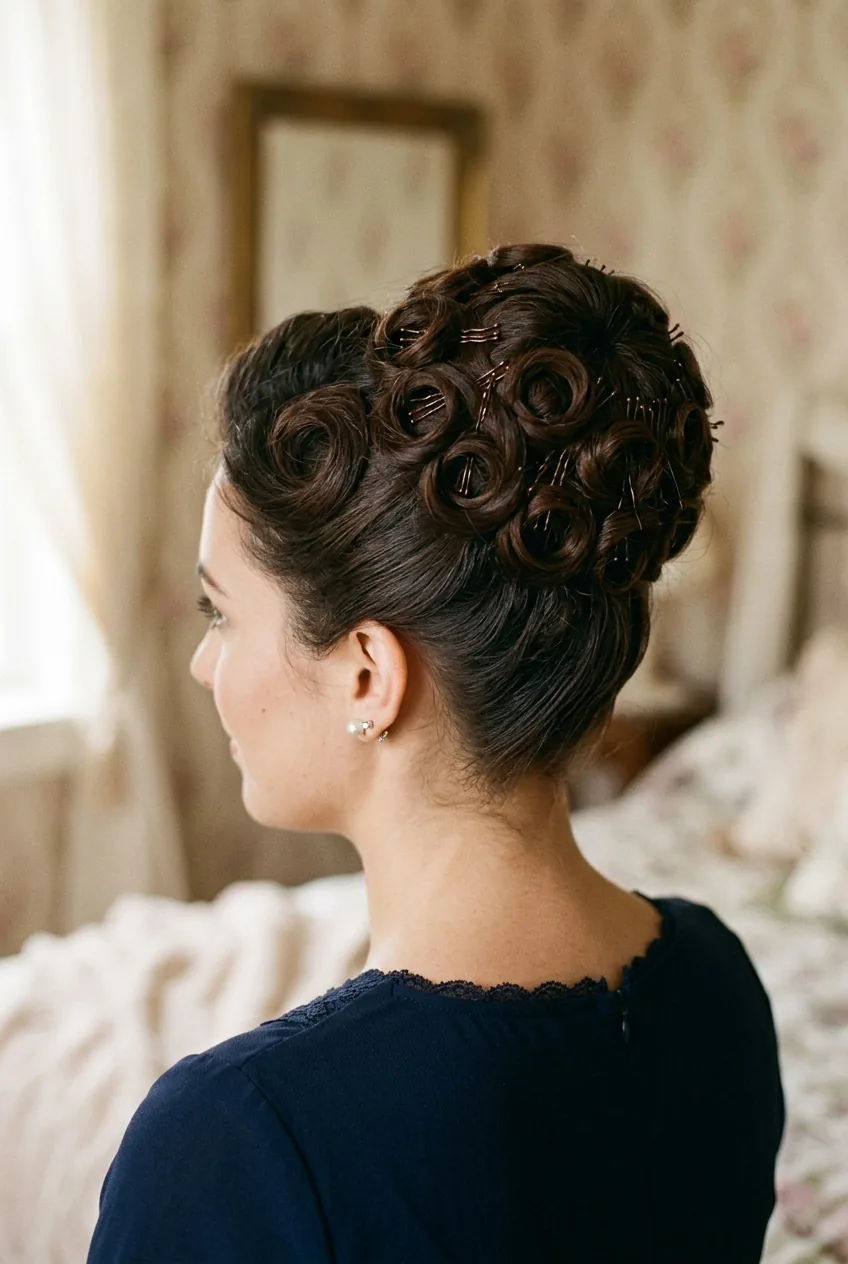
Difficulty: 6/10 | Time: 12 minutes | Tools: 1-inch curling iron, bobby pins, hair clips
This is vintage glamour at its finest. You curl sections of your hair, then pin each curl individually around a center point to create the bun. Each curl becomes a petal in this gorgeous hair flower.
The key is curling away from your face and keeping the curls tight until they cool completely. I usually do this style for special occasions — it’s stunning but definitely requires some patience and practice.
8. Intermediate Challenge: Double Dutch Braid High Bun
Difficulty: 6/10 | Time: 10 minutes | Tools: Hair ties, bobby pins
Two Dutch braids that start at your temples and meet at the crown, where you combine them into a single high bun. The braids create this beautiful frame around your face, and the high bun keeps everything sleek and sporty.
Dutch braiding backwards (under instead of over) was confusing at first, but now it’s muscle memory. The braids sit on top of your head instead of sinking in, which creates more visual impact.
9. Advanced Level: Rope Braid Crown High Bun
Difficulty: 7/10 | Time: 15 minutes | Tools: Hair ties, bobby pins, hair clips
A rope braid that starts at one ear, goes around your head like a crown, then transitions into a high bun. The rope braid technique creates this gorgeous twisted texture that looks incredibly complex.
The transition point from rope braid to bun is where most people struggle. You have to gradually incorporate more hair while maintaining the rope twist pattern. It takes practice, but the result is absolutely stunning.
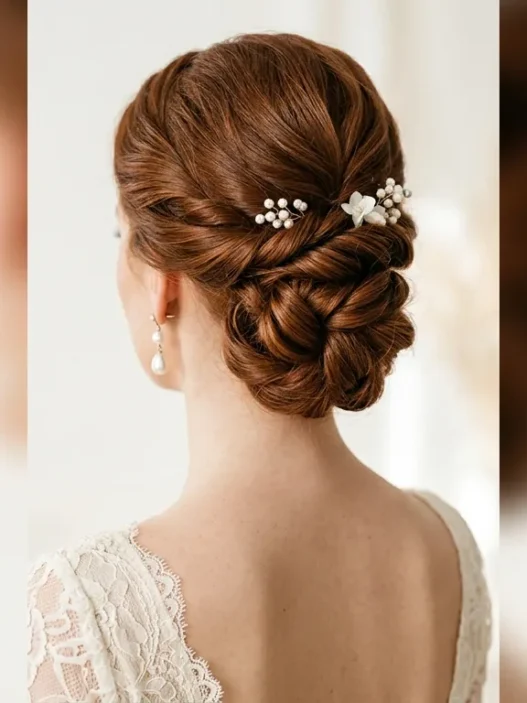
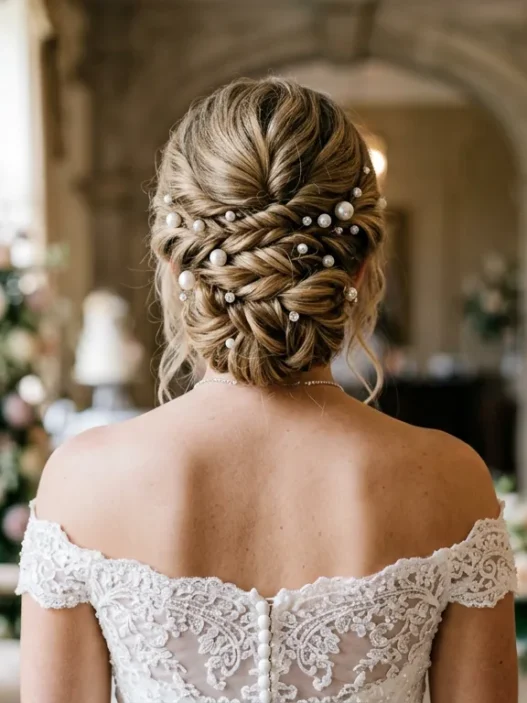
10. Advanced Level: Vintage Victory Roll High Bun
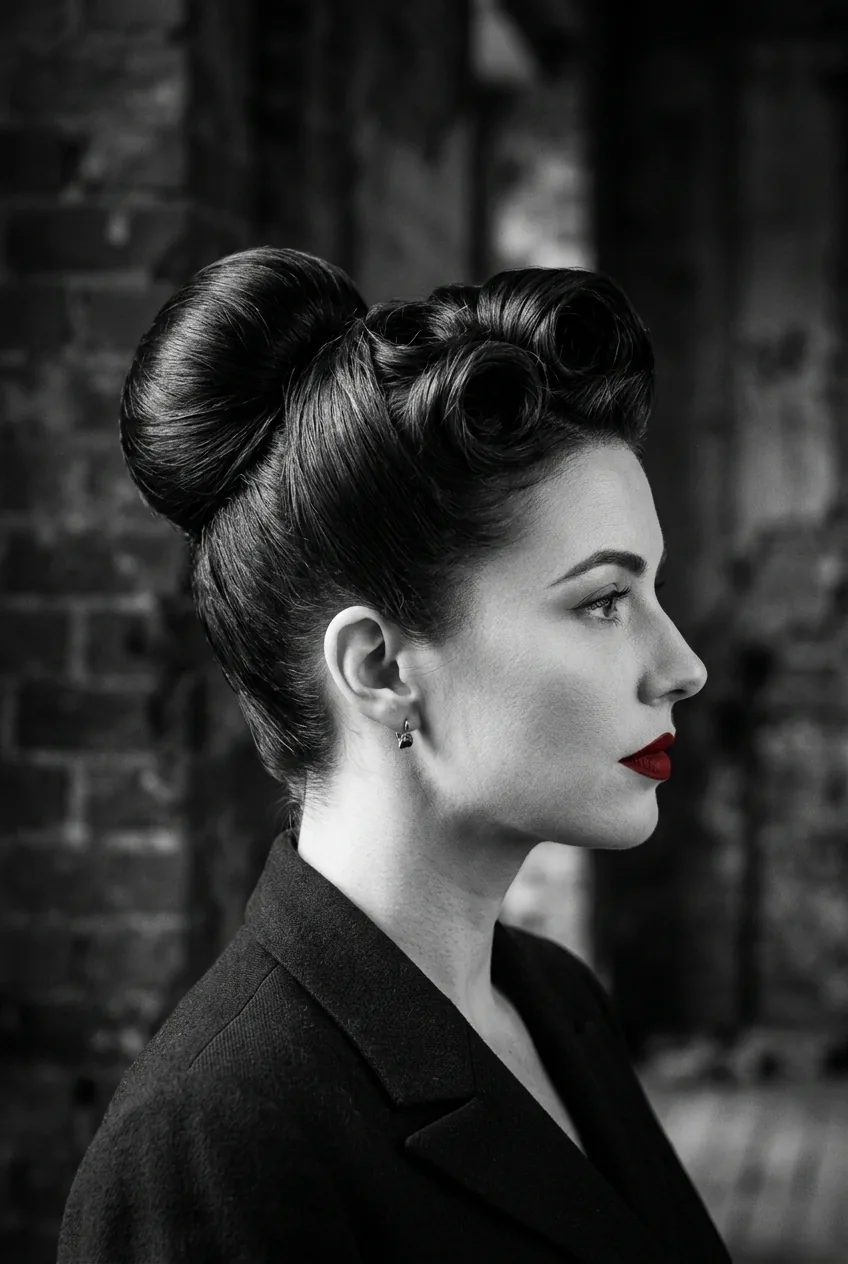
Difficulty: 8/10 | Time: 18 minutes | Tools: Rat tail comb, bobby pins, hair clips, strong hold gel
This combines victory rolls at the front with a sleek high bun at the back. Pure 1940s glamour. The victory rolls require precise sectioning and rolling technique, then you smooth the remaining hair into a perfect high bun.
I only attempt this for really special events because it requires total concentration. One wrong move and you’re starting over. But when it works? Pure old Hollywood magic. Perfect for romantic wedding hairstyles when you want vintage elegance.
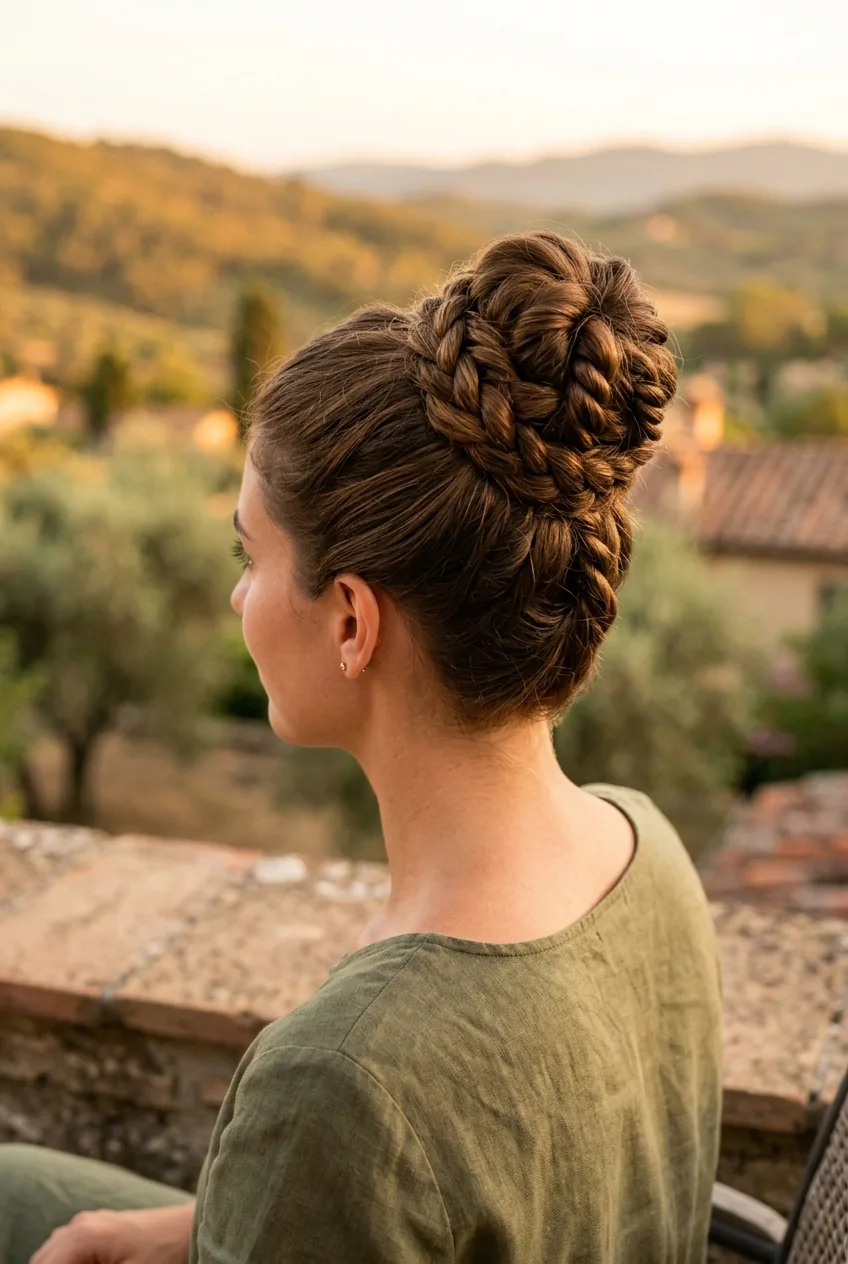
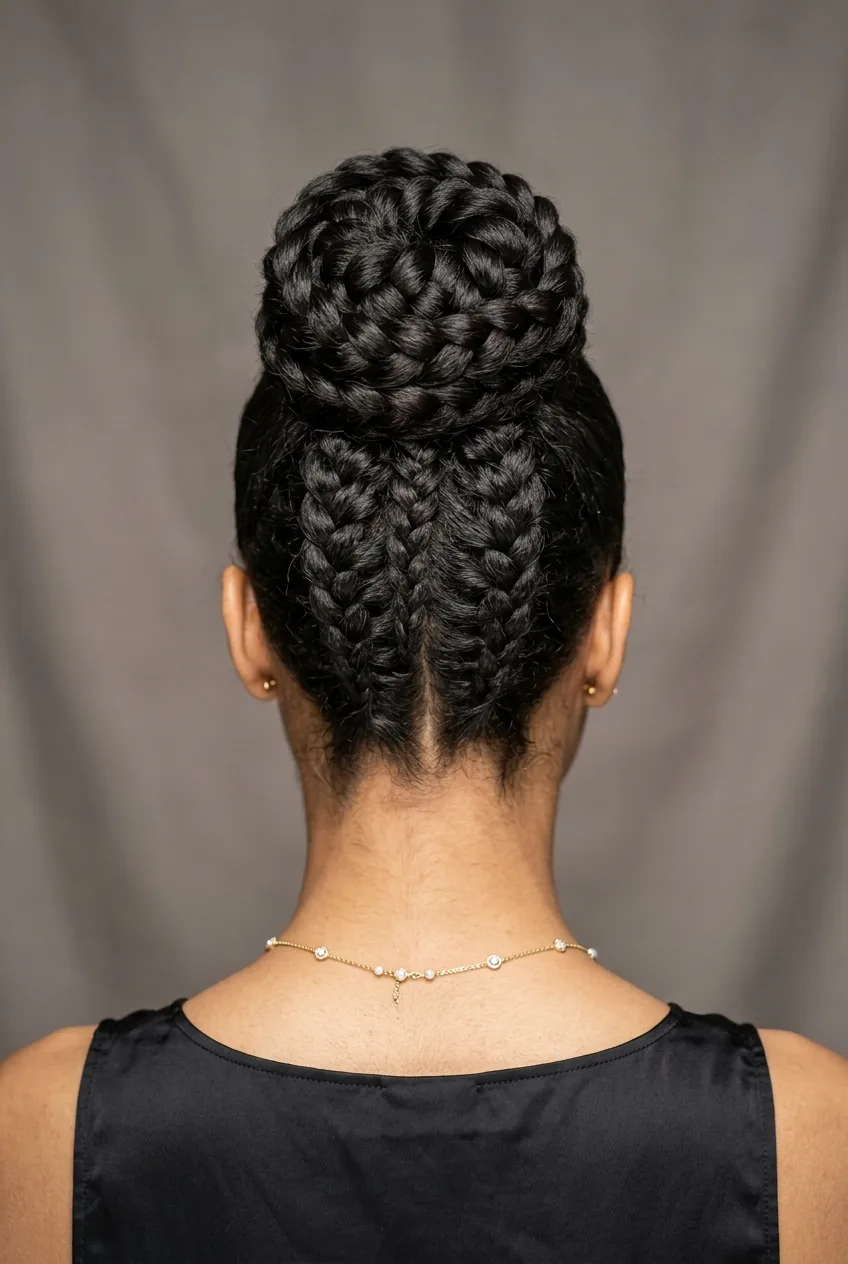
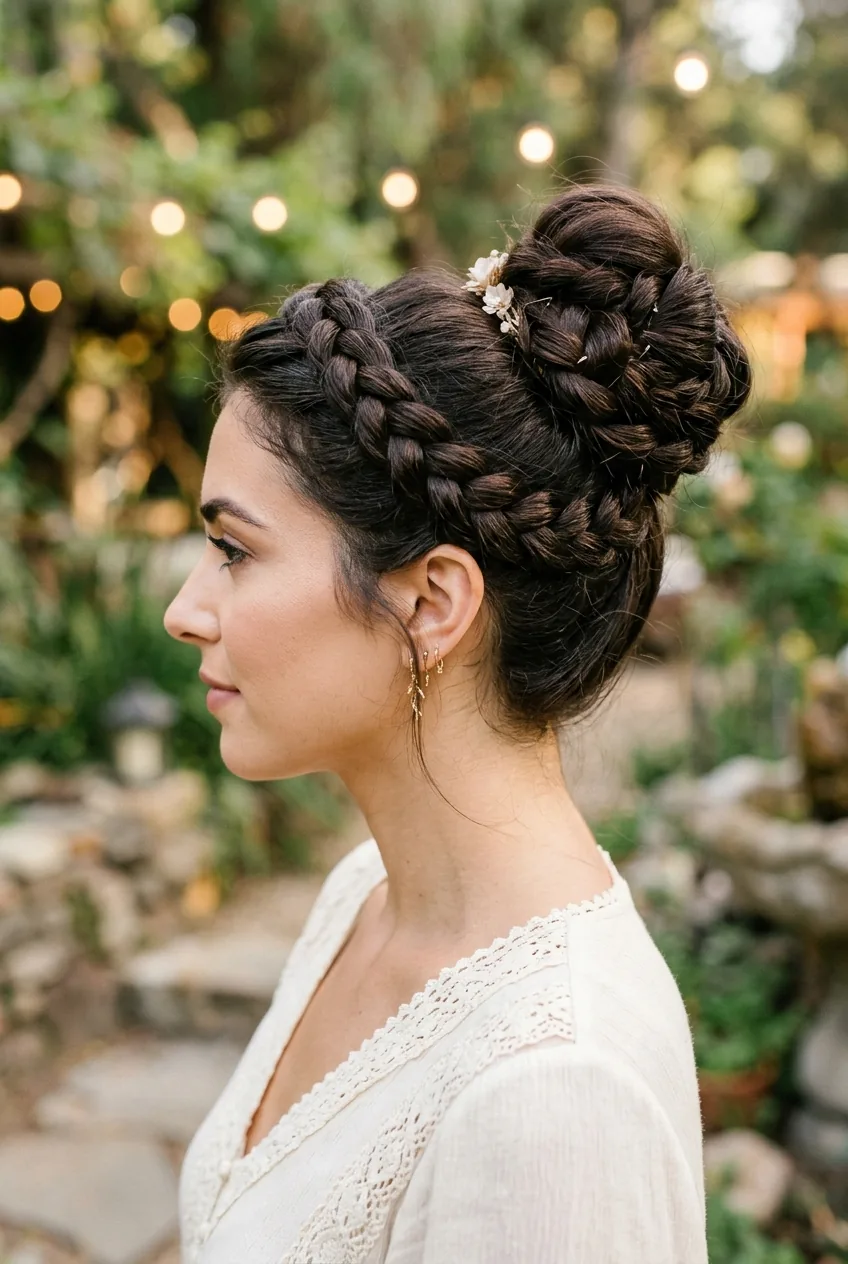
11. Advanced Level: Multi-Braid Sculptural High Bun
Difficulty: 9/10 | Time: 25 minutes | Tools: Multiple hair ties, bobby pins, hair clips, texturizing spray
This is hair architecture. Multiple different braids — Dutch, fishtail, regular three-strand — all woven together into one sculptural high bun. Each braid creates a different texture and pattern in the final result.
You need to plan this one out like a strategy game. Which braids start where, how they’ll intersect, where each one ends up in the final bun. I usually sketch it out first because once you start, there’s no going back.
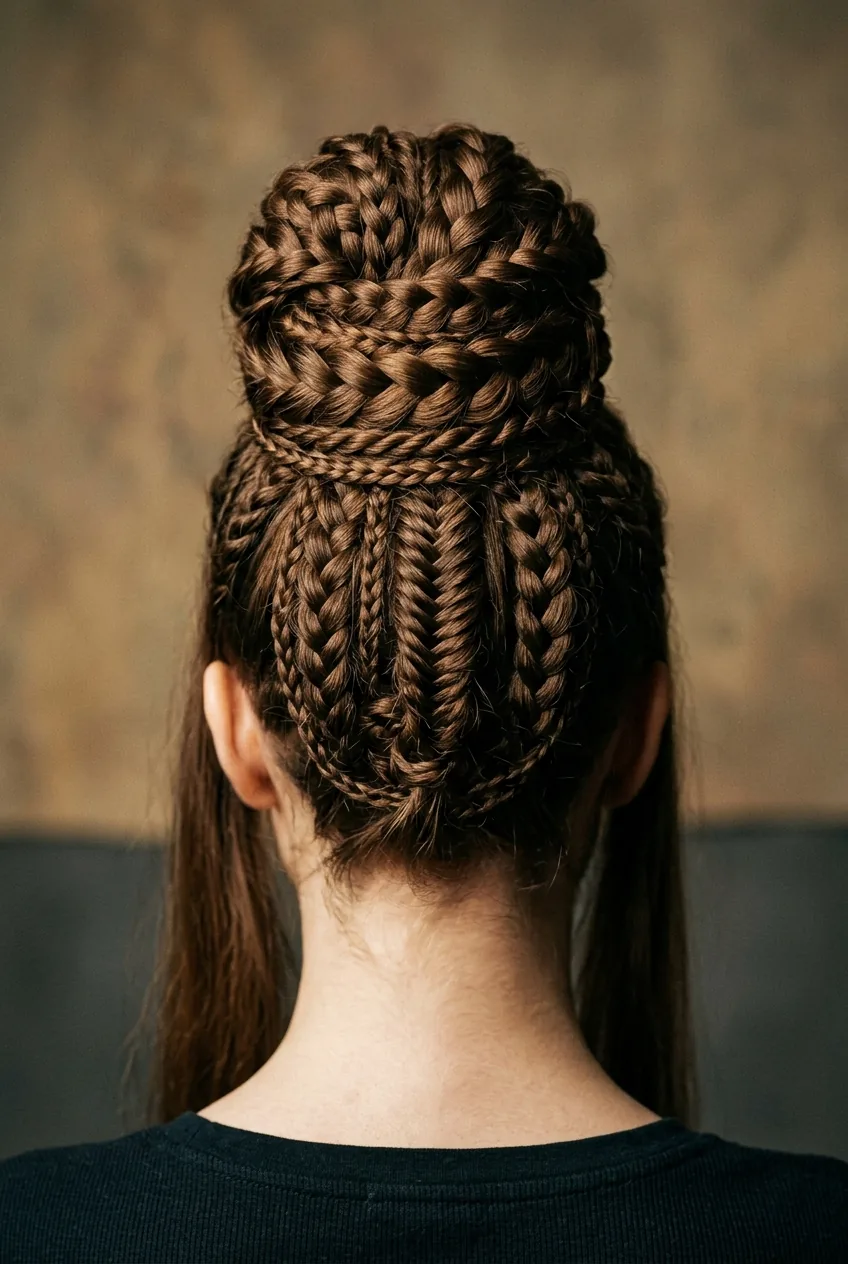
12. Advanced Level: Red Carpet Twisted Chignon
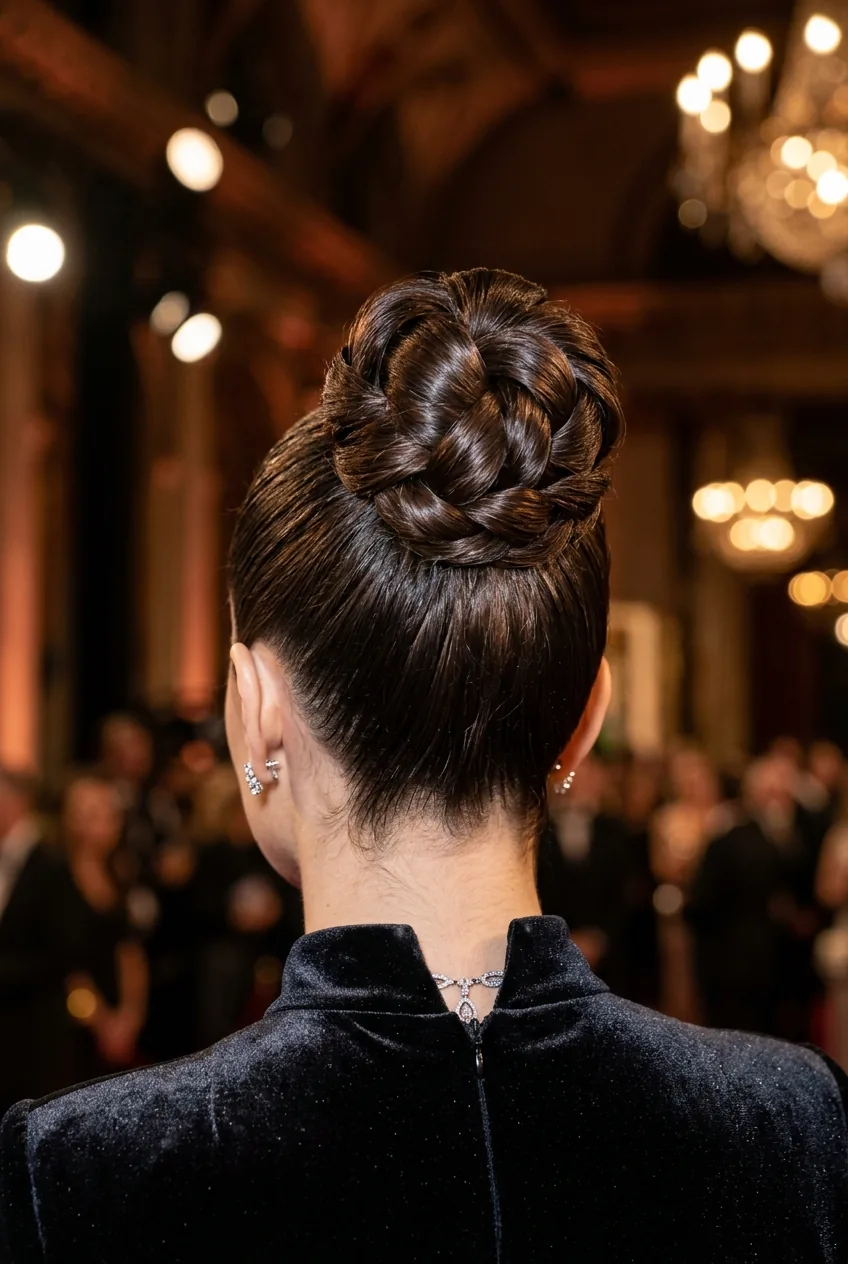
Difficulty: 10/10 | Time: 30+ minutes | Tools: Professional hair clips, bobby pins, hairspray, shine serum, patience
The holy grail of high buns. Multiple twisted sections that interweave and stack to create this incredibly sophisticated chignon positioned high on the head. Every piece is perfectly placed, every twist has purpose.
This is the kind of updo you see on red carpets and wonder how it’s even possible. The answer? Time, practice, and usually a professional. I’ve successfully done this exactly twice, and both times took me over an hour.
But when you nail it? You feel like absolute royalty. Professional styling techniques are definitely worth studying if you want to master this level.
Quick Questions About High Buns
How long does hair need to be for a high bun?
At minimum, shoulder length. I’ve seen people make it work with shorter hair using extensions or creative bobby pin placement, but shoulder length gives you enough hair to actually wrap around and secure properly.
Why does my high bun always fall out?
Usually it’s because your hair is too clean and slippery. Day-old hair holds pins better than freshly washed hair. Also, you might not be using enough bobby pins — I use way more than looks necessary.
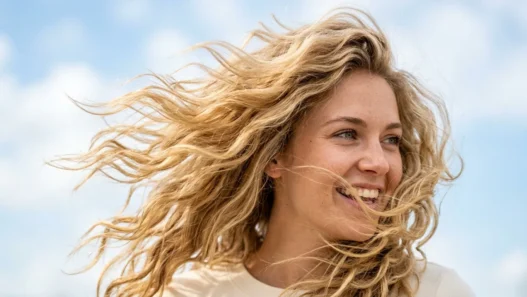
Can fine hair do these high bun styles?
Absolutely, but you’ll need some help. Texturizing spray is your best friend — it gives fine hair grip. Also consider a sock bun donut for volume on the easier styles.
How do I make a high bun look less severe?
Pull out a few face-framing pieces before you start, and gently tug at the hair around your crown to create some softness. The goal is controlled messiness, not perfection.
I hope this roadmap helps you find your high bun sweet spot! Start with the easier ones and work your way up — there’s honestly no rush. Even the basic ponytail bun looks amazing when you own it with confidence.