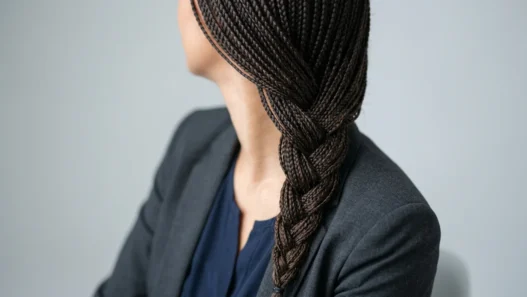


I used to think sleek ponytails were either “basic” or “impossible.” There was no in-between in my mind. Either you threw your hair back with whatever elastic was lying around, or you needed a team of stylists to achieve that red-carpet perfection. Turns out, there’s a whole spectrum of sleek ponytail techniques — and I’ve spent way too much time figuring out exactly where each one falls on the difficulty scale.
Your Sleek Ponytail Roadmap
- Beginner Friendly: The Classic Smooth Ponytail
- Beginner Friendly: Low Sleek with Hair Tie Cover
- Easy Level: Mid-Height Glass Hair Ponytail
- Intermediate Challenge: Sleek Side-Part Ponytail
- Intermediate Challenge: The Pulled-Back Face-Frame
- Intermediate Level: High Tension Crown Ponytail
- Advanced Challenge: The Wrapped Base Ponytail
- Advanced Level: Ultra-Sleek with Hair Extensions
- Expert Level: The Sculptural Angular Ponytail
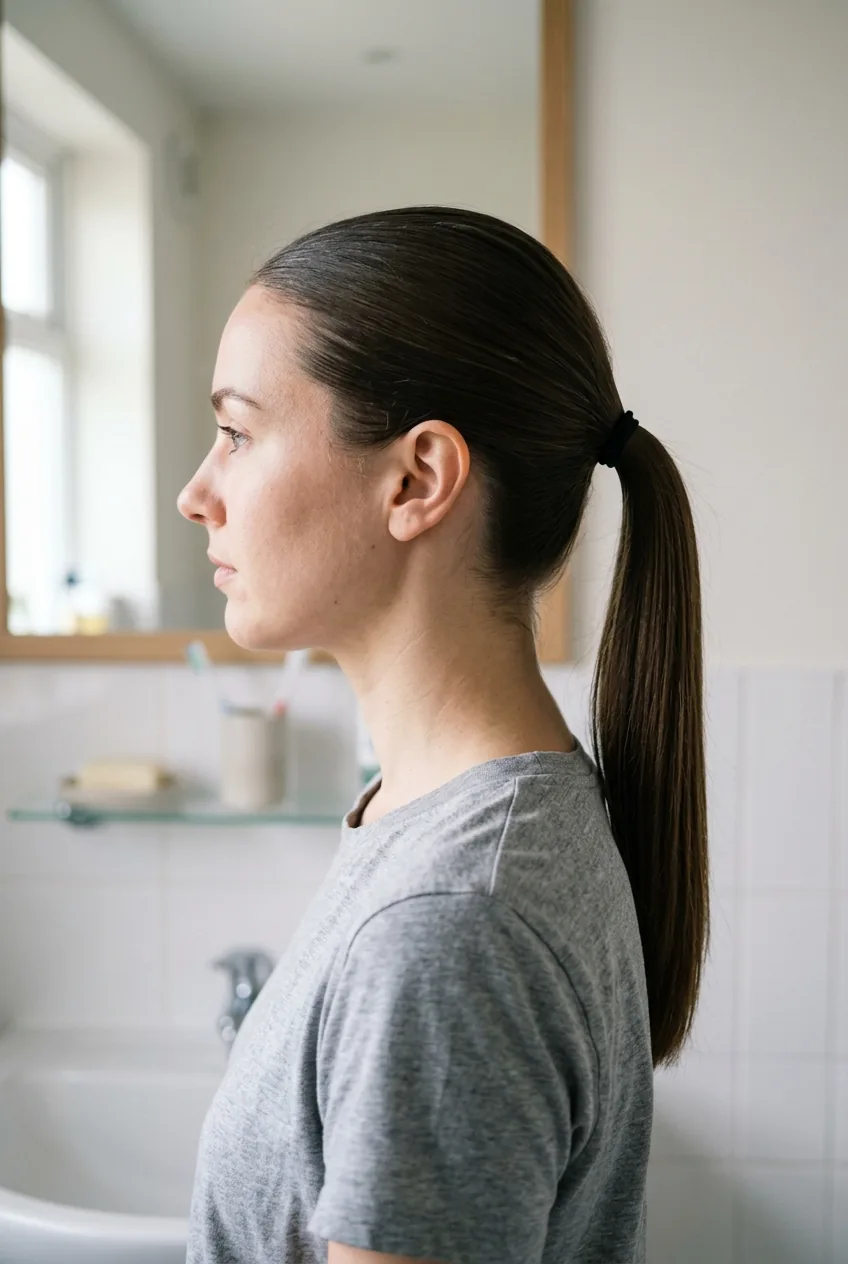
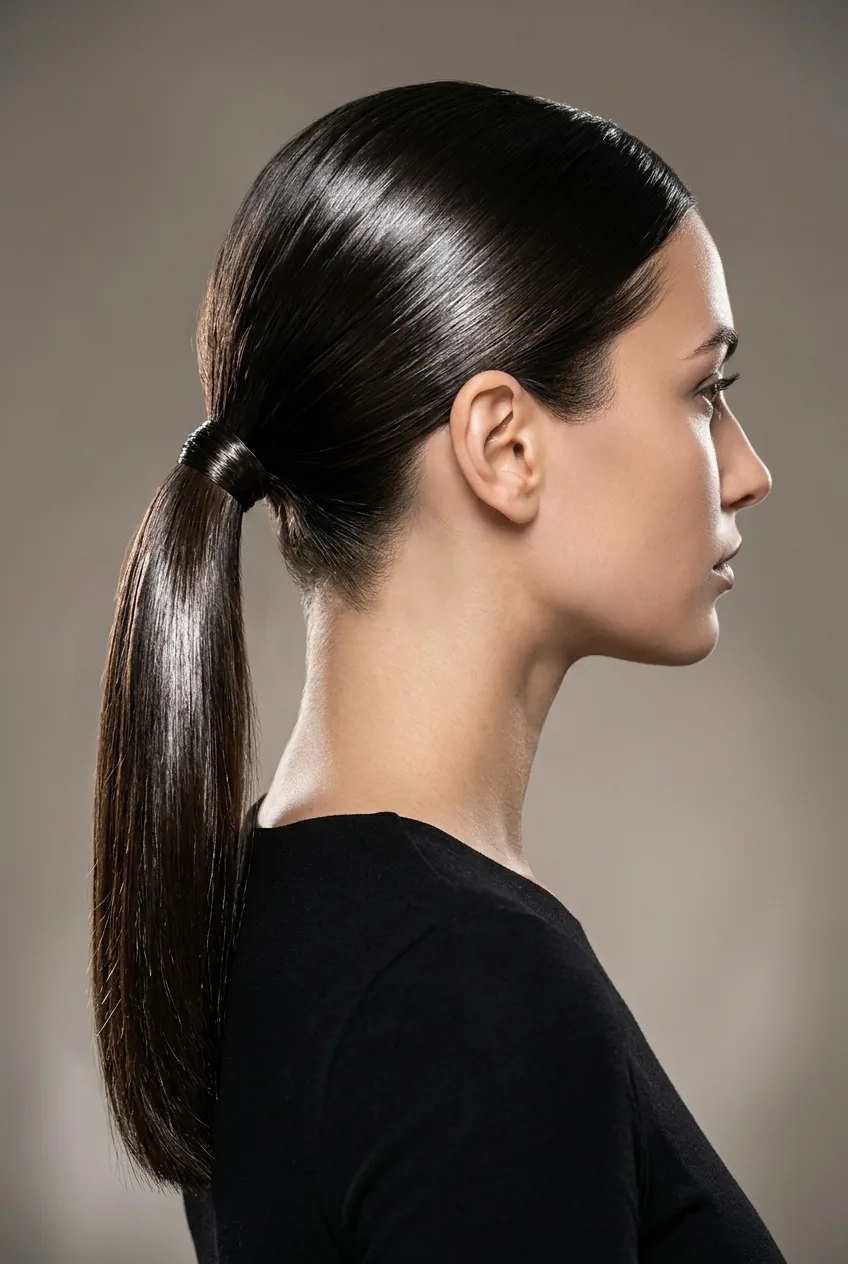
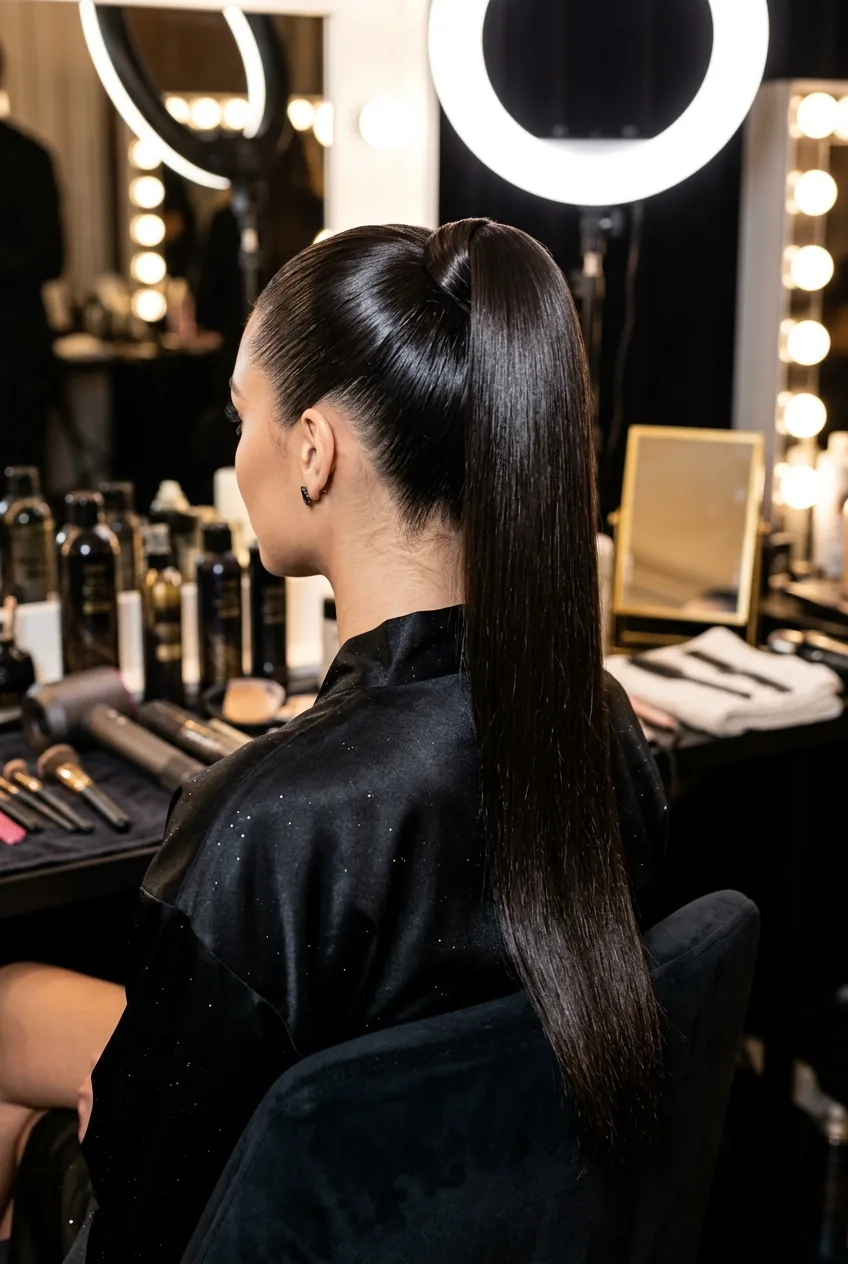
1. Beginner Friendly: The Classic Smooth Ponytail
Difficulty: ⭐ (1/5) | Time: 3-5 minutes | Tools: Hair elastic, brush, light-hold hairspray
This is your starting point — the foundation every other sleek ponytail builds on. I remember the first time I actually brushed my hair properly before putting it in a ponytail instead of just grabbing it with my hands. Revolutionary.
Start with slightly damp hair (not soaking, just barely damp). Brush everything straight back from your hairline using long, smooth strokes. The key is tension — not aggressive pulling, but consistent pressure as you gather everything at the back of your head. Secure with your elastic, then give it one light mist of hairspray.
The beauty of this version is that it works on almost every hair type and you probably already have everything you need. No special products, no complicated techniques.
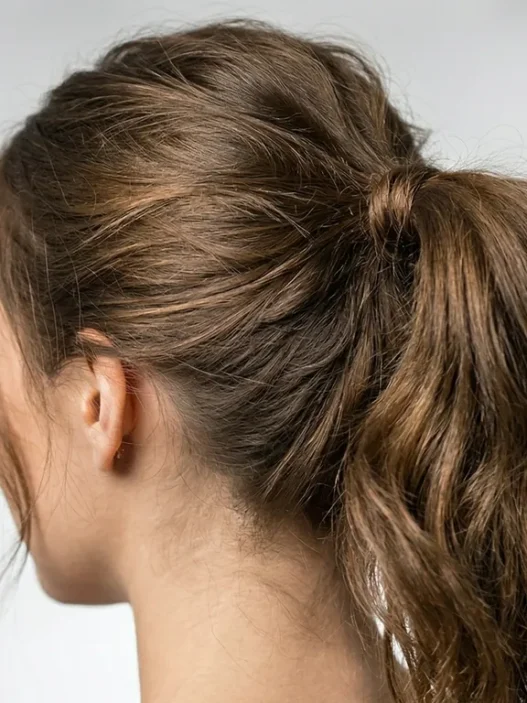
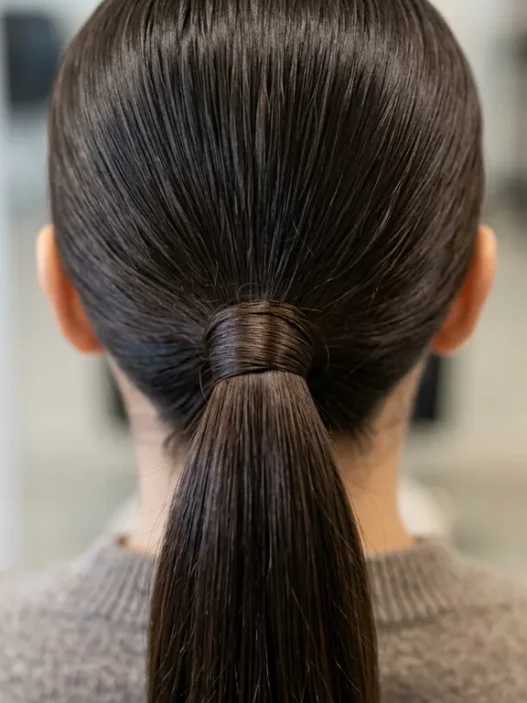
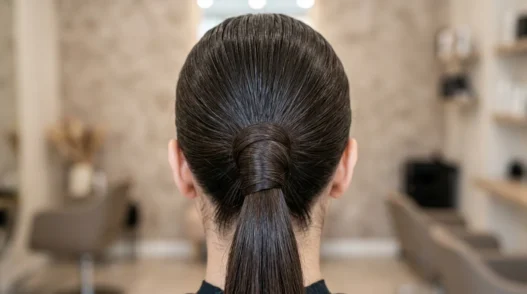
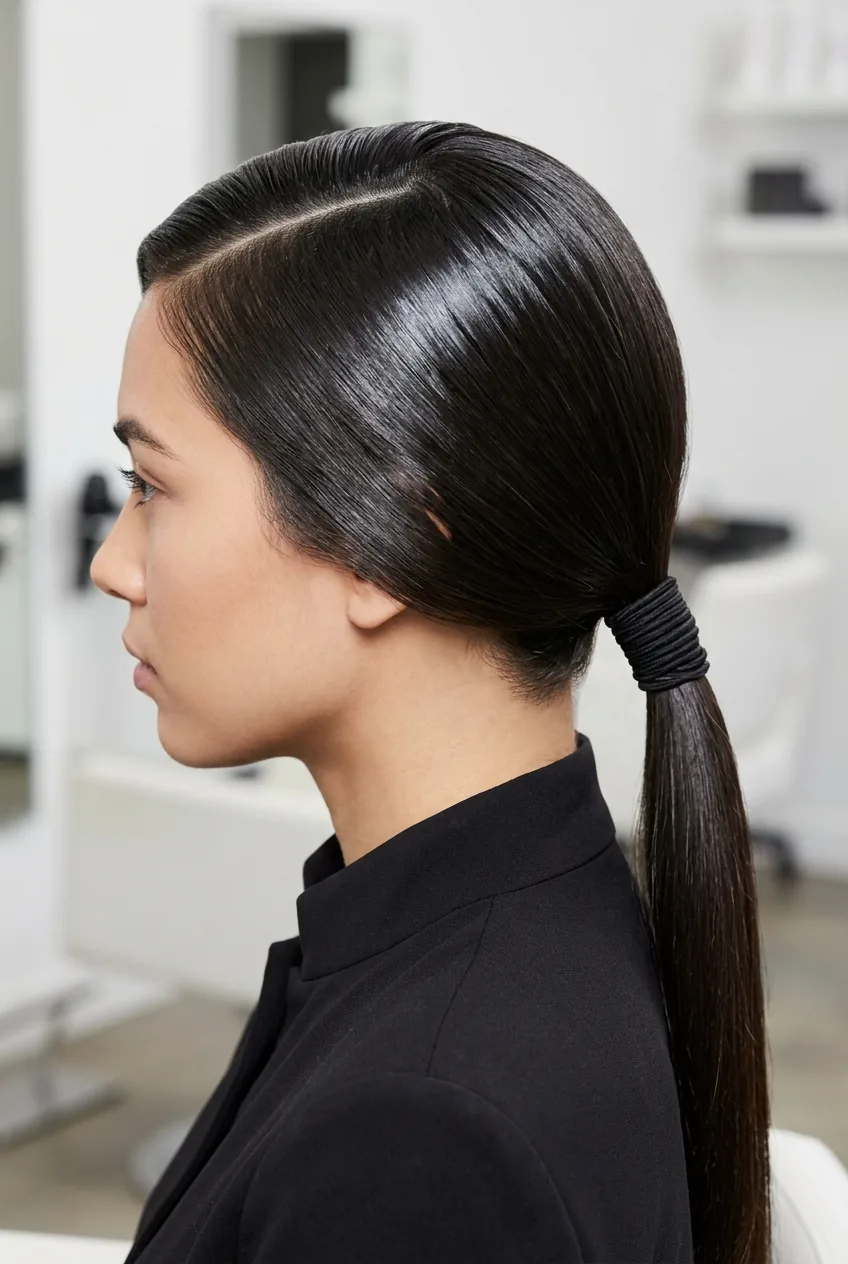
2. Beginner Friendly: Low Sleek with Hair Tie Cover
Difficulty: ⭐⭐ (2/5) | Time: 5-7 minutes | Tools: Hair elastic, small hair clip, smoothing serum
Here’s where you start looking more intentional. The hair tie cover trick is one of those small details that makes people think you put way more effort in than you actually did.
Create your sleek ponytail at the nape of your neck — lower feels more sophisticated anyway. Before securing, separate out a small section of hair (about the width of your thumb) and clip it aside. Tie your ponytail, then wrap that reserved section around the elastic, tucking the end under and securing with a small bobby pin.
I add just a tiny bit of smoothing serum to the wrapped section before I wind it around. Makes it lay flatter and catches the light better.
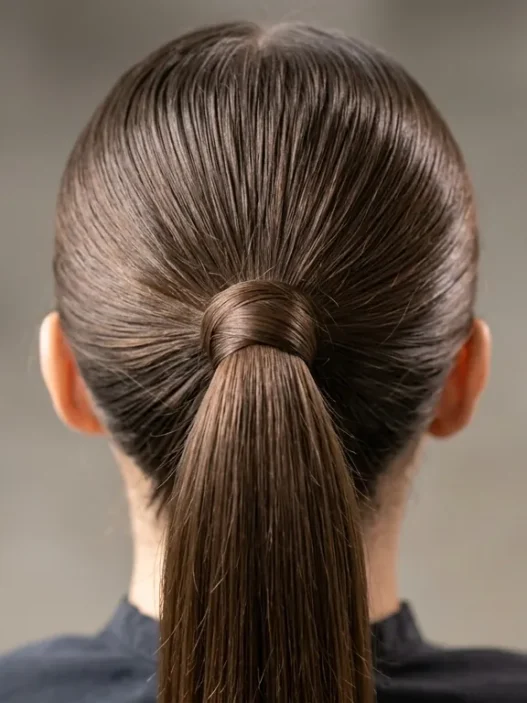
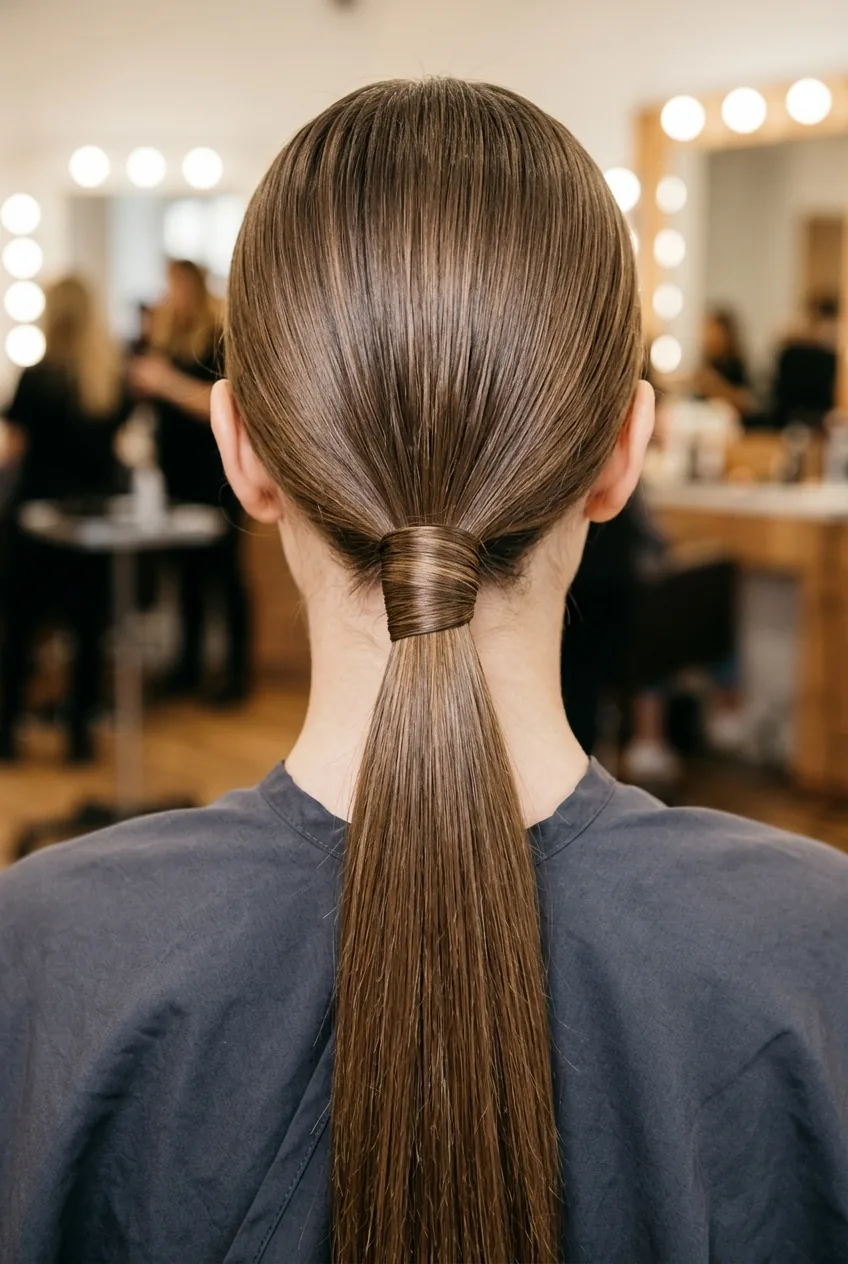
3. Easy Level: Mid-Height Glass Hair Ponytail
Difficulty: ⭐⭐ (2/5) | Time: 8-10 minutes | Tools: Shine serum, fine-tooth comb, strong-hold elastic, flat iron (optional)
“Glass hair” sounds intimidating, but it’s really just about maximizing shine and minimizing texture. This is where the right products start to matter more than perfect technique.
Work shine serum through damp hair, then blow-dry with a paddle brush, pulling the hair taut as you dry. If your hair tends to be frizzy, hit it with a flat iron on low heat — just one pass to seal the cuticle. Gather at mid-level (roughly ear height) using the fine-tooth comb to smooth any bumps as you go.
This is my personal go-to for work meetings. It looks polished without being too precious, and it actually gets better throughout the day as your natural oils add to the shine.
The trick is not to over-product. A little shine serum goes a long way, and too much will make your hair look greasy instead of glossy.
4. Intermediate Challenge: Sleek Side-Part Ponytail
Difficulty: ⭐⭐⭐ (3/5) | Time: 10-12 minutes | Tools: Rat-tail comb, strong-hold gel, bobby pins, hair elastic
Side parts add drama, but they’re trickier to keep sleek because you’re working against your hair’s natural growth pattern on one side. This is where technique starts to matter as much as products.
Create a sharp side part with the rat-tail comb — I go for about 80/20 rather than a dramatic deep part. Apply strong-hold gel to the smaller side first, smoothing it back with your palm and securing temporarily with bobby pins. Then work the larger section back, making sure both sides meet cleanly at the ponytail point.
The challenge here is getting both sides to lay flat without creating a dent where they meet. Professional styling techniques can help if you’re struggling with the transition.
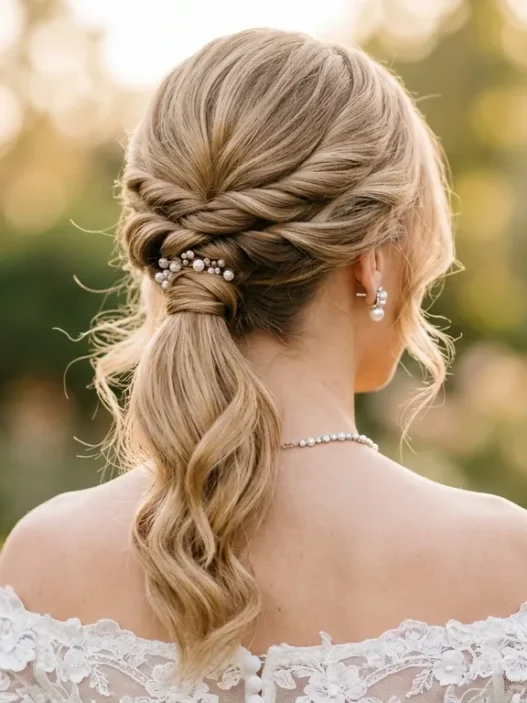
5. Intermediate Challenge: The Pulled-Back Face-Frame
Difficulty: ⭐⭐⭐ (3/5) | Time: 12-15 minutes | Tools: Two different brushes, texturizing spray, multiple elastics
This one’s about controlled messiness — sleek where it needs to be, with strategic pieces left loose around your face. It’s harder than it looks because those “effortless” face-framing pieces need to be deliberately placed.
Before creating your ponytail, identify which pieces you want to leave out. I usually go for thin sections at the temples and maybe something near the ears. Create your sleek base ponytail first, then gently tug out your chosen pieces. Here’s the trick: mist them lightly with texturizing spray and scrunch just the ends. This gives them movement without looking like you forgot to include them.
The balance is everything here. Too many pieces and you look messy. Too few and the contrast looks weird.
6. Intermediate Level: High Tension Crown Ponytail
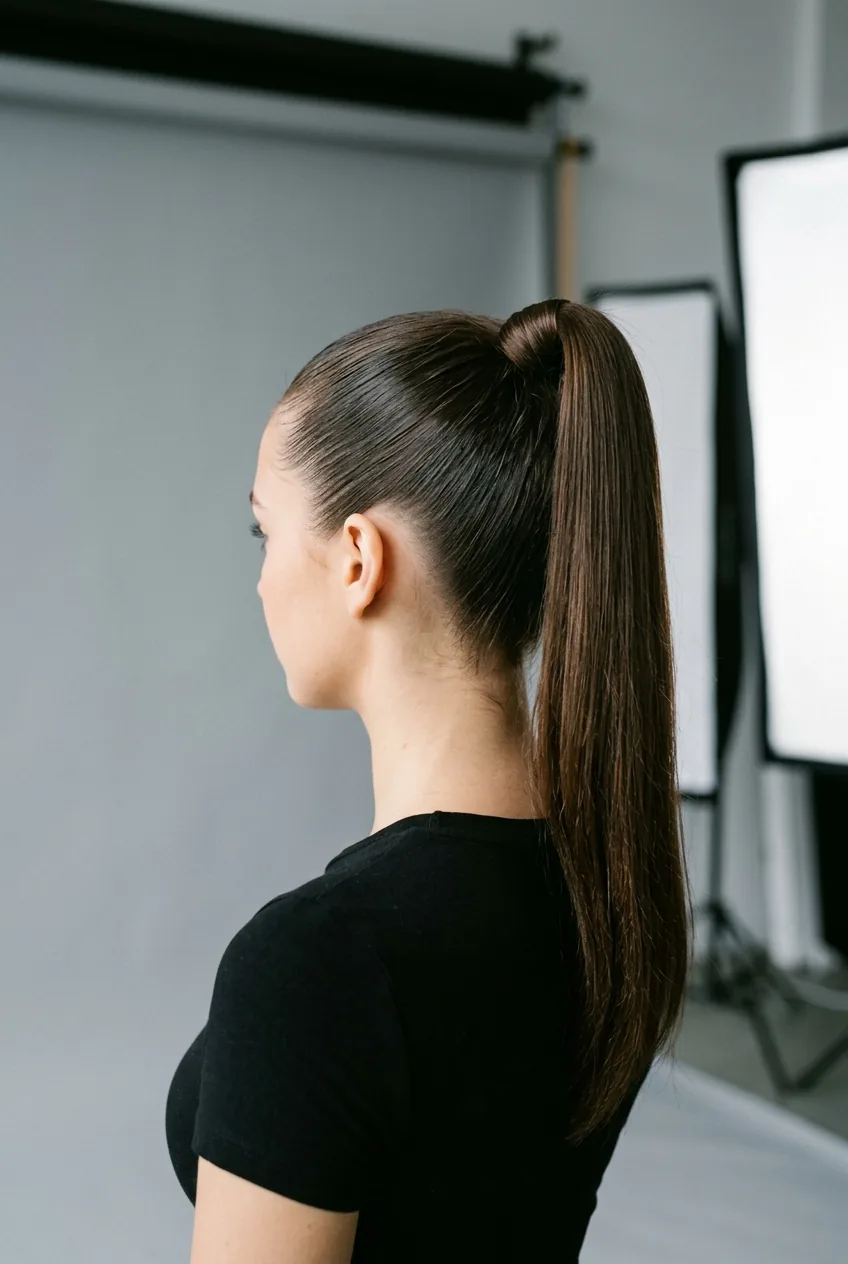
Difficulty: ⭐⭐⭐ (3/5) | Time: 15-18 minutes | Tools: Multiple brushes, strong gel, hair elastic, bobby pins
This is the Ariana Grande territory — super high, super tight, with that distinctive smooth crown that defies gravity. The technique is more about physics than styling at this point.
You need to work in sections, building tension gradually rather than trying to pull everything back at once. Start by brushing the front section straight up and back, holding it with one hand while you add the sides. The crown area gets the most gel and the most brushing — you’re literally sculpting the shape you want.
Check out some ponytails updos inspiration if you’re looking for more formal versions of this technique. Once you master the high tension method, you can adapt it for all kinds of occasions.
See the High Tension Technique Live
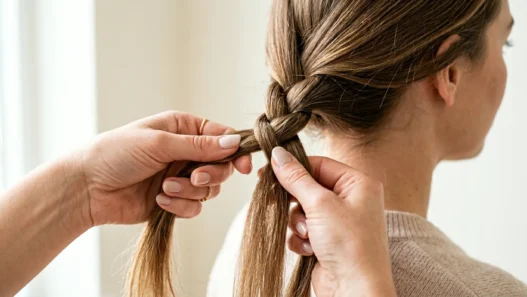
7. Advanced Challenge: The Wrapped Base Ponytail

Difficulty: ⭐⭐⭐⭐ (4/5) | Time: 20-25 minutes | Tools: Multiple elastics, bobby pins, hair padding (optional), strong-hold products
Now we’re getting into editorial territory. This involves wrapping sections of your own hair around the base of the ponytail to create that thick, sculptural look you see in magazines.
The secret is using multiple elastics and building up the base gradually. I start with a basic ponytail, then wrap small sections around the elastic, securing each layer with bobby pins before adding the next. Some people add padding under the wrapped sections for extra volume, but I think that’s overkill unless you’re going for a very specific editorial look.
This technique requires patience and honestly, a fair amount of trial and error. The first few times I tried it, I ended up with what looked like a hair tumor at the base of my ponytail.
8. Advanced Level: Ultra-Sleek with Hair Extensions
Difficulty: ⭐⭐⭐⭐ (4/5) | Time: 25-30 minutes | Tools: Clip-in extensions, multiple combs, professional-grade products
This is red-carpet level stuff. Adding extensions to a sleek ponytail isn’t just about length — it’s about creating that impossibly perfect density and shine that you see on celebrities.
The extensions go in before you create the ponytail, and they need to be perfectly blended with your natural hair. I use clip-ins because they’re easier to manage, but they have to be the exact right color match or the whole thing falls apart. The sleekness has to be consistent from root to tip, which means flat-ironing everything together and using way more product than you’d think.
If you’re planning something special like prom party hairstyles glamorous looks, this technique can create that show-stopping effect. Just budget extra time for practice runs.
9. Expert Level: The Sculptural Angular Ponytail
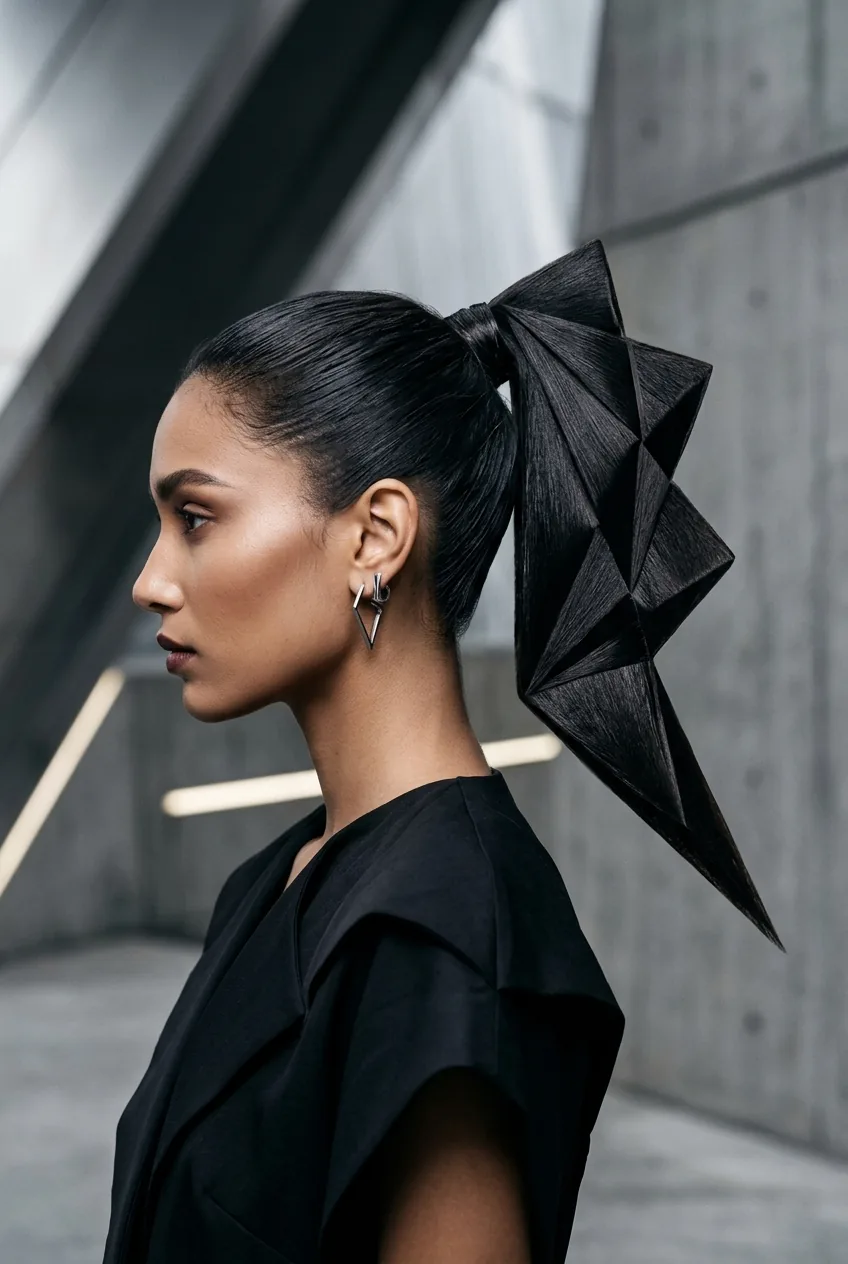
Difficulty: ⭐⭐⭐⭐⭐ (5/5) | Time: 30-40 minutes | Tools: Professional brushes, multiple gels, hairspray, precise sectioning clips, possibly a helper
This is avant-garde territory — think fashion week or high-end editorial shoots. The goal is geometric precision, creating sharp lines and perfect angles that look almost architectural.
Every section has to be mathematically precise. You’re creating sharp parts, perfectly straight lines, and angles that photograph beautifully from every direction. It requires professional-grade products and honestly, steady hands that I don’t always have after my second cup of coffee.
I’ve only successfully pulled this off a handful of times, usually for special photography or when I have way too much time on my hands. But when it works, it’s absolutely stunning — like wearing a piece of modern art on your head.
The key is understanding that this isn’t about natural beauty anymore. It’s about technical skill and artistic vision. Editorial styling methods can provide more advanced guidance if you’re seriously interested in mastering this level.
Quick Answers About Sleek Ponytails
What if my hair is too slippery for a sleek ponytail?
Fine, silky hair can actually be harder to work with than textured hair. Try using a small amount of texturizing paste at the roots before you start, or do your ponytail on day-old hair when your natural oils provide more grip.
How do I prevent the dreaded ponytail dent?
Use snag-free elastics and don’t over-tighten. Also, try loosening the ponytail slightly after you’ve secured it — pull gently at the crown area to add a bit of volume and reduce the tension line.
Can I sleep in a sleek ponytail?
Not the high-tension versions, but the lower, looser styles can work for overnight wear. Use a silk scrunchie and sleep on a silk pillowcase to minimize friction and frizz.
What’s the biggest mistake beginners make?
Using too much product and trying to go too high too soon. Start with the basic techniques and work your way up. Also, investing in a good brush makes a massive difference — cheap brushes create static and frizz.
The thing I love most about mastering different levels of sleek ponytails is how it’s changed my relationship with my hair. I used to think I just had “difficult” hair, but really I just didn’t have the right techniques for my skill level. Now I can choose exactly how much effort I want to put in and still end up with something that looks intentional.