


I’ll never forget my sister’s wedding three years ago. Five bridesmaids, five different hair disasters by hour three. The elaborate updos were falling, the curls had gone flat, and don’t even get me started on what humidity did to the “effortless” beach waves. That’s when I realized most bridesmaid hairstyles are designed for the ceremony photos, not the entire 12-hour marathon that weddings actually are.
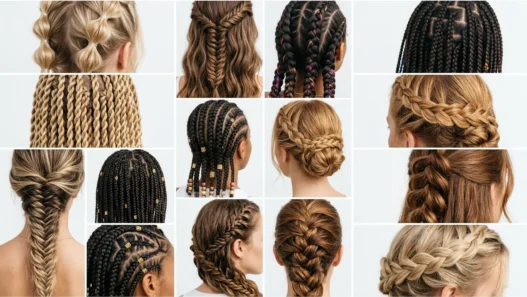
Since then, I’ve been obsessed with finding bridesmaid hairstyles that actually work in real life — styles that look incredible in photos but also survive hugs, tears, dancing, and whatever weather throws at you.
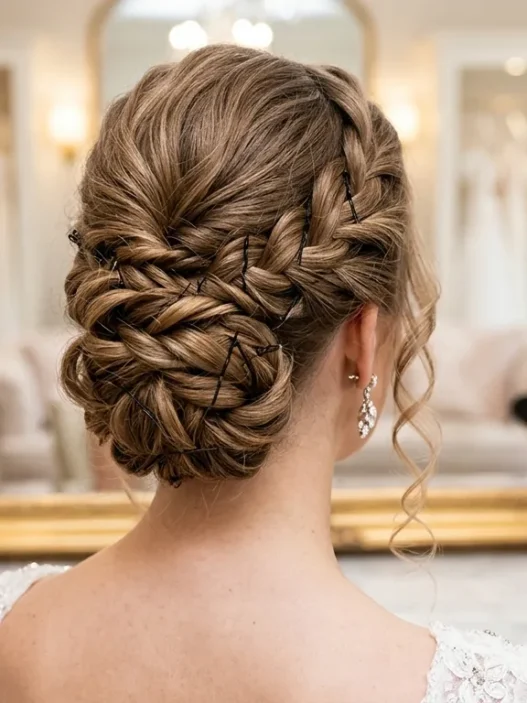
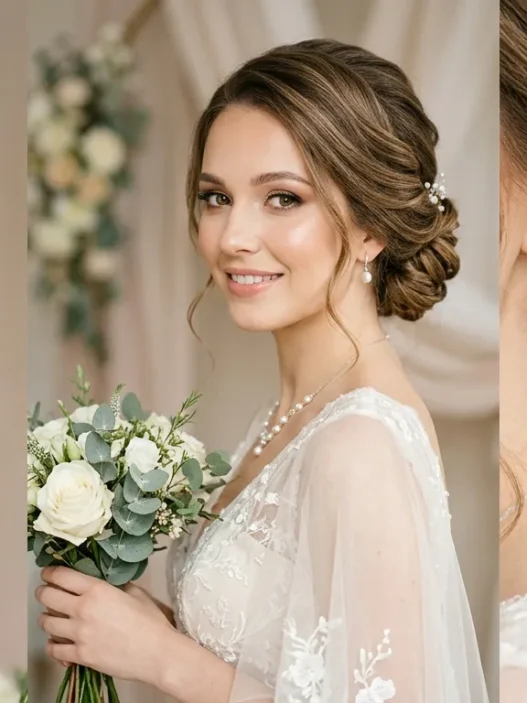
The Side-Swept Low Bun Challenge
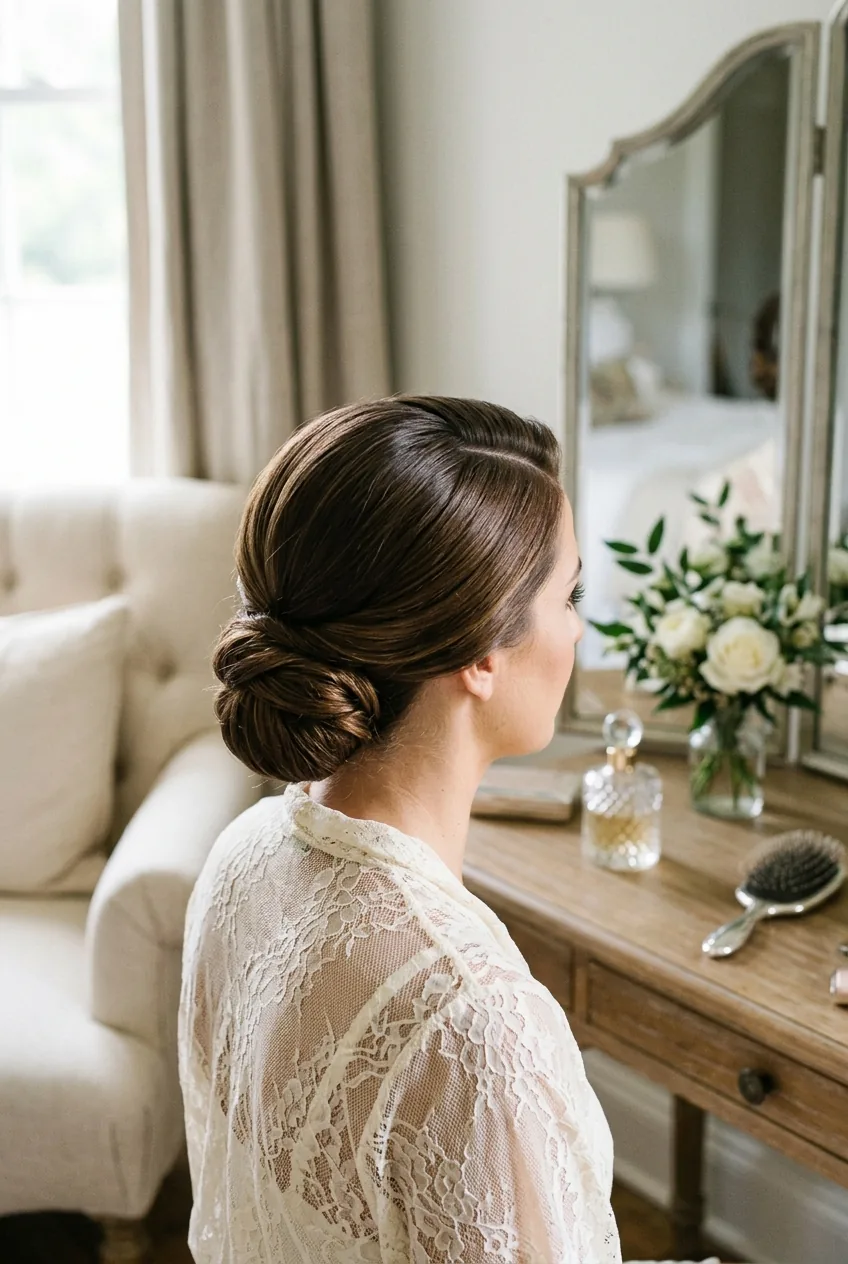
Here’s my controversial take: most low buns are boring. But when you add a dramatic side part and sweep everything to one side before twisting into that bun? Magic happens.
The key is creating volume at the crown before you sweep. I use a teasing comb to lift the hair at the part, then smooth just the top layer. The bun itself sits at the nape — not higher where it’ll hit chair backs all night. And here’s what most tutorials don’t tell you: secure with bobby pins that match your hair color, but also add two clear elastic bands inside the bun for insurance.
This style photographs beautifully from every angle because of that asymmetrical sweep. Plus it works on literally every face shape — the side part is instantly flattering.
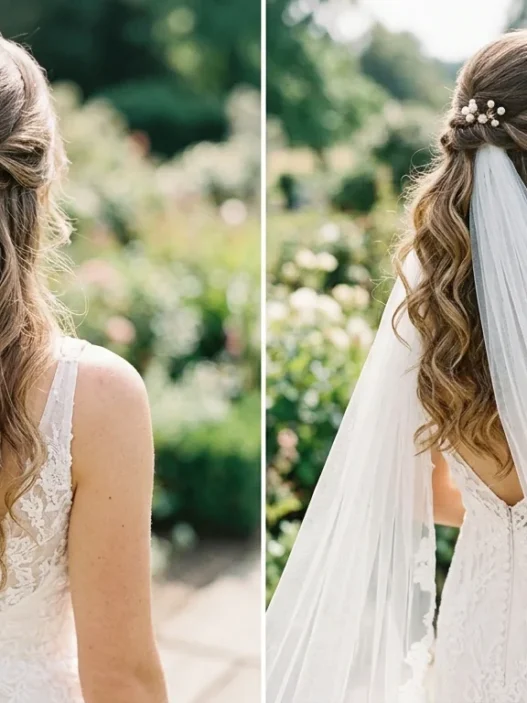
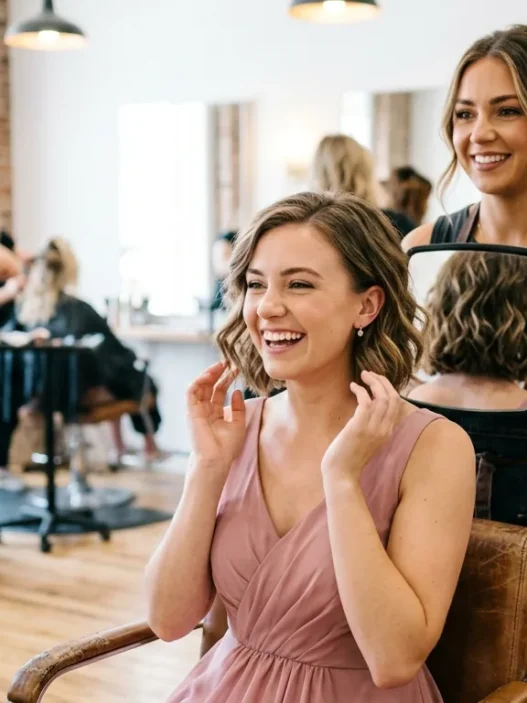
Textured Half-Up Styles That Actually Stay
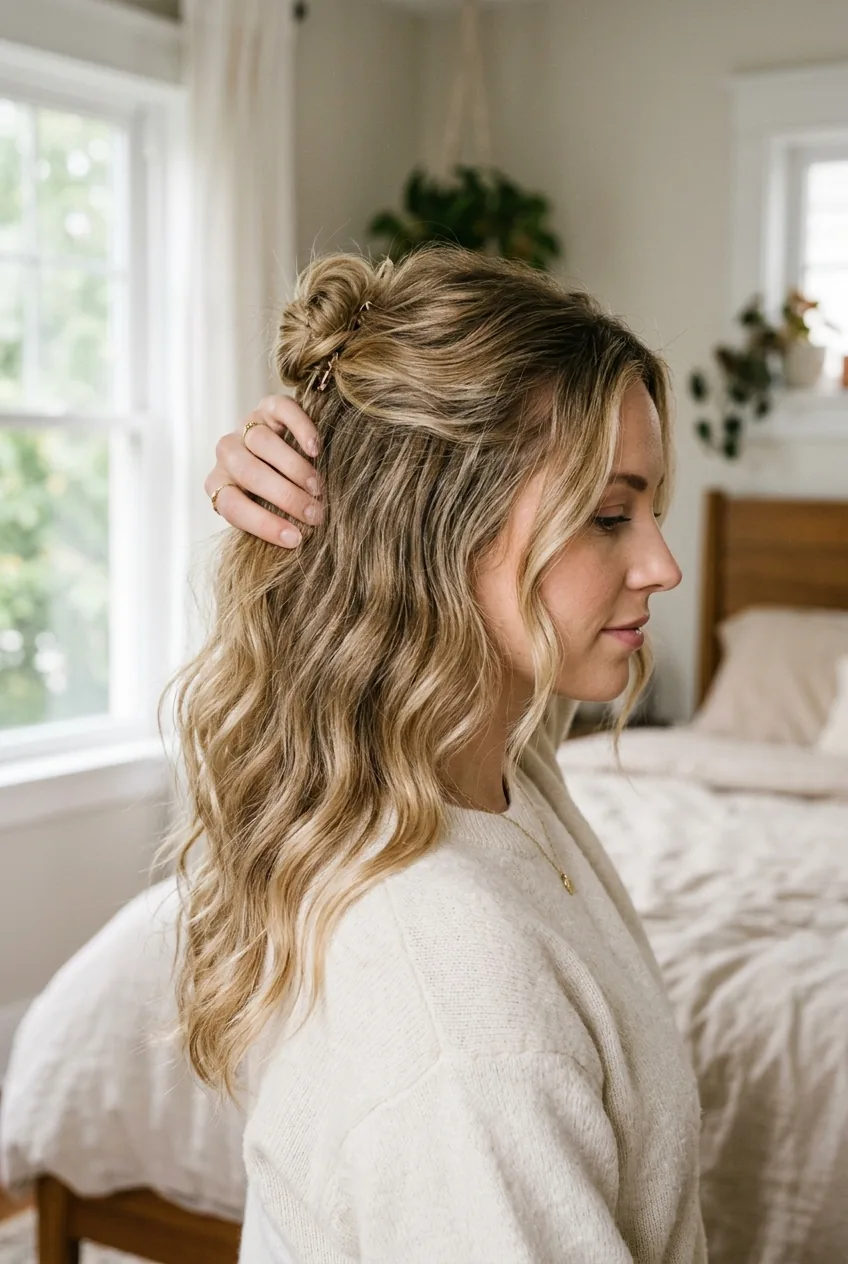
Why do half-up styles always look perfect in tutorials but slide out within an hour? Because nobody talks about the foundation work.
Before you even think about pulling hair back, you need texture. I’m talking sea salt spray on damp hair, scrunched and air-dried until it has that perfectly imperfect wave. Then — and this is crucial — a light dusting of texturizing powder at the roots where you’re going to secure the half-up section.
The actual styling is simple: gather hair from temple to temple, leaving face-framing pieces out. But instead of a regular elastic, use a small clear band, then wrap a section of hair around it to hide the band. Those face-framing pieces? Curl them away from the face with a 1-inch iron, but only hold for 5 seconds. You want movement, not ringlets.
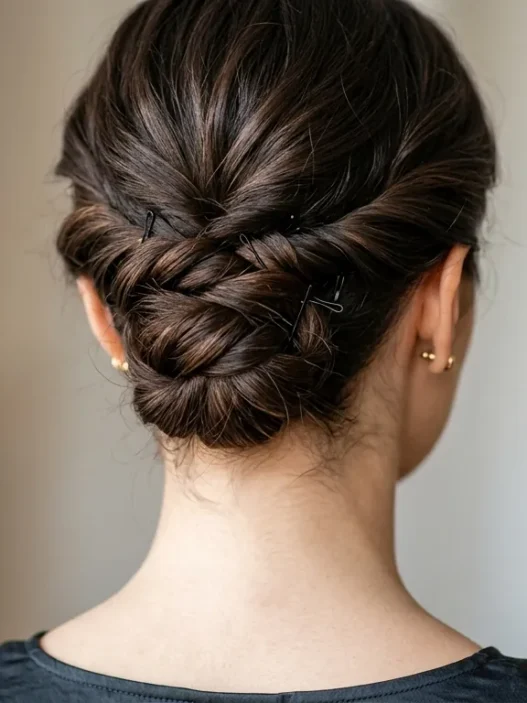
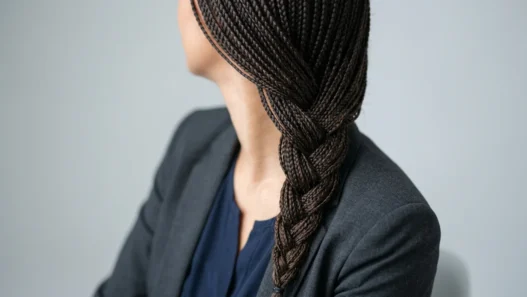
Modern Braided Crown Variations
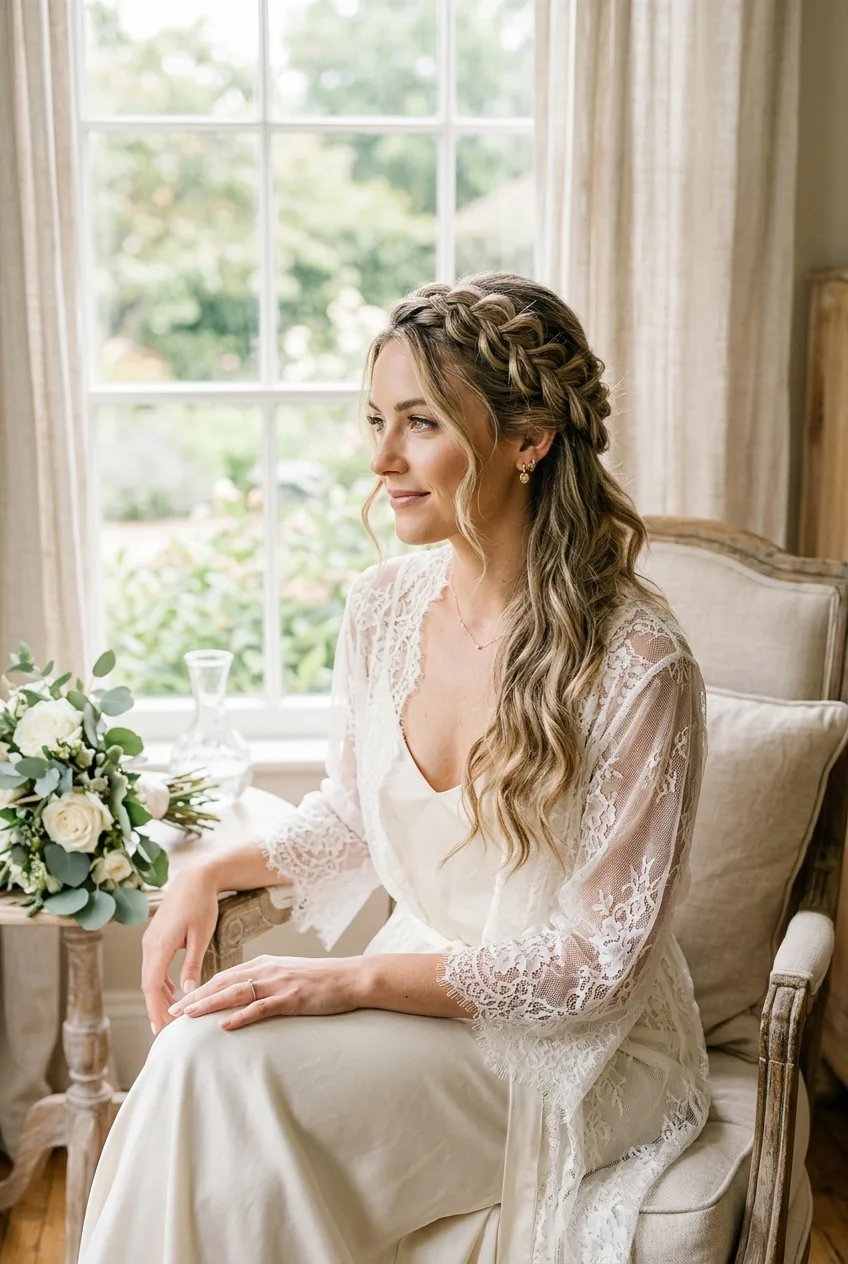
Forget the tight, princess-y braided crowns you see everywhere. The modern version is deliberately undone and romantic. Think: celebrity inspired holiday hair but wedding-appropriate.
Start with a loose Dutch braid along your hairline, but here’s the twist — only braid about two-thirds of the way around your head. Let the braid fall into loose waves with the rest of your hair. The contrast between the structured braid and flowing waves is stunning in photos.
For fine hair, this style needs volume-building techniques before you even start braiding. For thick hair, it’s honestly foolproof — the weight of your hair helps everything stay in place naturally.
Sleek Ponytails with Strategic Height
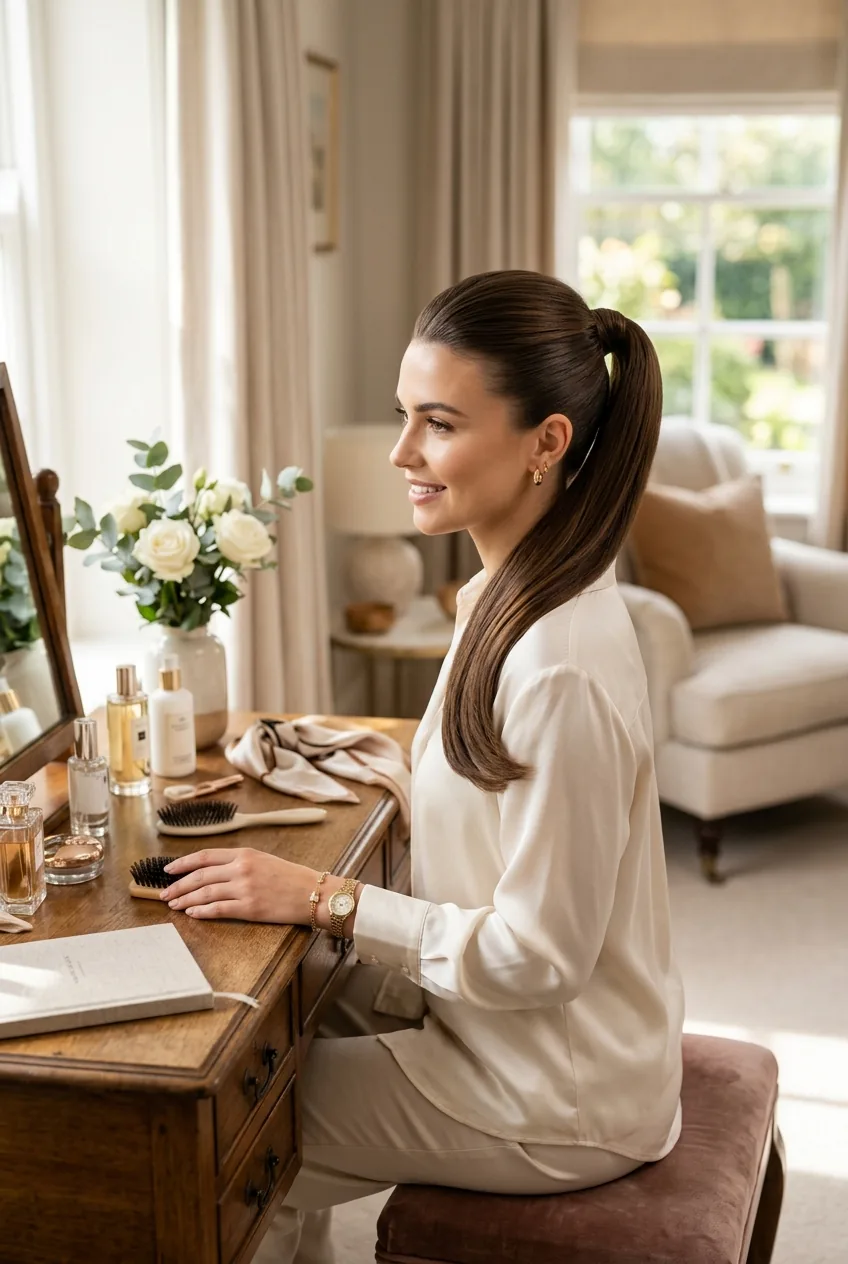
Can we talk about ponytail height for a second? Too high and you look like you’re heading to the gym. Too low and it drags your whole face down. The sweet spot is right at the occipital bone — that bump at the back of your head.
But sleek doesn’t mean flat. Create subtle volume by gently pushing forward at the crown after you’ve secured the ponytail. I also love wrapping the elastic with a small section of hair and securing it underneath with a bobby pin that matches your hair color.
For extra sophistication, curl just the ends of the ponytail with a large barrel iron. The combination of sleek top and textured ends hits that perfect balance of polished but not uptight.
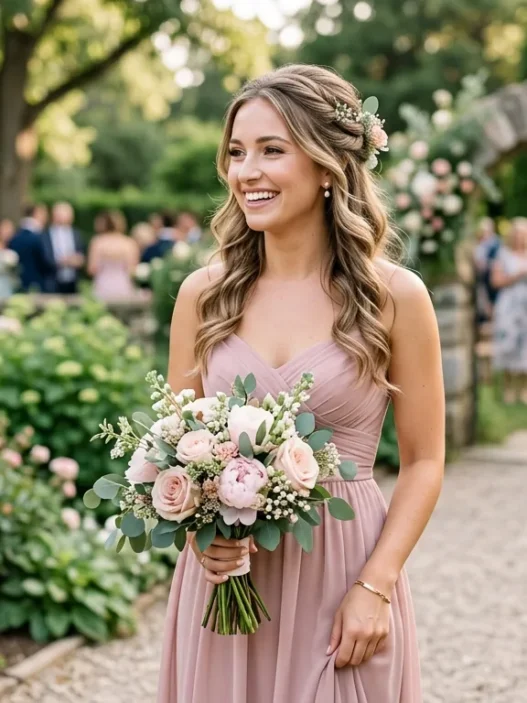
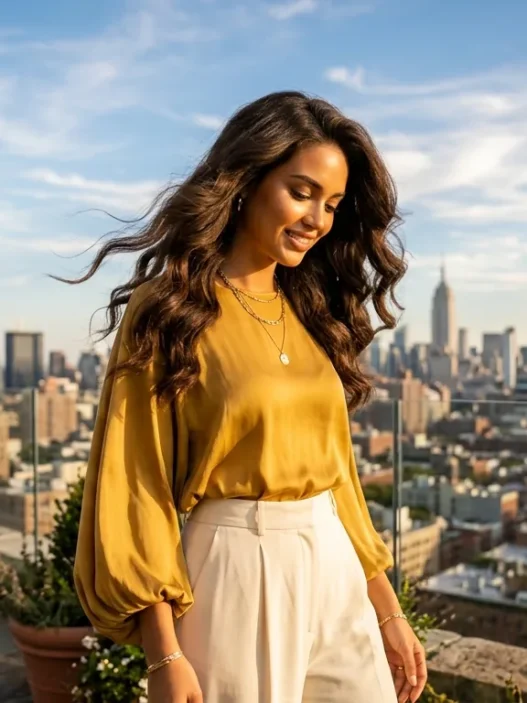
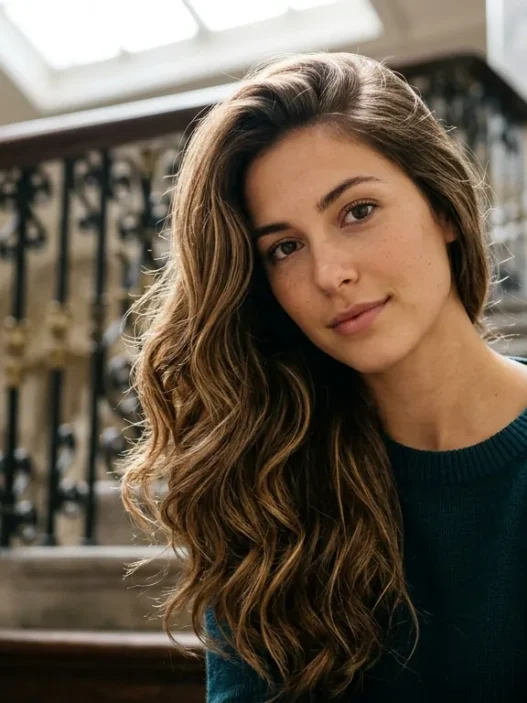
Romantic Loose Waves That Photograph
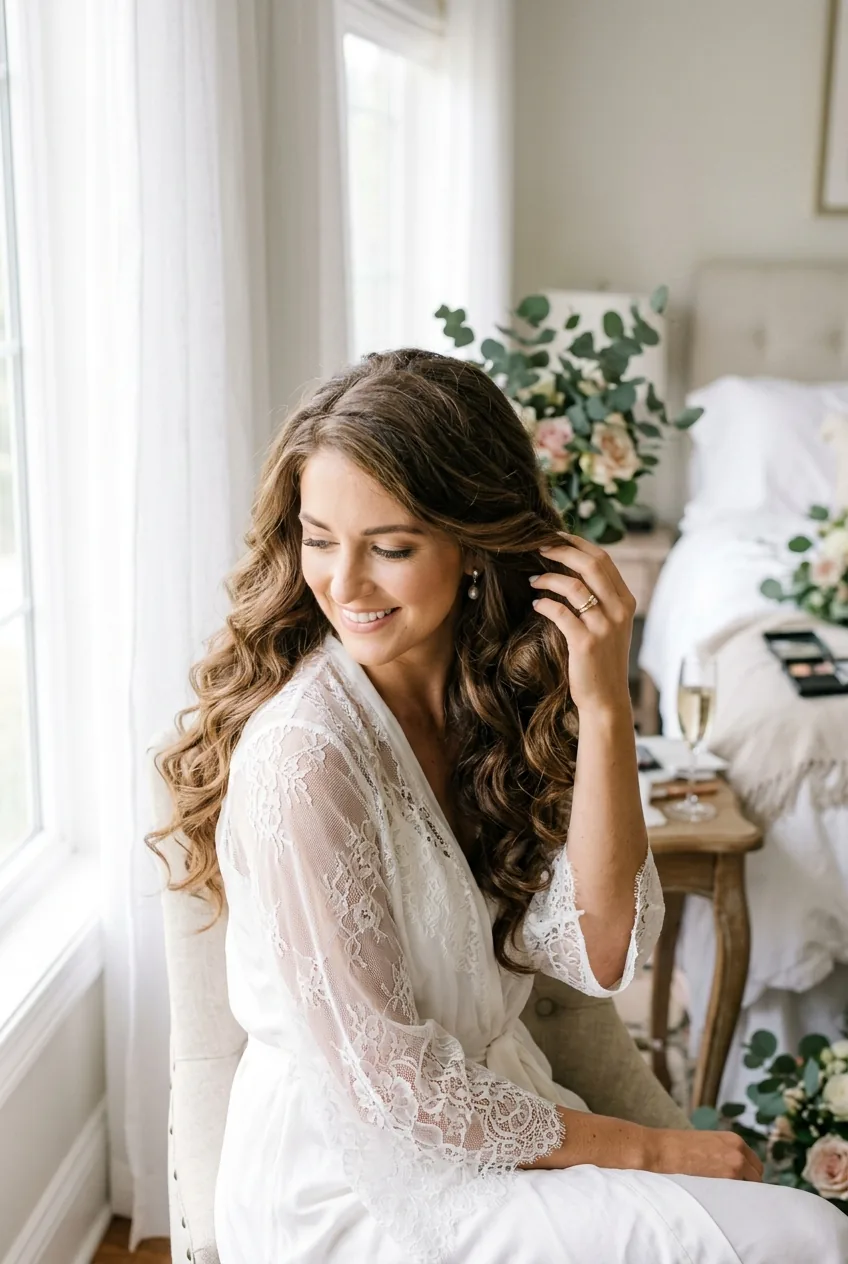
Here’s what I’ve learned about wedding waves: they need to be bigger than you think. What looks perfect in person often reads flat in photos, especially from a distance during ceremony shots.
My technique: start with damp hair and a volumizing mousse. Blow dry with a round brush, lifting at the roots. Then use a 1.5-inch curling iron, but here’s the key — wrap large sections and hold for just 8-10 seconds. Immediately wrap each curl around your finger and pin it against your head with a clip. Let them cool completely before brushing out.
The result? Waves that photograph beautifully and actually get better throughout the day as they relax. Plus, if you’re dealing with different hair textures in your bridal party, this technique works on everyone from pin-straight to naturally wavy hair.
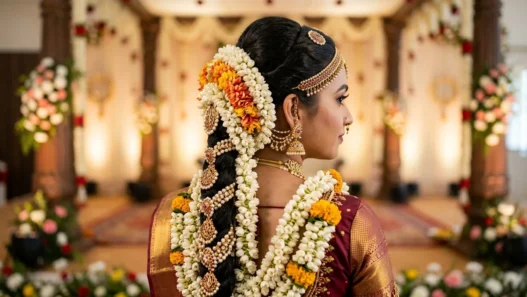
This approach reminds me of the classic wedding hairstyles that always look timeless in photos decades later.
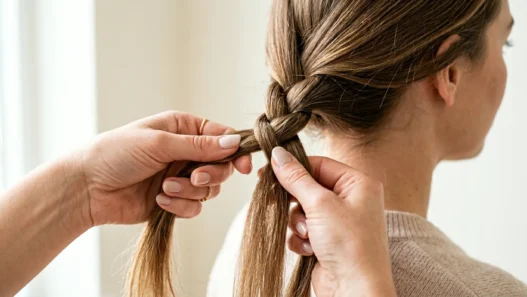
The Curling Technique That Changed Everything
Quick Touch-Up Tricks for Long Days
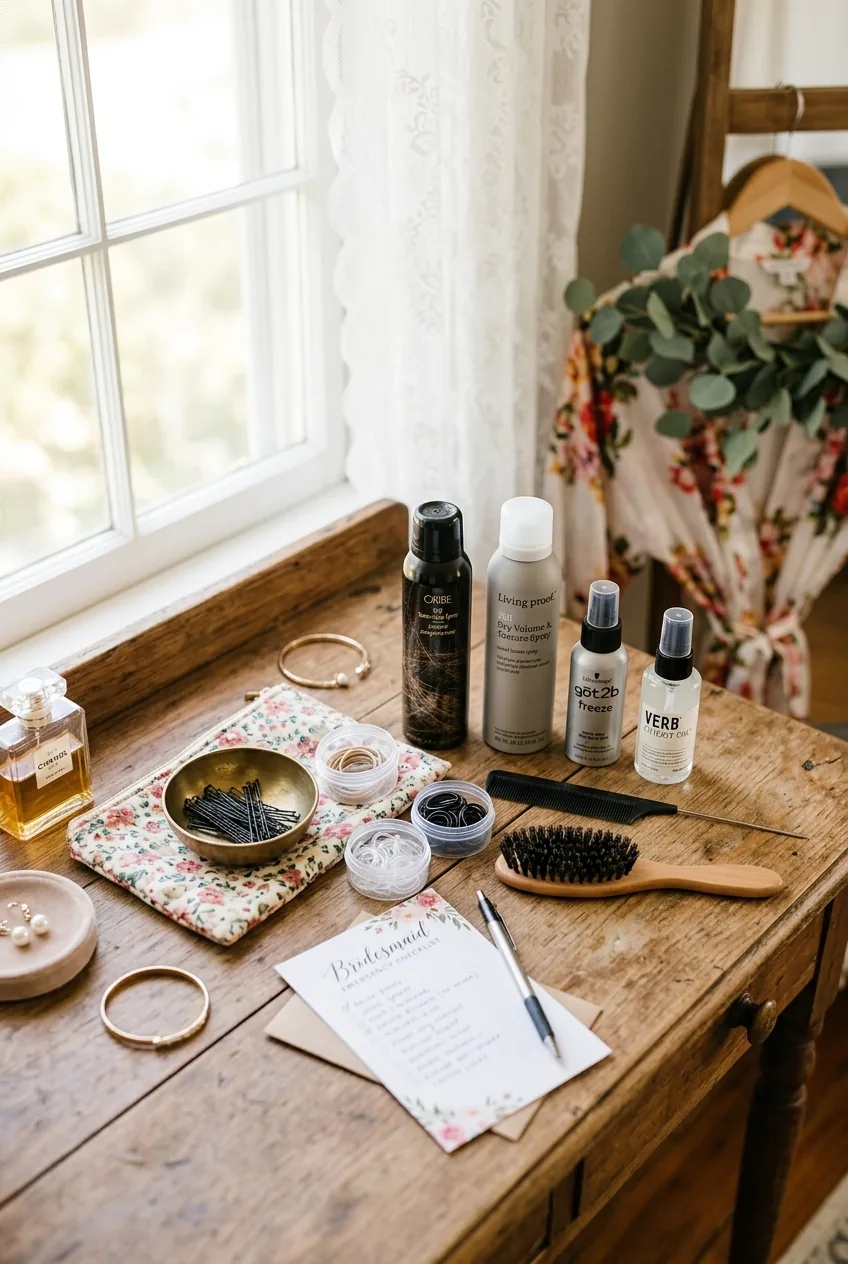
Even the best-planned hairstyle needs backup. Here’s what I pack in every bridesmaid’s emergency kit:
- Bobby pins in your exact hair color (not just brown or blonde — your exact shade)
- A small bottle of texturizing spray for quick volume boosts
- Clear elastics for emergency ponytail fixes
- A travel-size strong-hold hairspray
But honestly? The best touch-up trick is strategic planning. If you know you’re going to be dancing, build that movement into your hairstyle from the start. If it’s an outdoor wedding, choose a style that works with your hair’s natural texture rather than fighting it.
The goal isn’t perfection for 12 hours straight. It’s looking intentionally beautiful at every stage of the day.
Questions I Get About Bridesmaid Hair
Should all bridesmaids have the same hairstyle?
Absolutely not. Different face shapes and hair types need different approaches. Instead, choose a unifying element — like all hair pulled to one side, or everyone wearing waves, but let each person adapt the style to what works for them.
How far in advance should we do a hair trial?
At least 6-8 weeks before the wedding. This gives you time to make adjustments and for your stylist to order any special products or tools they might need. Plus, you can take photos to see how the style looks in different lighting.
What if my hair won’t hold curls?
Start with slightly dirty hair — day-old hair holds styles better than freshly washed. Use a volumizing mousse and a texturizing spray before curling. And consider that some hair types look better with waves than tight curls anyway.
Can I do my own bridesmaid hair?
If you’re comfortable styling your own hair and have done practice runs, yes. But remember that wedding morning is stressful — having one less thing to worry about by hiring a professional can be worth the investment.
The best bridesmaid hairstyles aren’t the ones that look perfect in Instagram photos. They’re the ones that make you feel confident, last through every wedding tradition, and still look beautiful when you’re hugging the bride goodbye at midnight. Choose comfort and confidence over complicated — trust me, it shows in every photo.