


Last month I had three weddings in four weeks. Three! And after spending a small fortune on salon appointments for the first two, I decided to take matters into my own hands for wedding number three. Honestly, it was either learn to do my own hair or start a wedding hairstylist fund. I’m stubborn enough that I chose the DIY route — and surprised myself with how good these looks turned out.
Wedding-Ready Hairstyles You Can Actually Do
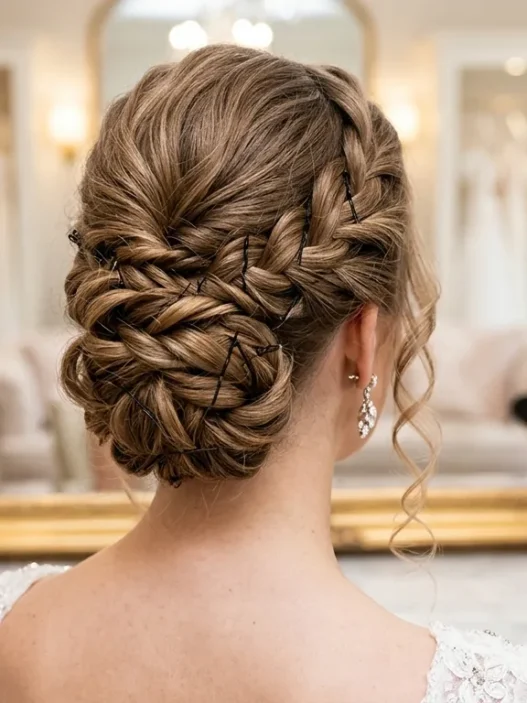
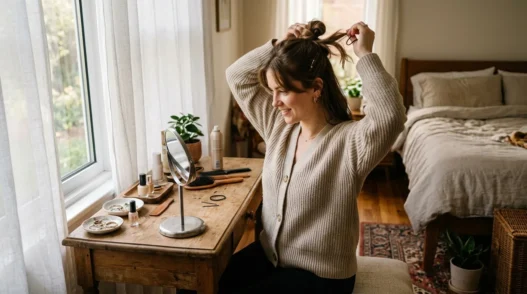
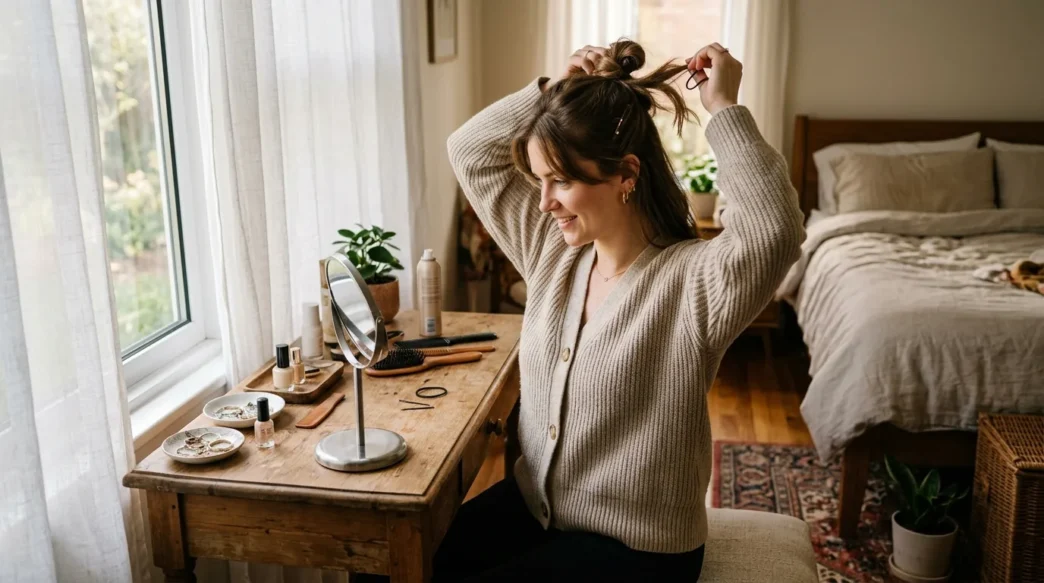
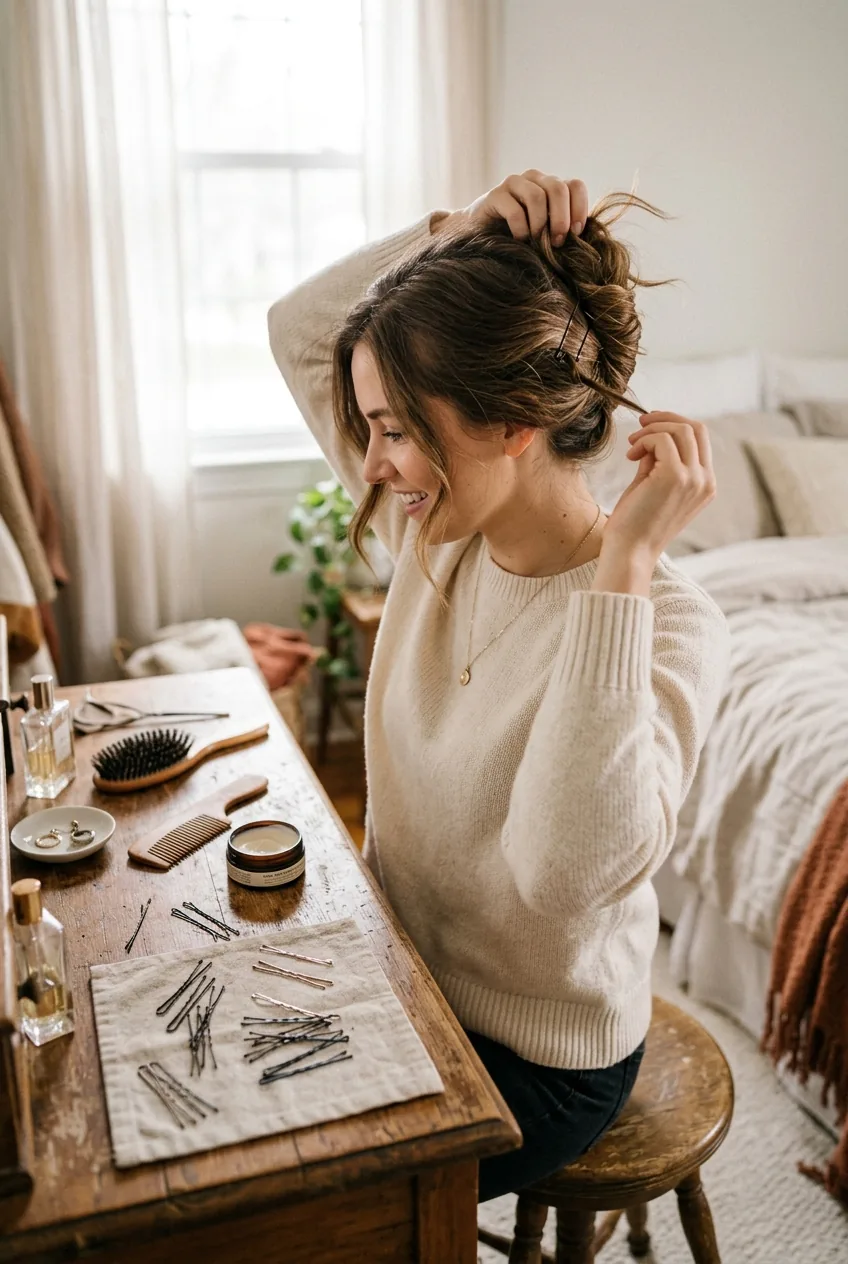
The Low Twisted Bun That Never Fails
This is my go-to when I’m running late. And I mean really late — like “the ceremony starts in 20 minutes” late. Start with day-old hair because it holds better than freshly washed hair. Trust me on this.
Part your hair on the side, then gather it into a low ponytail at the nape of your neck. Don’t make it too tight — you want some texture. Twist the ponytail loosely, then wrap it around the base to form a bun. The key is securing it with bobby pins that match your hair color. I use about six pins, crossing them in an X pattern for extra hold.
Pull out a few face-framing pieces before you start, and gently tug at the crown to add volume. This look gets better as the night goes on, which is exactly what you want at a wedding.
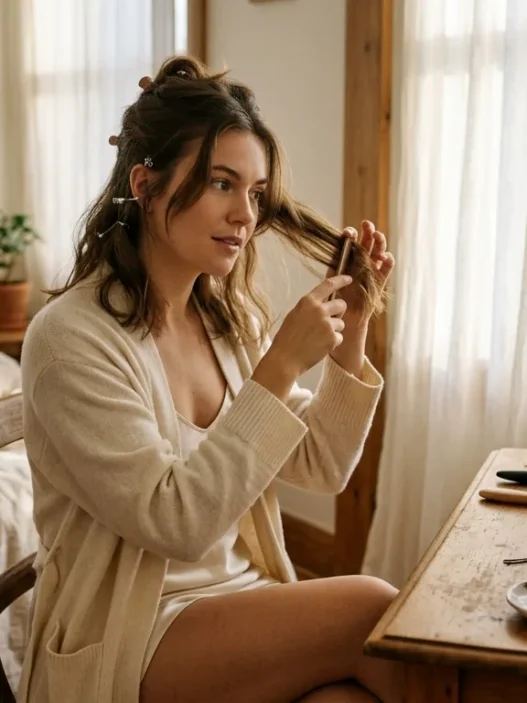
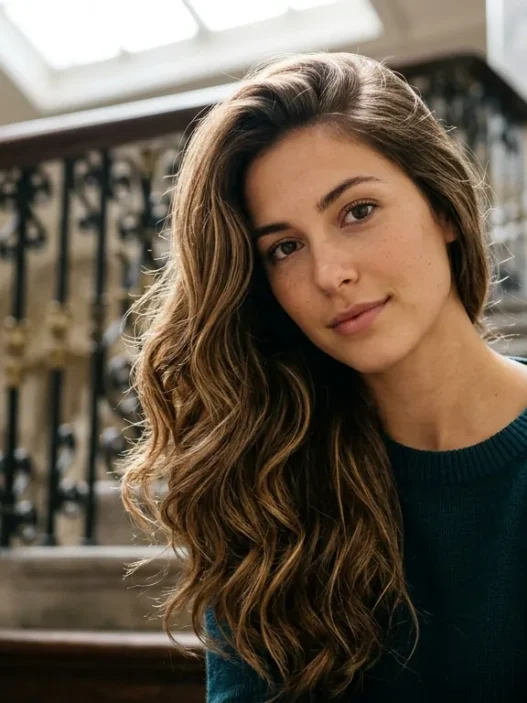
Side-Swept Hollywood Waves
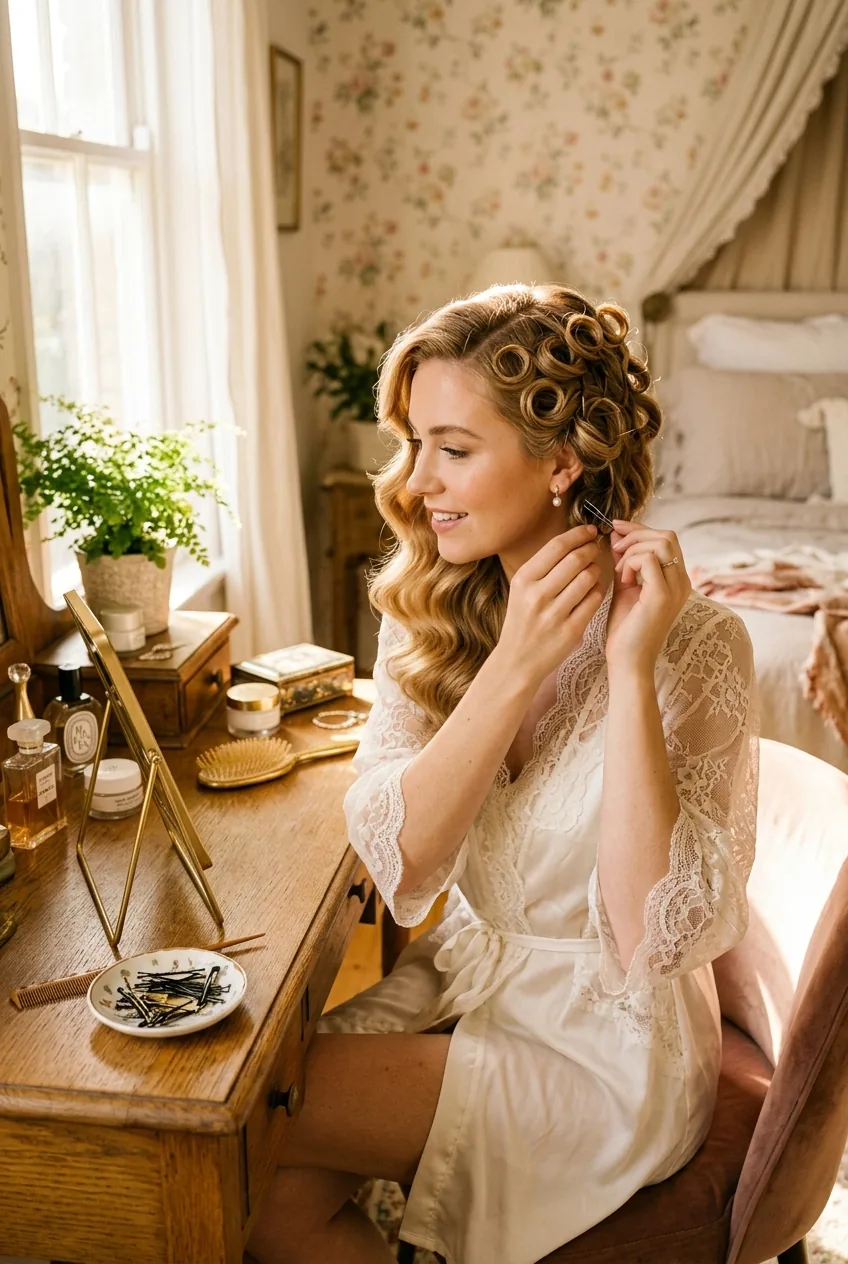
Controversial opinion: you don’t need a curling iron for gorgeous waves. I use the old-school pin curl method, and it works better than any heated tool I’ve tried. Plus, it lasts longer and doesn’t damage your hair.
Start with damp hair and apply heat protectant. Part deeply to one side — I’m talking a dramatic side part that starts at your eyebrow. Section your hair into two-inch pieces, then wrap each section around your finger to form a curl. Pin each curl flat against your head with a bobby pin.
Let them set while you do your makeup (about 30 minutes), then gently brush through with a wide-tooth comb. The result? Smooth, glossy waves that photograph beautifully. This technique saved my hair from heat damage, and honestly, I get more compliments on these waves than any curling iron look I’ve ever done.
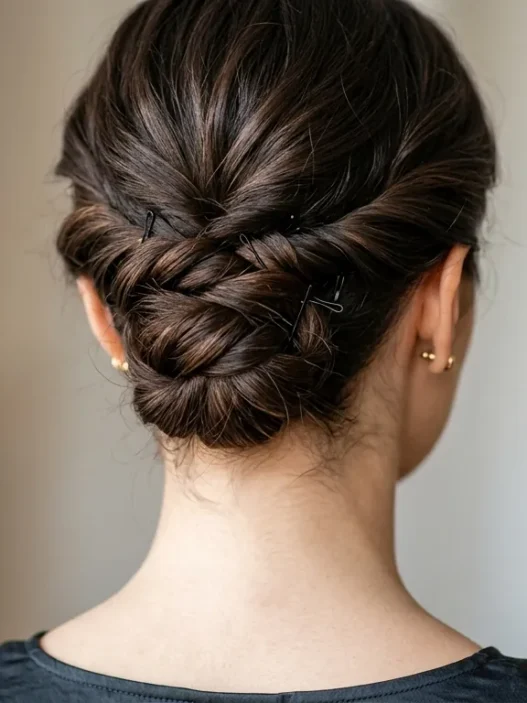
The Messy French Twist
The perfect French twist is overrated. The messy version? Way more interesting and forgiving. I learned this from watching too many effortless wedding guest hairstyles tutorials, but this one stuck because it actually works on my fine hair.
- Tease your hair at the crown for volume
- Gather hair to one side at the nape
- Twist upward, but don’t make it perfect
- Tuck the ends under and pin
- Pull out random pieces for texture
The messier it looks, the more expensive it appears. Weird but true. I always leave a few pieces undone on purpose — it makes the whole look more romantic and less “trying too hard.”
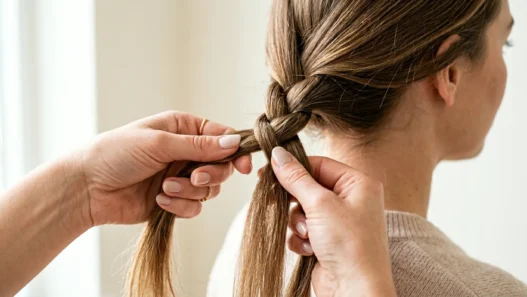
This Tutorial Changed My Technique
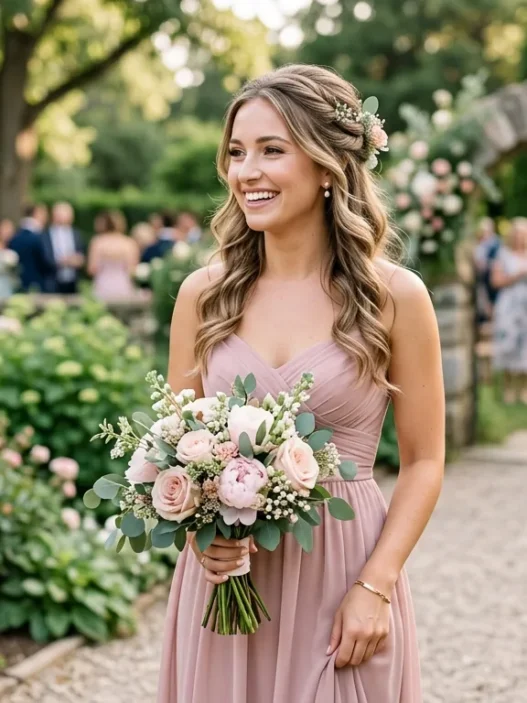
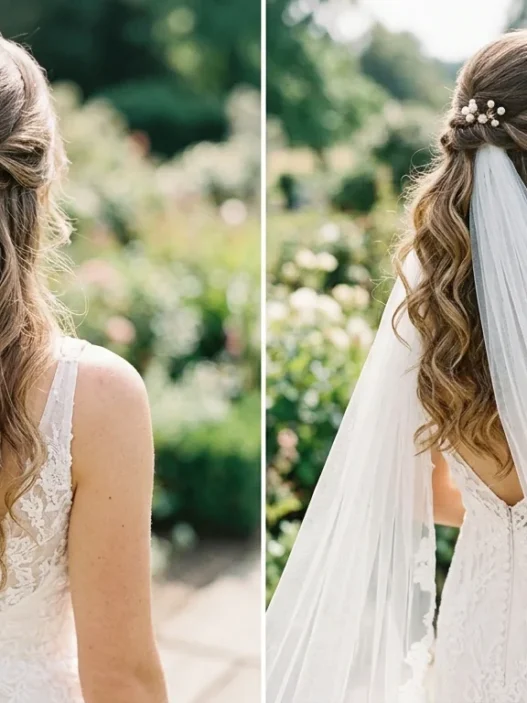
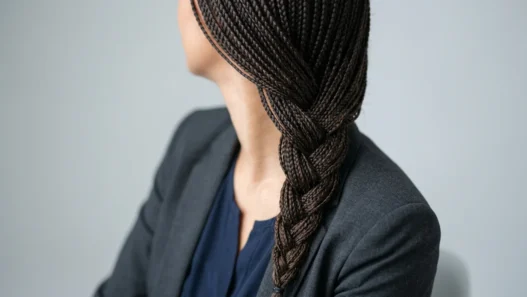
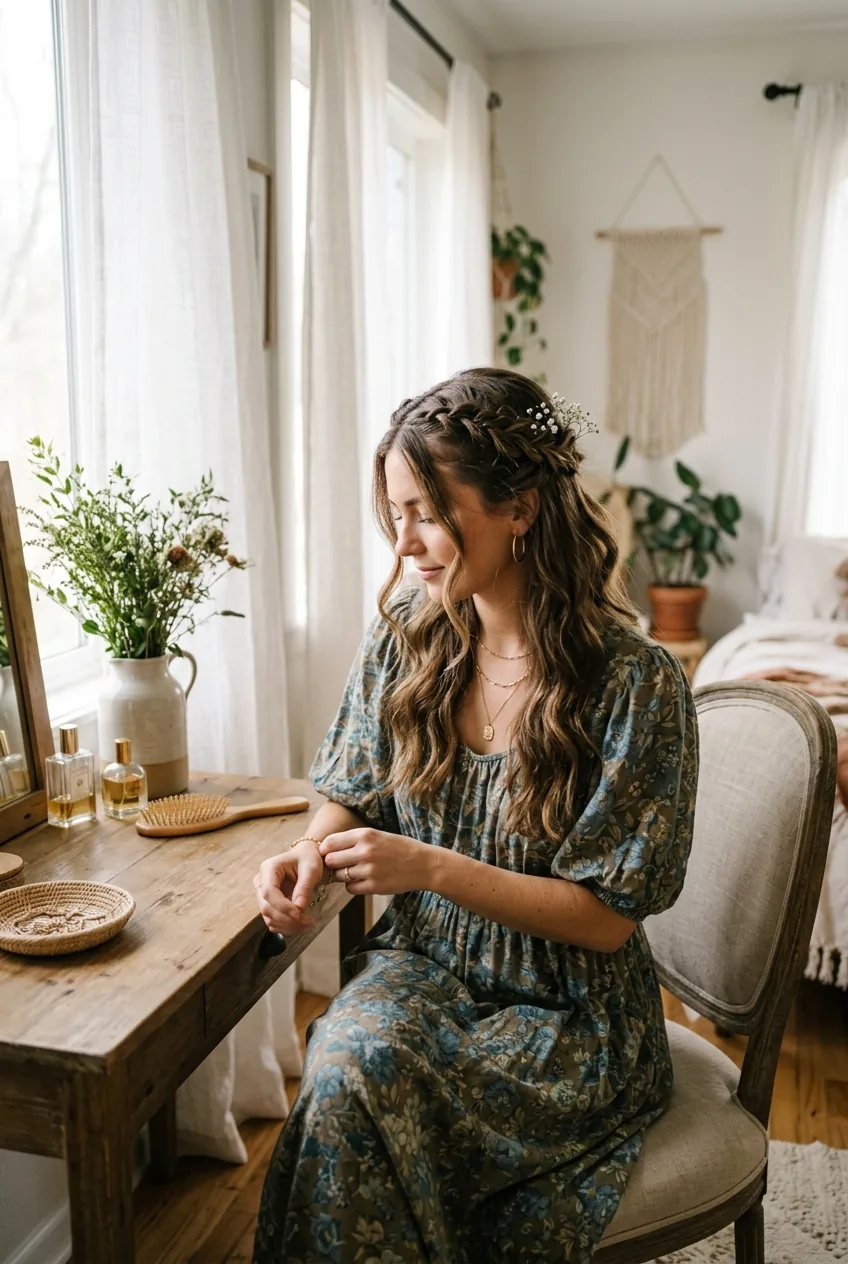
Braided Crown with Loose Curls
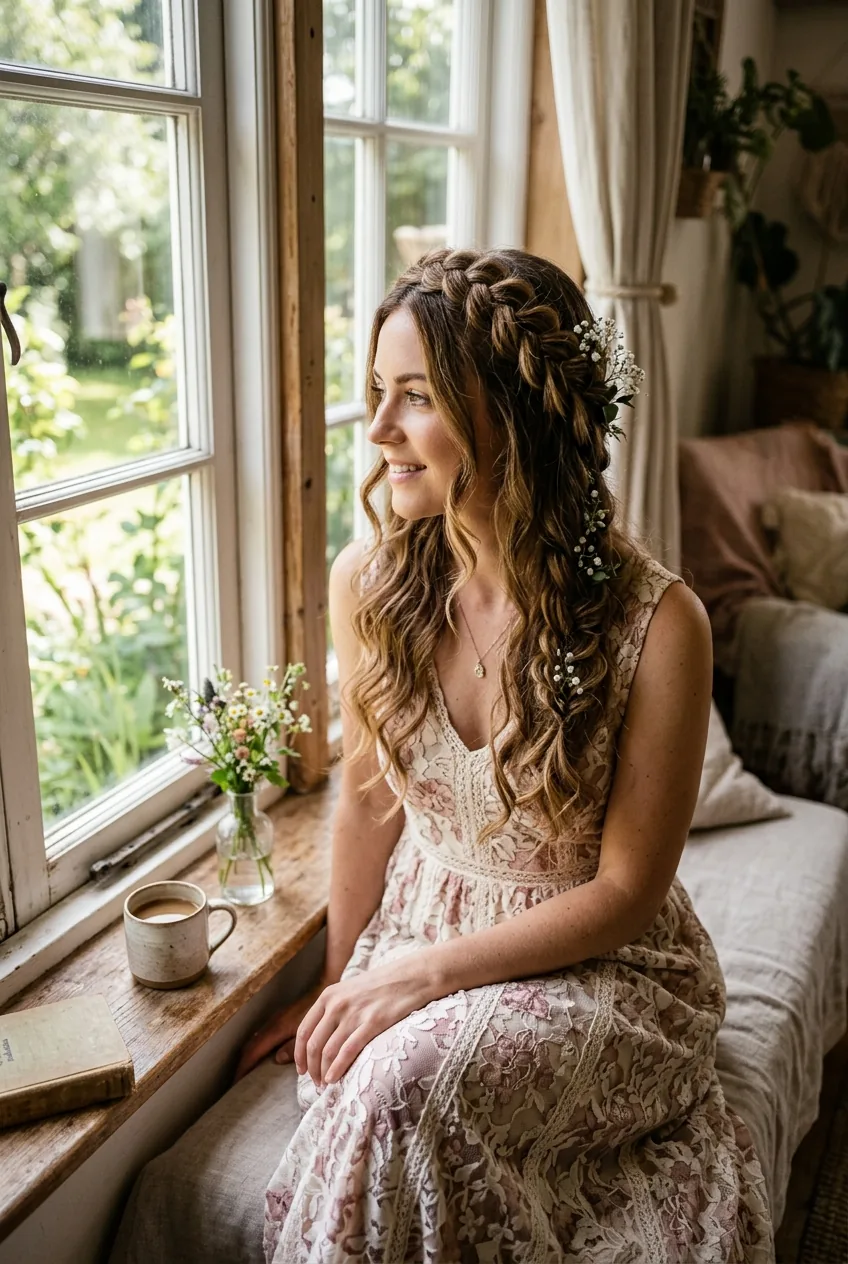
This is the look that surprised me most. I thought it would be too complicated, but it’s actually easier than a regular braid once you get the hang of it. And it photographs incredibly well from every angle.
Start by curling the bottom half of your hair loosely. Then create a deep side part and begin a Dutch braid from the heavy side of your part. Instead of braiding straight back, curve it around your hairline like a headband. When you reach your ear, secure it with a clear elastic.
Here’s the trick: gently tug at the braid to make it fuller and more textured. It should look like you didn’t try too hard, even though you totally did. Let the rest of your hair fall in loose curls. The contrast between the structured braid and flowing curls is what makes this look so stunning.
I wore this to an outdoor wedding last summer, and it held up through dancing, humidity, and multiple photo sessions. That’s the real test of any wedding guest hairstyle.
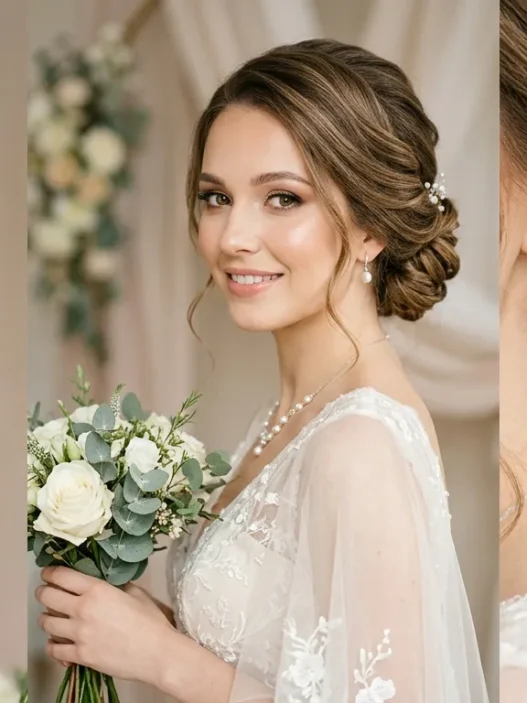
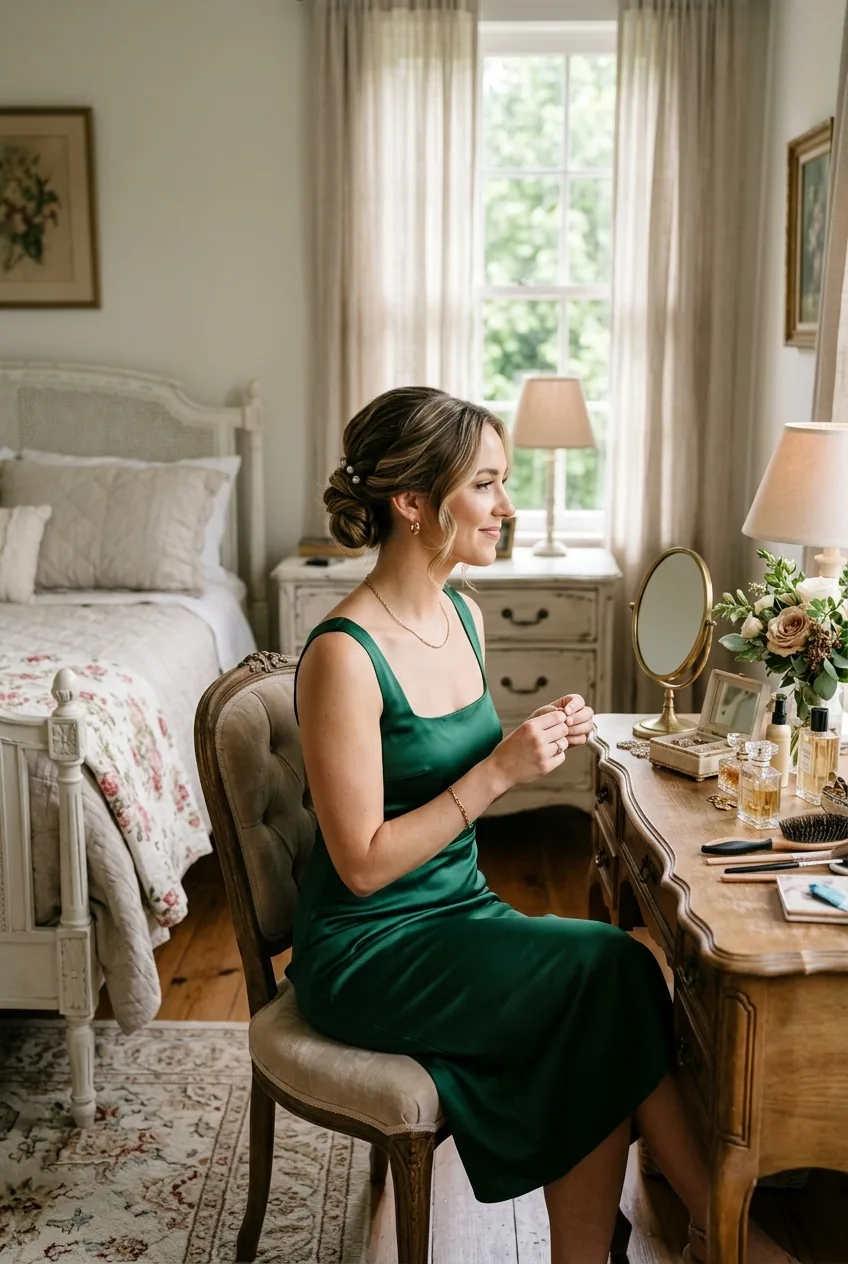
Classic Chignon with a Modern Twist
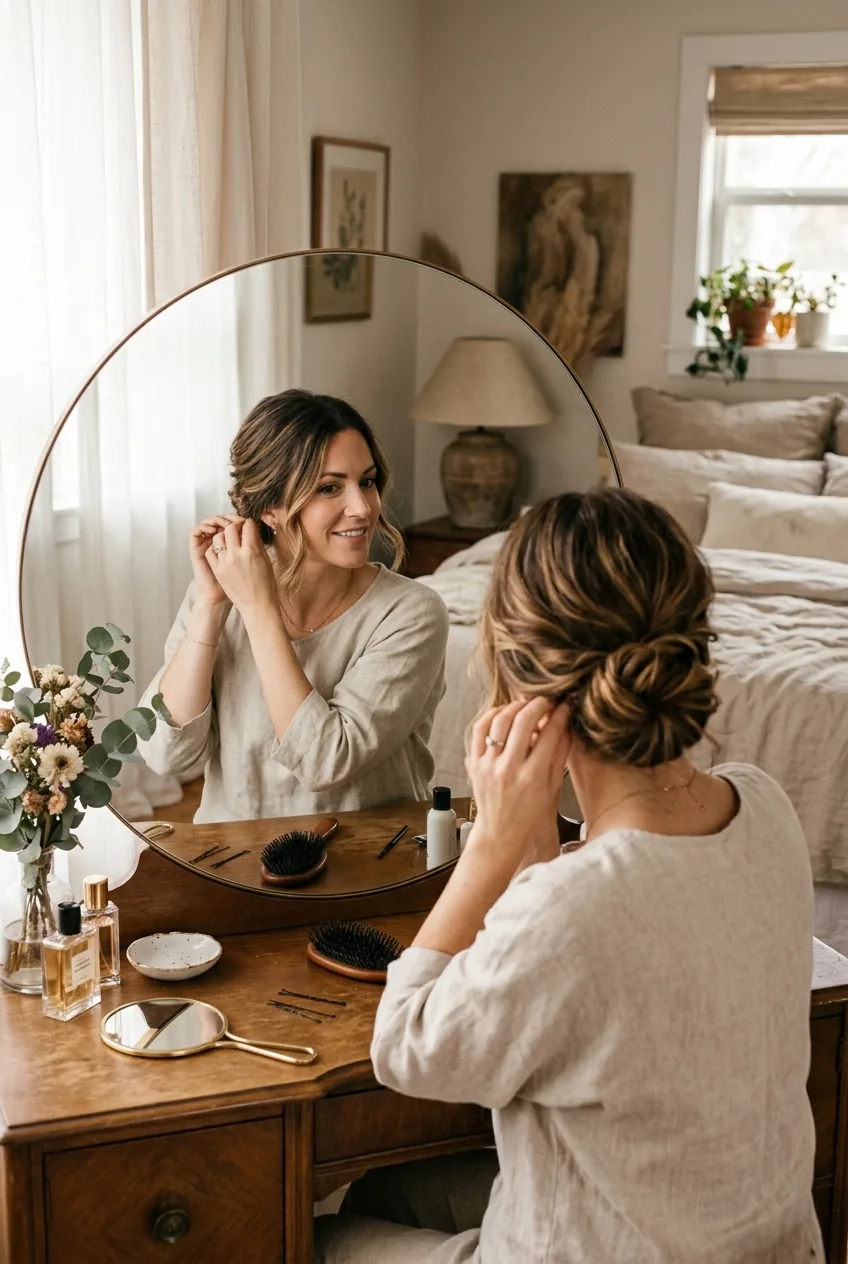
The traditional chignon is beautiful but can look stuffy. My version adds texture and movement while keeping the elegance intact. It’s perfect for formal weddings where you want to look polished but not uptight.
Create a low ponytail, but before securing it, twist the hair loosely. This adds natural texture. Then loosely twist the ponytail and wrap it around the base, but don’t make it too tight or perfect. Leave the ends slightly visible and pin them in place with bobby pins.
The modern twist? Pull out a few strategically placed pieces around your face and gently curl them with your fingers. This softens the whole look and prevents it from appearing too severe. I also like to leave some texture at the crown instead of smoothing everything down completely.
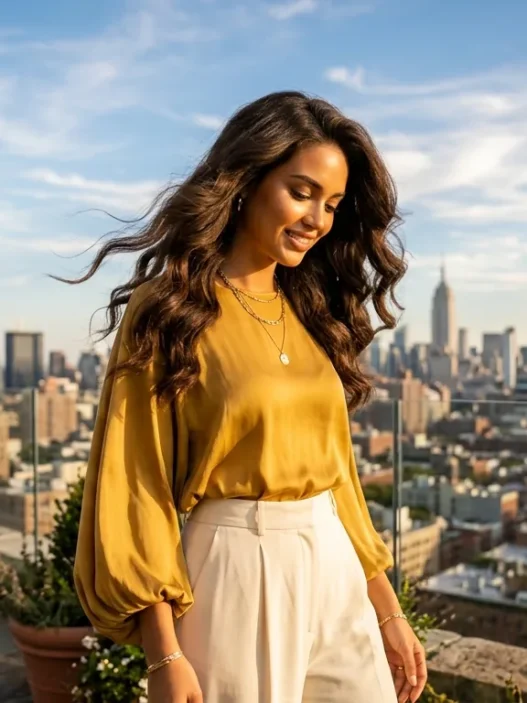
Half-Up Boho Braids
This is my answer to the question “What if I want something romantic but not too formal?” It works for garden parties, beach weddings, or any celebration where the vibe is relaxed but still special.
Start by creating loose waves throughout your hair using braiding overnight techniques. Then take small sections from each temple and create loose braids — not tight, Pinterest-perfect braids, but relaxed, slightly messy ones.
Connect the braids at the back of your head with a small clear elastic or decorative hair accessory. The key is to pull gently at the braids after securing them to make them look fuller and more textured.
The most beautiful hairstyles happen when you stop trying to make them perfect and start embracing the imperfections.
This look works especially well with elegant updos for special occasions if you want to add your own twist to traditional styles.
Questions I Get About DIY Wedding Hair
How far in advance should I practice these styles?
At least two weeks before the wedding. I practiced each style three times before I felt confident enough to wear it out. Your first attempt will take twice as long as you expect, so give yourself time to get comfortable with the technique.
What if my hair won’t hold the style?
Day-old hair works better than freshly washed hair for most of these styles. If your hair is too clean and slippery, try texturizing spray or dry shampoo at the roots. Fine hair actually holds these styles better than thick hair once you get the technique down.
Can I do these styles on short hair?
The side-swept waves and half-up boho braids work great on shoulder-length hair and longer. For shorter hair, focus on the waves or try a modified version of the twisted bun using bobby pins to secure shorter pieces.
What products do I absolutely need?
Good bobby pins that match your hair color, clear hair elastics, and a texturizing spray. That’s honestly it. I used to think I needed a dozen different products, but these three basics will handle any of these styles.
The truth is, DIY wedding guest hairstyles aren’t about perfection — they’re about confidence. When you feel comfortable doing your own hair, it shows. And honestly? Half the time, people assume I went to a salon anyway. Sometimes the best compliment is when someone asks where you got your hair done, and you get to say you did it yourself.