


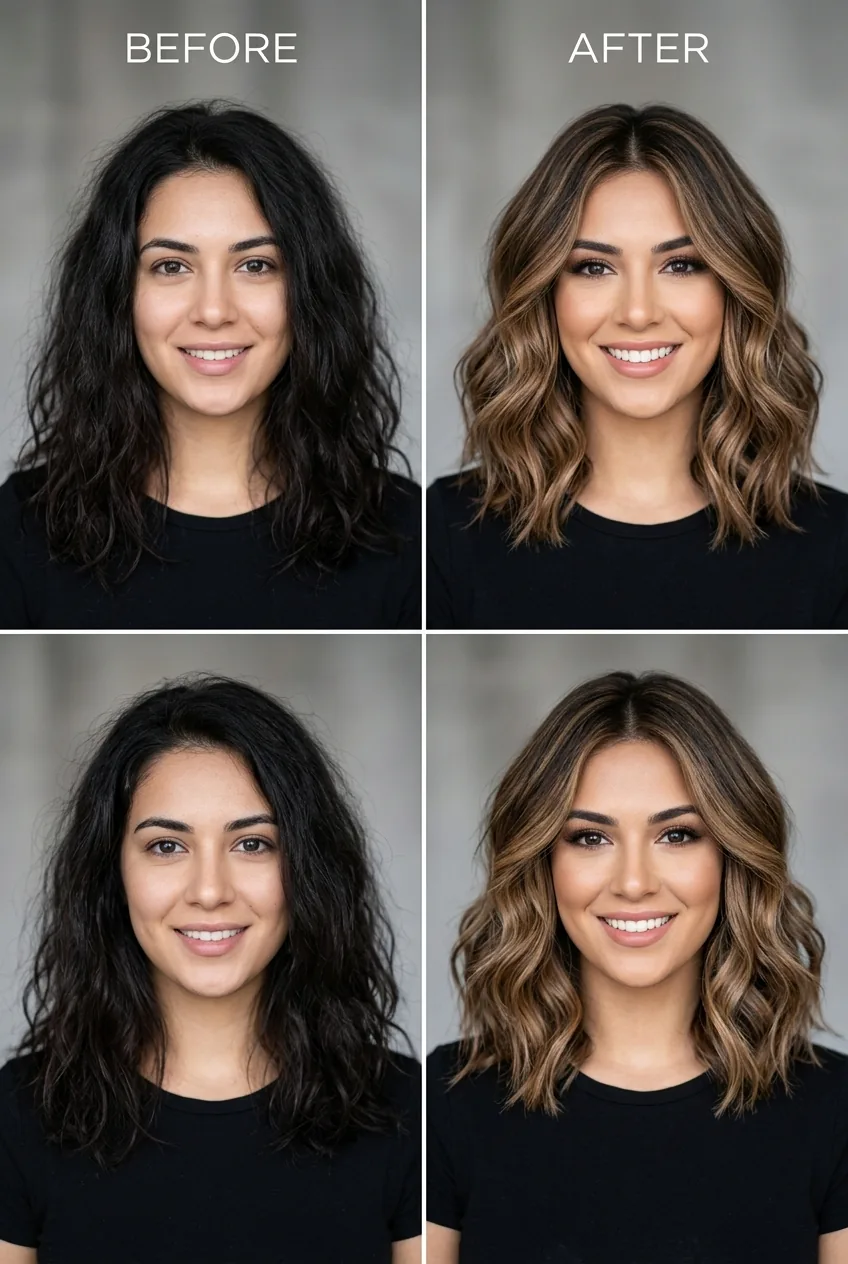
I spent three years watching YouTube tutorials and trying to DIY my lob balayage before finally figuring out what actually works. Every attempt looked streaky or fake until I realized I was making the same fundamental mistake — rushing the sectioning. Now I get compliments from actual hairstylists.
Your Complete Lob Balayage Roadmap
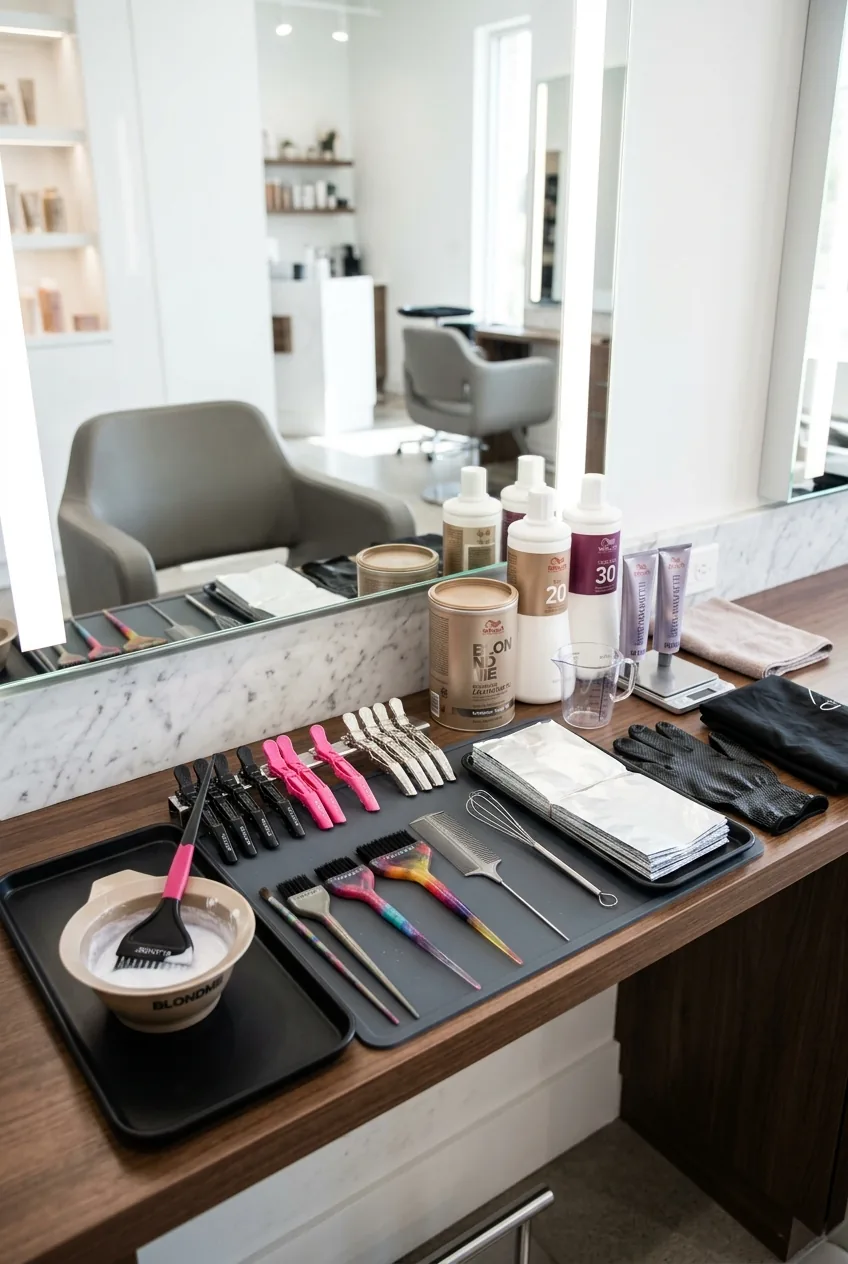
What You’ll Need
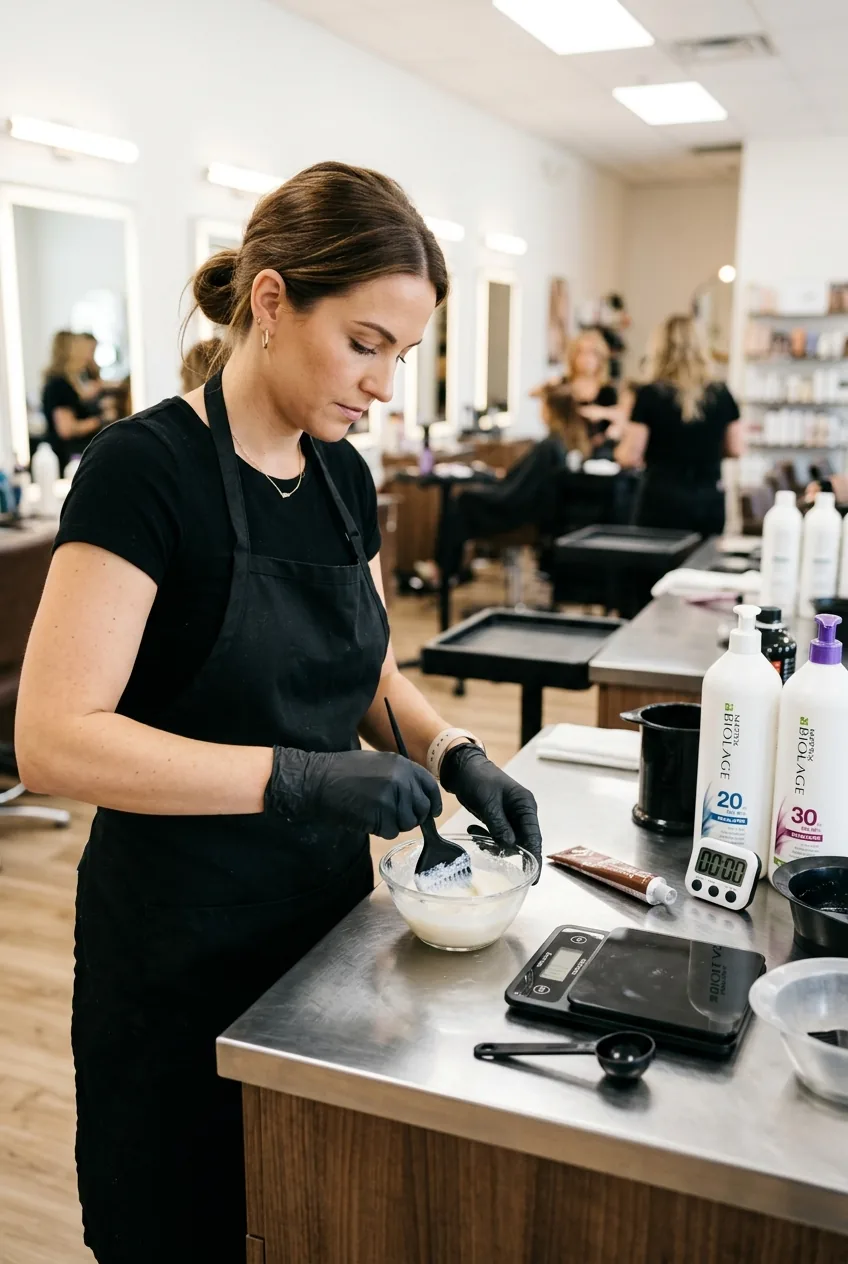
Here’s what I keep in my balayage toolkit — and trust me, quality matters more than quantity. I learned this the hard way after my first attempt with drugstore bleach left my hair feeling like straw.
- Professional lightener (20 or 30 volume developer depending on your base)
- Balayage brush — the angled paddle type, not a regular color brush
- Foil sheets or balayage boards
- Toner in your desired shade
- Deep conditioning treatment
- Sectioning clips (at least 6)
- Gloves and cape
- Wide-tooth comb
The balayage brush is non-negotiable. I tried using a regular tint brush once and the color looked painted on instead of naturally blended. Professional brushes make all the difference in achieving that seamless gradient.
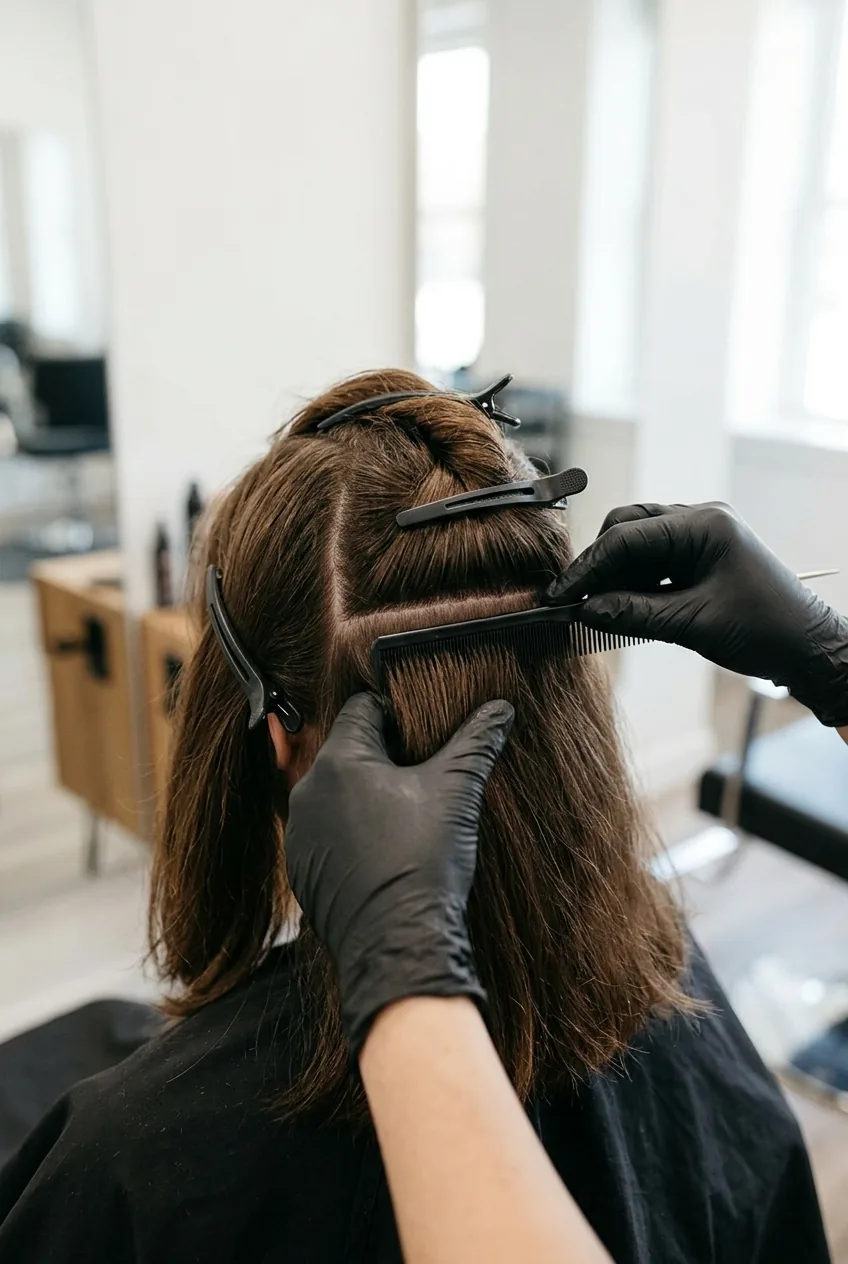
Section Your Hair Like a Pro
This is where most DIY attempts go wrong. I used to just grab random pieces and wonder why my balayage looked choppy. The secret is creating a methodical map before you even open the bleach.
Start with damp (not soaking) hair. Part it down the middle, then create a horizontal section from ear to ear across the back of your head. You’ll have three main zones: two side sections and one back section. Within each zone, you’ll work in smaller subsections about an inch wide.
The key is alternating your sections — don’t do every piece next to each other. Skip sections randomly to create that natural, sun-kissed look. I like to mark my chosen sections with clips before I start mixing color.
The Foundation Color
Your lob’s base color is crucial for balayage success. If you’re starting with virgin hair, this step is about understanding your natural undertones. Warm bases need cooler toners later, and cool bases can handle warmer highlights.
I always do a strand test first — always. Mix a small amount of your lightener and test it on a hidden section underneath. This tells you exactly how your hair will lift and helps you time everything perfectly.
My biggest mistake was skipping the strand test because I was eager to see results. I ended up with orange patches that took three salon visits to fix. Now I test every single time, even on hair I’ve colored before.
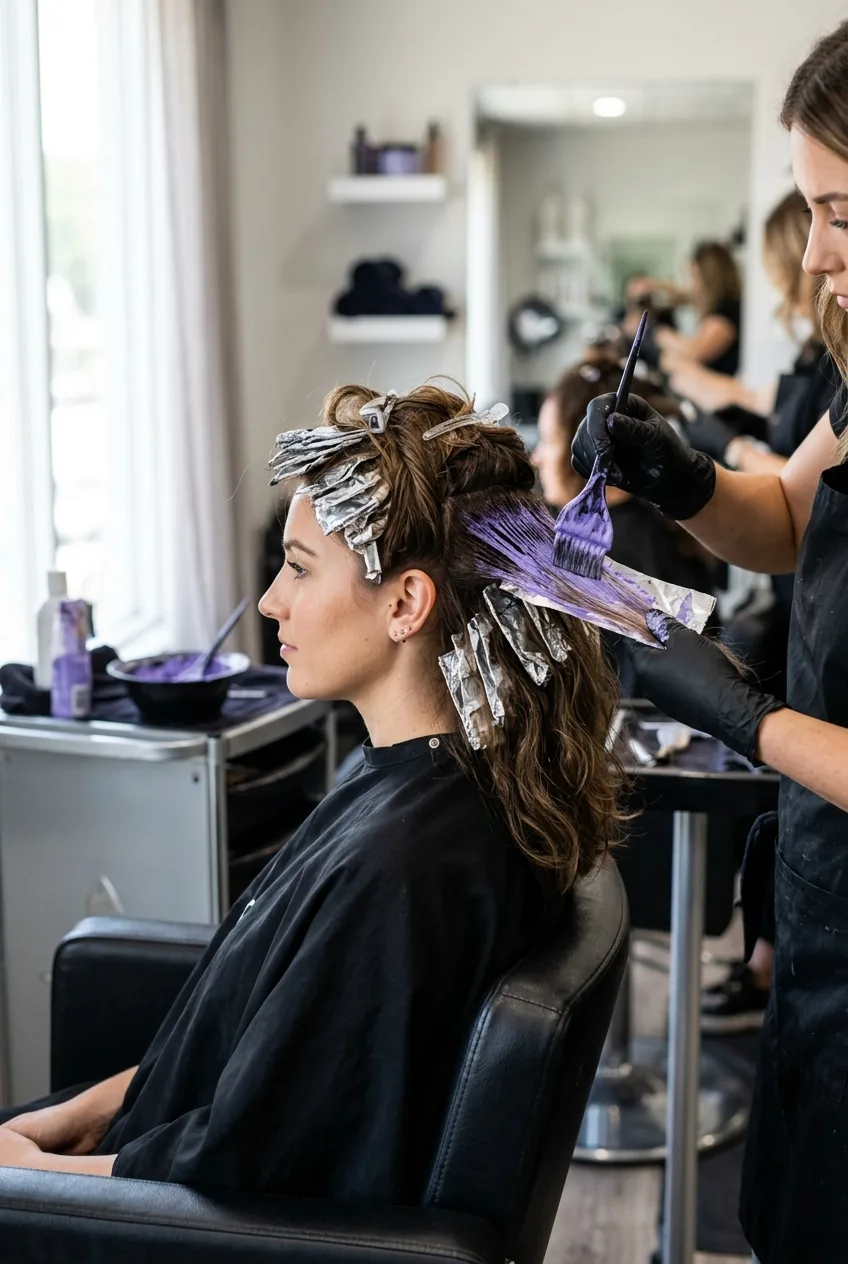
Strategic Placement
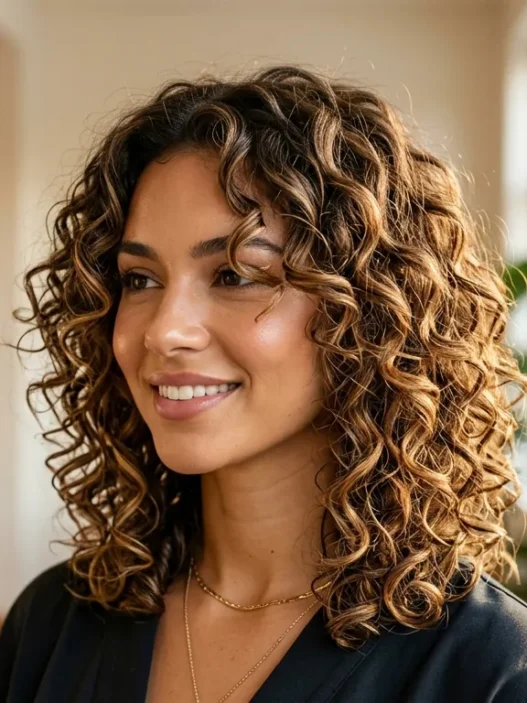
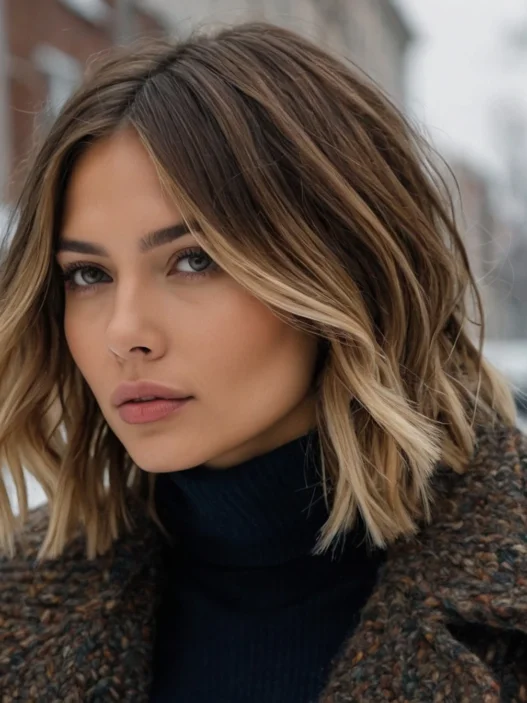
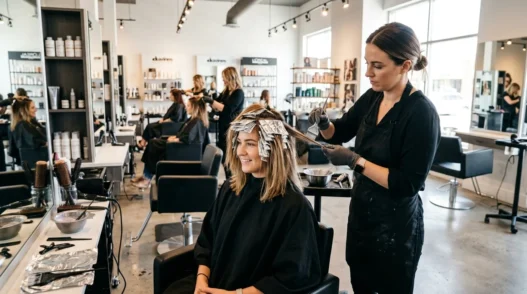
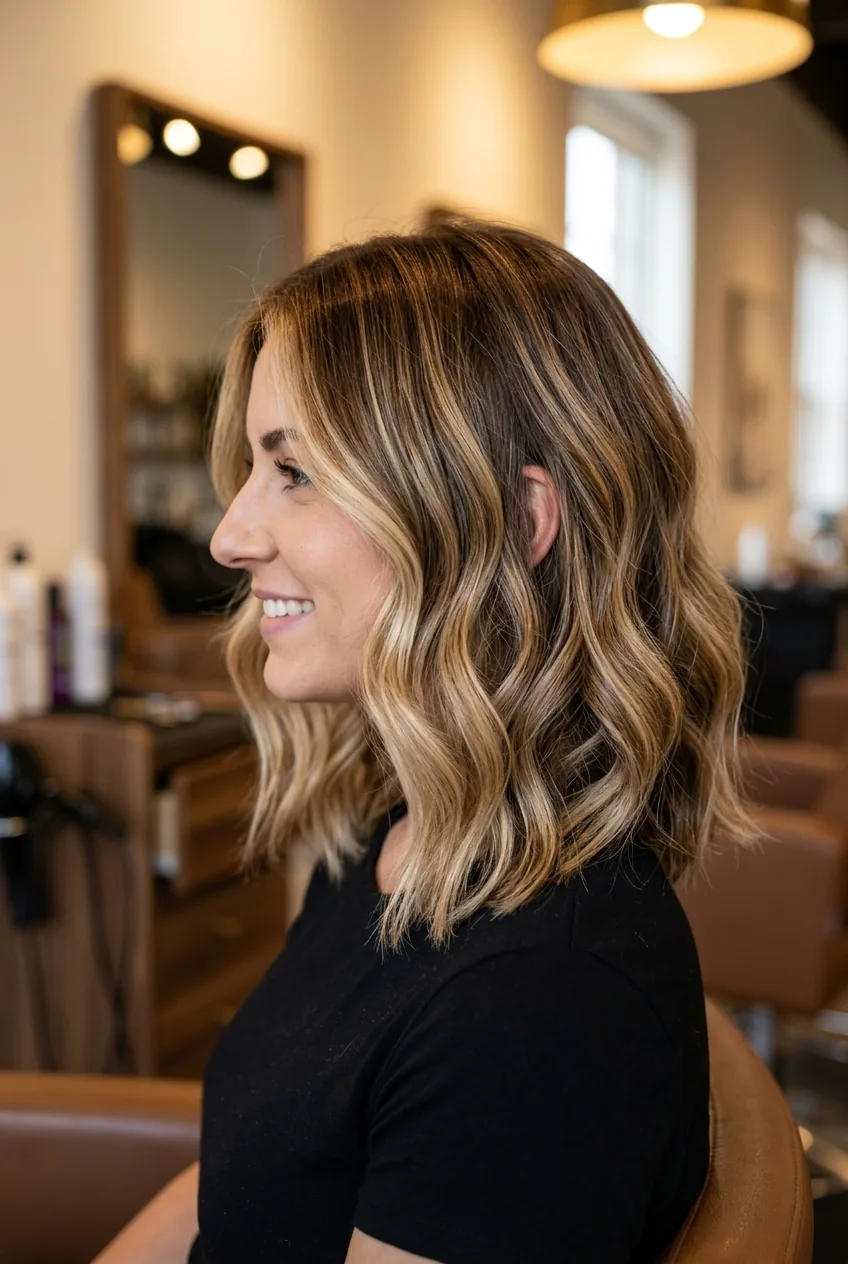
Here’s where the magic happens. For lob styles balayage, you want the lightest pieces framing your face and concentrated through the ends. Think about where sunlight would naturally hit your hair.
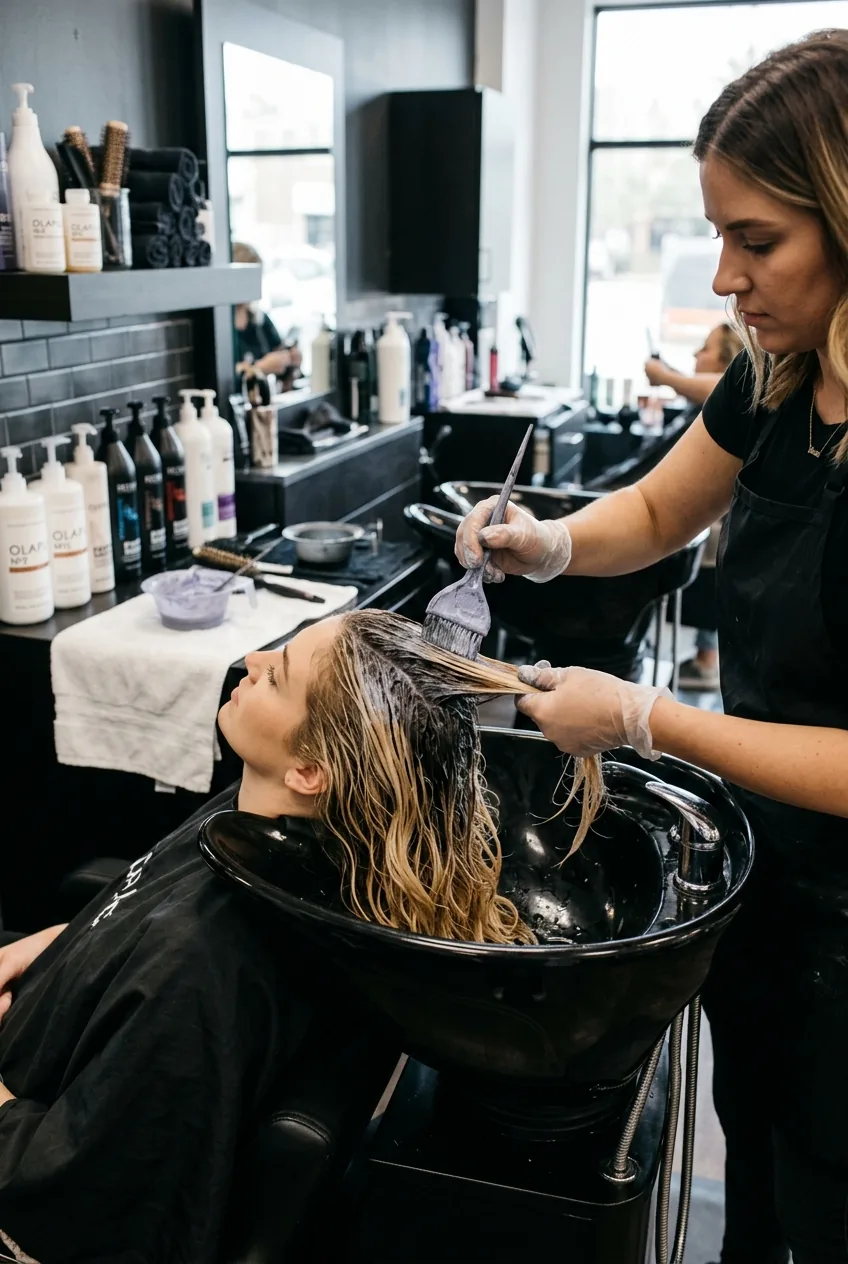
Start from the back and work forward. Take your first section and place your brush about two inches from the roots — never start at the scalp. Paint downward in smooth, confident strokes. The pressure should be medium — not so light that the color doesn’t saturate, but not so heavy that you get harsh lines.
Focus heavier saturation on the ends and lighter application toward the roots. This creates that gradual transition that makes balayage look expensive. I place foil behind each painted section to prevent color bleeding onto unpainted hair.
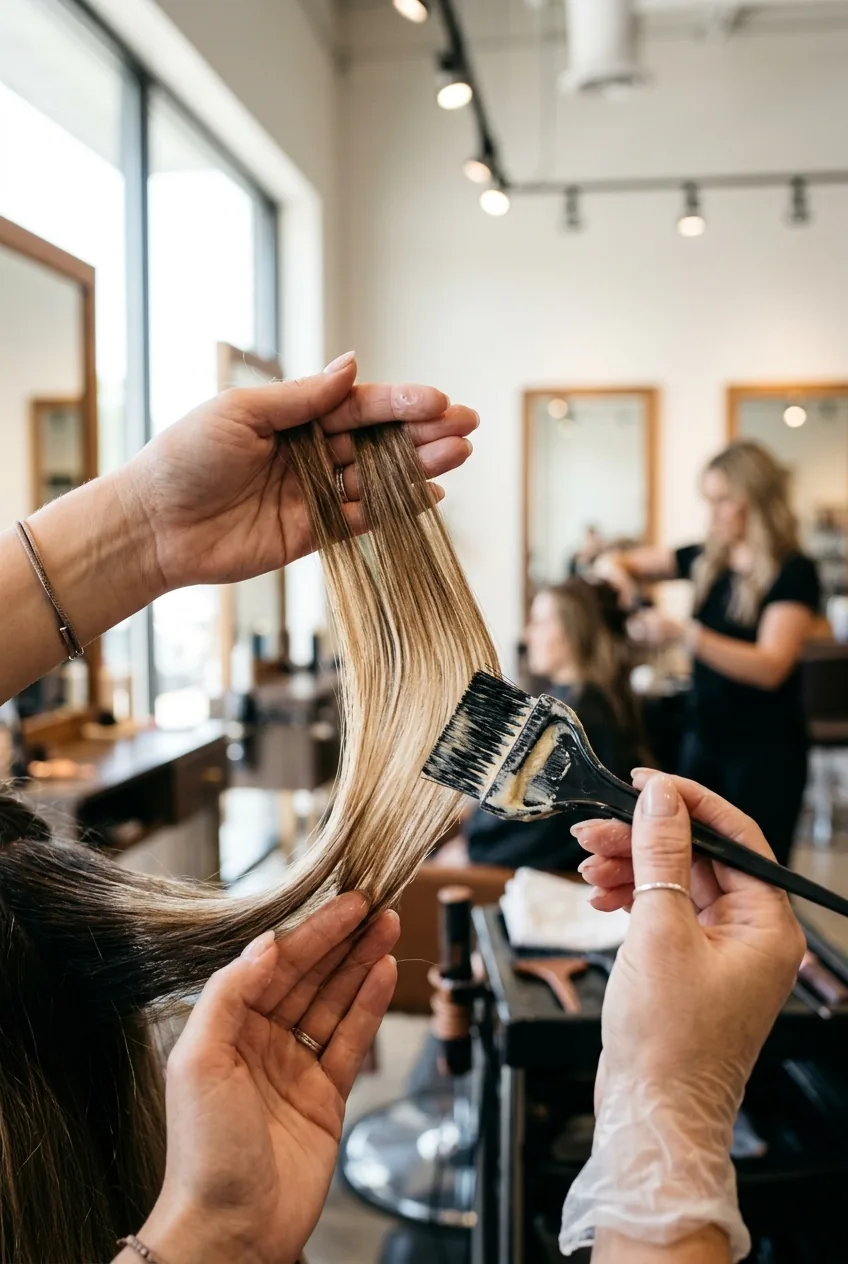
Blending Magic
This step separates amateur attempts from professional-looking results. After applying your lightener, use the clean side of your brush to gently feather the edges where the color meets your natural hair.
Work quickly but deliberately. The blending needs to happen while the lightener is still wet. I use tiny circular motions at the transition points — just enough to soften harsh lines without removing the color completely.
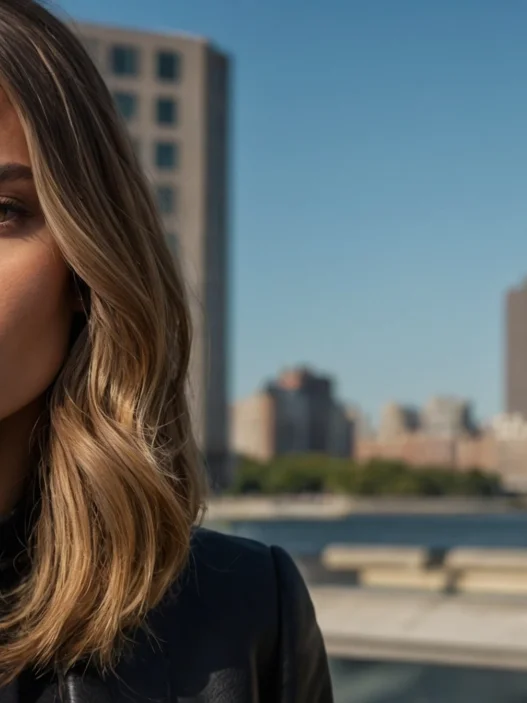
For lob hairstyles, pay extra attention to the pieces around your collarbone. These are the most visible sections and need the smoothest gradient. Don’t forget to check your work in a hand mirror to catch any spots you might have missed.
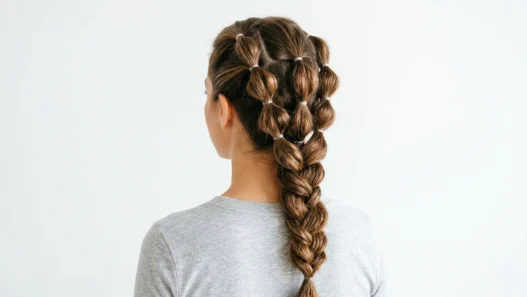
See the Blending Technique in Action
Toning to Perfection
Toning is what transforms brassy highlights into Instagram-worthy balayage. After your hair has lifted to the desired level, rinse thoroughly and apply your toner to damp hair.
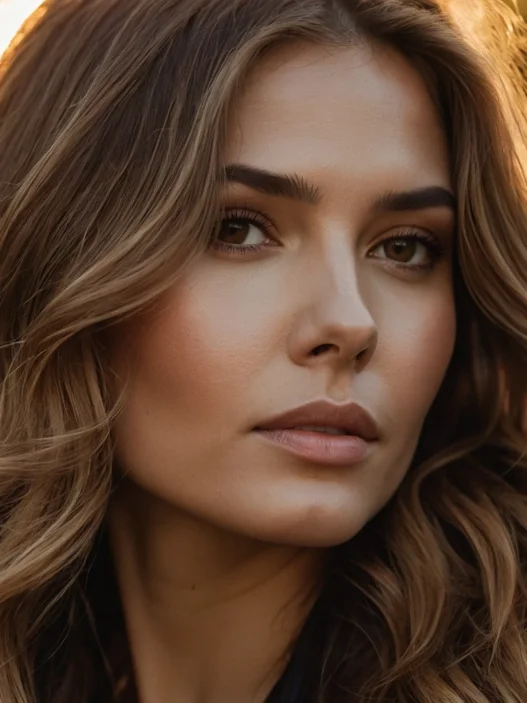
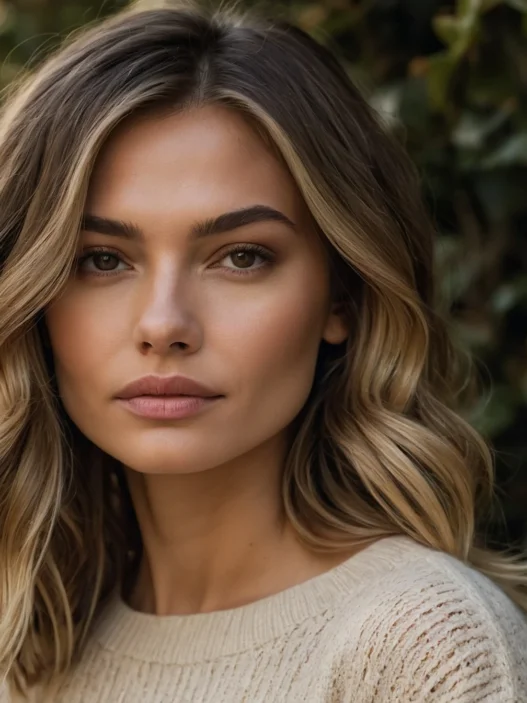
I prefer ash or pearl tones for most lob balayage because they complement the sophisticated length. Apply the toner evenly through all lightened sections — don’t just focus on the blonde parts. The goal is creating seamless color flow from your roots to your ends.
Watch your hair closely during toning. It can shift quickly from brassy to perfect to over-toned gray. I usually check every five minutes and rinse as soon as I achieve the desired shade.
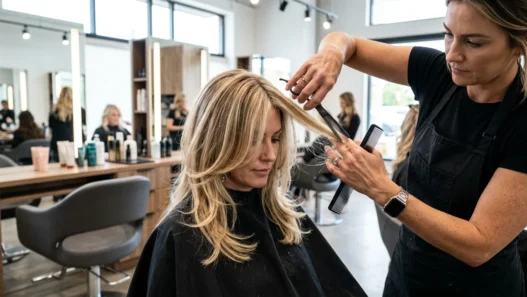
The Final Style
The way you style your freshly balayaged lob makes or breaks the final look. I always air dry first to see the true color results, then add styling for dimension.
For daily styling, I use a texturizing spray and scrunch while damp. This enhances the natural movement that makes balayage pop. When I want more polished looks, loose waves with a large barrel curling iron show off the color depth beautifully.
The beauty of proper balayage care is that it grows out gracefully. Your roots can go 12-16 weeks before needing a touch-up, making it perfect for busy lifestyles.
Questions I Always Get About This
Can I do balayage on previously colored hair?
Yes, but you need to be more careful about timing and developer strength. Previously colored hair often lifts unevenly, so I always recommend doing a strand test and possibly using a lower volume developer.
How long should I leave the lightener on?
It depends on your starting color and desired result, but typically 20-45 minutes. I check every 10 minutes after the 20-minute mark. Your hair should lift 2-3 levels for the best toning results.
What if I mess up the sectioning?
Don’t panic. You can always add more pieces in your next session. It’s better to be conservative with your first attempt than to over-highlight and end up with damage.
How often do I need to touch up lob balayage?
Every 3-4 months for most people. The beauty of balayage is the low maintenance — you’re refreshing the ends and adding new face-framing pieces rather than doing full root touch-ups.
After perfecting this technique, my lob balayage looks like I spent $300 at a high-end salon. The key really is taking your time with the sectioning and blending — those steps make all the difference between amateur and professional results. Now I actually look forward to my color refresh days instead of dreading them.