


I spent years thinking my thin curly hair was some kind of cruel joke. Too fine for the traditional curly girl method, too curly for straight hair advice. Every tutorial left me with either limp, weighed-down spirals or a frizzy triangle of disappointment. Then I realized I needed to stop treating my hair like it was thick and start working with what I actually had.
Understanding Your Hair Type
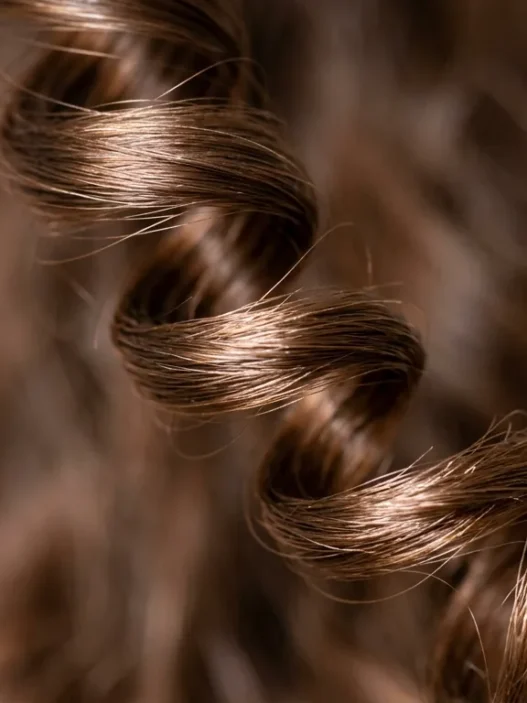
Here’s what I wish someone had told me earlier: thin curly hair behaves completely differently than thick curls. We’re dealing with less hair overall, which means every strand matters more. Each curl needs to pull its weight, literally.
The curl pattern might look similar to someone with thick hair, but the physics are totally different. We can’t pile on heavy creams and expect our hair to hold its shape. Instead, we need strategic layering and techniques that work with less density, not against it.
I learned this the hard way after years of following advice meant for thick, coarse curls. My hair would either fall flat within hours or look stringy and separated. Sound familiar?
What You’ll Need
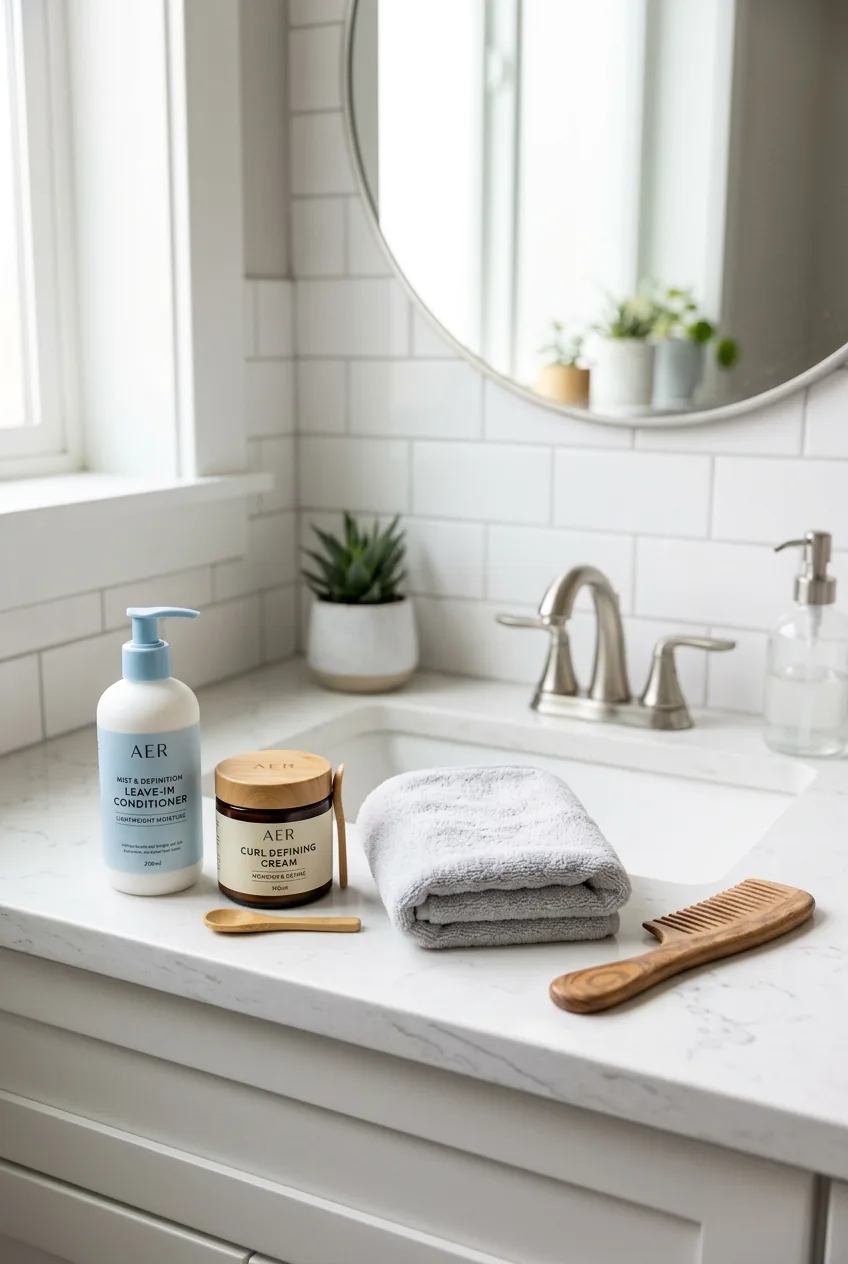
I keep my product arsenal pretty minimal these days. Too many products just weigh down thin hair.
- A lightweight leave-in conditioner (I swear by ones with protein)
- Curl cream or gel — pick ONE, not both
- Microfiber towel or cotton t-shirt
- Wide-tooth comb
- Diffuser attachment
- Hair clips for sectioning
- Light-hold hairspray
The key word here is “lightweight.” If the product feels heavy in your hands, it’ll feel heavy on your hair. I learned to read ingredient lists and avoid anything with heavy oils or butters in the first few ingredients.
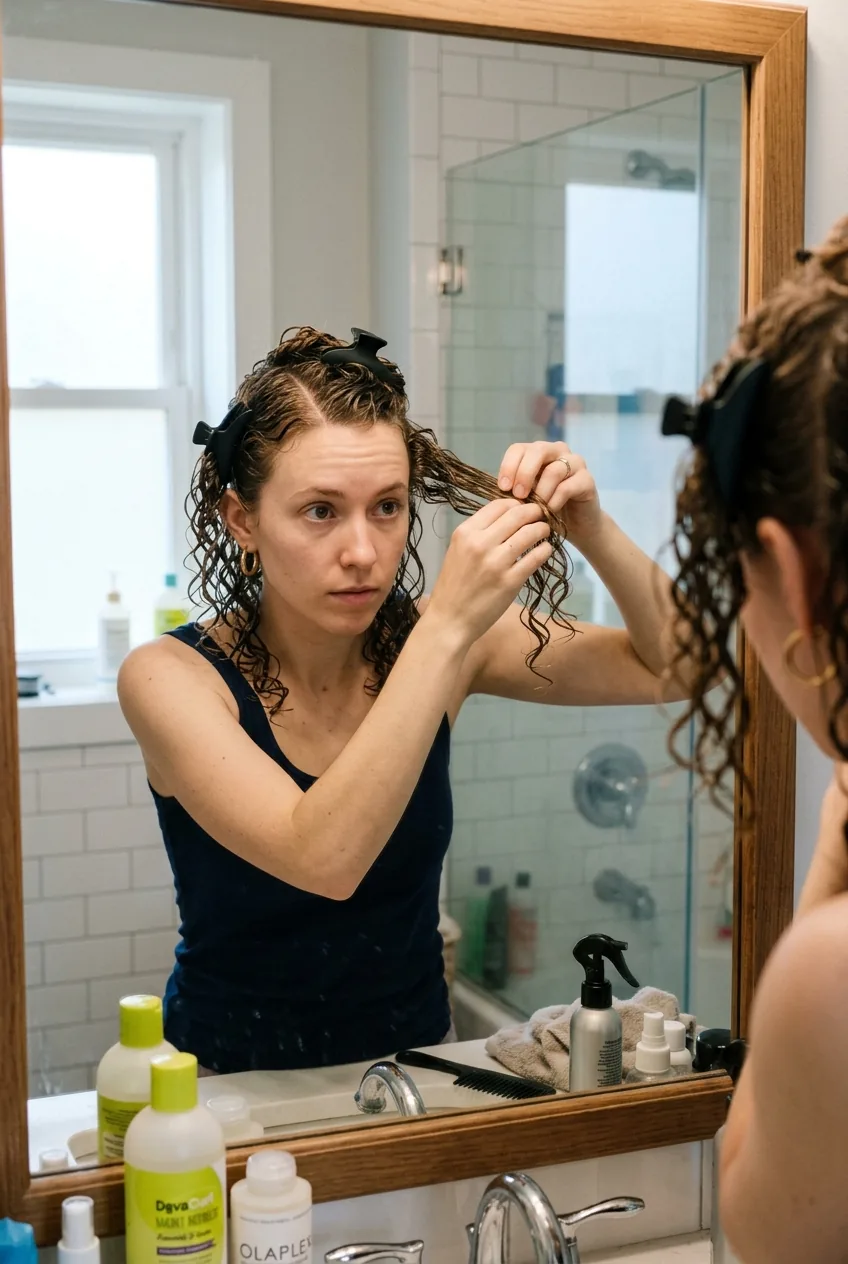
Step 1: Start With Wet Sectioning
This step changed everything for me. I used to just scrunch products into my whole head of wet hair and hope for the best. Big mistake.
Instead, I section my hair into four parts while it’s soaking wet. Top left, top right, bottom left, bottom right. Nothing fancy — just clip each section up and work with one at a time.
Why does this matter? With thin hair, even distribution is crucial. When I work with smaller sections, I can ensure every single curl gets the same attention and product coverage. No more random flat spots or over-processed areas.
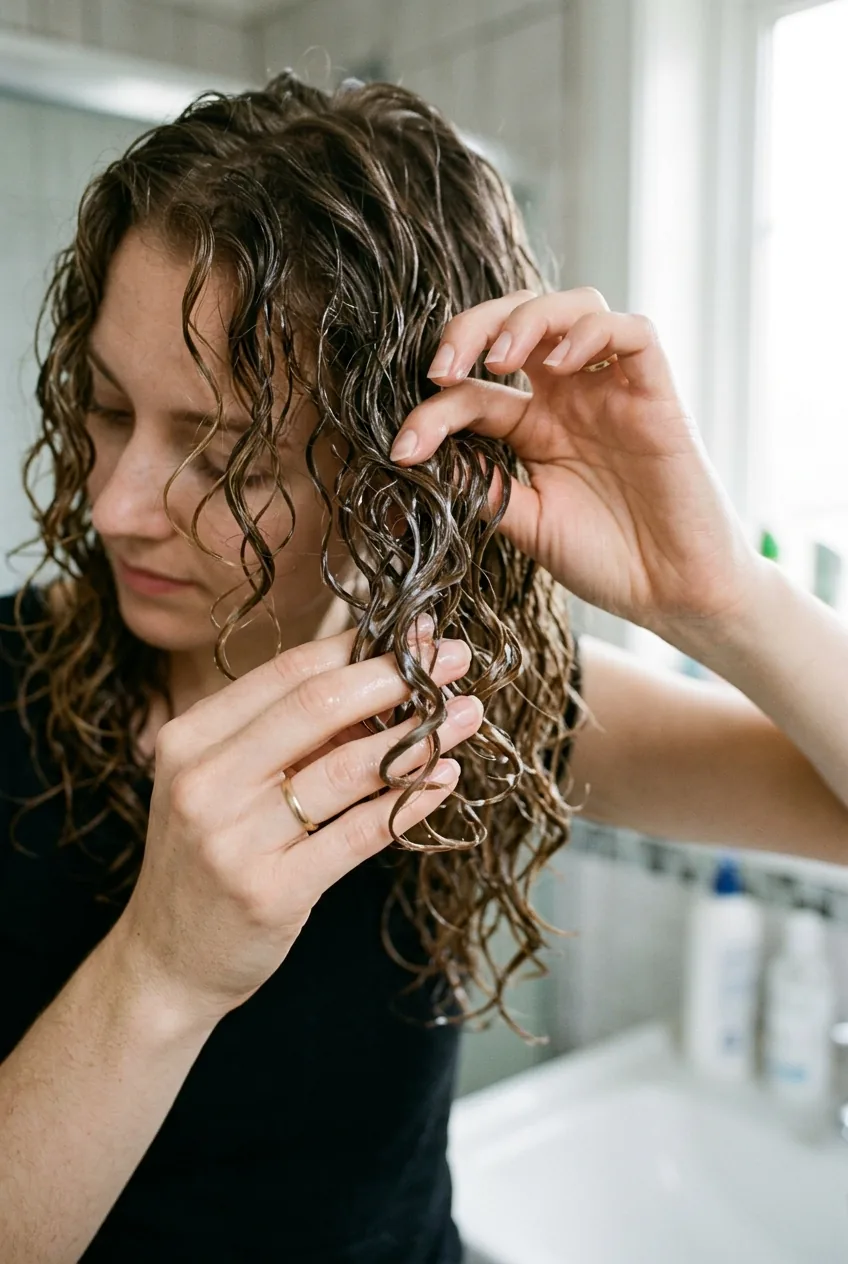
Step 2: Apply Products in Layers
Here’s where I see most people mess up with thin curly hair: they apply too much product all at once. I do three separate applications on each section.
First, I rake through a small amount of leave-in conditioner with my fingers. Then I scrunch in my curl cream or gel — and I mean scrunch, not rake. The difference in technique matters. Raking can break up curl clumps, while scrunching encourages them to form.
Finally, I do one more gentle scrunch with just water on my hands. This helps everything settle and blend together without adding more weight.
I used to think more product meant better curls. Wrong. I was creating a sticky, crunchy mess that would fall flat by lunch. Less is definitely more with thin hair.
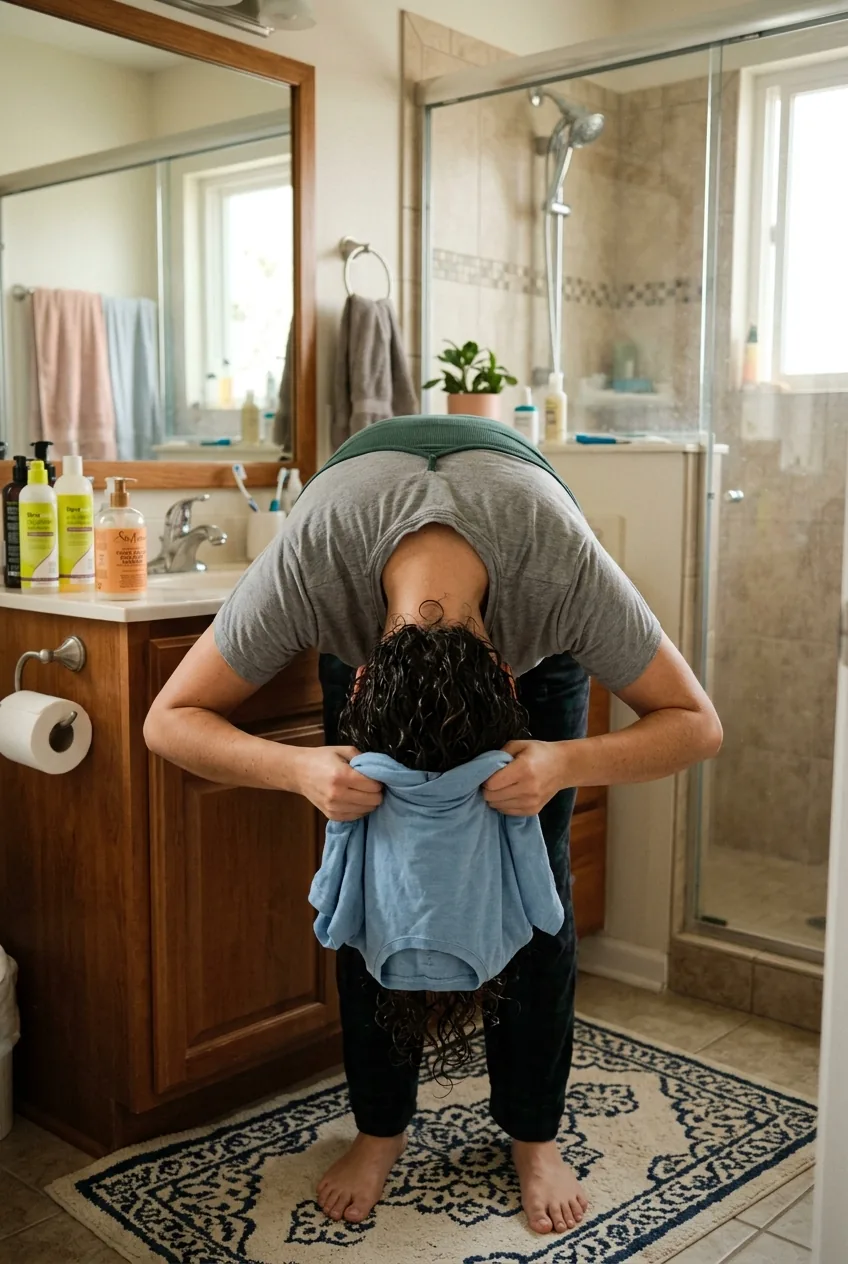
Step 3: Plop for Volume
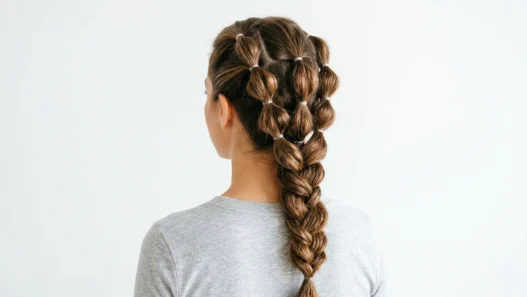
Traditional plopping advice usually focuses on curl formation, but I’ve adapted the technique specifically for volume. This is where having thin hair hairstyles in your styling repertoire really helps.
Instead of just wrapping my hair up in a t-shirt, I flip my head upside down and really encourage the roots to lift away from my scalp before wrapping. I hold this position for about 30 seconds before actually securing the fabric.
Then I leave it wrapped for 15-20 minutes max. Any longer and my curls start to dry in weird positions. Any shorter and they don’t have time to set with that lifted volume I created.
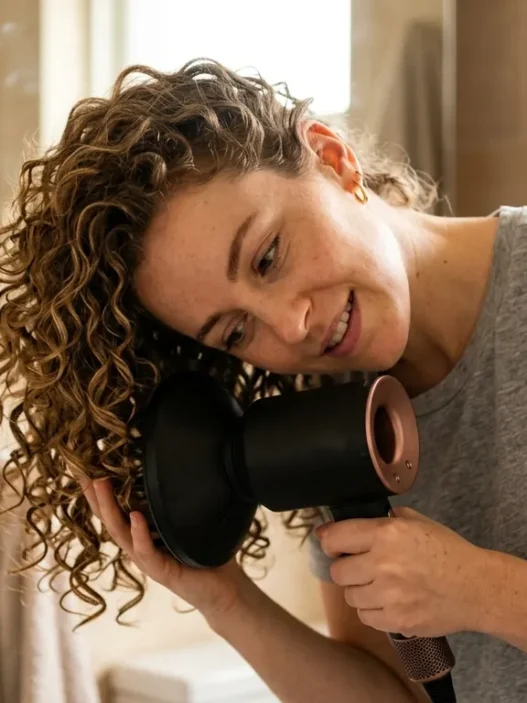
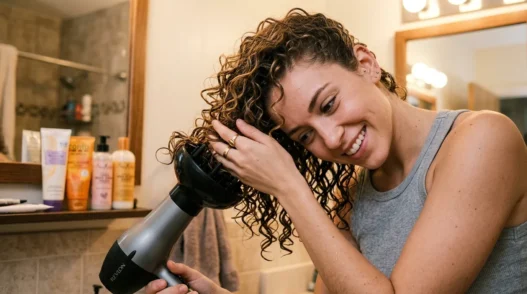
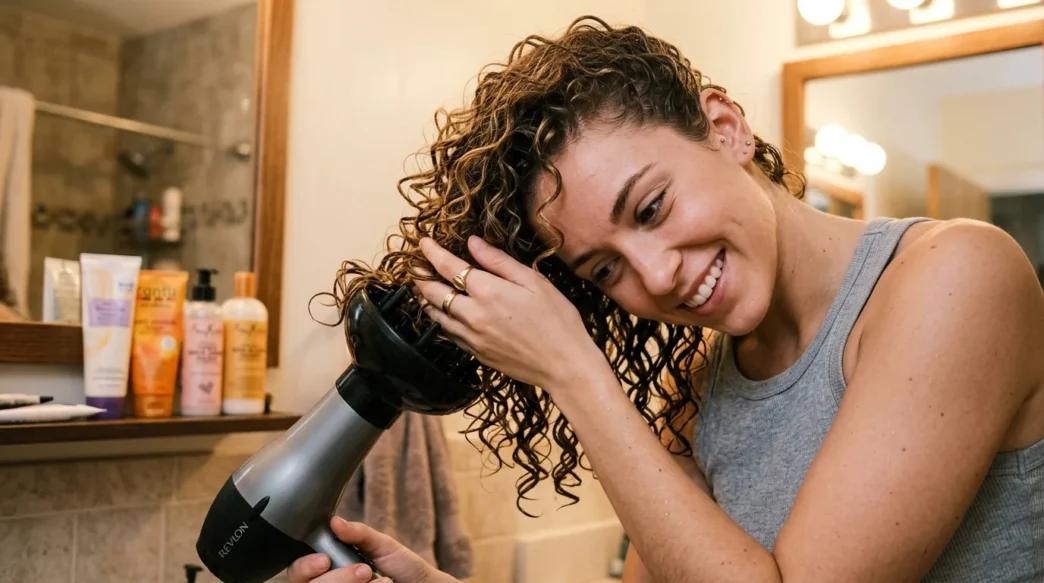
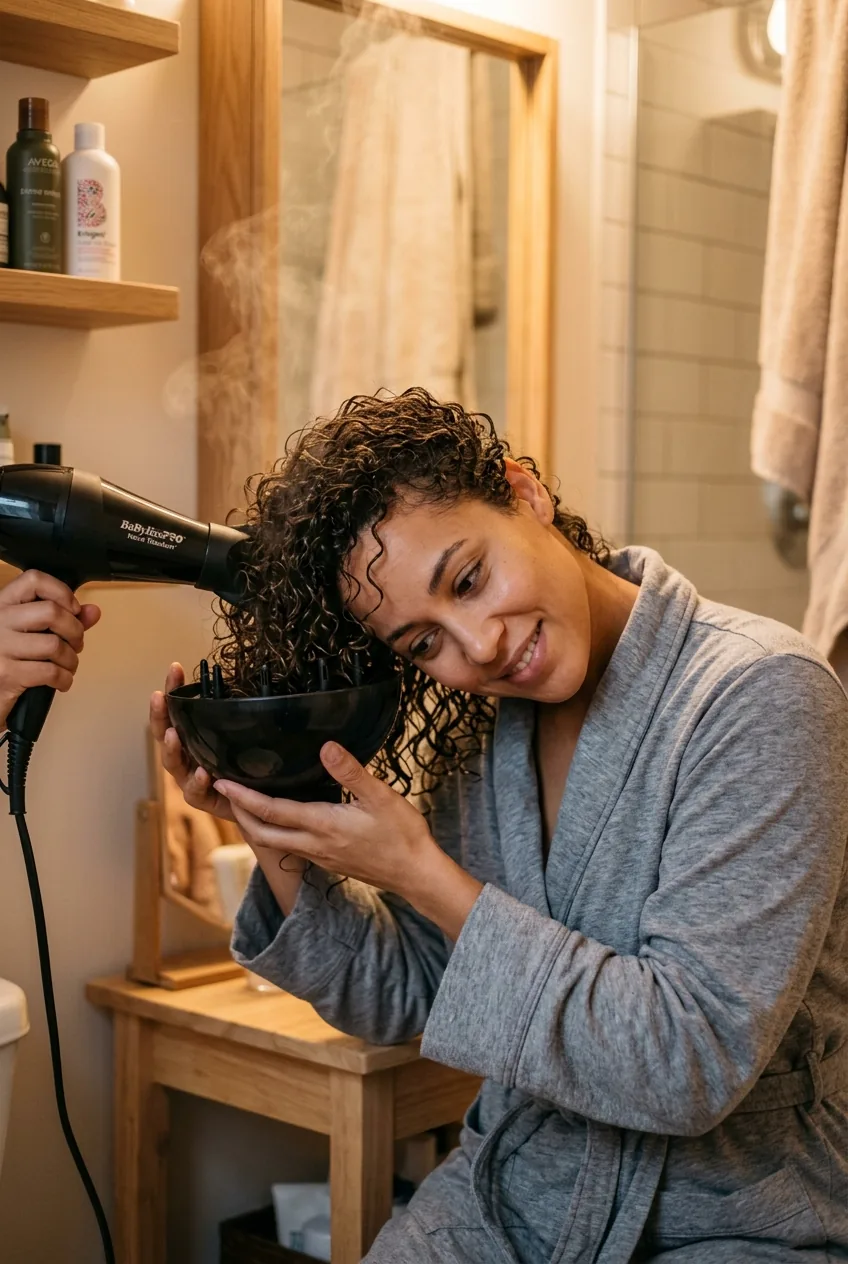
Step 4: Diffuse Strategically
This step was my breakthrough moment. I discovered that diffusing techniques specifically for thin hair need to focus on lift, not just drying.
I start by tilting my head to one side and placing the diffuser underneath a section of hair, then lifting up toward my scalp. The key is to hover the diffuser about an inch away from my roots — close enough to dry them, far enough to avoid frizz.
I work in this lifting motion around my entire head, spending extra time on areas that tend to fall flat. For me, that’s usually the crown and the hair around my ears. The goal is about 80% dry — I let the rest air dry to avoid overdoing it.
This Technique in Real Time
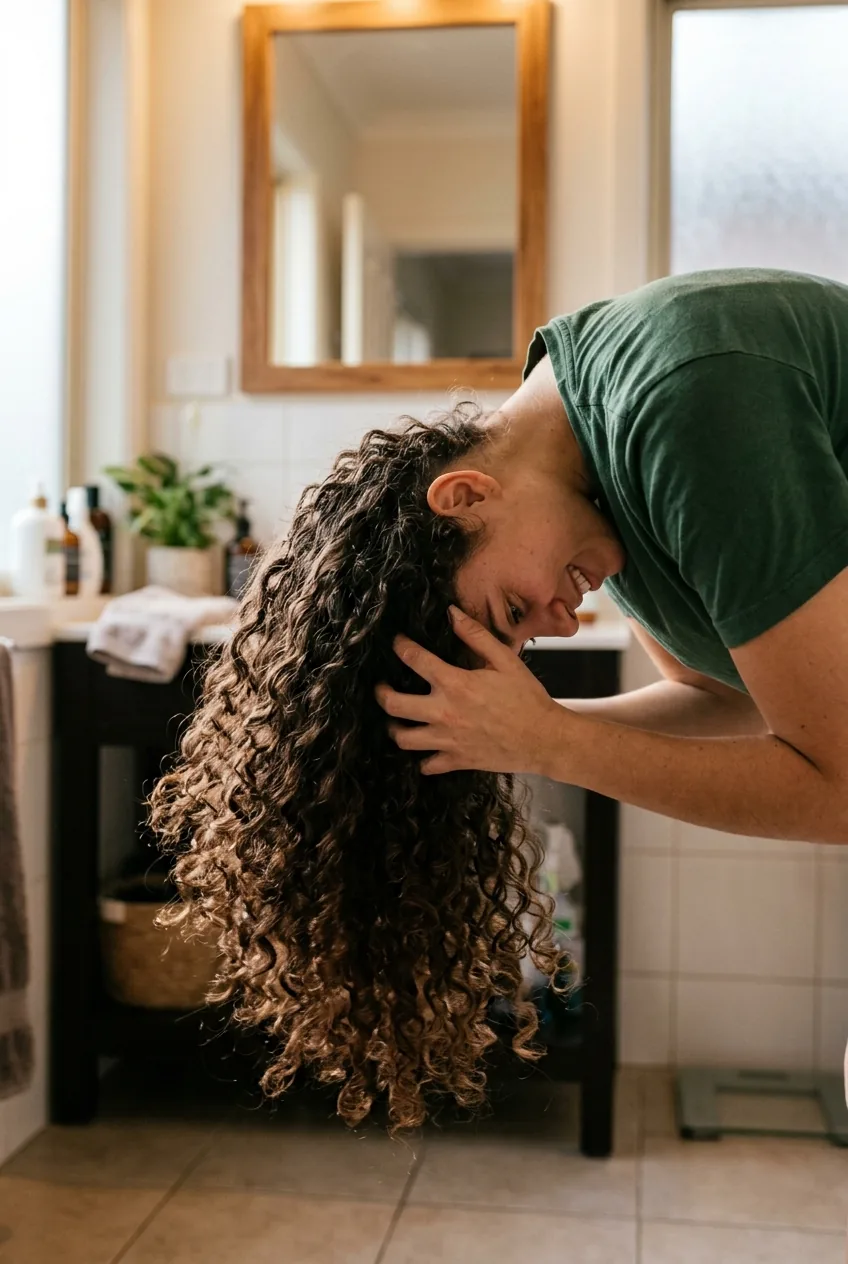
Step 5: Finish and Fluff

Once my hair is completely dry (and I mean completely — damp thin hair will fall flat immediately), I do what I call “strategic fluffing.”
I flip my head upside down and gently shake my roots with my fingertips. Not aggressive scrunching that breaks up curls, just gentle lifting to create air pockets and movement. Sometimes I’ll create some stylish updos for thin hair when I want more structure.
If I used gel, this is when I scrunch out any crunch that formed during drying. I work section by section, scrunching gently until the hair feels soft but still holds its shape.
Finally, a light mist of flexible-hold hairspray while my head is still upside down. This locks in the volume without adding weight.
Quick Answers About Thin Curly Hair
How often should I wash thin curly hair?
I wash mine every 2-3 days. Thin hair tends to get oily faster than thick hair, but overwashing strips the natural oils that help define curls. Find your sweet spot — it might be different from the standard curly girl advice.
Can I refresh thin curls on day two?
Yes, but it takes a lighter touch. I use a spray bottle with water and a tiny bit of leave-in conditioner. Scrunch gently and let air dry. Heavy refresh products will weigh down thin hair.
Should I avoid sulfates completely?
Not necessarily. I actually use a gentle sulfate shampoo once a week to remove buildup. Thin hair can get weighed down by product residue faster than thick hair, so periodic clarifying helps maintain volume.
What about protein treatments?
Game-changer for thin curls! I do a light protein treatment every 2-3 weeks. Protein treatments help strengthen individual strands and improve curl formation when you have less hair density to work with.
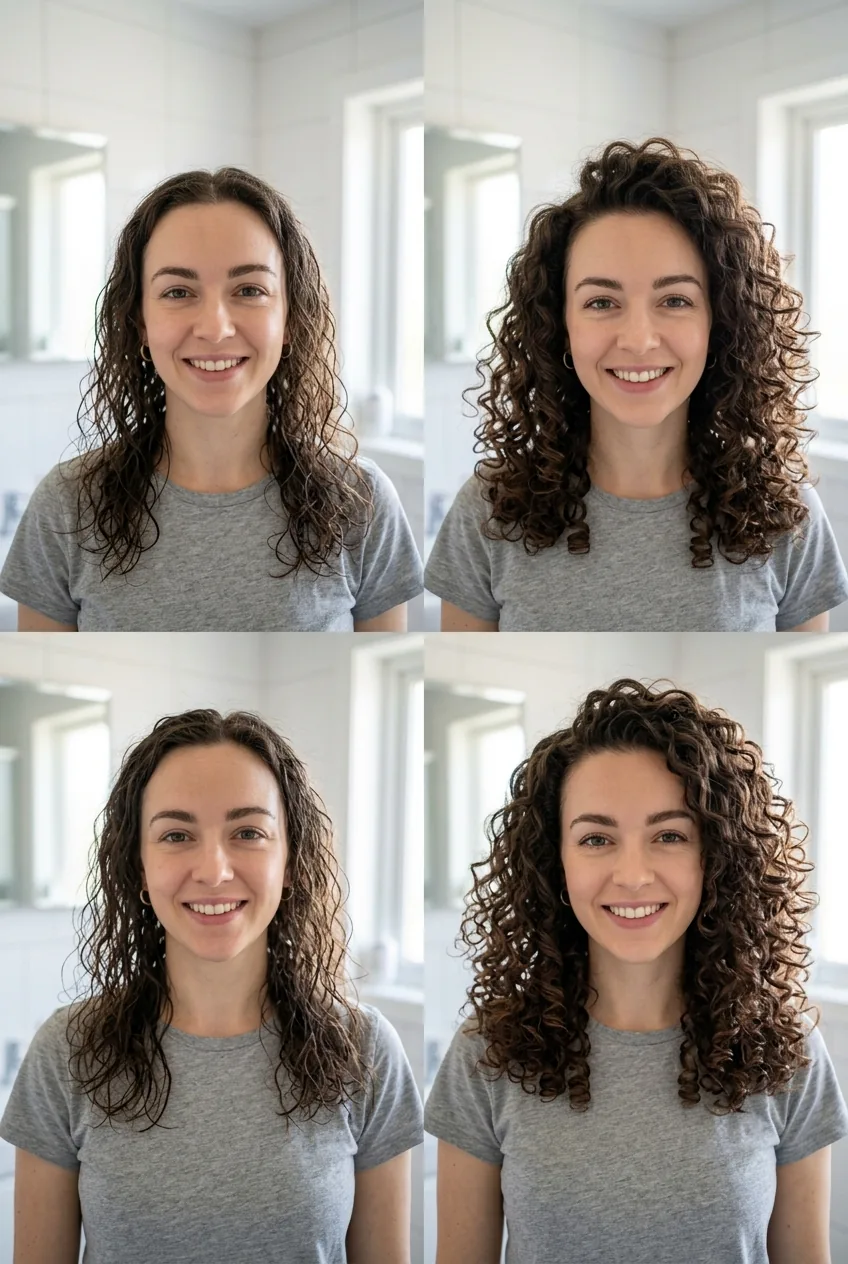
These five steps took my thin curly hair from limp and lifeless to bouncy and defined. The biggest difference? My curls actually last more than a few hours now, and I don’t spend my whole day checking mirrors to see how flat everything’s gotten. It’s not about fighting your hair type — it’s about working with what you’ve got.