


I’ll never forget the panic in my friend Emma’s eyes when half her elaborate prom updo collapsed during photos. She’d spent two hours following a Pinterest tutorial that looked “so easy” — but twenty minutes before leaving, bobby pins were scattered across her bathroom floor and tears were threatening her makeup. That was my first lesson in the reality gap between Instagram tutorials and actual DIY hair success.
What They Don’t Show You About Prep Time
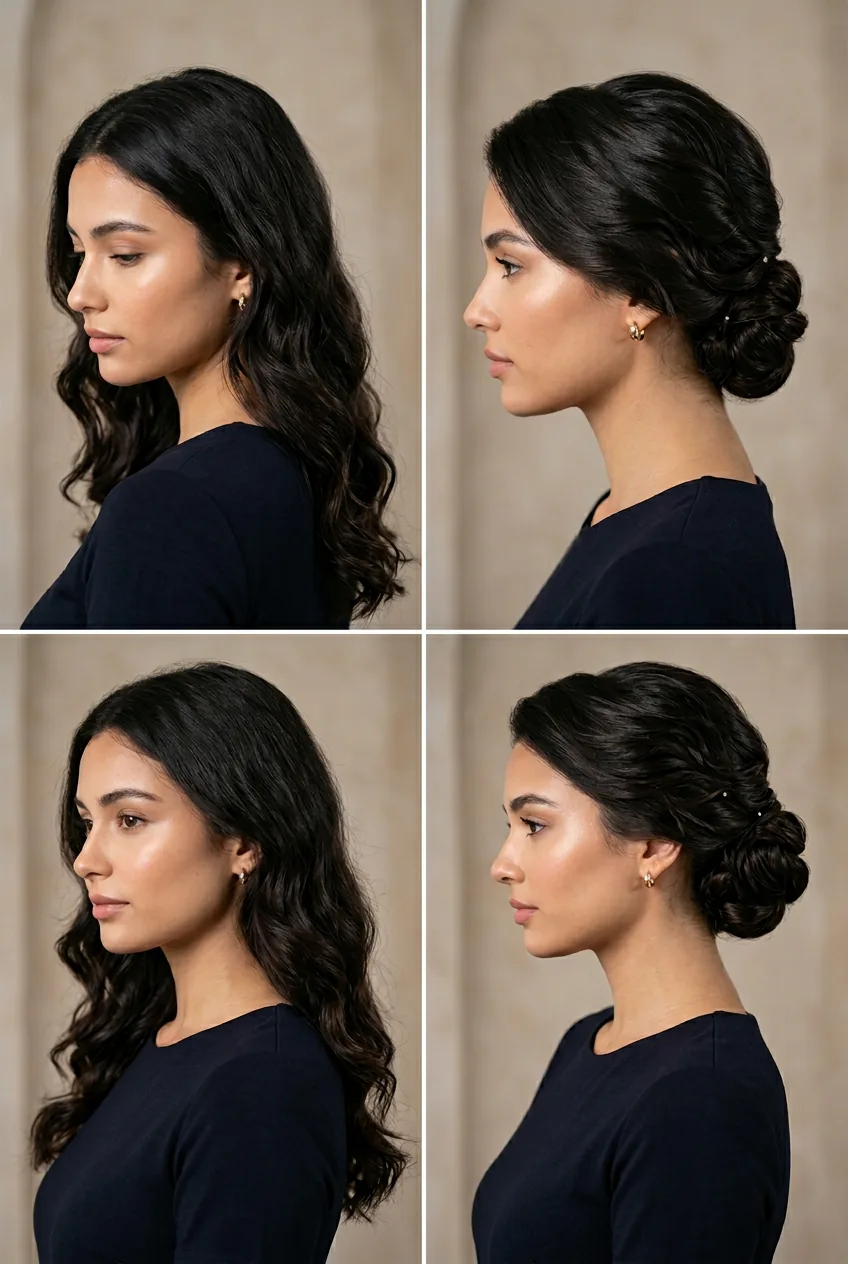
Every tutorial makes it look like you roll out of bed with perfect hair texture. The reality? I now start my hair prep the night before prom. And I mean serious prep — not just washing it.
First, your hair needs to be slightly dirty. Freshly washed hair is too slippery for pins to grip. But here’s what they don’t tell you: it also can’t be too oily or your style will look greasy under all those photos. I learned this the hard way when my carefully planned low bun looked like I hadn’t showered in days.
The sweet spot? Wash your hair two days before. On day one, use dry shampoo at the roots. This creates texture without the grease factor. Trust me on this — I’ve watched too many friends panic-wash their hair on prom morning and spend an extra hour trying to create grip with products.
And those “5-minute updos”? Add at least 30 minutes for a beginner. Professional tutorials always skip the fumbling, the re-doing sections, and the inevitable “wait, which way did that piece go?” moments.
The Part That Takes the Longest

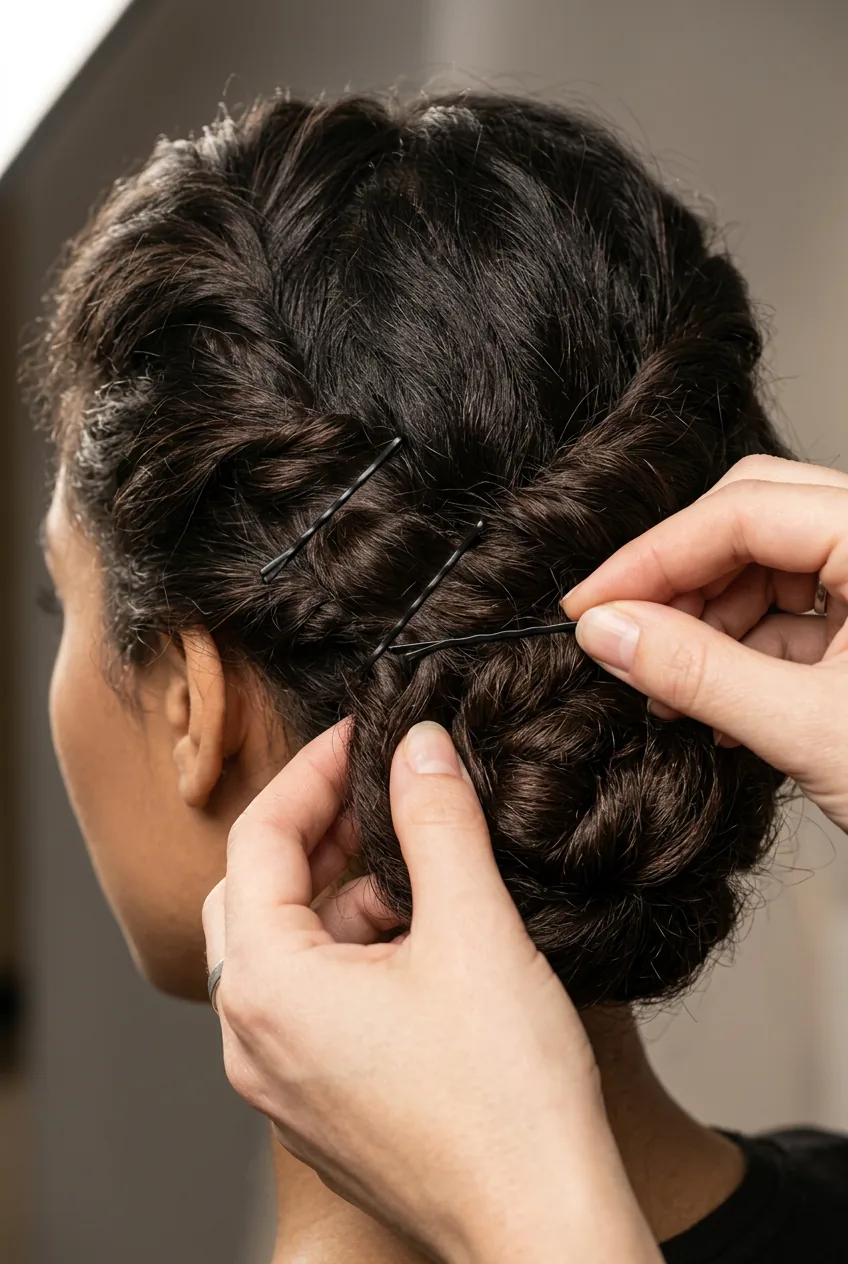
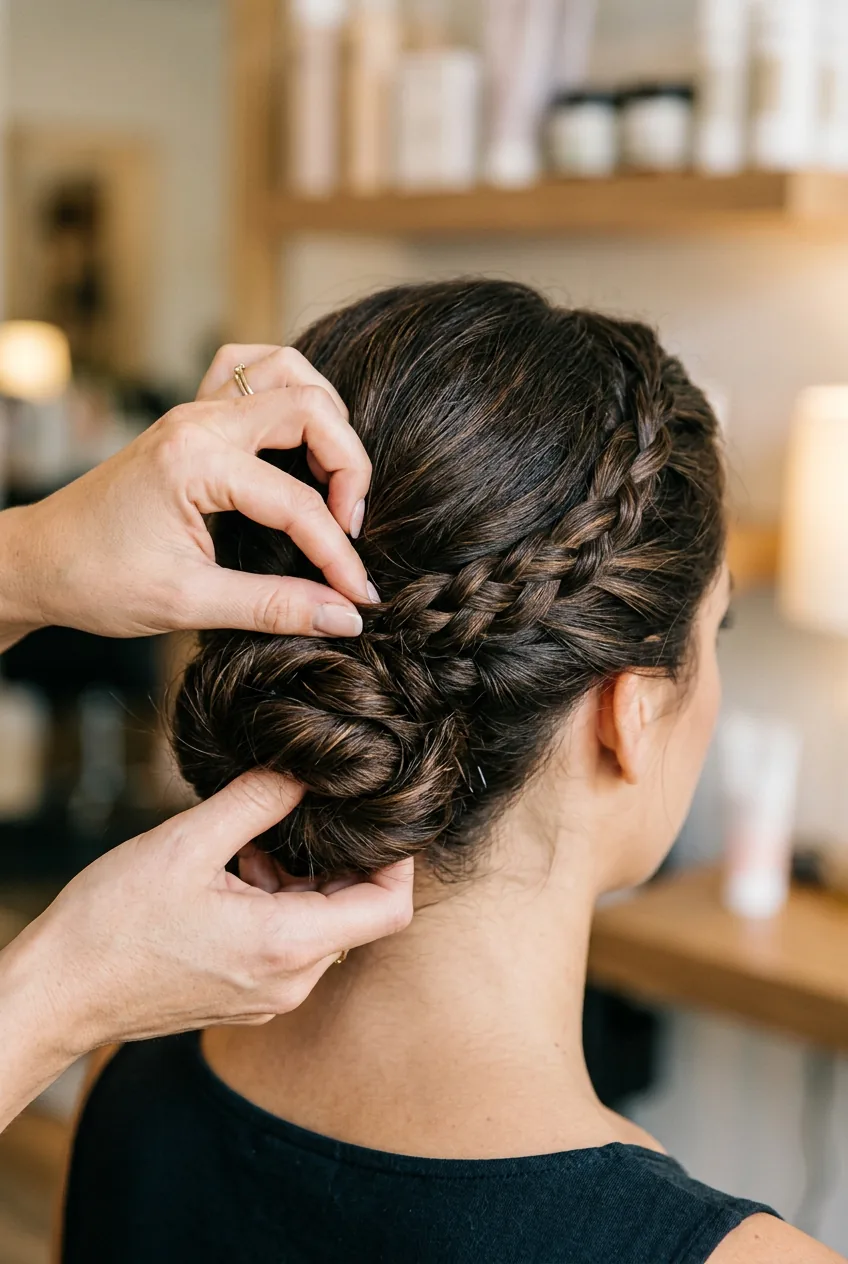
It’s not the fancy braiding or the twisting. It’s the bobby pins. Specifically, learning how to actually use them properly.
I used to just shove bobby pins in randomly, wondering why my updo felt loose and looked messy. Turns out, there’s a whole technique nobody talks about. The wavy side goes against your scalp — not away from it. You slide the pin in, then push it in the opposite direction to create an anchor.
But the real time-killer? Finding the right pins for your hair color and thickness. Black pins show through blonde hair like crazy. Those tiny ones from drugstores bend under the weight of thick hair. I now buy professional bobby pins in three shades and keep them sorted in a tackle box. Yes, it’s that serious.
The first time I did my own prom hair updo, I spent forty-five minutes just on pinning. Not because the style was complex — because I kept having to redo sections that weren’t secure. Now I can pin a chignon in under ten minutes, but it took practice runs on random Tuesday nights to get there.
When Everything Falls Apart
Let me paint you a picture: It’s 6:30 PM. Your date arrives in twenty minutes. You’re 90% done with a gorgeous twisted updo… and then you catch a bobby pin on your earring. Half your hair tumbles down.
This has happened to me. This has happened to my sister. This has happened to literally every girl I know who’s attempted DIY formal hair. The question isn’t if something will go wrong — it’s what your backup plan is.
My emergency kit now includes:
- A curling iron (for quick volume recovery)
- Strong-hold hairspray (not the flexible stuff)
- Clear elastic bands in three sizes
- A rattail comb for teasing
- Hair oil for flyaway control
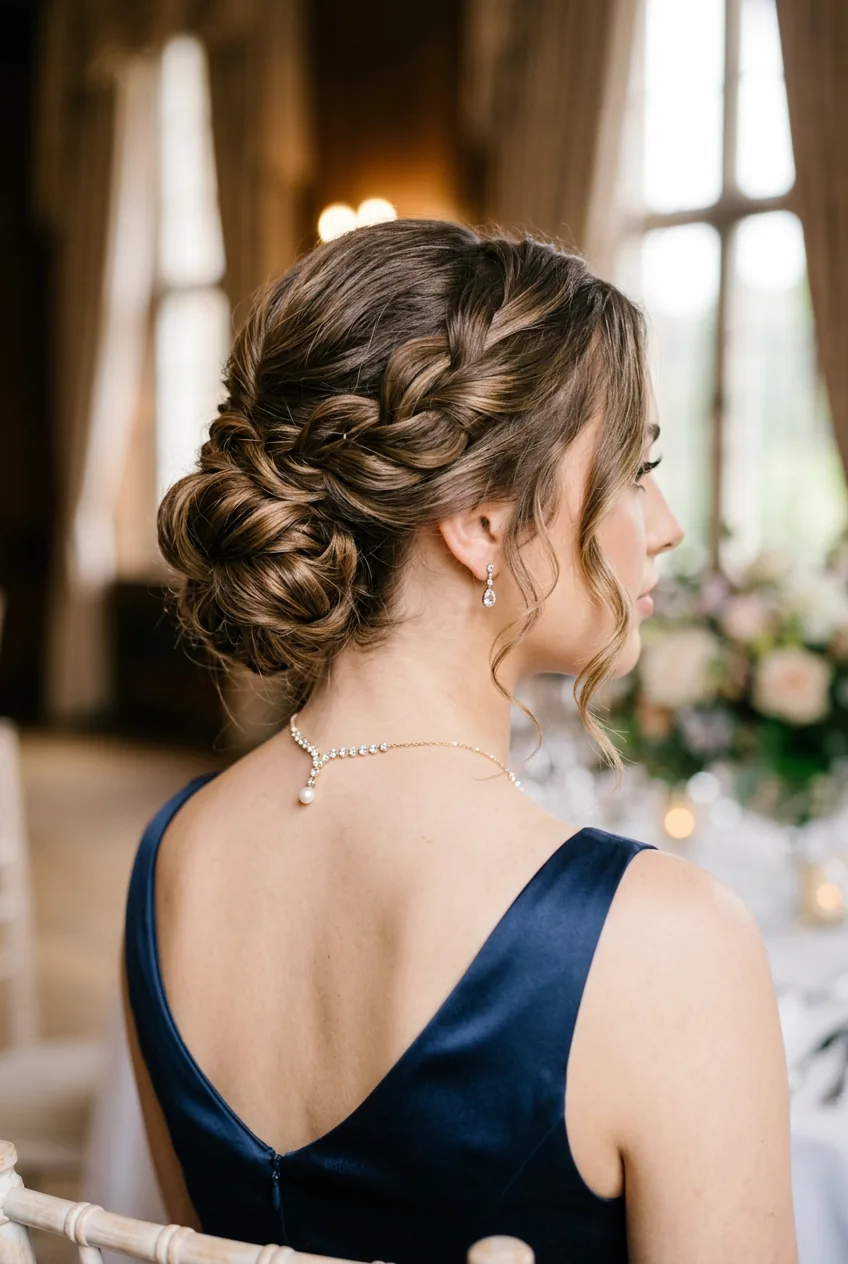
But honestly? Sometimes the “mistake” version looks better than your original plan. That half-collapsed updo I mentioned? We pinned it into a romantic side-swept style that got more compliments than my friend’s perfect salon blowout. Sometimes embracing the chaos is the move.
The key is not panicking. Deep breath. Take out all the pins. Start with a simple low bun and add pieces back gradually. You can always make it work — it just might not be the Instagram version you planned.
The Secret Nobody Mentions
Here it is: hairspray isn’t just for the end. It’s your best friend throughout the entire process.
Every section gets a light mist before I twist or braid it. Every pinned piece gets a spritz before I move on. This isn’t about making your hair crunchy — it’s about giving each element staying power so your updo doesn’t gradually deflate over six hours of dancing.
I learned this from watching my cousin do bold vibrant hair colors at beauty school. She’d mist each section of hair as she worked, building texture and hold layer by layer. It’s like primer for makeup — invisible but essential.
And here’s the controversial part: I actually prefer drugstore hairspray for this technique. Expensive salon sprays are often too light or too flexible. I want something that grips immediately and holds through humidity, sweat, and aggressive dancing. TRESemmé or Aqua Net work better for DIY updos than anything costing $30 a bottle.
Another secret? Texture spray before you start creates better grip than working with virgin hair. But skip anything with oil or shine — you want gritty texture, not slippery smoothness.
Why It’s Worth It Anyway
After all that honesty about the challenges, you might wonder why anyone attempts DIY prom hair. Here’s why I keep doing it, and why I’d recommend it despite the stress.
First, the pride factor. When someone compliments your updo and you get to say “I did it myself,” that feeling is incredible. It’s not just about saving money (though $150-300 for prom hair isn’t nothing). It’s about creating something beautiful with your own hands.
Second, you learn your hair. After doing my own formal styles a few times, I understand exactly how my hair behaves. I know which sections need extra teasing, where my cowlicks create problems, and what bobby pin placement works best. This knowledge serves you for every special event afterward — not just prom.
But the real reason? Flexibility. If your updo gets uncomfortable during dinner, you know how to adjust it. If you want to let some pieces down for after-party photos, you can do that strategically. When you’re dependent on a salon style, you’re stuck with whatever they created for the entire night.
Plus, there’s something to be said for the bonding experience. Doing hair with friends, helping each other problem-solve, laughing when things go wrong — those memories are as precious as the perfect photos. My most cherished prom preparation memory isn’t achieving some flawless style. It’s sitting on my best friend’s bathroom floor at 11 PM, both of us in our pajamas, practicing updos and eating pizza.
The techniques you master while perfecting your prom look become tools for life. I still use the bobby pin methods I learned for prom when I need professional updos for work events. Those skills transfer to balayage and ombre looks too, since you understand how to work with different hair textures and lengths.
Quick Answers for Last-Minute Questions
How many bobby pins do I actually need?
For a secure updo, plan on 15-25 bobby pins minimum. I always buy a pack of 50 because you’ll drop some, bend others, and want extras for touch-ups throughout the night.
Should I practice the exact style beforehand?
Absolutely, but not just once. Do a full run-through at least twice — once to learn the technique, and again to time yourself and identify problem spots. Practice makes the difference between stress and confidence on prom day.
What if my hair is too short for most updo tutorials?
Work with what you have instead of fighting it. Shoulder-length hair can do gorgeous half-up styles, twisted side sweeps, or low braided buns. The key is choosing styles designed for your length, not trying to force your hair into something it’s not ready for.
How do I know if my updo will last all night?
After you finish styling, do a vigorous head shake test. If anything feels loose or shifts, add more bobby pins or hairspray before you leave. A secure updo should feel solid on your head, not precarious.
The truth about DIY prom hair is that it’s messier, more time-consuming, and more stressful than any tutorial admits. But it’s also more rewarding, more personal, and more memorable than anything you could pay someone else to do. Just go in with realistic expectations, a good backup plan, and plenty of bobby pins.