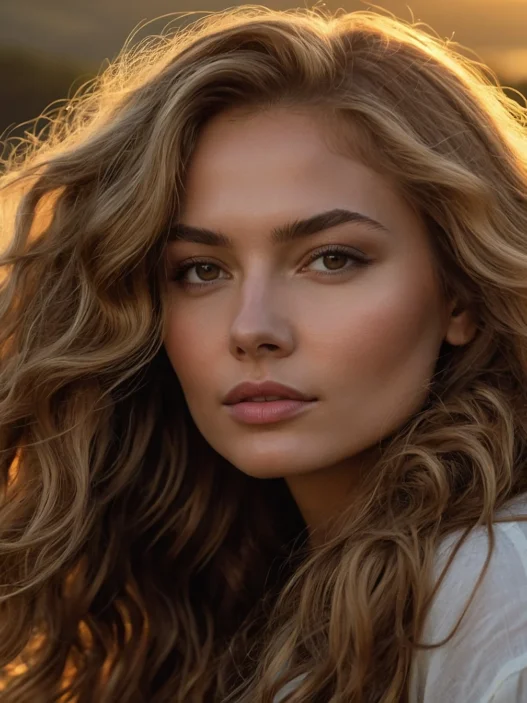

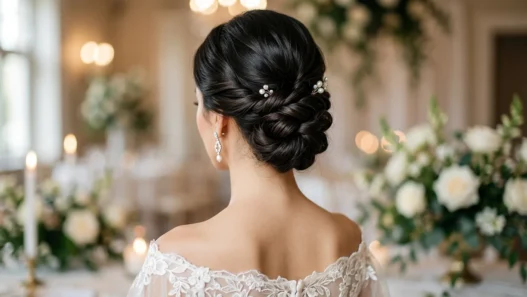


When I started planning my wedding, I thought having long hair meant endless gorgeous options. Boy, was I wrong. Every Pinterest-perfect style I tried fell flat by the time I walked down the practice aisle. Turns out, wedding hairstyles aren’t one-size-fits-all — your hair type makes all the difference. After testing dozens of looks (and subjecting my poor bridesmaids to endless trial runs), I finally cracked the code on what actually works.
For Fine Hair That Needs Volume
Fine hair brides, I see you. Every updo looks like it belongs on a 12-year-old’s head, and don’t even get me started on how braids just… disappear. But here’s what I learned: it’s all about strategic placement and the right prep work.
The Textured Low Chignon
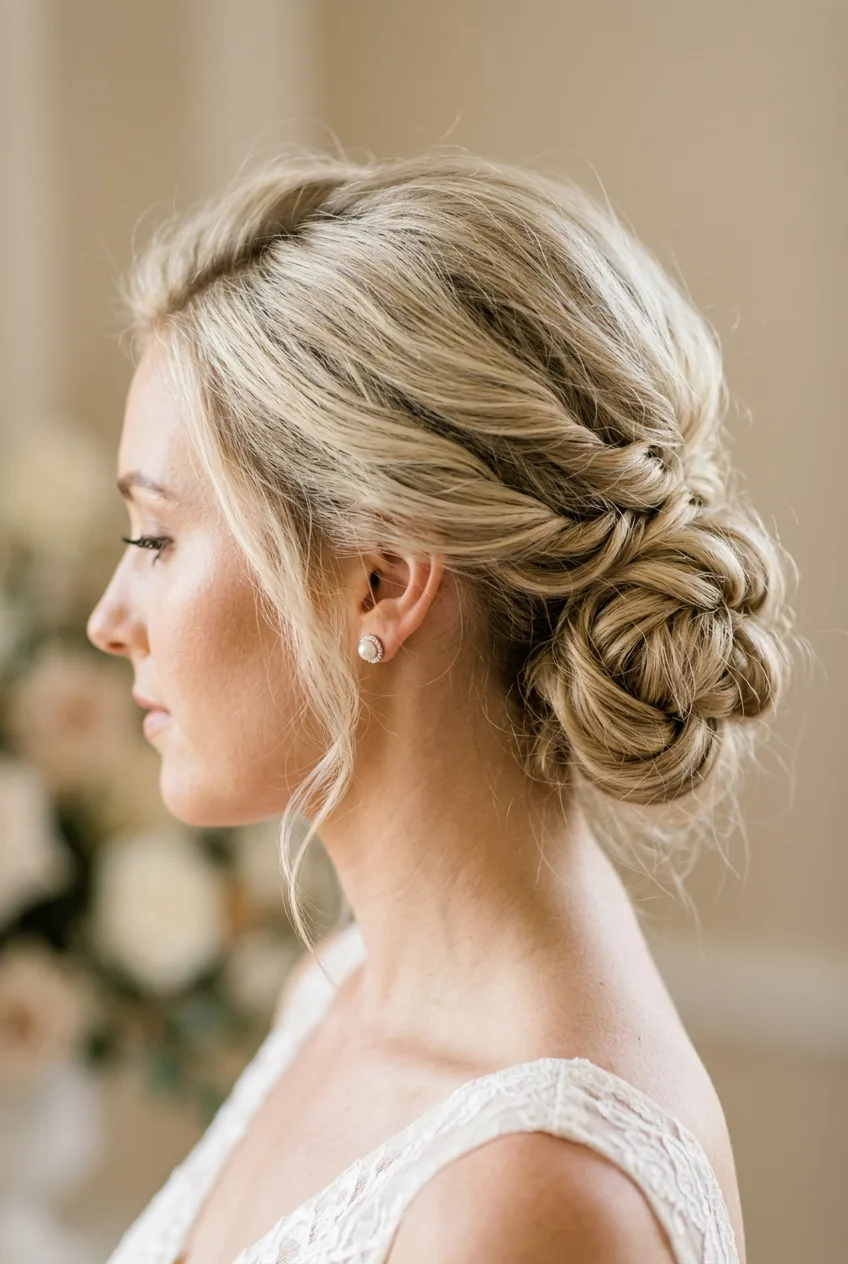
This saved my sister’s wedding day. Instead of slicking everything back, you tease the crown area and create loose, messy sections. The key is using texturizing spray before you even start — it gives fine hair something to grab onto. Pull out face-framing pieces and curl them away from your face for that effortless romantic vibe.
Half-Up Twisted Crown
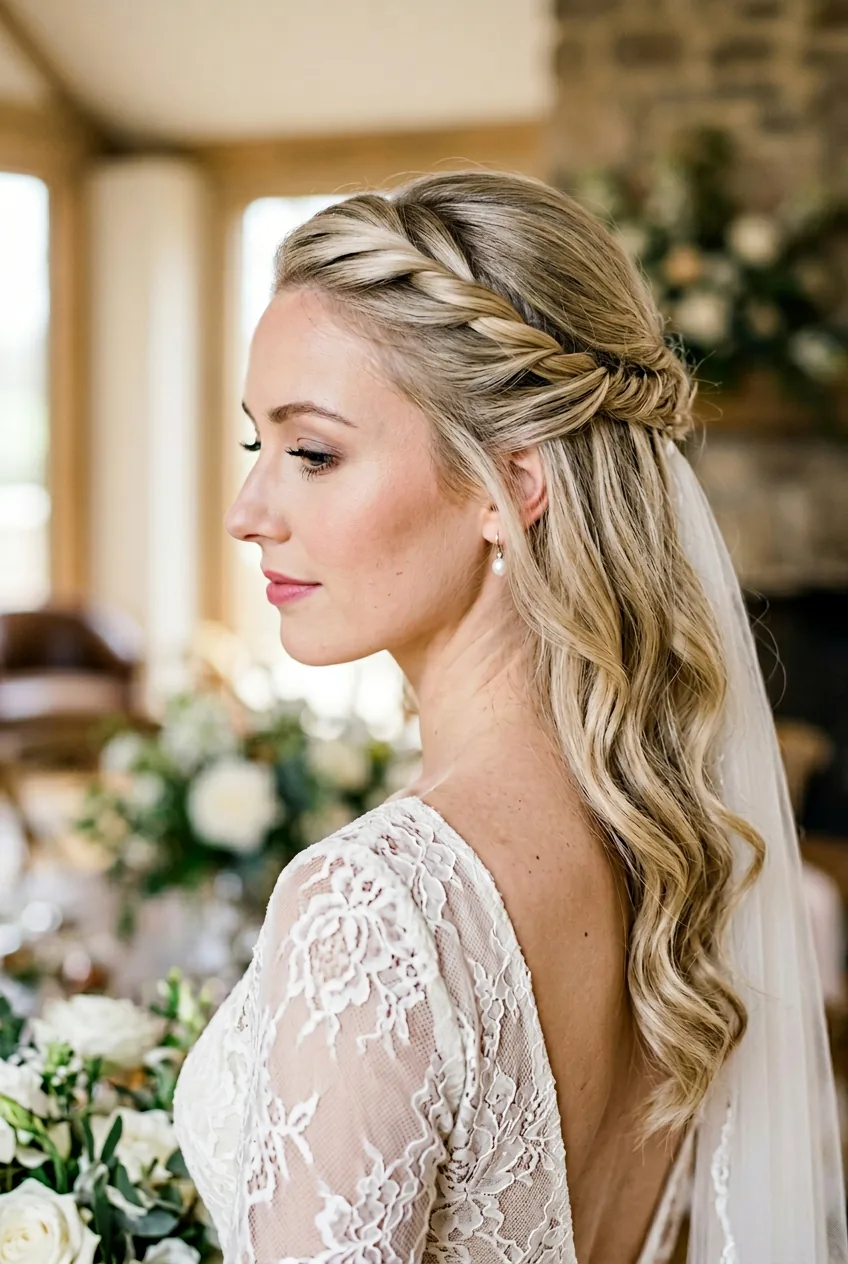
Perfect for fine hair because you’re not fighting gravity. Take sections from your temples, twist them back loosely, and secure with bobby pins behind your ears. Leave the rest of your hair down in soft waves. The twist adds visual weight to your crown without requiring tons of actual hair.
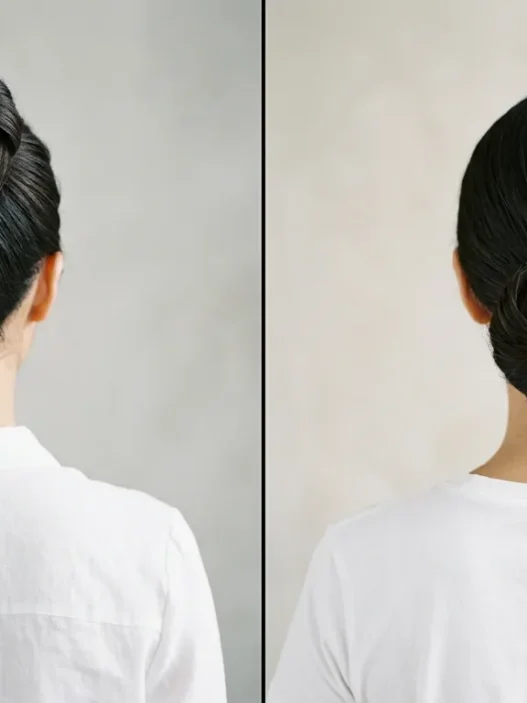
The Faux Bob Tuck
Controversial opinion: sometimes long hair looks better when you fake shorter hair. Curl your ends under and tuck them up into a hidden elastic at the nape of your neck. From the front, it looks like a voluminous bob, but you still get that bridal hair length in photos. My cousin did this and everyone asked where she got her hair cut.
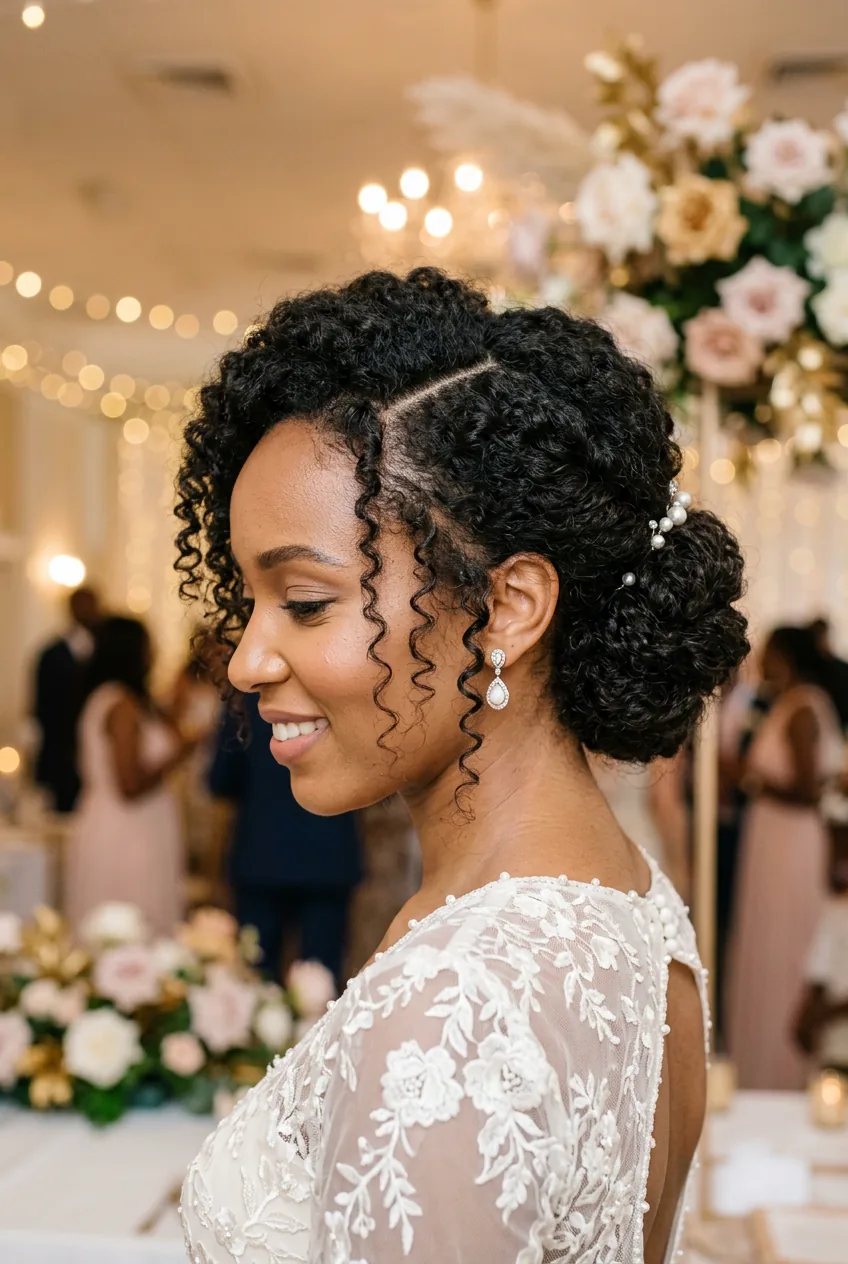
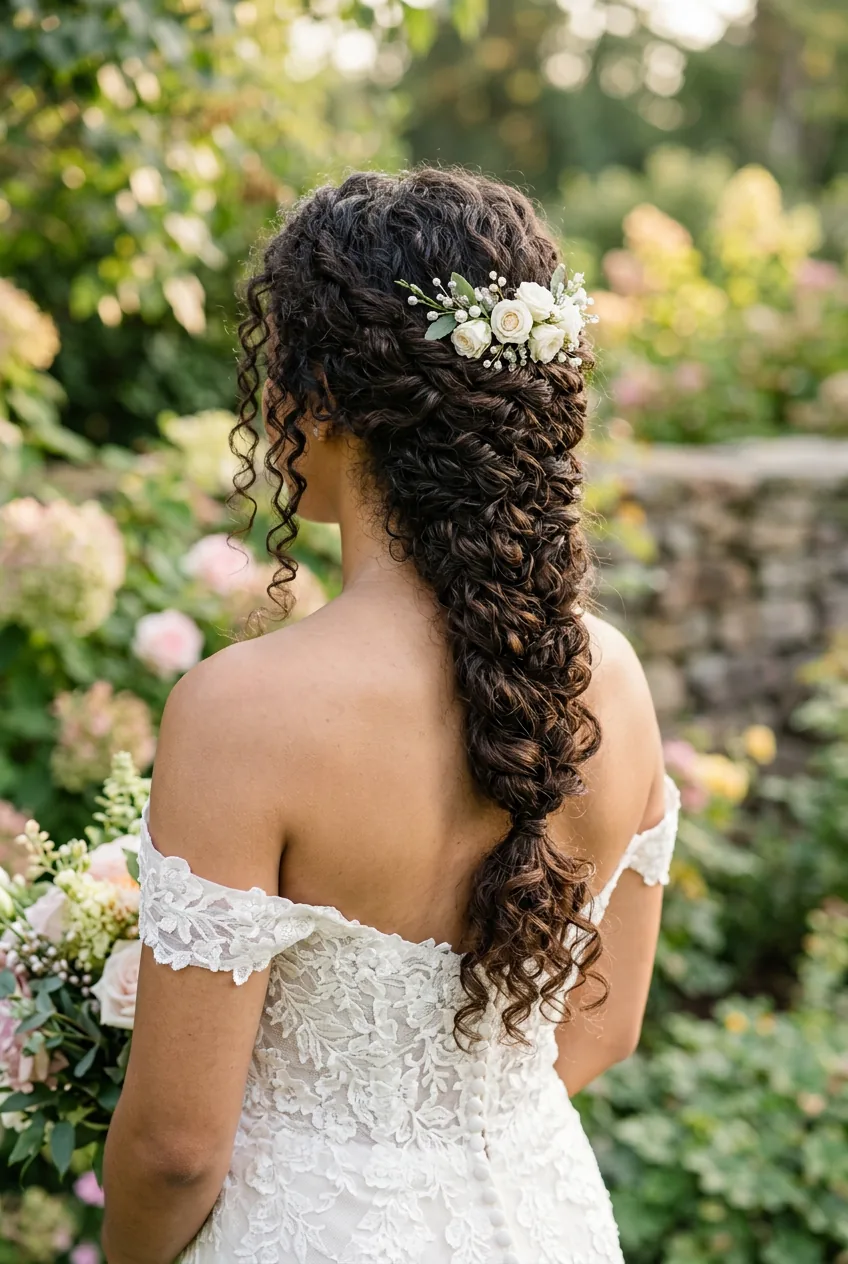
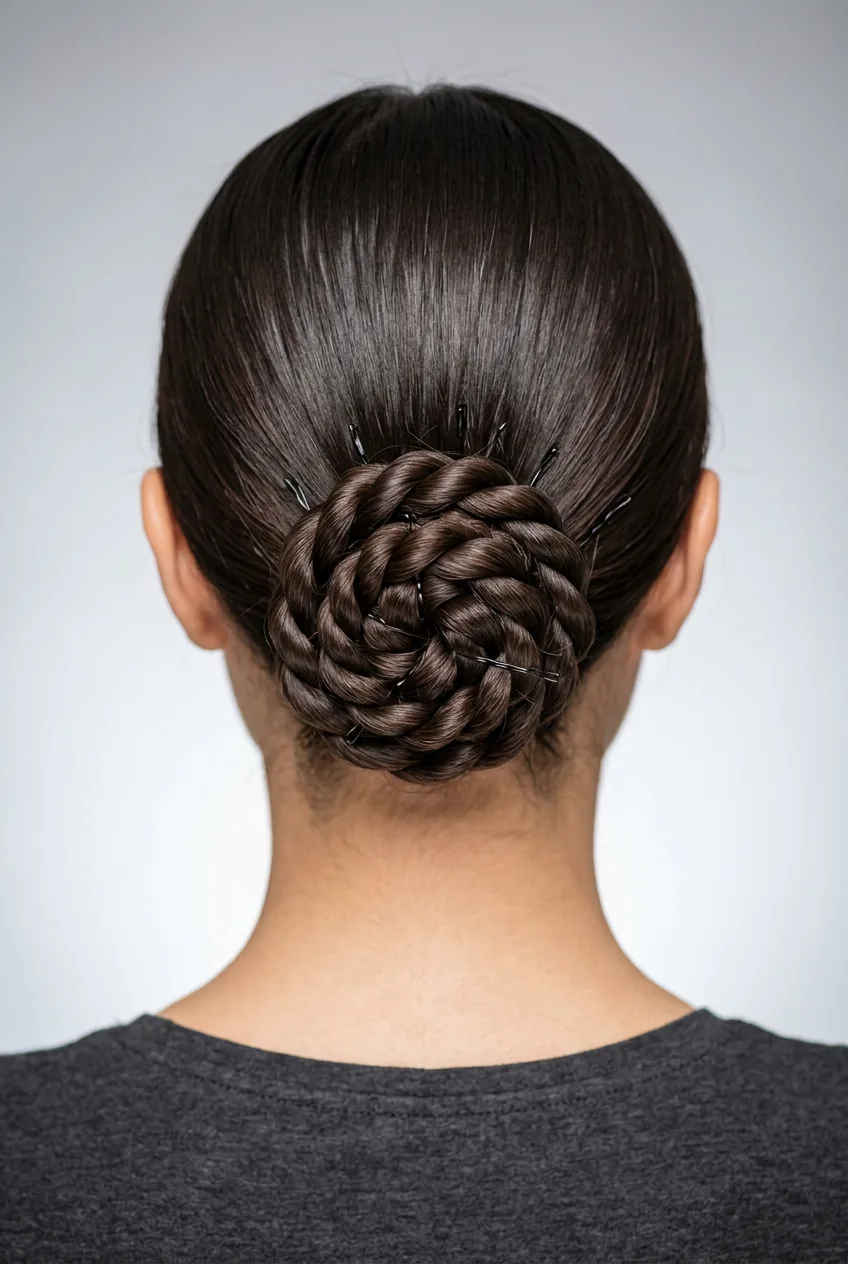
For Thick & Curly Hair
You lucky ladies with thick, curly hair have the opposite problem — too much volume, not enough control. But when you get it right? Absolute magic. These styles work WITH your natural texture instead of fighting it.
The Side-Swept Updo
Part your hair dramatically to one side when it’s wet, then scrunch in curl cream. Once dry, gather everything to the opposite side of your part and twist up into a low bun. The asymmetry balances out the bulk, and you get gorgeous face-framing curls without looking like you stuck your finger in a light socket.
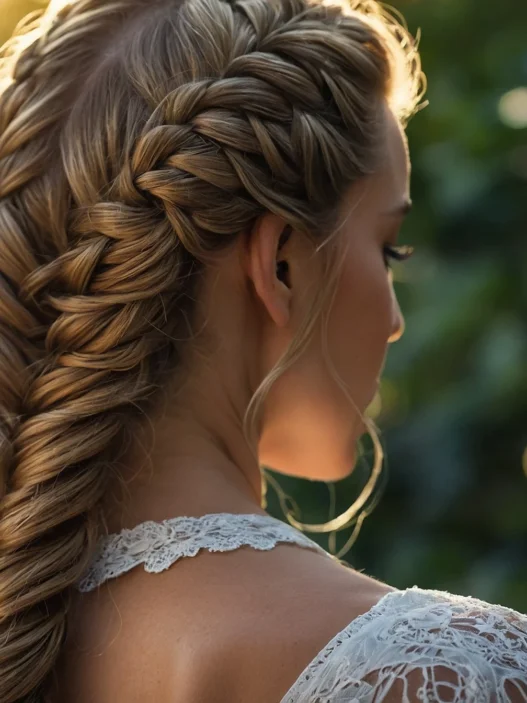
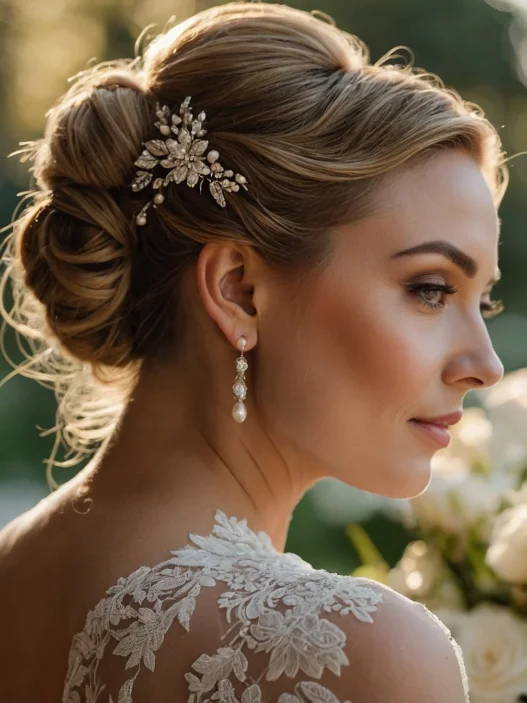
My personal pick for thick, curly hair? The braided crown into loose chignon. I watched my hairstylist create this masterpiece at a wedding last summer, and I’m still thinking about it. The braid corrals the front sections while the low bun shows off your natural texture. It photographs beautifully from every angle — trust me, I have 47 photos to prove it.
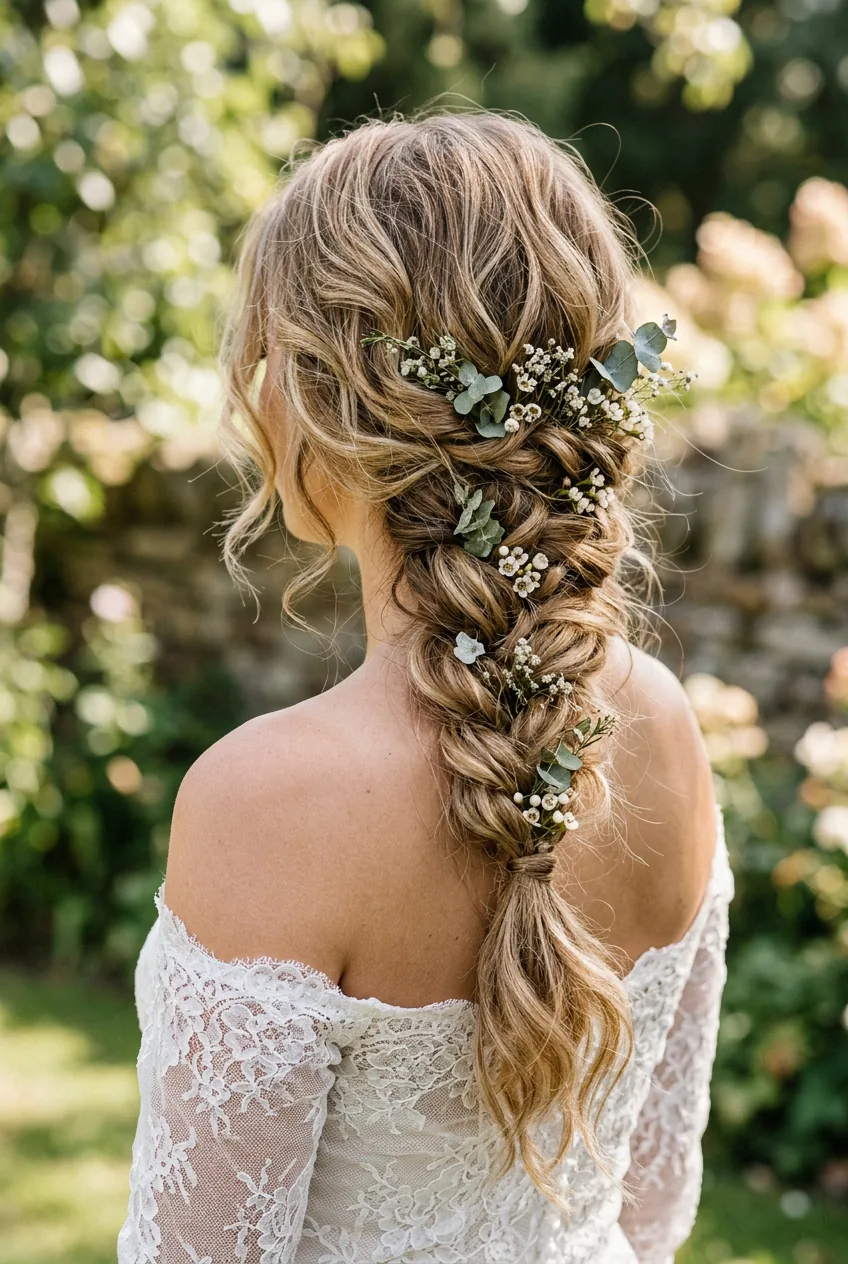
Loose French Braid Down the Back
Sometimes simple wins. Start with slightly damp hair, add leave-in conditioner, then create the loosest French braid you can manage. Pancake it out (gently pull apart each section) to make it look fuller and more romantic. Secure with a clear elastic and wrap a small section of hair around it. It’s elegant without trying too hard.
The Hollywood Waves Updo
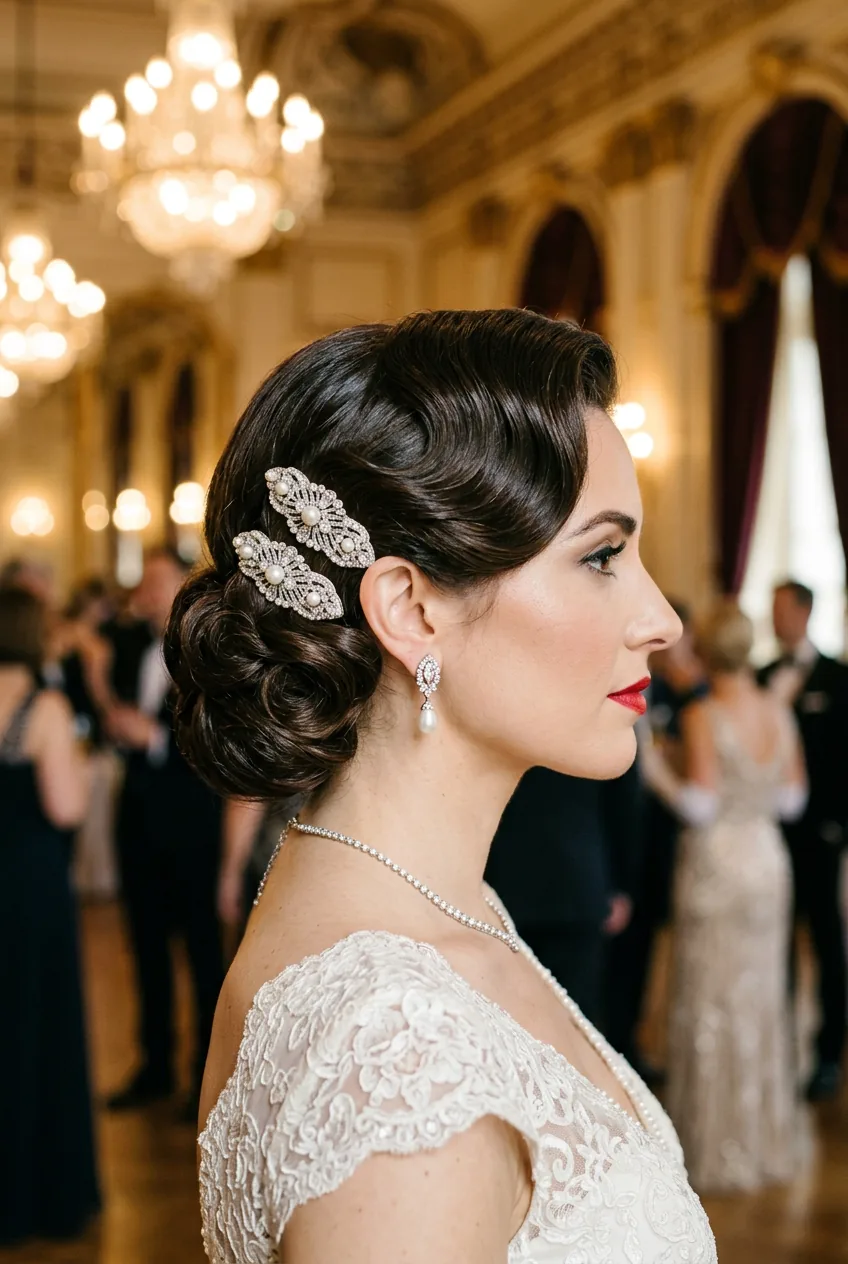
For the glamorous bride who wants old Hollywood vibes. Set your curls in large rollers (yes, really — invest in the good ones), then brush them out into soft waves. Sweep one side back and pin it behind your ear with vintage-inspired clips. The other side cascades over your shoulder. It’s dramatic and photograph-ready.
For Straight Hair That Won’t Hold
Straight hair girls know the struggle. You can create the most gorgeous updo, but by cocktail hour, it’s sliding down your neck. These styles are specifically designed to last through your entire wedding day.
The Dutch Braid Base Updo
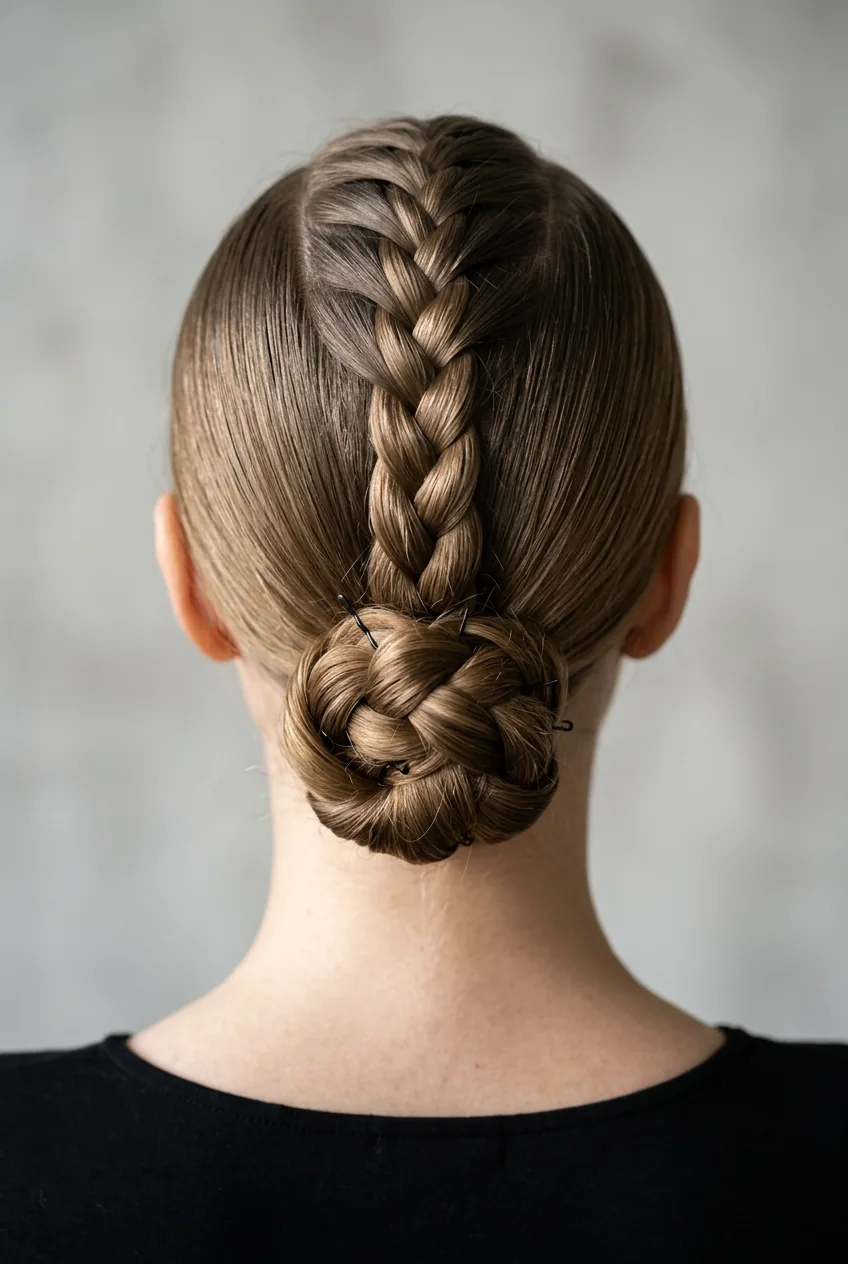
Start with day-old hair (the oils help with grip) and create a Dutch braid from your crown to the nape of your neck. Then twist the remaining length into a bun and secure with bobby pins inserted into the braid. The braid acts like scaffolding — your hair literally can’t fall out. I’ve seen this last through 12-hour wedding days.
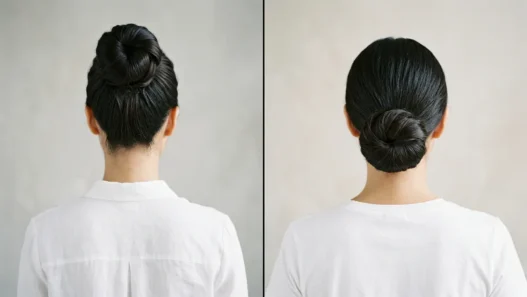
Sleek Low Ponytail with a Twist
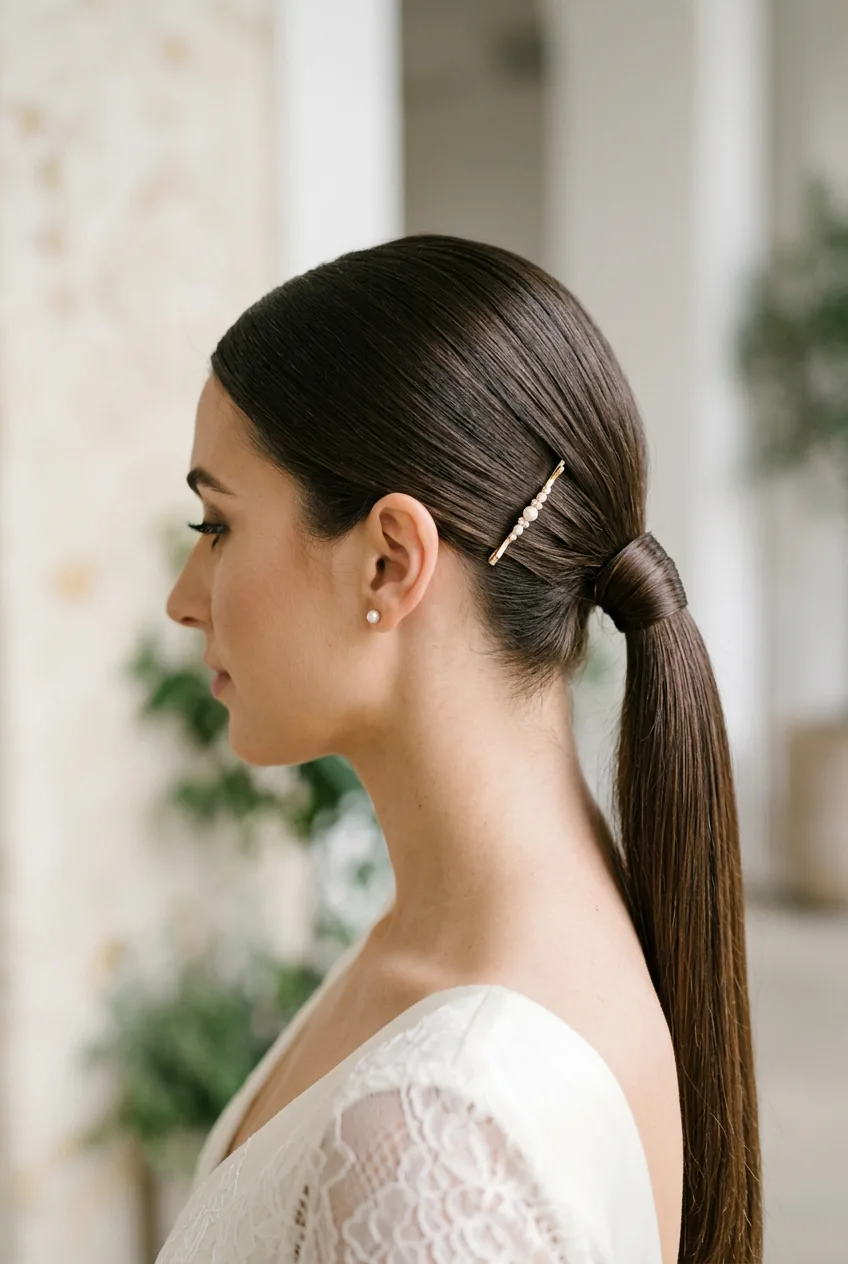
Sometimes fighting your hair’s natural inclination is pointless. Embrace the sleekness with a low ponytail, but make it bridal by wrapping sections of hair around the elastic and adding a subtle hair accessory. Hair accessories can transform even the simplest style into something special. Use a texturizing paste rather than gel to avoid that crunchy feeling.
The Twisted Rope Braid Bun
Divide your hair into two sections, twist each section in the same direction, then twist them around each other in the opposite direction. This creates a rope braid that has serious staying power. Coil it into a bun and pin securely. The twist technique gives straight hair the texture it needs to hold an updo shape.
For Low-Maintenance Lovers
Not everyone wants to spend three hours in a salon chair or stress about their hair all day. These styles look effortlessly elegant and require minimal touch-ups throughout your celebration.
Beach Waves with a Simple Twist
Create loose waves with a large barrel curling iron (or sleep in braids the night before), then simply twist back one side and secure with bobby pins. That’s it. The imperfection is part of the charm, and it photographs beautifully in outdoor settings. Plus, if pins fall out during dancing, you just look more romantic.
The Messy Side Braid
Part your hair on the side, then create a loose side braid starting from behind your ear. Don’t worry about making it perfect — the messier, the better. Secure with a clear elastic and gently pull apart sections to make it look fuller. For braided long hairstyles that actually feel effortless, this is my go-to recommendation.
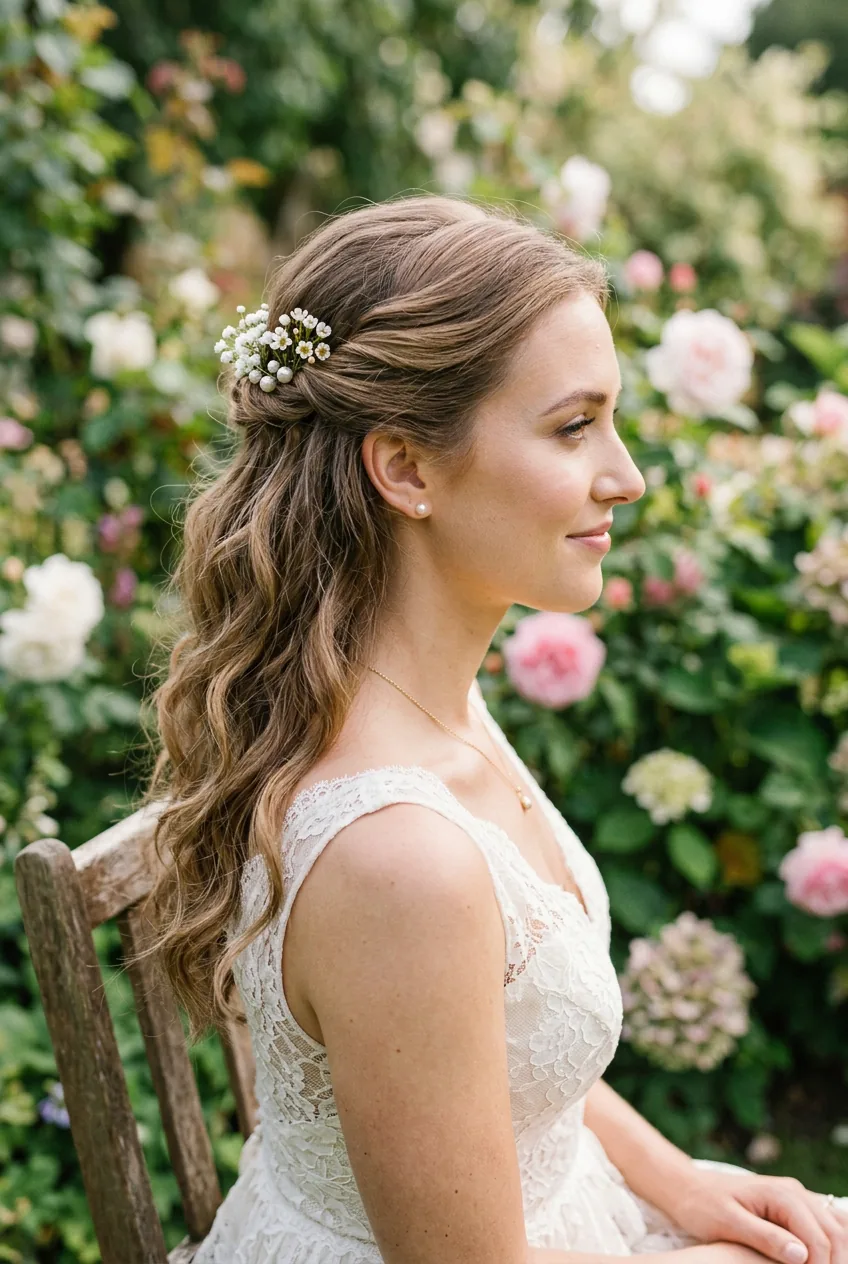
Hair Down with Statement Accessories
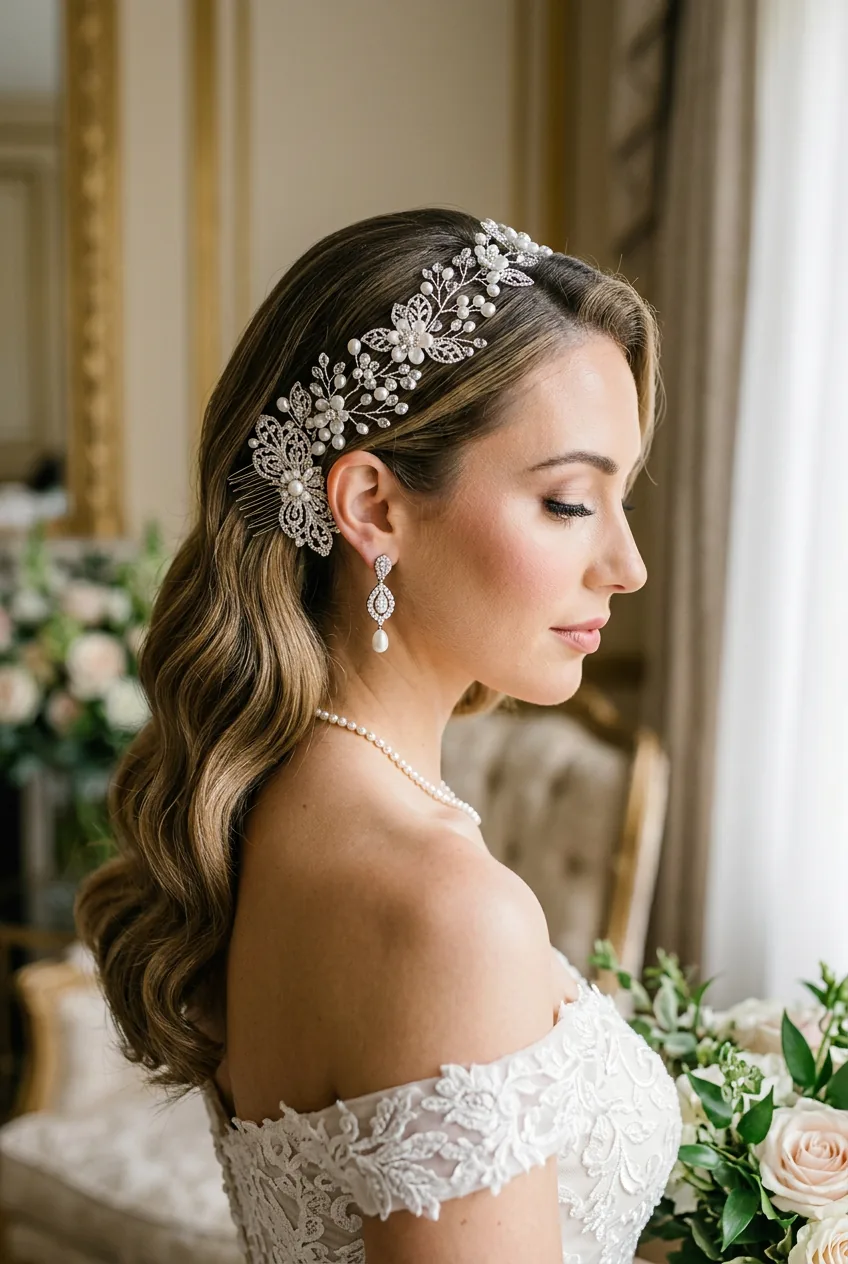
Sometimes the most beautiful option is the simplest. Blow dry your hair smooth, add soft waves to the ends, and clip back one side with a gorgeous hair vine or comb. You get the bridal feel without any complicated styling. And if you need to touch up your lipstick or adjust your dress, you don’t have to worry about messing up an intricate updo.
The truth about wedding hair? The best style is the one that makes you feel like yourself, just a more polished version. Don’t get caught up in what’s trending or what looked good on someone else. Your wedding photos will be around forever — make sure the person in them looks like you.
Questions I Get About Wedding Hair
Should I do a trial run?
Absolutely, especially for updos. What looks good in photos doesn’t always feel secure, and you want to know how your style will hold up through hugs, dancing, and potentially some happy tears. Schedule it for a special occasion beforehand so you can really test it out.
How far in advance should I wash my hair?
Day-old hair is usually perfect. Freshly washed hair can be too slippery for updos, but three-day-old hair might be too greasy. Wash it the morning before your wedding, not the morning of. This gives your natural oils time to provide grip without looking oily.
What if I want to change my mind on the wedding day?
Have a backup plan that uses the same prep work. For example, if you planned an updo but decide you want hair down, you can still use the curls or waves you created. Just don’t spring a completely different texture or style on your hairstylist — they need to plan for the right products and tools.
Do I need to bring my own bobby pins?
Good stylists come prepared, but bringing pins that match your hair color exactly is never a bad idea. If you have very dark or very light hair, generic brown bobby pins can be noticeable in photos. Spend the extra few dollars on pins that disappear into your hair color.
How do I make sure my veil works with my hairstyle?
Bring your veil to your hair trial. The comb placement affects how your style looks and feels. Some updos work better with the veil placed higher, others need it lower. Your stylist should practice removing and replacing it too — you’ll probably take it off for the reception.