

I used to think “simple hairstyles” meant boring. Boy, was I wrong. After years of trying everything from Pinterest fails to salon-worthy looks, I’ve learned that the best simple styles are all about knowing your skill level. Some mornings I need a two-minute fix. Other days, I’m ready to tackle something that requires actual technique.
Your Simple Hairstyle Roadmap (By Skill Level)
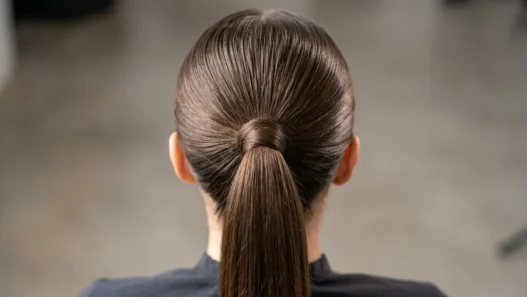
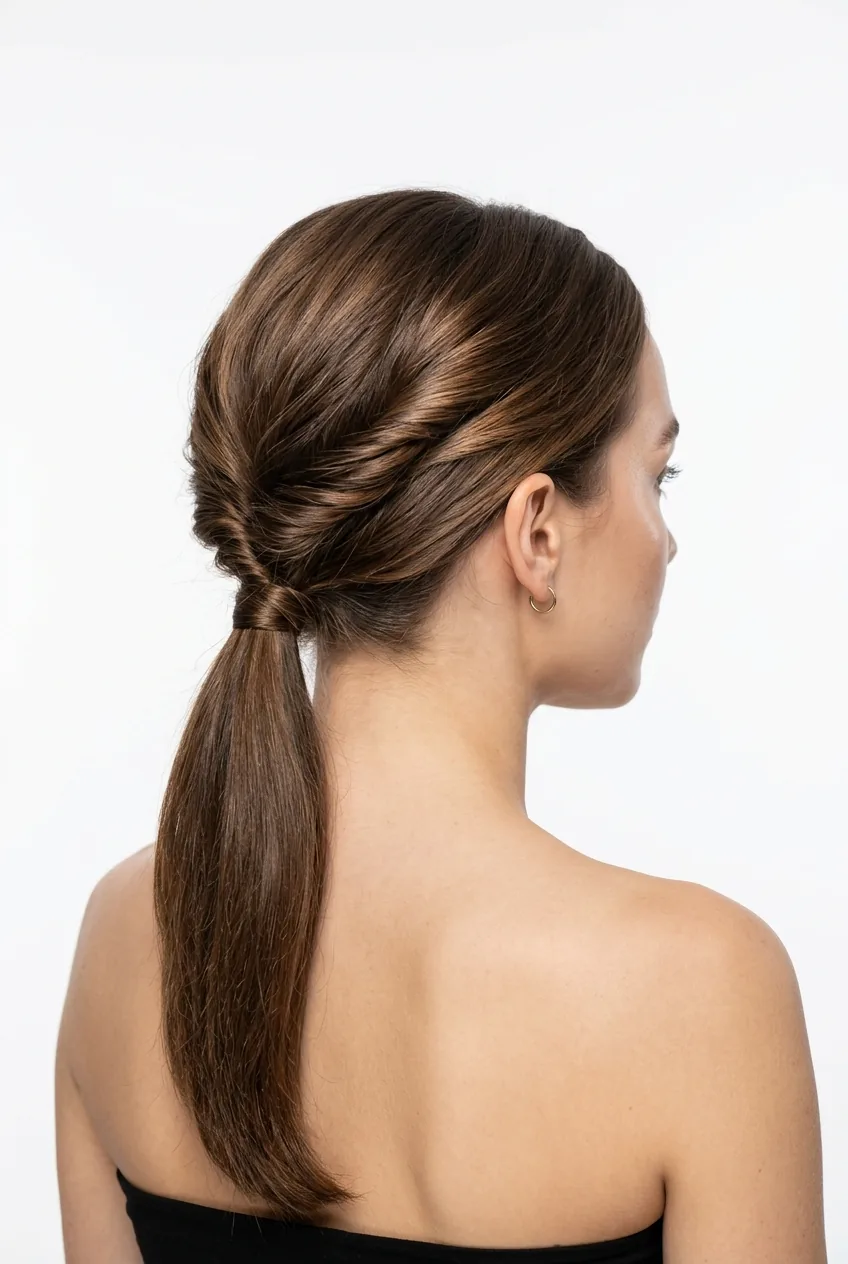
- Beginner Friendly: Low Ponytail with a Twist
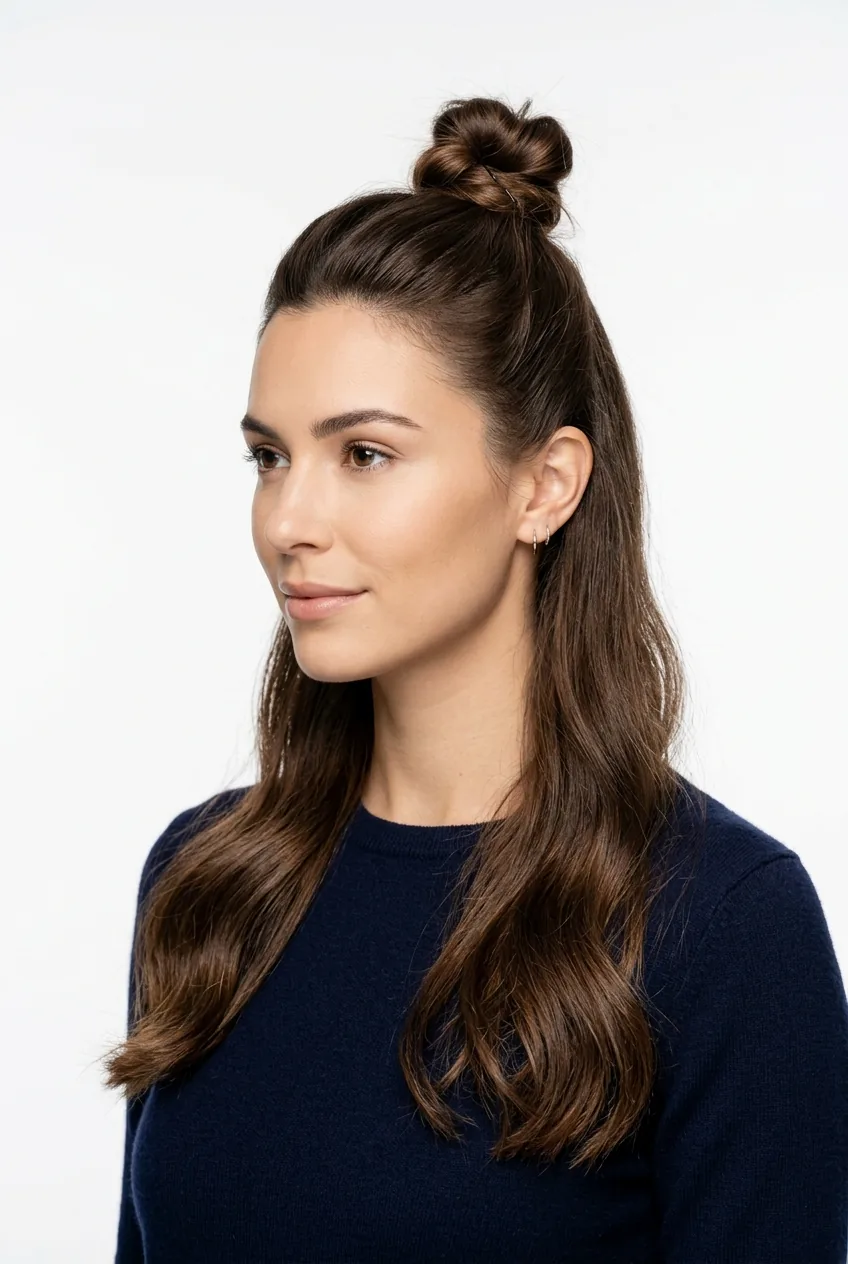
- Beginner Friendly: Half-Up Top Knot
- Beginner Friendly: Sleek Center Part
- Easy Level: Textured Beach Waves
- Easy Level: Side-Swept Bangs Refresh
- Intermediate Challenge: Loose Braided Crown
- Intermediate Challenge: Effortless Updo with Face-Framing Pieces
- Intermediate Challenge: Voluminous Blowout
- Advanced Level: French Twist with Modern Texture
- Advanced Level: Layered Curtain Bangs Cut
- Advanced Level: Sleek Bob with Precision Ends
- Master Level: Dimensional Balayage Placement
1. Beginner Friendly: Low Ponytail with a Twist
Difficulty: ⭐ (5 minutes max)
Tools needed: Hair elastic, bobby pin
Perfect for: Monday mornings when you overslept
This is my go-to when I literally have zero brain cells functioning. You gather your hair into a low ponytail, but before securing it completely, you twist the hair once around the elastic. It creates this effortless, slightly messy texture that looks intentional.
The secret? Don’t make it too tight. I learned this the hard way after walking around looking like I was in witness protection. A little looseness around the face makes all the difference.
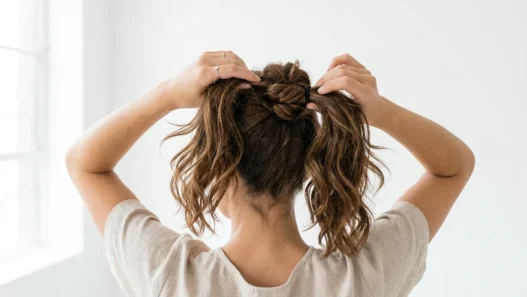
2. Beginner Friendly: Half-Up Top Knot
Difficulty: ⭐ (3 minutes)
Tools needed: Hair elastic
Perfect for: Getting your hair out of your face without committing to a full updo
Take the top section of your hair — from your temples back — and twist it into a tiny bun. That’s it. I’m not kidding. This works on literally everyone and somehow always looks cute and casual.
My favorite part about this style? It works whether your hair is clean or on day three. Actually, it might work better with slightly dirty hair because it has more texture to grip.
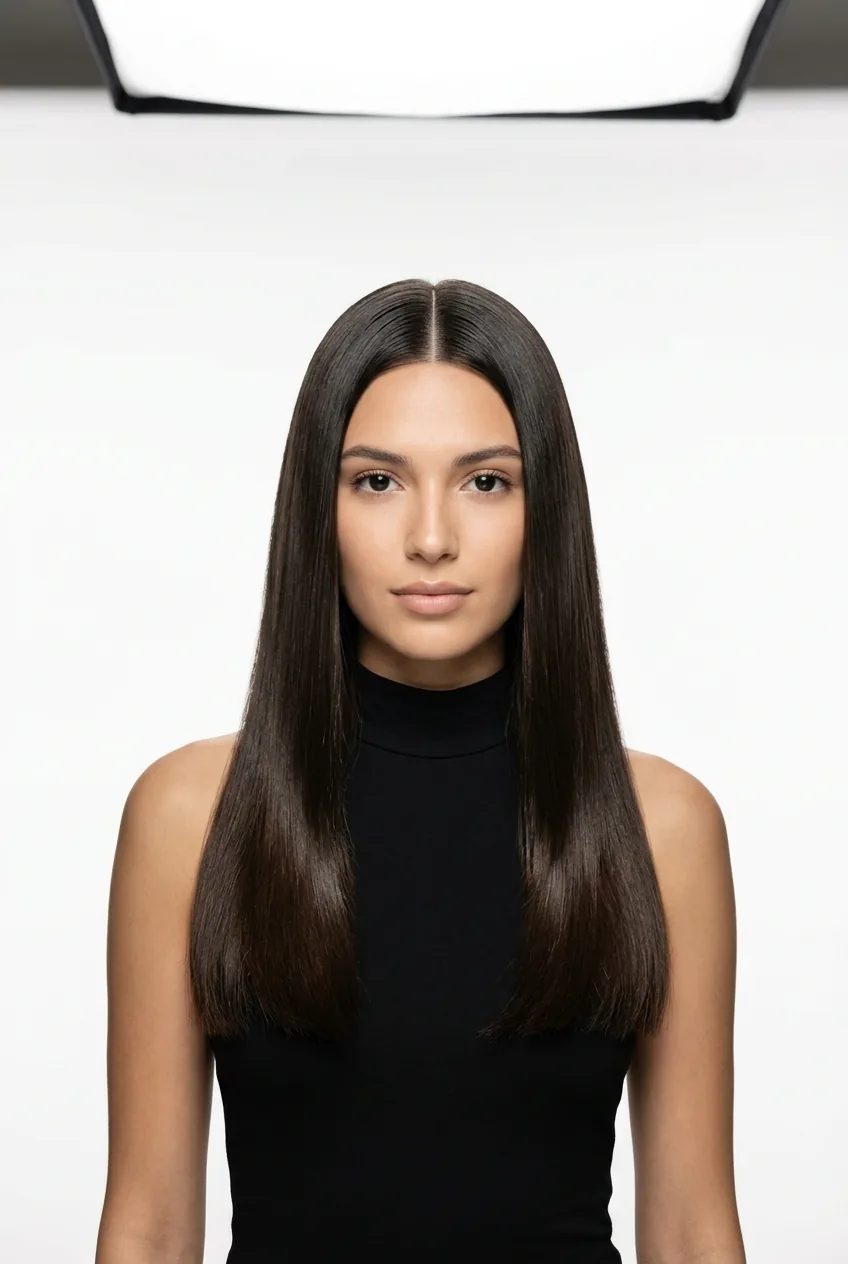
3. Beginner Friendly: Sleek Center Part
Difficulty: ⭐ (2 minutes)
Tools needed: Comb, hair serum or oil
Perfect for: When you want to look polished with minimal effort
Sometimes the simplest looks are the most striking. A razor-sharp center part with sleek hair can be incredibly chic. I use a rat-tail comb to create the perfect line, then smooth a tiny amount of serum through my strands.
The trick is in the part precision — wonky lines look accidental, not intentional. Take your time with this step, even if the rest is quick.
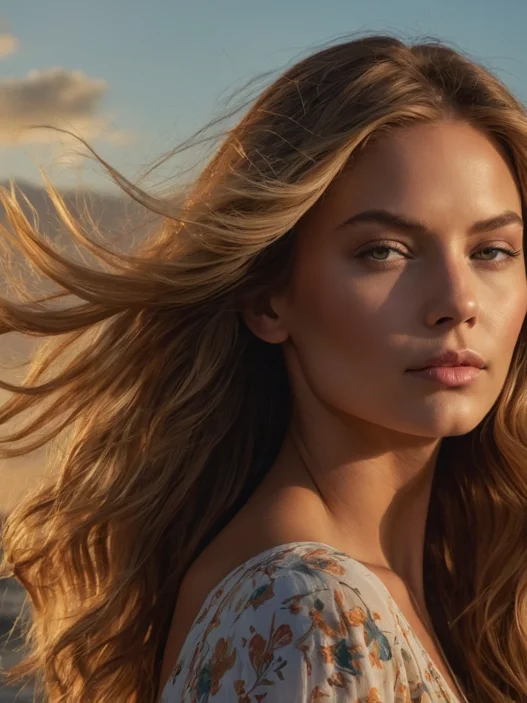
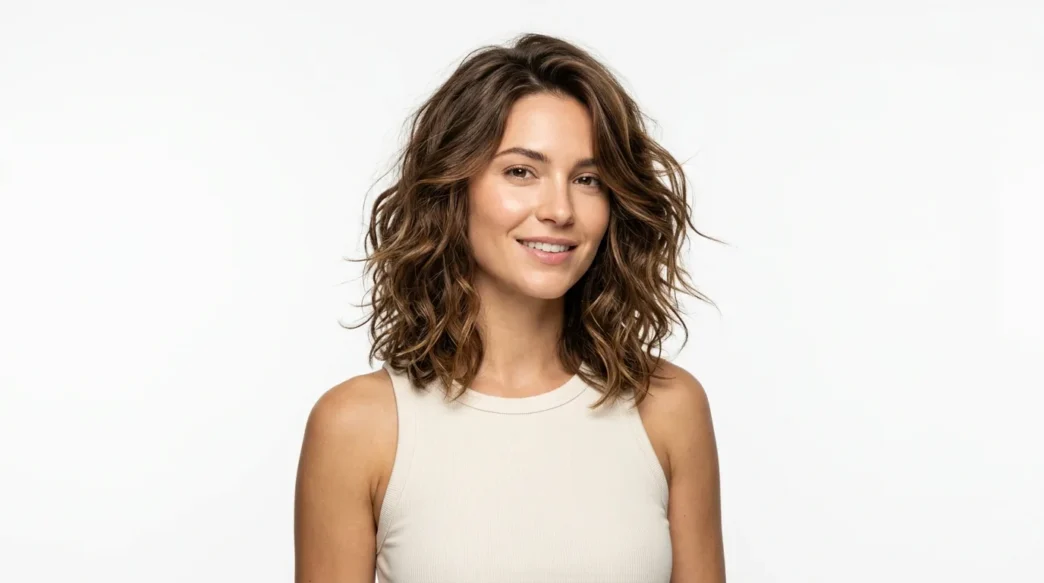
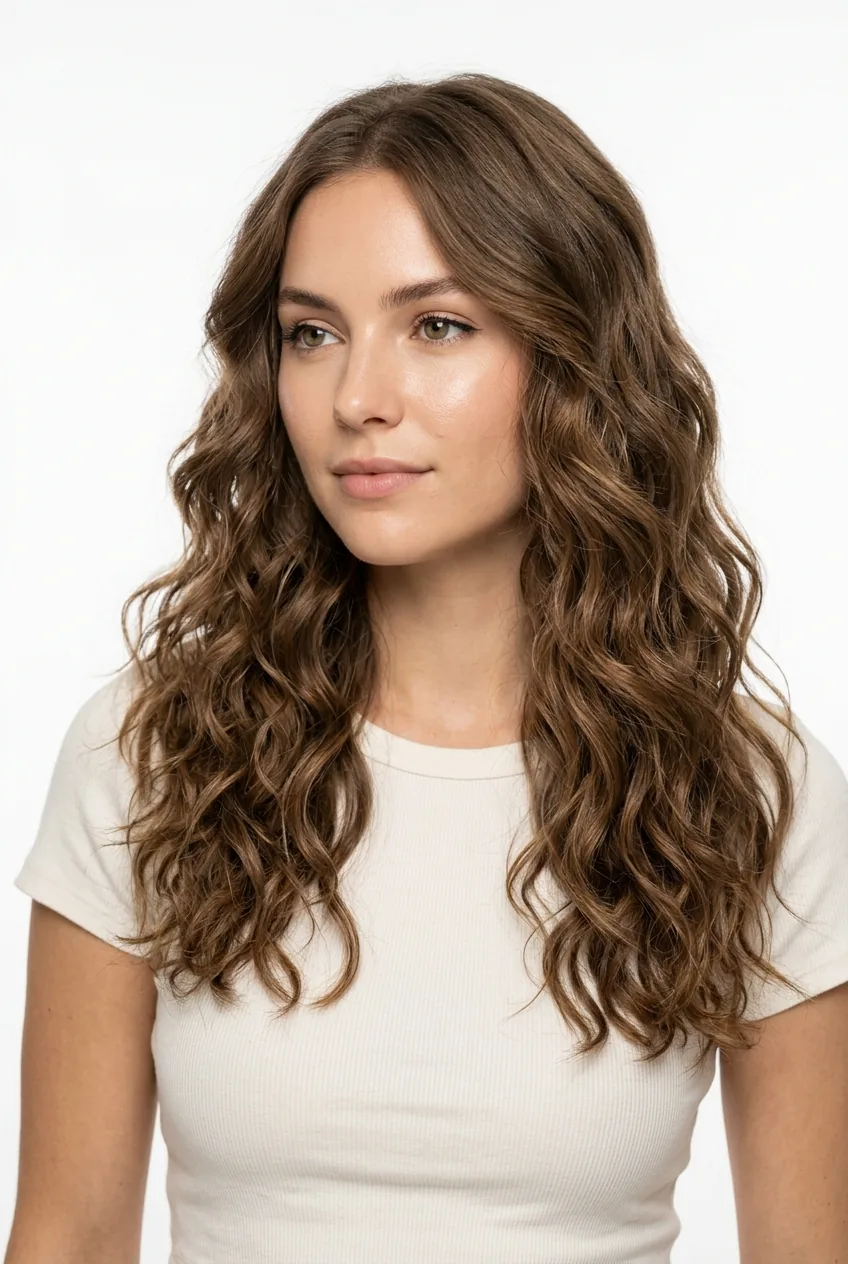
4. Easy Level: Textured Beach Waves
Difficulty: ⭐⭐ (15-20 minutes)
Tools needed: Texturizing spray, scrunching technique or diffuser
Perfect for: When you want that effortless, just-got-back-from-vacation vibe
Beach waves are having a moment, and honestly, they never really left. I spray damp hair with texturizing spray, scrunch it up, and let it air dry. If I’m in a hurry, I use a diffuser on low heat.
The key is not overthinking it. Natural texturizing methods work better than trying to force perfect curls. Embrace the messiness — that’s where the magic happens.
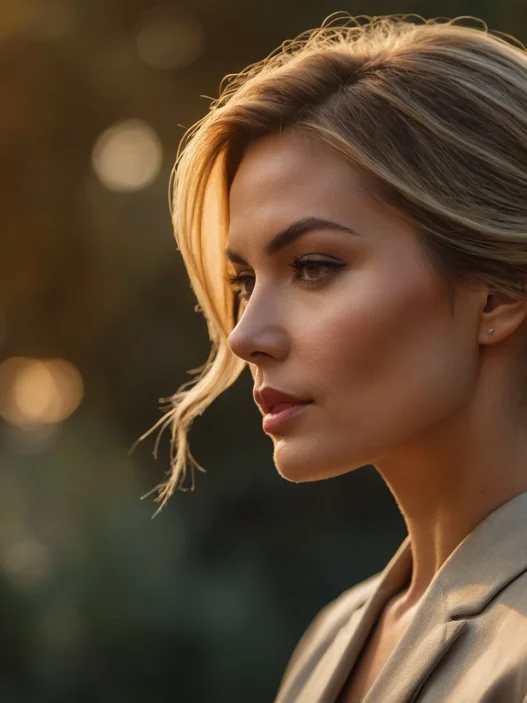
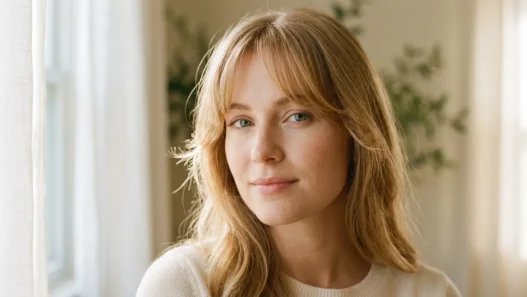
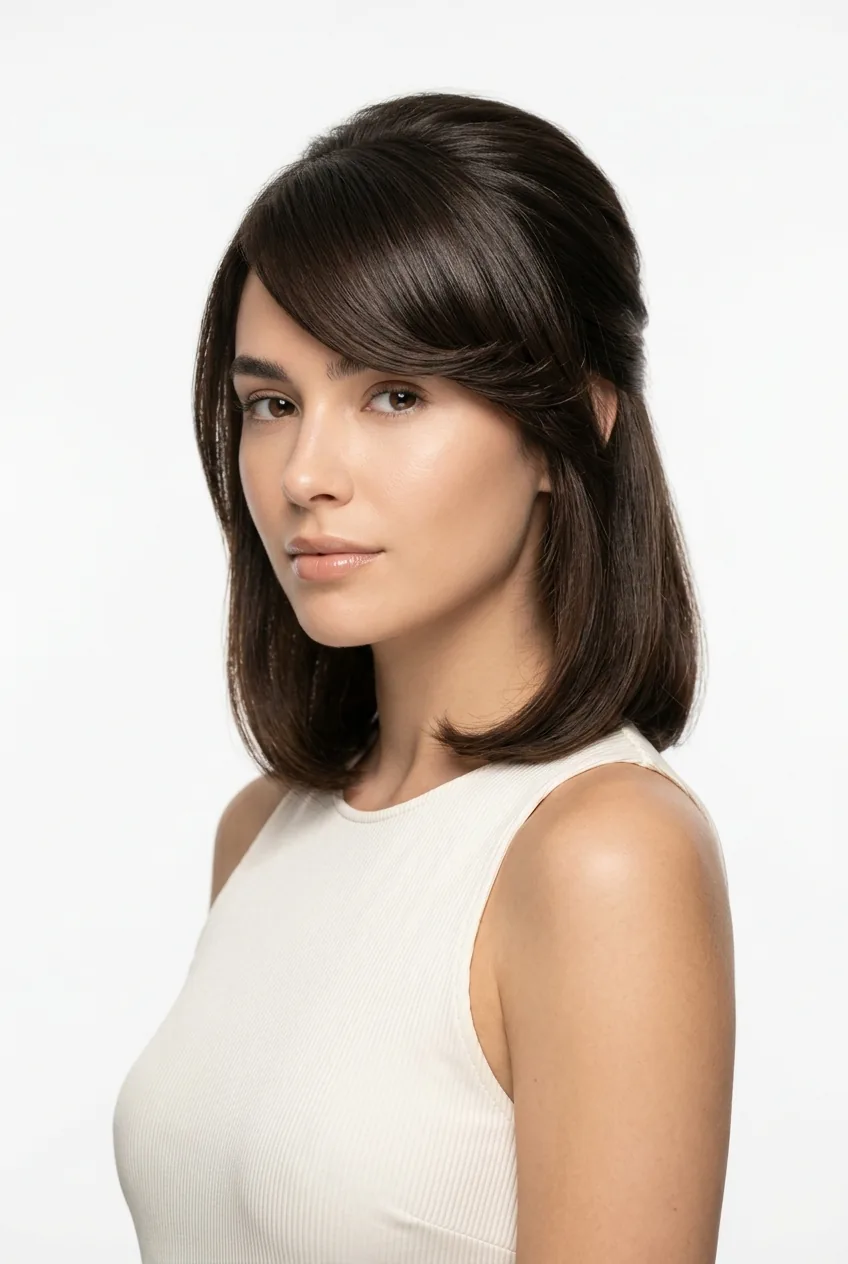
5. Easy Level: Side-Swept Bangs Refresh
Difficulty: ⭐⭐ (10 minutes)
Tools needed: Round brush, blow dryer
Perfect for: Updating your look without a major change
If you already have bangs, learning to style them properly changes everything. I wrap my bangs around a small round brush and blow dry them to one side, creating that soft sweep that frames the face perfectly.
This technique works whether you’re growing out your bangs or refreshing a recent cut. The side-swept look is incredibly flattering on most face shapes.
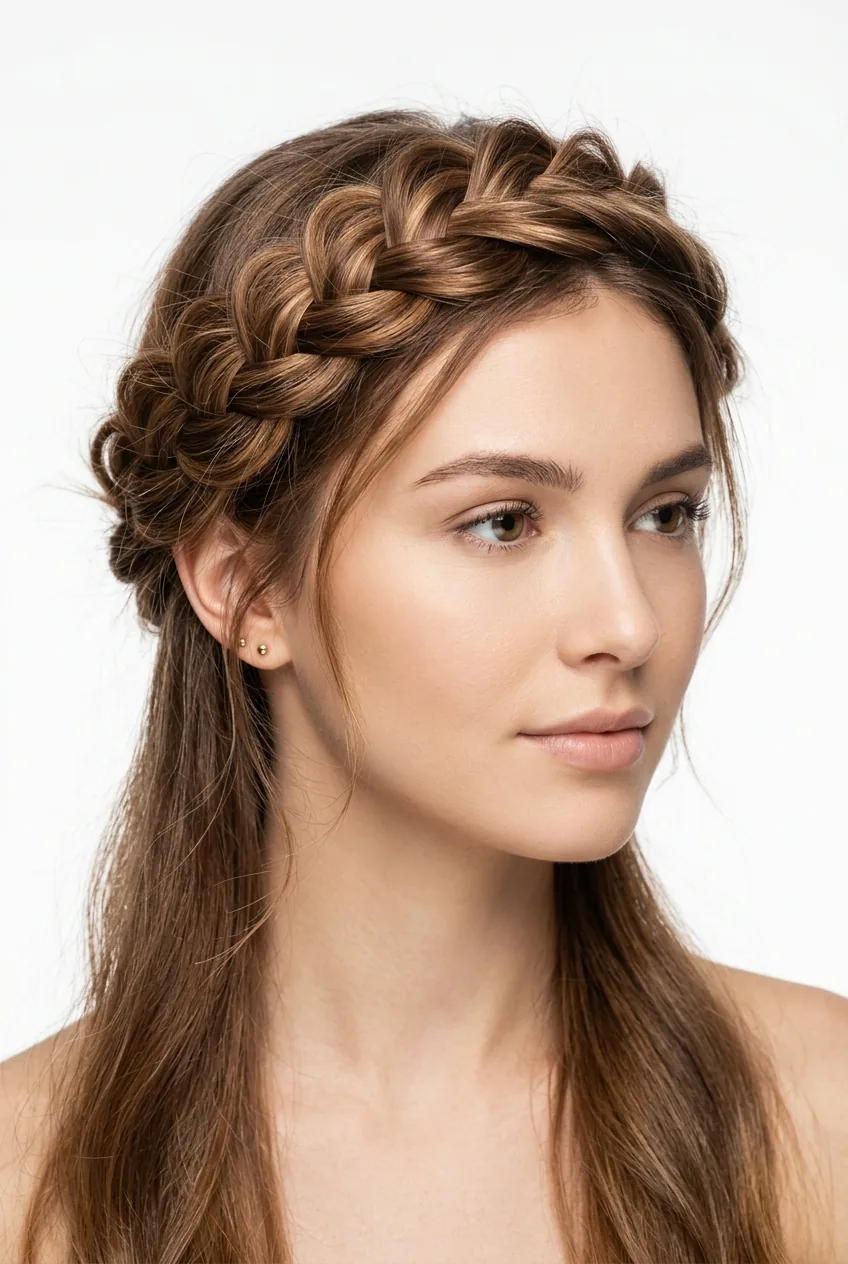
6. Intermediate Challenge: Loose Braided Crown
Difficulty: ⭐⭐⭐ (25-30 minutes)
Tools needed: Small elastics, bobby pins, texturizing spray
Perfect for: Special occasions when you want something romantic
This is where we start getting into territory that requires actual braiding skills. You create loose braids on both sides of your head, then pin them across the top like a crown. It sounds more complicated than it is, but you do need to practice.
My personal pick for date nights. There’s something so feminine and romantic about a braided crown, especially when you pull out a few face-framing pieces. I always get compliments when I wear this style.
The secret is making the braids deliberately messy. Perfect braids look too formal — you want that undone, romantic texture.
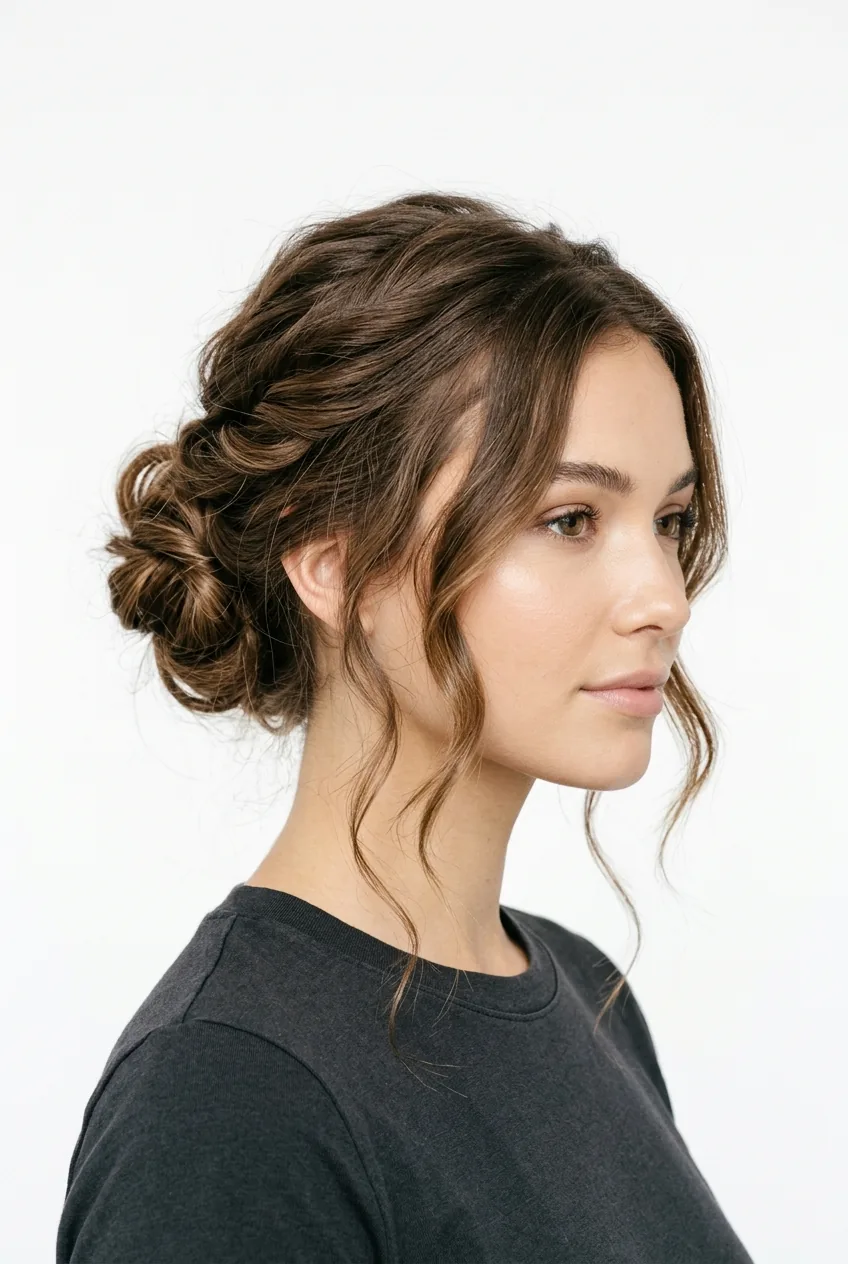
7. Intermediate Challenge: Effortless Updo with Face-Framing Pieces
Difficulty: ⭐⭐⭐ (20 minutes)
Tools needed: Bobby pins, hair elastic, light-hold hairspray
Perfect for: When you need to look put-together but not overdone
This is my favorite “I’m trying but not too hard” style. You twist sections of hair loosely back, leaving some pieces around your face free, then secure everything into a low, messy bun.
The face-framing pieces are crucial — they soften the whole look and prevent it from being too severe. I usually curl these pieces slightly with my fingers while the hair is still damp.
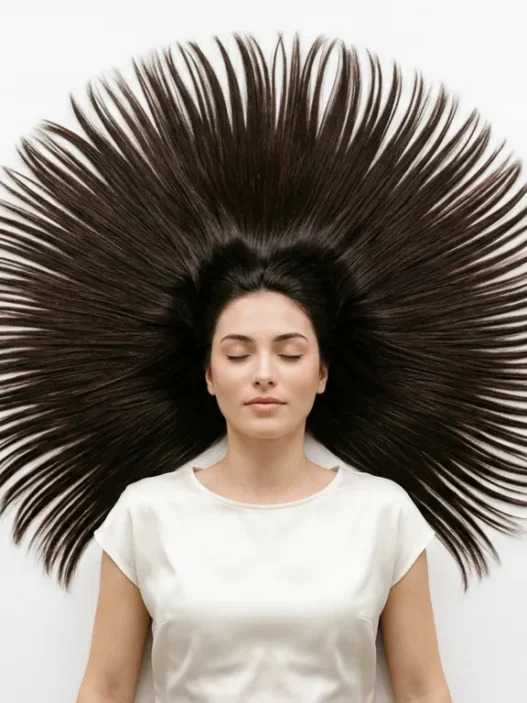
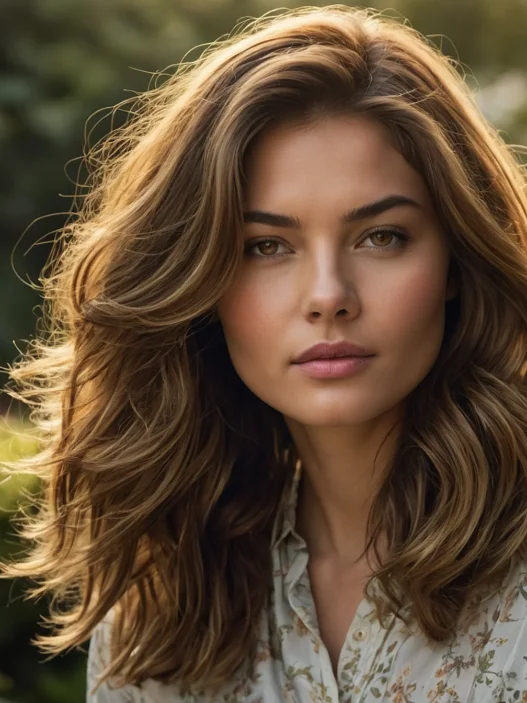
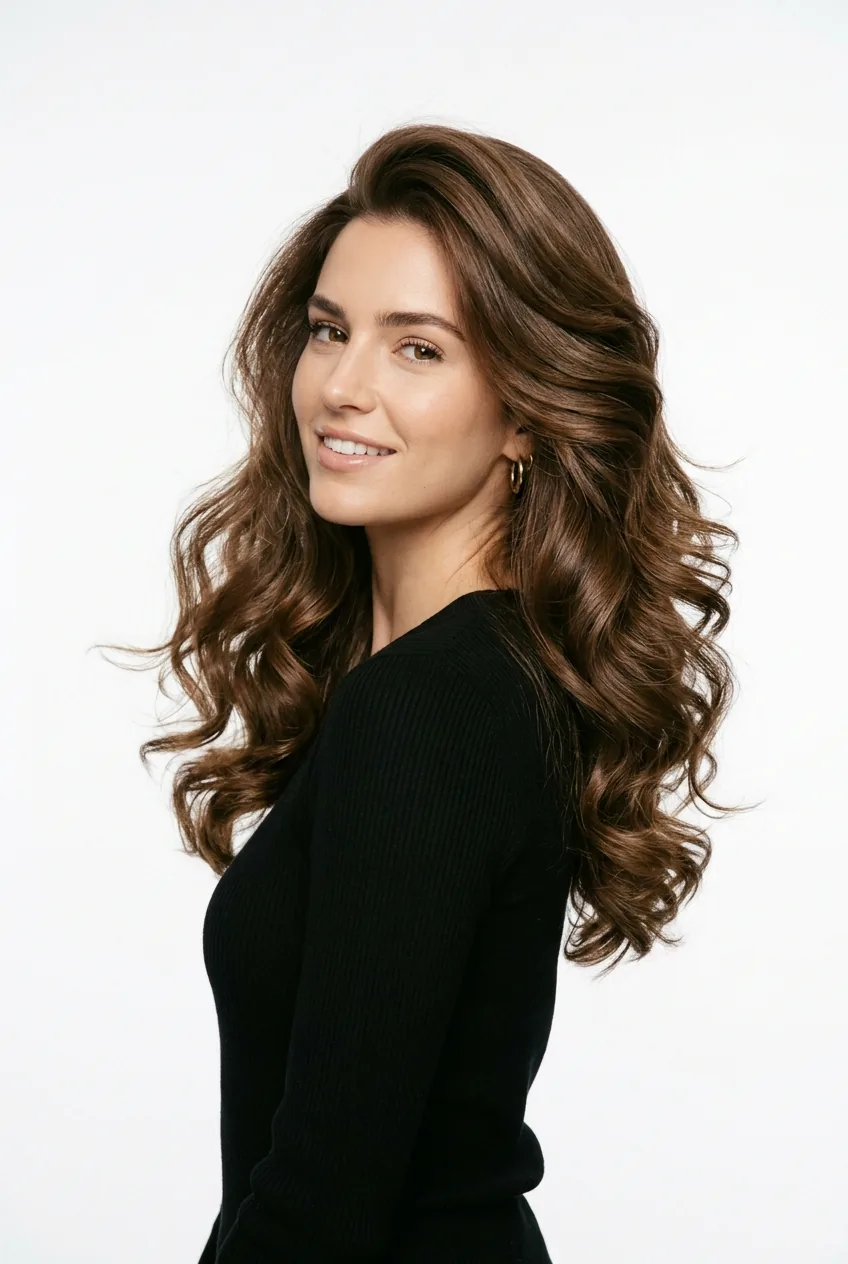
8. Intermediate Challenge: Voluminous Blowout
Difficulty: ⭐⭐⭐ (35-45 minutes)
Tools needed: Round brush, blow dryer, volumizing mousse, heat protectant
Perfect for: When you want that salon-fresh feeling at home
A good blowout is an art form. I section my hair, apply volumizing mousse to damp strands, then use a large round brush to create lift at the roots while smoothing the lengths.
This technique took me forever to master, but once you get it, you’ll never want to go back to basic air-drying. The volume and movement you get are incredible. If you have lob hairstyles, this technique gives them serious bounce and body.
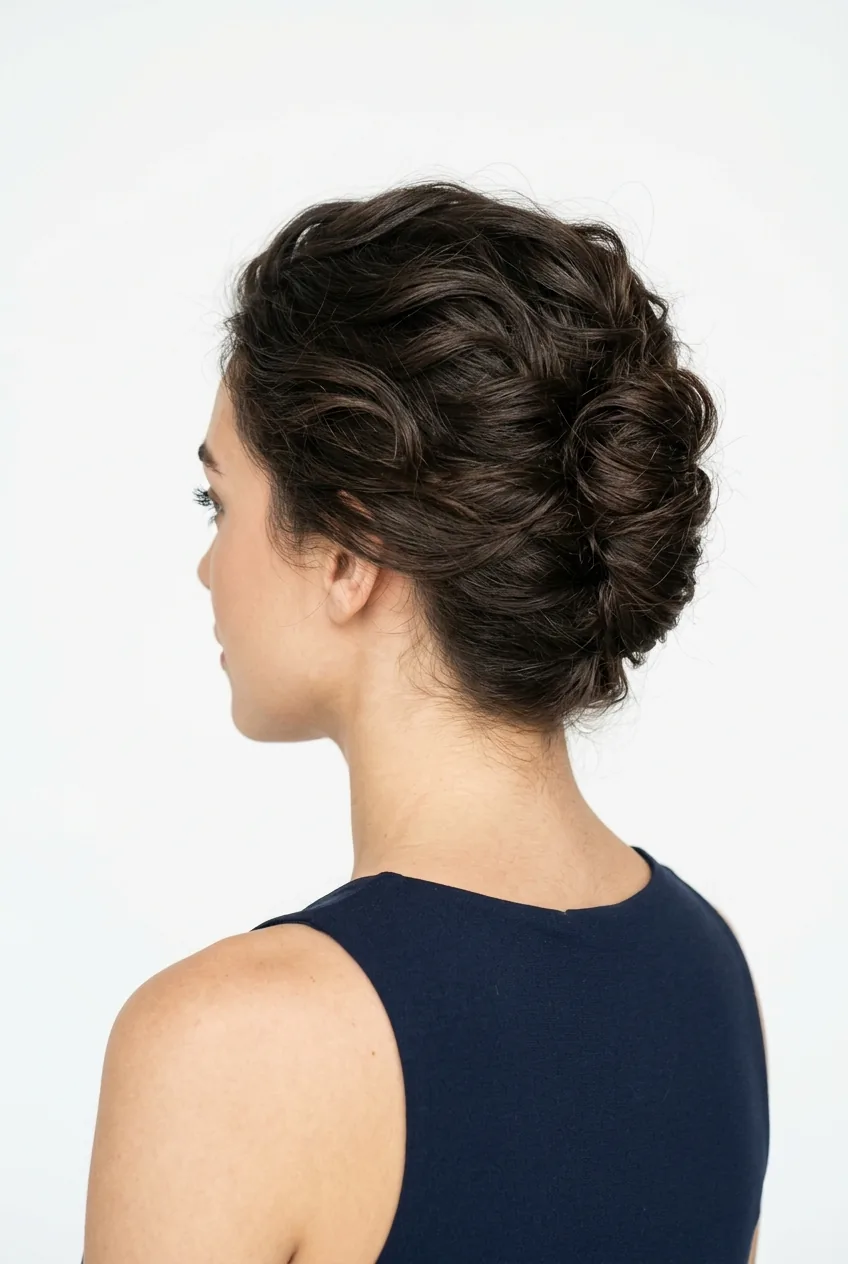
9. Advanced Level: French Twist with Modern Texture
Difficulty: ⭐⭐⭐⭐ (30-40 minutes)
Tools needed: Bobby pins, hair spray, texturizing paste
Perfect for: Formal events where you want classic elegance with a twist
The French twist is having a renaissance, but the modern version is less perfect and more textured. Instead of slicking everything back, I create deliberate messiness and pull out strategic pieces.
This style requires patience and practice. Your first few attempts might look more “bird’s nest” than “chic Parisian,” but don’t give up. The technique becomes muscle memory eventually.
10. Advanced Level: Layered Curtain Bangs Cut

Difficulty: ⭐⭐⭐⭐ (Professional cut required)
Tools needed: Professional hairstylist, round brush for styling
Perfect for: A face-framing update that works with most hair lengths
Curtain bangs look simple, but the cut itself is quite technical. The layering has to be precise to create that perfect face-framing effect. I learned this when I tried to trim my own and ended up with uneven chunks.
Professional styling techniques make all the difference in how these bangs fall and move. Once you have the cut, styling them becomes much easier.
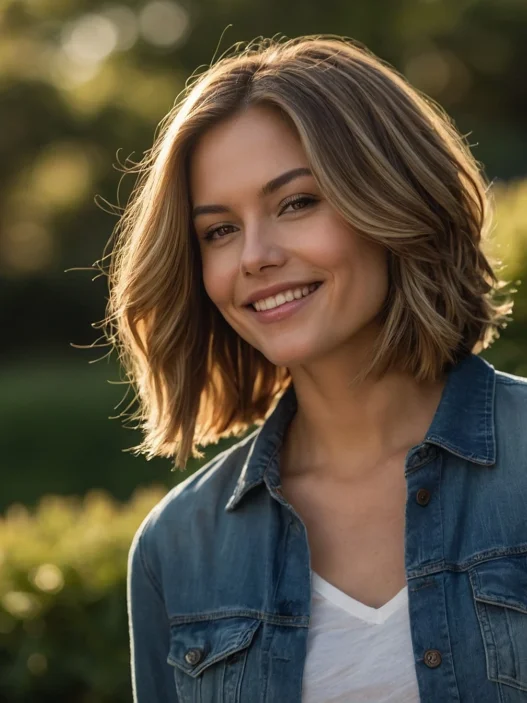
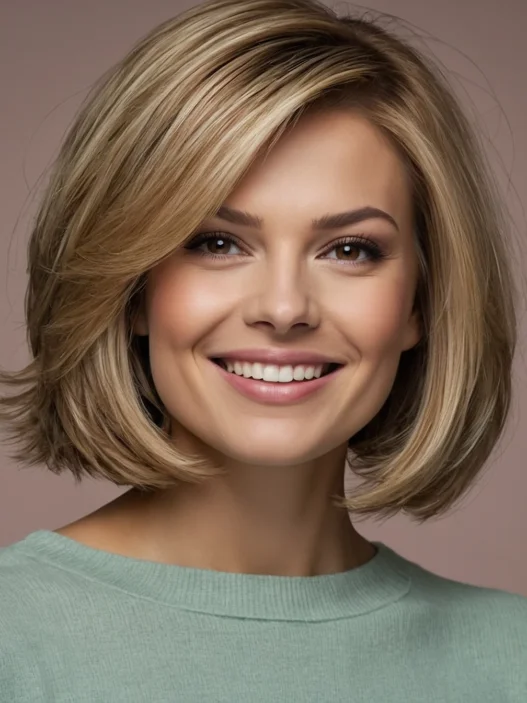
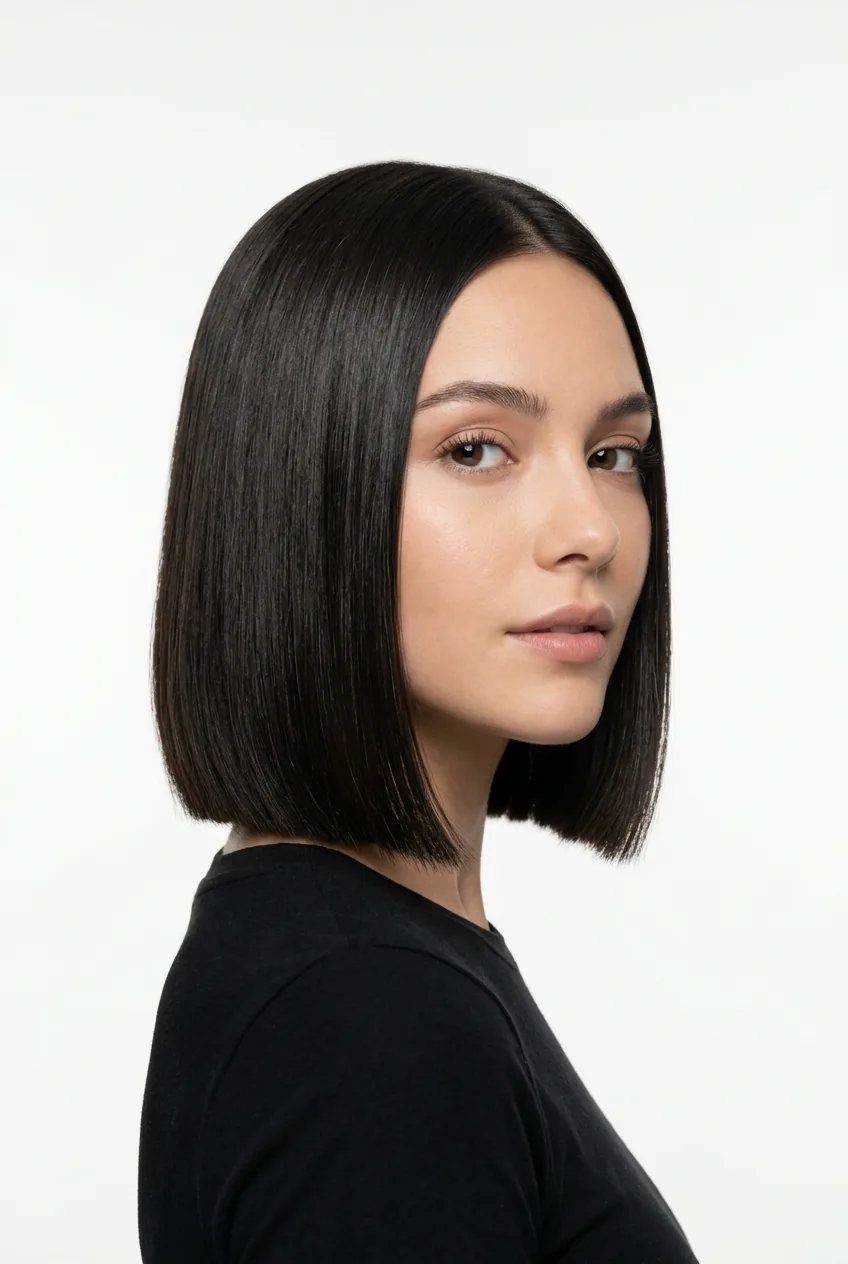
11. Advanced Level: Sleek Bob with Precision Ends
Difficulty: ⭐⭐⭐⭐ (40-50 minutes for styling)
Tools needed: Flat iron, fine-tooth comb, smoothing serum
Perfect for: When you want that sharp, editorial look
A sleek bob looks deceptively simple, but achieving that glass-like smoothness and perfectly straight ends takes serious skill. Every section has to be flat-ironed to perfection, and the ends need to be razor-sharp.
This is not a forgiving style — any frizziness or uneven sections will be immediately obvious. But when done right, it’s absolutely stunning and incredibly chic.
12. Master Level: Dimensional Balayage Placement

Difficulty: ⭐⭐⭐⭐⭐ (Professional only)
Tools needed: Professional colorist, multiple sessions
Perfect for: Adding dimension and movement to any base color
Balayage might look like “just highlights,” but proper placement is an art form that takes years to master. The way the color is painted onto the hair, where it’s placed, how it blends — all of this affects the final result dramatically.
I’ve seen too many DIY balayage disasters to ever attempt this at home. A skilled colorist considers your face shape, skin tone, and hair texture to create something truly custom. The investment is worth it for the natural-looking dimension you get.
Pairing beautiful balayage with sleek summer styling creates an incredibly modern, fresh look that works for any season.
Quick Questions I Get About Simple Hairstyles
Can I master all these styles eventually?
Absolutely! I started with basic ponytails and worked my way up. The key is practicing one level at a time and not jumping ahead before you’re comfortable. Most intermediate styles become second nature within a month of regular practice.
How do I know if a style suits my face shape?
Trial and error, honestly. I photograph myself from different angles when trying new styles — your phone camera doesn’t lie. Also, pay attention to which styles get compliments. That’s usually a good sign they’re working for you.
What if I mess up an advanced technique?
Always have a backup plan! I keep dry shampoo and hair ties handy for emergency ponytails. Most “failed” advanced styles can be salvaged into a messy bun or textured waves with the right products.
Should I invest in professional tools right away?
Start with basics and upgrade as your skills improve. A good round brush and quality flat iron will take you far, but you don’t need salon-level equipment for beginner styles. Invest in better tools when you’re consistently doing intermediate-level styling.
Simple doesn’t have to mean boring — it just means finding the right level of challenge for where you are right now. Start with the beginner styles, master those completely, then work your way up. Your hair (and your morning routine) will thank you for it.