


I spent three years looking like a moon face every time I left the salon. Round face, they said — go shorter, add layers, create angles. Every single cut made me look wider. My cheeks puffed out more. My jawline disappeared completely. I was ready to give up and just grow everything out when my friend’s stylist finally explained what everyone else was doing wrong.
What Was Going Wrong With My Cuts
Every stylist was making the same mistake — they were cutting my hair to “open up” my face by going too short around the cheeks. The problem? When you have a round face, removing length at the widest part actually emphasizes the roundness instead of balancing it.
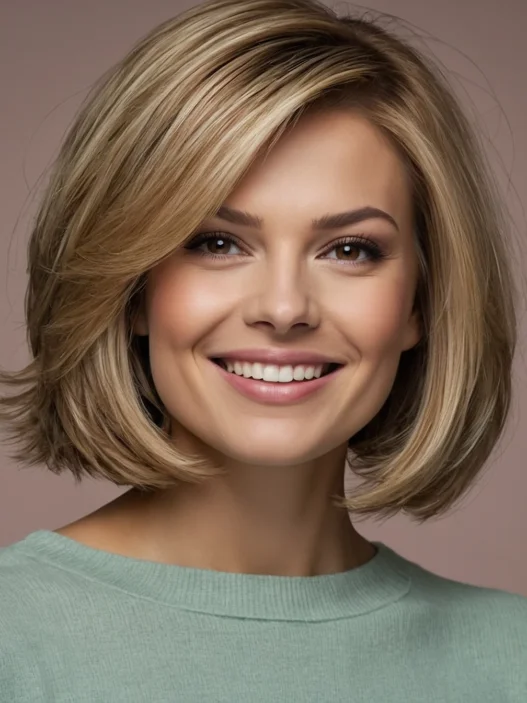
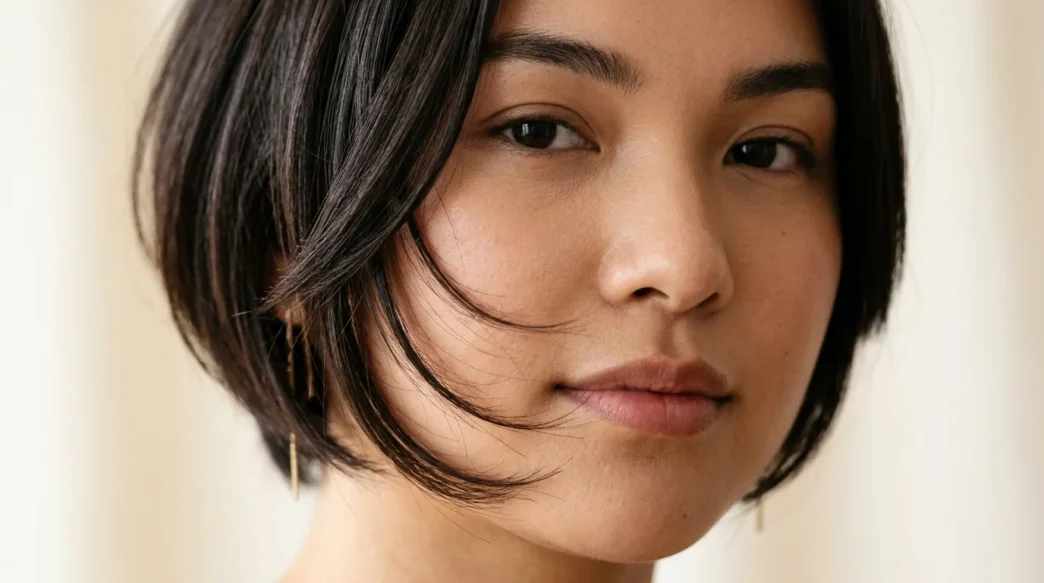
I’d walk in asking for layers to slim my face, and they’d give me choppy pieces that hit right at my cheekbones. The worst was this bob that ended exactly at my jawline — it created a perfect circle from my chin to my temples. I looked like I was wearing a helmet.
What you’ll need for this technique:
- Sharp haircutting shears (not kitchen scissors)
- Fine-tooth comb
- Hair clips for sectioning
- Hand mirror to check angles
- Spray bottle for keeping hair damp
- Good lighting or a trusted friend to help
The Root Cause Most People Miss
Here’s what changed everything for me. Round faces don’t need shorter hair — they need strategic length placement. The goal isn’t to “minimize” your roundness but to create vertical lines that draw the eye up and down instead of side to side.
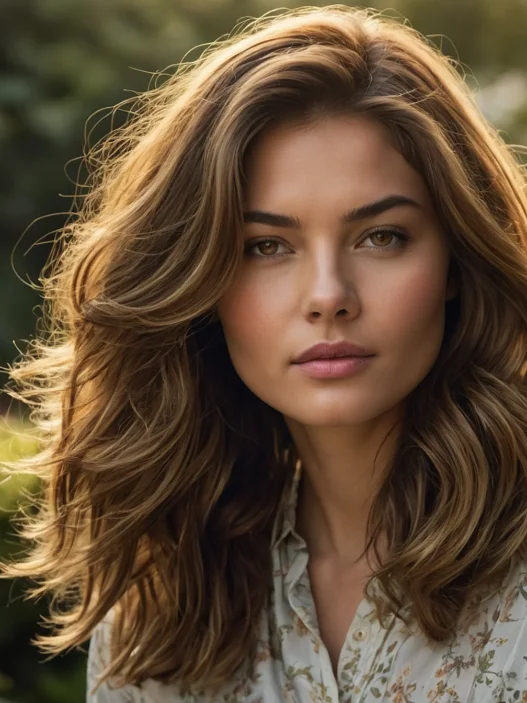
Most stylists focus on width reduction when they should focus on length creation. When you add vertical elements (longer pieces, angled cuts, face-framing layers that extend past your jawline), you’re literally reshaping how people perceive your face.
The magic happens in the angles. Instead of cutting straight across or removing bulk uniformly, you create intentional asymmetry that tricks the eye into seeing length instead of width.
Step 1: Find Your Face’s True Width
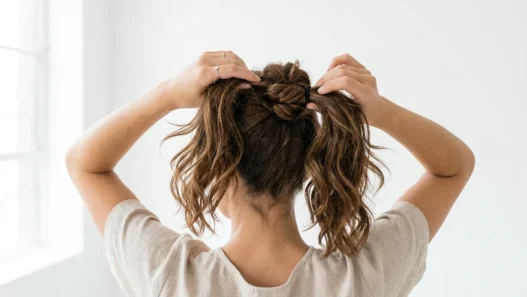
Before you make any cuts, you need to identify where your face is actually widest. Stand in front of a mirror and use your hands to frame your face from different angles. For most round faces, the widest point is somewhere between your temples and your cheekbones.
Pull your hair completely back and take a photo straight on. Now you can see exactly where the roundness happens. This is your danger zone — any cut that removes length in this area will emphasize width instead of minimizing it.
Mark this mentally (or literally with a washable marker if you’re being precise). Everything we do in the next steps will work around this area, not through it.
Step 2: Mark Your Strategic Points
Now we’re going to identify three critical cutting points. First, find where your earlobe sits — this is your “safe zone” for shorter layers. Second, locate your jawline’s sharpest angle (usually about an inch below your earlobe). Third, measure two inches past your jawline for your longest face-framing piece.
These three points create a diagonal line from your ear to past your jaw. This diagonal is what creates the illusion of length and angles on a round face. When you cut following this line instead of cutting straight across, you’re working with your face shape instead of against it.
I made the mistake of trying to eyeball these measurements my first time. Trust me — use a comb to measure. I ended up with one side two inches longer than the other because I was “pretty sure” I had it right.
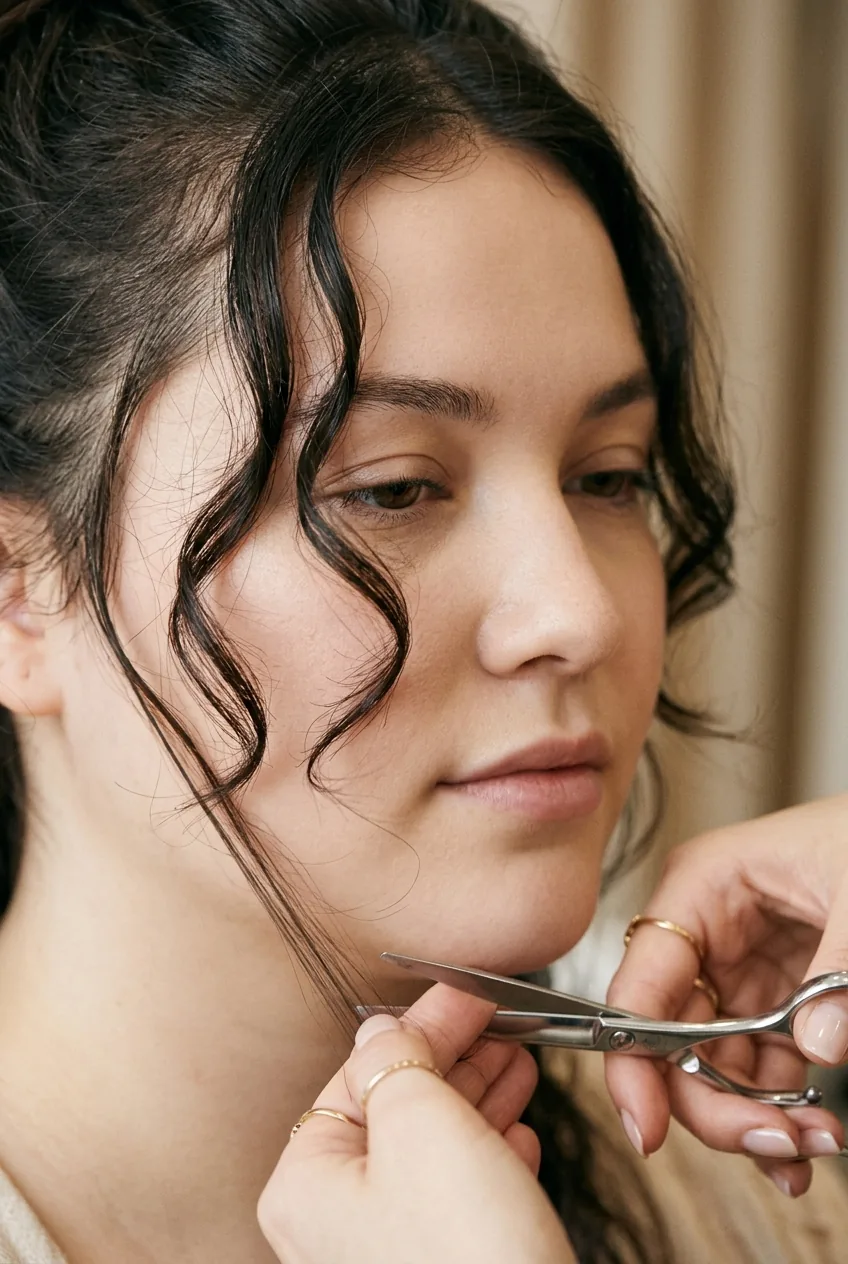
Step 3: Create the Angle That Matters
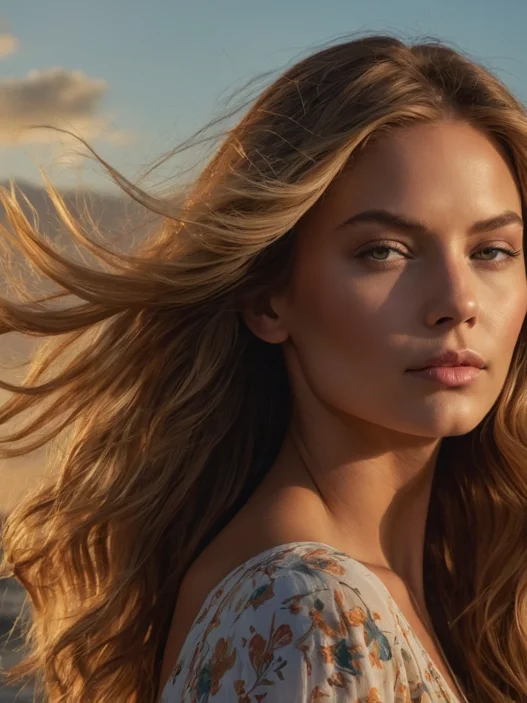
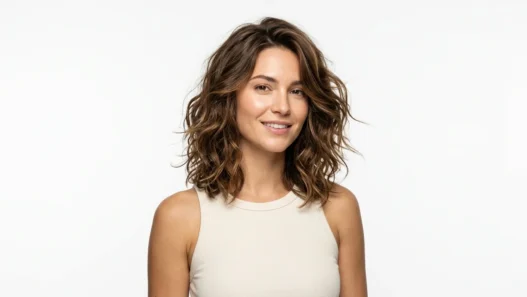
Here’s where the magic happens. Instead of cutting your face-framing pieces straight across, you’re going to cut them at a forward angle. Start at your strategic point near your earlobe and cut diagonally forward and down toward the longer measurement past your jawline.
The angle should be subtle — about 15 to 20 degrees forward. If you go too steep, you’ll look like you have a dramatic A-line bob. Too subtle, and you won’t get the face-lengthening effect you need. Hold the hair section at a 45-degree angle away from your head while cutting to achieve this forward slope.
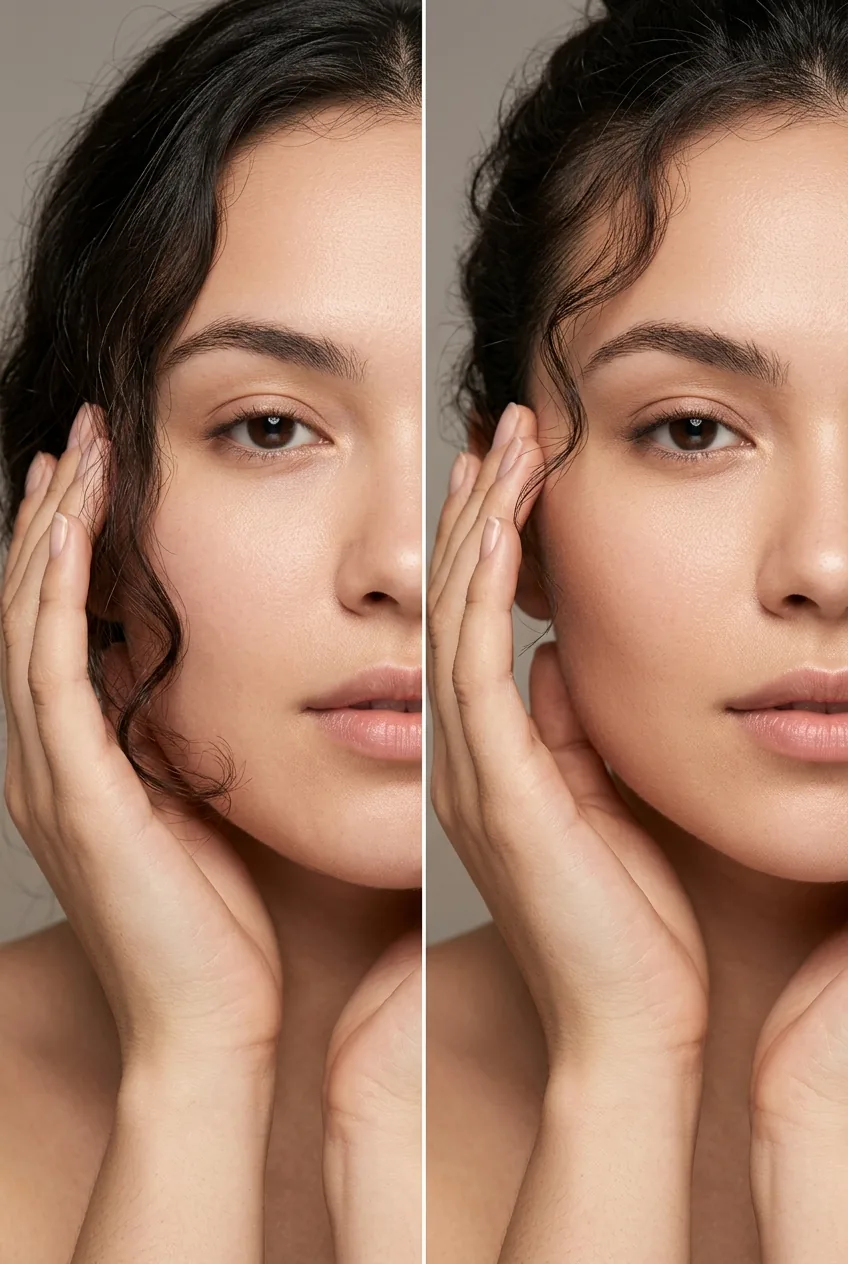
This angled cut creates a visual line that draws attention down your face instead of across it. It’s the difference between looking like your hair is sitting on top of a round face versus hair that’s integrated with your bone structure.
See the Angle Technique in Action
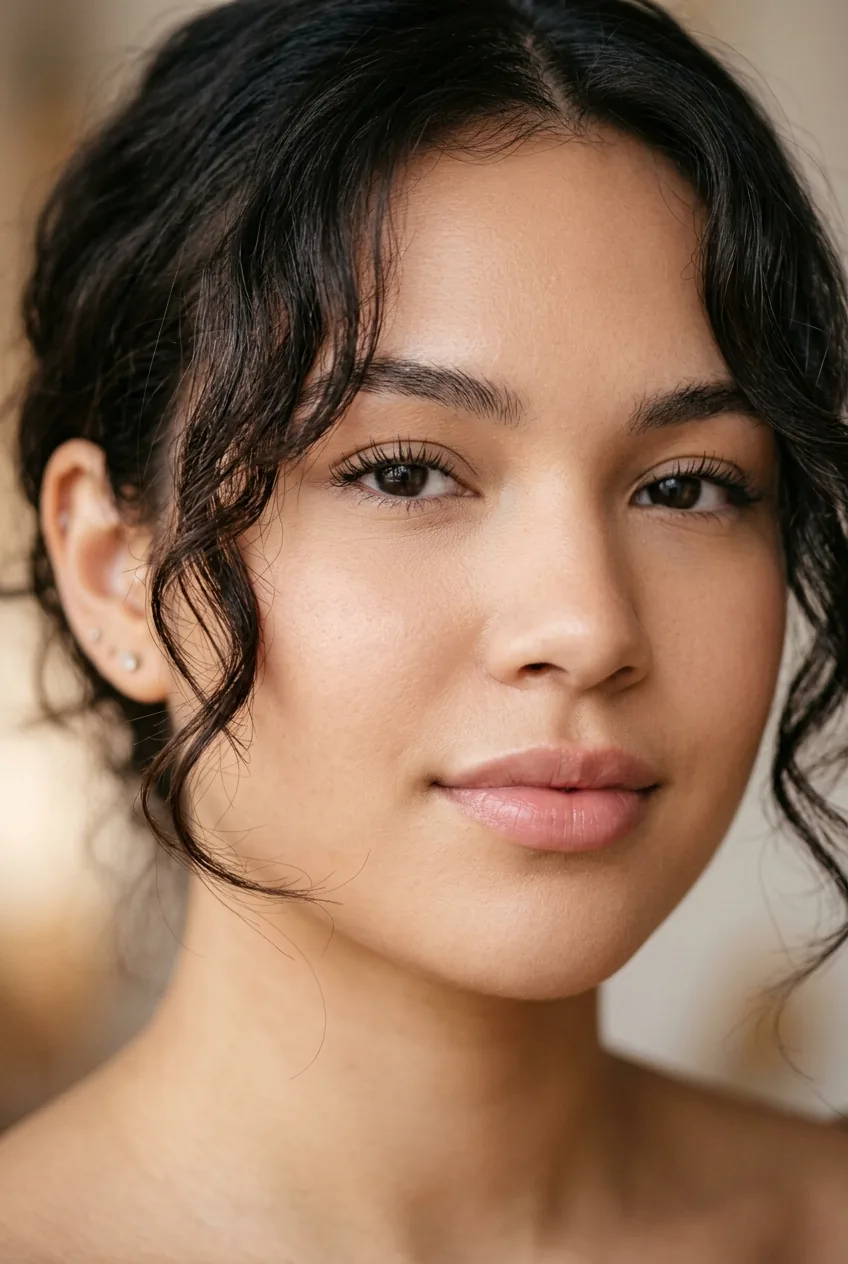
Step 4: Add Face-Framing Magic
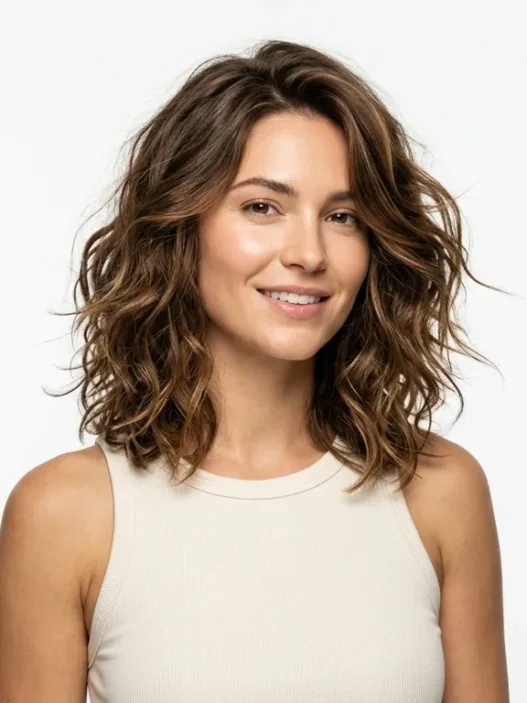
Now we add the layers that actually flatter round faces. These aren’t the chunky, all-one-length layers that most people get. You want wispy, graduated pieces that start long and get progressively shorter as they move away from your face.
Take thin vertical sections from your temple area and cut them at varying lengths — the longest piece should hit about two inches below your jawline, with each subsequent piece getting about half an inch shorter. This creates soft, feathery layers that add movement without bulk.
The key is keeping these layers soft and blended. Sharp, choppy pieces will create horizontal lines across your face, which is exactly what we’re trying to avoid. Think gentle graduation, not dramatic steps.
If you’re dealing with hairstyles for fine hair, these face-framing layers are especially important because they add the illusion of volume right where you need it most.
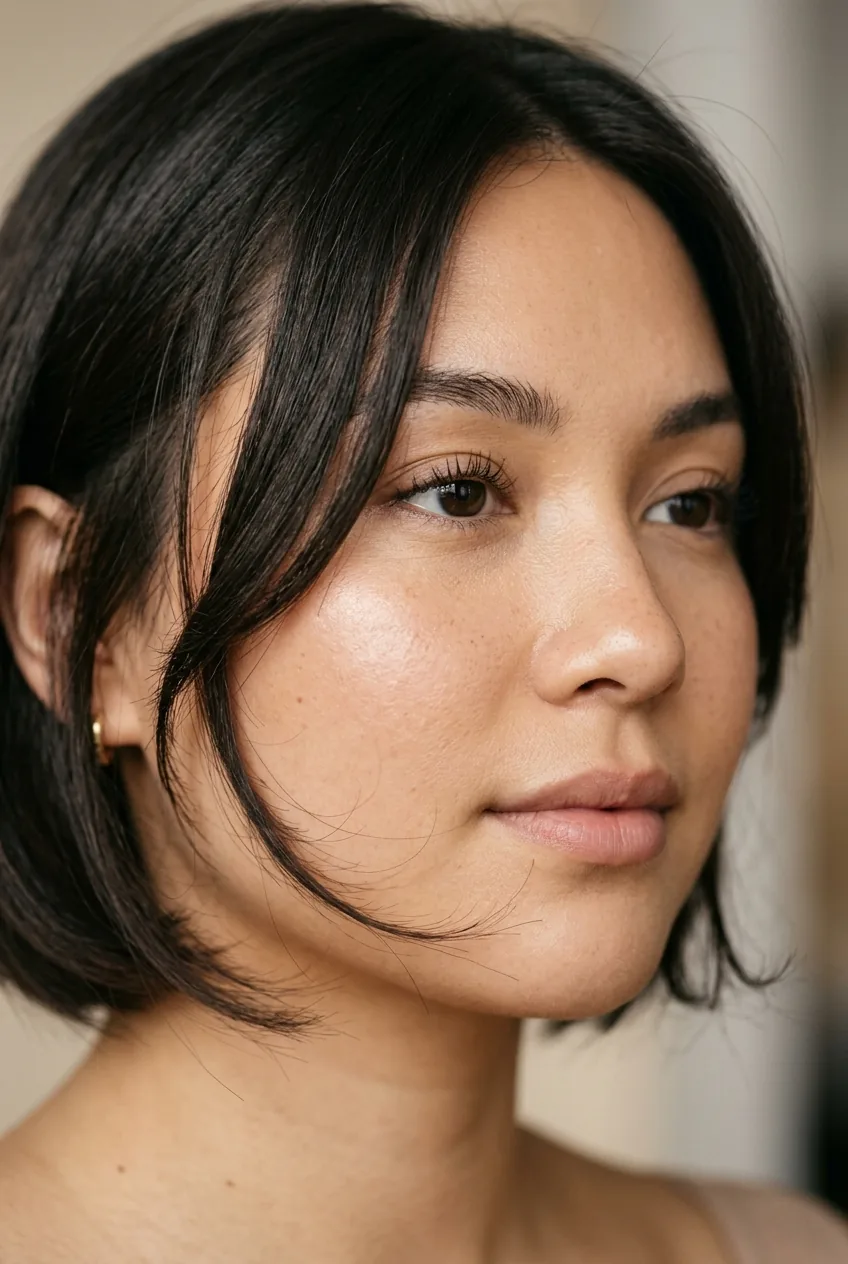
Step 5: Perfect the Finishing Details
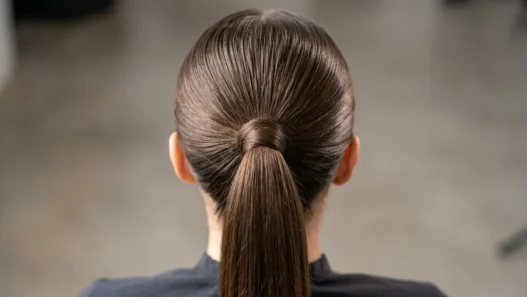
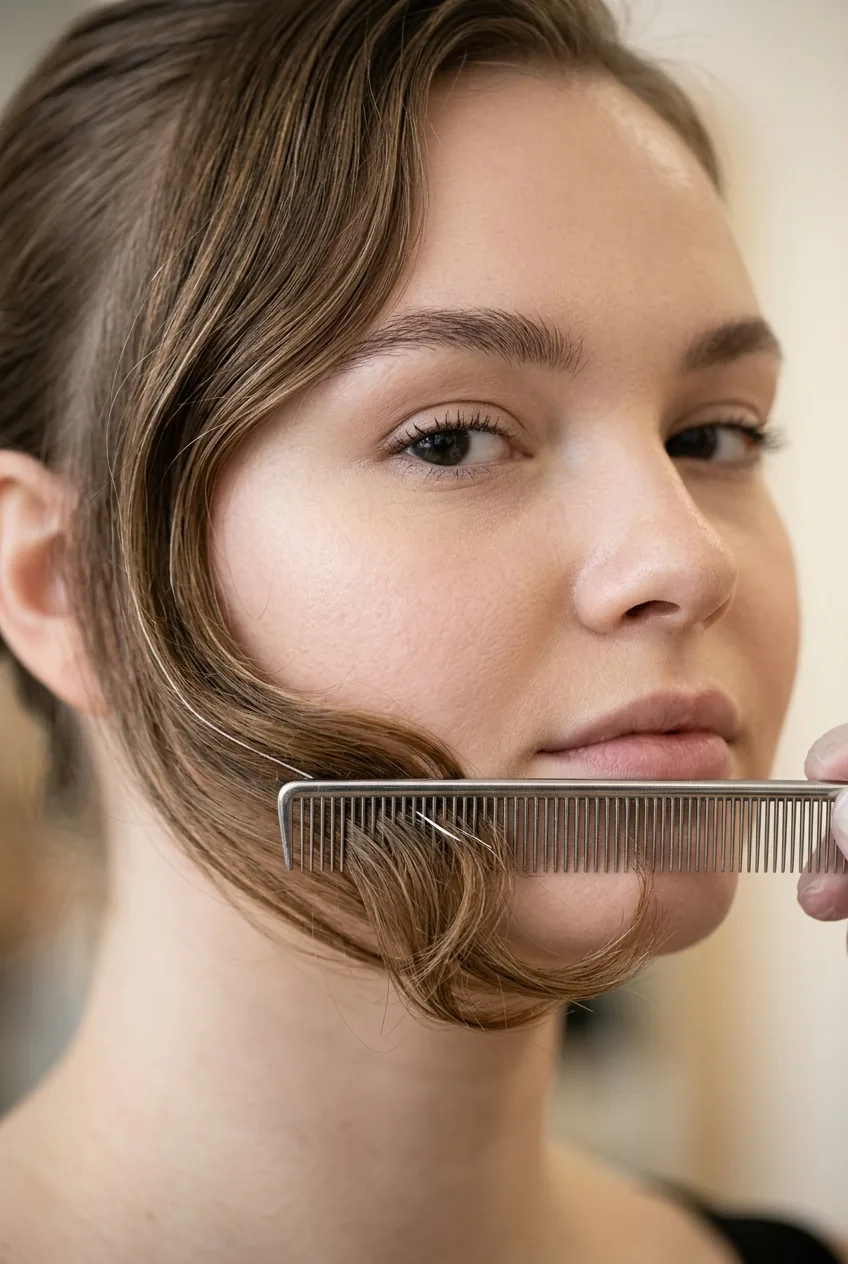
The final step is refining your cut to eliminate any harsh lines or uneven pieces. Use your fine-tooth comb to check that your angles are consistent on both sides. The longest face-framing pieces should hit at the same point below your jawline when you hold your head straight.
Now check your back and sides to make sure you haven’t created any awkward weight lines. The beauty of this technique is that it works with most base cuts — whether you prefer a bob, long layers, or even shorter styles. The face-framing is what does the heavy lifting.
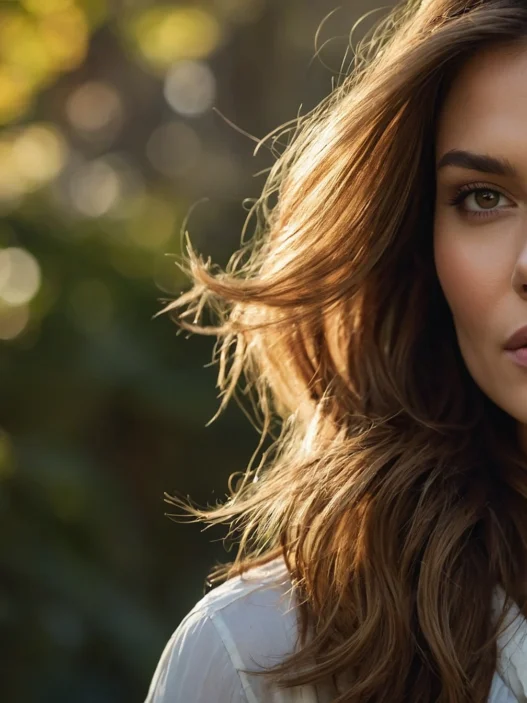
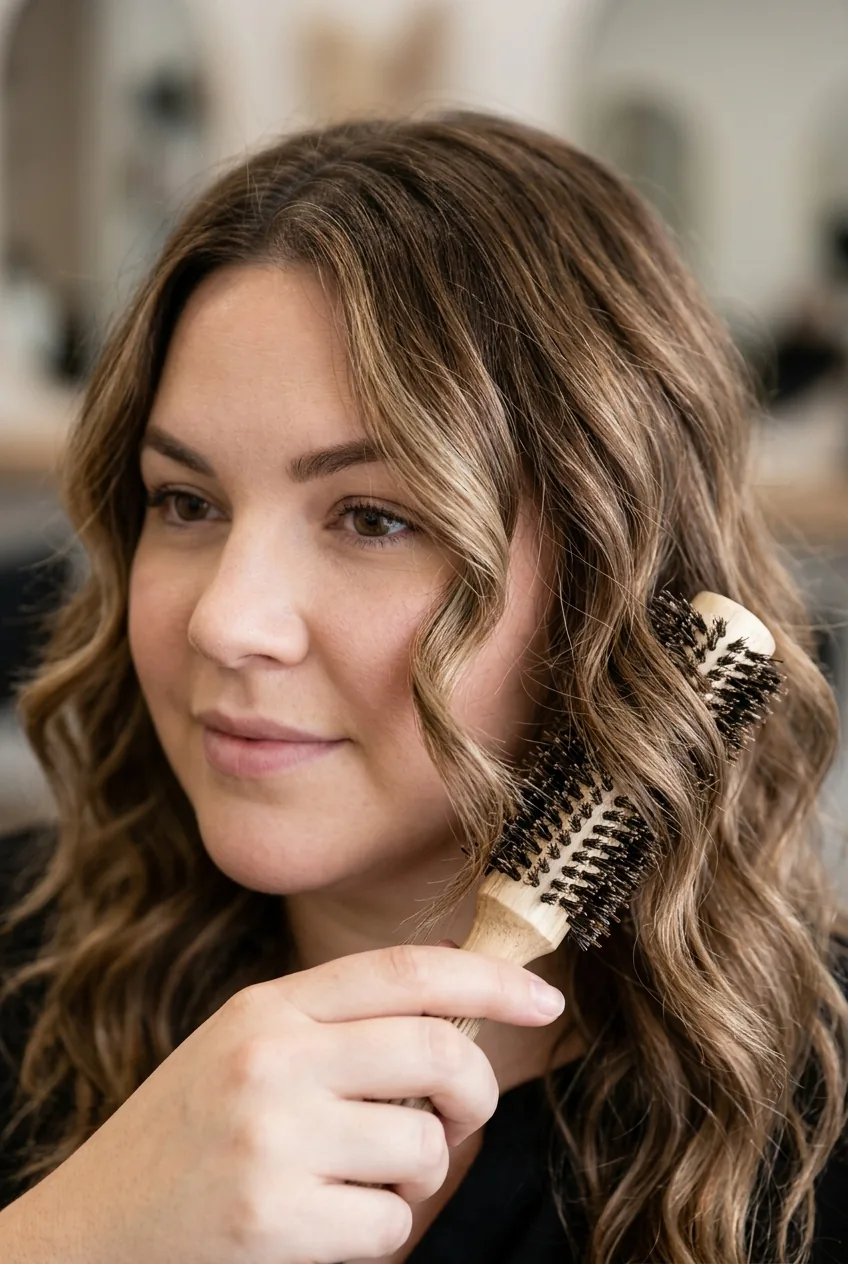
Style your hair forward slightly when it’s wet, then let it air dry or blow dry with a round brush pulling the face-framing pieces forward and slightly under. This enhances the angles you’ve created and gives you that polished, intentional look instead of just “I got a haircut.”
For those dealing with texture, this technique works beautifully with hairstyles for thin curly hair because the angles help define curl patterns while creating face-slimming lines.
Making Your Cut Last
The biggest mistake people make is not maintaining these angles as their hair grows. Professional cutting techniques can help you understand the theory, but you’ll need to trim these face-framing pieces every 6-8 weeks to keep the effect sharp.
Between cuts, style these pieces with a slight forward motion. Use a light texturizing spray to enhance the movement without weighing down the hair. Avoid heavy products right around your face — they’ll flatten the pieces and eliminate the angles you worked so hard to create.
When you do go for professional trims, bring photos of your hair when it looked best and specifically ask them to maintain the forward angle of your face-framing pieces. Most stylists understand this technique once you explain what you want.
Quick Answers Before You Start
Can I do this technique on curly hair?
Absolutely, but you’ll need to cut it when it’s dry and in its natural curl pattern. The angles work even better with curls because they create more dramatic vertical lines as the hair moves.
How short can I go and still use this method?
You need at least enough length to reach past your jawline for the face-framing pieces. If you want to go shorter overall, you can, but keep those front pieces longer for the slimming effect.
What if I mess up the angles?
Start conservatively — you can always cut more, but you can’t add length back. If you end up with uneven pieces, a professional can usually fix minor mistakes by adjusting the overall shape.
Will this work with a side part or middle part?
It works with both, but a deep side part enhances the asymmetrical effect. Middle parts can work if you keep the face-framing pieces long enough to create diagonal lines on both sides.
Three months later, I still can’t believe how different my face looks with this technique. The angles genuinely changed how I photograph and how confident I feel about my profile. My round face finally has some definition, and I’m not hiding behind my hair anymore.