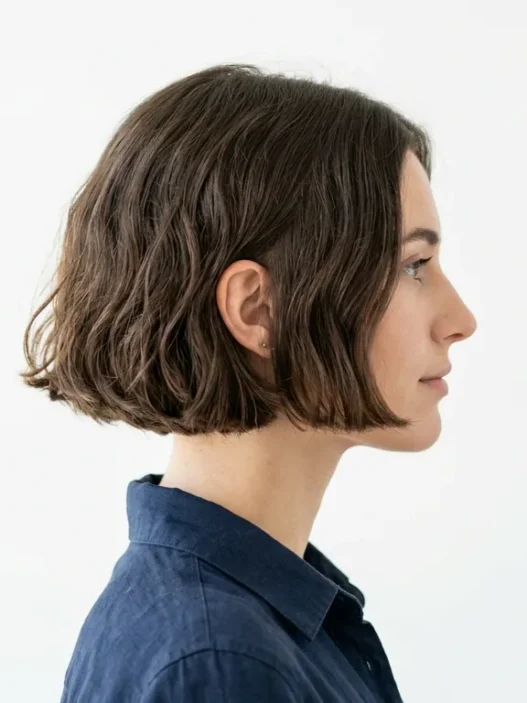

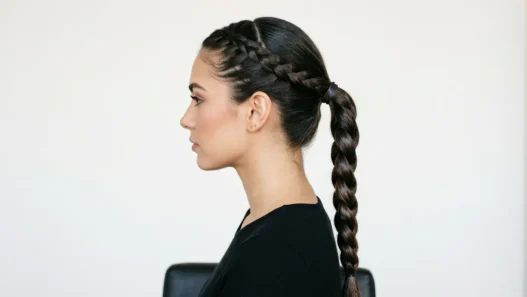


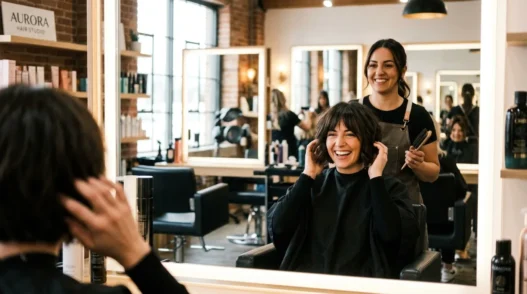

I’ve been obsessing over French bobs for months. You know that effortlessly chic, slightly undone look that Parisian women seem to wake up with? I finally got tired of screenshotting Instagram photos and decided to cut my own. After three attempts (and one emergency hat week), I figured out exactly how to get that perfect French bob at home.
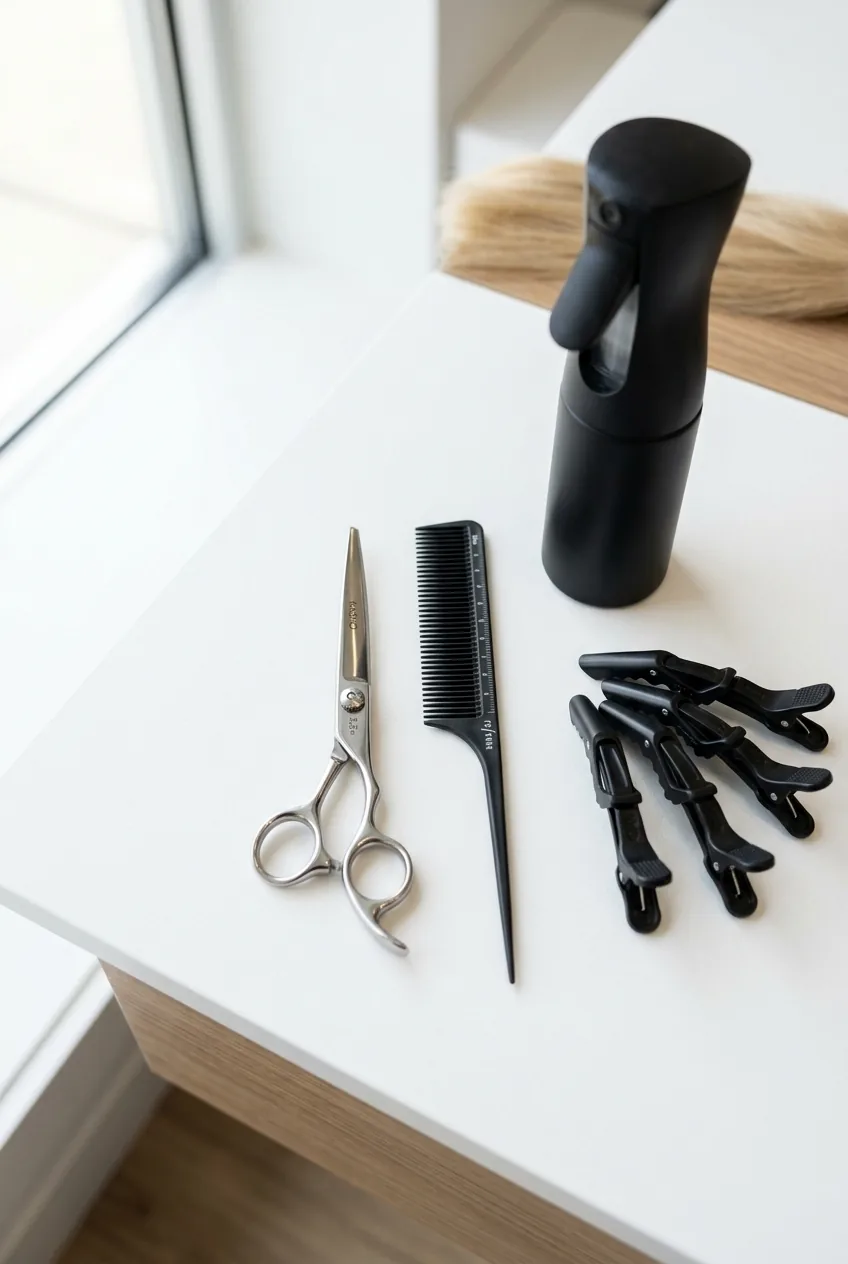
What You’ll Need for Your French Bob
Don’t overthink the tools. I learned this the hard way after buying way too many “professional” gadgets that just collected dust.
- Sharp haircutting scissors (not your kitchen shears — please)
- Fine-tooth comb
- Hair clips for sectioning
- Spray bottle for keeping hair damp
- Hand mirror to check the back
- Good lighting (bathroom lighting will lie to you)
- Blow dryer and round brush
- Texturizing spray for that piecey finish
Step 1: Prep and Section Your Hair
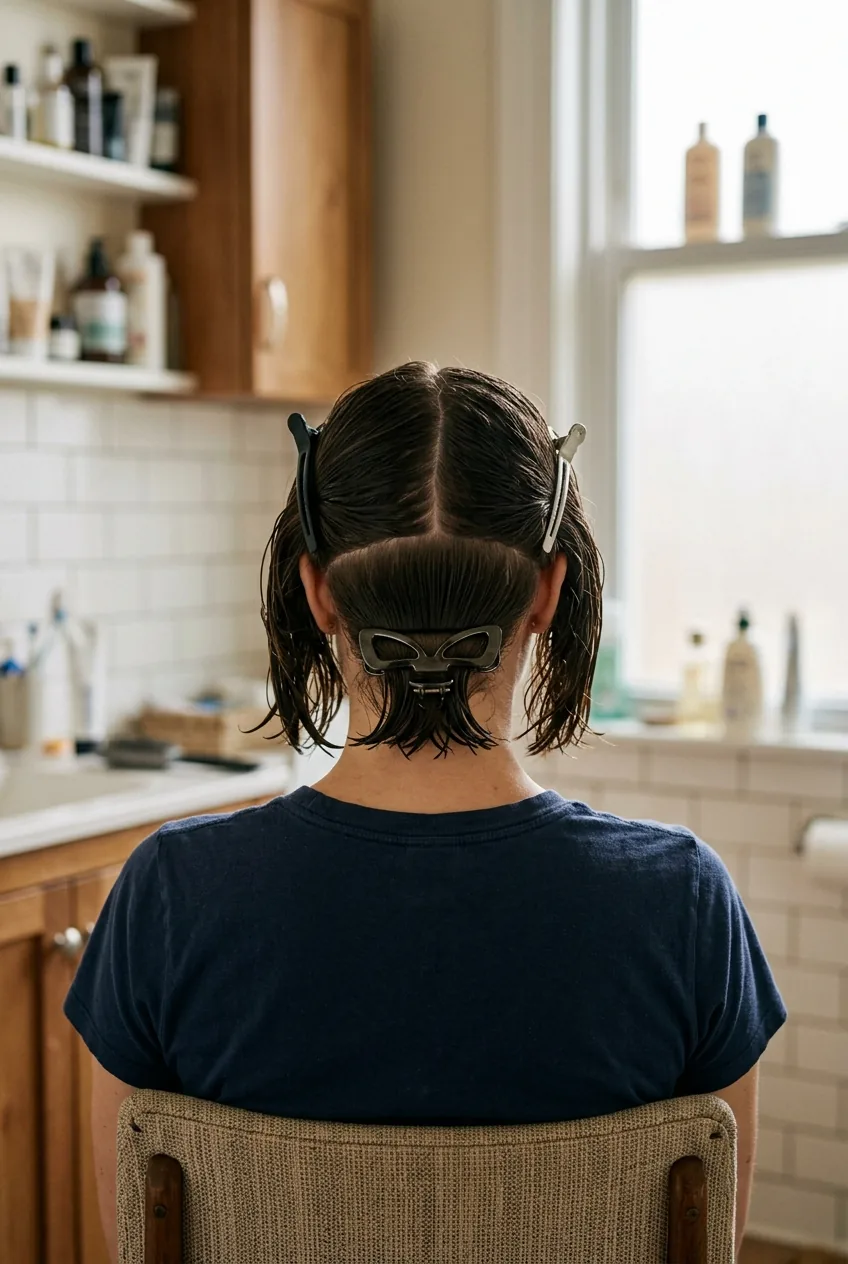
Start with clean, damp hair. Not soaking wet, not dry — that perfect in-between where it holds its natural texture but doesn’t drip everywhere.
I part my hair exactly where I normally wear it. This is crucial because the French bob works with your natural fall, not against it. Create three sections: two at the front (temple to temple) and one at the back. Clip the front sections up and out of the way.
The key here is working with damp hair that’s combed straight down. No cowlicks, no weird kinks from sleeping on it wrong.
Step 2: Mark Your Length
This is where most people panic, but trust me — the French bob is forgiving. I aim for that sweet spot just below the jawline, about where your earlobe ends.
Starting at the back, comb a small section straight down and pinch it between your fingers at your desired length. Look in your hand mirror to double-check from the back view. The back should be your shortest point.
My first attempt, I went way too short in the back because I kept second-guessing myself. Start longer than you think — you can always cut more, but growing it back takes months.
Mark this length by making a tiny snip (just the very ends) to create your guide. Don’t cut the whole section yet.
Step 3: The Initial Cut
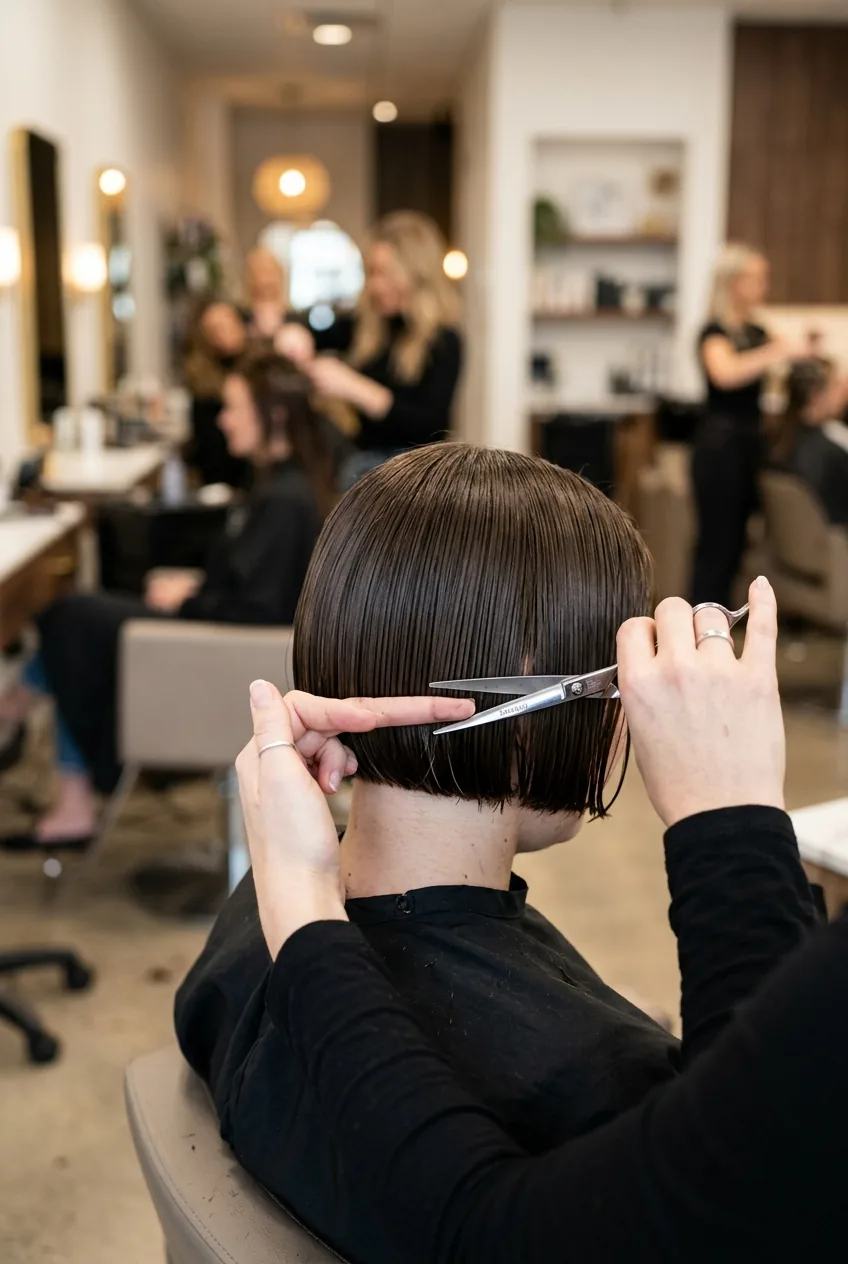
Now we’re committing. Working from the back center, take horizontal sections about an inch thick. Comb each section straight down and cut parallel to the floor.
The magic of French bobs isn’t in perfect precision — it’s in that slightly imperfect, lived-in quality. Don’t stress if every section isn’t identical to the millimeter.
Move systematically from the center back toward your ears, keeping each cut level with your initial guide. I use my fingers as a measuring guide, always comparing the new section to the one I just cut.
When you’re dealing with bob styles, this initial perimeter cut sets everything up. Get this foundation right, and the rest falls into place.
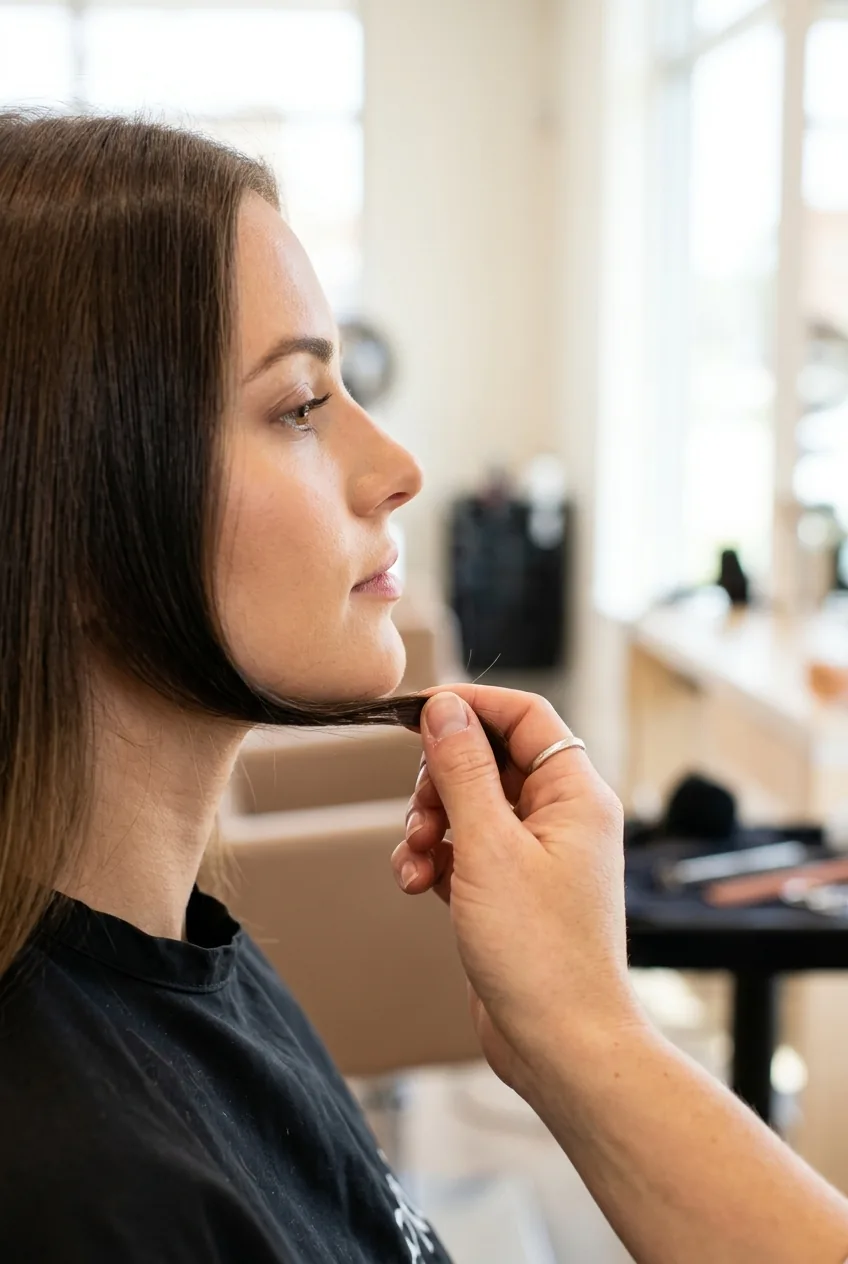
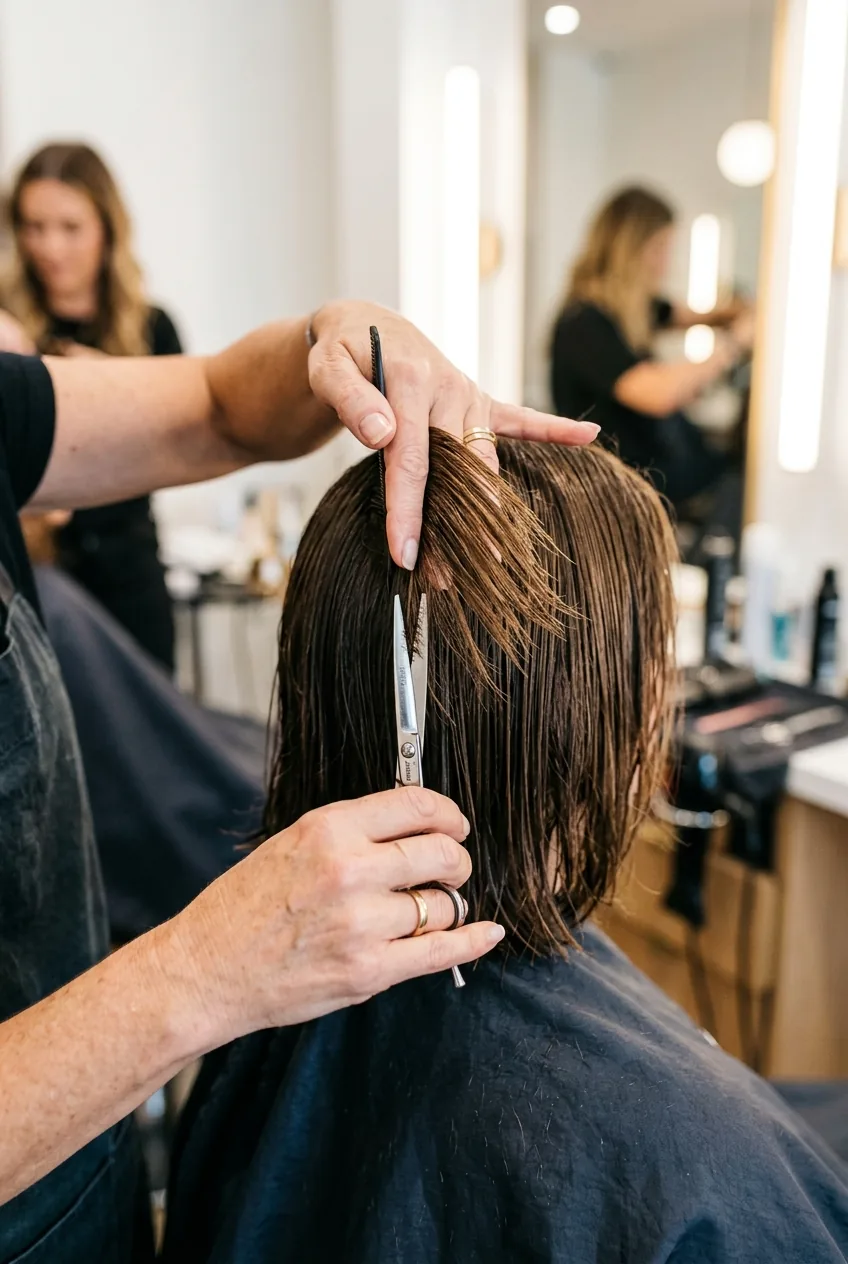
Step 4: Create the Signature Angle

Here’s what makes a French bob different from every other bob: the subtle angle that gets slightly longer toward the front. Not dramatic like an inverted bob, just a gentle slope.
Release your front sections. Starting at your ears, each new section should be about a quarter-inch longer than the one behind it. I angle my scissors slightly upward as I move toward the face.
The front pieces should hit right at your jawline or just below. This framing is what gives French bobs that effortless sophistication.
Check both sides constantly. I hold up pieces from each side to compare lengths — they don’t need to match perfectly, but they shouldn’t be obviously different.
See the Angle Technique in Action
Step 5: Refine and Blend
This is where you fix any obvious mistakes and soften harsh lines. Take small sections and point-cut into the ends — meaning hold your scissors vertically and snip small notches into the hair.
Point-cutting creates that piecey, textured edge that makes French bobs look so effortless. No blunt lines, no helmet hair.
Pay special attention to the areas around your ears and the back of your neck. These spots tend to stick out awkwardly if not properly blended. Blending techniques can make or break the whole look.
Stand back and shake your head. The hair should fall naturally without any weird pieces sticking out or obvious length differences.
Step 6: Style and Finish
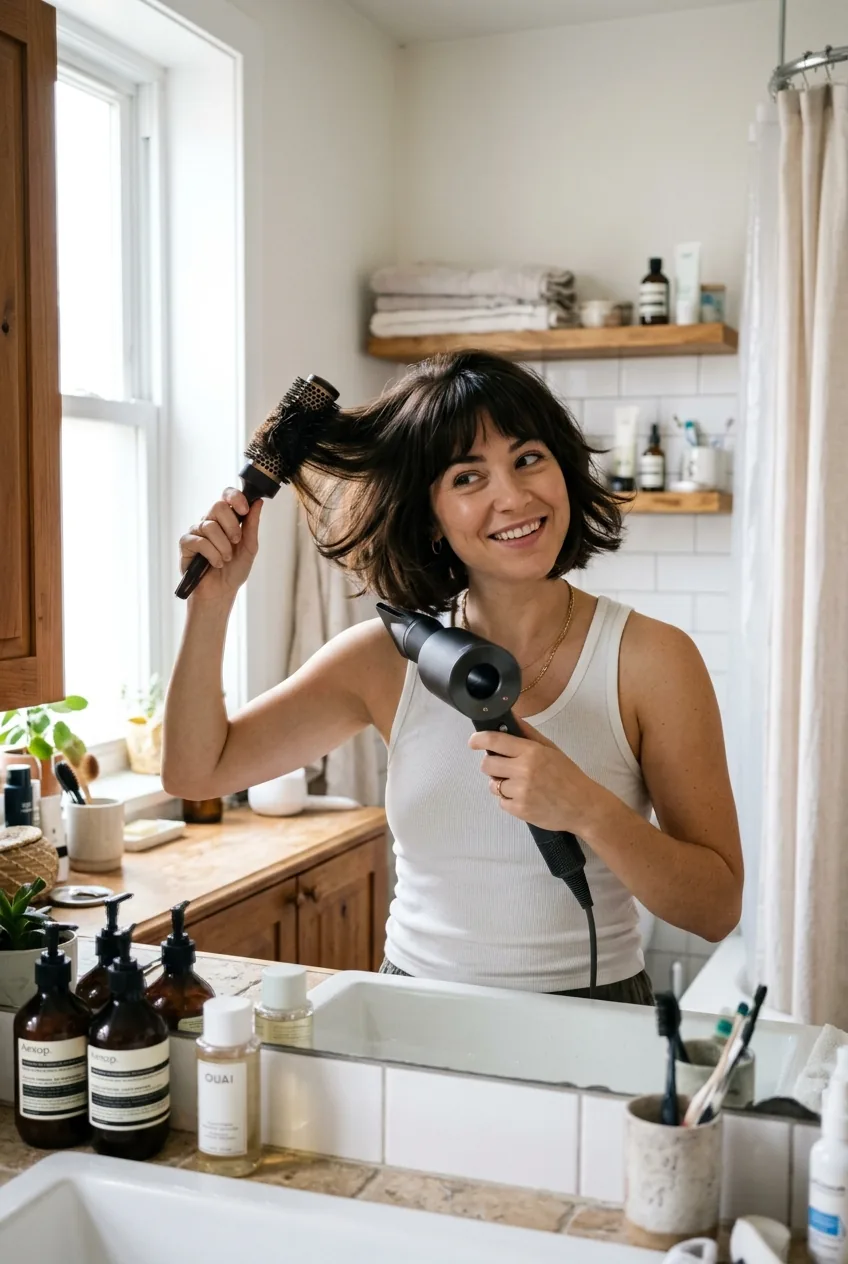
French bobs look best when they’re not trying too hard. I rough-dry mine with my fingers, then use a round brush just to smooth the ends under slightly.
The styling is minimal but intentional. A light texturizing spray gives that piecey separation, and I sometimes scrunch in a tiny bit of texture cream while the hair’s still damp.
What I love about this cut is how it looks good slightly messy. Sleep on it wrong? It still works. Caught in the rain? Even better — that tousled texture is exactly what you want.
The final result should look like you spent way more money than you did, and way less effort than it actually took.
Quick Questions About Cutting Your Own French Bob
Can I really do this at home without messing up?
Absolutely, but start conservatively. The French bob is actually more forgiving than precise cuts because it’s supposed to look lived-in. If you mess up slightly, it often just adds to the effortless vibe.
What face shapes work best with a French bob?
Honestly, most face shapes can pull this off because you can adjust the length and angle. Round faces benefit from keeping it slightly longer in front, while square faces look great with softer, more textured edges.
How often will I need to trim it?
Every 6-8 weeks to maintain the shape, but the beauty of French bobs is they look good growing out. The slightly imperfect nature means you have more wiggle room between cuts.
What if I cut it too short?
Don’t panic. French bobs work at various lengths, and hair grows about half an inch per month. In the meantime, play with styling products to add texture and volume while you wait it out.
My French bob experiment turned into my signature look. Three months later, I’m still getting compliments from strangers asking where I got it cut. The best part? I know exactly how to maintain it myself, and each trim gets easier. Sometimes the scariest beauty decisions turn out to be the most rewarding ones.