


I learned about formal hairstyles the hard way — at my sister’s wedding, where my carefully crafted updo started falling apart during the ceremony. By the reception, I looked like I’d been through a wind tunnel. That disaster taught me everything I know about creating formal hairstyles that actually stay put through hours of dancing, hugging, and celebrating.
What You’ll Need
Here’s my arsenal — and trust me, I’ve tried cutting corners with cheaper alternatives. Some things are worth the investment:
- Volumizing mousse (not the crunchy kind from the 90s)
- Fine-tooth comb for sectioning
- Hair elastics that match your hair color
- Bobby pins — and I mean good ones, not the flimsy drugstore variety
- U-pins for extra hold on thick hair
- Texturizing spray
- Strong-hold hairspray
- Hair donut or sock bun maker
- Curling iron or hot rollers
Step 1: Prep Your Hair for Success
This is where most people go wrong. They think they can just twist dirty hair into an updo and call it done.
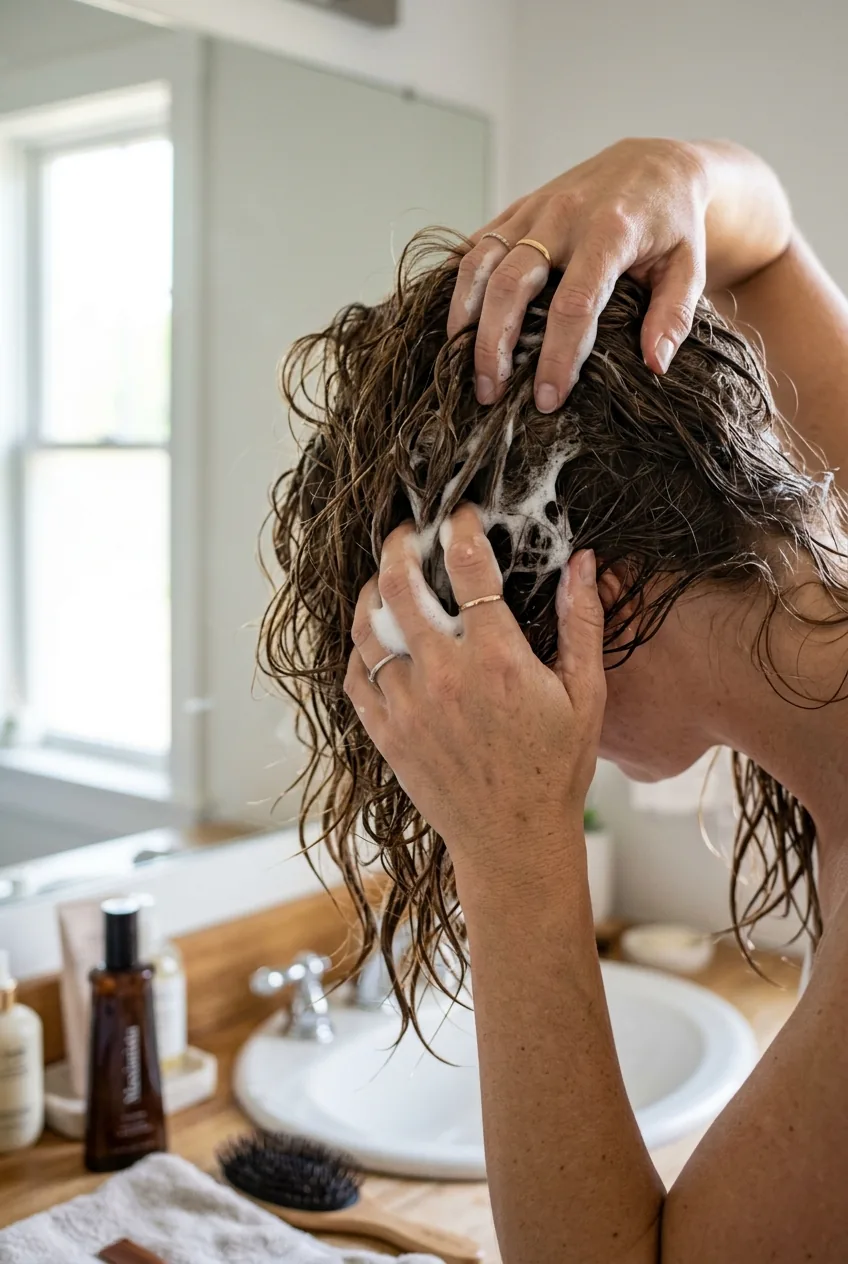
Start with day-old hair — it has just enough texture to grip itself. If you washed it this morning, work some volumizing mousse through damp hair and blow-dry with your head upside down. The goal is to create grip and body, not sleek perfection.
Spray your entire head with texturizing spray. This stuff is magic for formal styles because it gives your hair that slightly rough texture that holds onto itself. I learned about this from watching professional stylists work backstage at fashion shows.
Step 2: Create the Perfect Base
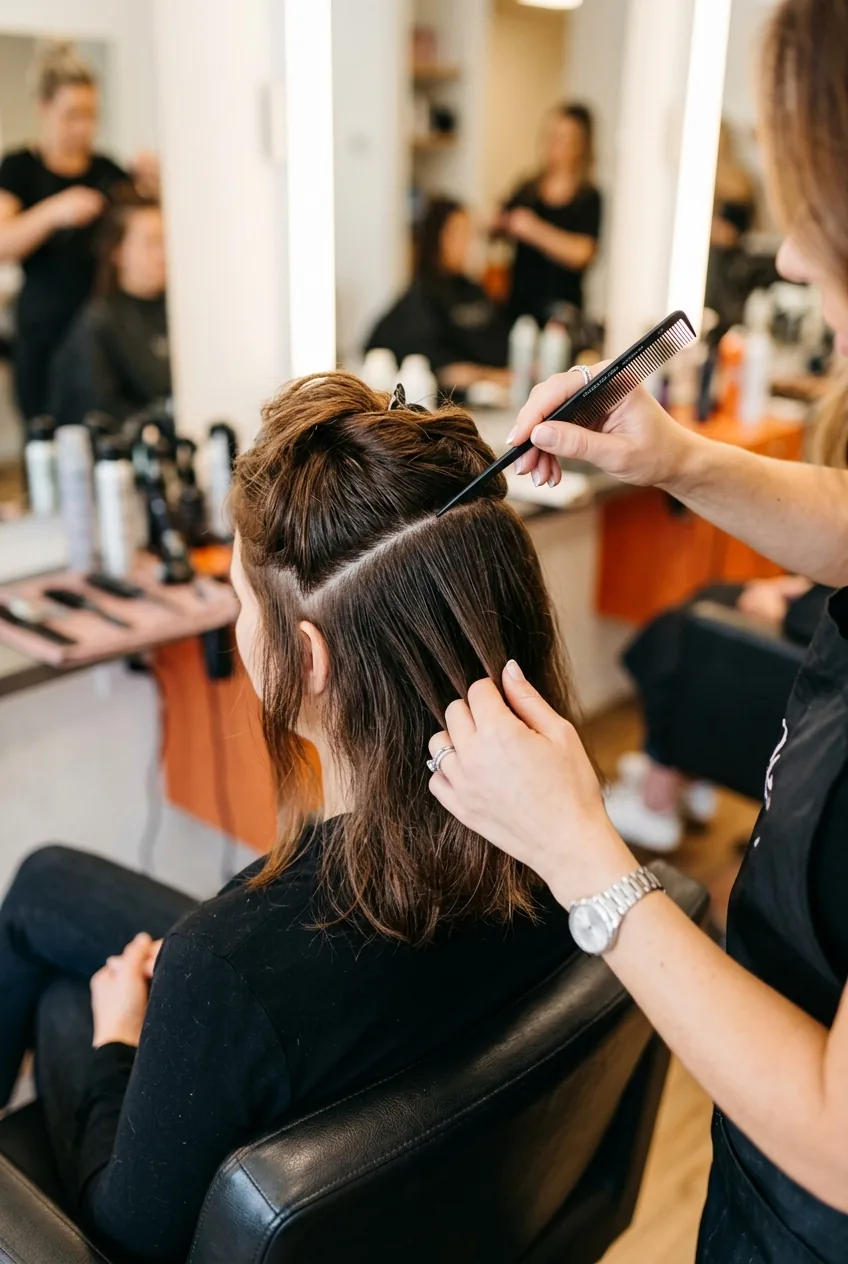
Section your hair into three parts: the crown area (from temples to the back of your head), and two side sections. The crown section should be roughly triangular when you look from above.
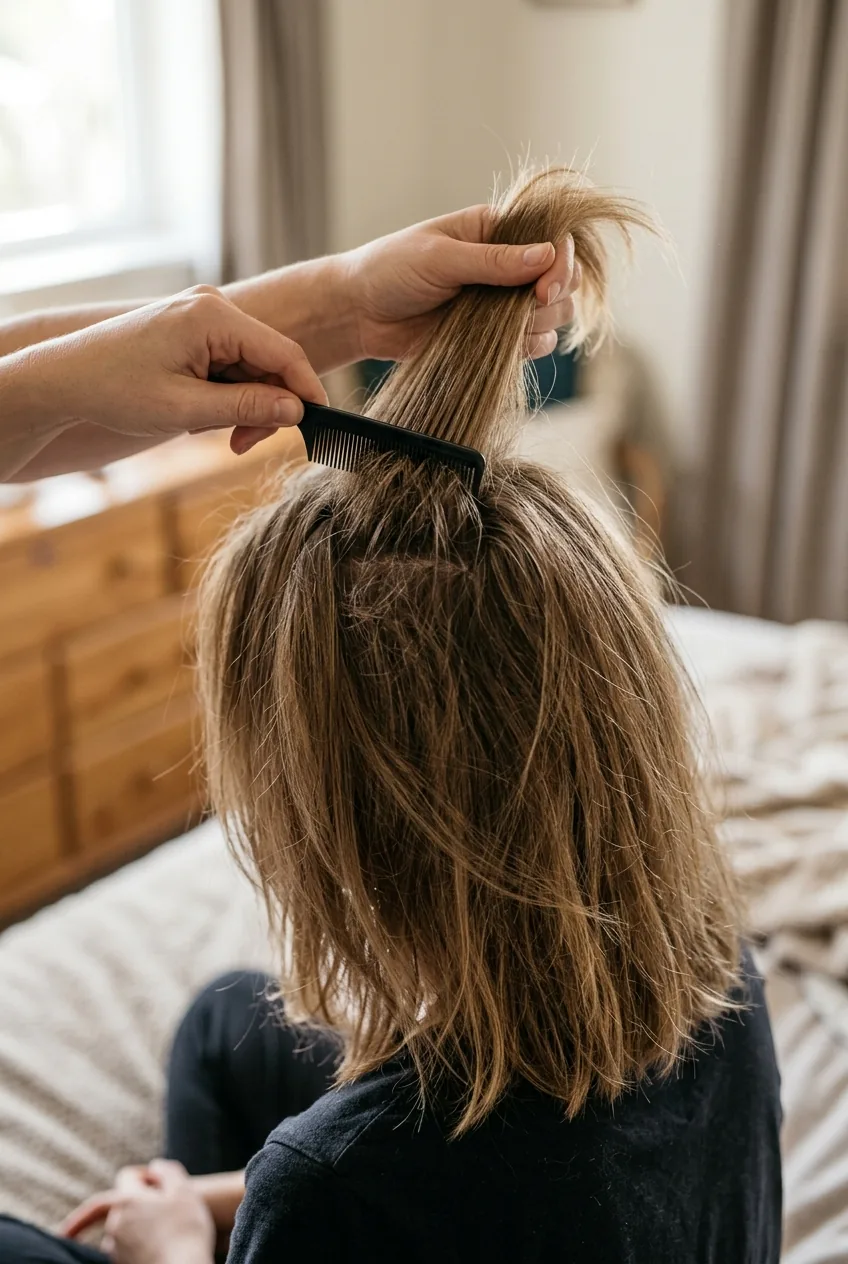
Tease the crown section at the roots — yes, I said tease. I know it feels retro, but this creates the foundation that keeps everything lifted instead of falling flat against your head. Use short, quick strokes with your fine-tooth comb, working from the ends toward the roots.
My biggest mistake was being too gentle with the teasing. I was afraid of damaging my hair, so I barely roughed it up. Result? My formal updo looked gorgeous for exactly 37 minutes before it started collapsing.
Step 3: Build Your Structure
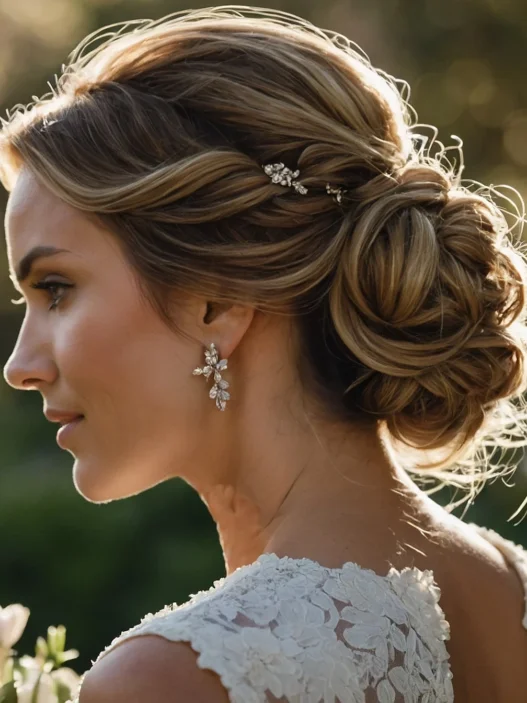
Now comes the fun part. Decide on your style — whether you’re going for a classic chignon, a romantic side-swept updo, or something more modern and textured.
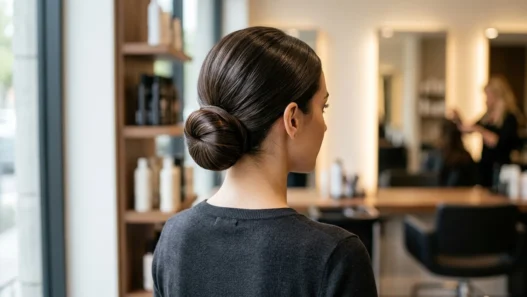
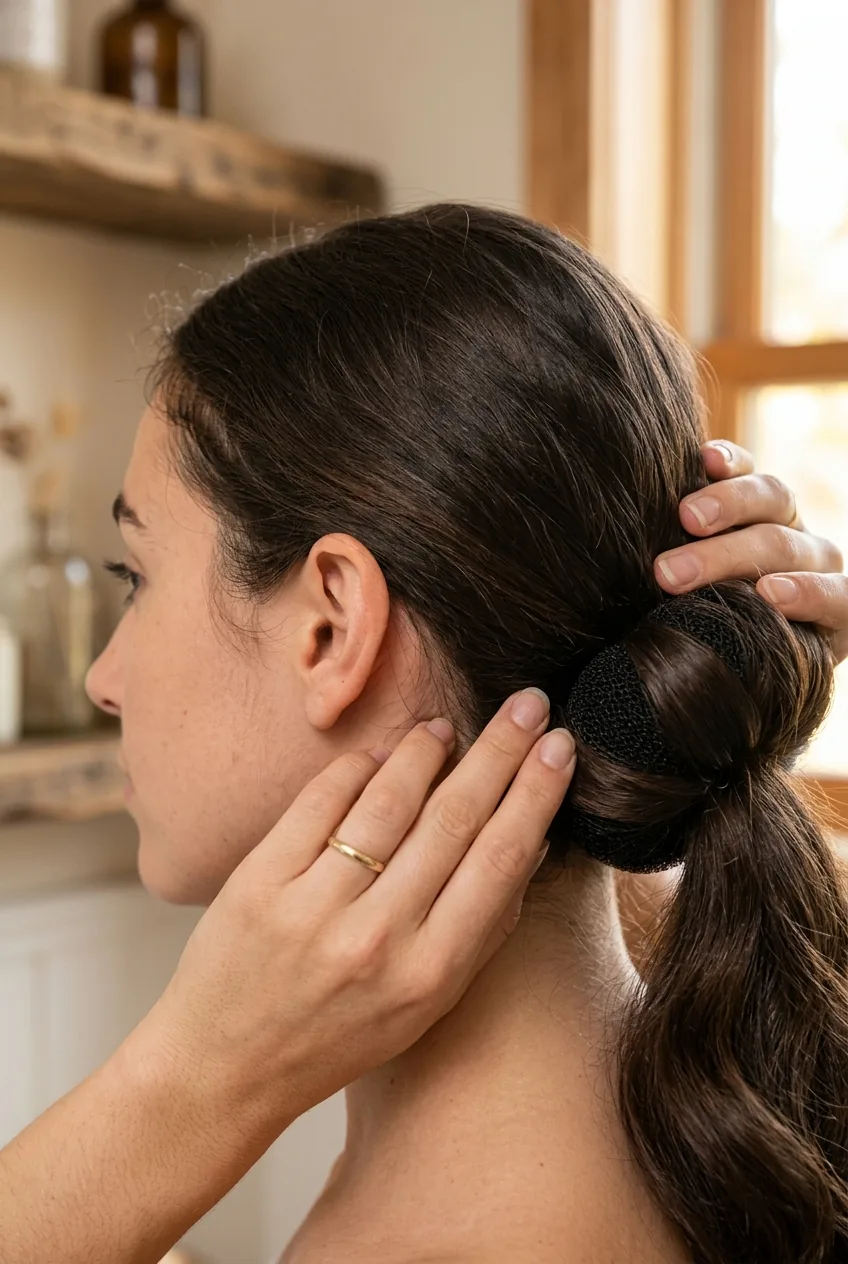
For a foolproof chignon, gather all your hair at the nape of your neck, but don’t pull it tight. You want some softness around your face. Secure with an elastic that matches your hair color.
If you’re using a hair donut, slide it over the ponytail and spread your hair evenly around it. This gives you that perfect round shape without having to be a hair wizard. Tuck the ends under and start pinning.
For those with thick hair, U-pins are your best friend. They grip way better than regular bobby pins and can handle the weight.
Step 4: Lock Everything in Place
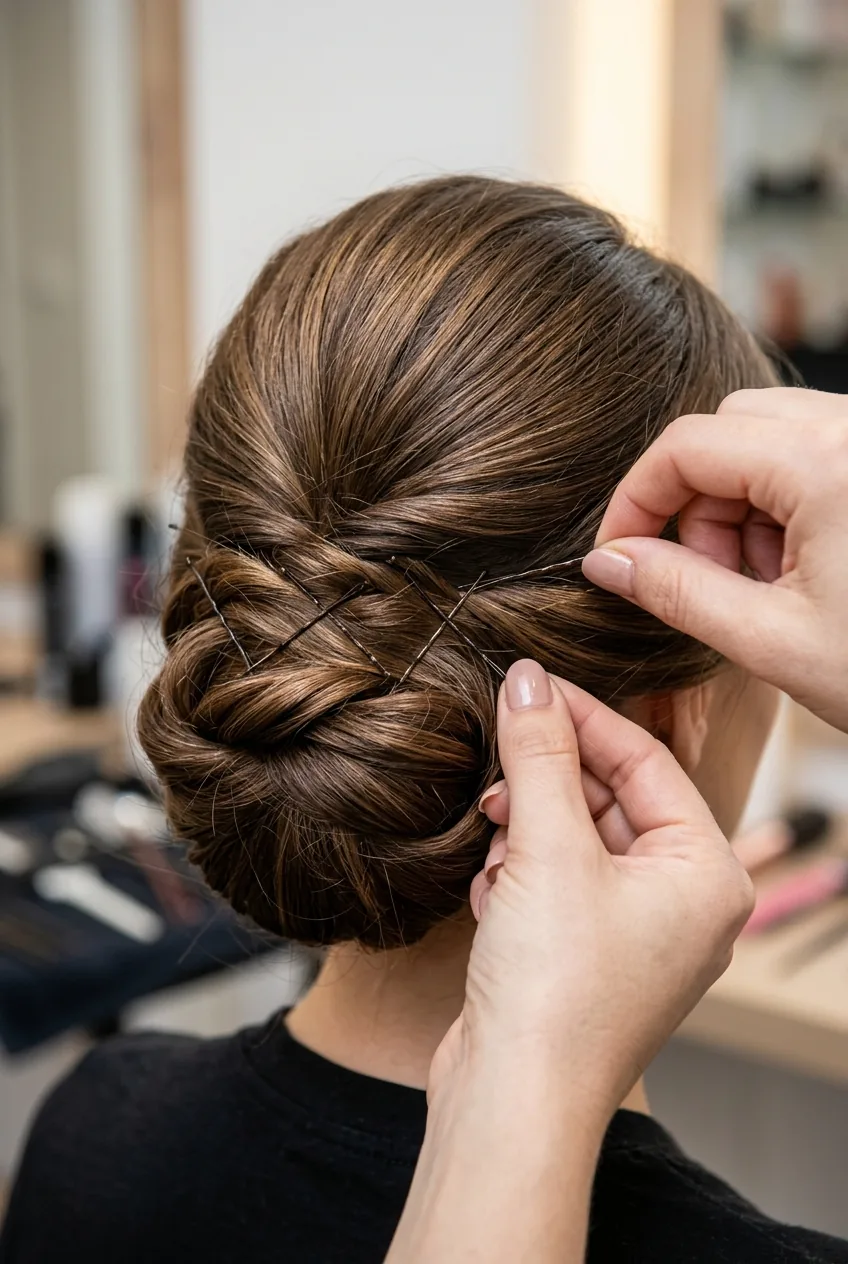
Here’s my secret weapon that I discovered through trial and error at countless formal events: the bobby pin criss-cross technique.
Instead of just shoving pins in randomly, create an X pattern. Insert one bobby pin pointing toward your right ear, then immediately cross another one over it pointing toward your left ear. This creates a grip that can survive even the most enthusiastic dancing.
Test your structure by gently shaking your head. If anything feels loose, add more pins. I use about 15-20 bobby pins for a secure formal updo — don’t be shy about it.
See the Pinning Technique in Action
Step 5: Add the Finishing Touches
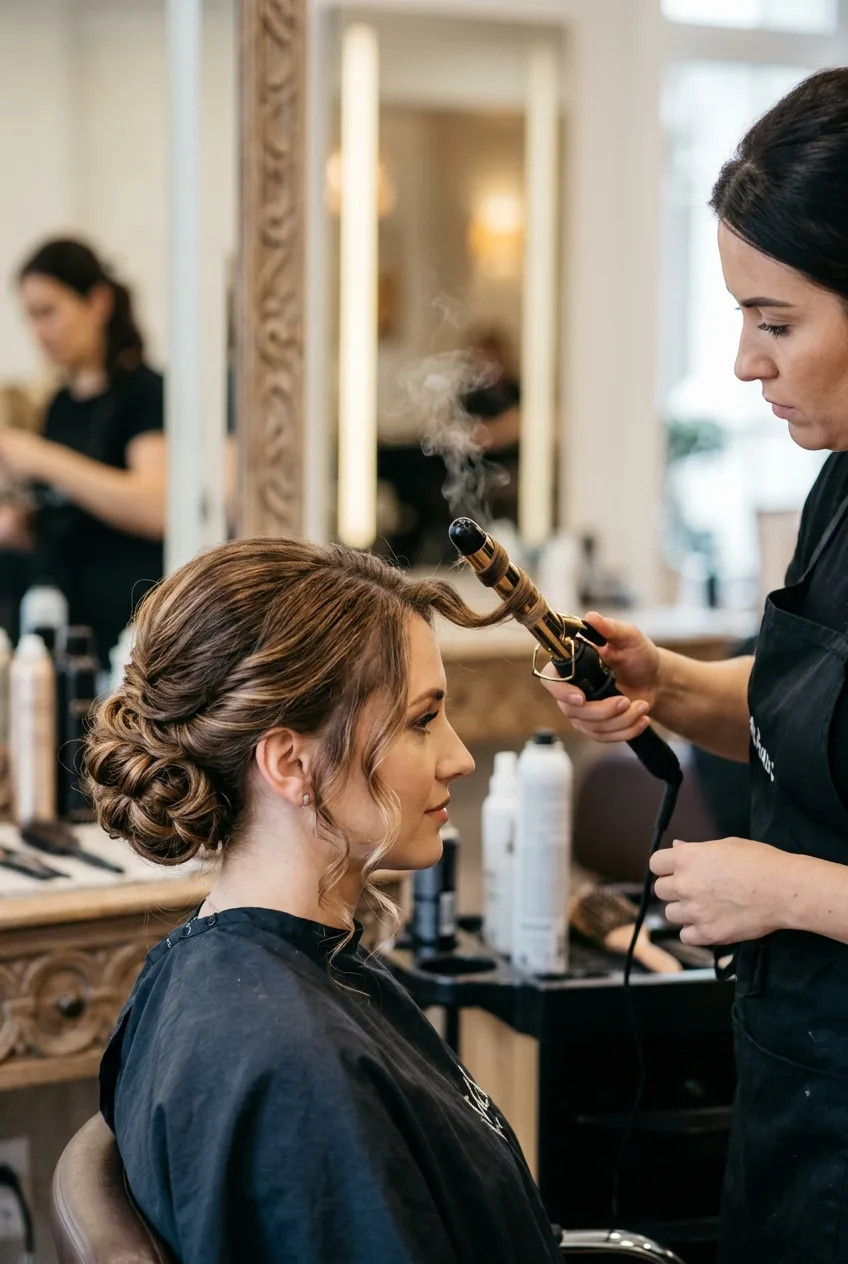
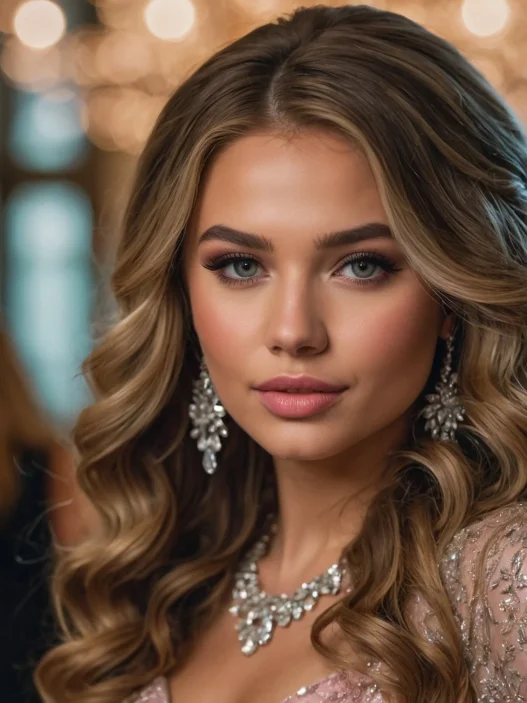
This is where you can get creative and make the style your own. Pull out a few face-framing pieces and curl them with a small barrel curling iron. These little tendrils soften the whole look and make it feel romantic rather than severe.
If you want more texture, gently tug at the crown section to create some height and volume. This is called “pancaking” and it makes your updo look more intentional and expensive.
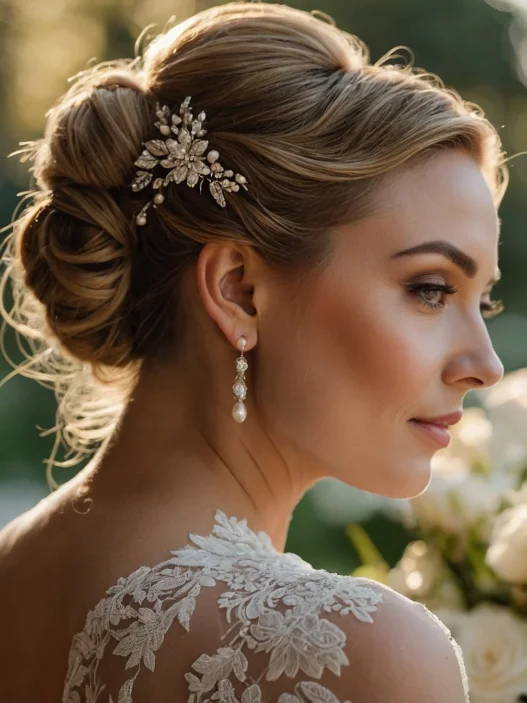
For special occasions, this is when you’d add accessories — a sparkly hair clip, some delicate pins, or fresh flowers if you’re feeling fancy.
Step 6: Set It All for Hours of Wear
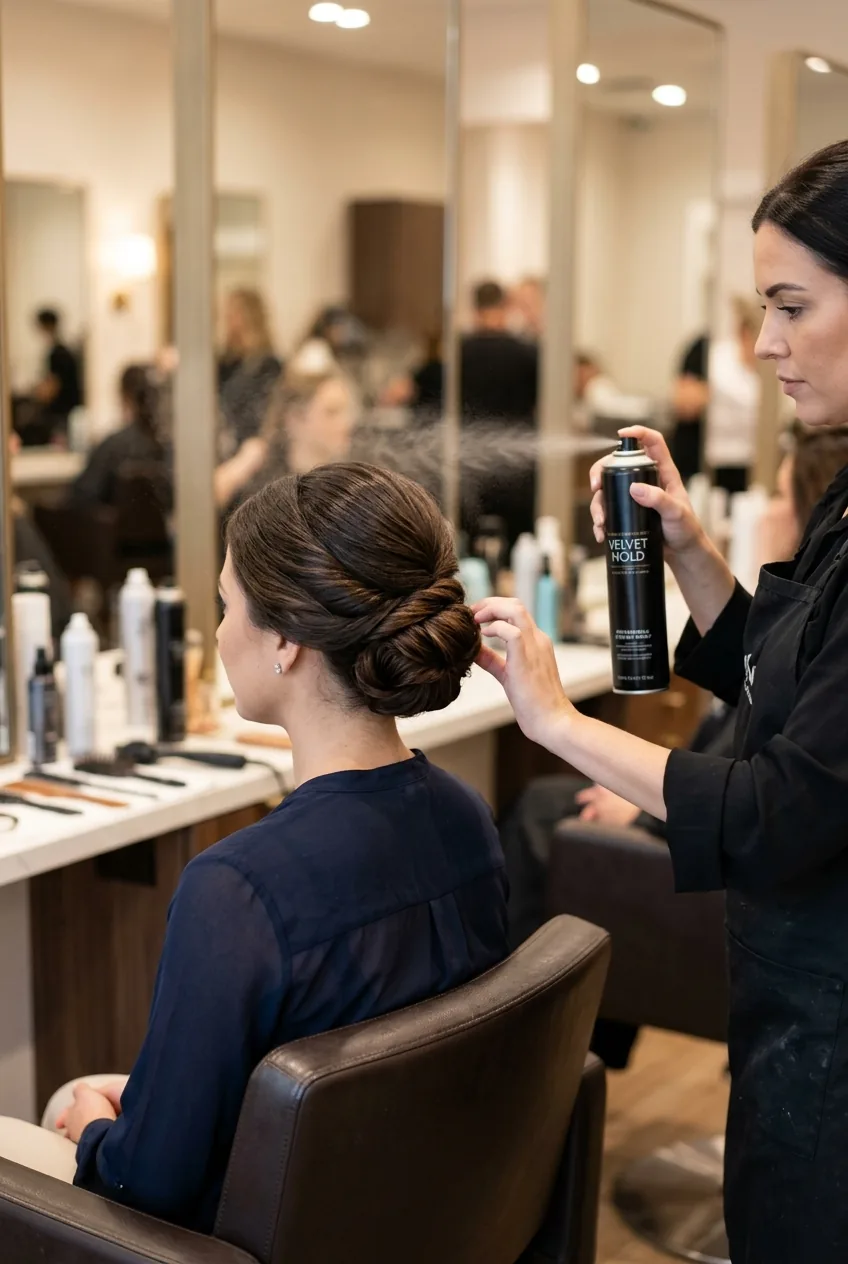
The final step separates the amateurs from the pros. Hold your hairspray 8-10 inches away from your head and mist the entire style. Don’t just spray the surface — get underneath and around the back too.
Let it dry for a full minute, then do a second light misting. This creates layers of hold without making your hair feel crunchy or sticky.
The key is using a strong-hold formula but applying it strategically. Professional techniques always involve this two-layer approach to hairspray.
Quick Answers to Common Questions
How long should this whole process take?
Once you get the hang of it, about 20-30 minutes. My first attempt took over an hour, but now I can do it while watching Netflix.
What if I have fine, slippery hair?
Double up on the texturizing spray and don’t skip the teasing step. Fine hair actually holds formal styles well once you give it some grip to work with.
Can I do this on freshly washed hair?
You can, but you’ll need extra product. Use a volumizing mousse, blow-dry for texture, then proceed with the texturizing spray. Clean hair is just more challenging to work with.
How do I sleep on this without ruining it?
Sleep with a silk pillowcase and try to keep your head elevated. If it’s for a multi-day event, I honestly just sleep sitting up in a recliner — desperate times!
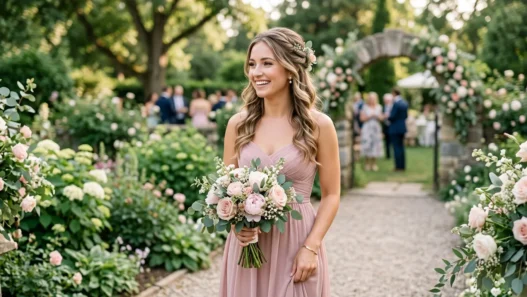
The result? I’ve worn variations of these formal hairstyles to weddings, galas, and even my own graduation ceremony. Each time, I get compliments and more importantly, my hair stays exactly where I put it. No more emergency bathroom touch-ups or feeling self-conscious about my hair falling apart during important moments.