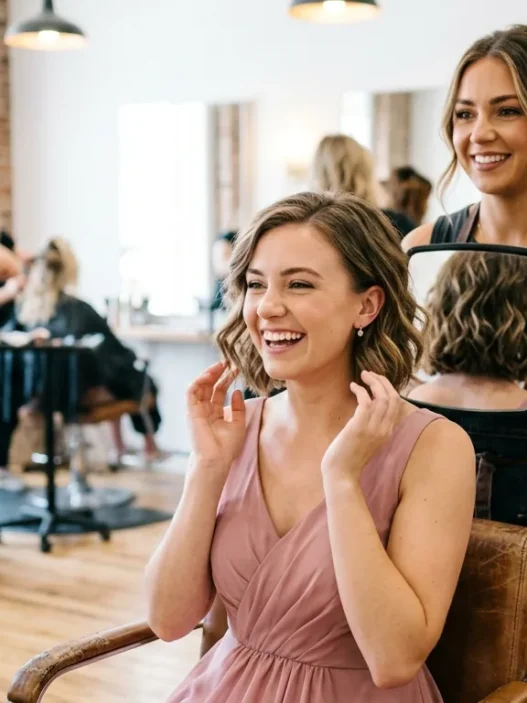


I learned about truly elegant hairstyles the hard way — standing as maid of honor at my sister’s wedding, watching my “foolproof” updo slowly collapse by hour three. By the reception, I looked like I’d been through a windstorm. That disaster sent me on a mission to find hairstyles that actually deliver on the “all-day” promise. After testing dozens of techniques (and surviving several more weddings), I’ve narrowed it down to five styles that genuinely last.
Your Guide to Long-Lasting Elegance
What You’ll Need
Before we dive in, let me save you from my early mistakes. You don’t need a mountain of products, but you do need the RIGHT ones. I keep it simple:
- Bobby pins in your exact hair color (seriously, this matters)
- Small clear elastic bands
- A good texturizing spray — my favorite is texturizing spray
- Hair ties that won’t snap
- A tail comb for precise parting
- Strong-hold hairspray
- A few decorative pins if you’re feeling fancy
The game-changer? Starting with day-old hair. Fresh-washed hair is too slippery and won’t hold these styles. Trust me on this one.
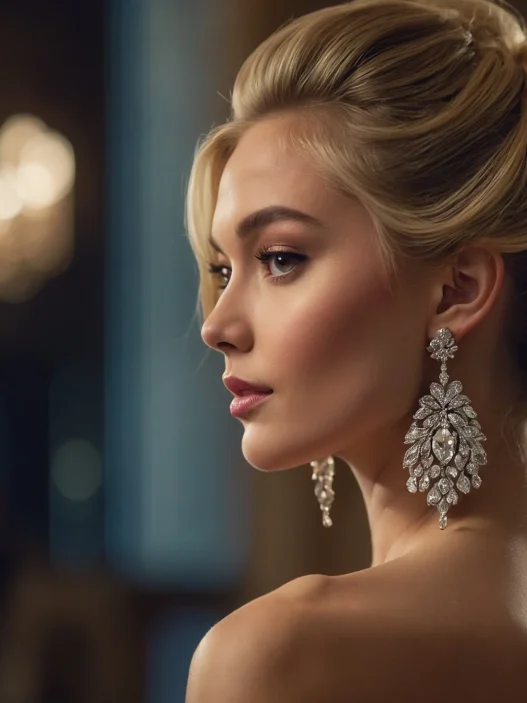
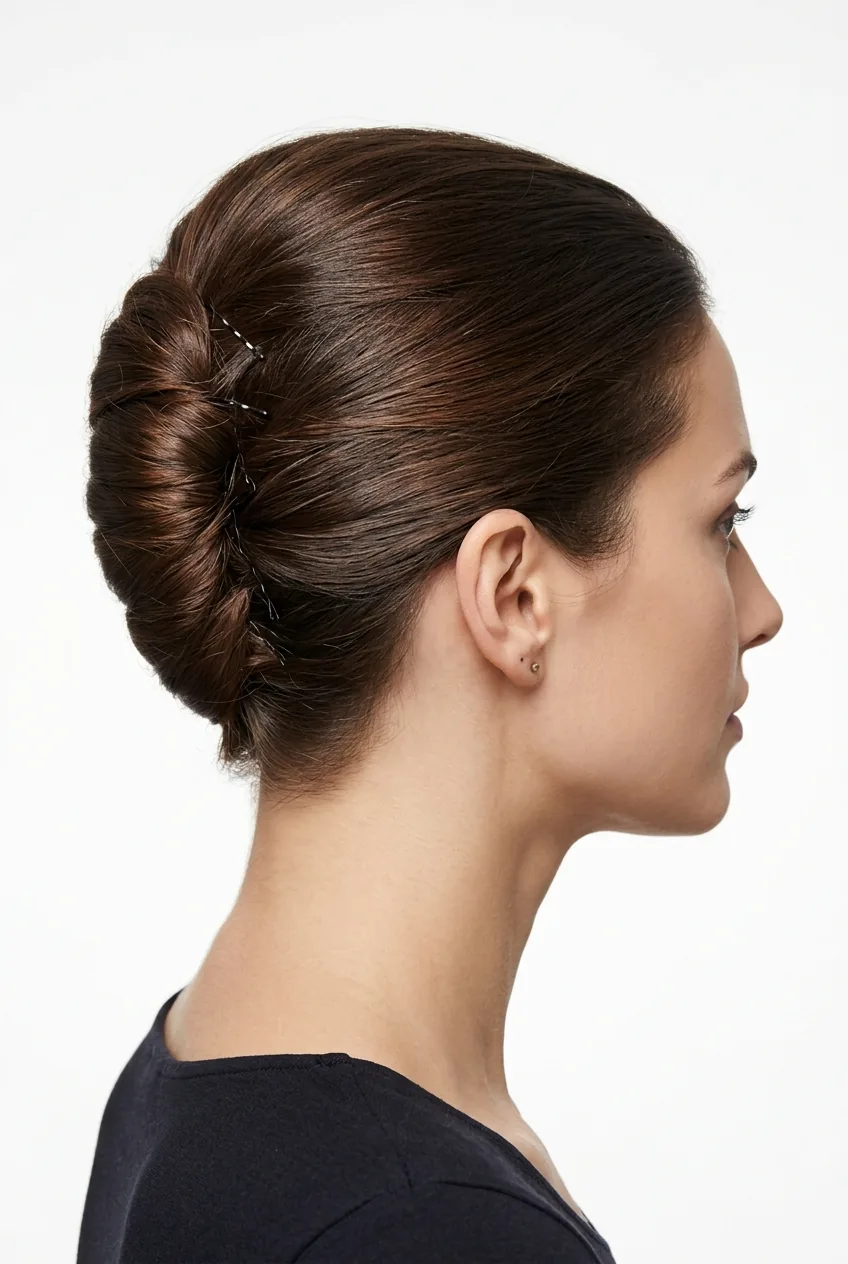
The Classic French Twist

This is my go-to when I need to look polished without trying too hard. I’ve worn this to board meetings and black-tie events, and it never fails me. The secret is in the initial teasing — something most tutorials skip entirely.
Start by gently backcombing the crown section of your hair. Not aggressive teasing that’ll damage your hair, just enough to give it grip. Sweep all your hair to one side (usually the left works best for me), then twist it upward along the back of your head.
Here’s where most people mess up: they try to twist the hair into the roll all at once. Instead, secure the twisted section with bobby pins every few inches as you work your way up. Tuck the ends under and pin them invisible. Finish with a light mist of hairspray.
I used to try rolling all my hair at once and wonder why it kept falling out. The incremental pinning technique changed everything — now this style lasts through 14-hour work days.
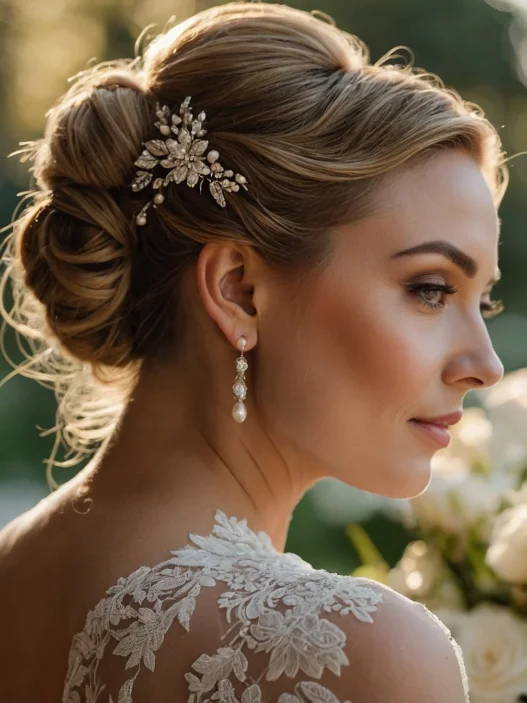
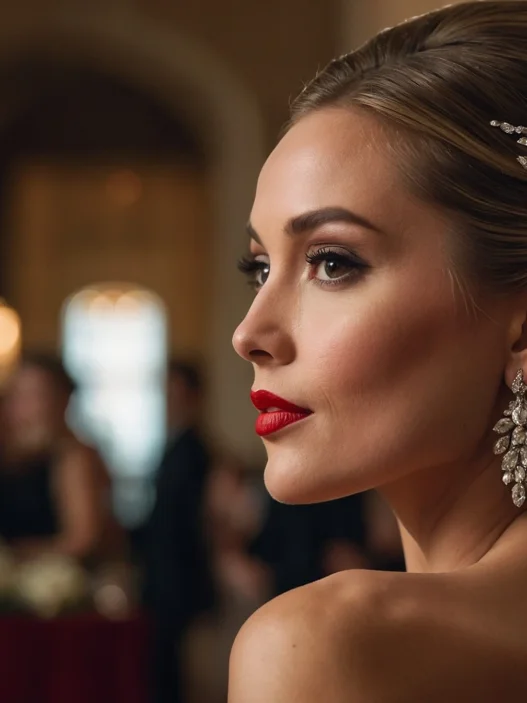
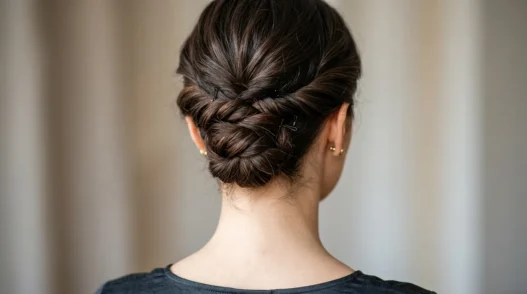
Low Chignon with Hidden Pins
This elegant style saved my reputation at last summer’s outdoor wedding. While other guests were constantly fixing their hair in the heat, mine stayed perfectly in place. The trick is creating a strong foundation before you even think about the pretty parts.
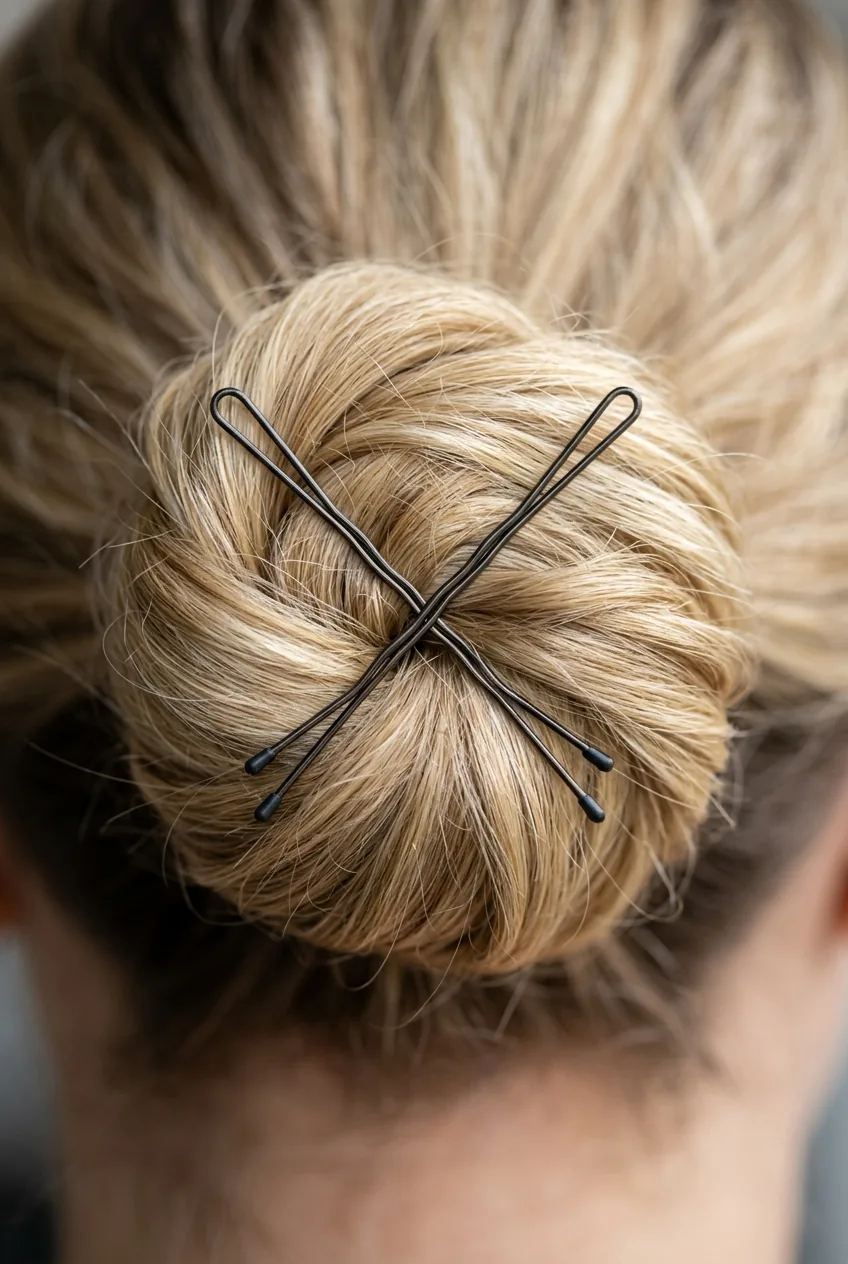
Gather your hair into a low ponytail at the nape of your neck, but don’t use an elastic yet. Twist the ponytail loosely and wrap it around itself to form a bun shape. Now here’s my secret: secure this shape with bobby pins inserted in an X pattern through the center.
Once your base is rock-solid, you can arrange the outer pieces to look effortless. Pull out a few face-framing wisps if that’s your thing. The hidden X-pin structure will keep everything in place no matter what.
For wedding guest hairstyles, this is my number one recommendation. It photographs beautifully and won’t compete with the bride’s look.
This Tutorial Changed My Approach
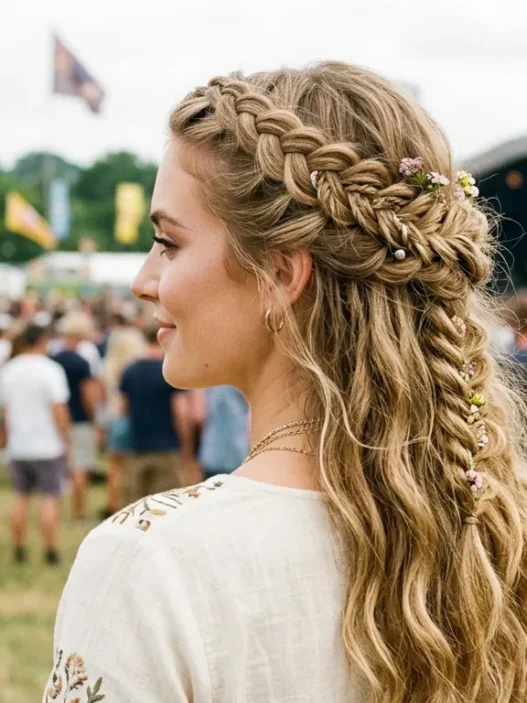
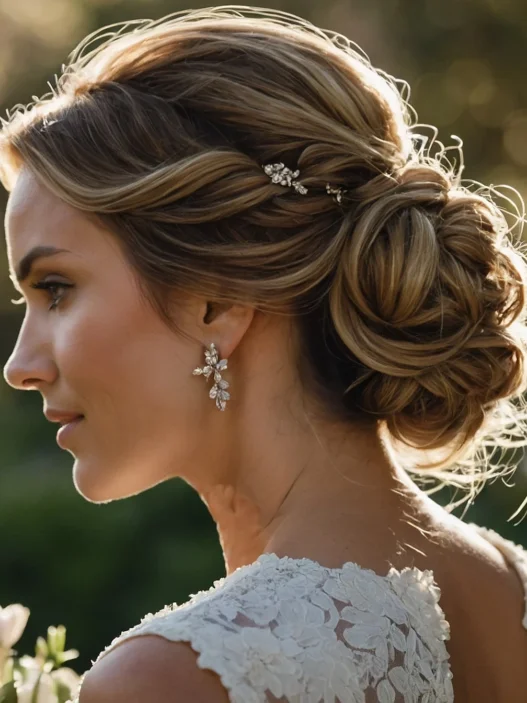
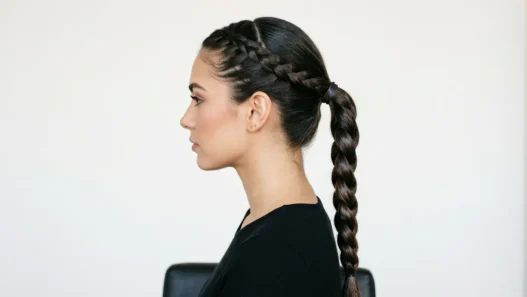
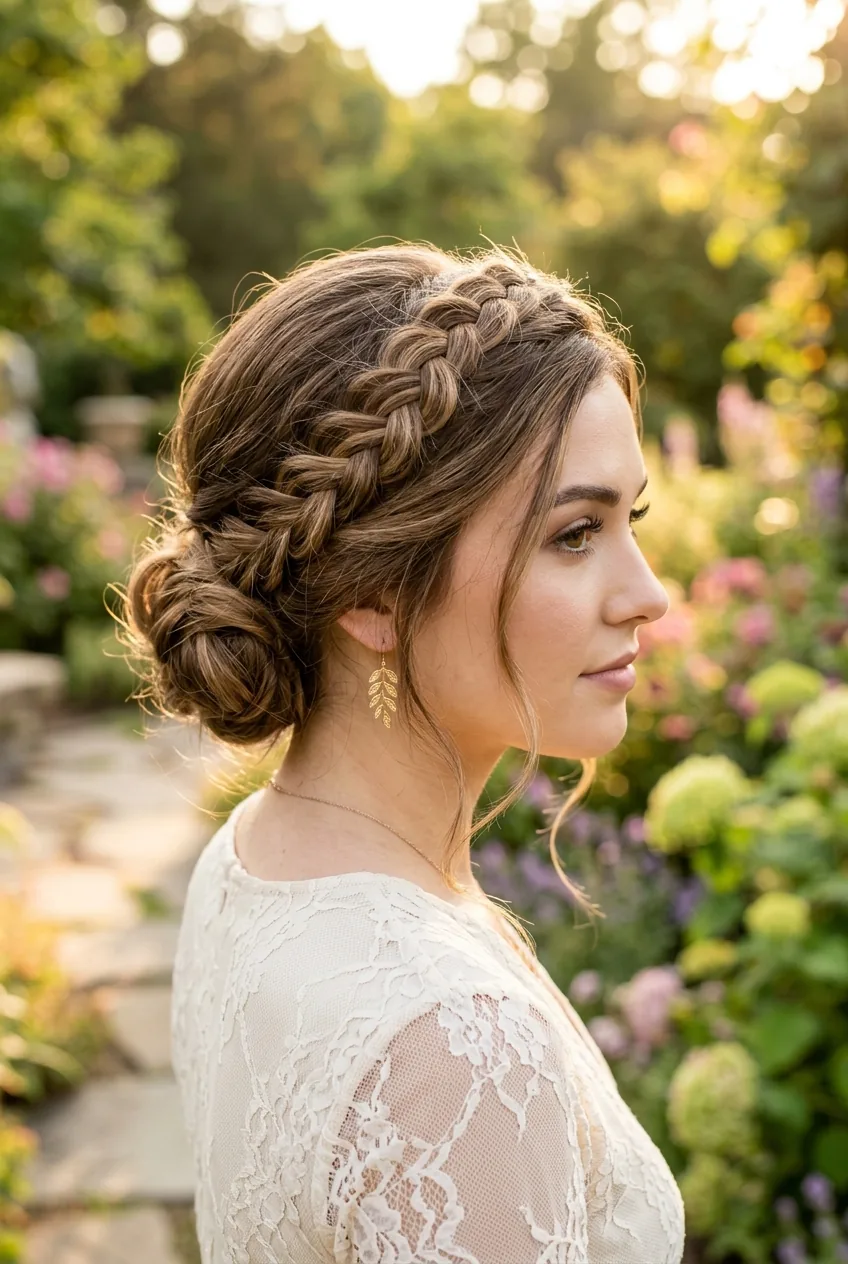
Braided Crown Updo
I was intimidated by this one for years because “braided crown” sounds so complicated. Turns out, it’s actually more forgiving than most elegant hairstyles because the braided texture hides any imperfections.
Create a deep side part, then start a loose braid along your hairline, incorporating hair as you go around your head like a headband. Don’t worry about making it perfect — the slightly messy, lived-in look is actually more elegant than razor-sharp precision.
When you reach the opposite ear, secure the braid and gather the rest of your hair into a low bun. The braided “crown” frames your face while the bun keeps things sophisticated. This style works on practically every hair texture I’ve tried it on.
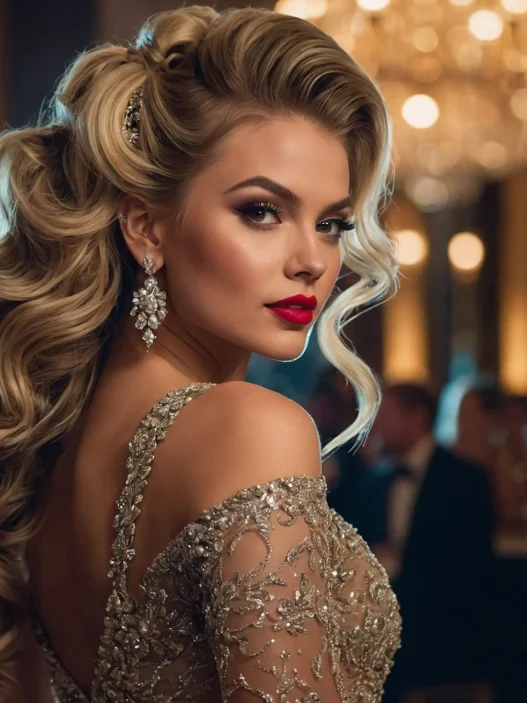
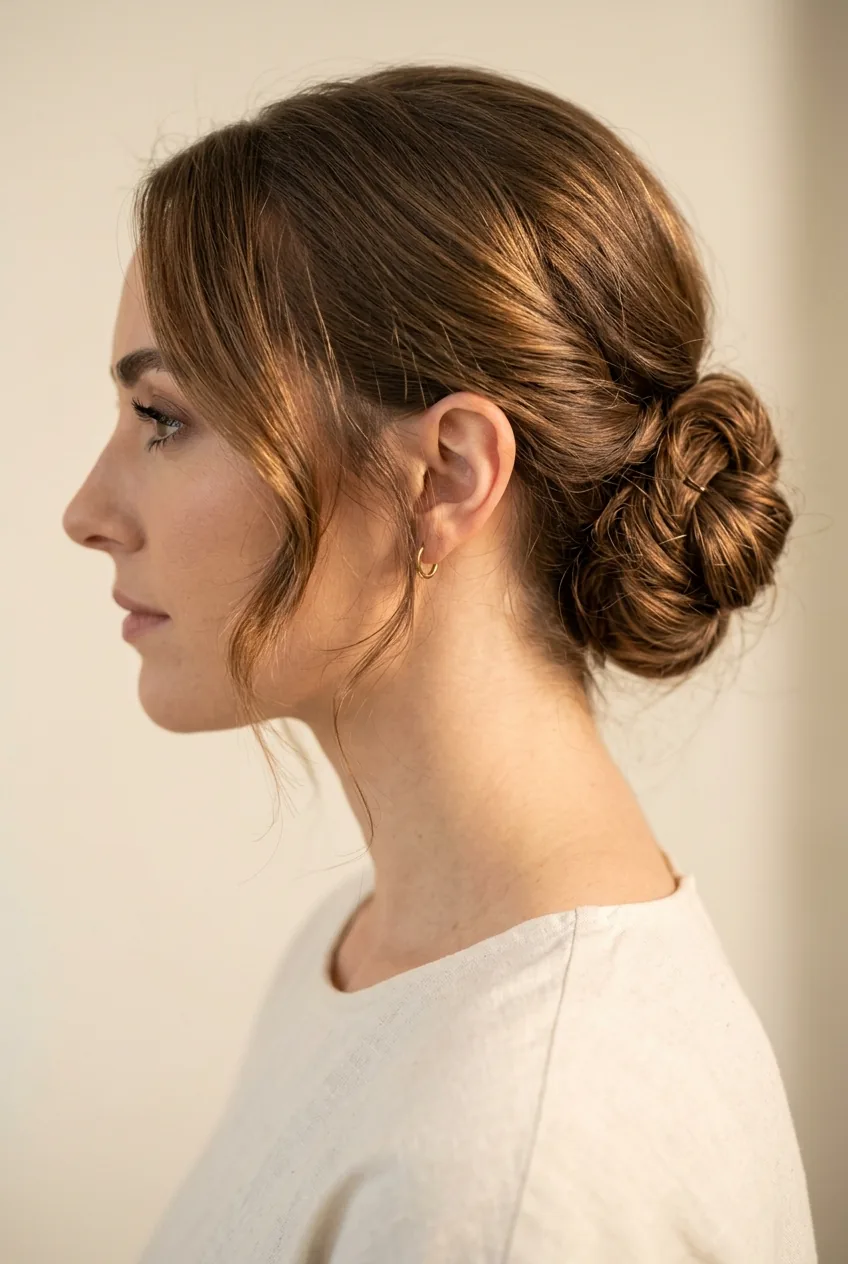
Side-Swept Romantic Bun
This is what I reach for when I want elegance with a touch of romance. It’s softer than the previous styles but just as secure. I wore this to my cousin’s garden party wedding, and the photographer kept commenting on how it caught the light.
Start with a deep side part and sweep most of your hair to the lower side. Create a loose, low ponytail positioned behind one ear rather than center back. Twist the ponytail and wrap it into a soft bun, leaving some pieces slightly loose for texture.
The key to making this look intentionally romantic rather than messy is strategic pin placement. Pin the bun securely, then gently pull at the edges to create soft, fuller sections. Romantic styling techniques like this work especially well for evening events.
If you have layers or shorter pieces around your face, let them fall naturally. They’ll soften the overall look without compromising the style’s staying power.
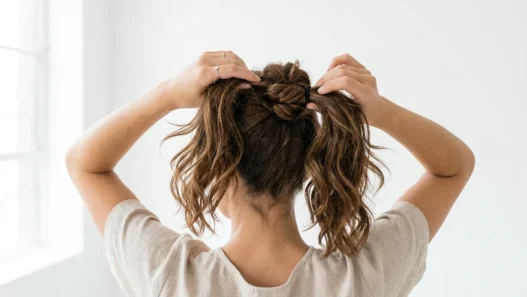
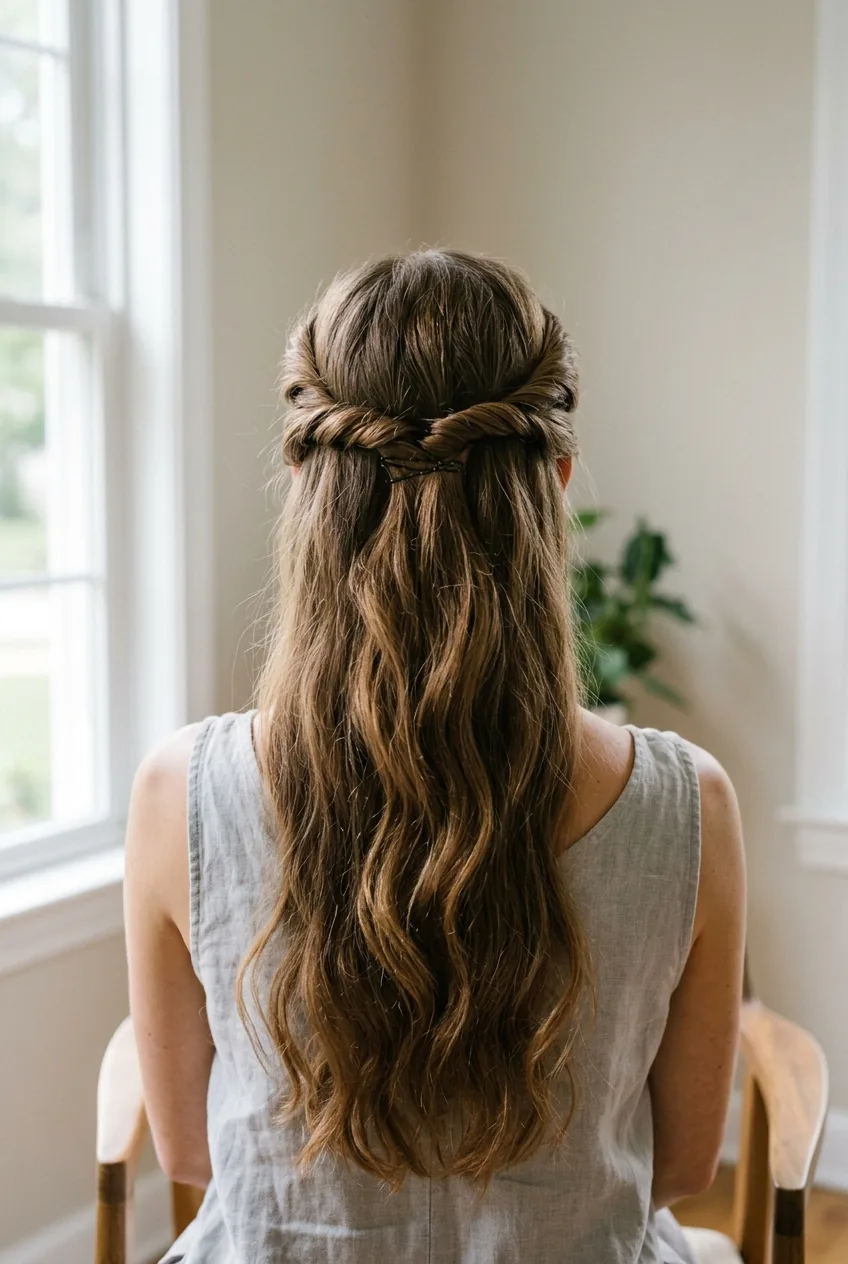
Twisted Half-Up Style
Sometimes you want elegance without committing to a full updo. This half-up style has become my secret weapon for professional events where I want to look polished but not overly formal. Plus, it works beautifully with long hairstyles of any texture.
Take sections from both temples and twist them back loosely, securing where they meet at the back of your head with bobby pins. The magic happens in how you secure this junction — create a small bun or knot with the twisted pieces before pinning them down.
What I love about this style is how it keeps hair off your face while still showing length and movement in the back. It’s elegant enough for formal occasions but relaxed enough for daytime events.
I thought this style wouldn’t have enough “grip” to last, but the twisted sections actually hold better than straight hair pulled back. Who knew?
Questions I Always Get About These Styles
Do these work on fine hair?
Absolutely! Fine hair actually holds these elegant styles better than thick hair because there’s less weight pulling everything down. The key is using texturizing spray before you start and not skipping the teasing step.
How long do they actually last?
I’ve tested all five through 12+ hour days, and they hold up beautifully. The French twist and low chignon are my champions for ultra-long wear, while the half-up style might need a pin adjustment after 8-10 hours.
Can I sleep in any of these?
Please don’t! These are special occasion styles, not overnight solutions. Sleeping in tight updos can cause breakage and headaches. Take them down before bed and give your hair a gentle brush.
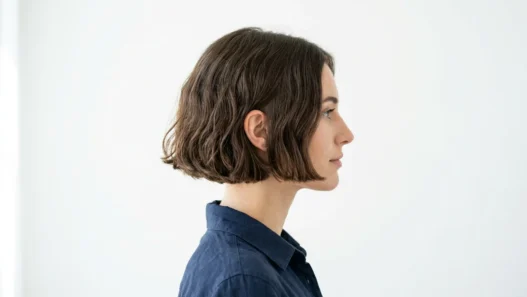
What if I have layers or shorter pieces?
Layers actually help these styles! The shorter pieces create natural texture and movement. Just pin back any pieces that feel too short to incorporate into the main style, or let them frame your face softly.
After years of updo disasters, I finally have a reliable arsenal of elegant hairstyles that actually work. My sister’s wedding taught me that the prettiest style means nothing if it falls apart before dinner. These five have been tested through everything from outdoor ceremonies to dancing until midnight — and they’ve never let me down. The best part? Once you master the techniques, you can create any of these in under 15 minutes.