


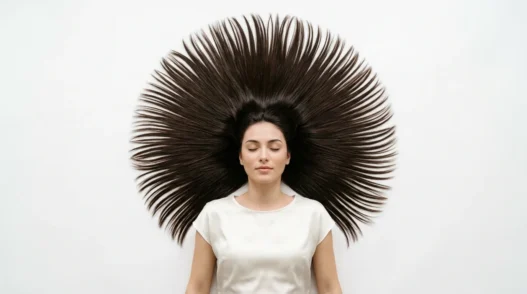

Last Tuesday morning, I decided to test those “5-minute hairstyles for long hair” that flood my Pinterest feed. Armed with a timer and way too much confidence, I figured I’d knock out a few quick styles before my 9 AM meeting. Three hours later, I was still in my pajamas with hair that looked like I’d been electrocuted. Turns out, there’s a whole behind-the-scenes reality to these supposedly easy long hairstyles that nobody talks about.
The Setup They Never Show You
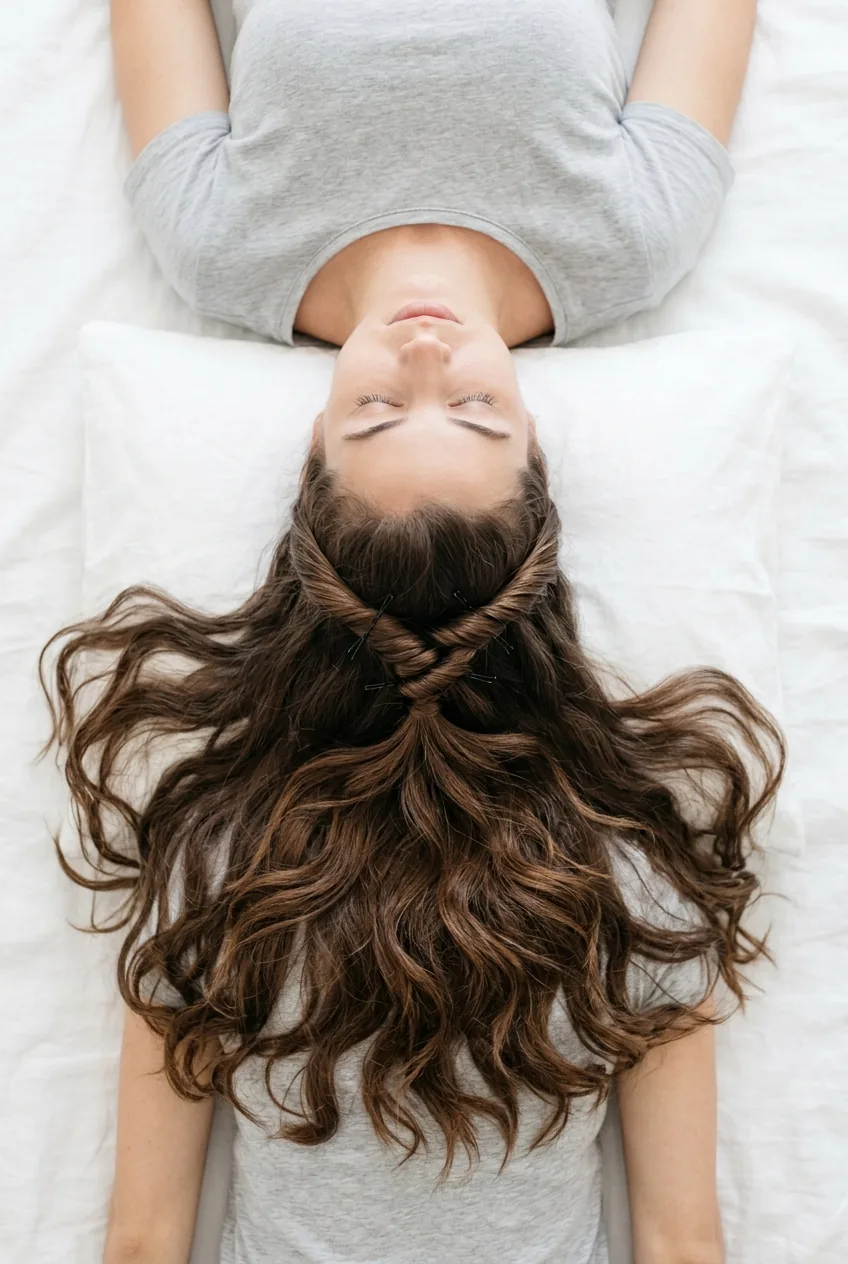
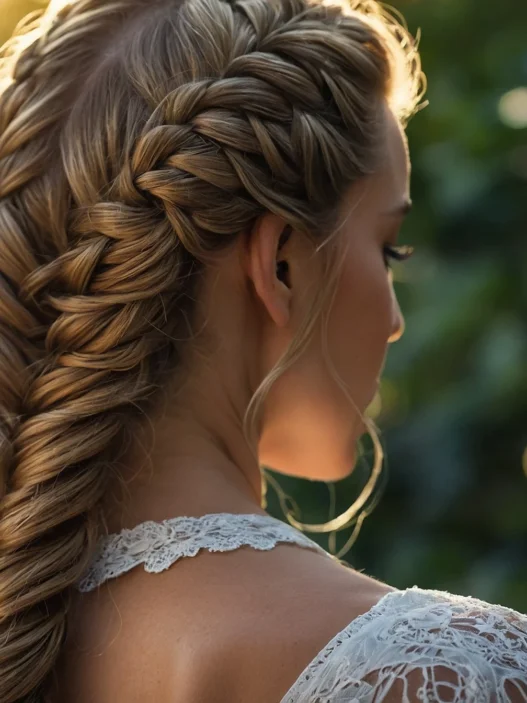
Here’s what happens in the five minutes before those tutorials even start recording. Your hair needs to be at that magical “day two” cleanliness level — not freshly washed (too slippery), not dirty enough to look greasy. I’ve learned this the hard way after attempting a twisted crown braid on squeaky-clean hair that refused to hold any texture.
The prep work is real. You’re not just grabbing a hair tie and calling it done. Most of these styles need some kind of texture spray or texturizing product to give your strands grip. And if your hair is naturally straight like mine? You’re adding at least ten minutes of rough-drying with your head upside down to create any semblance of volume.
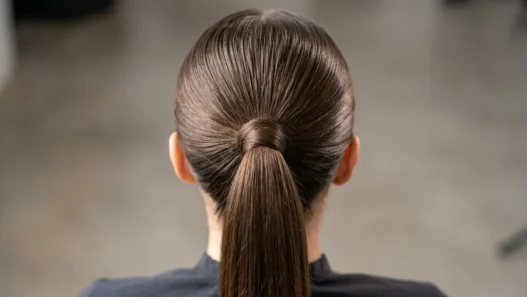
Then there’s the lighting situation. Ever notice how these tutorials always have perfect, even lighting? I tried recreating a low ponytail in my bathroom mirror and couldn’t see what I was doing with the back sections. Moved to the living room window. Much better, but now I’m doing hair in front of my couch like some kind of salon reject.
What Takes the Longest (Spoiler: It’s Not What You Think)

You’d think the actual styling would be the time-consuming part. Wrong. It’s the mental preparation and the do-overs that eat up your morning.
I timed myself doing a simple twisted half-up style eight different times. The physical movements? Two minutes, max. The part where I stared at my reflection deciding if it looked intentionally messy or accidentally disheveled? Twelve minutes. Every time.
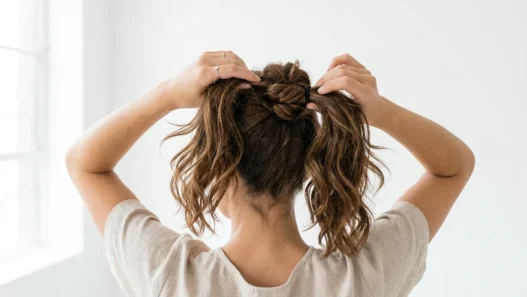
And let’s talk about bobby pins. The tutorial uses three. I use seventeen and it’s still sliding down by lunchtime. There’s this whole invisible architecture happening with easy half-up hairstyles that nobody explains. You’re not just pinning hair — you’re engineering a structure that needs to survive a full day of head movements, hair flips, and that thing where you unconsciously tuck strands behind your ear.
The real time-killer? Starting over. Because that first attempt where one side is higher than the other? You’re taking it down and beginning again. Sometimes twice. I’ve never successfully completed a “quick” hairstyle without at least one complete restart.
The Secret Nobody Mentions About Hair Texture
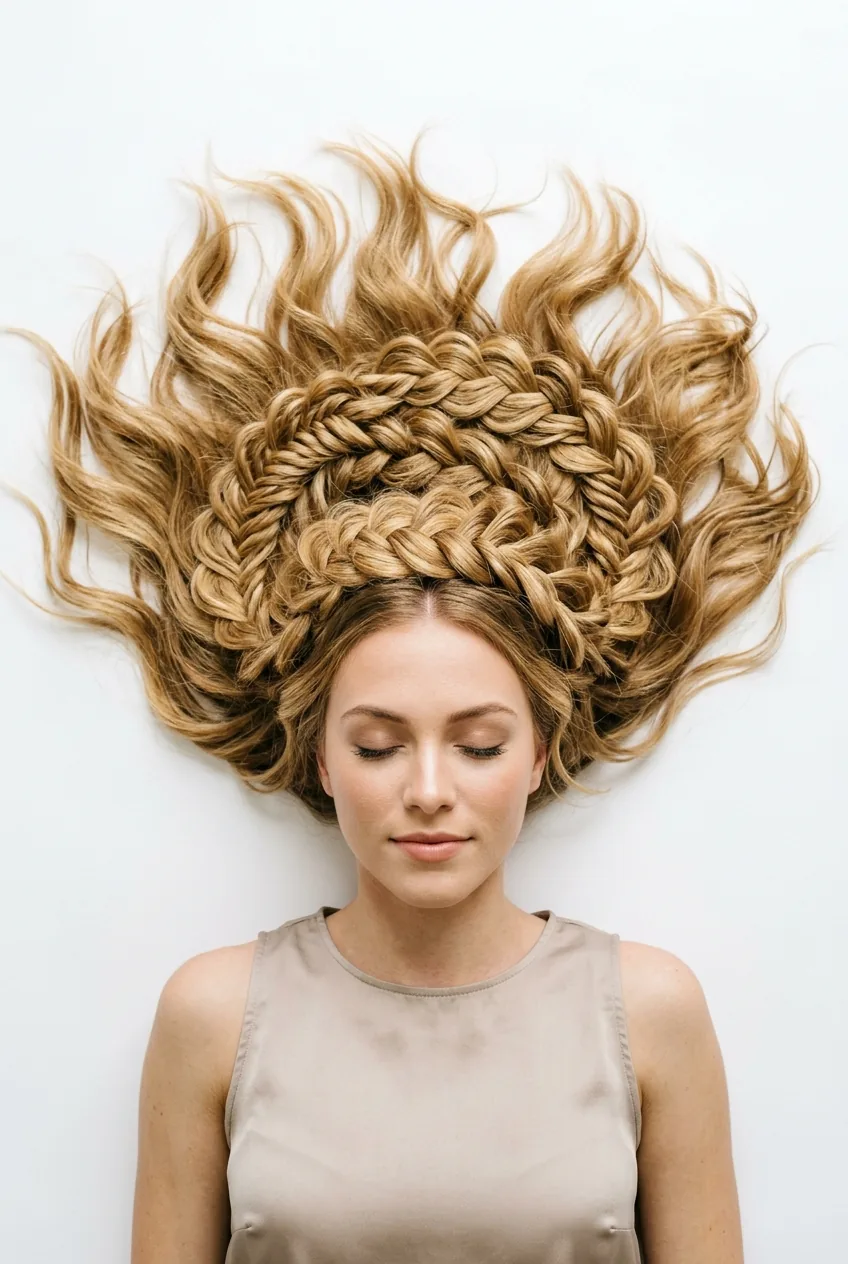
This is where most tutorials completely fall apart. They show you the technique on one hair type — usually perfectly cooperative, medium-thickness hair that holds styles like it’s been trained for this moment its entire life.
My hair is fine but there’s a lot of it, which means it looks thick but acts slippery. Those elegant loose braids? They turn into tight ropes because fine hair compacts differently than thick hair. The casual bun secured with “just a hair tie”? Slides out in twenty minutes because there’s not enough texture to create friction.
I’ve started thinking of hair tutorials like recipes — you need to translate the technique for your specific ingredients. That romantic, effortless updo might need an extra step if your hair is baby-fine. Or maybe you skip the “gently tease” instruction if your hair holds volume like a champ naturally.
The game-changer for me was realizing that different hair textures require completely different approaches to the same end result. What looks like identical styles in photos often involve entirely different techniques behind the scenes.
This Tutorial Finally Explained It
Tools That Actually Matter vs. Marketing Hype
Can we talk about the tool situation? Because there’s what they tell you to buy, and then there’s what actually makes the difference when you’re standing in your bathroom at 7:30 AM trying to look put-together.
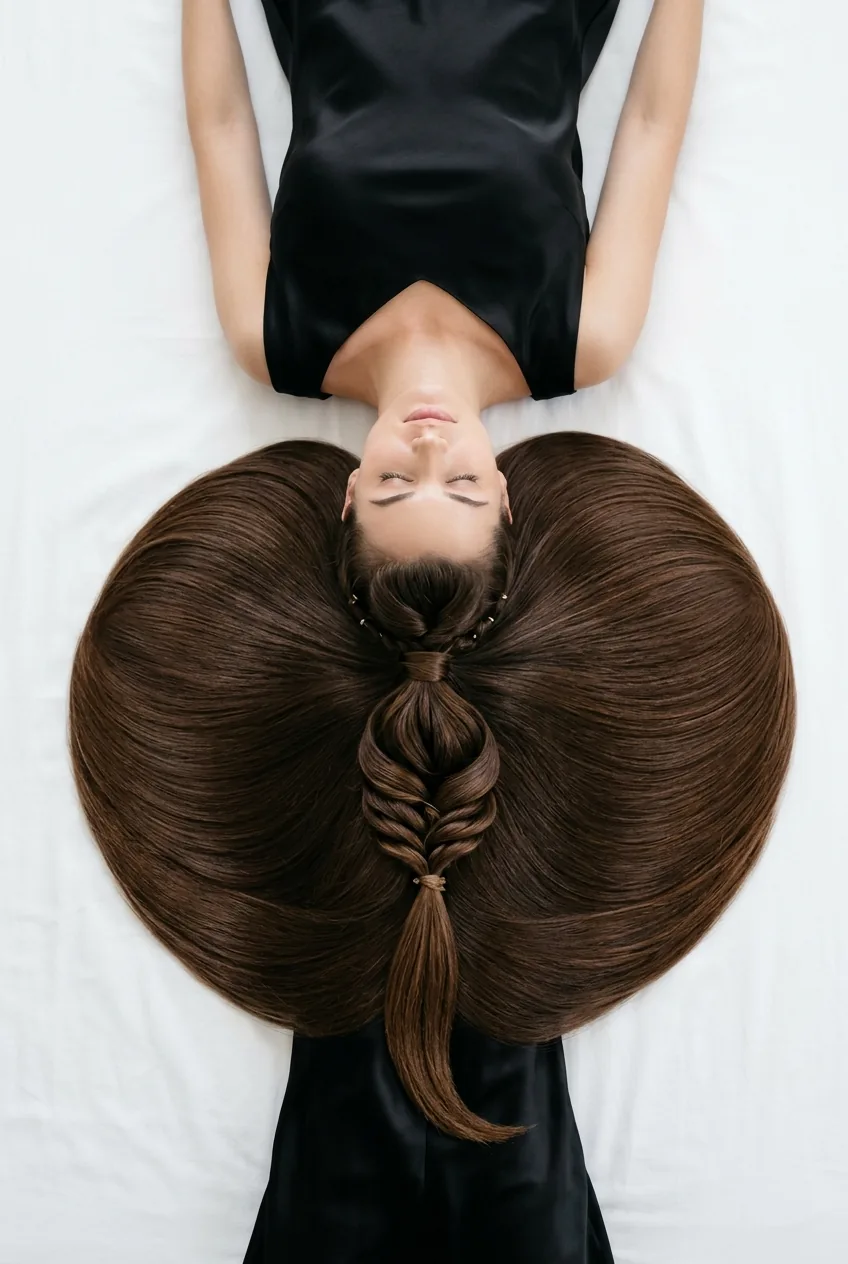
The fancy spiral hair ties everyone raves about? Total game-changer for ponytails and updos for long hair, but not for the reason you’d think. It’s not about preventing creases — it’s about the grip. Regular elastics slip on my fine hair, but these things hold like they mean business.
On the flip side, those $40 styling brushes that promise to revolutionize your routine? I’ve been through three different “game-changing” brushes this year, and honestly, my $8 drugstore paddle brush does the same job. Sometimes the expensive tool is just expensive.
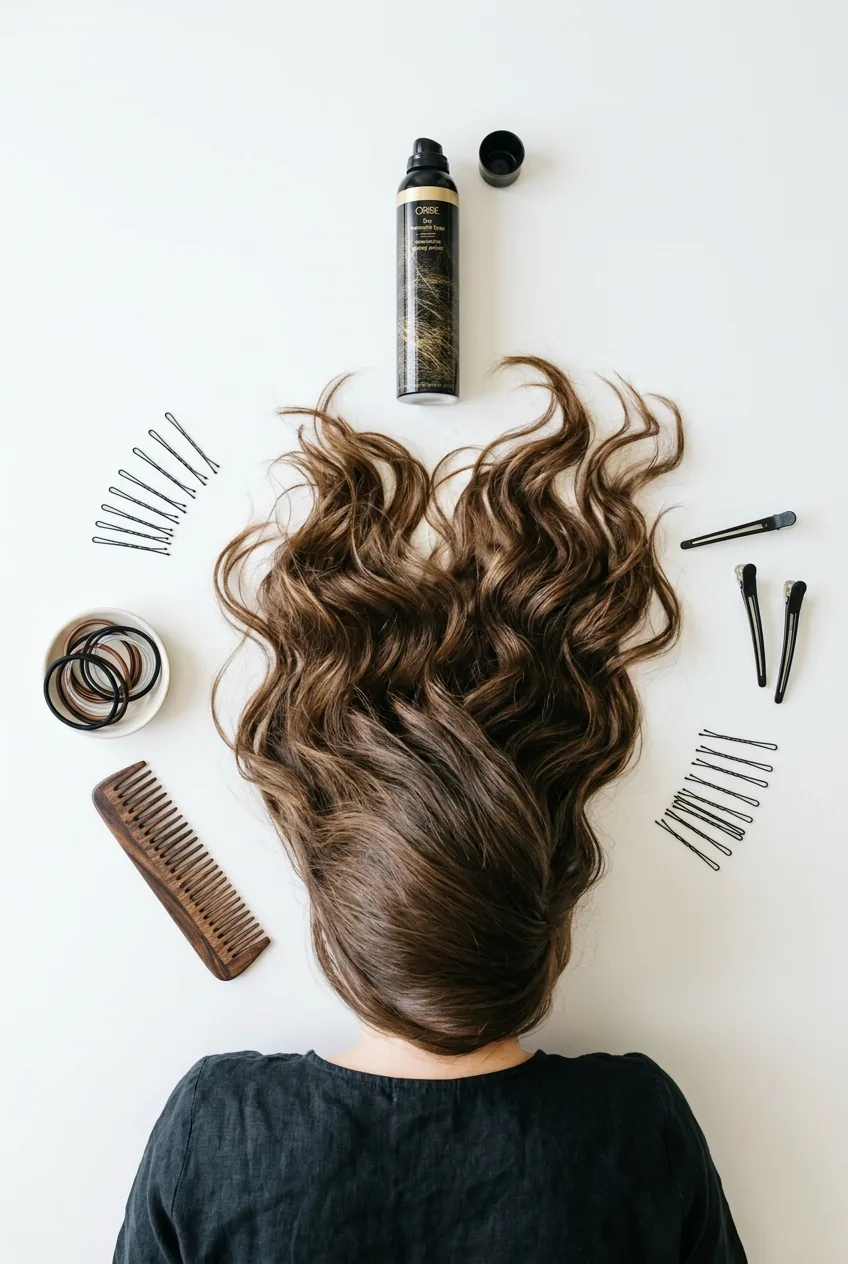
What actually matters:
- Bobby pins that match your hair color (sounds obvious, but I spent two years using brown pins on blonde hair like an amateur)
- A spray bottle for re-wetting sections that won’t cooperate
- Hair ties in at least three different tightness levels
- One good sectioning comb that you don’t lose every other week
The tool that surprised me most? A silk scrunchie. Not for the style — for the in-between moments when you need to put your hair up while you fix your makeup, then take it down without completely destroying your work.
Why It’s Worth the Extra Time Anyway
After all this behind-the-scenes reality, you might think I’ve sworn off “easy” long hairstyles forever. But here’s the thing — even with the extra time, the do-overs, and the learning curve, these styles have completely changed how I approach getting ready.
Before I started experimenting with these techniques, my hair routine was either completely down or in a basic ponytail. Now I have options that feel intentional, even when I’m rushing. And once you’ve practiced a style enough times, it really does become quicker.
The messy low bun that took me fifteen minutes to master the first time? I can do it in four minutes now, including the bobby pin architecture. The twisted crown that left me frustrated for weeks? It’s become my go-to for video calls because it looks polished from the front but requires zero precision in the back.
There’s something satisfying about mastering a technique that initially kicked your ass. And the confidence boost from walking around with hair that looks intentionally styled rather than accidentally forgotten? Worth every minute of that initial learning curve.
Plus, once you understand the real process behind these styles, you stop comparing your behind-the-scenes to everyone else’s highlight reel. That perfectly undone bun on Instagram? She probably took it down and redid it twice too.
Quick Answers for Long Hair Styling
How long do these styles actually take once you get good at them?
After practicing for a few weeks, most styles take 3-7 minutes instead of the advertised 2-3 minutes. The exception is anything involving braids, which always takes longer than you think because of the sectioning.
What if my hair won’t hold any of these styles?
Fine or slippery hair needs texture spray or dry shampoo applied before styling. I also learned that slightly dirty hair (day 2-3) holds styles better than freshly washed hair.
Should I buy expensive styling tools?
Start with basics: good bobby pins, multiple hair tie types, and one decent brush. Upgrade individual tools only after you’ve identified what frustrates you most about your current setup.
Why do my attempts never look like the tutorial?
Hair texture makes a huge difference in how styles turn out. What works for thick, coarse hair won’t work the same way on fine hair. Adapt techniques to your specific hair type rather than copying exactly.
The truth about easy hairstyles for long hair? They’re not as easy as advertised, but they’re not as impossible as that first disastrous Tuesday made them seem. Give yourself permission to take longer than the tutorial suggests, and remember that even hair influencers probably have a pile of bobby pins on their bathroom counter and at least three failed attempts behind every perfect post.