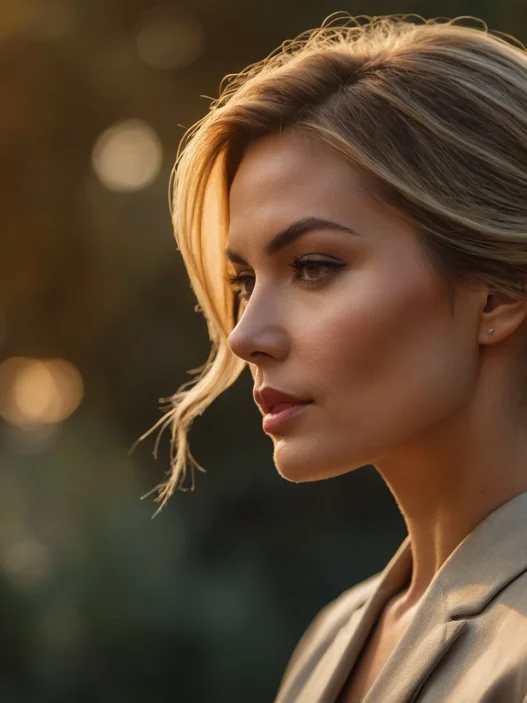


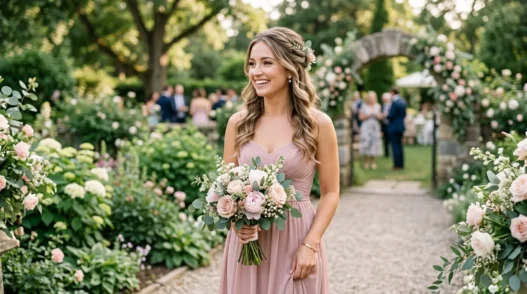
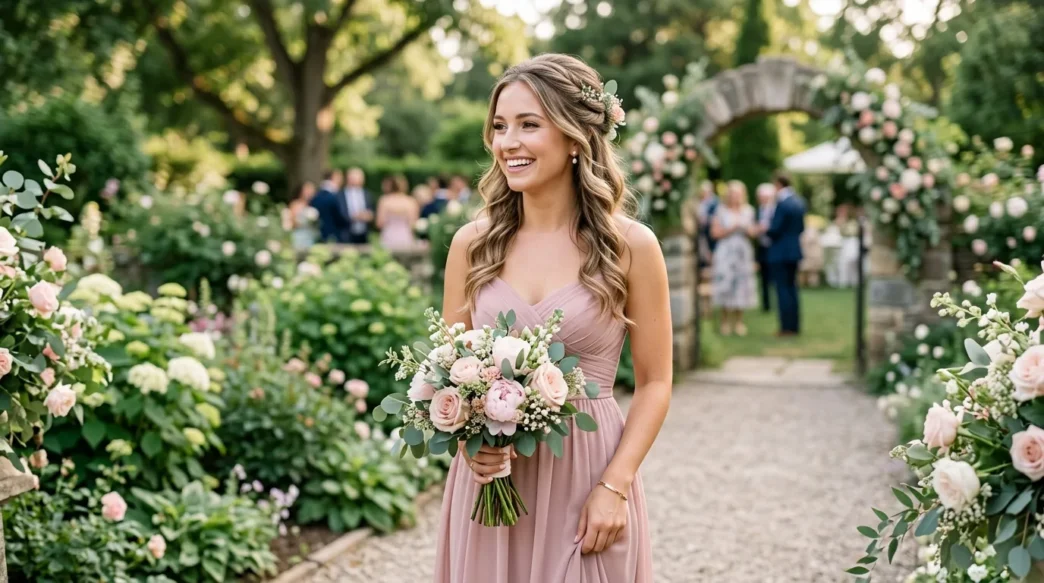
I learned the hard way that most bridesmaid hairstyles look gorgeous for about twenty minutes. My cousin’s wedding last spring? Half my carefully pinned hair was sliding down my neck before we even made it through cocktail hour. That’s when I decided to master the art of bridesmaid hairstyles half up half down that actually hold their shape.
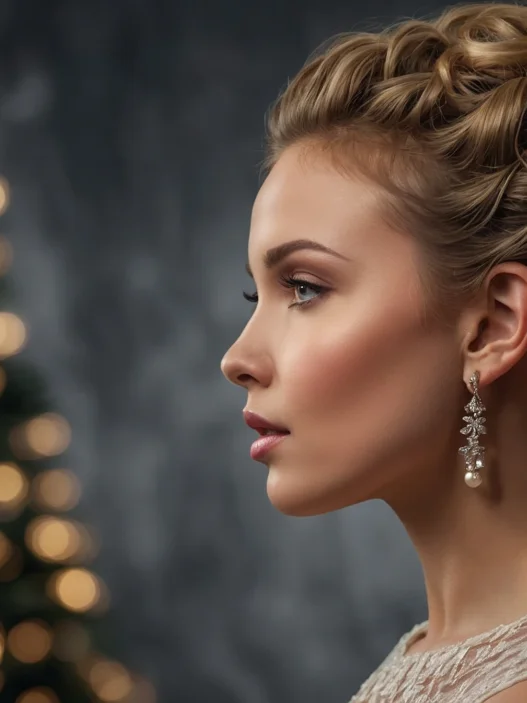
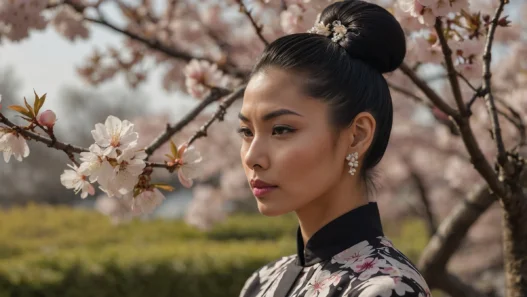
The half-up style is perfect for bridesmaids because it’s elegant enough for photos but practical for a long celebration. And honestly, it works on every hair type and face shape I’ve tried it on.
What You’ll Need for Perfect Half-Up Styles
The difference between a half-up style that lasts versus one that falls apart? The right tools and products. Here’s what I always have ready:
- Clear elastic bands (the tiny ones that disappear)
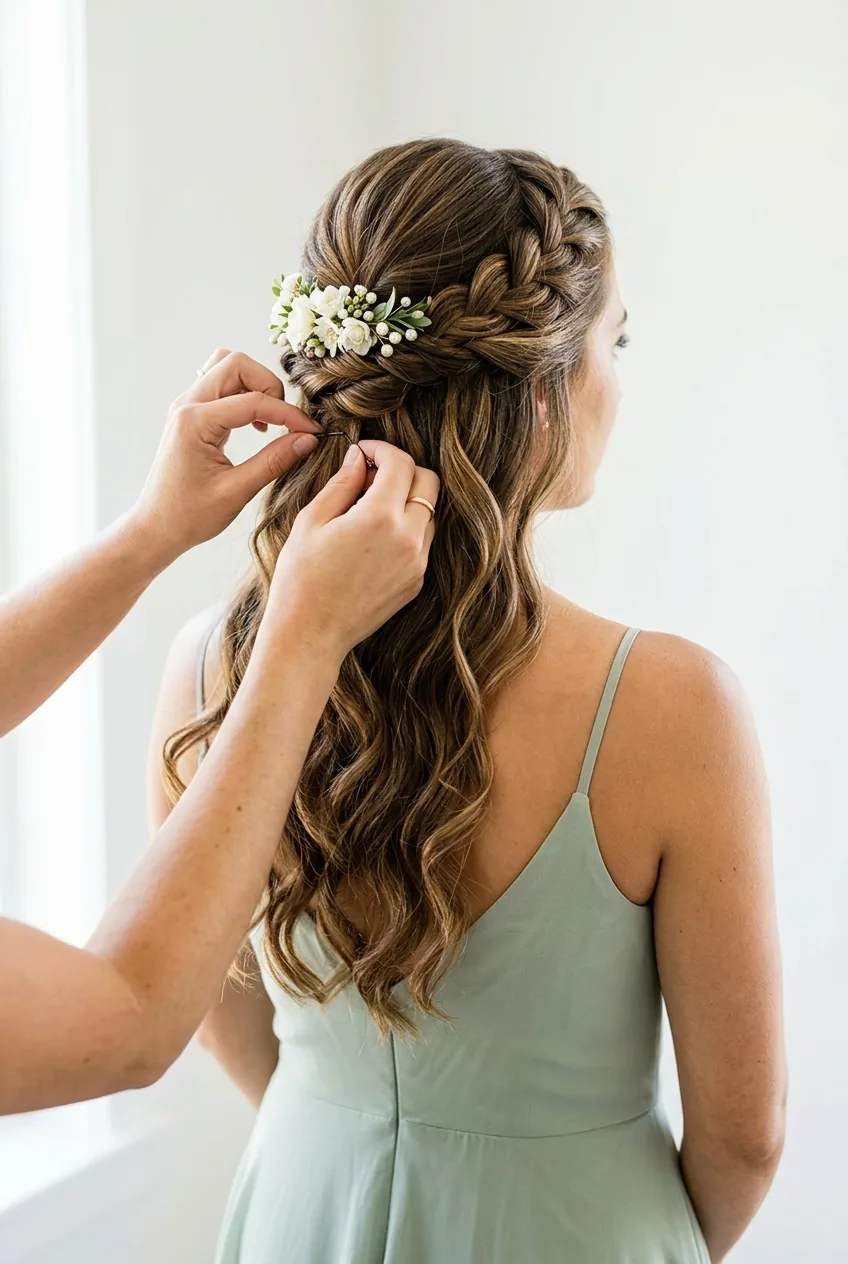
- Bobby pins in your exact hair color
- Texturizing spray for grip
- Light-hold hairspray
- A fine-tooth comb
- Hair clips to section while you work
I used to think any bobby pin would work. Wrong. Matching your hair color exactly makes them invisible, and that professional touch matters when you’re in wedding photos all day.
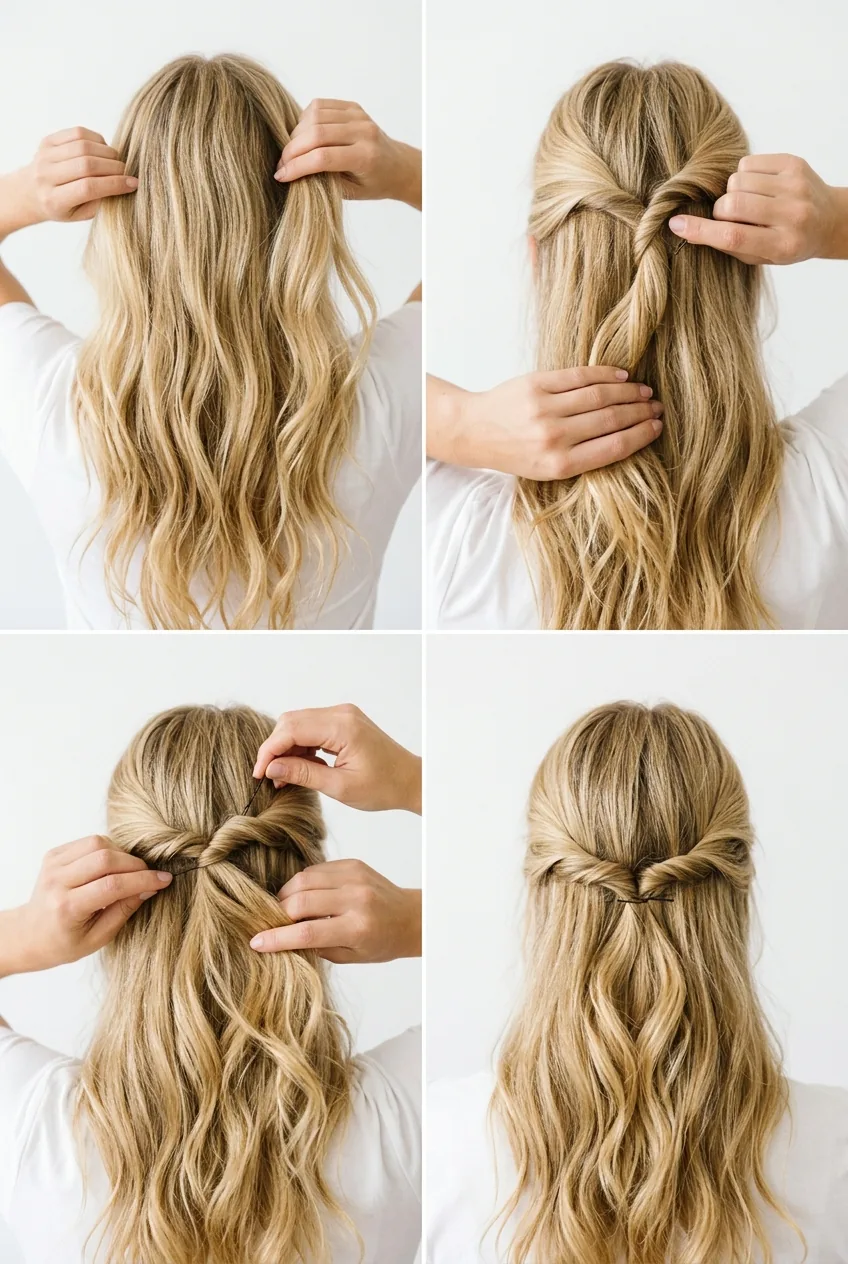
The Classic Twisted Half-Up
This is my go-to when I want something timeless. I’ve done this style on myself and three other bridesmaids, and it never fails to look polished.
Start by sectioning off the hair from your temples back to the crown. The key is taking a section that’s about two inches wide on each side. Twist each section away from your face, pulling slightly to create volume as you go.
Meet both twists at the back of your head and secure with a clear elastic. Then gently tug at the twists to loosen them — this creates that effortless, romantic texture that looks intentional rather than pulled-tight.
My biggest mistake the first time? I twisted too tightly and ended up looking like I was heading to a corporate meeting, not a wedding. Loose and lived-in always wins.
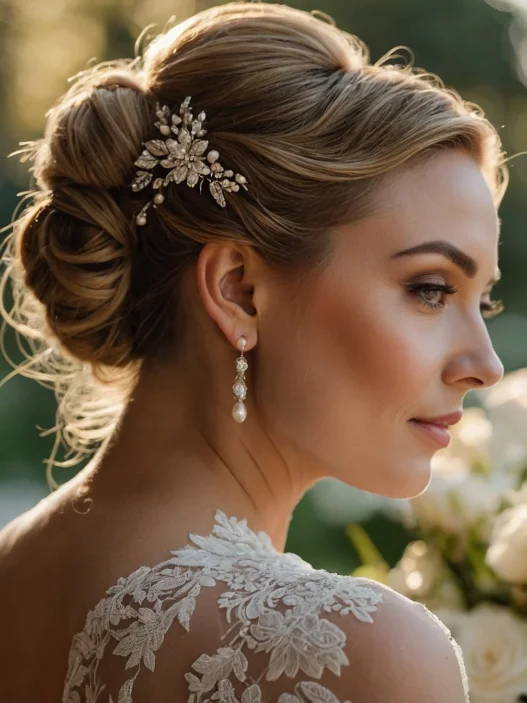
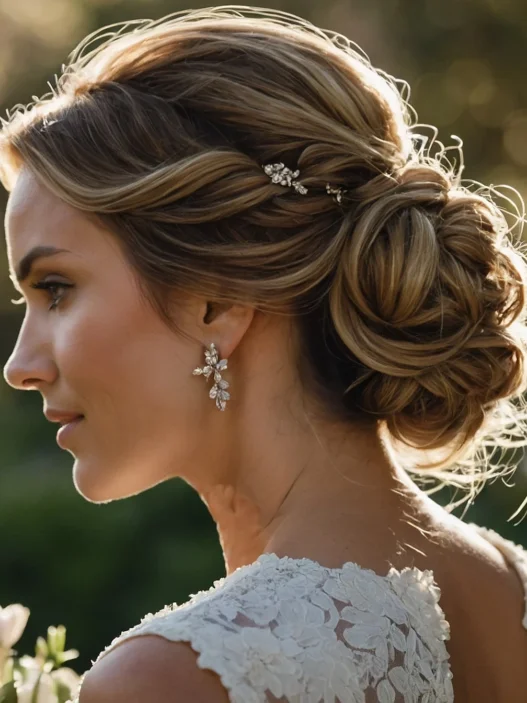
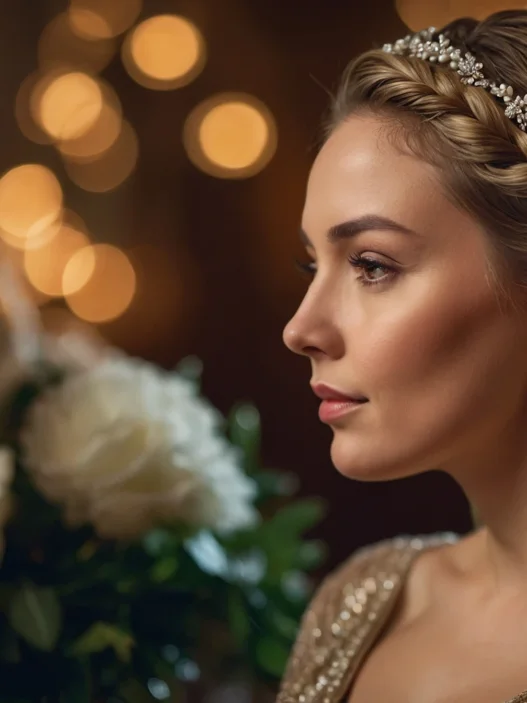
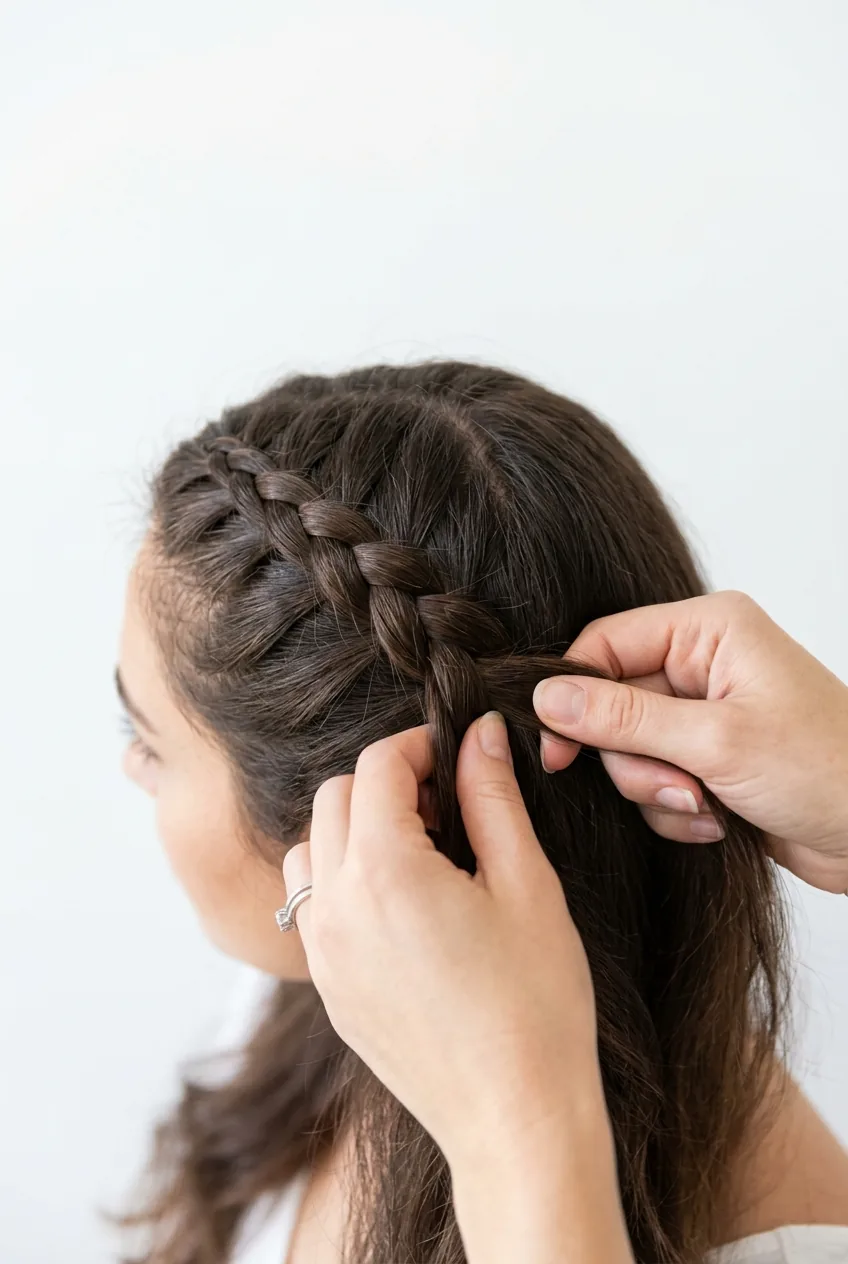
Romantic Braided Crown
When the bride wants something more intricate, this braided version is absolutely stunning. It takes a few extra minutes but creates such a beautiful frame around the face.
Create a deep side part, then start a loose Dutch braid along your hairline on the heavier side. Only braid about four inches back, then secure with a small clear elastic. Repeat on the other side, but this time do a regular braid.
Cross the braids at the back of your head and pin them in place with bobby pins. The asymmetrical approach — one Dutch, one regular — adds visual interest without looking overdone. Plus, it works beautifully with easy half-up hairstyles that transition from season to season.
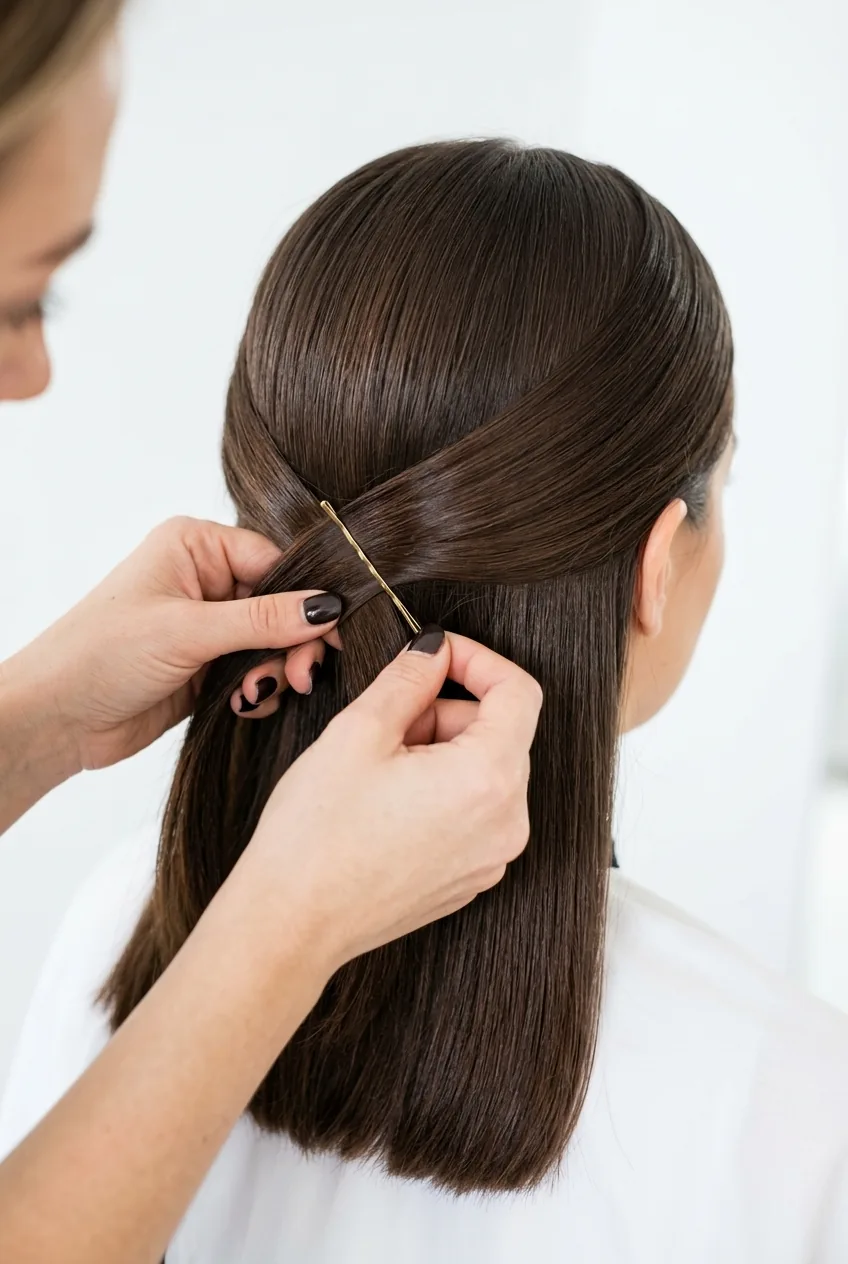
Sleek Pin-Back Elegance
For more formal weddings, this sleek version feels sophisticated without being stuffy. I love how clean and modern it looks while still being feminine.
Smooth your hair back with a fine-tooth comb and gather the top section from ear to ear. Instead of twisting, keep this section completely smooth and sleek. Secure with bobby pins in an X pattern — this holds much better than just sliding pins straight in.
The trick is using enough styling techniques to keep everything smooth but not so much that it looks helmet-like. A light mist of hairspray before and after pinning locks everything in place.
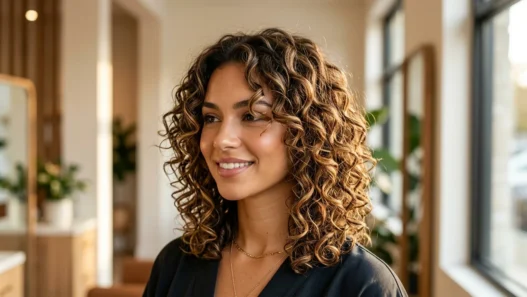
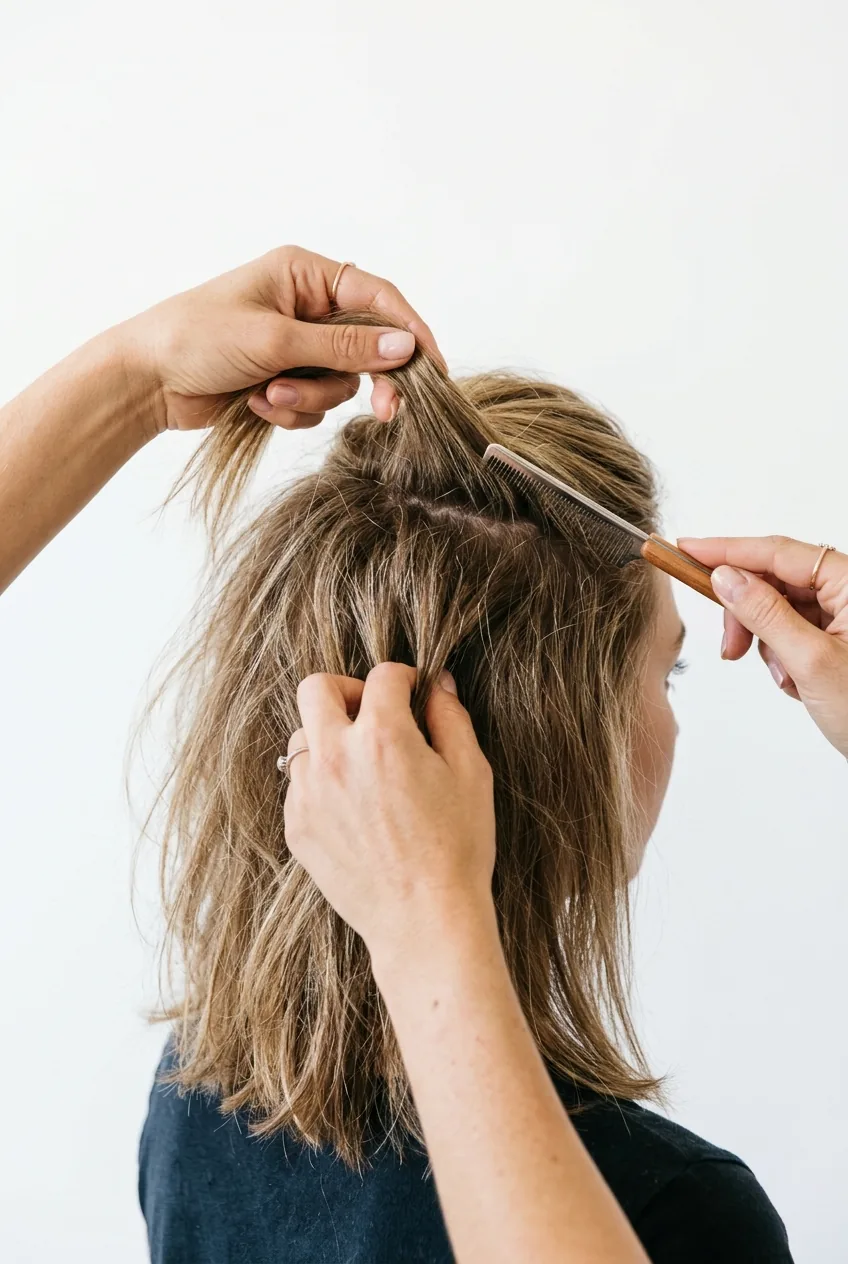
Textured Volume Twist
This one’s perfect for bridesmaids with fine hair who want more oomph. The secret is all in the prep work and knowing where to add the right texture.
Before you start, spray texturizing spray through your mid-lengths and ends. Then, instead of smooth twists, create looser, more voluminous sections by gently backcombing each piece before twisting.
The result is a half-up style with serious body that photographs beautifully. I’ve noticed this technique works especially well for long hairstyles where you need the top half to balance the weight of all that hair.
See the Volume Technique in Action
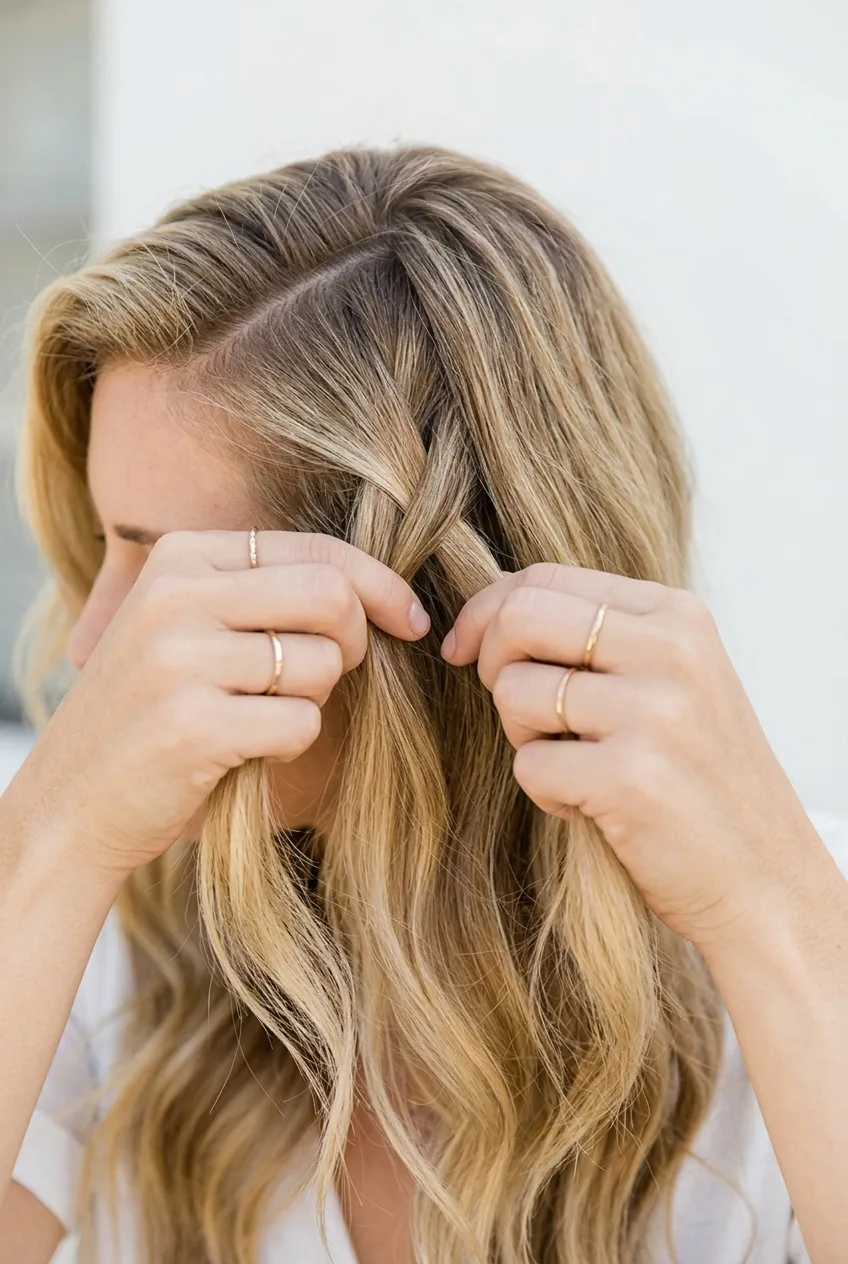
Boho Side-Swept Braid
For outdoor or more casual weddings, this side-swept approach feels effortlessly romantic. It’s my favorite when the bride wants a relaxed, bohemian vibe.
Create a deep side part and start a loose side braid on the heavier side, incorporating hair as you work back toward your ear. Don’t braid too tightly — you want it to look soft and undone.
Secure with a clear elastic and gently pull apart the braid to make it wider and more relaxed. Then sweep everything to one side and pin behind the opposite ear. The asymmetrical look is so flattering and feels current without trying too hard.
Questions I Get About Half-Up Styles
How early should I do my hair before the wedding?
I always recommend doing bridesmaid hair 2-3 hours before the ceremony. This gives you time for touch-ups but isn’t so early that styles start falling apart. Plus, if you’re doing your own hair, you won’t feel rushed.
Will these styles work with hair extensions?
Absolutely! Just make sure your extensions are properly blended first. I actually find half-up styles help disguise the connection points between natural hair and extensions, especially with the textured versions.
What if my hair is too short for these styles?
If your hair hits above your shoulders, try the sleek pin-back version — it works with shorter lengths. You can also modify any of these by just pinning back smaller sections and leaving more hair down.
How do I prevent bobby pins from showing?
The key is using pins that exactly match your hair color and inserting them at an angle, not straight down. Cross two pins in an X shape for extra hold, and always slide them in the same direction as your hair growth.
These five bridesmaid hairstyles half up half down have saved me from countless hair disasters. The textured volume twist ended up being my signature look — I’ve worn it to four different weddings now, and it photographs beautifully every single time. The best part? None of these require a professional stylist, just a little practice and the right approach.