


I’ll be honest — the first bridal bun I attempted looked like a bird’s nest by hour two of the reception. My sister’s wedding photos still haunt me. That disaster sent me on a mission to crack the code for a bun that actually stays put through tears, dancing, and endless hugs.
What You’ll Need
Let me save you the frustration of realizing halfway through that you’re missing something crucial. Here’s everything I keep within arm’s reach:
- Medium-hold texturizing spray (not the super stiff stuff)
- Fine-tooth comb and wide-tooth comb
- At least 15 bobby pins in your exact hair color
- 3-4 clear elastic bands
- Small hair donuts or sock bun maker
- Strong-hold hairspray for finishing
- Hair clips for sectioning (the metal ones work best)
- A handheld mirror — trust me on this one
The bobby pin count might seem excessive, but I learned the hard way that running out mid-style is not an option. And please, please match them to your hair color. Nothing ruins glamorous updos like visible pins.
Step 1: Create the Perfect Base
Starting with day-old hair is actually your friend here. Fresh-washed hair is too slippery and won’t hold the style. Spray your texturizing spray from mid-length to ends — this gives you grip without the crunch.
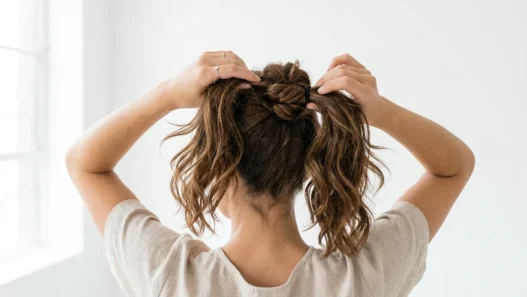
Brush everything back into a high ponytail position, but don’t secure it yet. I’m talking about finding that sweet spot where the ponytail sits at the crown of your head, not too high that it looks like a fountain, not too low that it droops.
Here’s what most tutorials skip: tilt your head back slightly while you’re positioning. This prevents that weird dent that happens when you secure the ponytail with your head perfectly upright. Game changer.
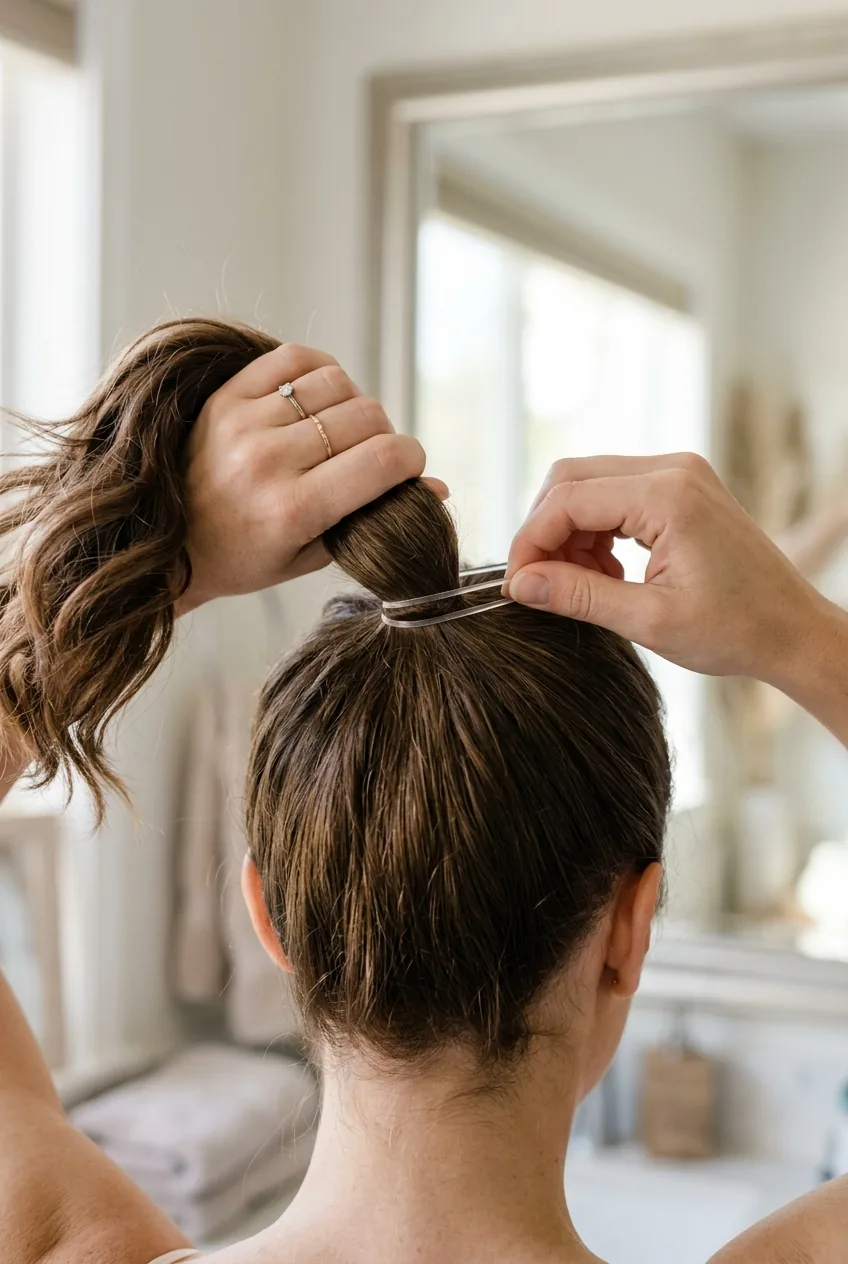
Step 2: Section and Secure
Now secure that high ponytail with a clear elastic. Make it tight — this is your foundation. If this loosens, everything else falls apart. I usually wrap the elastic three times for medium-thick hair, four times for fine hair.
Before moving on, smooth down any bumps around the elastic with the fine-tooth comb. This is where that handheld mirror becomes essential — check your profile from both sides. Those little flyaways that seem minor now will photograph like crazy later.
Pull a few face-framing pieces loose if you want them. I usually grab two thin sections at the temples. But if you’re going for ultra-sleek, skip this step entirely.
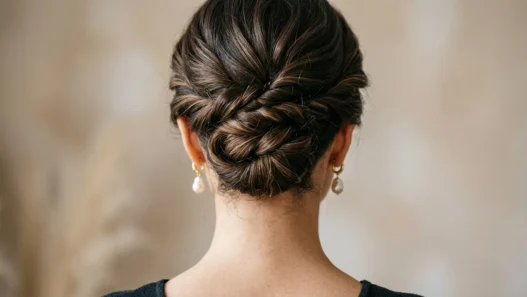
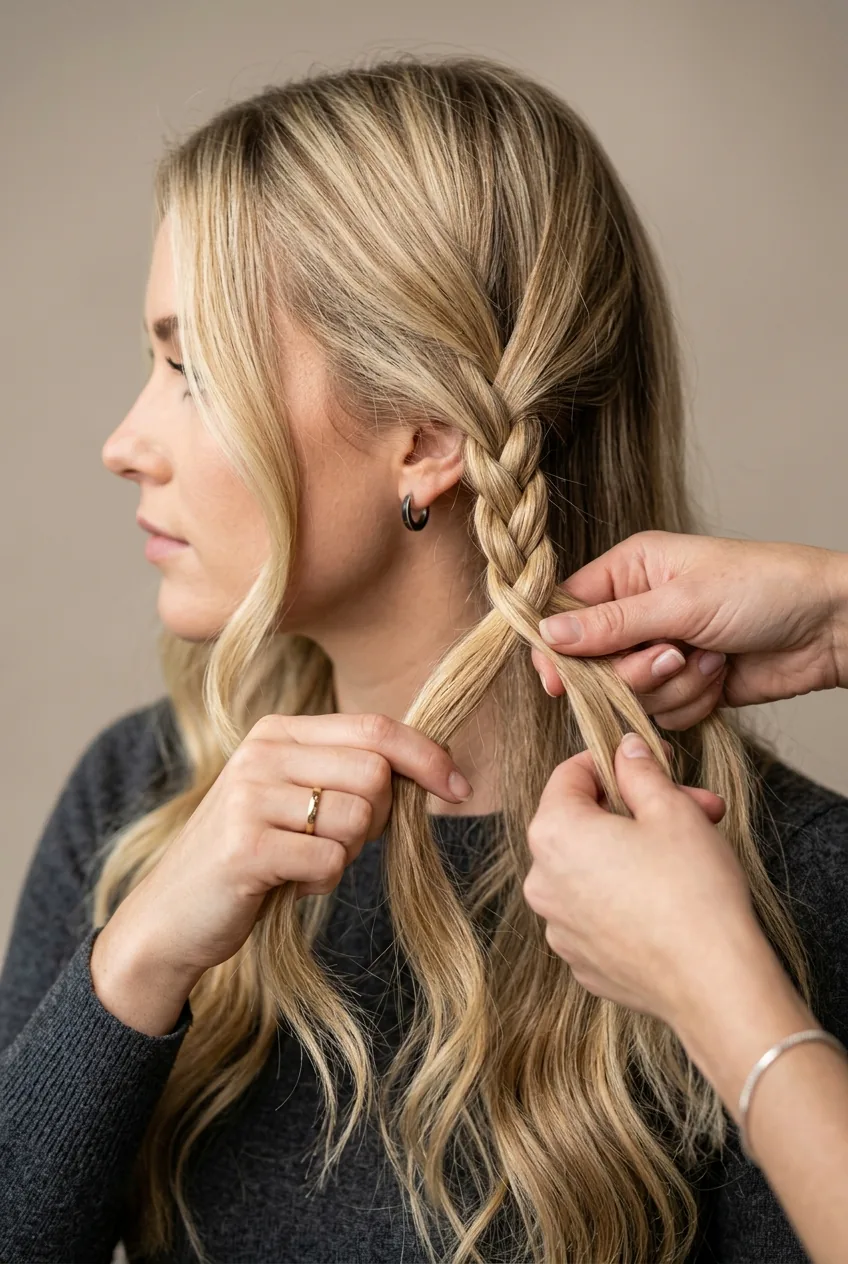
Step 3: Build the Foundation Twist
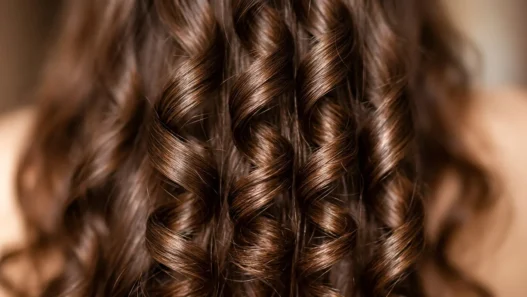
Take your ponytail and split it into two equal sections. Twist each section in the same direction — I always go clockwise because it feels more natural. Then twist those two sections around each other in the opposite direction (counterclockwise).
This creates what hairstylists call a rope braid, and it’s the secret to a bun that has texture and holds its shape. Keep the tension consistent as you twist. Too loose and it’ll unravel, too tight and it looks like a rope.
I used to skip the twisting step because it seemed unnecessary. Big mistake. Without this foundation twist, my buns would always look flat and lifeless by the end of the day. The texture is everything.
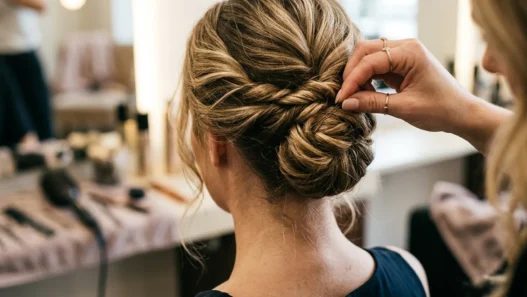
Step 4: Form the Classic Bun Shape
Here comes the moment of truth. Take your twisted length and start wrapping it around the base of your ponytail. I always wrap in the same direction I twisted — it helps everything lay properly.
The key is to wrap loosely on the first round, then tighten on subsequent rounds. This creates that perfect rounded dome shape instead of a flat pancake. Keep the bun slightly off-center if you want it to look more organic and less severe.
Don’t worry if some pieces stick out — we’ll tuck those in during pinning. The goal right now is getting the overall shape right. When you reach the end of your twisted section, tuck the tail under and hold everything in place with one hand.
Watch the Wrapping Technique Live
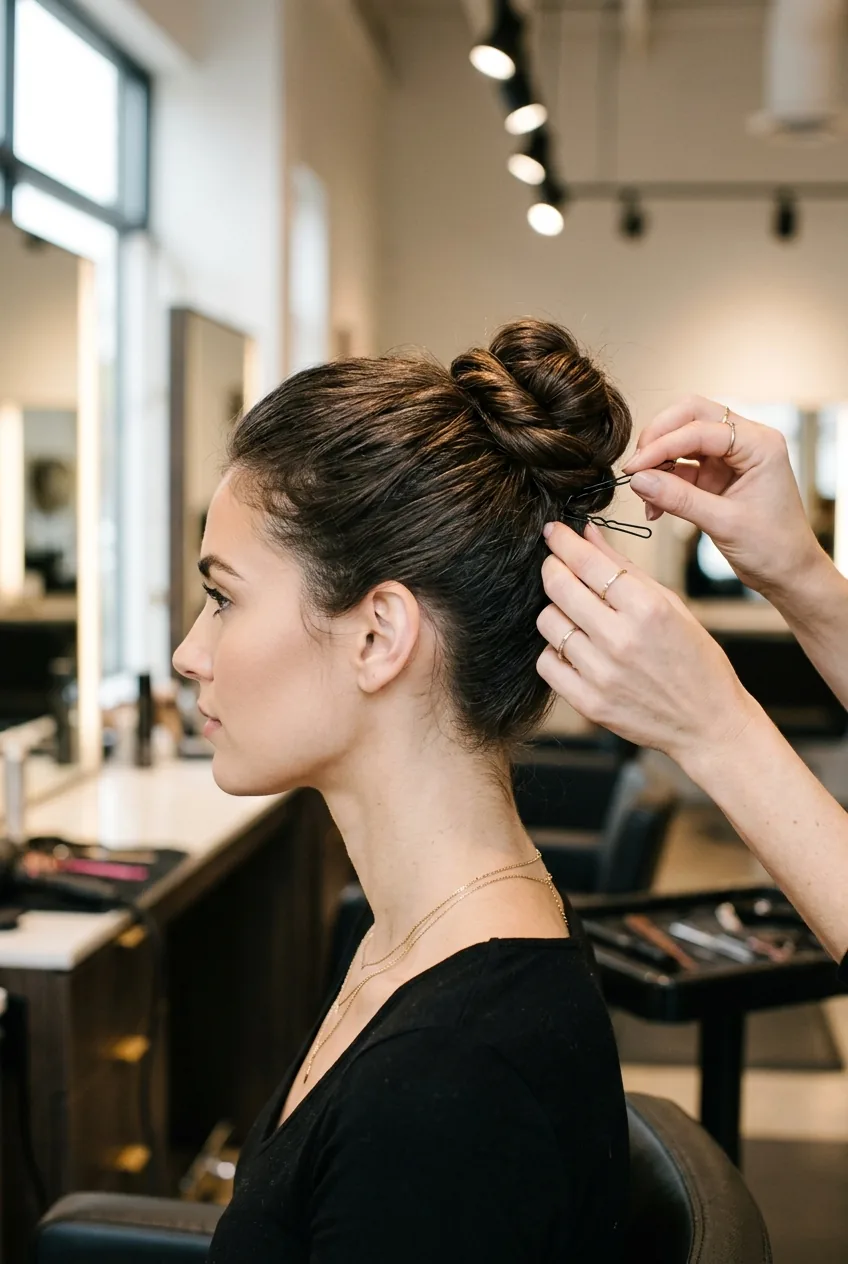
Step 5: Perfect the Pin Placement
This is where most people mess up the whole thing. Bobby pins don’t just get shoved in randomly. You need strategy. Start by securing the tail end you tucked under — use two pins in an X pattern to lock it down.
Then work your way around the bun, placing pins where the wrapped sections meet the base. Slide each pin up into the bun, then down into the ponytail base. This anchors everything properly. I use about 8-10 pins total, spaced evenly around.
For any stubborn pieces that won’t stay put, professional pinning methods can save your sanity. The invisible pin technique involves sliding the pin along the scalp first, then angling it up into the hair.
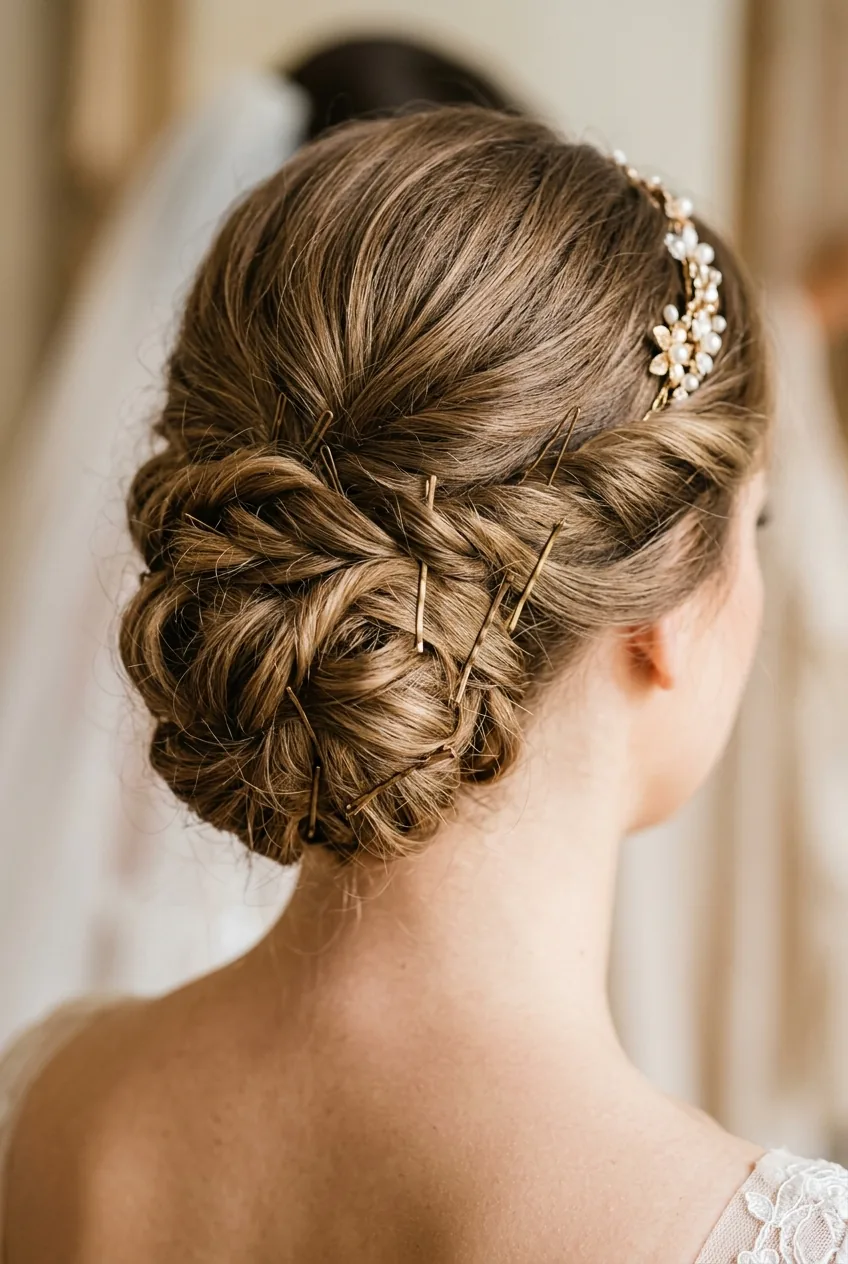
Step 6: Lock Everything in Place
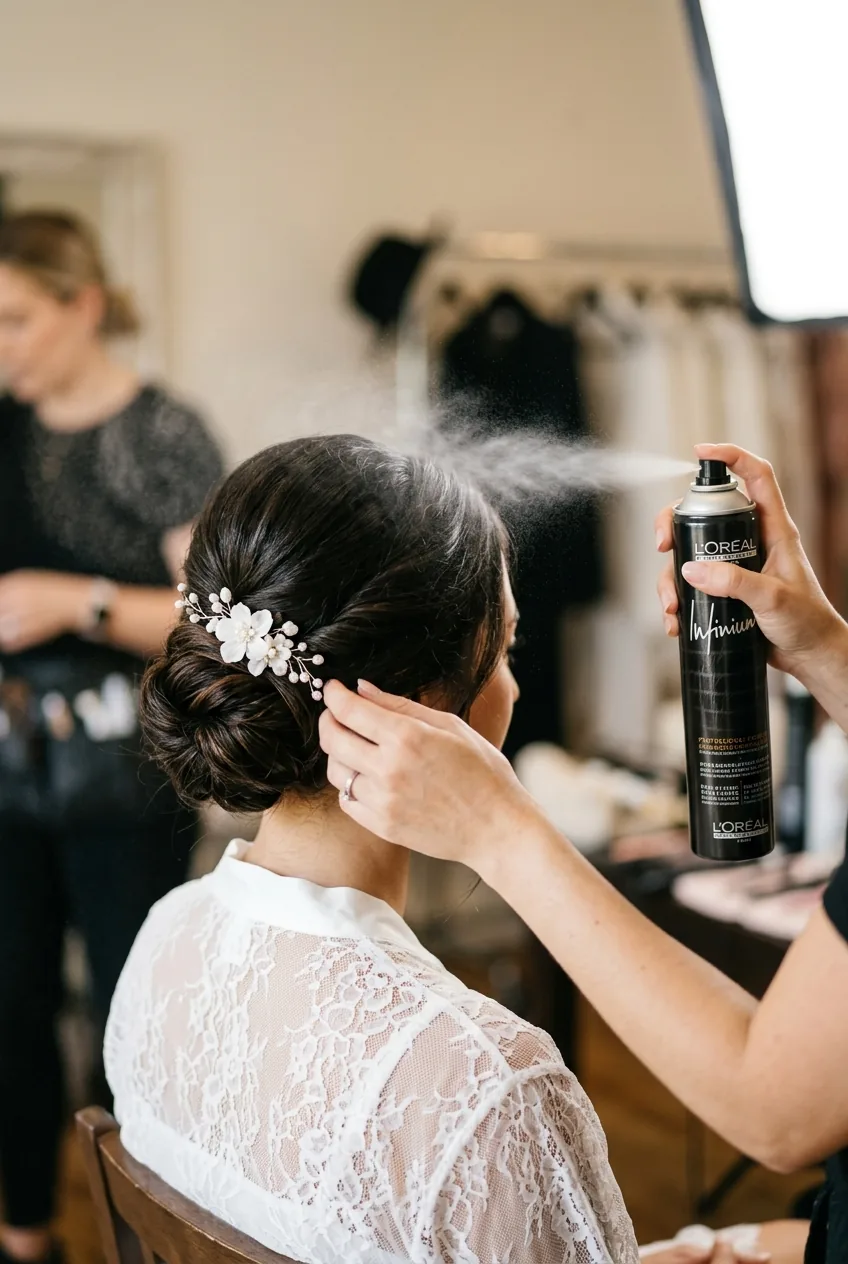
Final step — and it’s crucial. Hold the hairspray about 8 inches away and mist the entire bun. Don’t soak it, just a light even coating. Wait 30 seconds, then do one more light layer.
Check your work with that handheld mirror again. Look for any loose ends or gaps in the bun’s surface. A few strategic bobby pins can fix these issues now, but they’ll be much harder to address later.
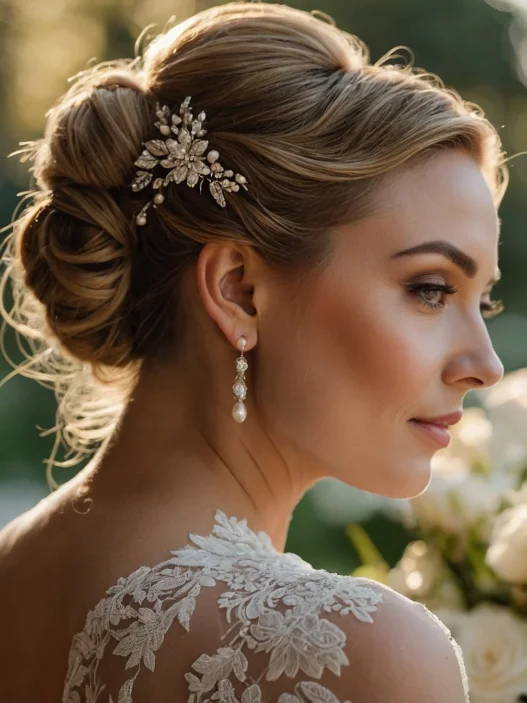
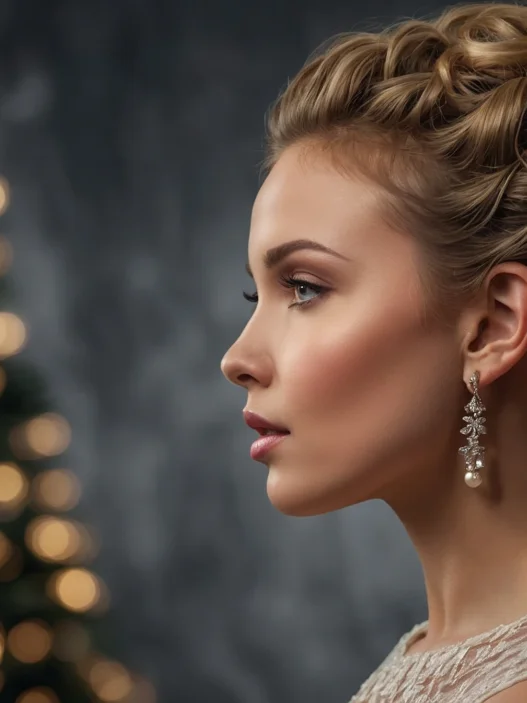
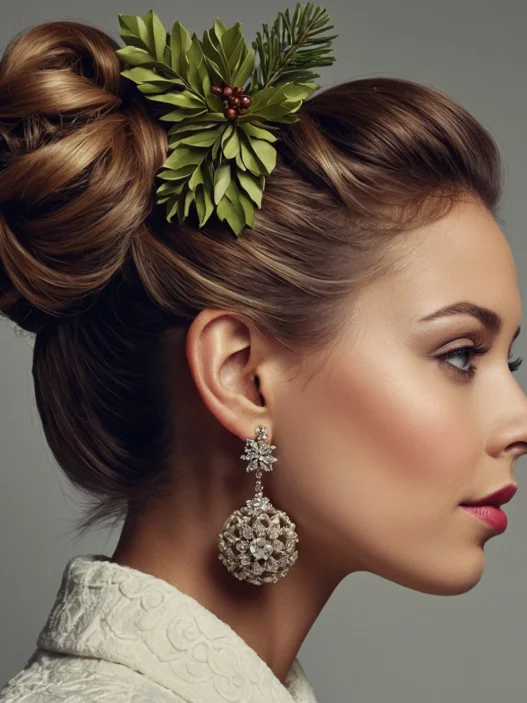
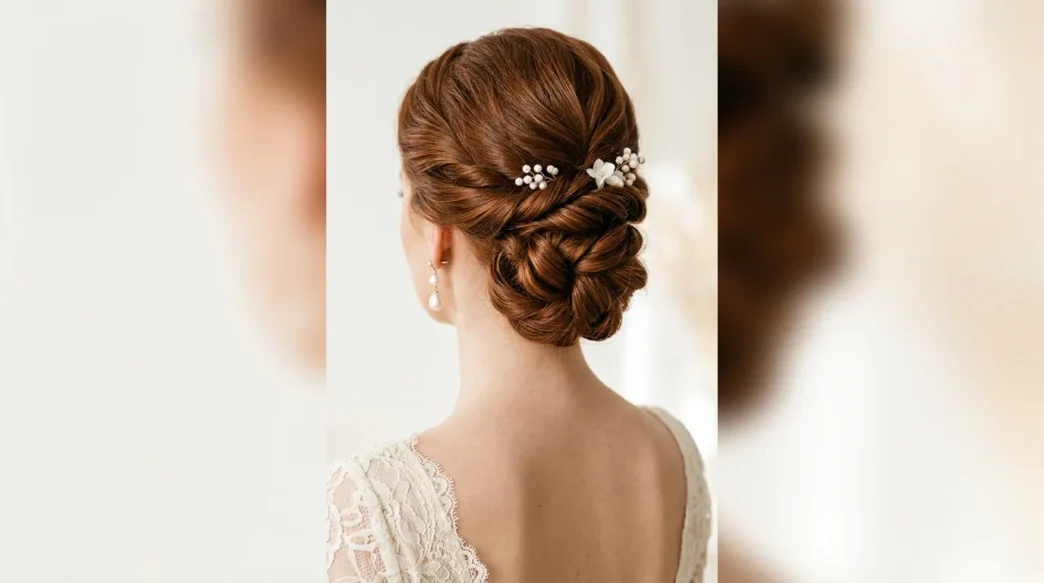
If you pulled out face-framing pieces earlier, style them now with a curling iron or leave them softly waved. Wedding hair accessories can add the perfect finishing touch if your dress calls for something extra.
Quick Answers for Your Bridal Bun
How long will this bun actually stay in place?
With proper pinning and hairspray, this method should hold for 12+ hours of wedding activities. I’ve tested it through full reception dancing — it holds up.
Can I do this on fine or thin hair?
Absolutely. Use a small sock bun maker inside the bun for extra volume, and don’t twist as tightly in step 3. Fine hair actually pins more securely than thick hair.
Should I practice this before my wedding day?
Yes, at least twice. Once to learn the technique, once to time yourself and perfect the positioning. Your arms will thank you for building up that muscle memory.
What if I have layers or shorter pieces that won’t reach?
Pin them against your head first, then build the bun over them. Those shorter layers can actually add nice texture once they’re incorporated properly.
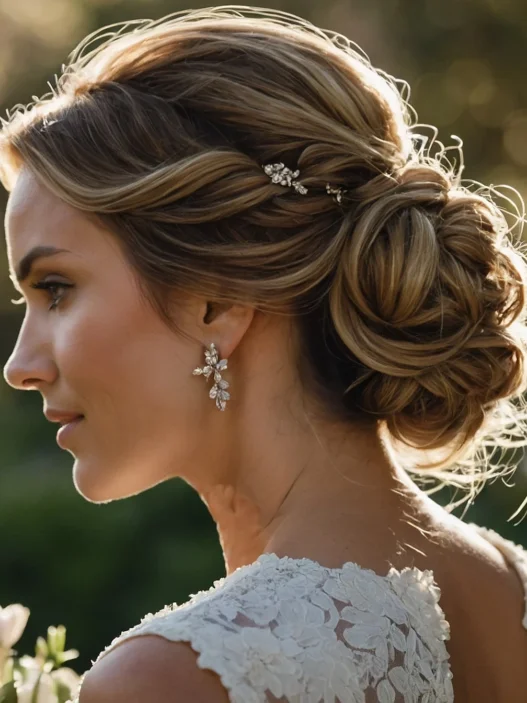
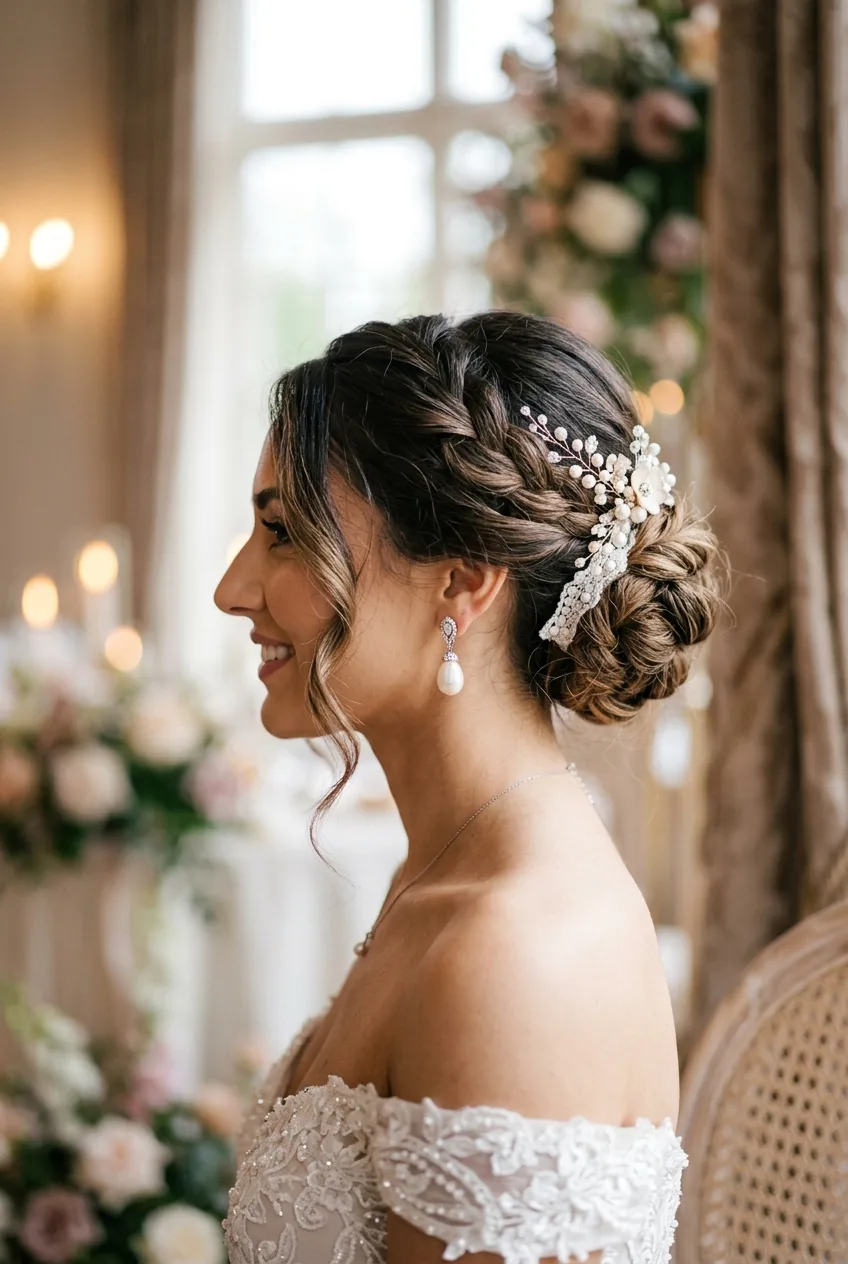
The result? A bun that photographs beautifully from every angle and survives whatever your wedding day throws at it. I’ve worn this exact style to three weddings now, and people always ask who did my hair. Sometimes the best compliment is when it looks professionally done but you know you nailed it yourself.