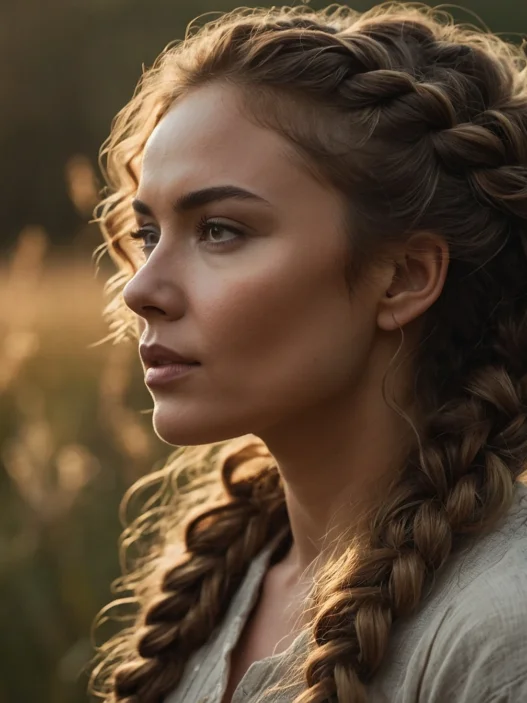


I used to think braided ponytails were just for little girls or festival Instagram posts. But then I discovered this 5-step method at a wedding when my regular ponytail kept sliding down my neck in the humid venue. The bride’s sister showed me her technique, and I’ve been obsessed ever since.
Why Most Braided Ponytails Fail
Here’s what I learned the hard way: most people start braiding too close to their hairline. The weight of the braid pulls everything down, and by hour two, you’ve got a saggy mess.
The other mistake? Using regular hair ties for the initial ponytail. Those things are slippery death traps for any style that involves weight distribution. I switched to spiral hair ties after watching my perfect braided ponytail completely unravel during a work presentation.
But the biggest issue is texture. If your hair is too clean and soft, nothing grips. Too dirty, and it looks… well, dirty. There’s a sweet spot, and I’ll show you exactly how to hit it.
Prep Your Hair Like a Pro
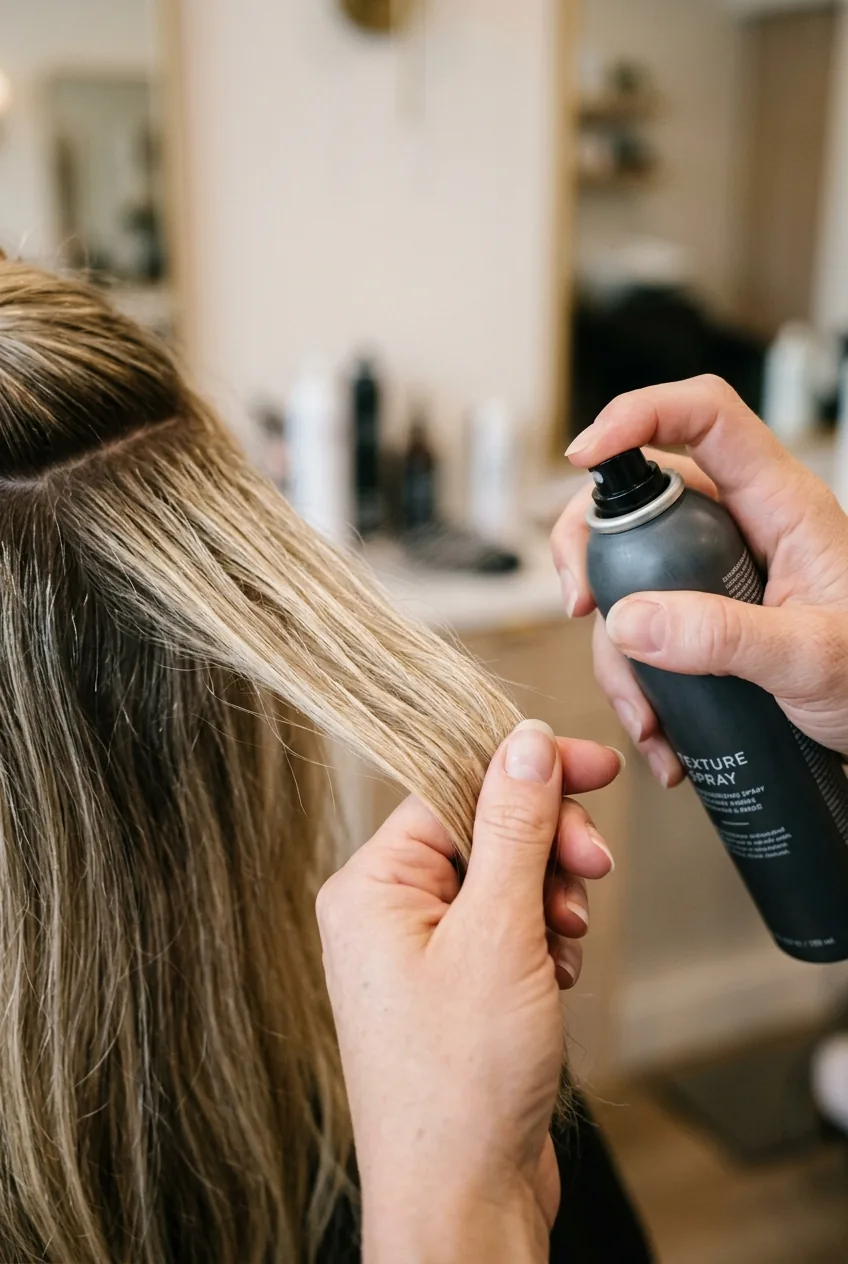
This step is non-negotiable. I brush my hair with a boar bristle brush first — it distributes natural oils without creating static. Then comes the secret weapon: texturizing spray on slightly damp hair.
Not dry shampoo. Not hairspray. Texturizing spray. It gives you grip without the gritty feeling. I spray it section by section, then scrunch each piece while it air dries about 80%. You want that perfect amount of texture where your fingers can feel some resistance when you run them through.
Here’s my controversial take: skip the heat protectant if you’re not using heat tools. I know everyone says use it anyway, but for this style, that extra layer of smoothness works against you. Texturizing sprays are specifically formulated to add the rough texture you need for braids that stay put.
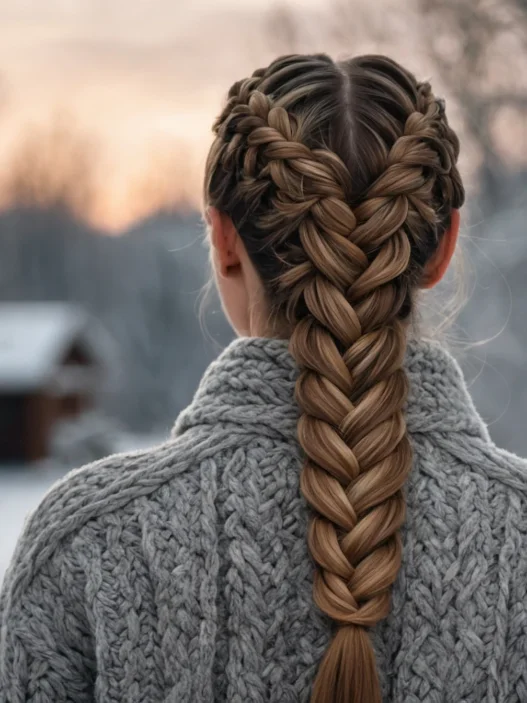
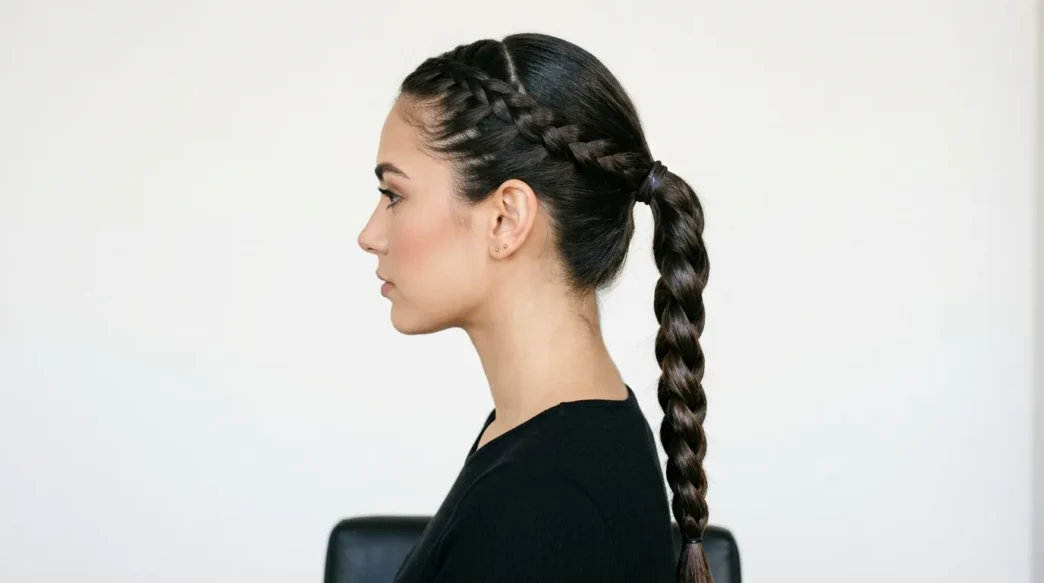
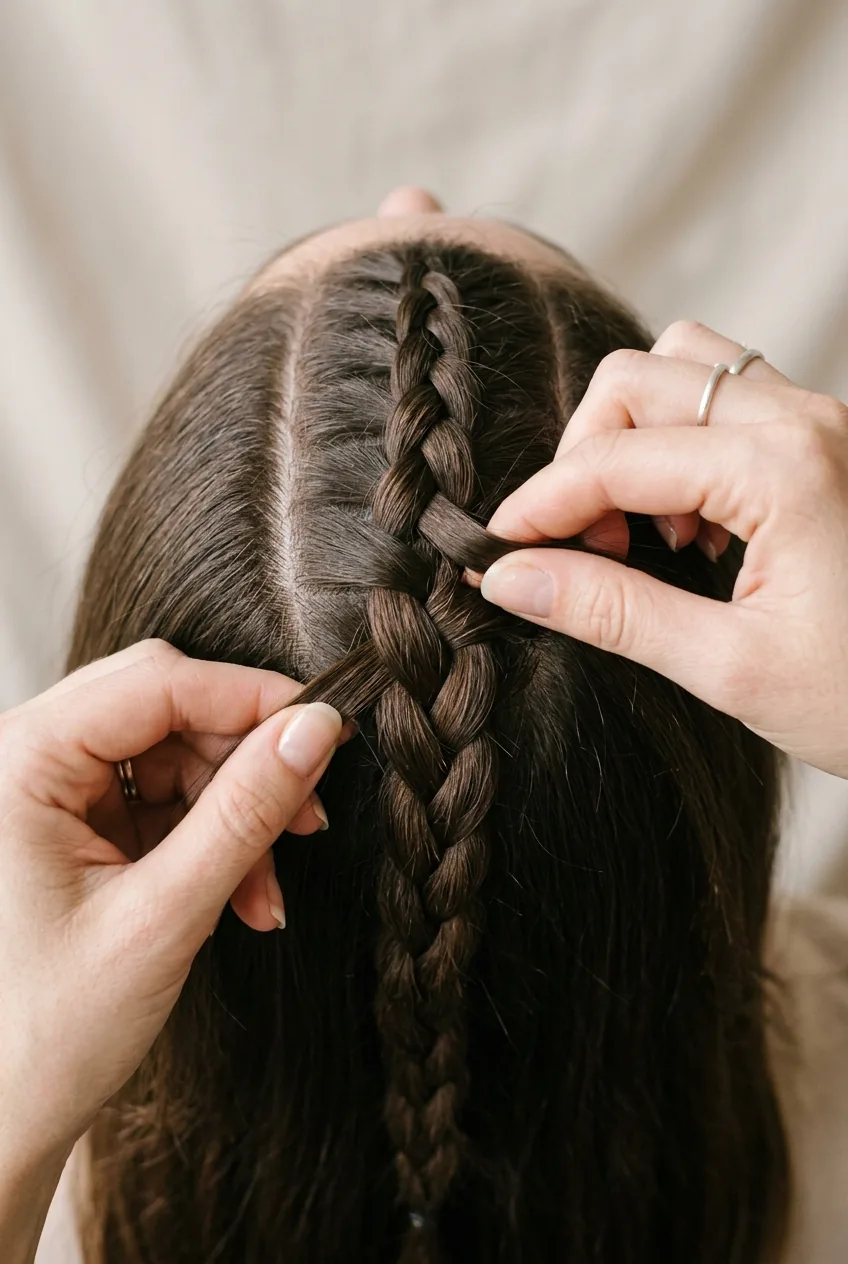
The Base Braid That Changes Everything
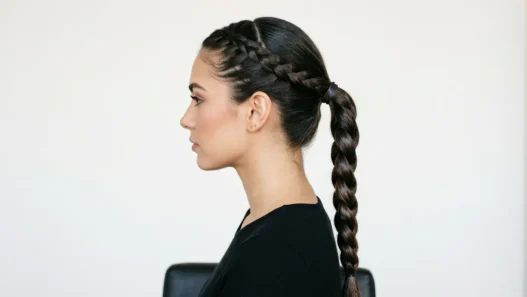
This is where my method gets weird, but trust me. Instead of starting with a ponytail, I create what I call a “foundation braid” first. It’s a loose Dutch braid that starts about two inches back from your hairline and ends at the nape of your neck.
Why Dutch instead of French? The braid sits on top of your head instead of sinking into it. This creates a raised track that your ponytail can anchor against. Think of it like building a shelf for your hair to rest on.
The braid doesn’t need to be tight or perfect. Loose and chunky actually works better because it creates more surface area for grip. I usually do about 4-5 crossovers before I reach my nape, then secure it with a small clear elastic.
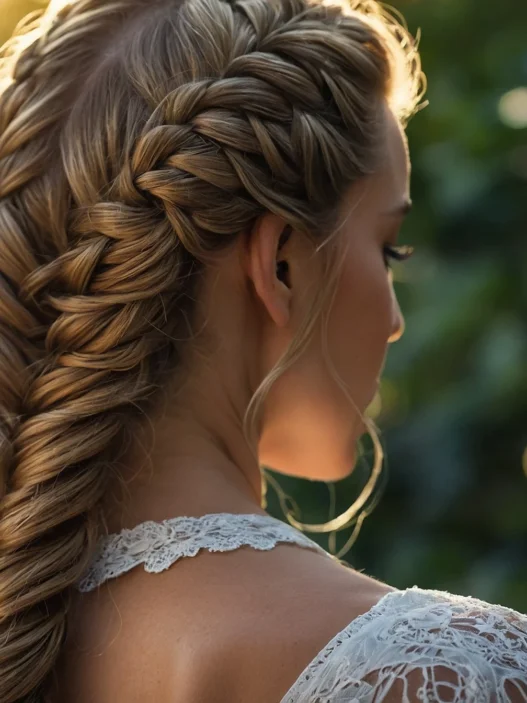
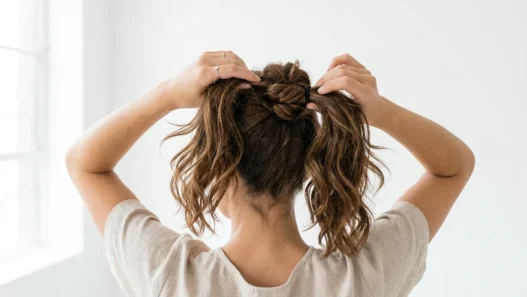
Once you have that foundation, gather ALL your hair — including the tail of your Dutch braid — into your ponytail position. This is where those braided half up boho styles taught me that layering braids creates incredible hold.
See the Foundation Technique in Action
Securing Without the Slip
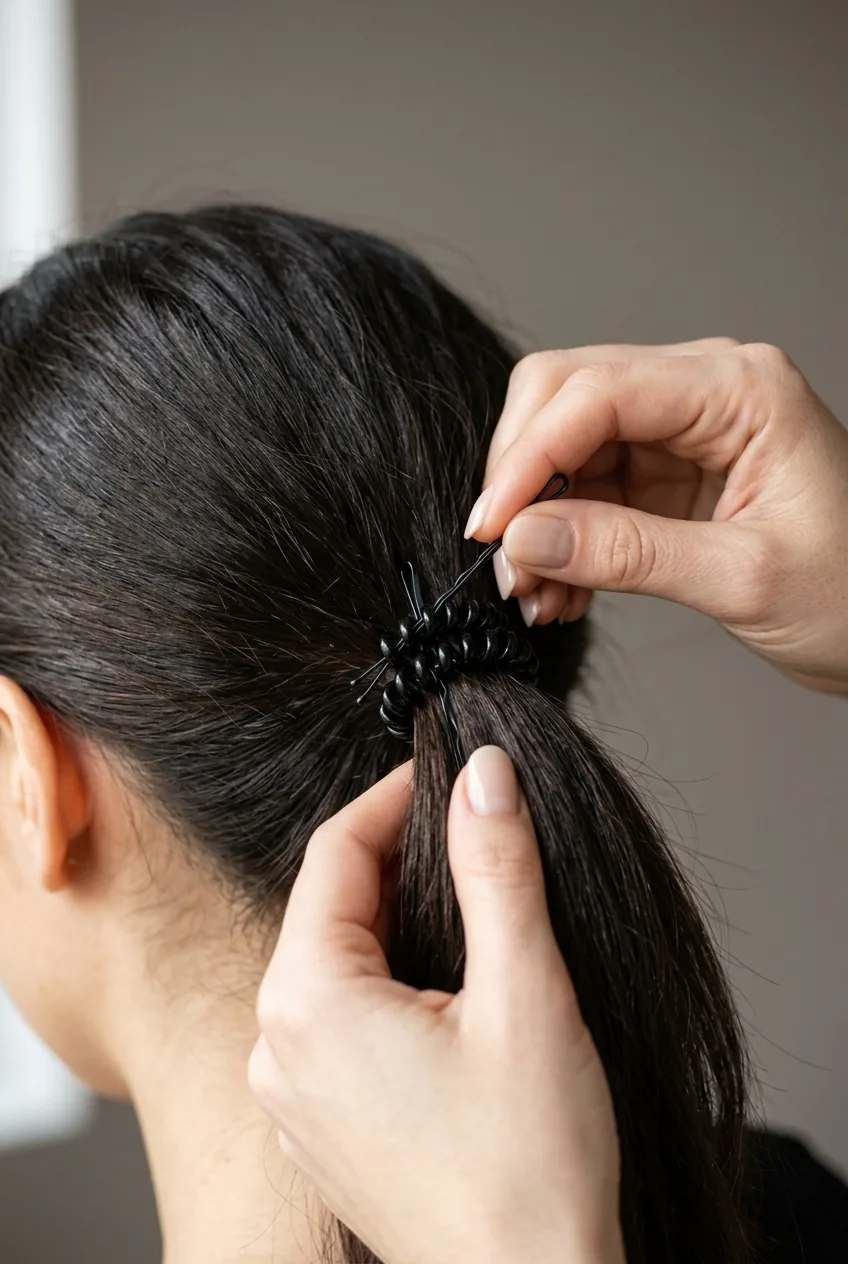
The spiral hair tie goes on first, but here’s the trick: don’t cinch it tight immediately. Wrap it twice loosely, then slide two bobby pins through the coils at opposite angles. This creates an anchor system that prevents the elastic from sliding down your hair shaft.
Now tighten the spiral elastic until it feels secure but not painful. The bobby pins should disappear into your hair — if you can see them, push them deeper until only the tips show.
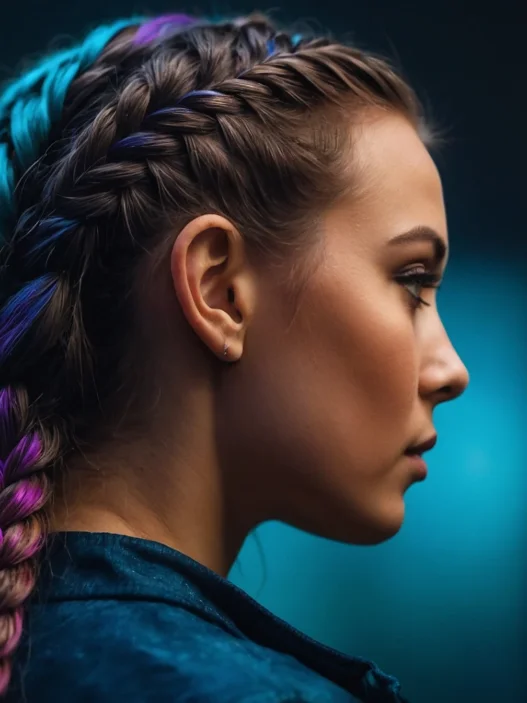
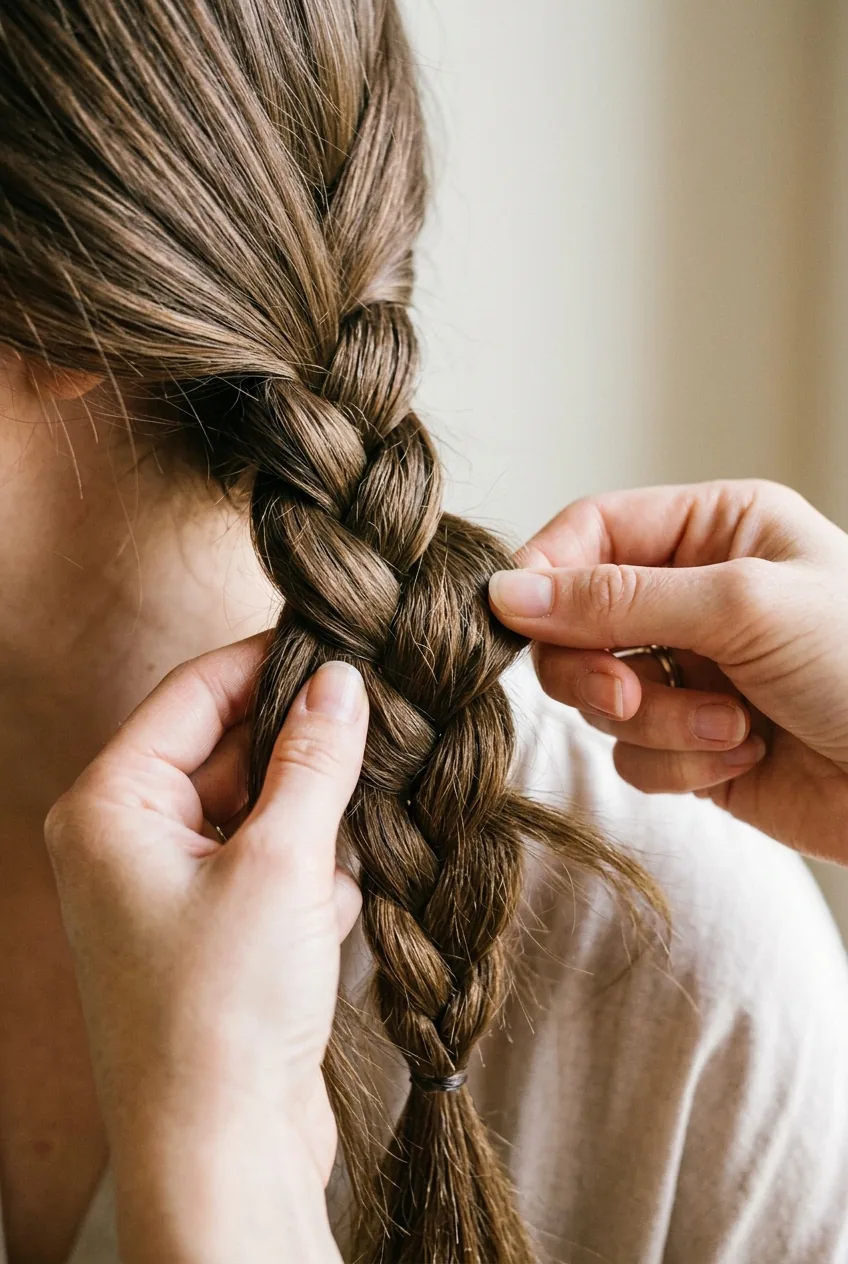
For the actual braid part of your ponytail, I do a classic three-strand braid, but I incorporate a technique I learned from styling professionals. Every third crossover, I pause and gently tug at the outer edges of the braid to make it fuller. This “pancaking” technique creates width and visual weight that makes the whole style look more intentional.
Finishing Touches That Make It Last
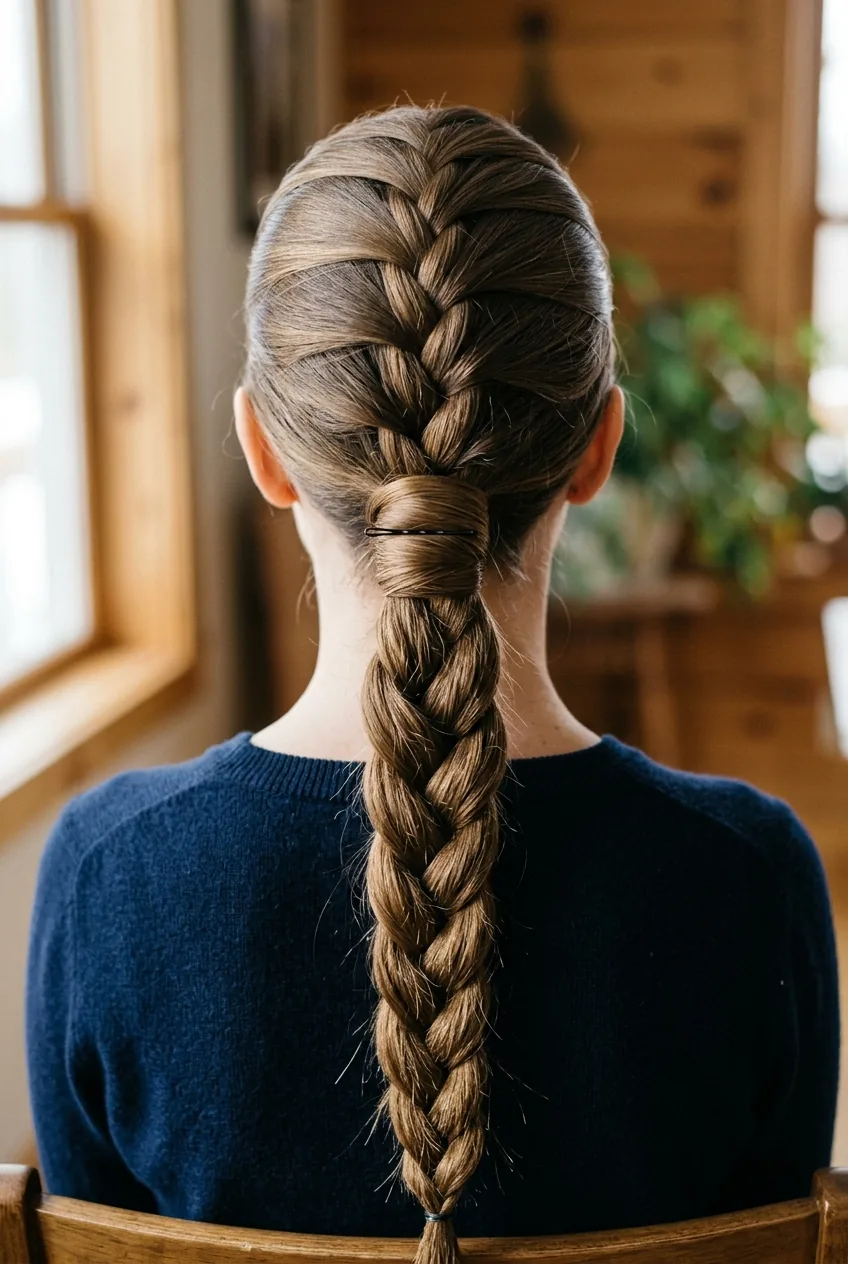
The final elastic at the bottom of your braid should match your hair color perfectly. I buy those tiny clear ones in bulk because they disappear completely but hold surprisingly well.
Here’s where I get fussy: I always wrap a small section of hair around that final elastic. Take a thin piece from the underside of your braid, wrap it 2-3 times around the elastic, then pin it underneath with a bobby pin. It looks so much more polished than a visible hair tie.
The last step is my insurance policy — a light mist of flexible hold hairspray. Not the crunchy stuff that makes your hair feel like plastic, but the kind that moves with you. I hold the bottle about 8 inches away and give the whole style a gentle cloud of spray.
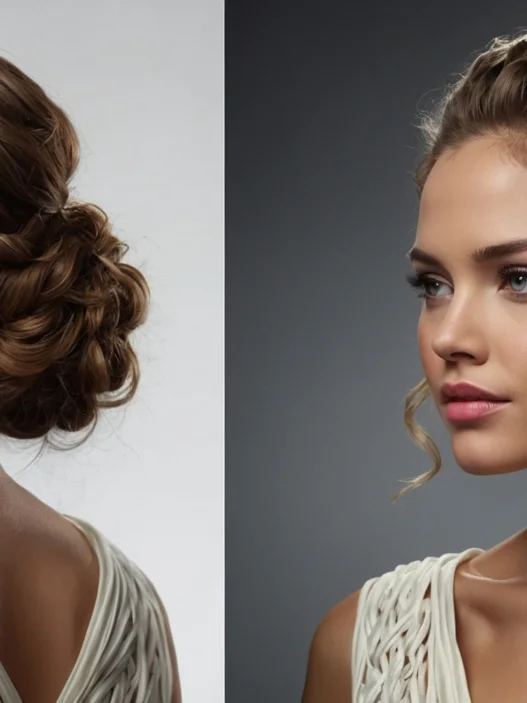
For special occasions, this braided ponytail works beautifully as a base for more elaborate elegant formal updos. You can wrap the braid into a low bun or twist it into a side chignon.
Questions I Get About This Method
Will this work on fine hair?
Absolutely, but you’ll need extra texturizing spray and maybe a volumizing mousse at your roots. Fine hair actually holds braids better than thick hair once you get the grip right.
How long will it stay put?
I’ve worn this style for 12+ hour days without major slippage. The foundation braid is really the key — it creates structural support that regular ponytails just don’t have.
Can I sleep in it?
I wouldn’t recommend it. The bobby pins can be uncomfortable, and you’ll wake up with weird dents. But it’s perfect for long events or travel days.
What if my hair is too short for a full braid?
You can still do the foundation braid and create a short braided section in your ponytail. Even a 3-inch braid adds texture and interest to a basic ponytail.
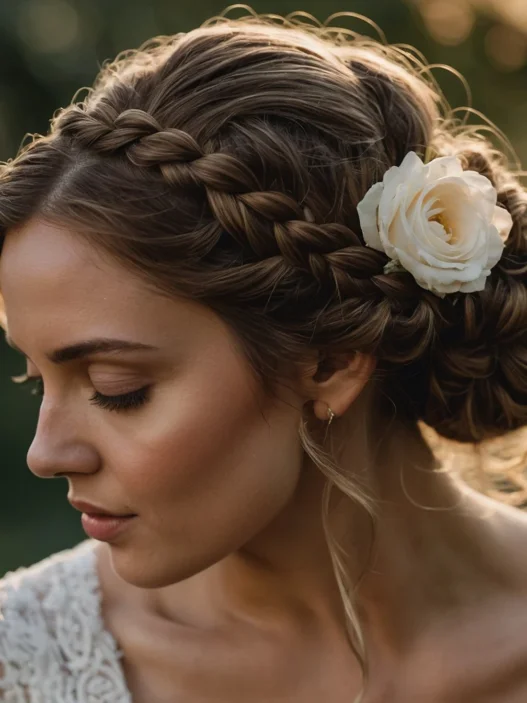
This braided ponytail method has honestly changed how I think about everyday hairstyles. It’s polished enough for work but relaxed enough for weekends. And unlike those complicated winter wedding braided hairstyles that require three mirrors and a prayer, this one you can actually do yourself. Give it a try and let me know how it works for your hair type!